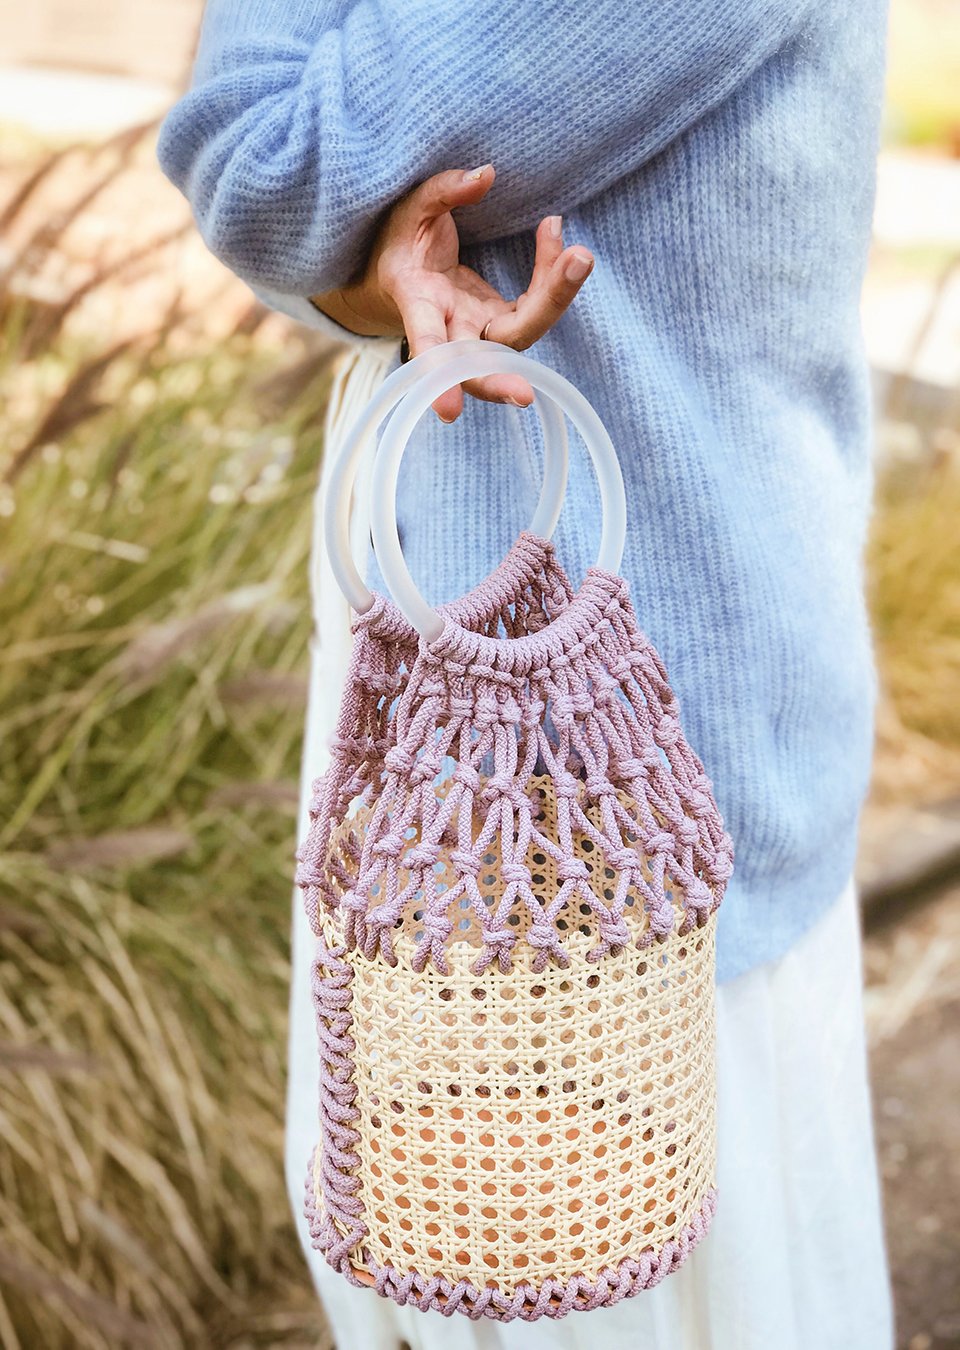
After spotting this bag in a street style photo, I was immediately became obsessed with it. A bucket bag constructed of cane and macrame? It was a trifecta of some of the year's most ubiquitous, and at times, overplayed, trends and yet, it was so oddly unique and weird. I loved it and needed it. An unsuccessful online search for the designer (which I later discovered was a brand called MMM by Joel), I decided to do what I do best: do it myself. With only some macramé cording and cane webbing, I was actually surprised how straight forward the construction of the bag was. Yes, it's somewhat tedious but I had so much fun making it - and even got some of you involved, on social media, in helping me pick what handles to use.
You'll Need:
- 1ft x 2ft 1/2" fine cane webbing
- 1 20 cm round leather bag bottom
- 100 meters 5mm polyester cord
- round bag handles (acrylic, tortoise, or bamboo)
- leather hole punch
- packing tape
- scissors


These nifty pre-made leather bag bottoms are amazing. The holes, however, were too small for my 5mm macrame cord. So I just used a leather punch to make the holes just a tad bigger.


Cut off about 4-5 yards of cord. Wrap one end of the cord tightly with a piece of packing tape. I like using packing tape because it's nice and stiff and withstands wear. Tie a double knot at the other end and thread the cord through the top of the bottom of the bag.


Make sure the cane webbing wraps around the base of the bag. Thread the cord through the first closed hole and then back down the 2nd hole. Pull tight.


Continue wrapping, bringing the cord out from the bottom and through the next hole in the webbing and then through the next hole in the bag base.


Once you've reached the end (i.e. you can't thread through another closed webbing hole), you'll go back around in the opposite direction. First, be sure to tighten the cording by pulling in any extra slack. Then insert the end of the cord into the next opening, making a criss cross pattern. This is also why I made the holes bigger in the beginning - your cord will need to be able to go through the same hole twice.


Continue criss crossing the cord. Once you've reached the beginning, leave the cord loose. You'll finish it at the very end.


This is the moment where you'll want to trim the height of your bucket. Cut 2 yards of cord, wrap the ends with tape and thread it through the holes centered beneath the seam of the webbing. Bring it back up and criss cross it, closing up the seam.


Work your way up the bag, continuing to criss cross the cord. If the bucket is looking a little lopsided, you can take an iron and steam the webbing. Mold it with your hands and it'll easily take out any creases and take a more even shape.


Count the amount of holes in the webbing around the diameter of the bucket. Divide that number in half and that's how many cords you'll need to create the macrame top. I had 44 holes so cut 22 cords. Divide that in half again and now I have 11 cords per handle. You might notice that the type of handle changed from the beginning of the project to now. I couldn't make up my mind!! But it goes without saying that the steps are all the same nonetheless.


Fold each cord in half and create a lark's head knot.


Once you've added all the cords, spread the strands apart. Move outside strands apart from the rest and group the rest into pairs.


Knot the pairs into a single knot. Be sure to knot each of them at the same distance.


Once they've all been bring the outside stands back into the mix and group the cords into pairs again.


Make another row of knots. And then another.


Once you've got to a good overall length (I stopped 4 rows), repeat the same process on the other handle. And make sure the knots are even and match each other!


Start at the seam and insert the ends of the outer cords of one handle into the top of the bucket. Pull the cords all the way through until the knot hits the outside, and tie a double knot.


Continue adding the cords to the top of the bucket and making double knots. Start the other handle on the opposite side of the seam so that both sides are being worked to the middle (opposite of the seam).


Once all the knots have been made, you can trim the ends off. And voila, you're done!
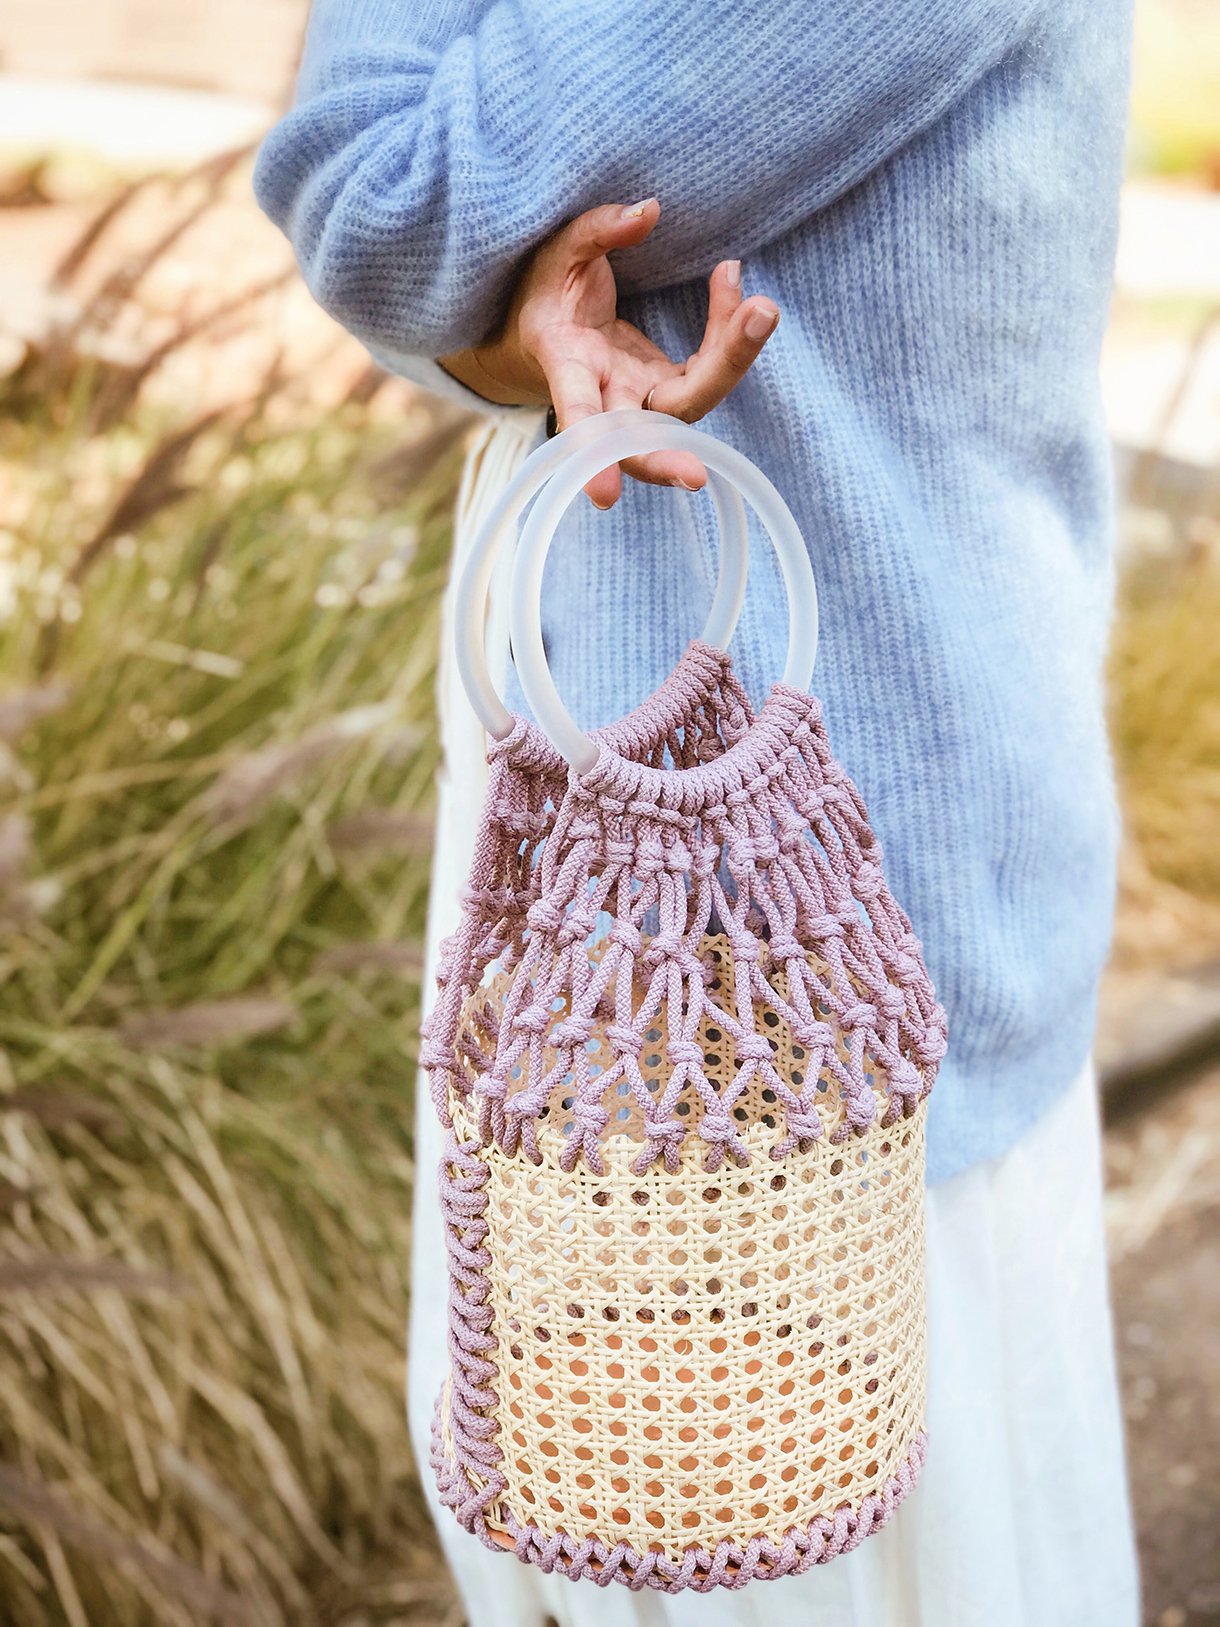
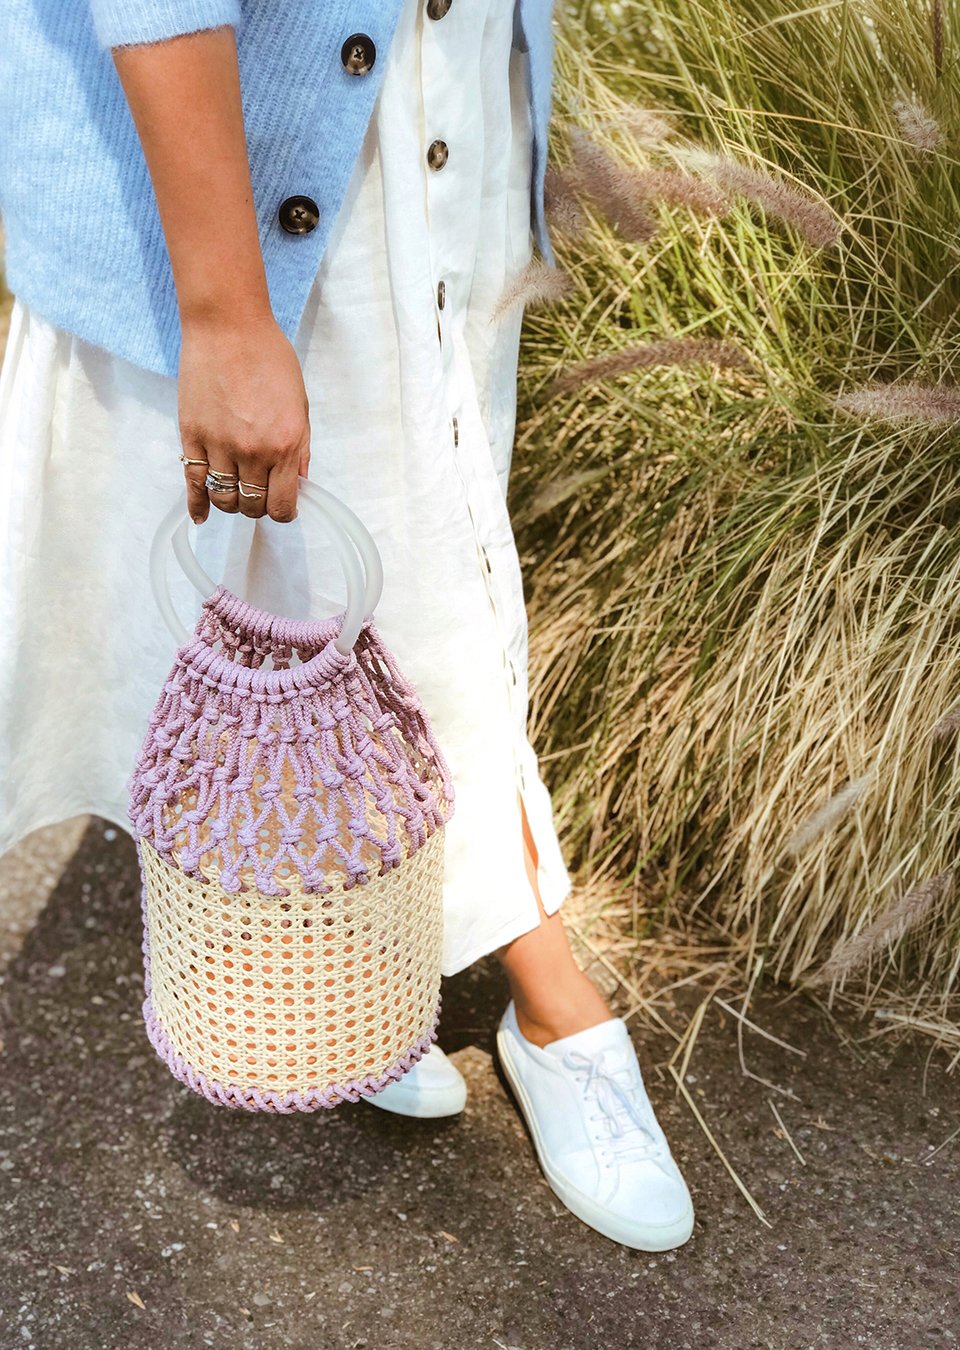
The bag turned out super great!
xx from Bavaria/Germany, Rena
http://www.dressedwithsoul.com
Thanks! It was so fun to make
That bag looks so gorgeous and expensive, what a wonderful DIY!
Thanks, Michelle!
Oh wow, this looks superb ! You’re quite a genius.
Thanks, Lorena!
Love how creative you are, and you make it look so easy!
Thanks, Karen. Credit must be given to the original designer who dreamed up this design in the first place!!
It is lovely! How sturdy do you think it is? I imagine that it doesnt hold more than just the bare minimum weight without structure being impacted?
Besides a wallet, my keys, my phone and a little pouch for makeup, I don’t ever carry more than 5lbs worth of stuff in my handbag. With being said, yes, it can hold plenty! 🙂
nice post
looking good
really very creative just by using yarn, rattan, bracelets and synthetic leather into a unique and good work, maybe it can also be made from used items that are still worth using but switching functions
wow very nice hand bag gorgeous and expensive love this bag
May i ask where did you get the frosted acrylic bag handles
I love all the pictures in this! Very cute bucket bag!
I love your Blog!!!!!
Thanks for sharing. Can’t wait to get my needed
Supplies. God bless & Be safe.
Hi the length of the cord is it 5 x 100 meters
Quello che ho visto fatto é meraviglioso.io sono alle prime armi e non sogno neanche di arrivare a tale bravura..