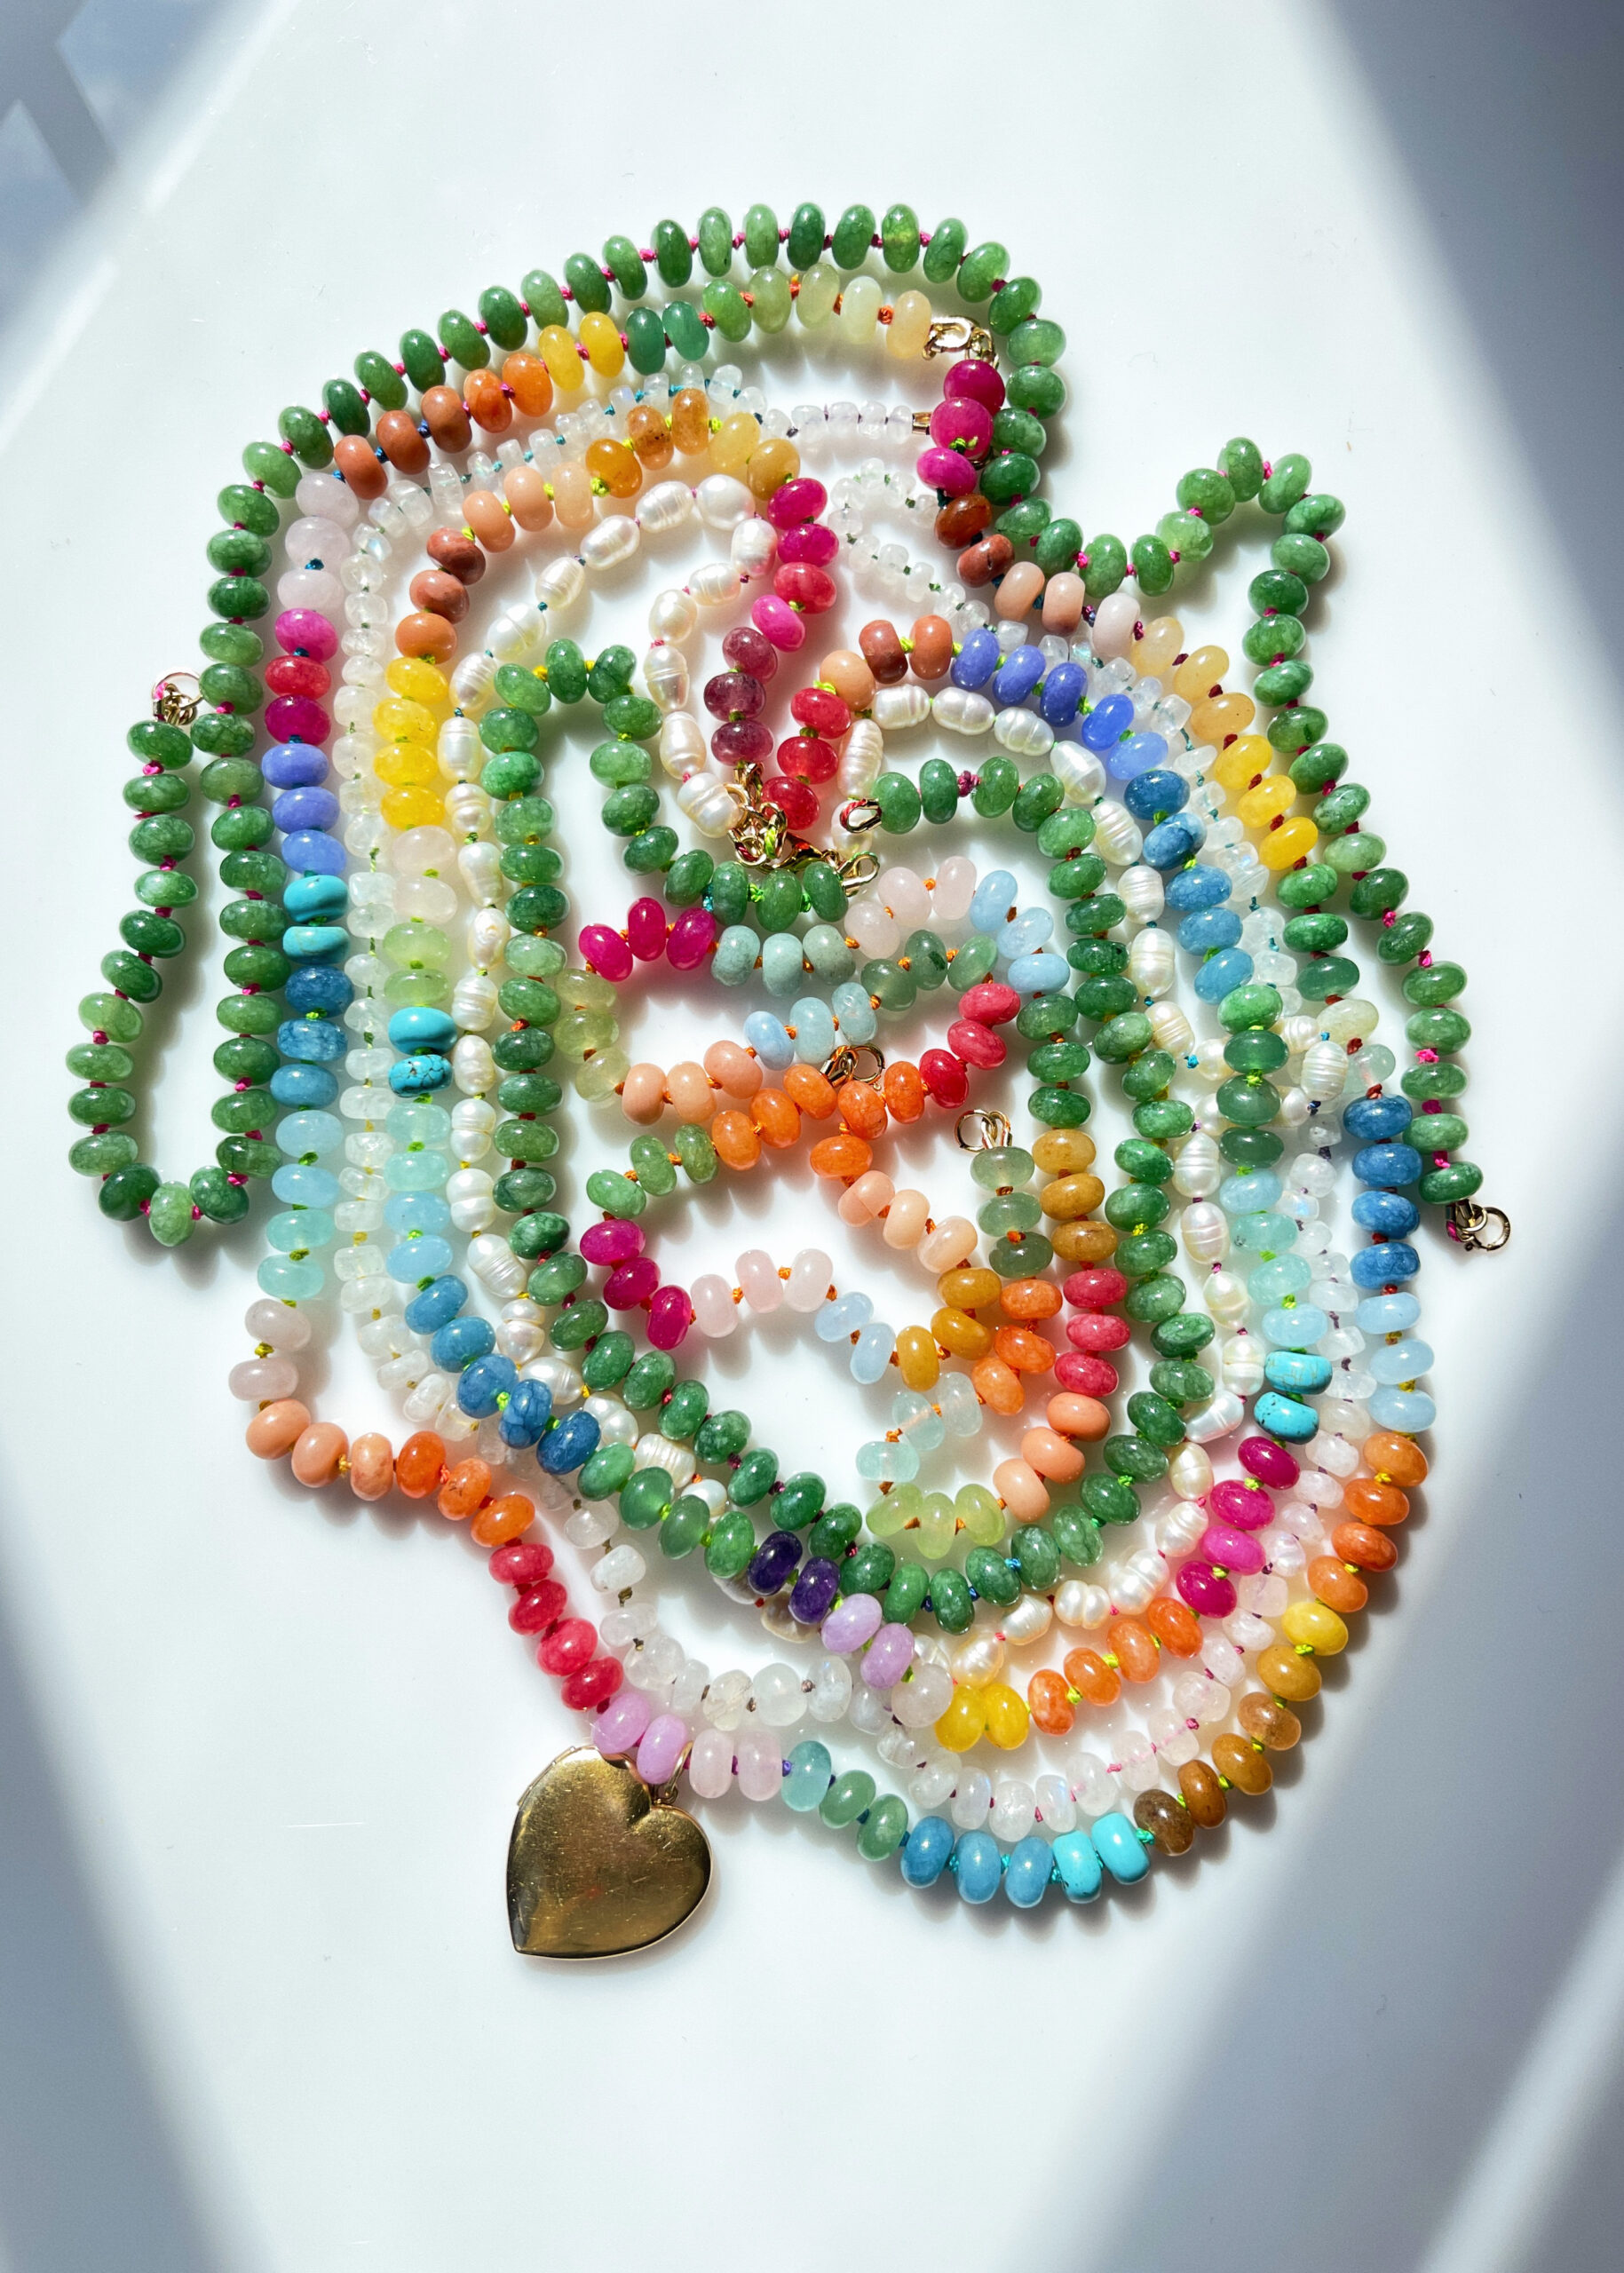
The traditional technique of hand knotting gemstones and pearls can be traced back to ancient times. In any museum with an ancient jewelry collection, you'll see examples like Egyptian necklaces with lapis lazuli and carnelian beads, Mesopotamian turquoise, and Persian pearls, all knotted by hand. Fast forward to today, knotted beads are still ubiquitous - not only are they incredible lasting and stable, stringing them with knotted spaces in between each bead gives a more graceful drape to them.
The art of hand knotting a strand of beads has always been very intimidating. It was't until I saw jewelry designer Jessica Winzelberg share a video of knotting without the specialized tools, that I realized how easy and doable it could be! Without the need for any tools, besides my own fingers, this method made this the perfect, portable summertime craft. (P.S. Not only does Jessica sell beautiful beaded gemstone necklaces, she offers a bead kit as well!)
One piece of advice: practice makes perfect. Order extra cord and practice making those knots. It also takes practice figuring out how to best utilize your fingers to make the process quick and efficient! Once you get the hang of it, I promise you'll be churning them out for yourself and your friends!
You'll need:
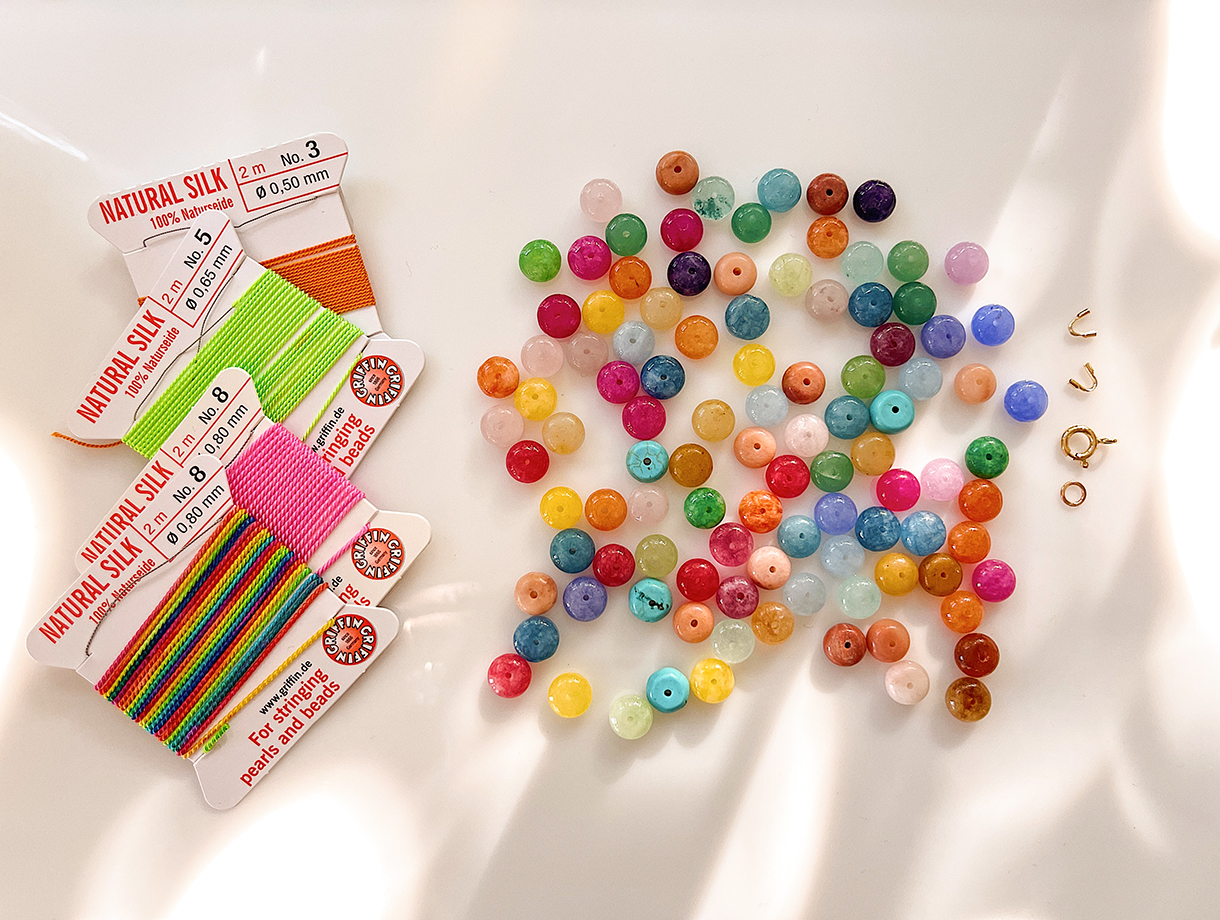
- 7-9mm smooth gemstone roundelle beads (rainbow, muted rainbow, green jade & moonstone)
- 0.8mm/size 8 silk Griffin beading cord (rainbow, electric rainbow, neon green & hot pink)
- 1 8mm 14k gold-filled clasp
- 1 8mm gold-filled jump ring
- 2 14k gold-filled wire guard
- B-7000 jewelry glue
- needle nose pliers
- scissors
- optional: heart charms (here, here, here and here)
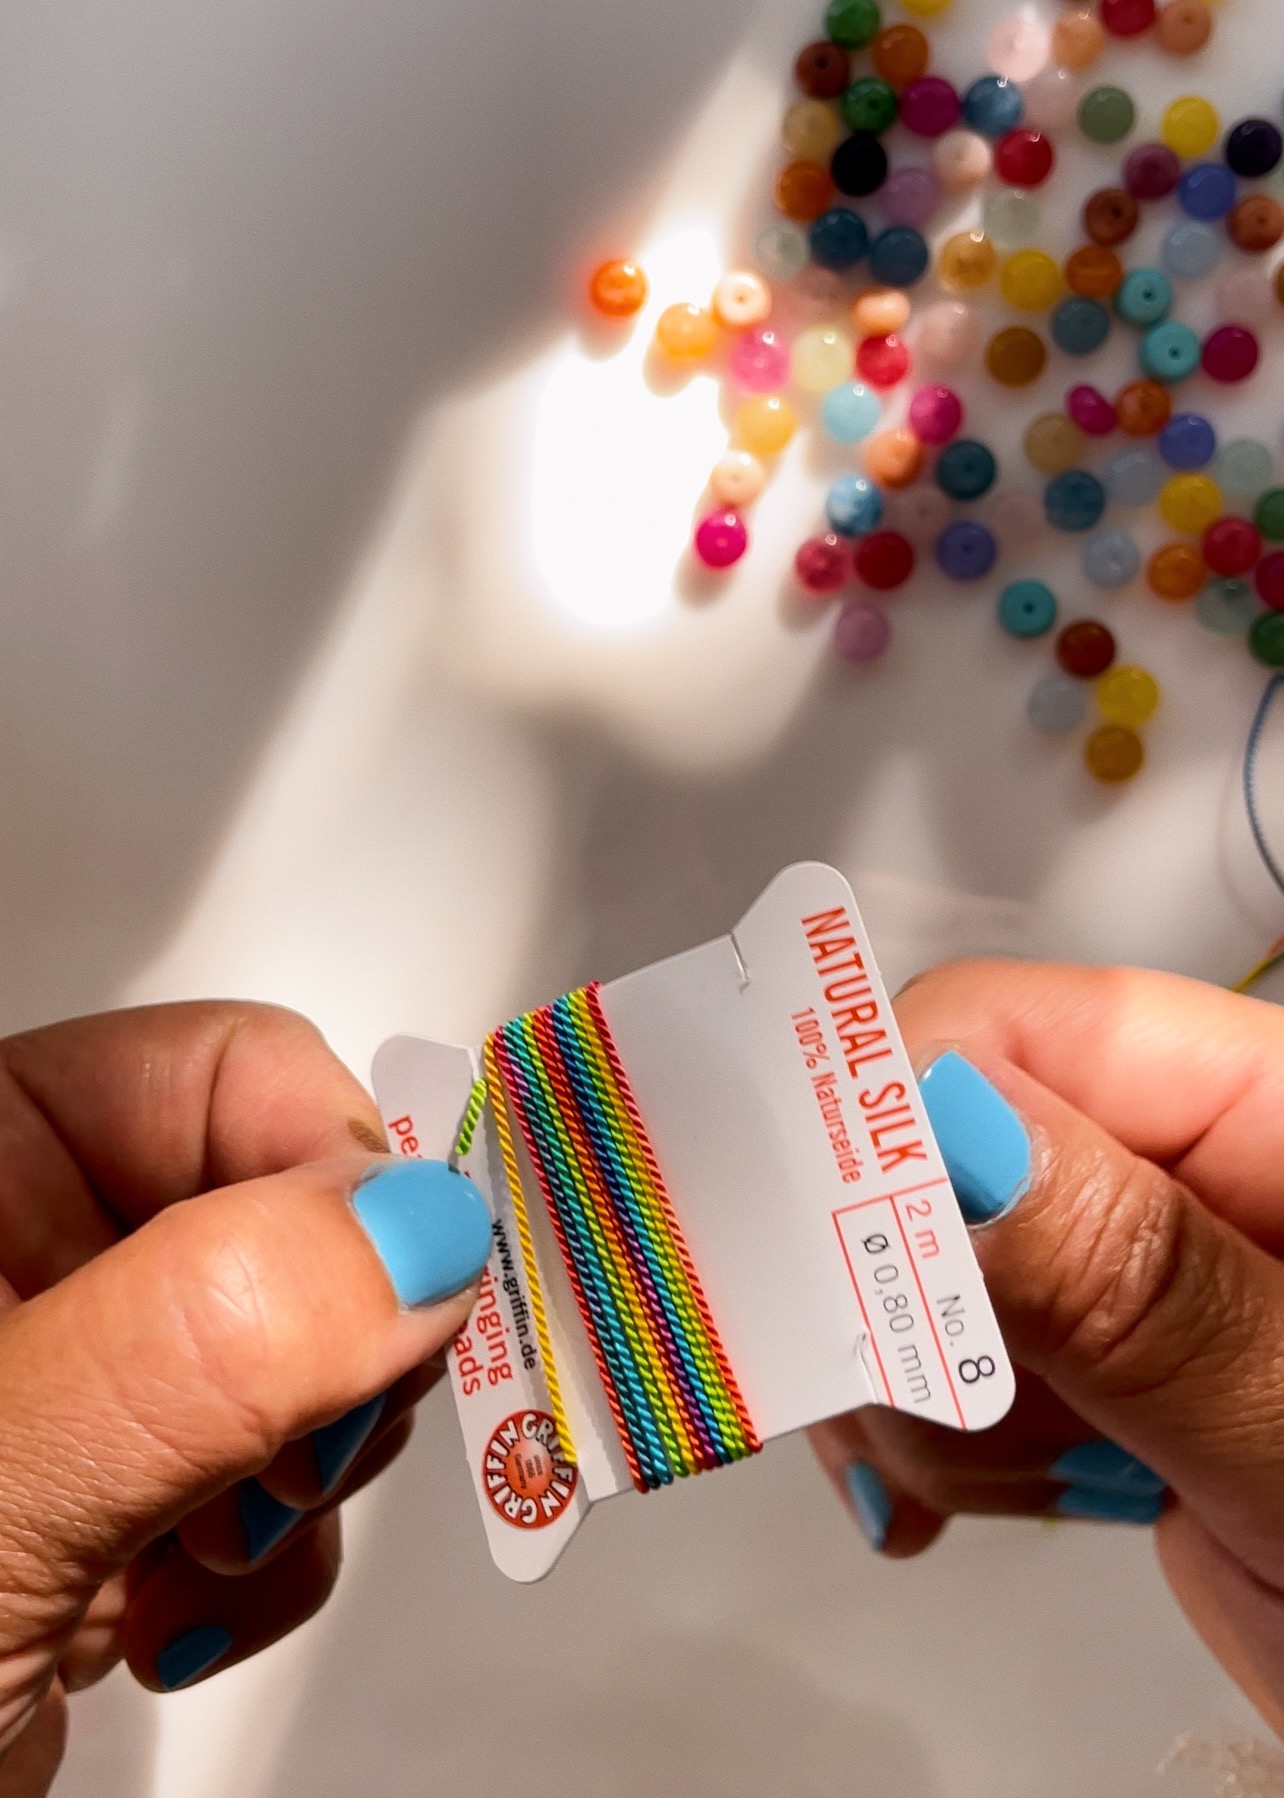
Griffin silk cord is incredibly strong and has very little stretch - it's perfect for knotting! Each Griffin card contains 2 meters of 100% silk cord with a stainless steel beading needle attached. For any necklace over 20", you'll likely get one necklace out of each card.
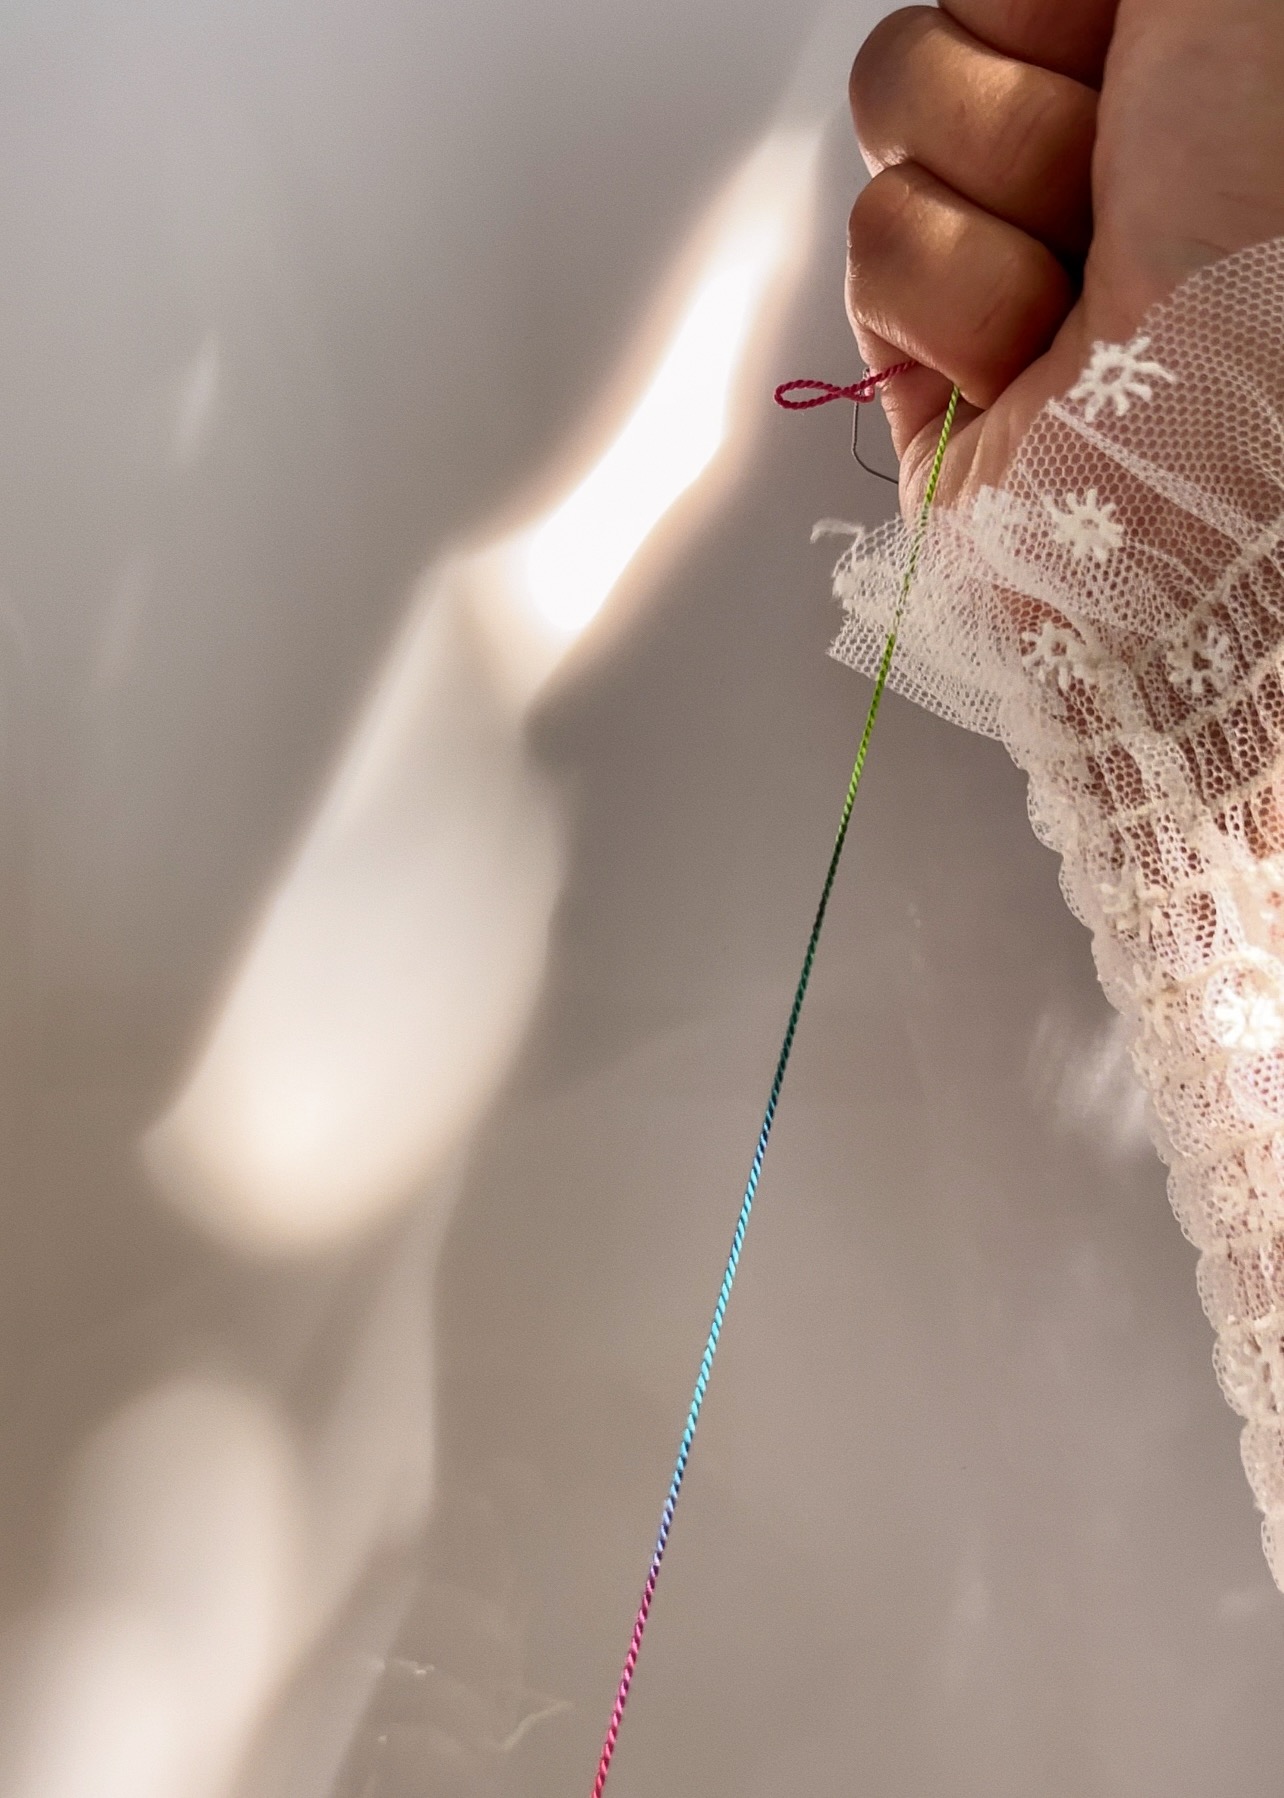
Start by unraveling the cord from the card. Working in sections, pull the cord to stretch it out and remove any kinks.
Note: For a bead hole size of 0.50 - 0.80 millimeters, size 8 cord is the perfect size.
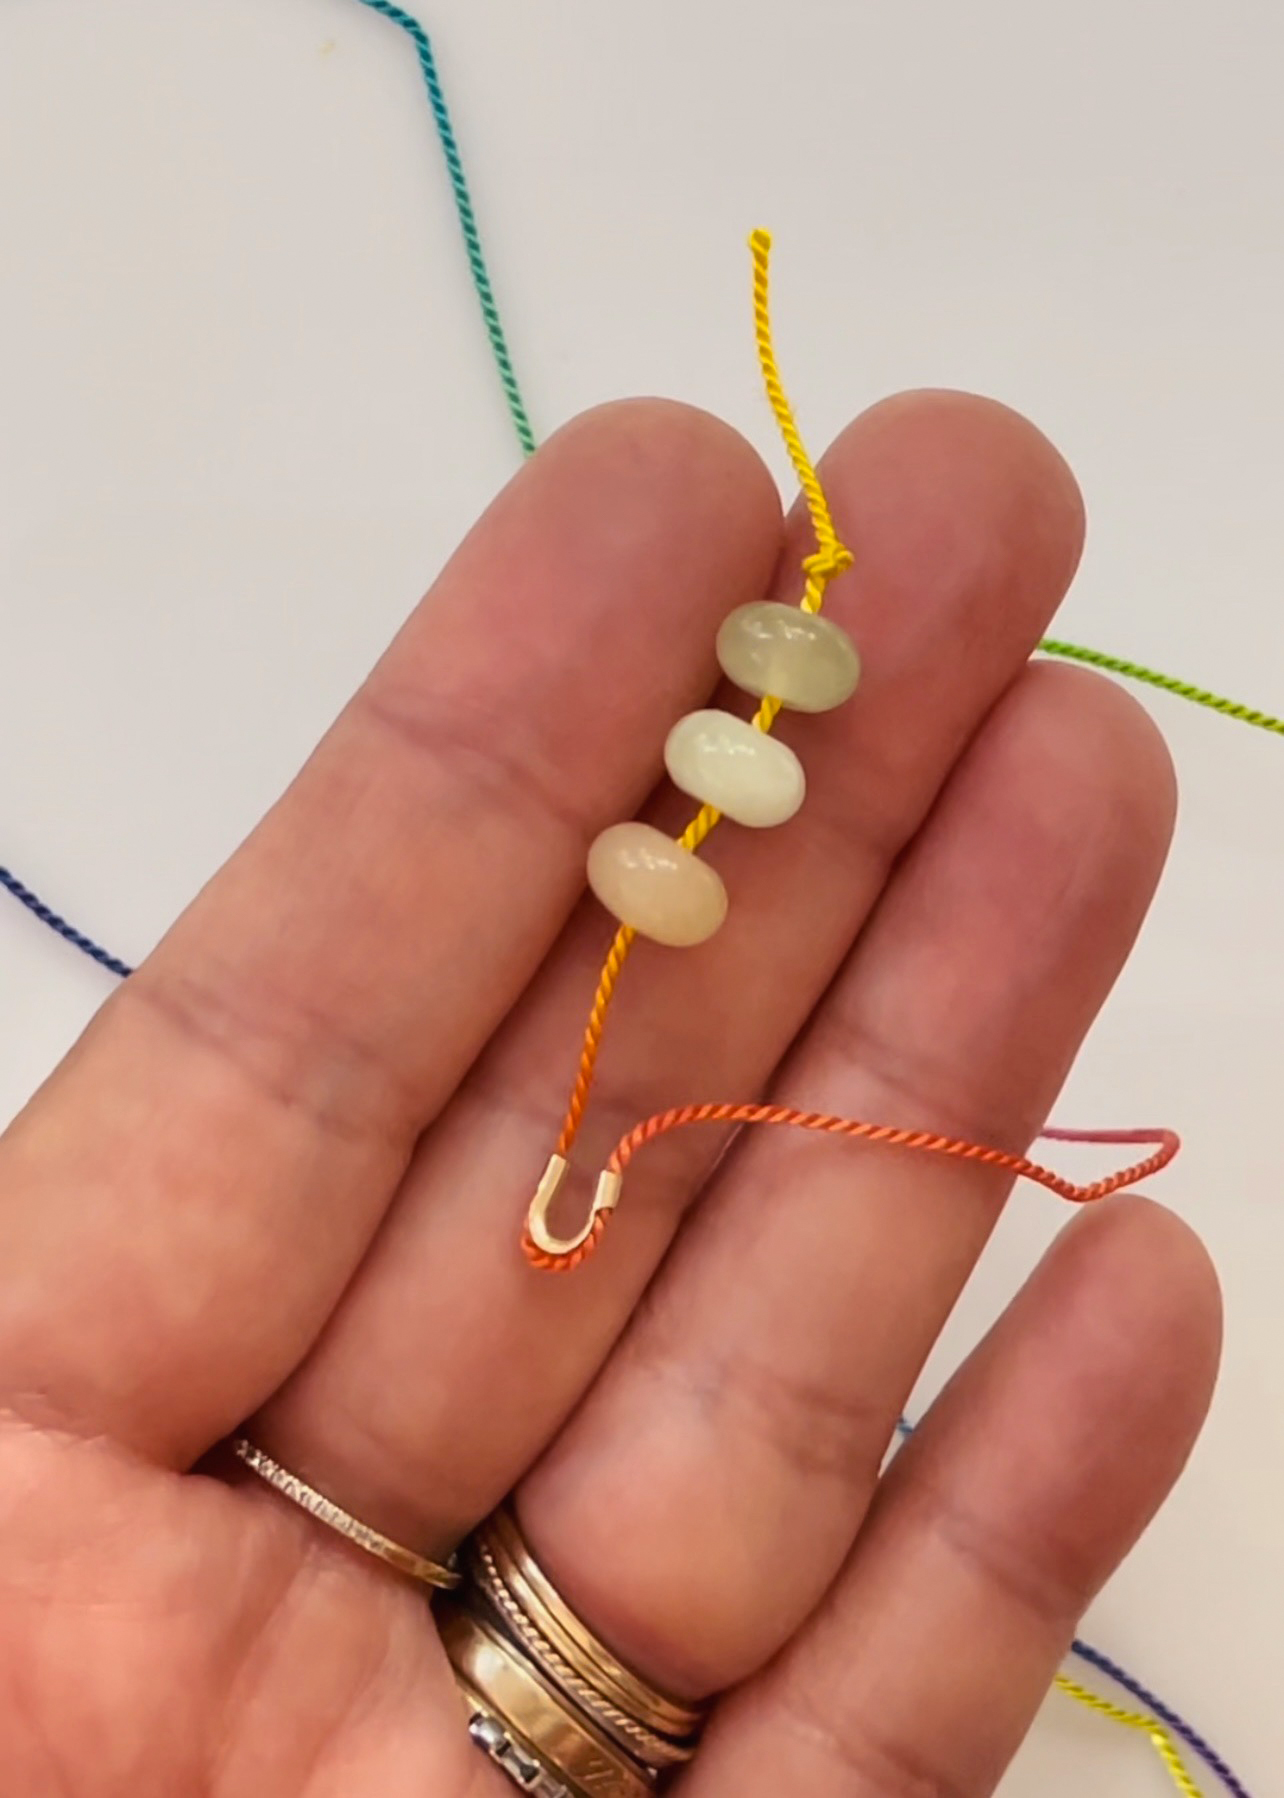
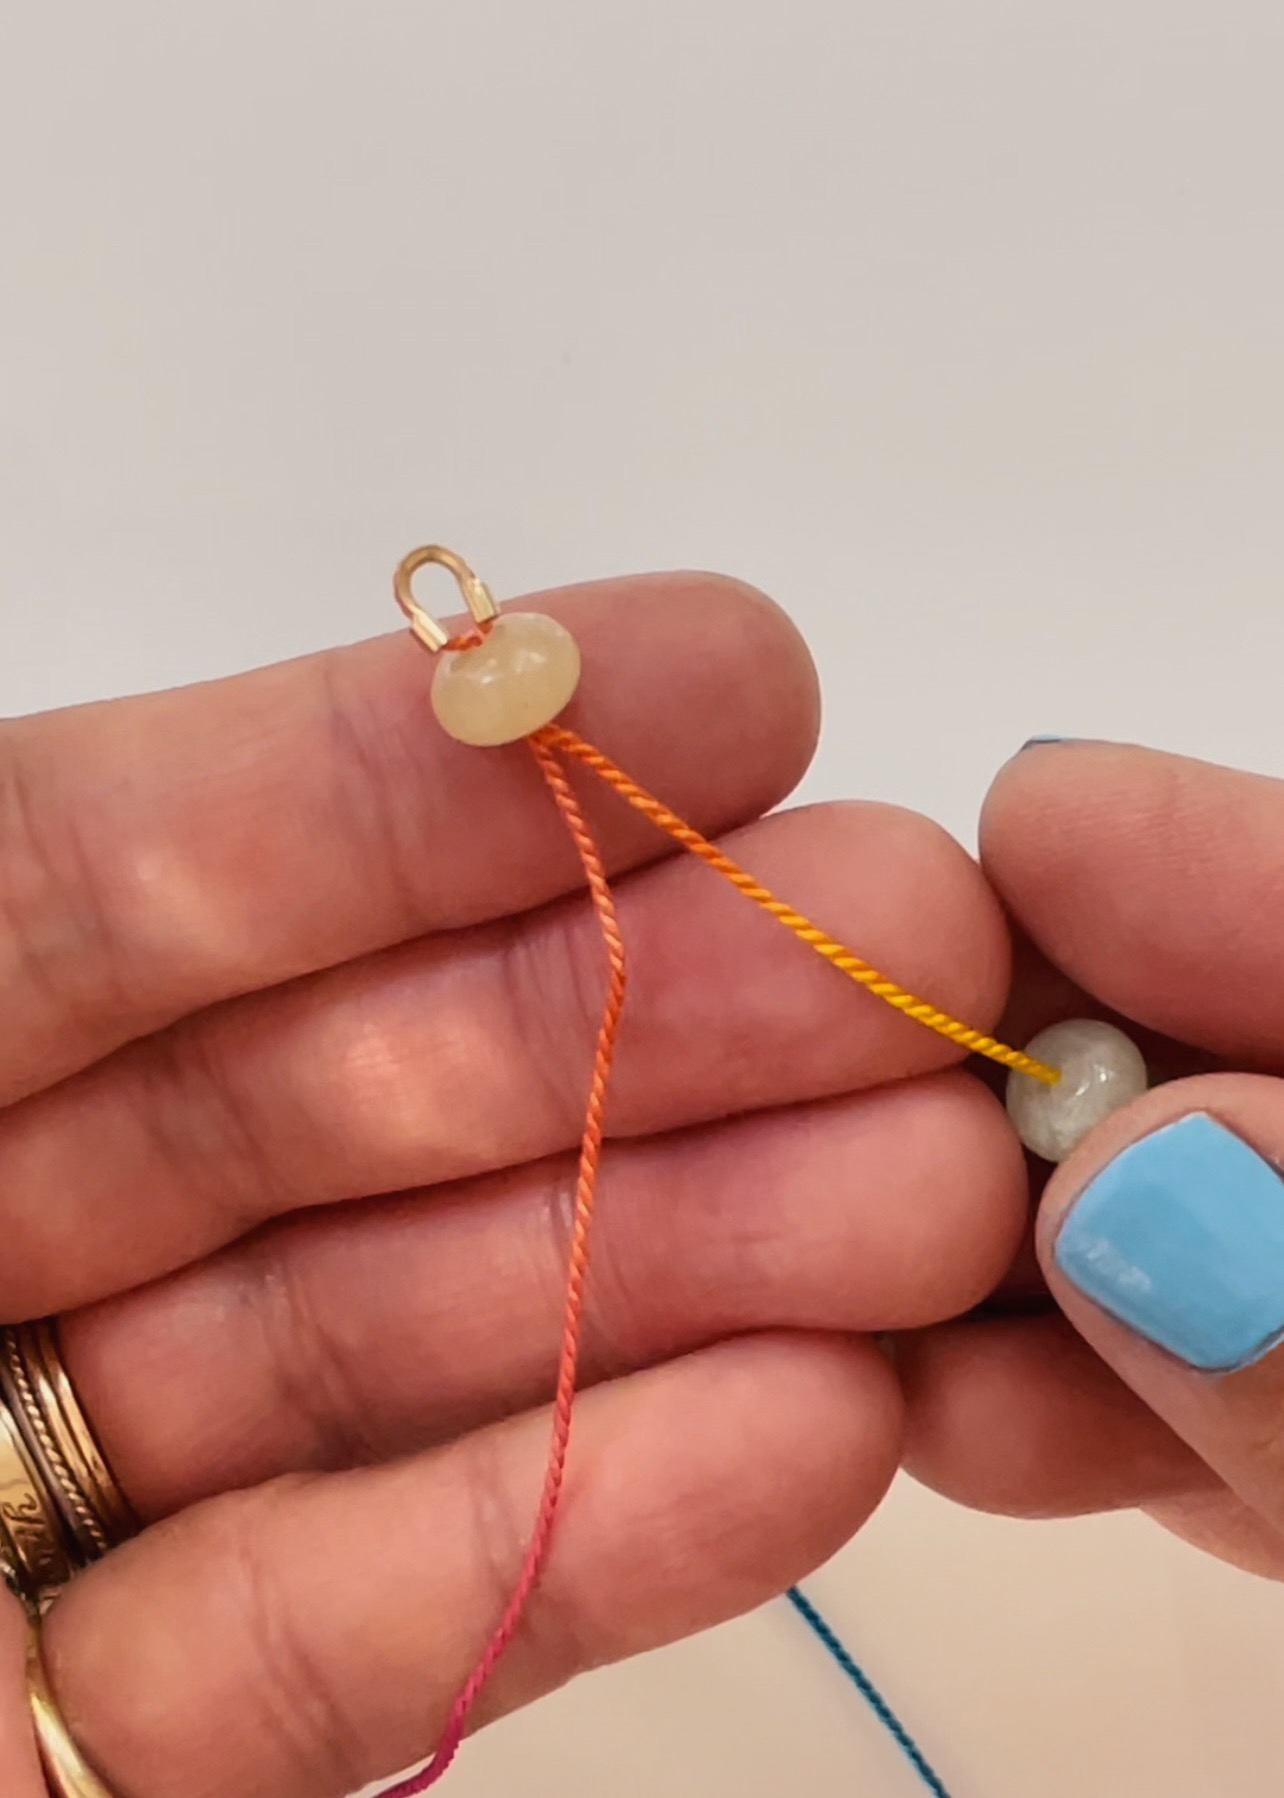
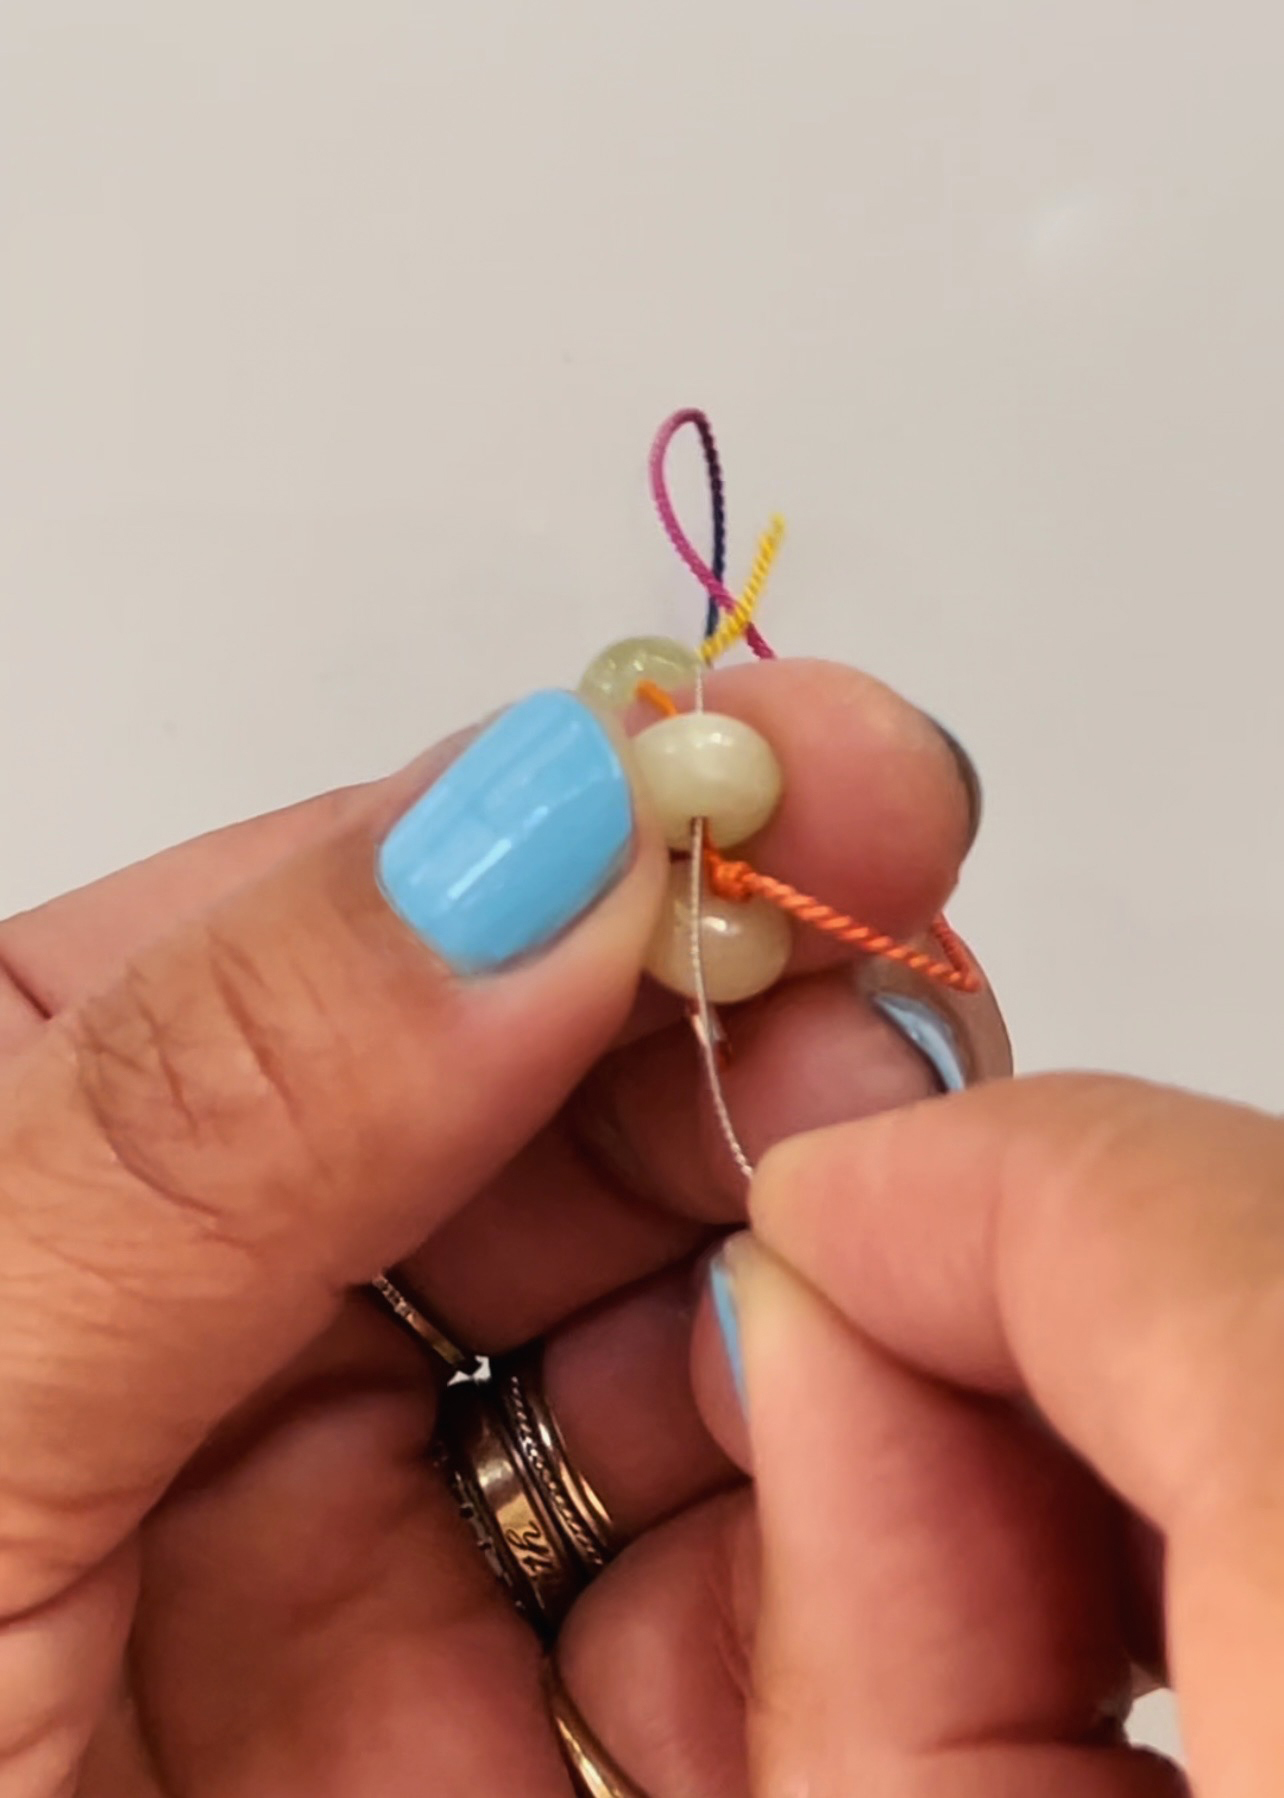
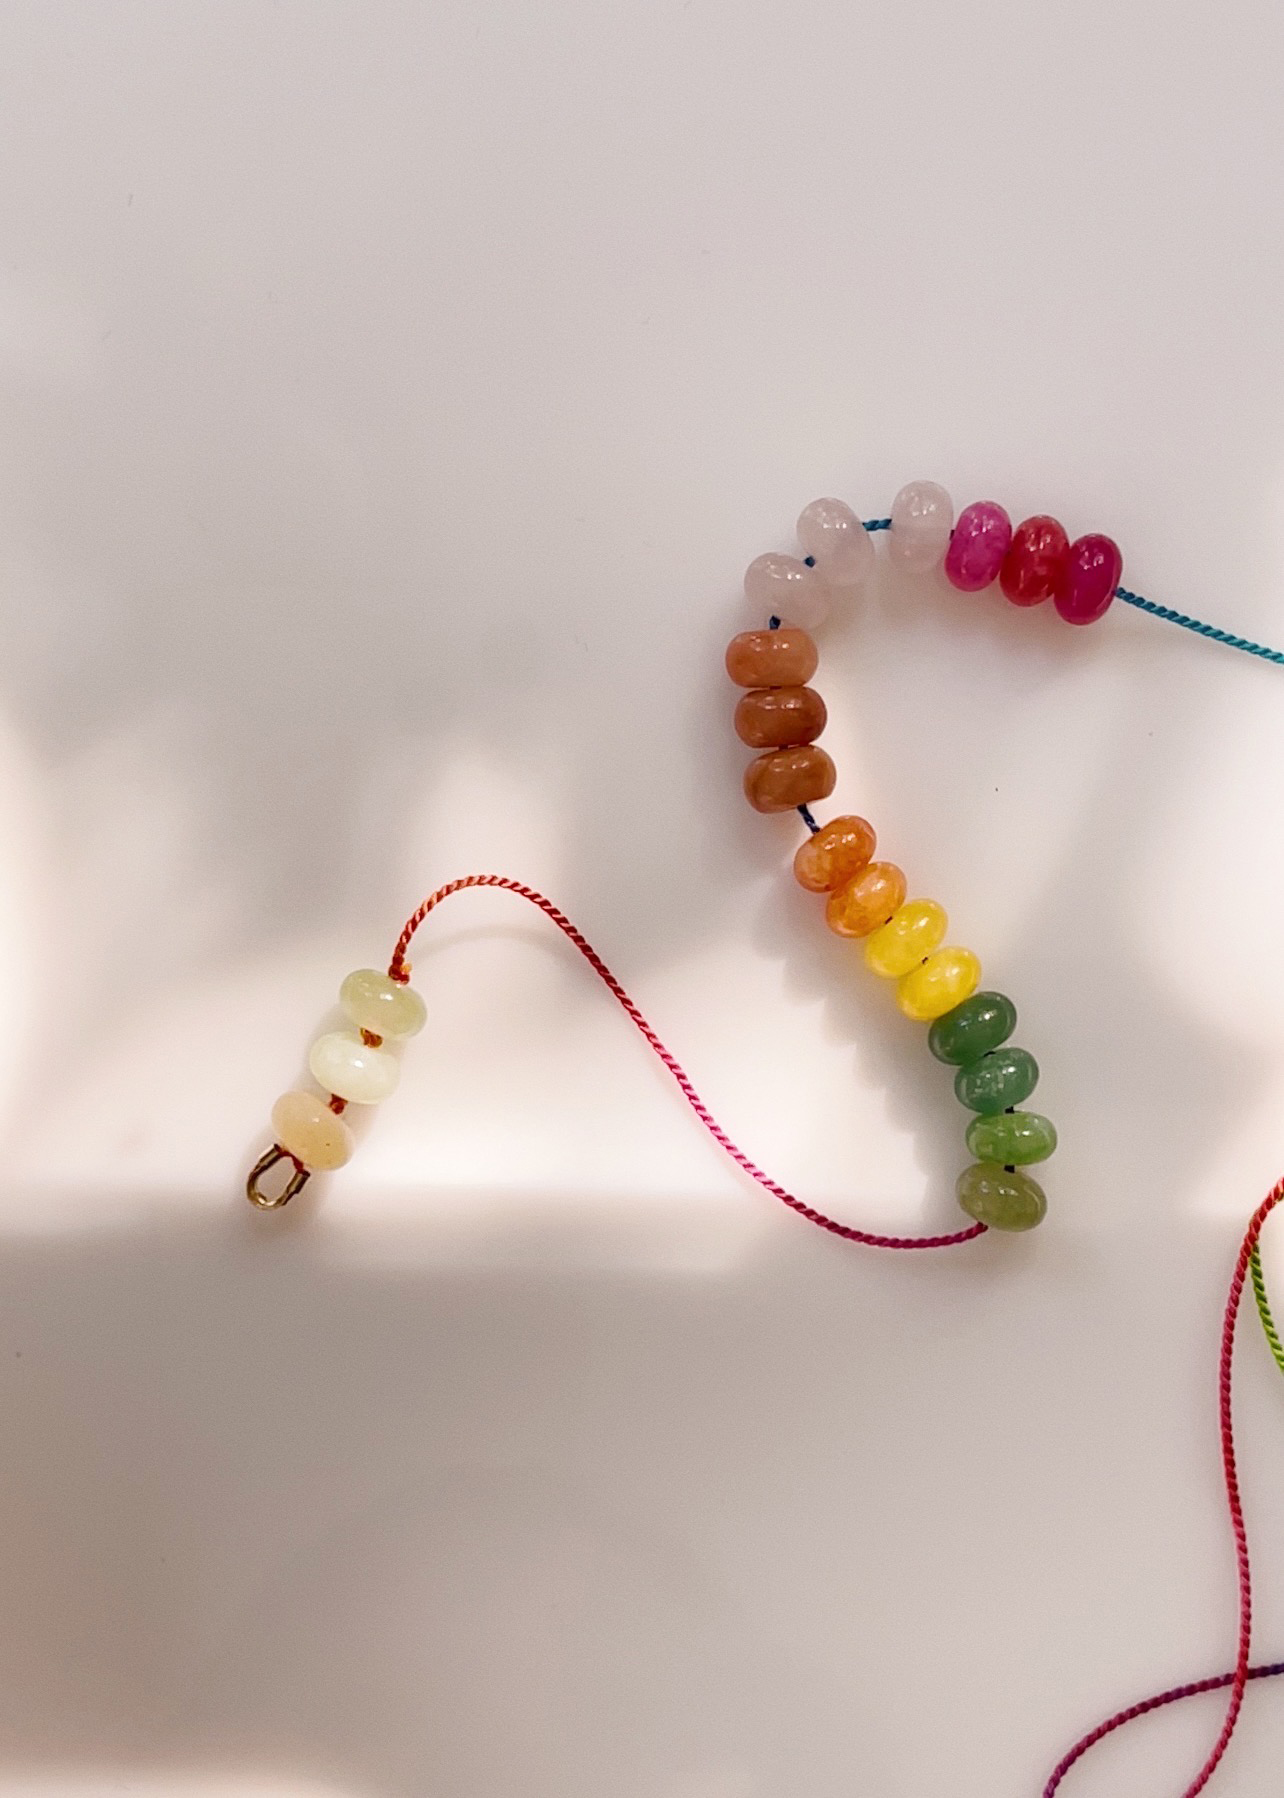
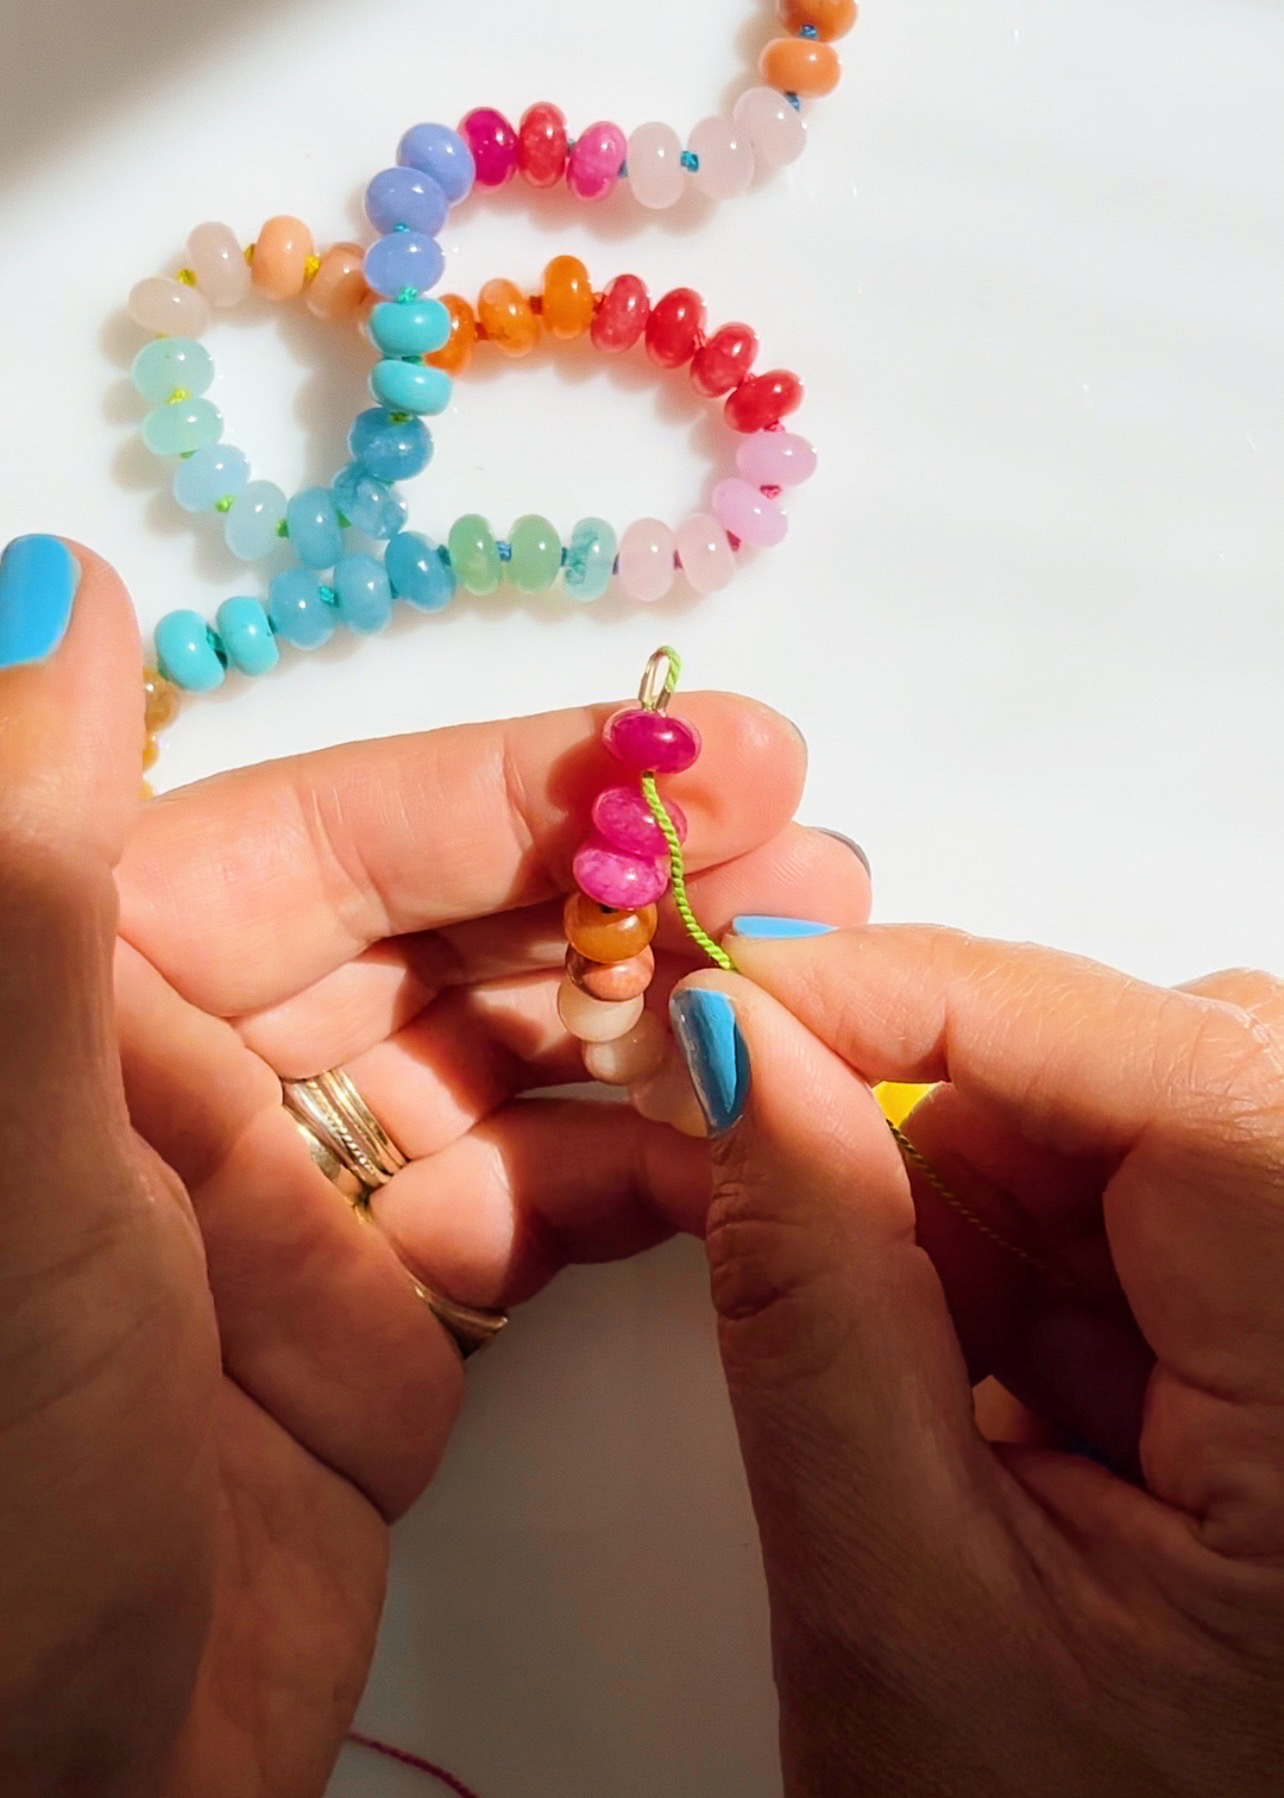
Tie the end of the silk cord into a knot. Thread on 3 beads and then the wire guard. Now the 3rd bead becomes the 1st bead in your necklace. Thread the silk cord back through the 1st bead only.
Note: The wire guard prevents the silk cord from wearing down and potentially breaking from wear.

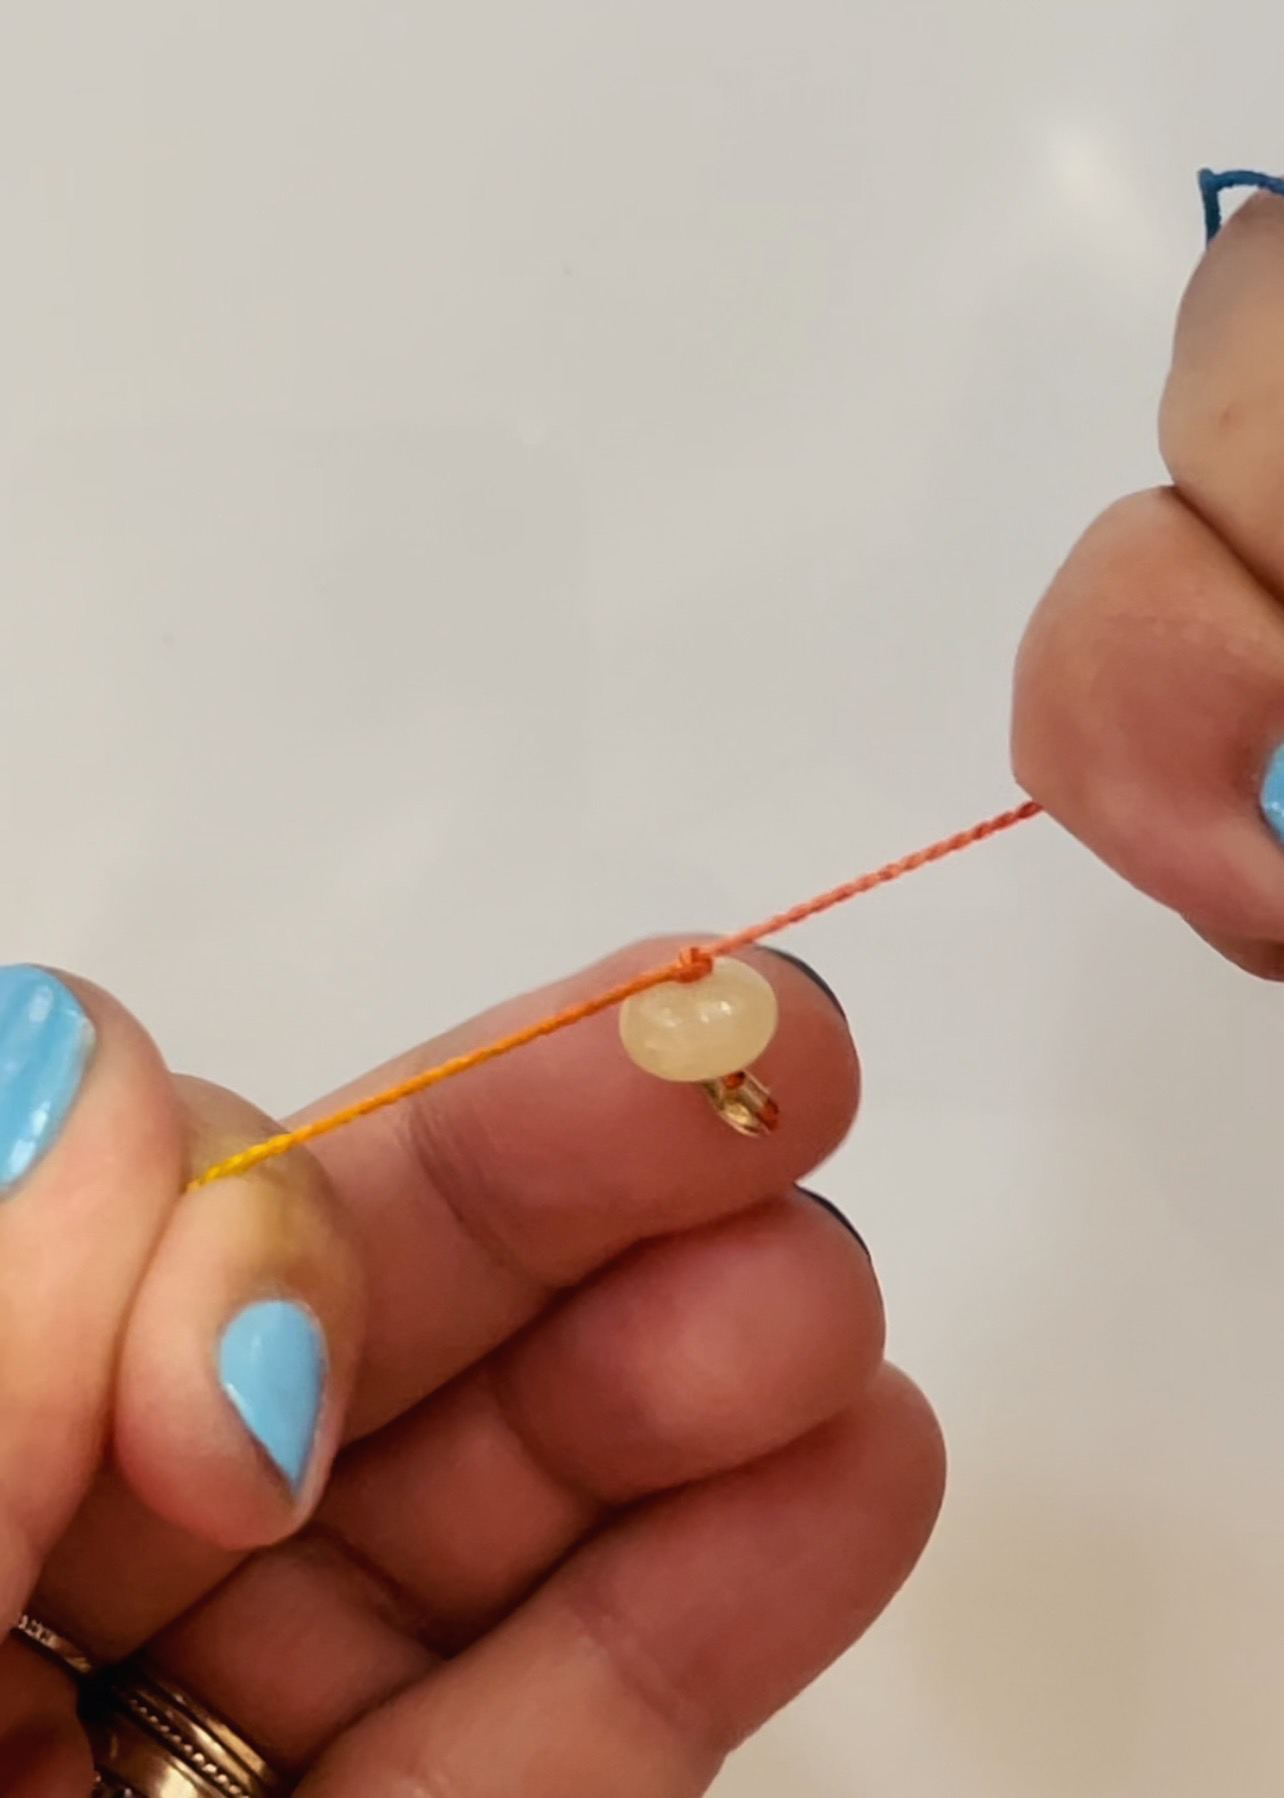
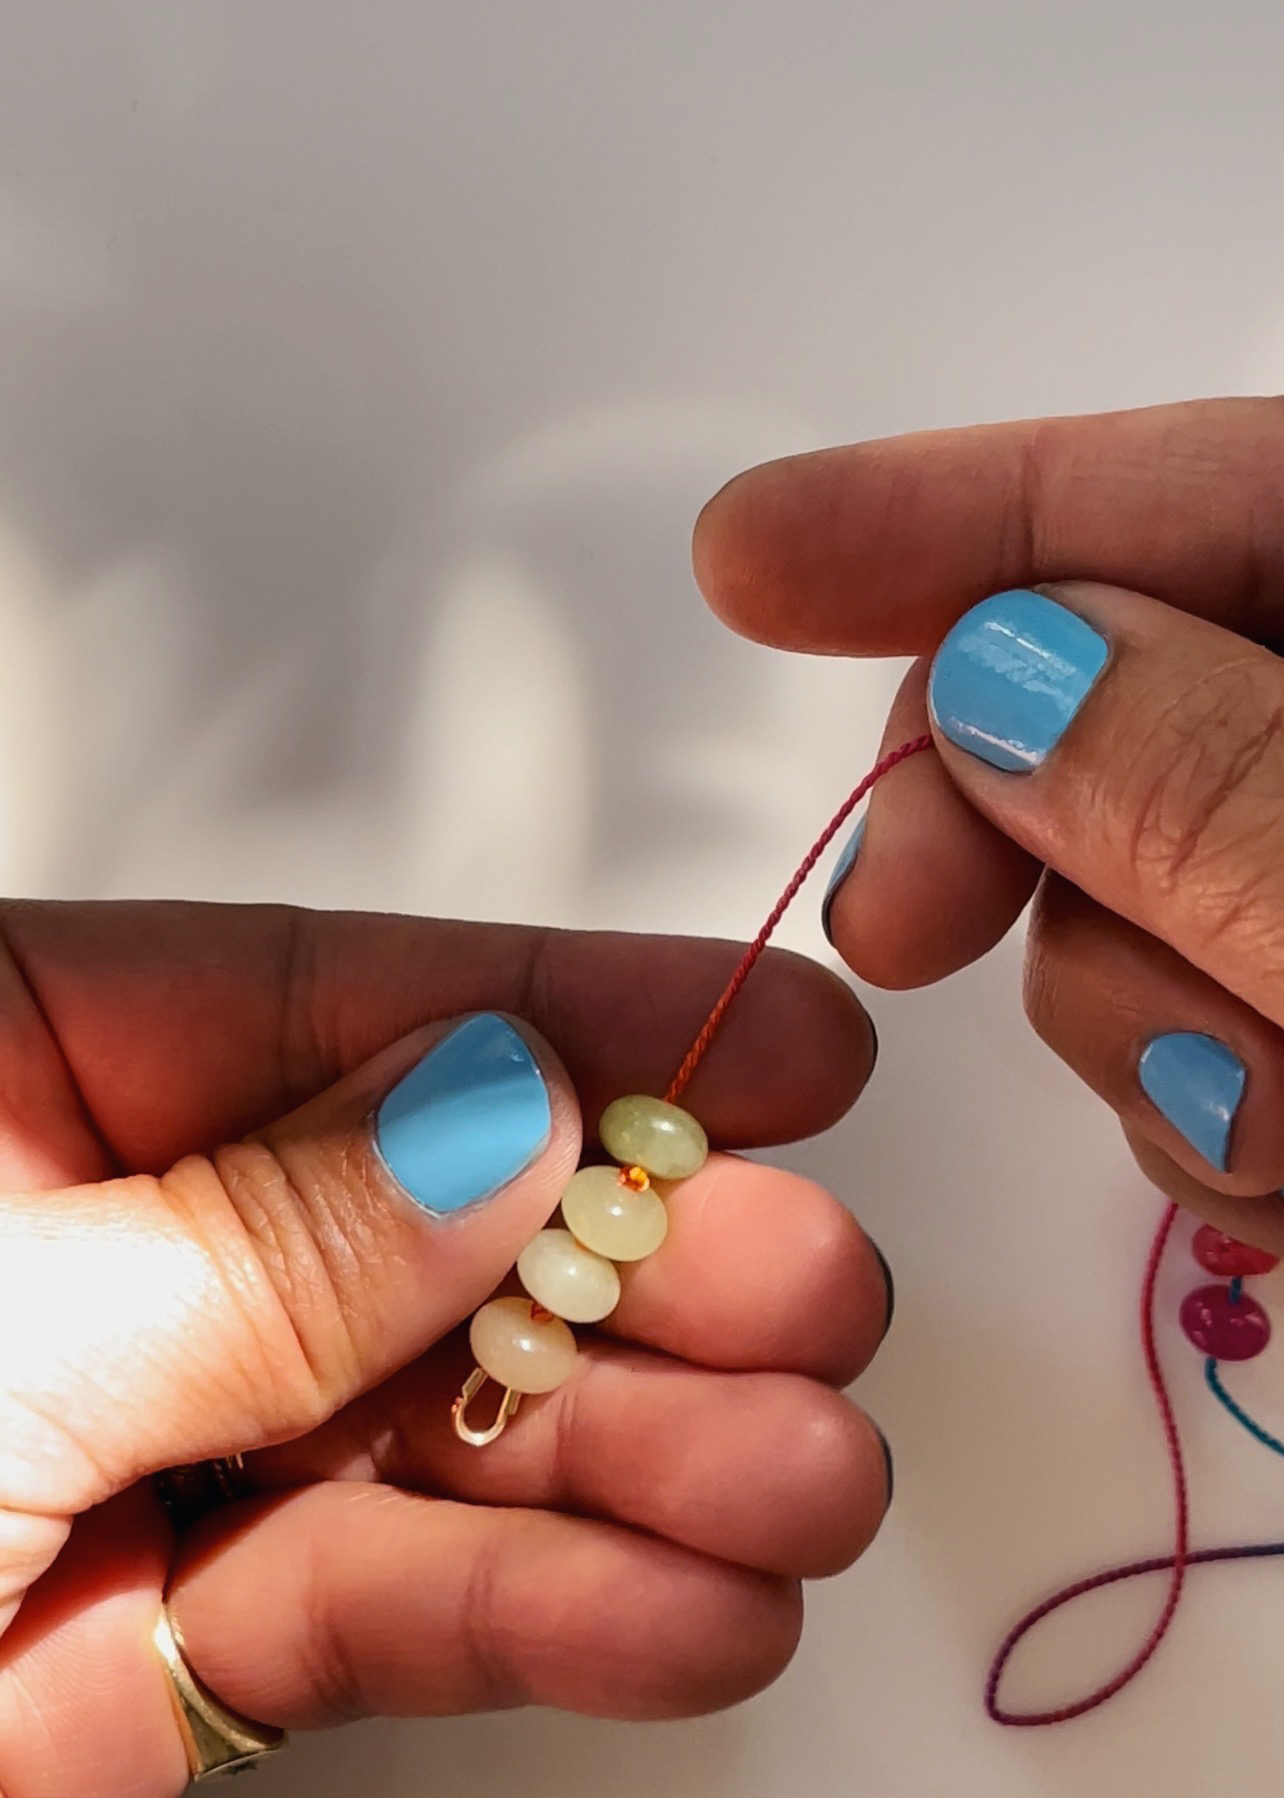
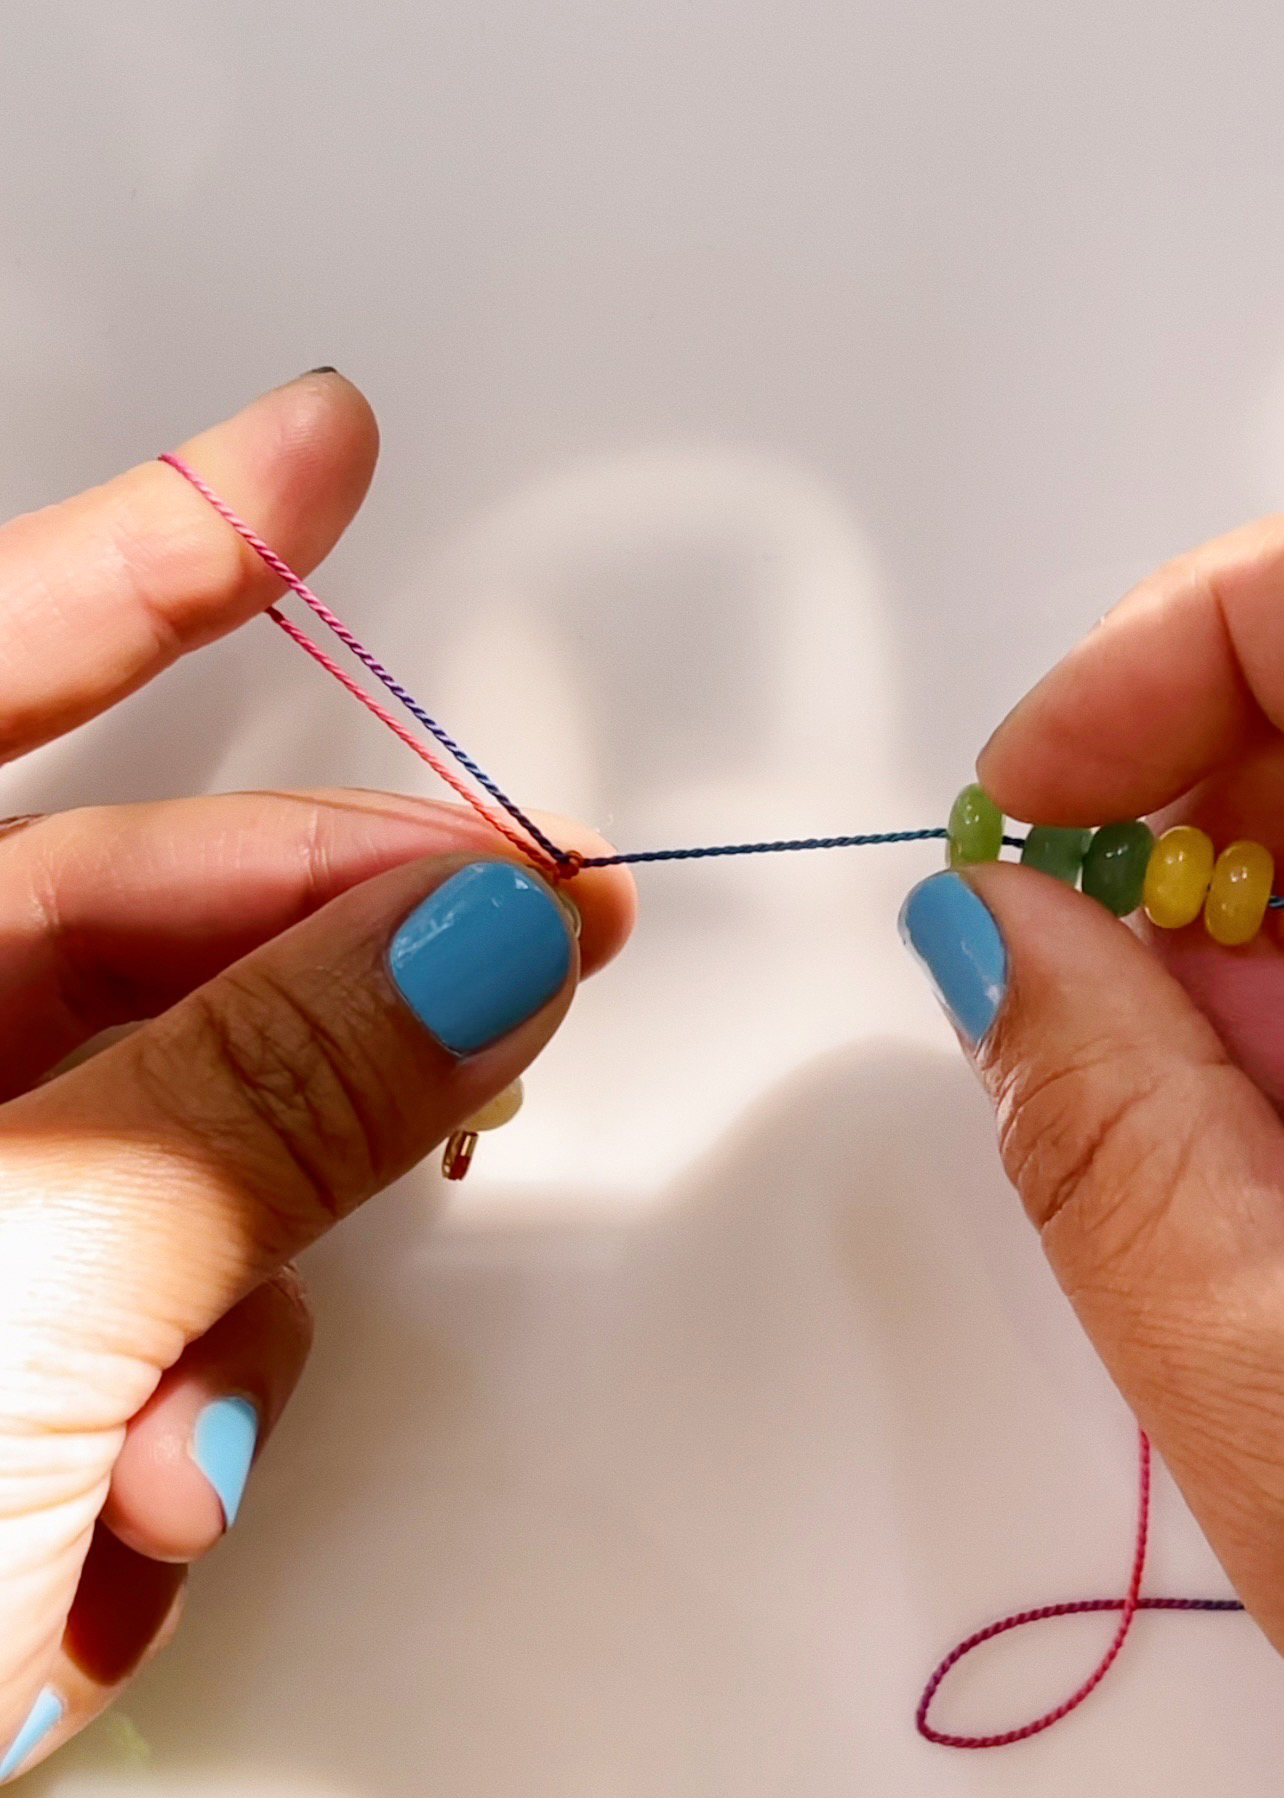
Take both sides of the cord and tie a single knot and pull tight. The knot will naturally press tightly against the bead.
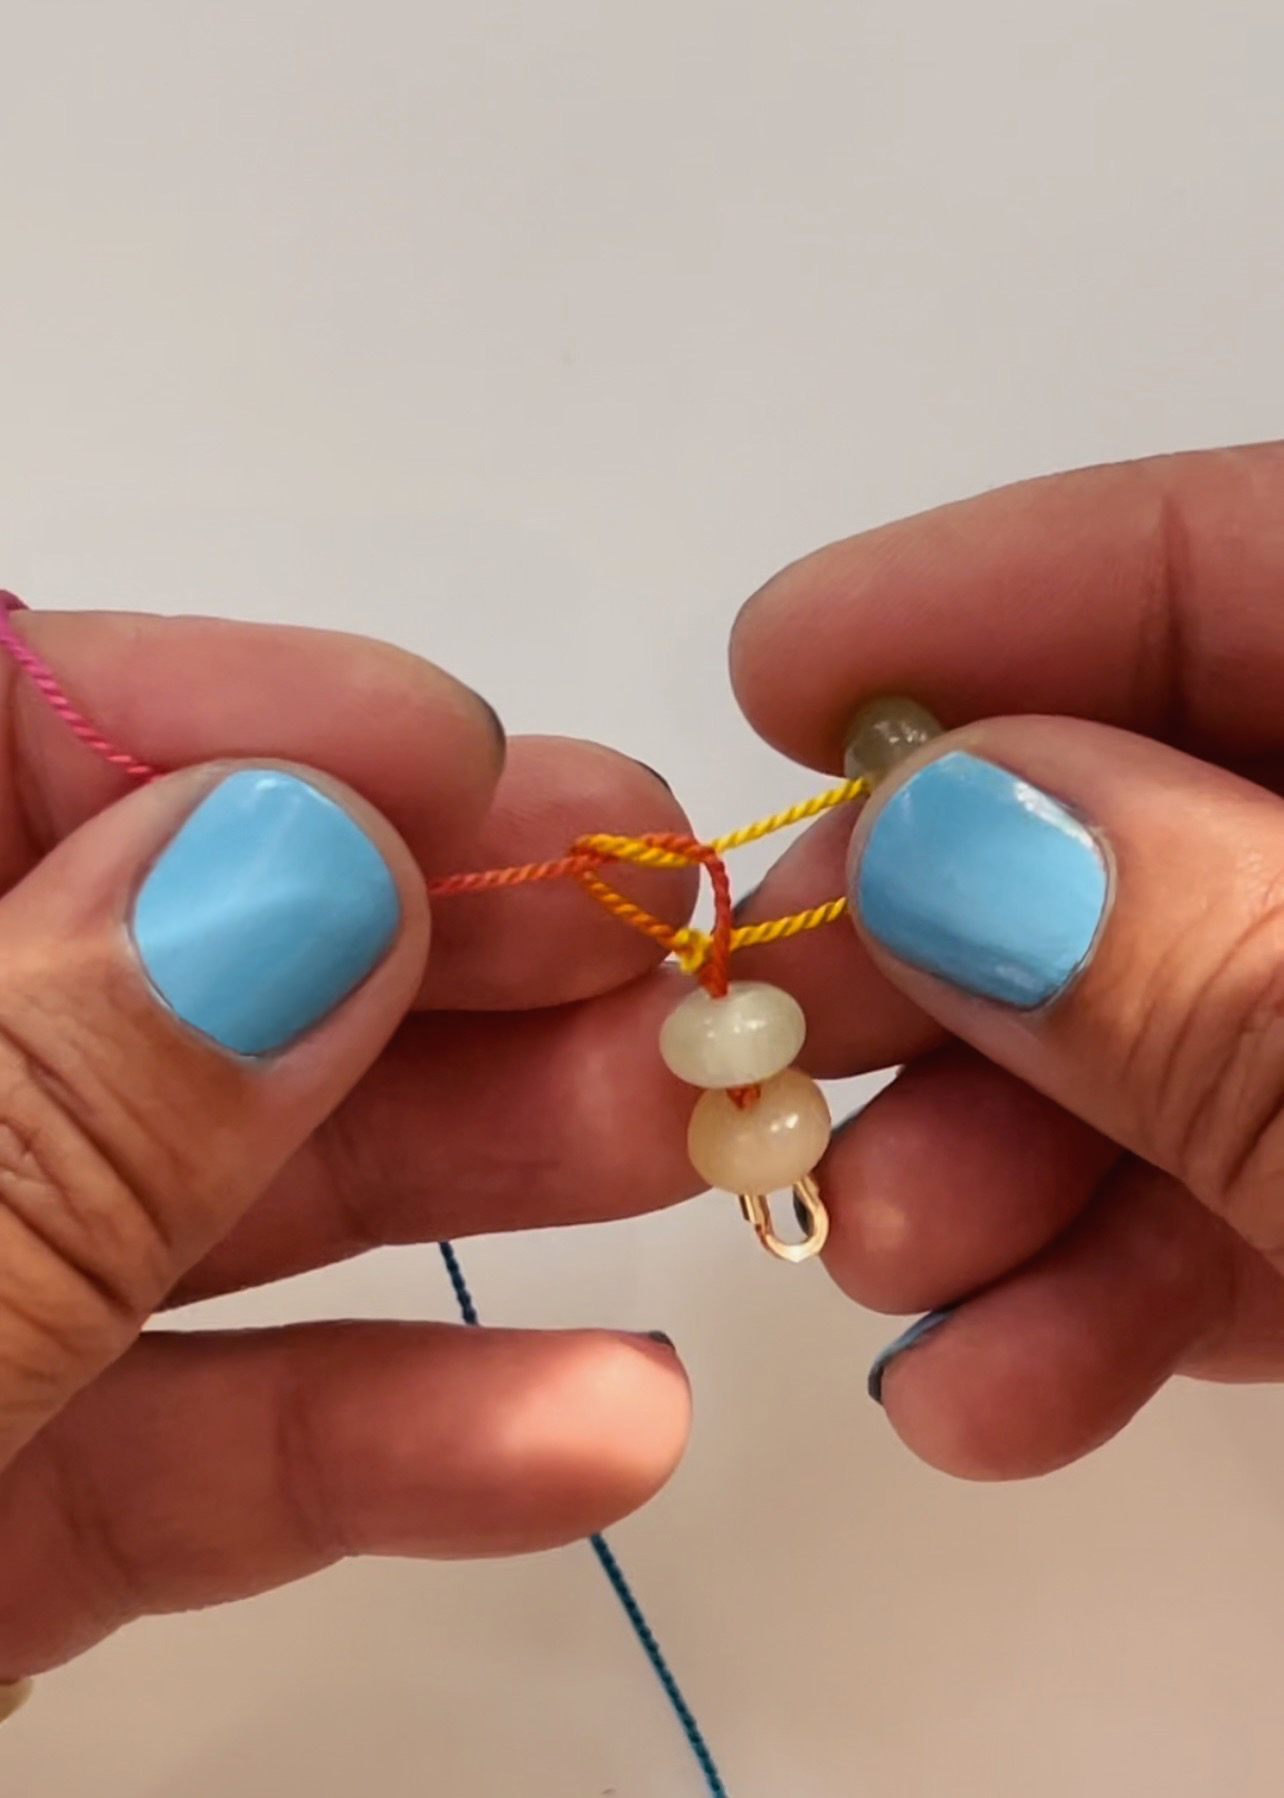
Thread the needle through the 2nd bead and repeat by tying another knot tightly against the second bead.

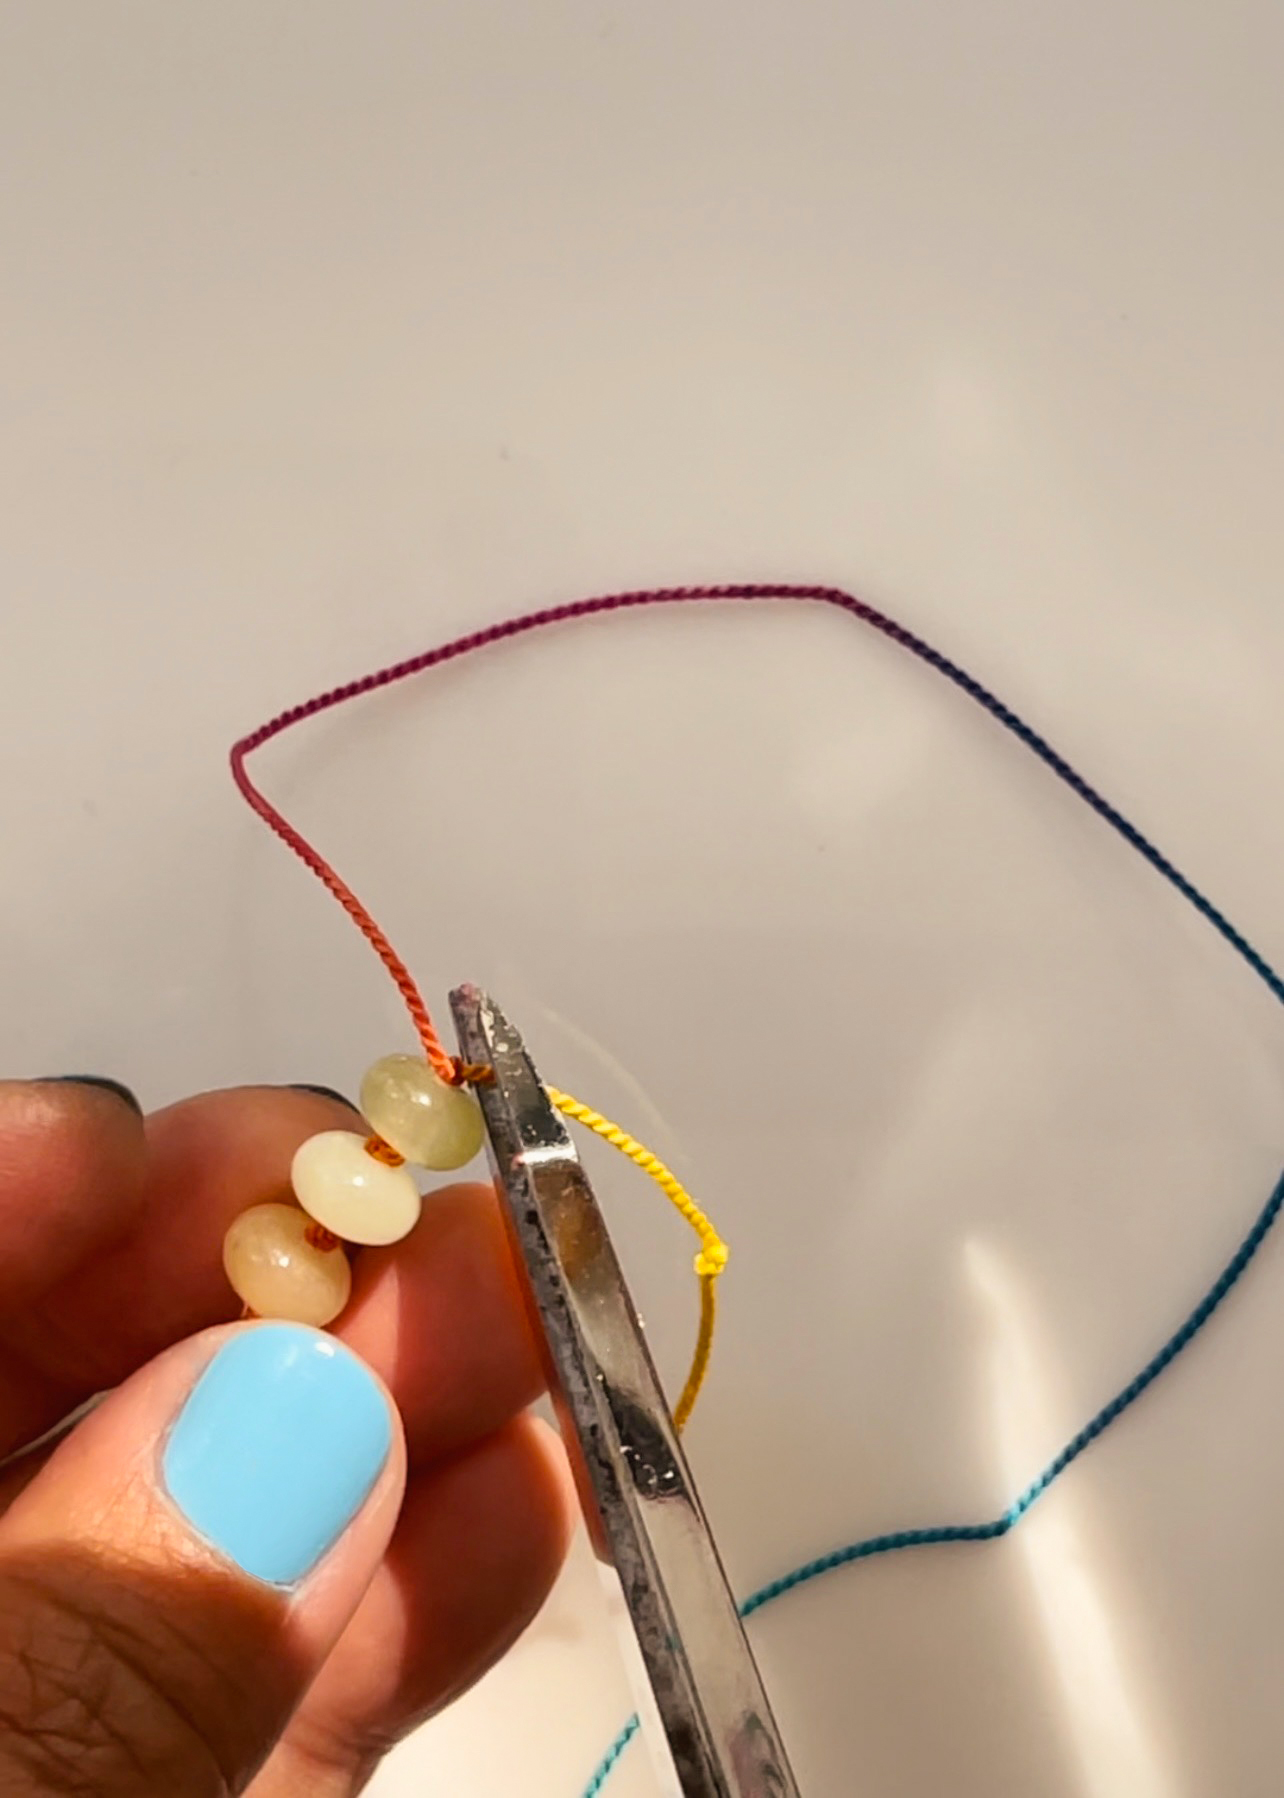
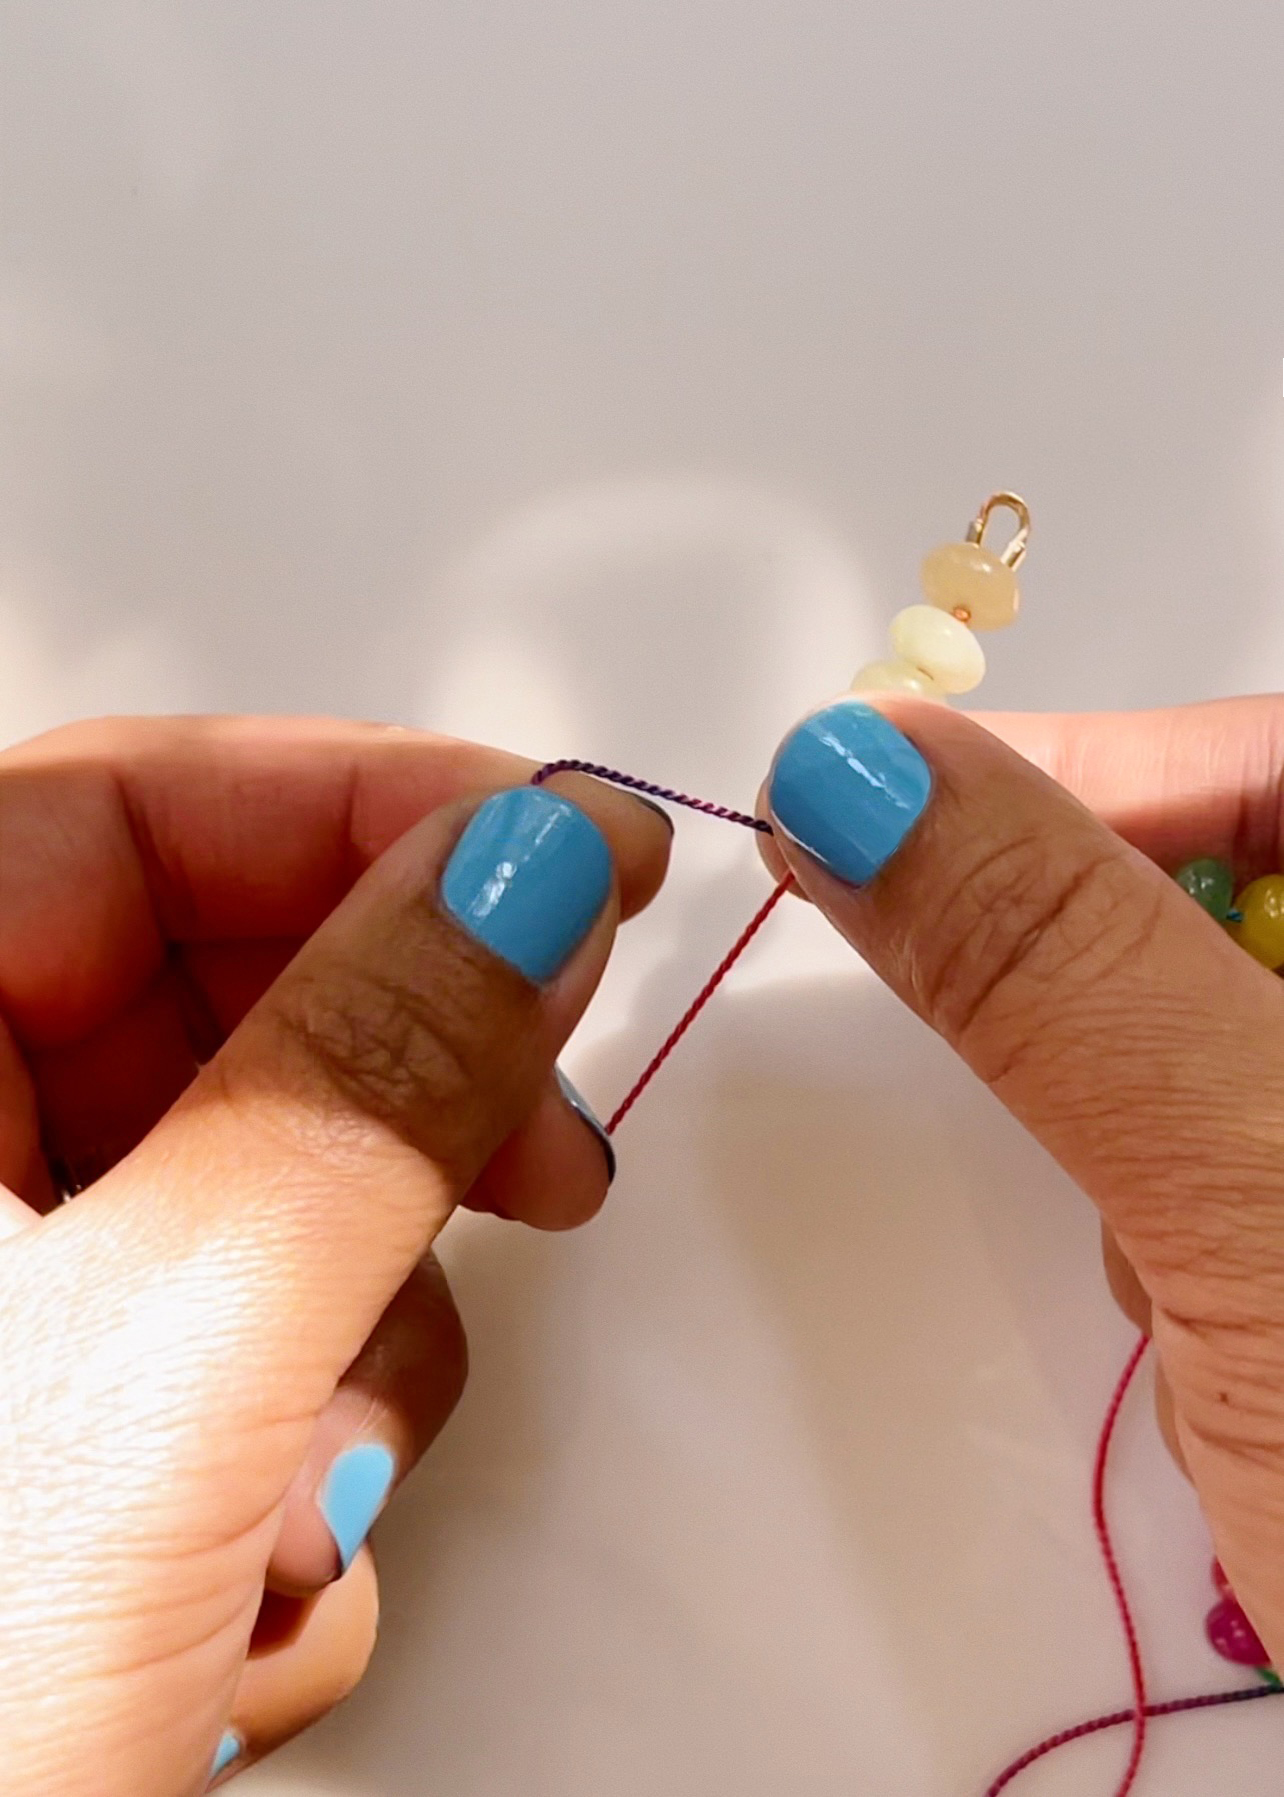
Thread the needle through the 3rd bead, tie a knot and tim the tail end.
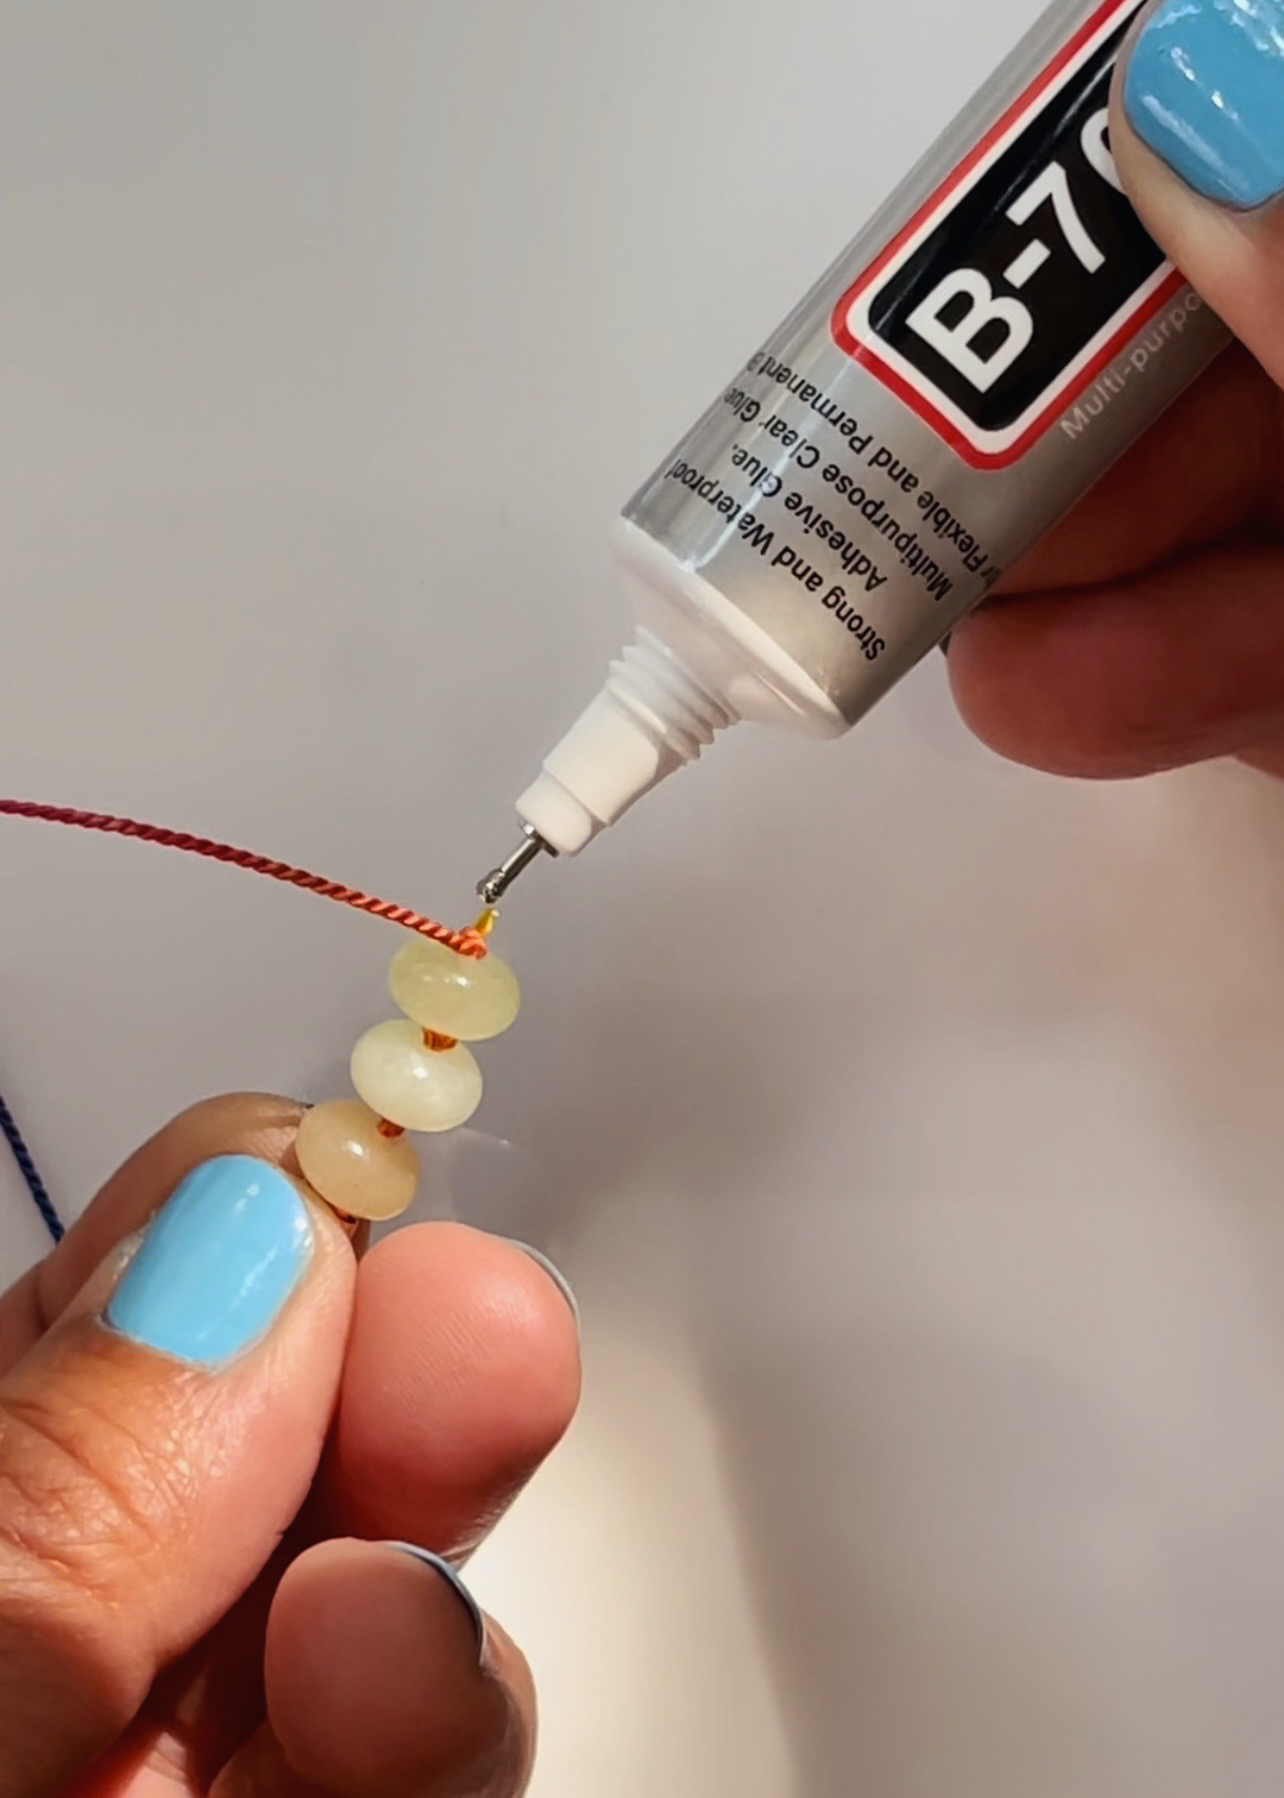
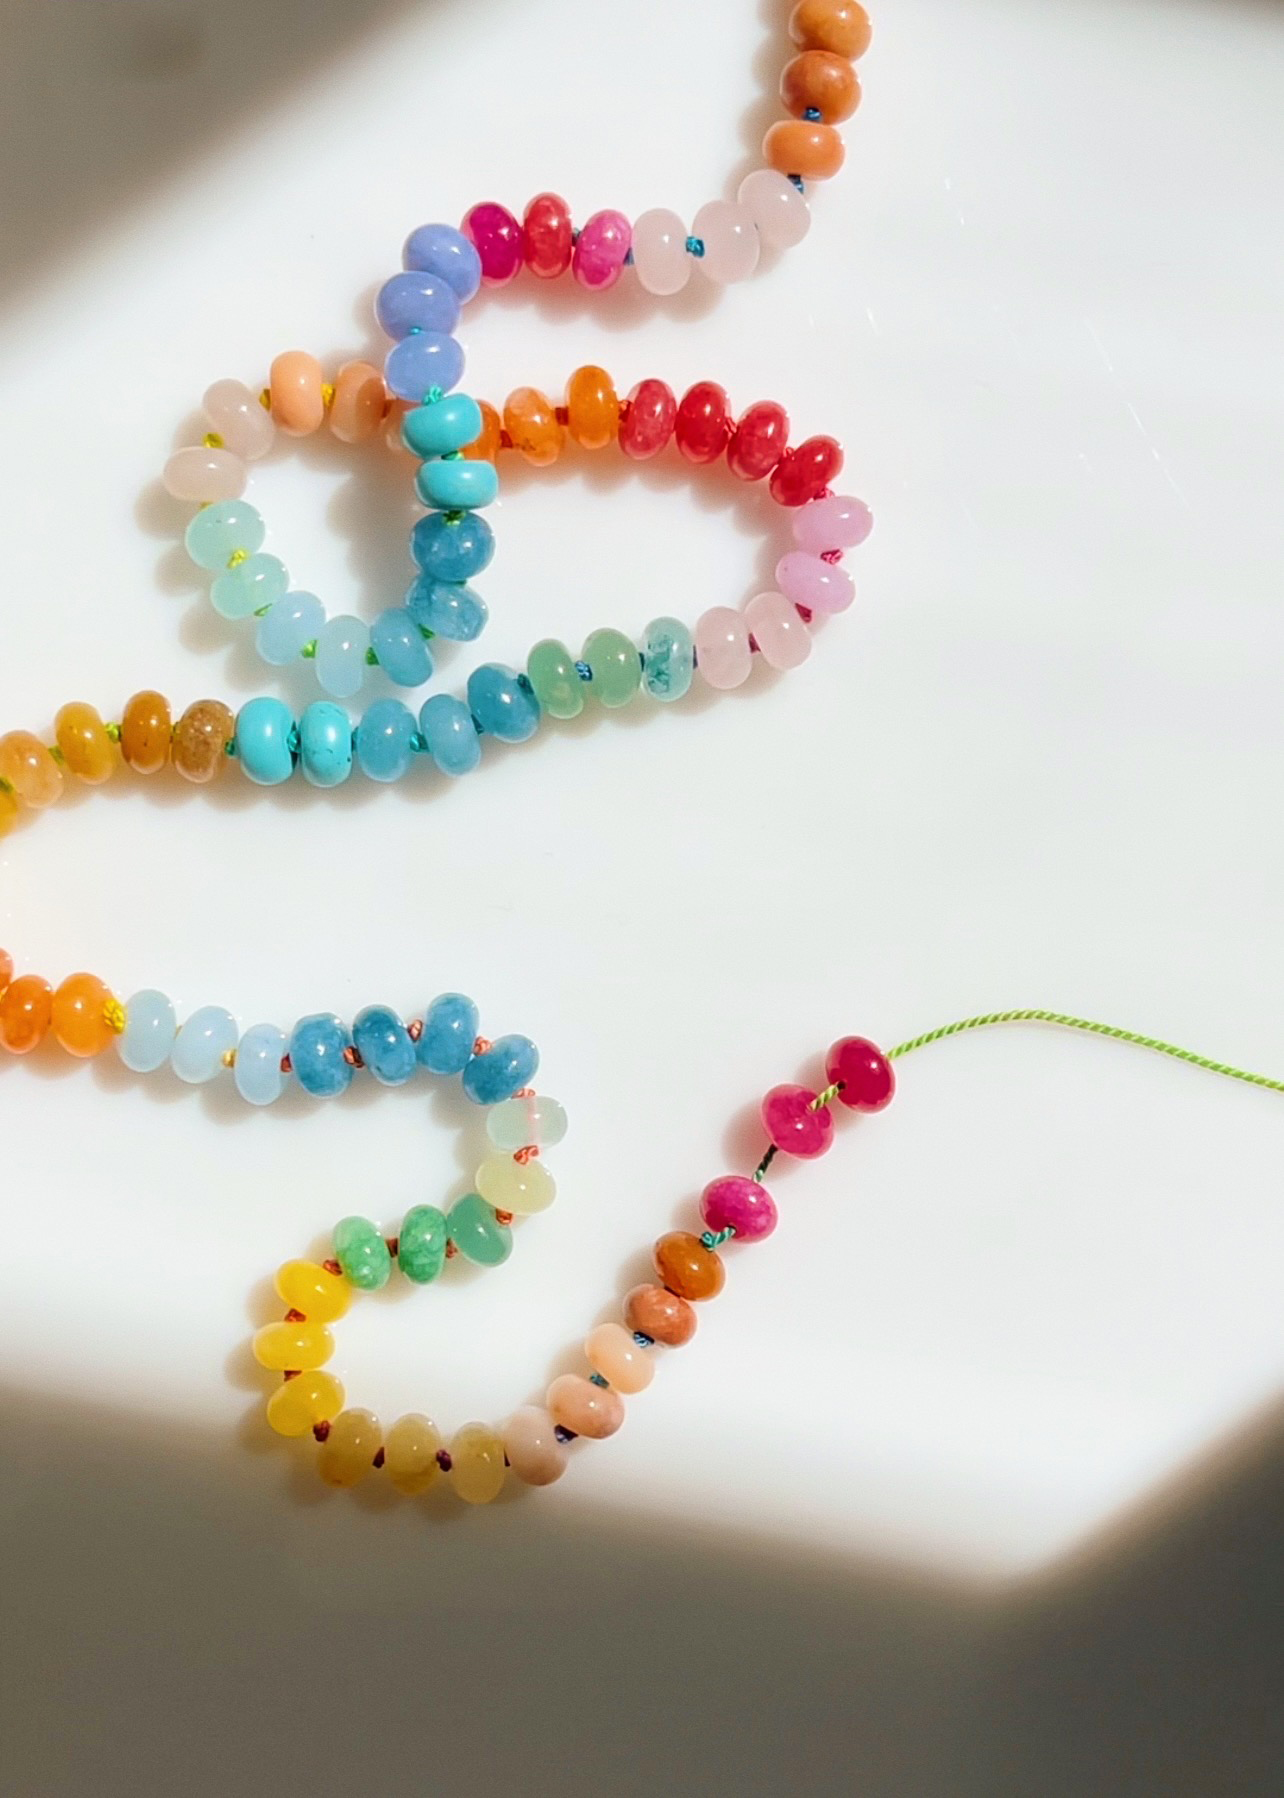
Add a small dab of B-7000 glue to the knot. Thread on 30+ more beads.
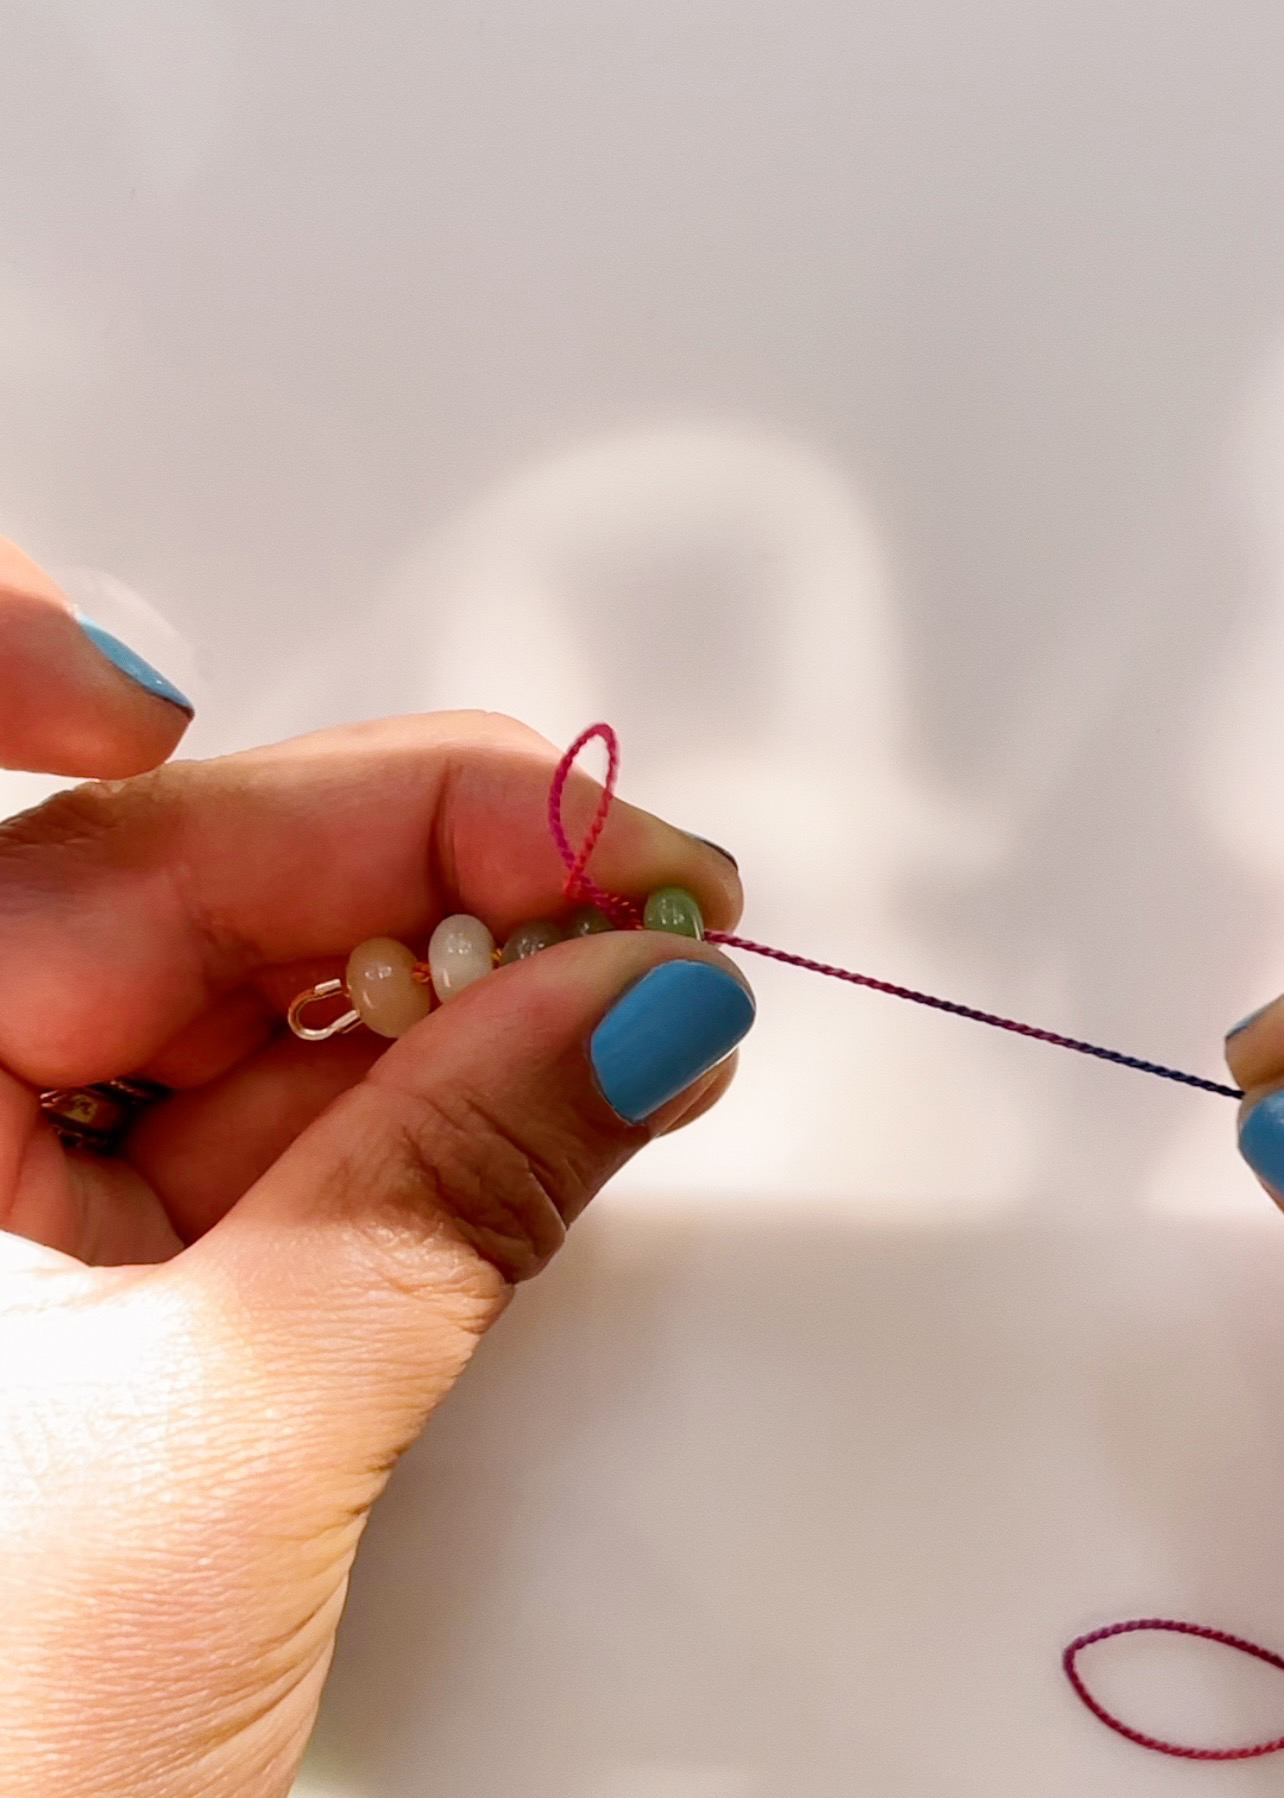
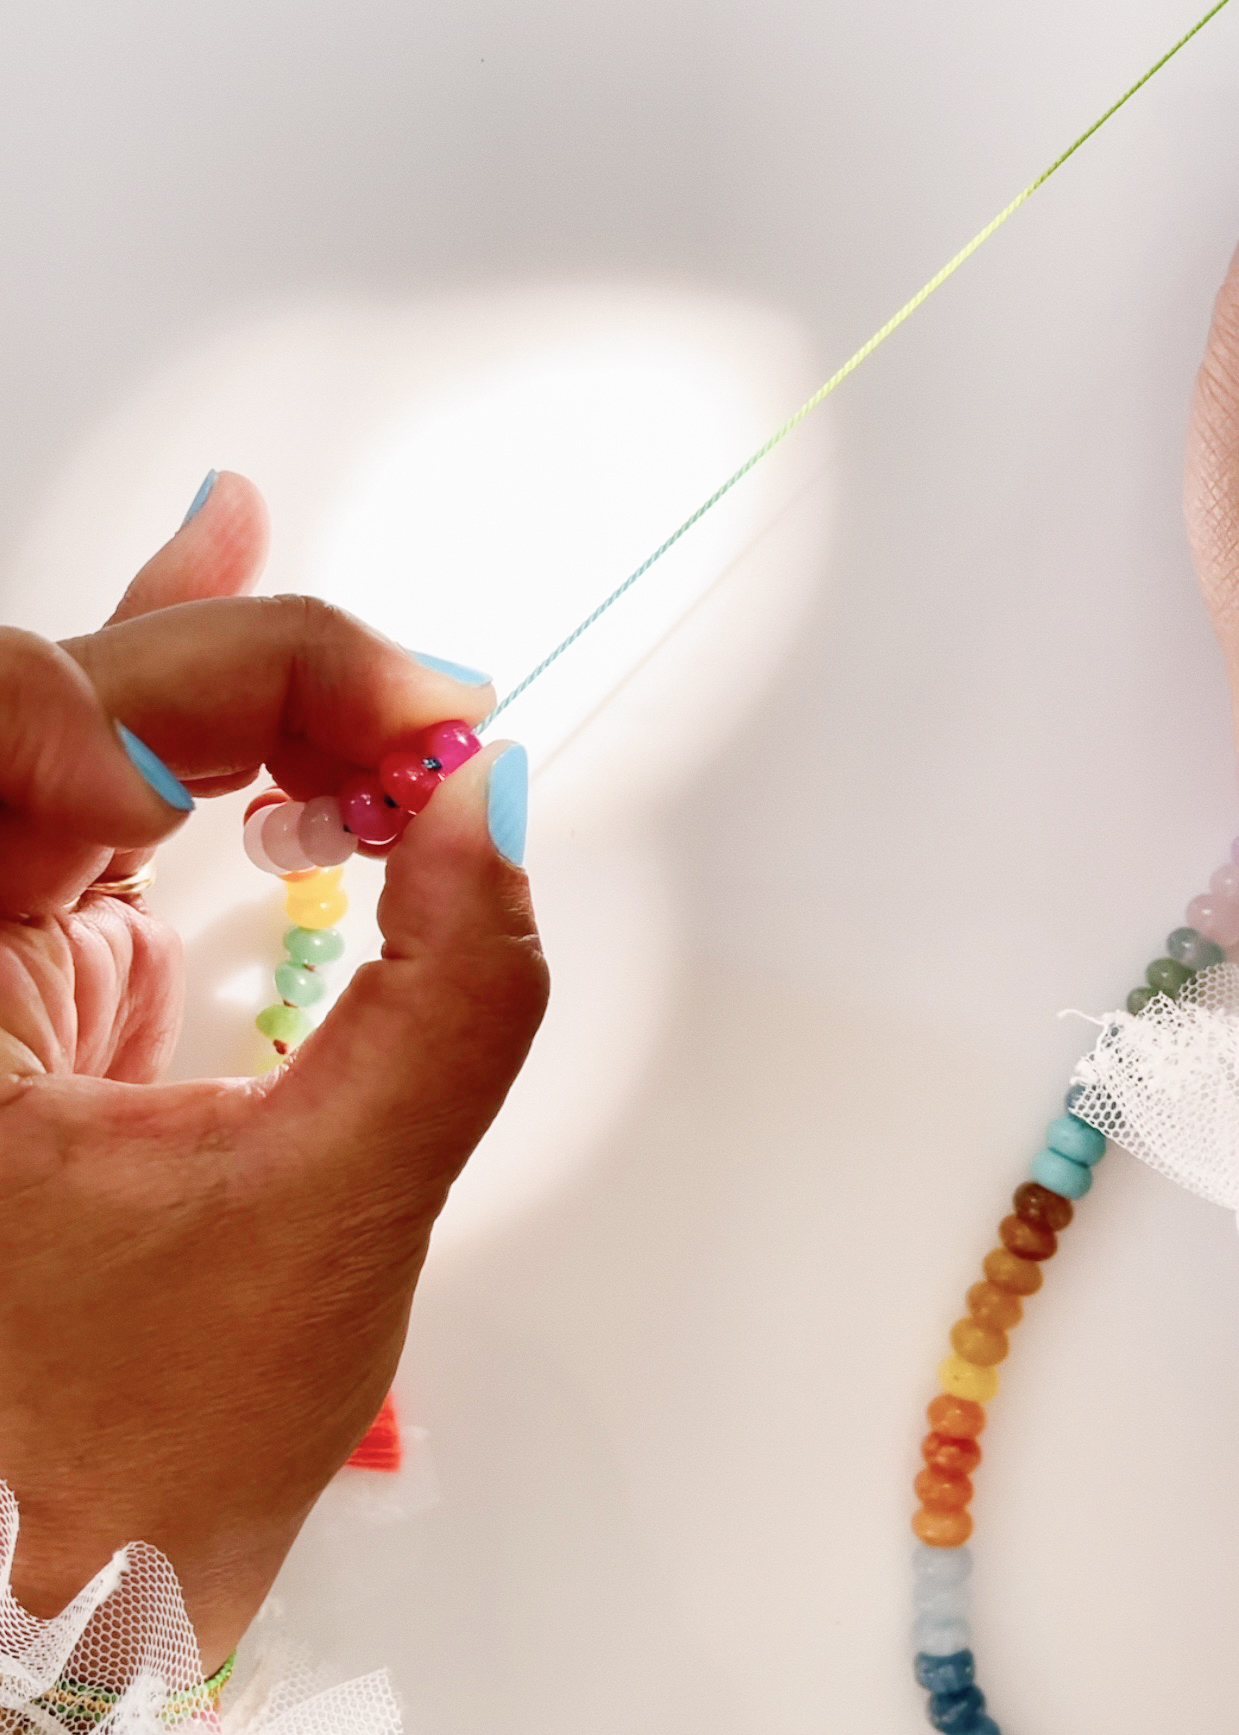
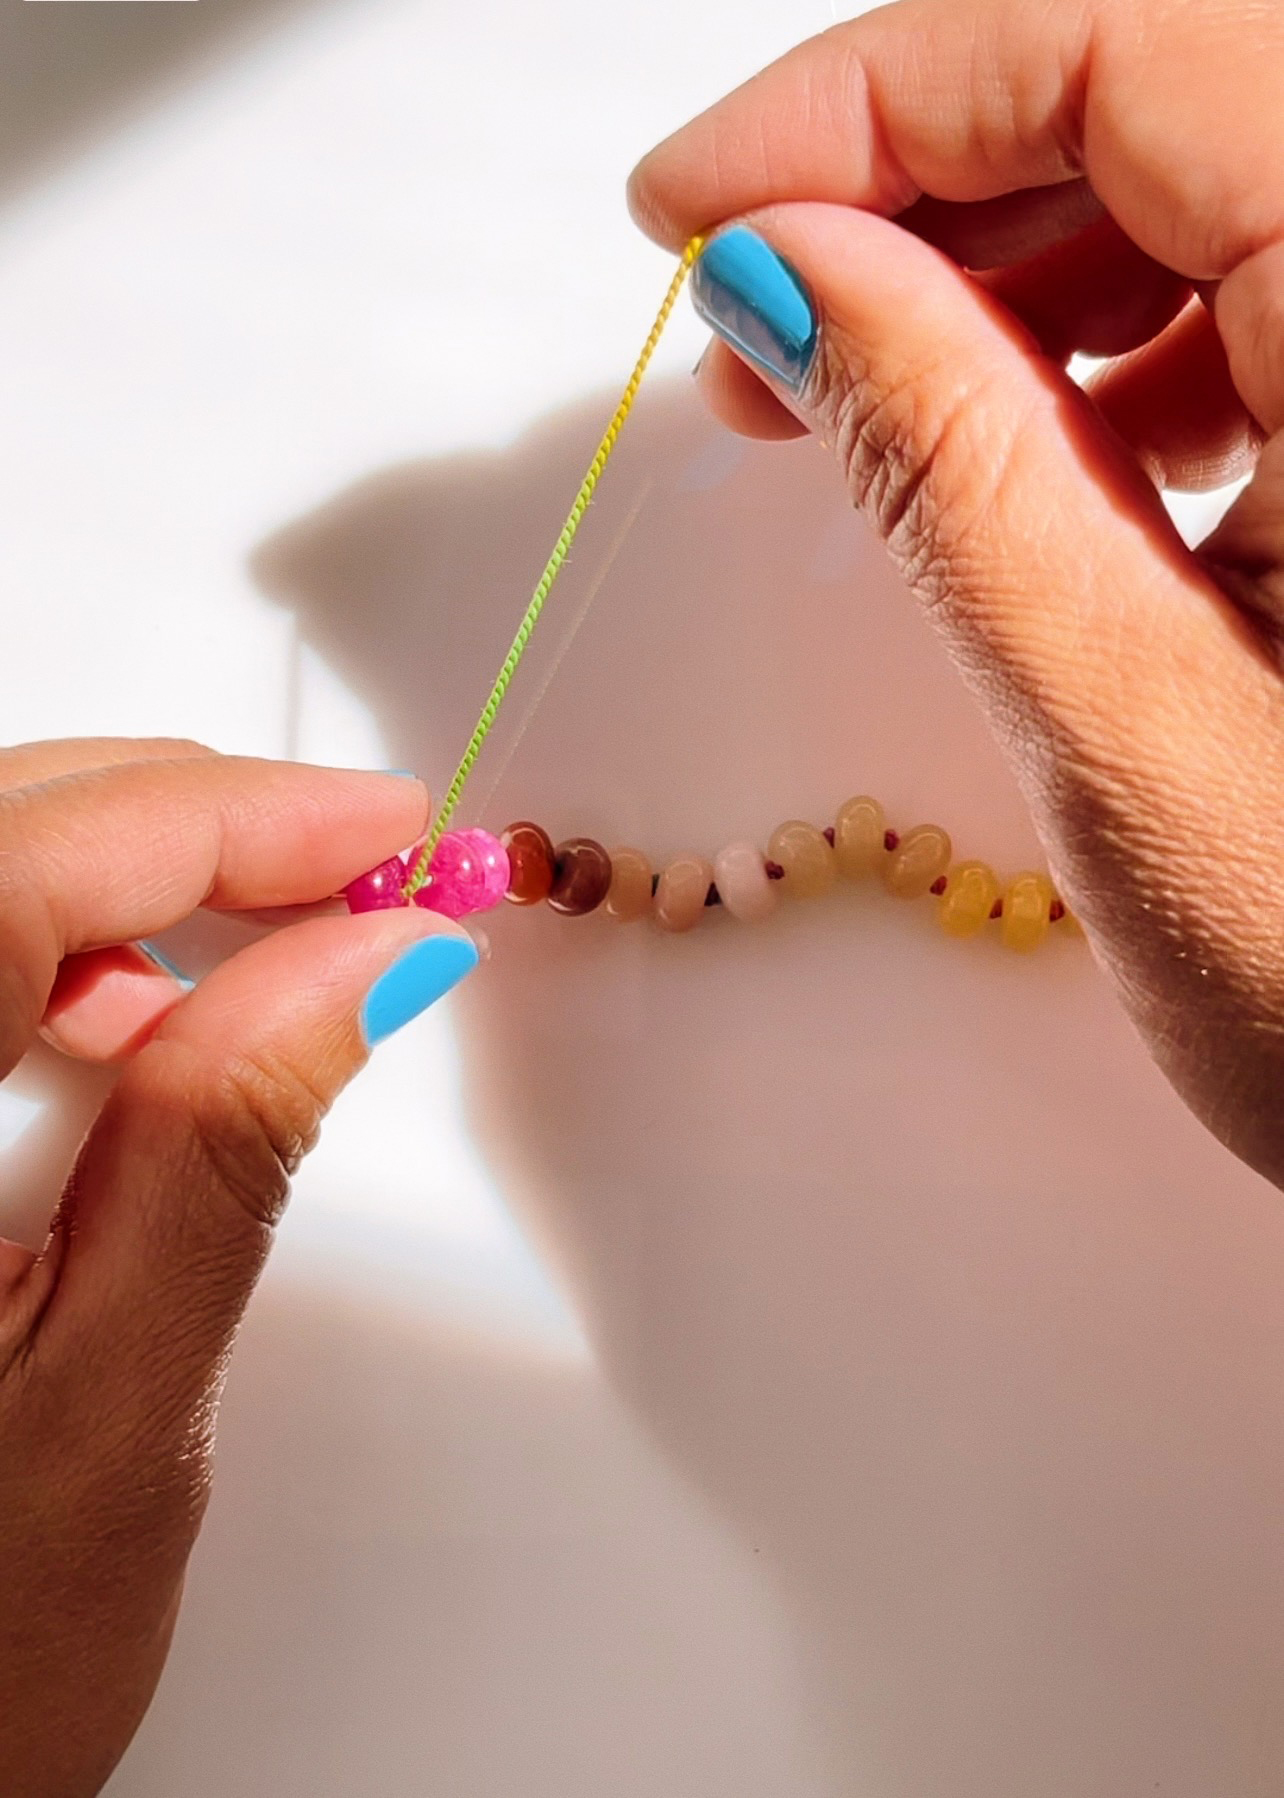
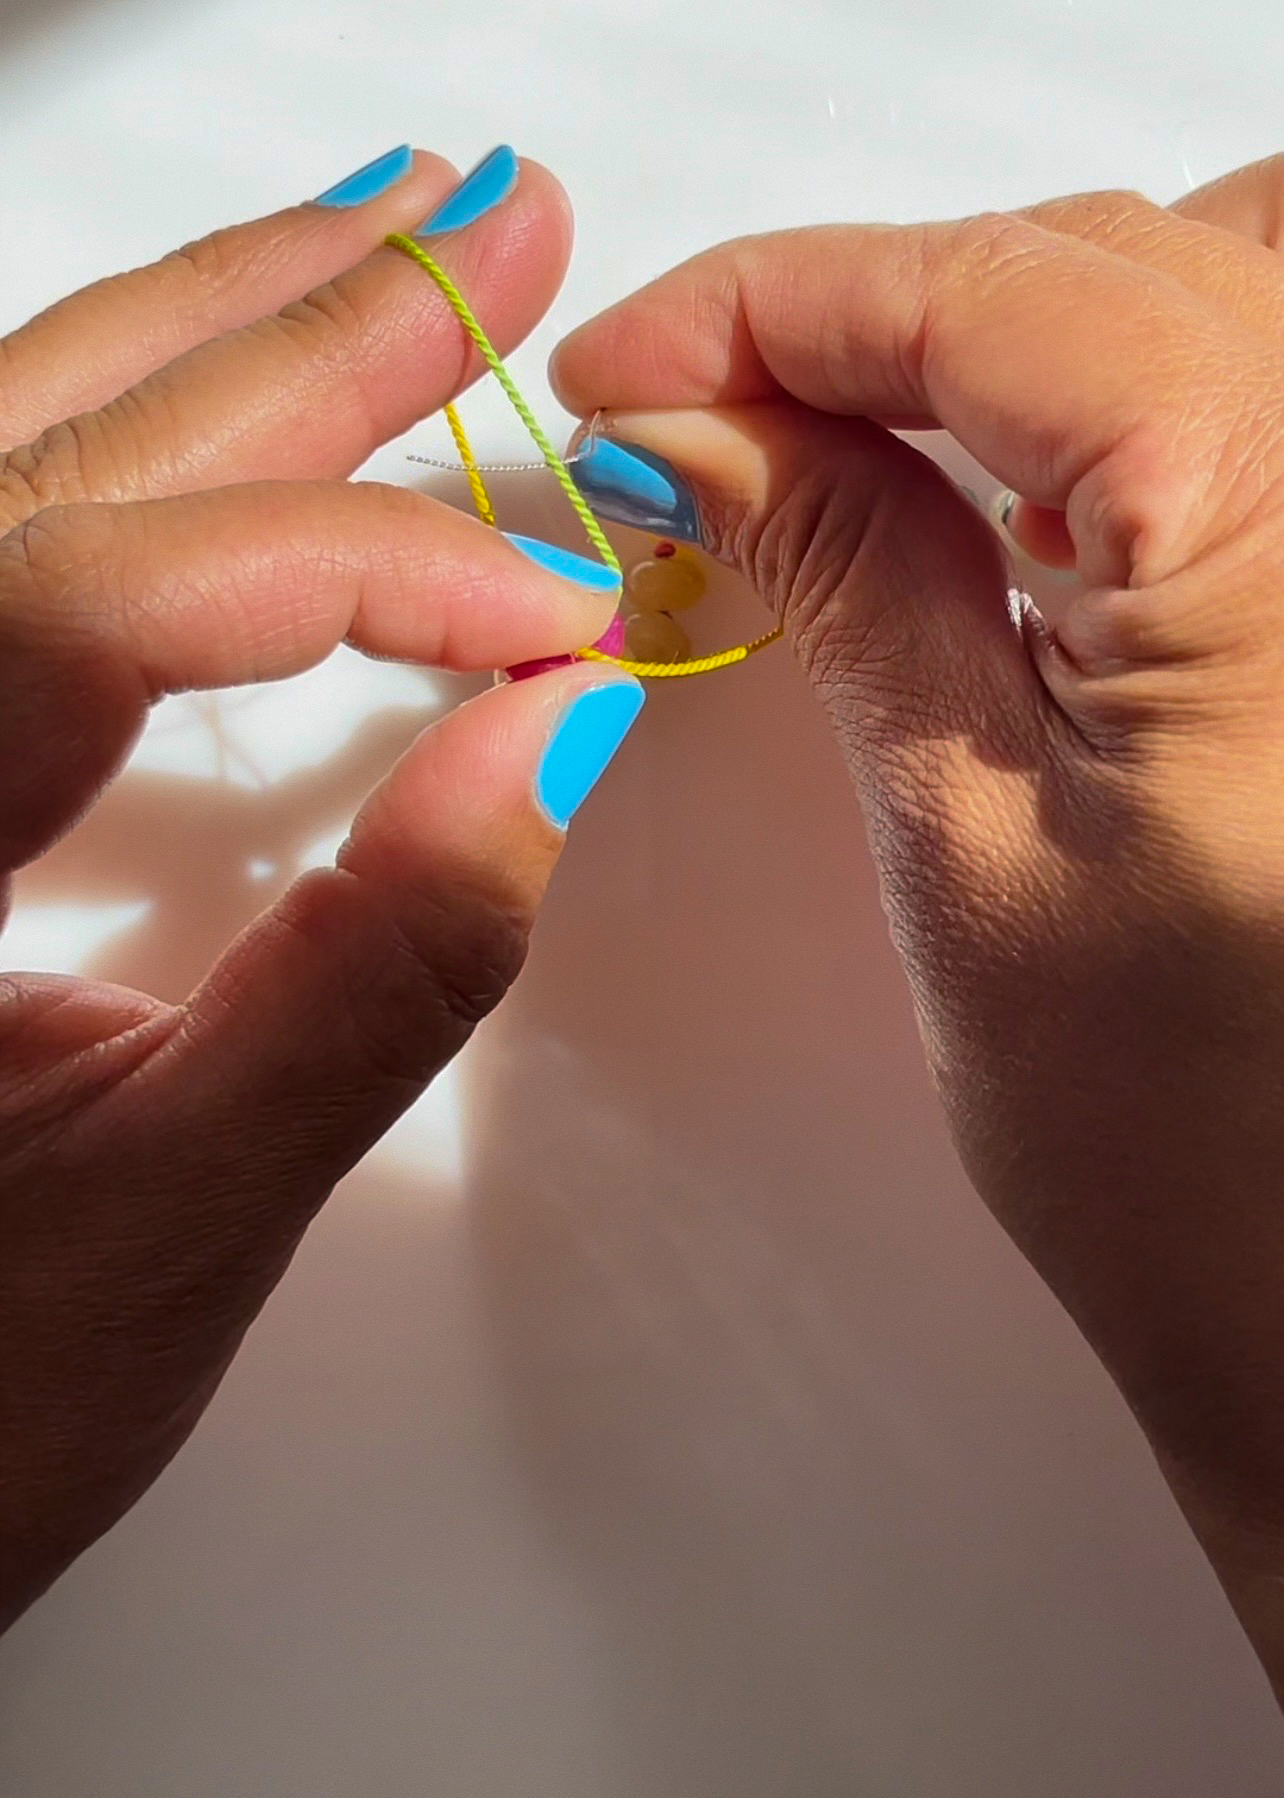
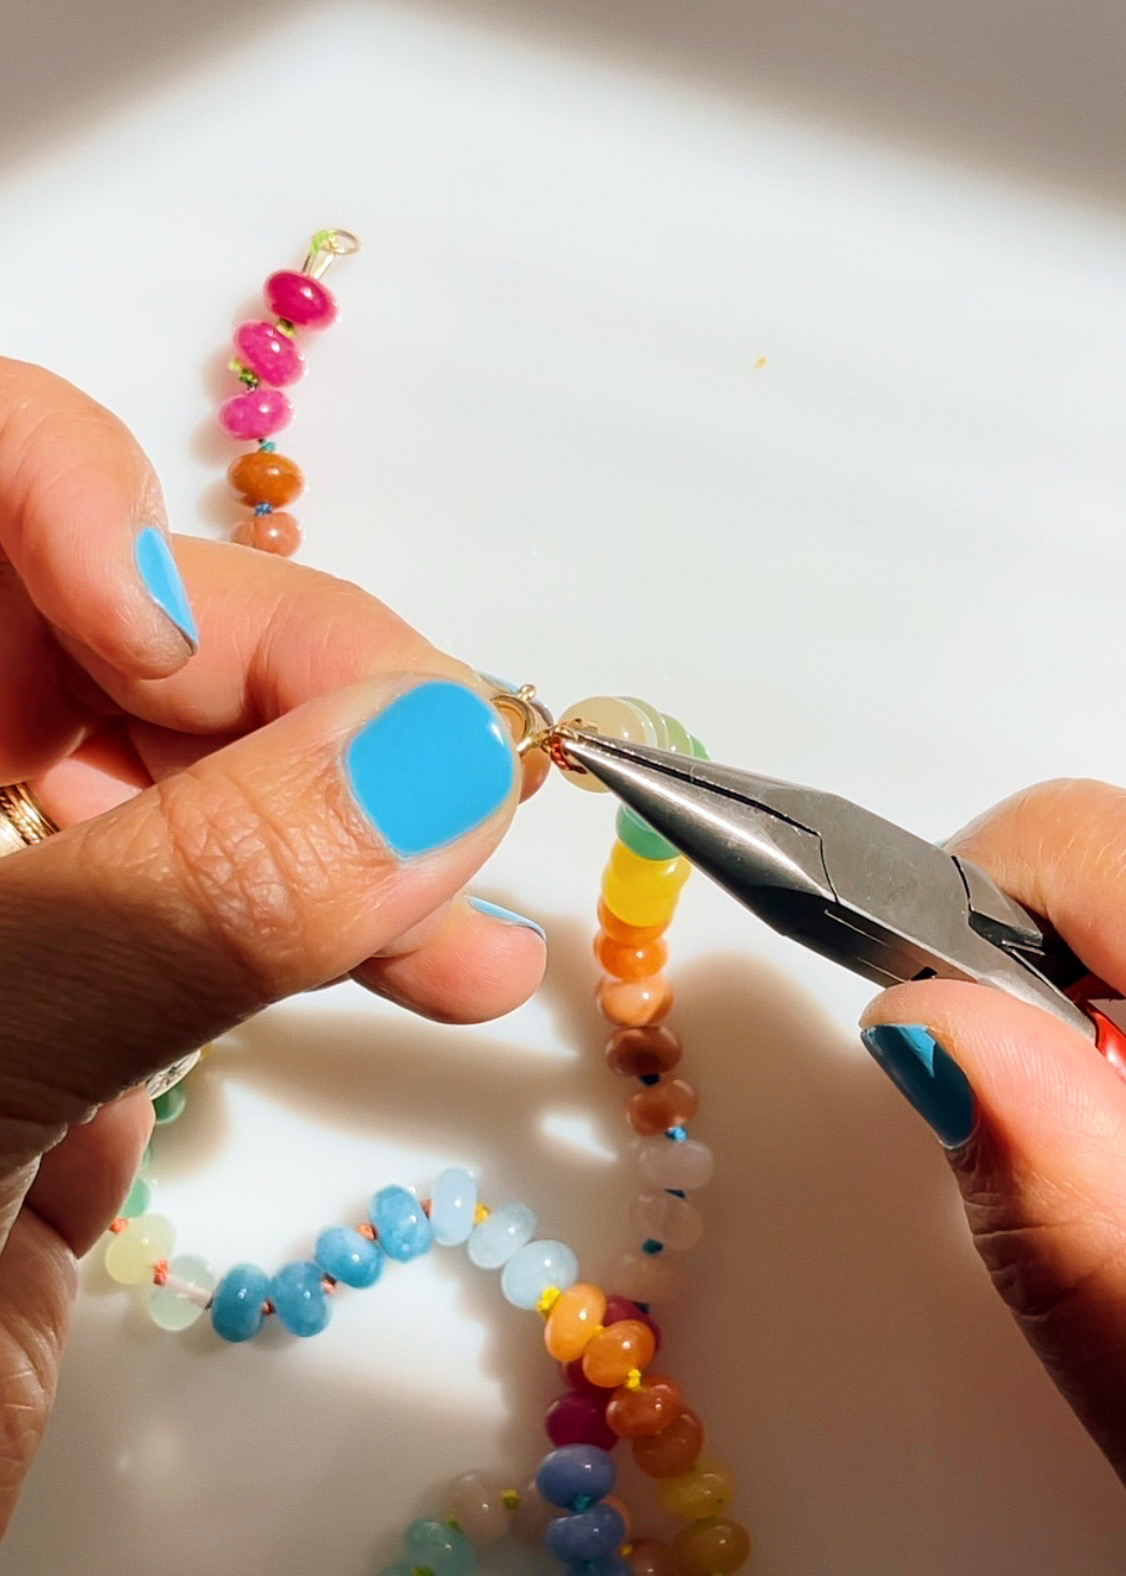
Push the 4th bead onto the 3rd bead. Using the beaded end, start to tie an overhand knot.
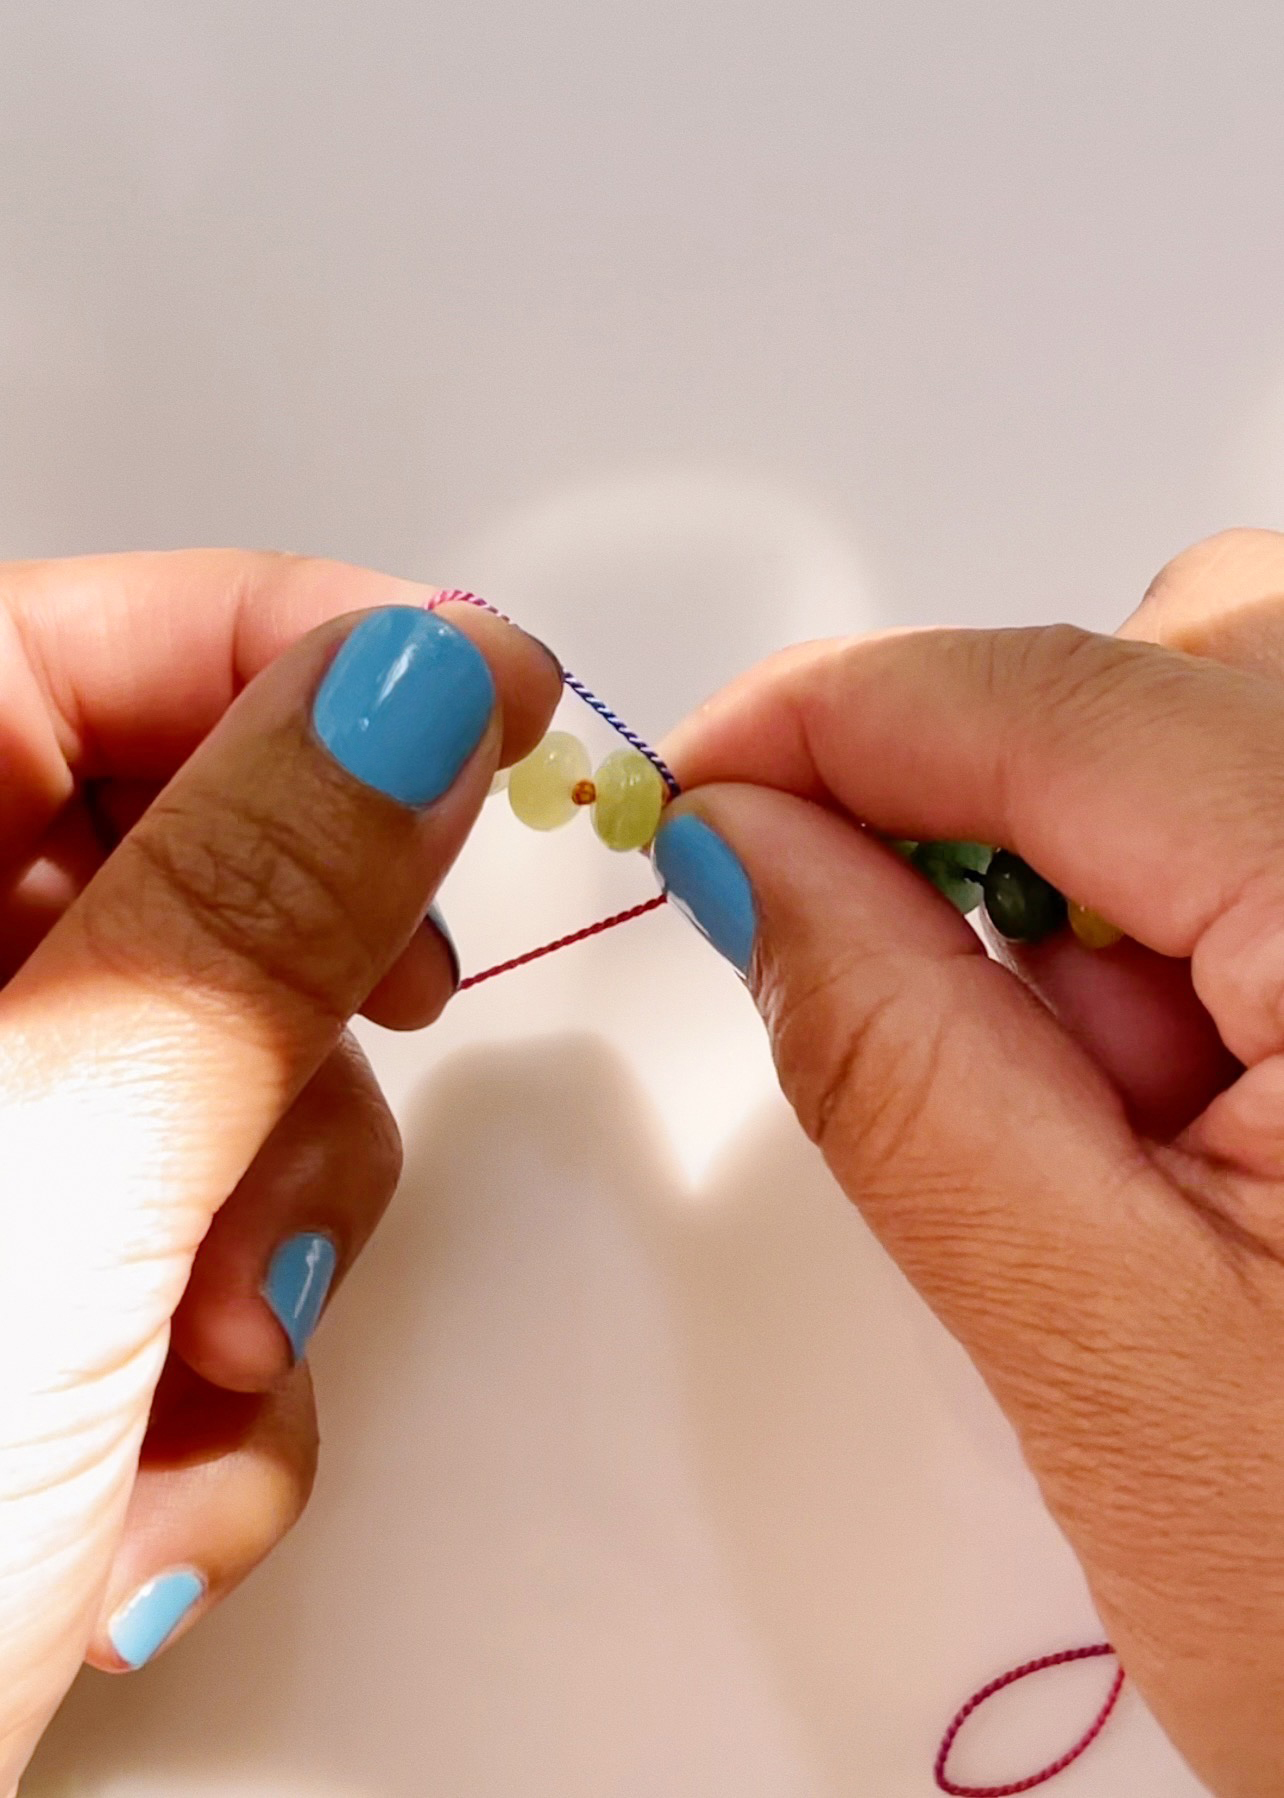
Using your forefinger, hold the loop taut while making sure the knot is pushed against the 4th bead.


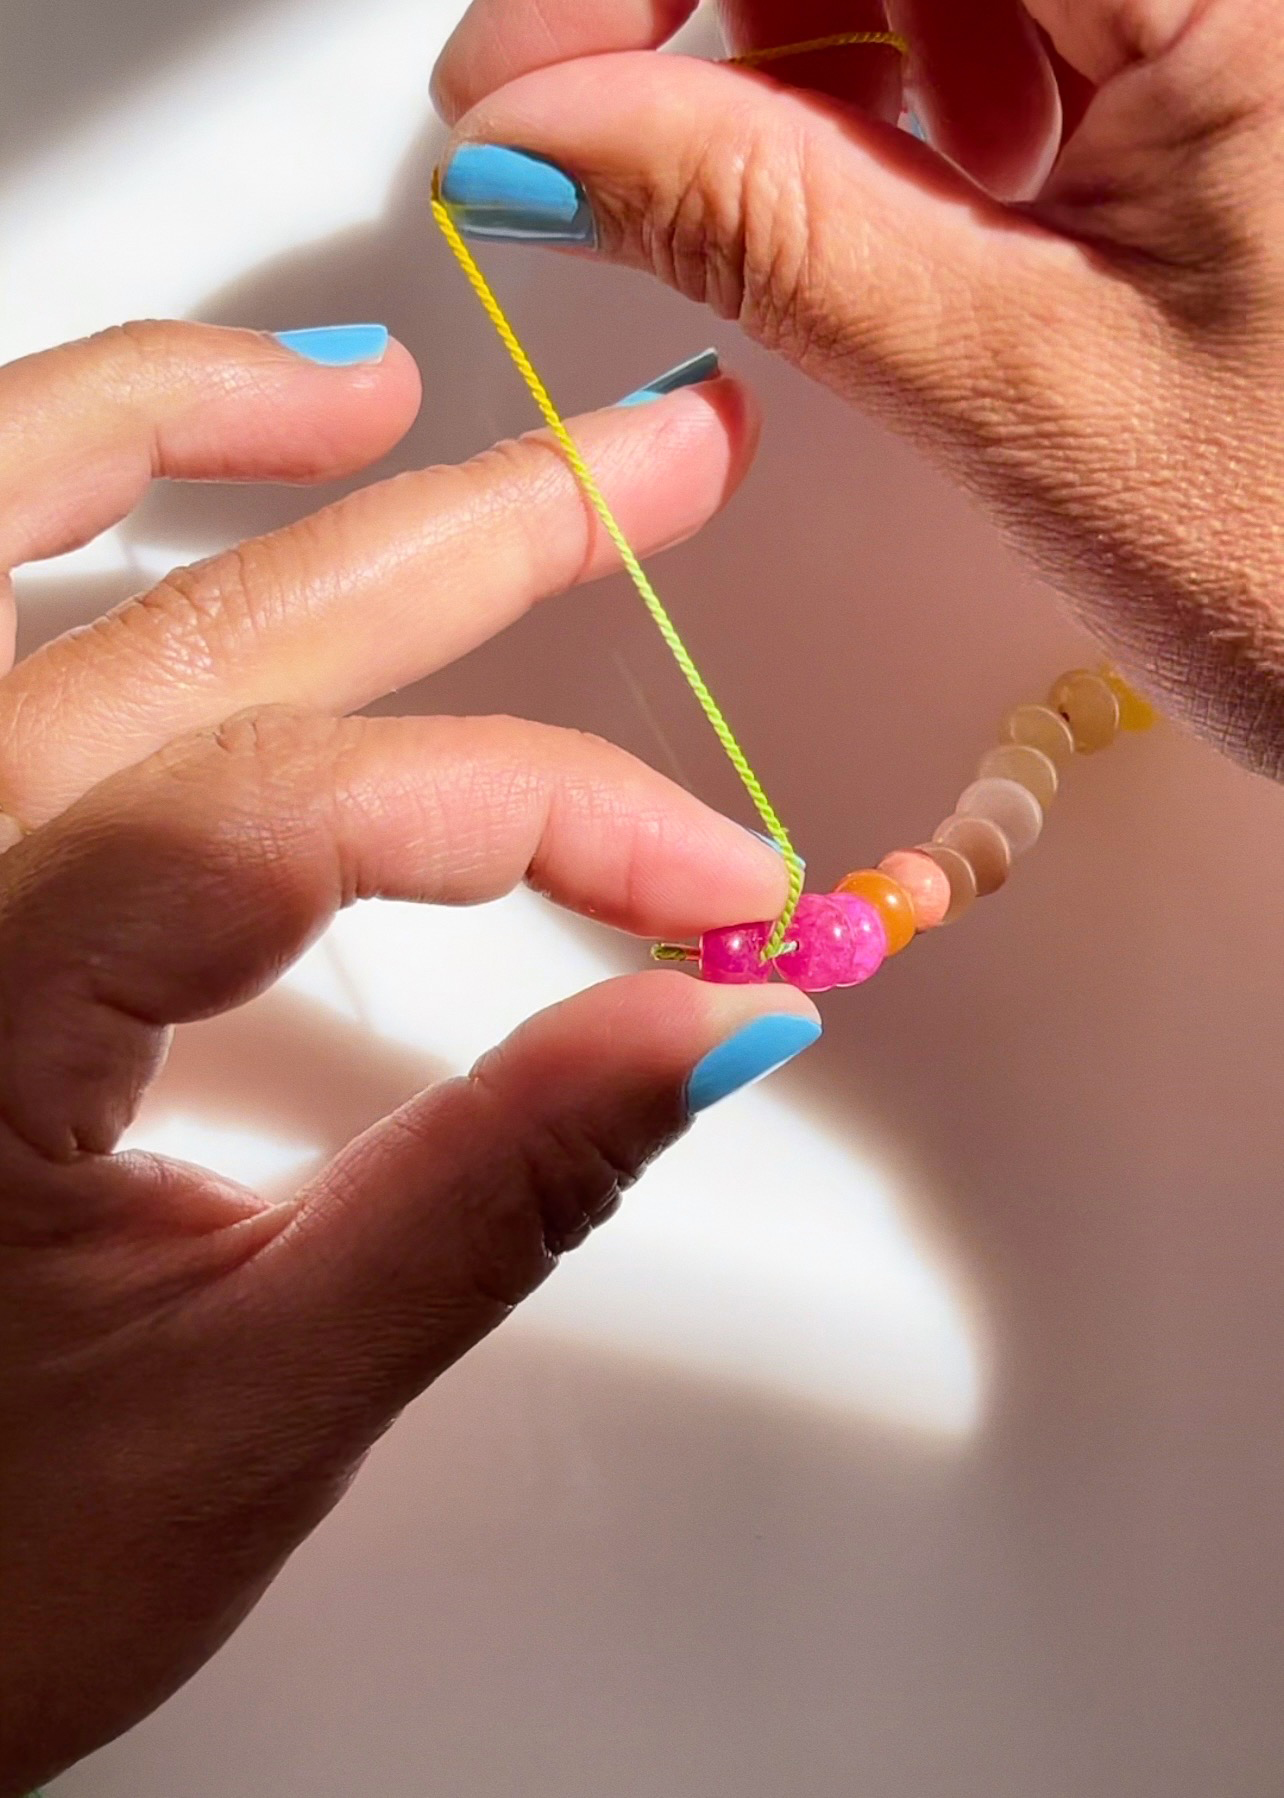
Then, push the 5th bead against the 4th while your forefinger is still holding the loop taut. Release your forefinger from the loop and then use that same finger and thumb to sandwich the two beads together.
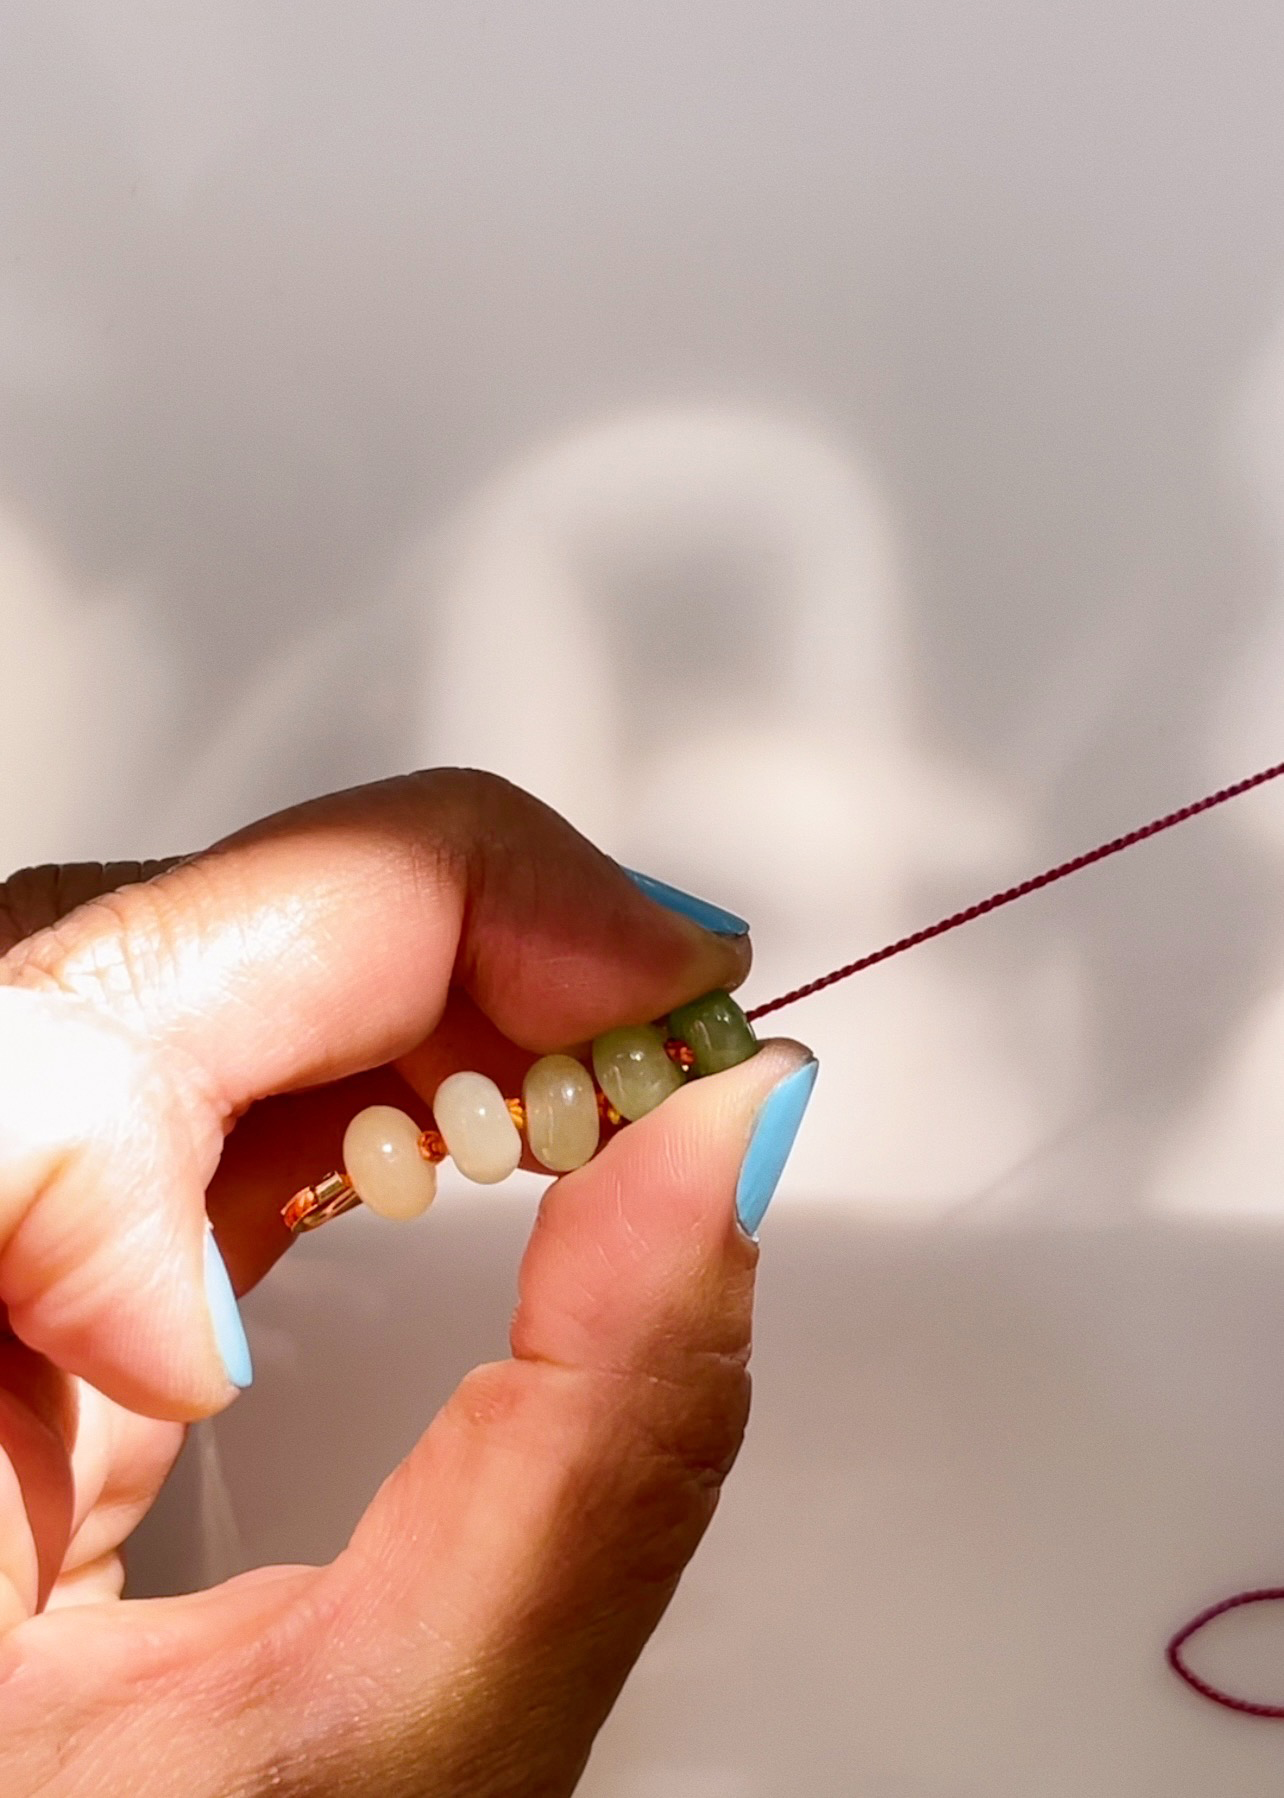
Pull the cord, keeping the two beads sandwiched together and pinching the knot. Pull tight to secure the knot.
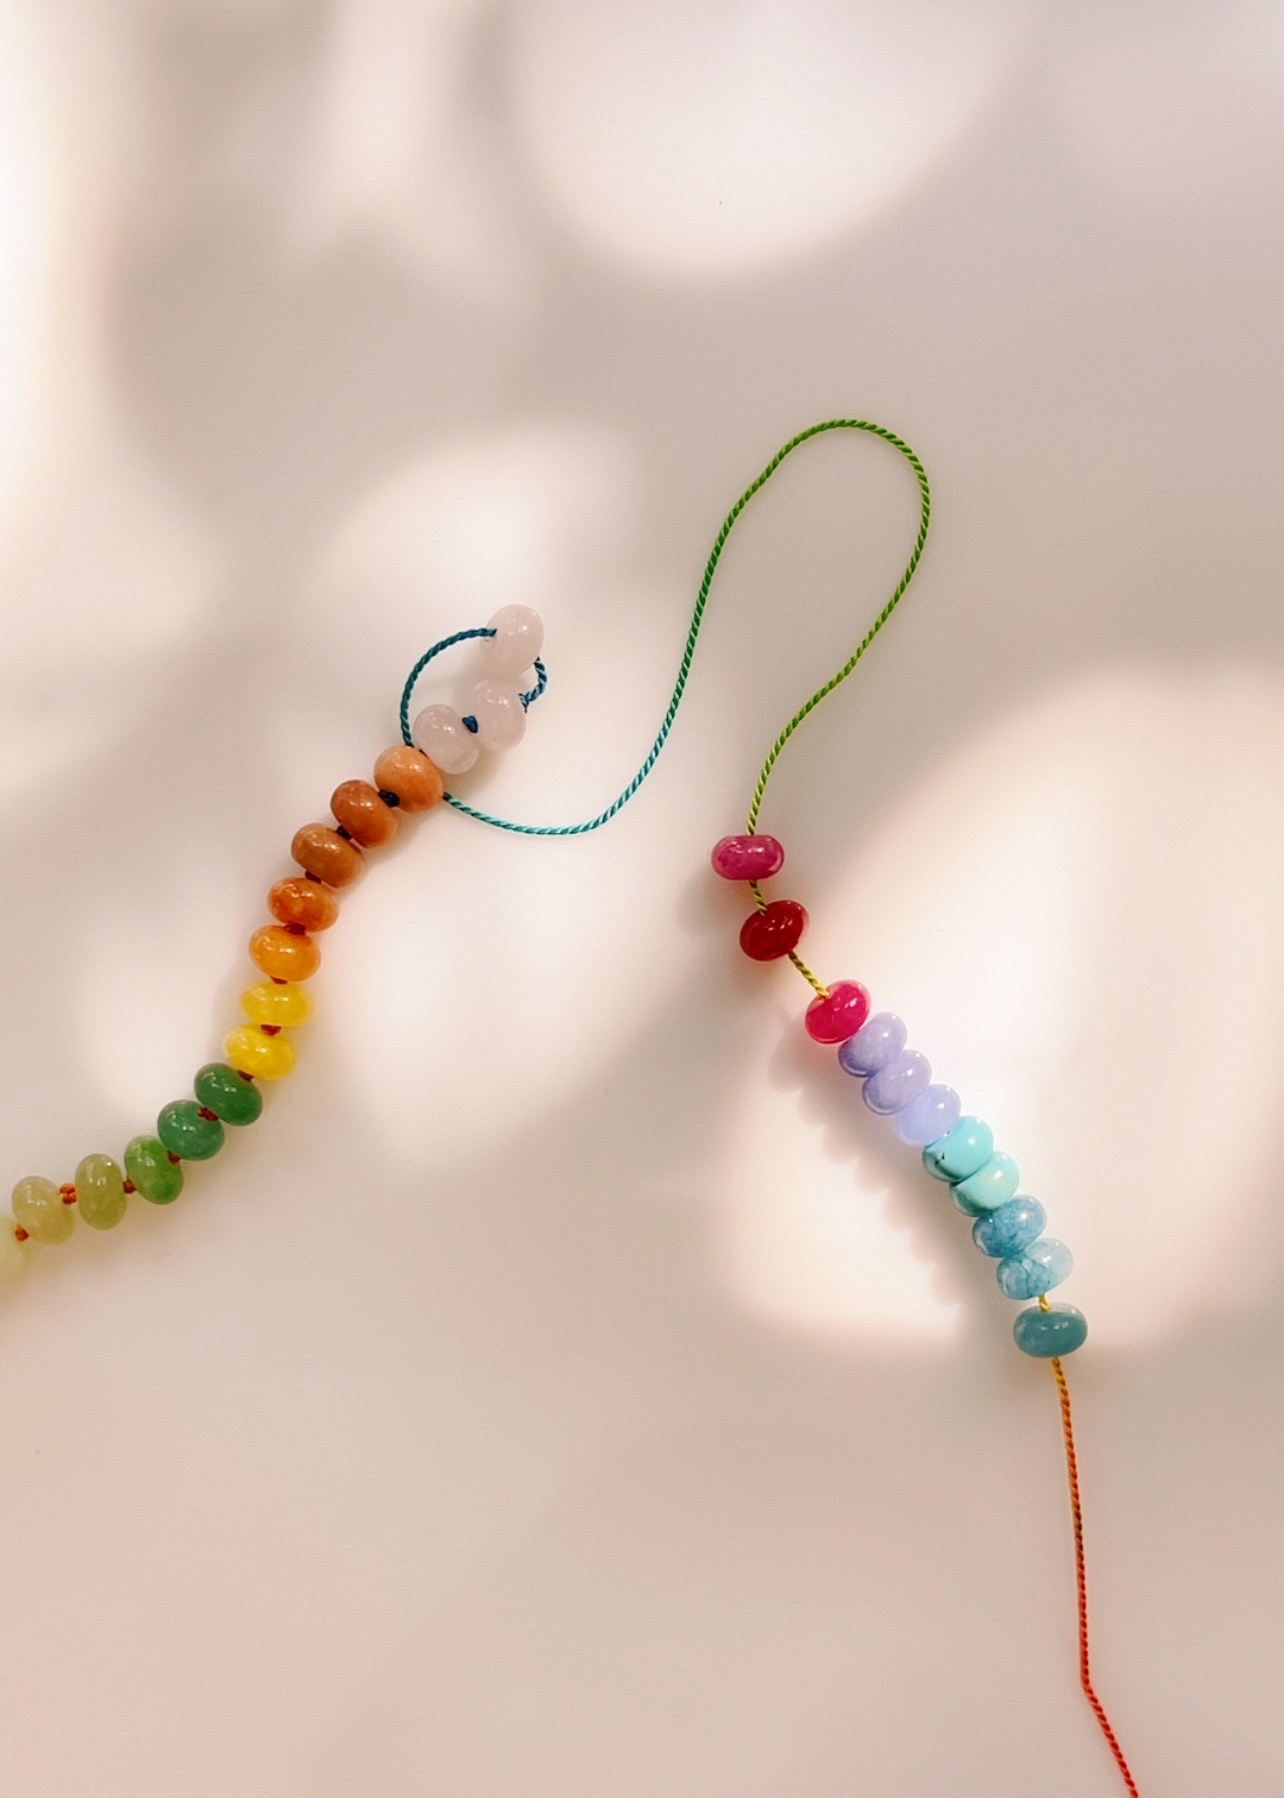
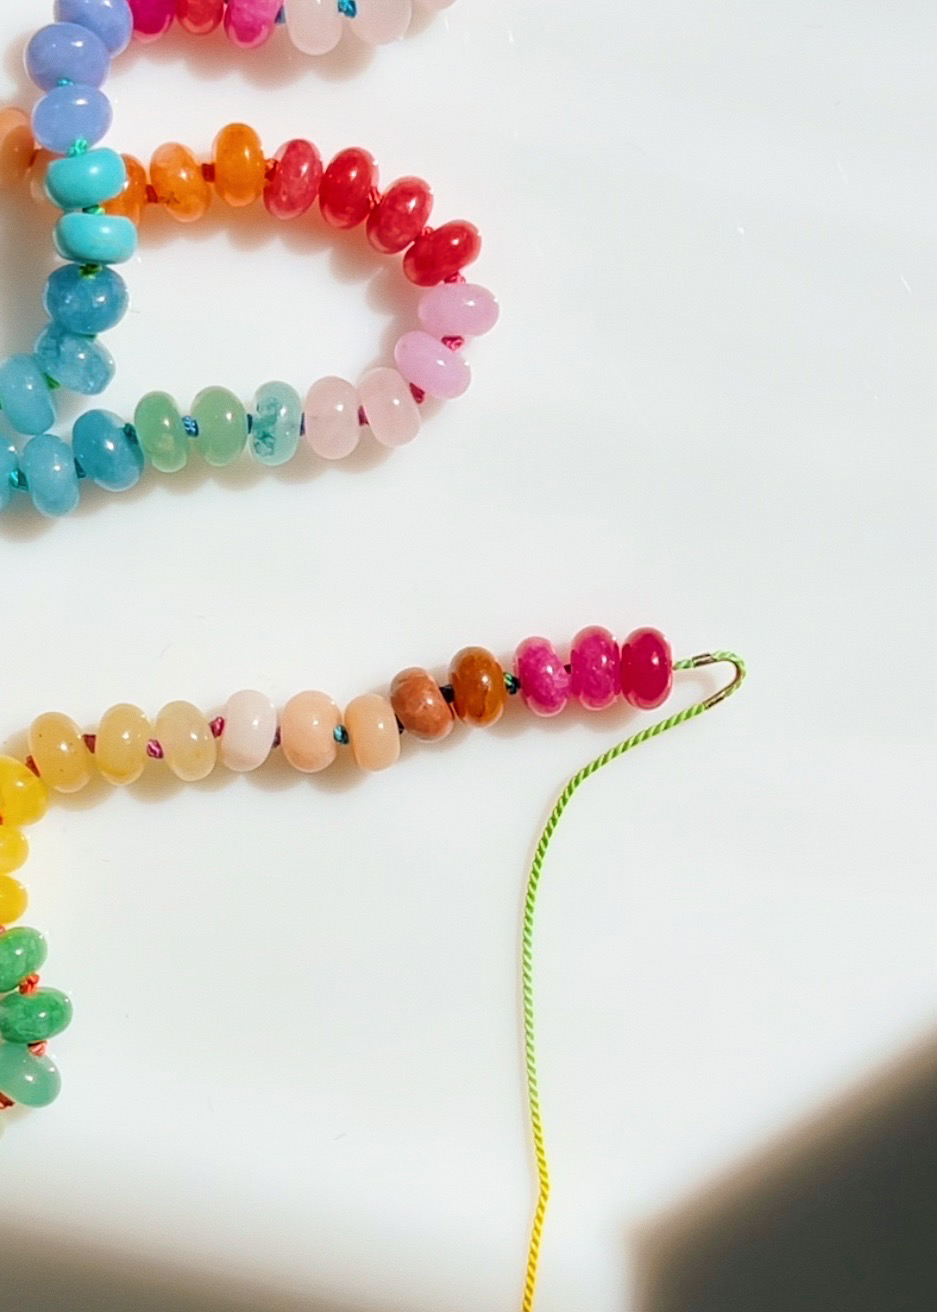
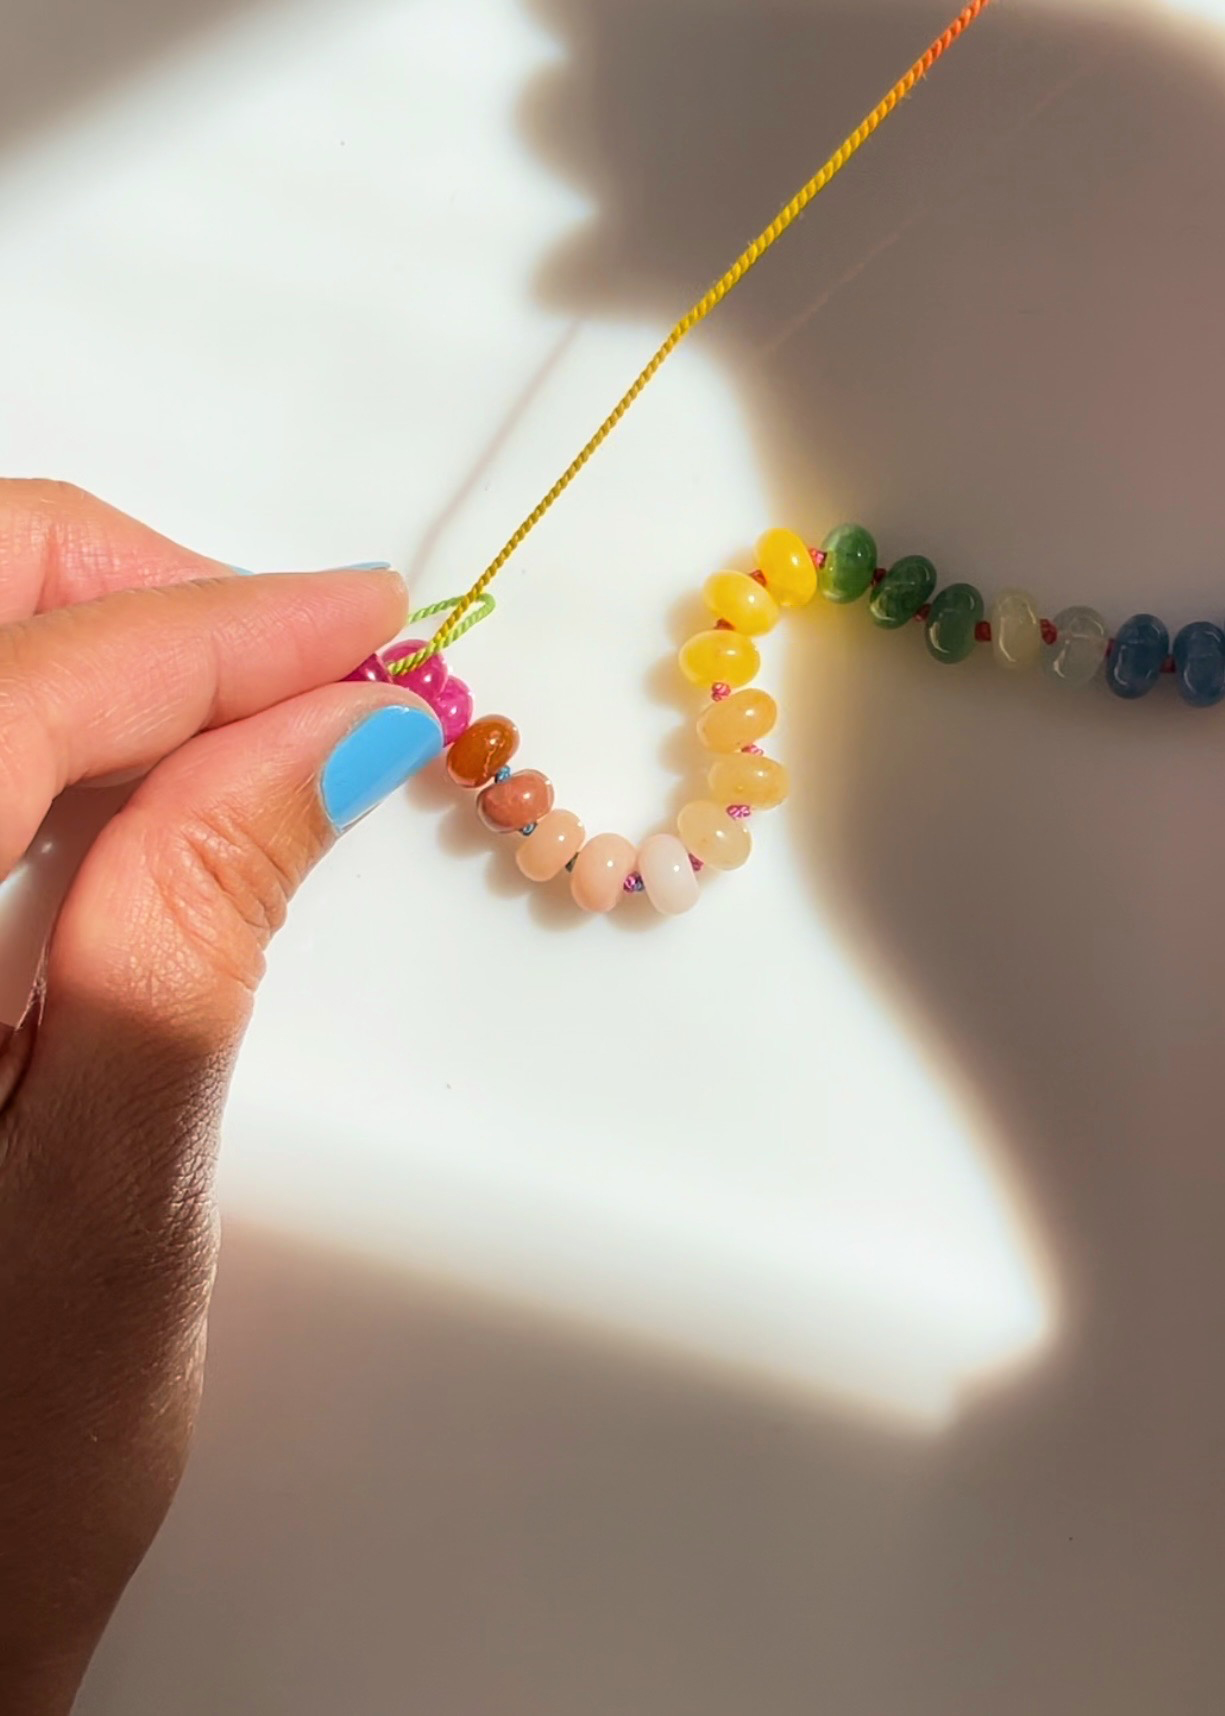
Once you approach the desired length of your necklace, you'll need to add 3 loose beads after your last knot. Not that this will add an additional 1/2 inch or so to your necklace.
Thread the needle back through the last bead. Adjust the wire guard so you're leaving approximately 2mm of space between the last 2 beads.
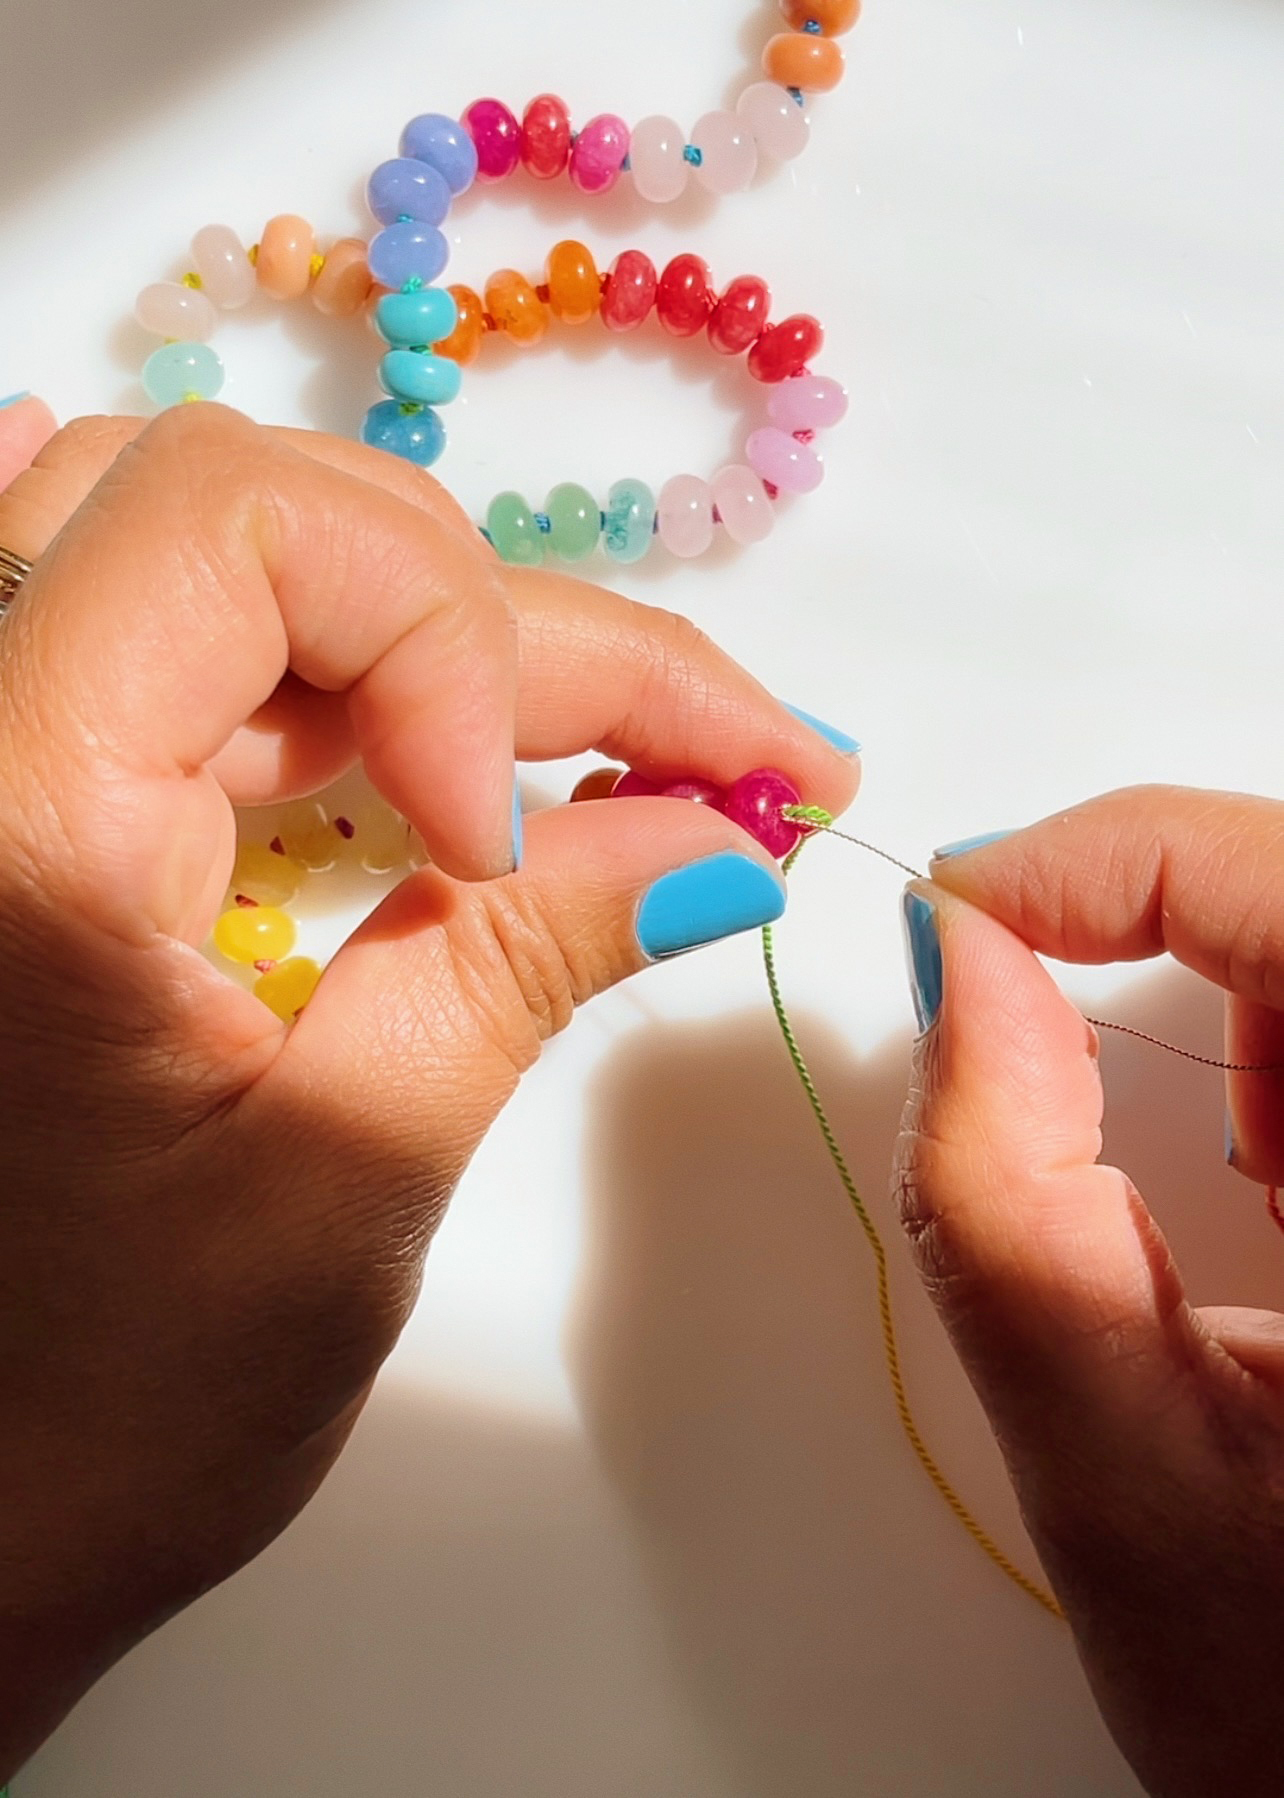
Use your forefinger and thumb and hold onto the last bead. Pull the tail with your opposite hand, wrap it around your middle finger.
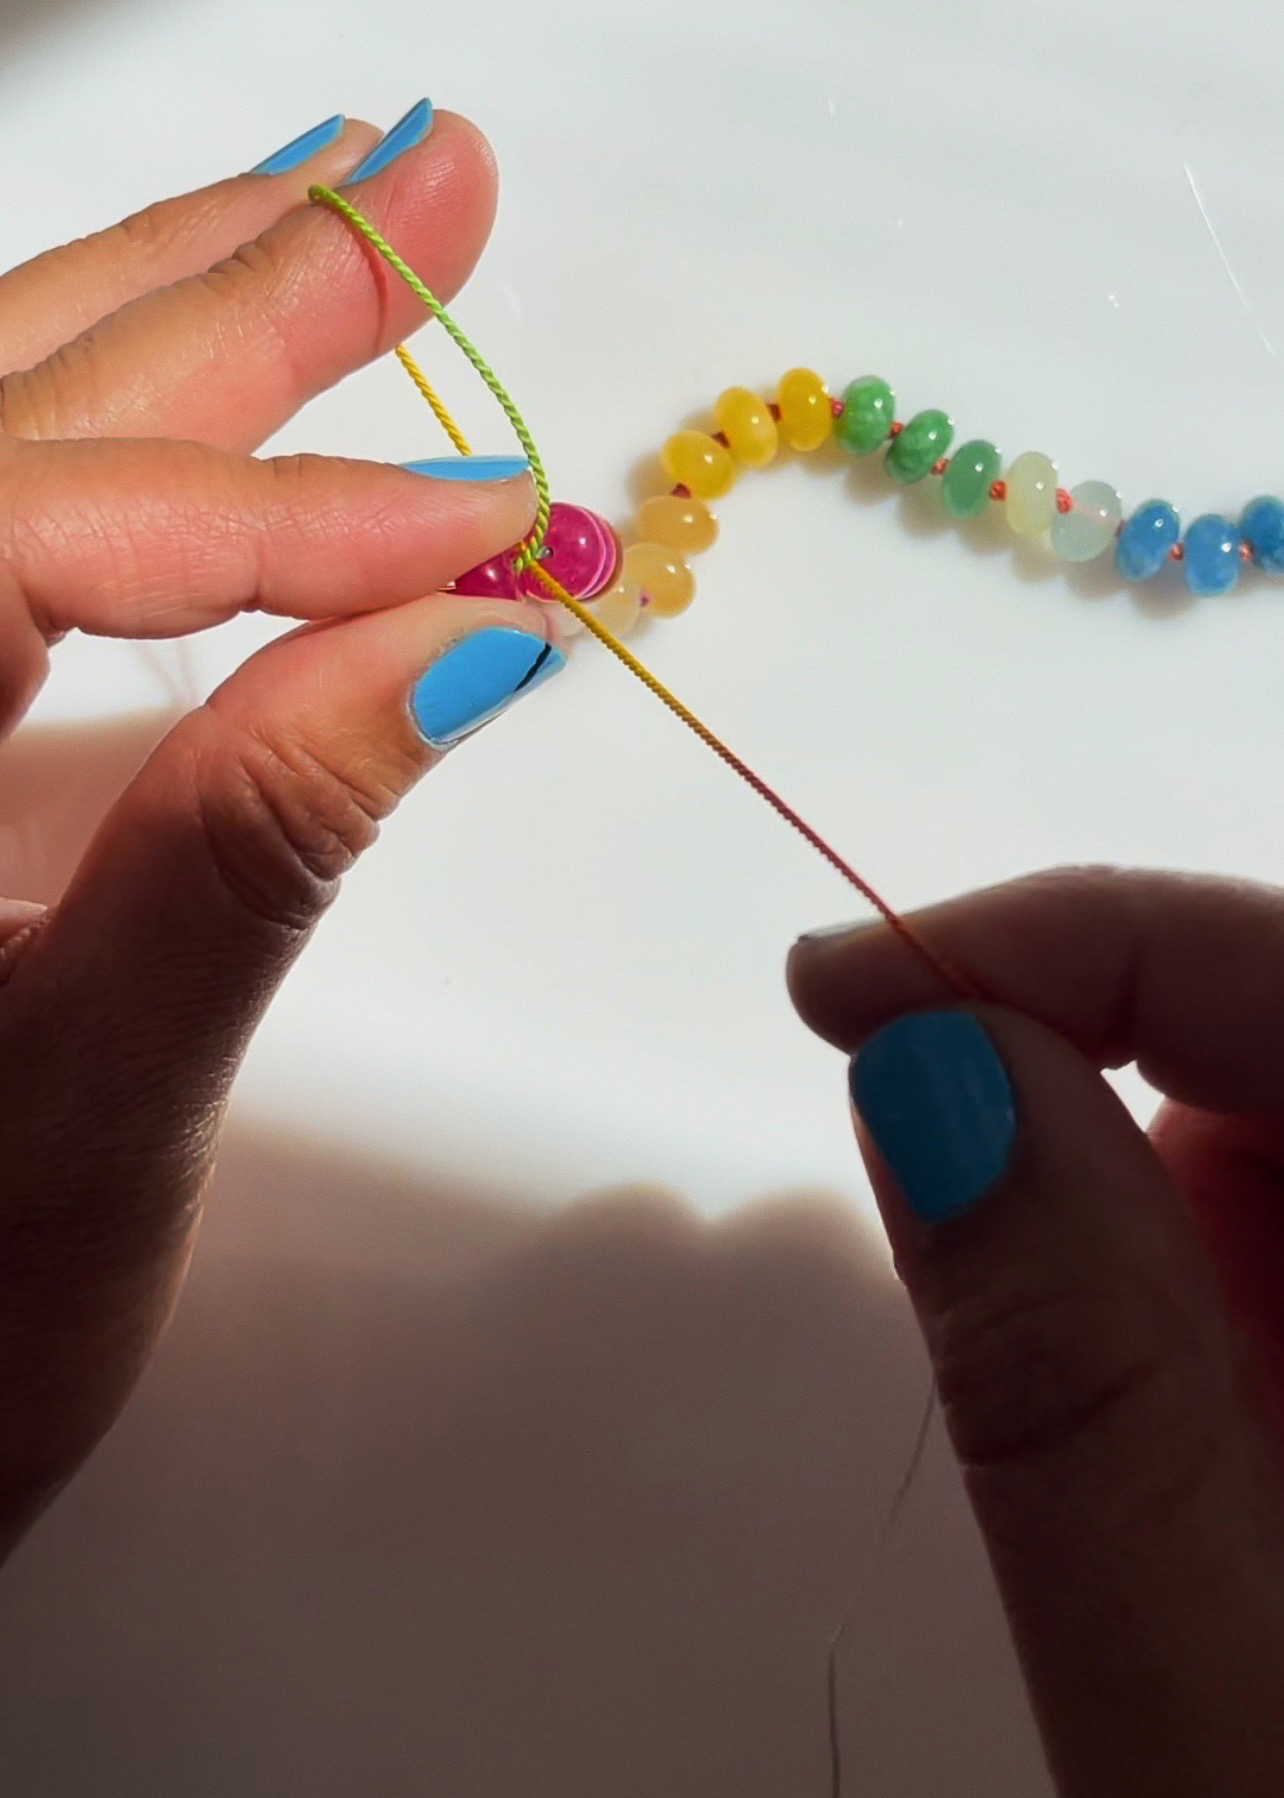
Bring your cord back down and under, between the last bead and the preceding bead. Then, bring the cord through the loop - from the right to the left.

Pull the cord until the knot forms. Pull tight and make sure the knot is secure.
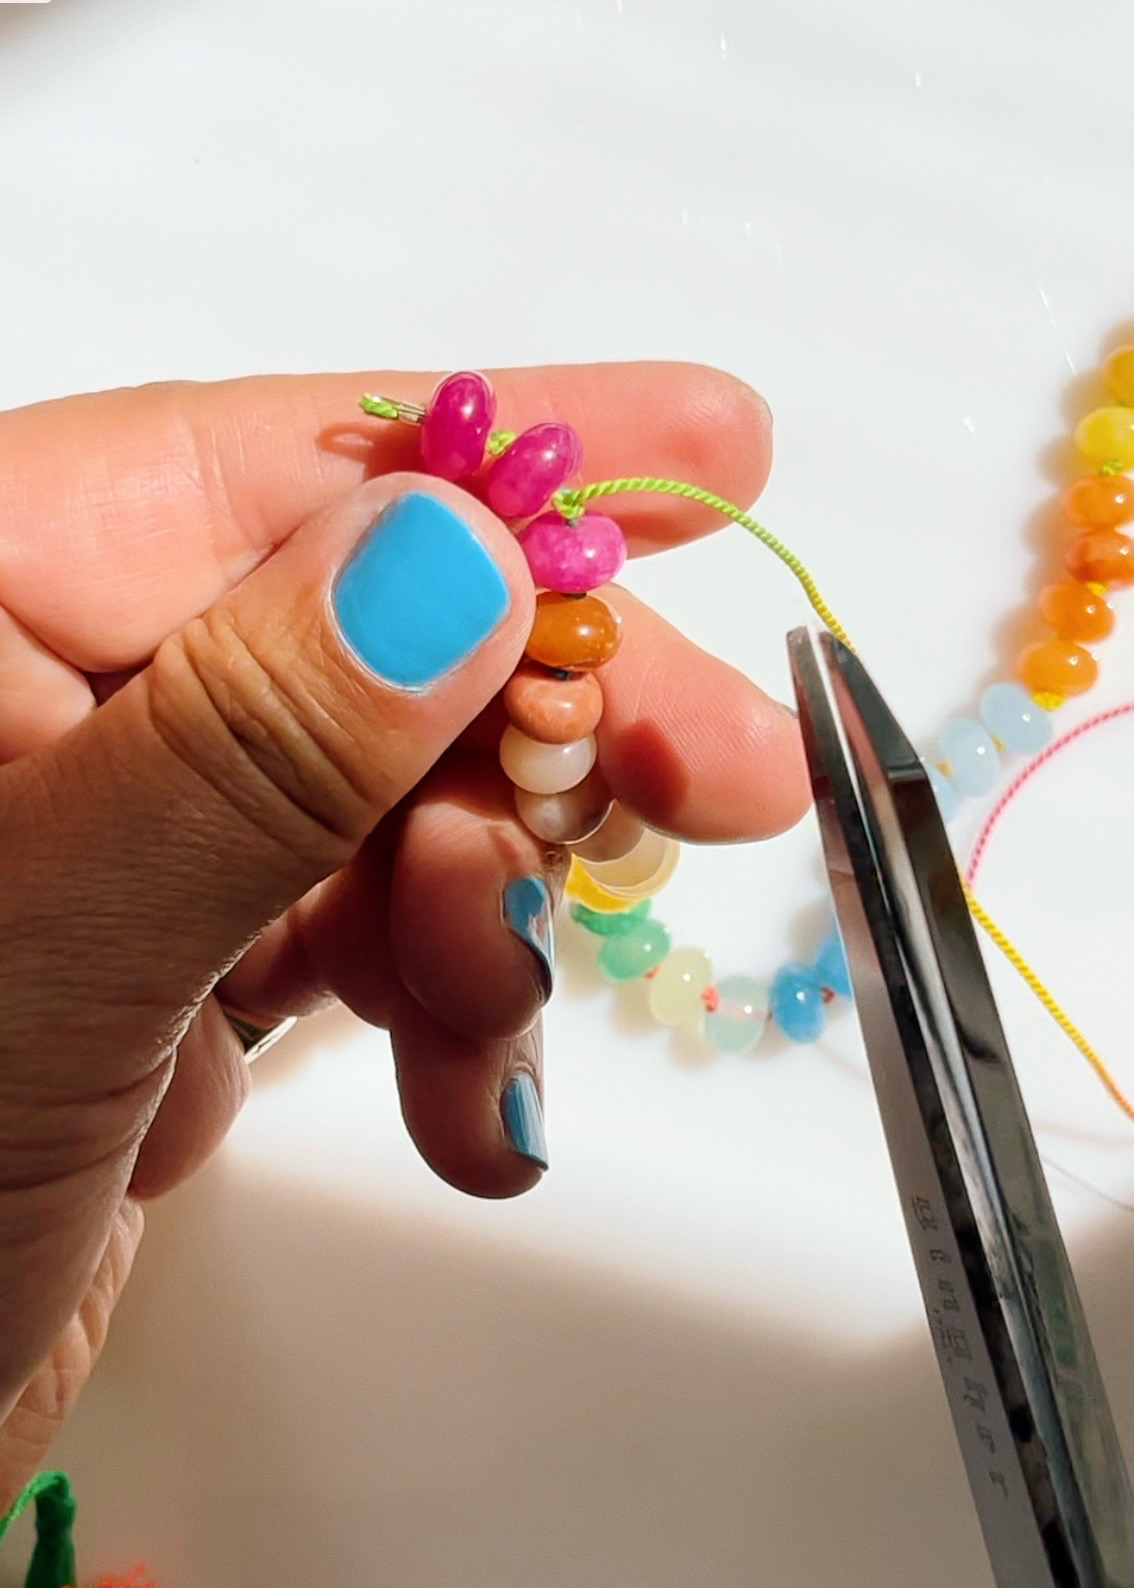
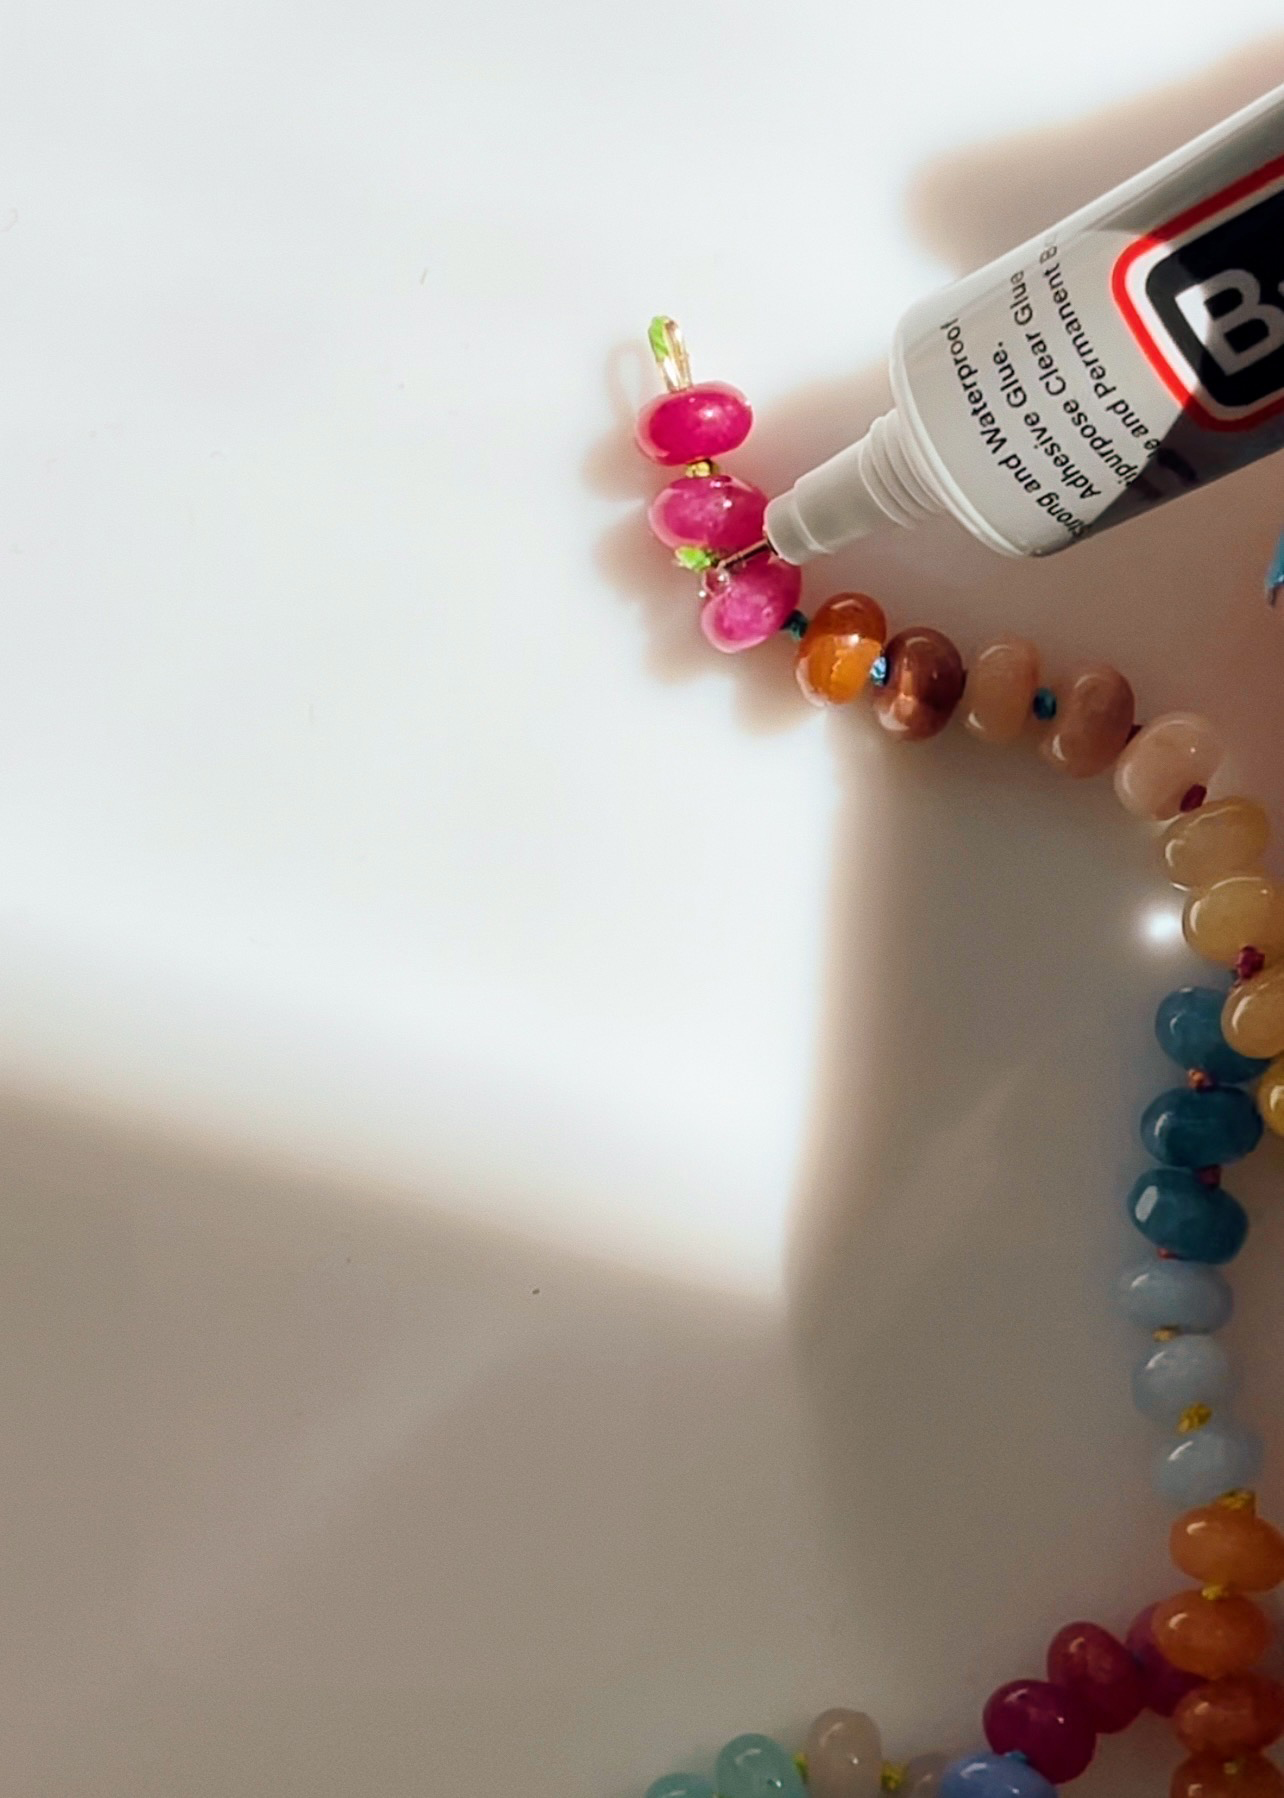
Thread the needle through the second to last bead and repeat the same knot. Pull tight and trim the excess cord. Add a drop of glue onto the knot.
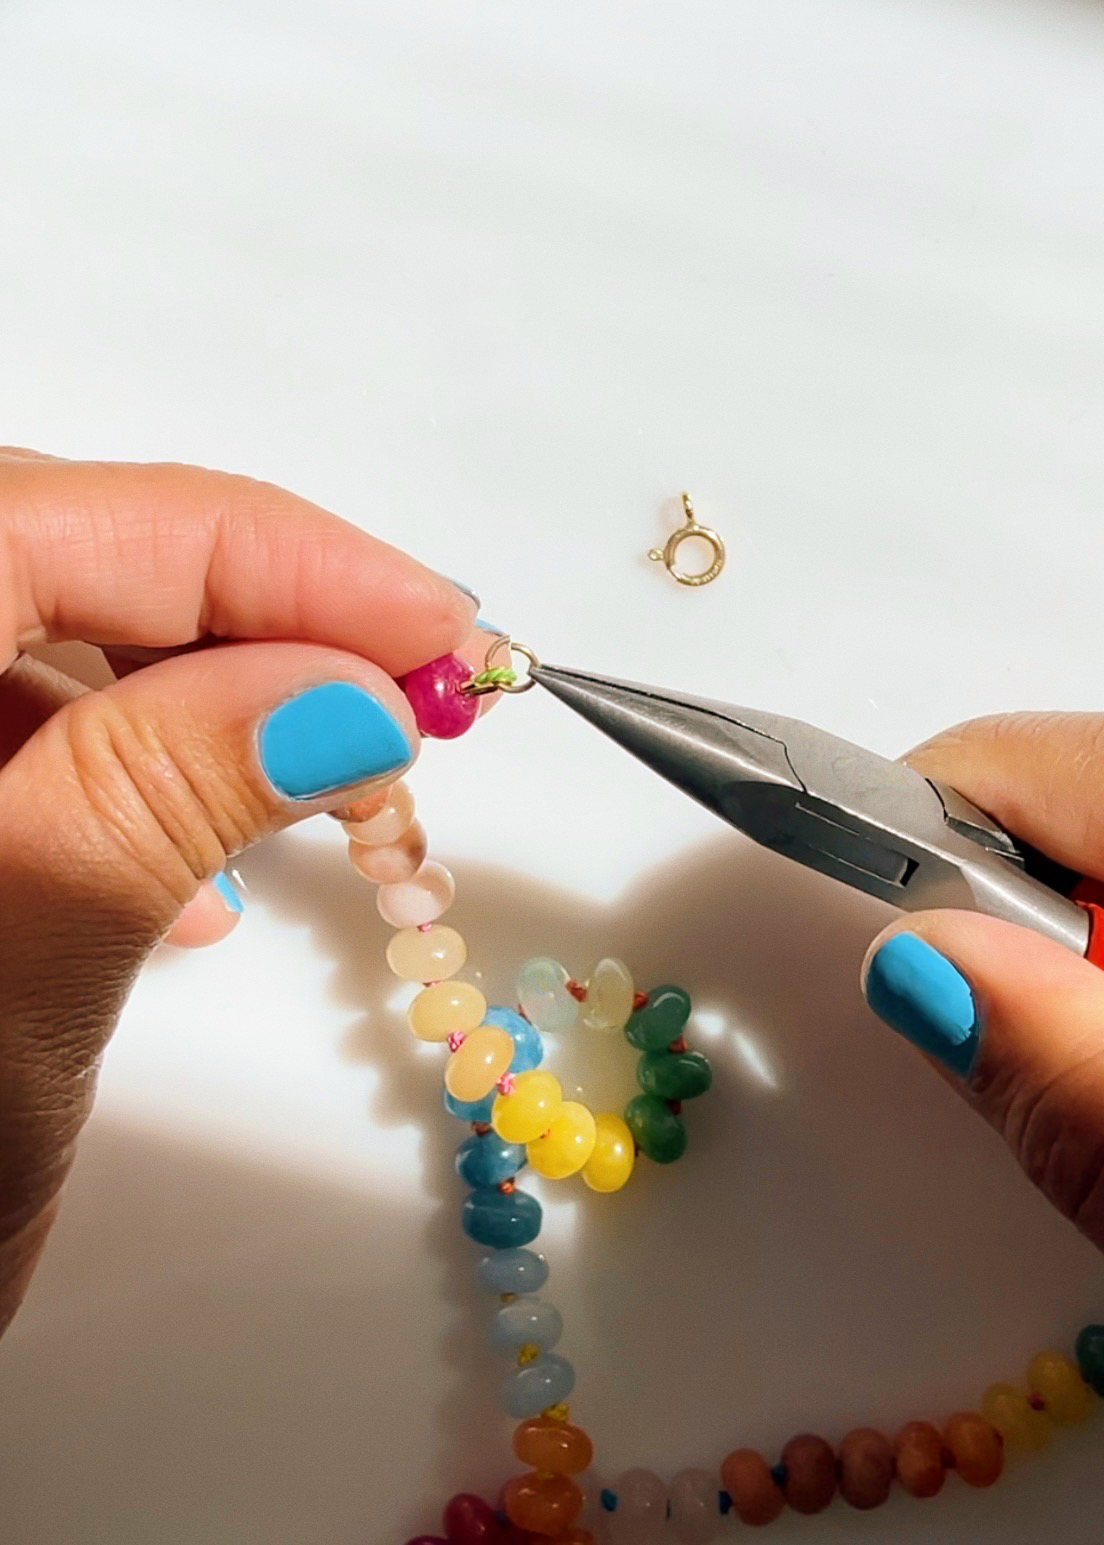
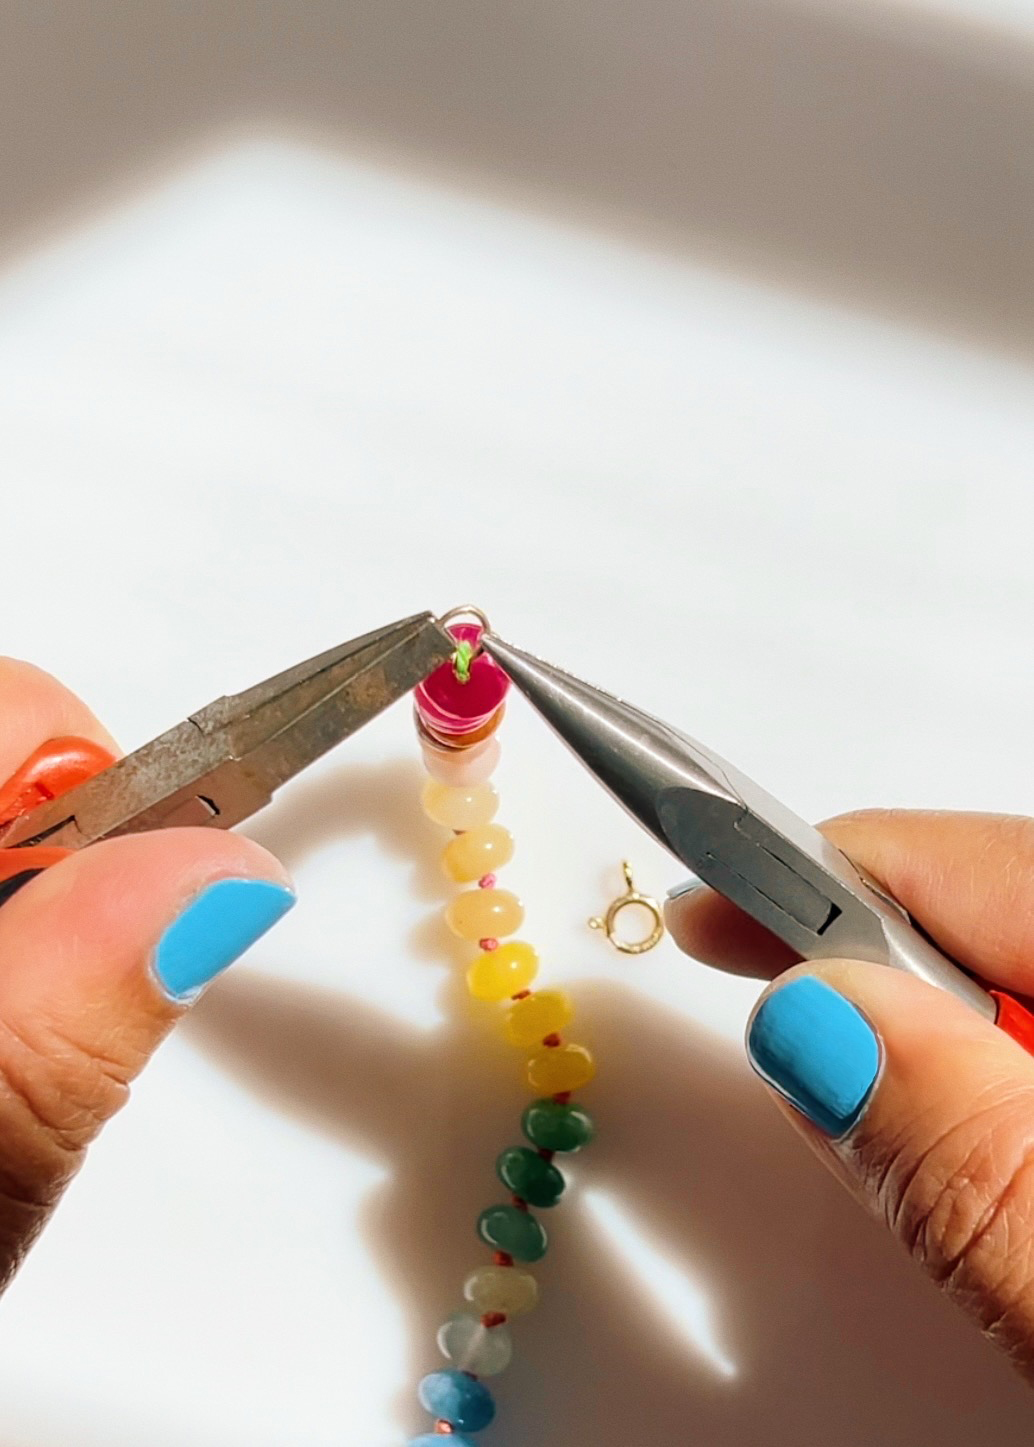
Use your pliers to open the jump ring that comes with your clasp set. Loop it through one of the wire guards and close it shut.
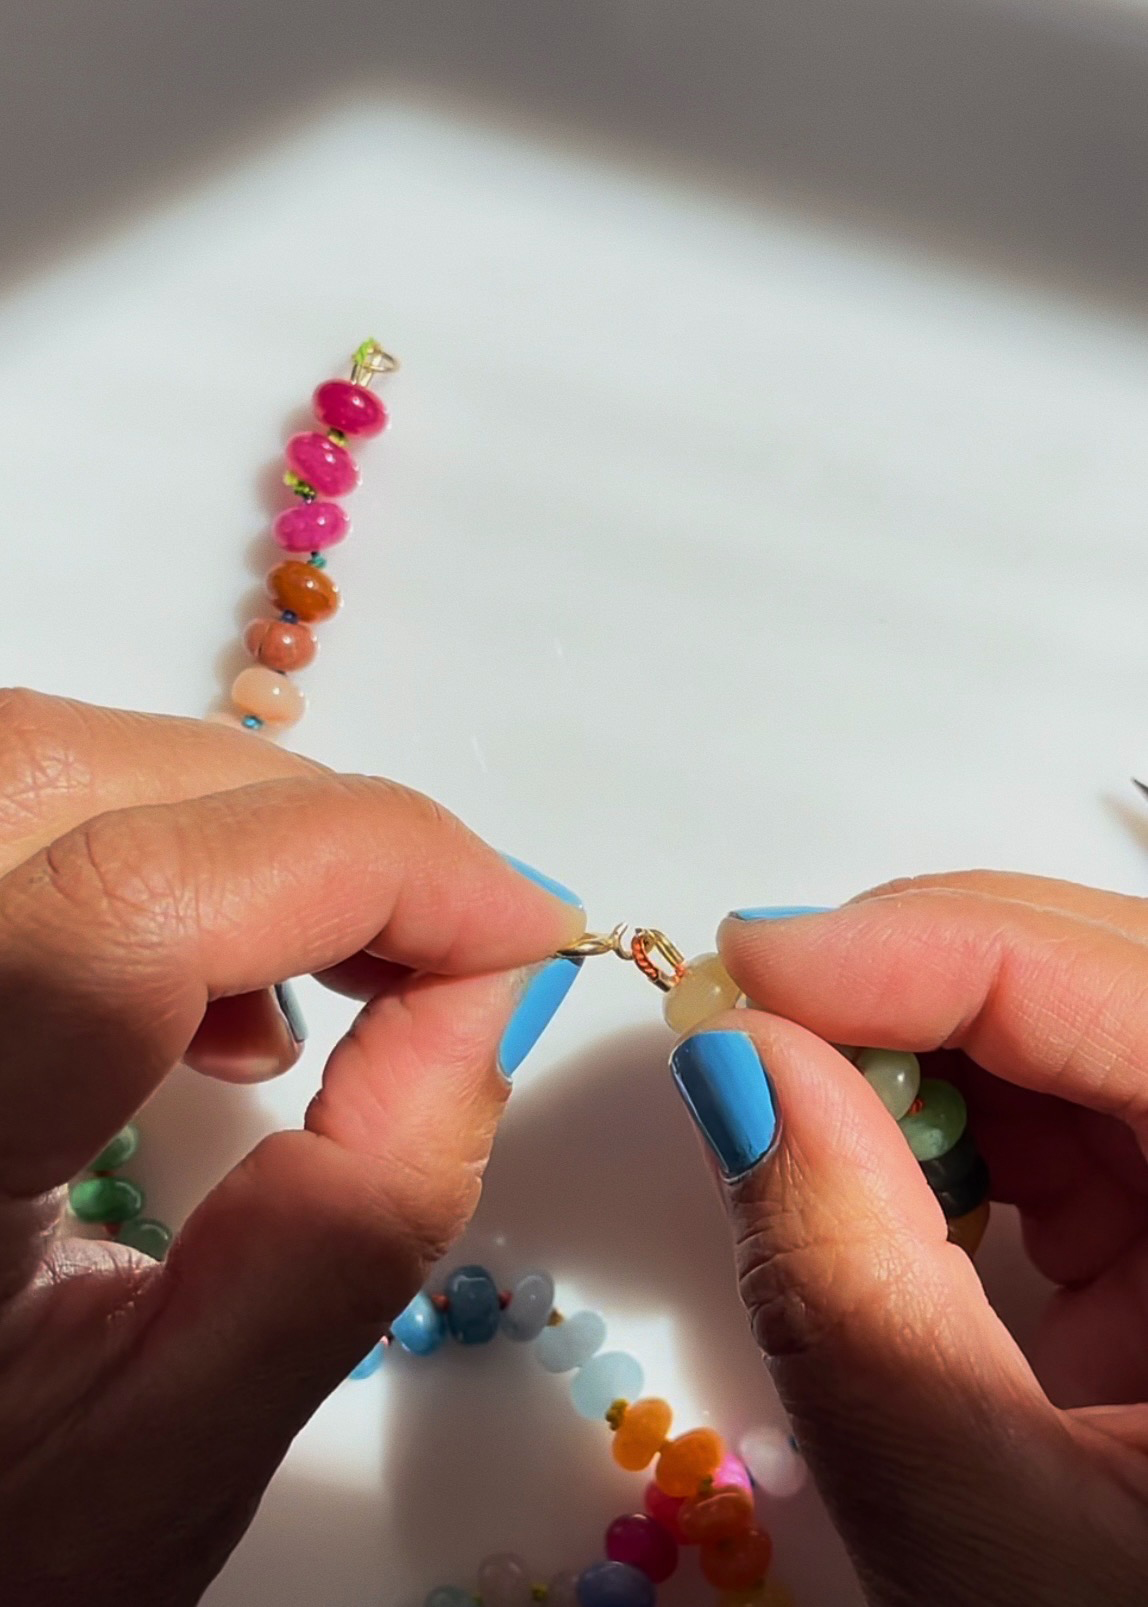
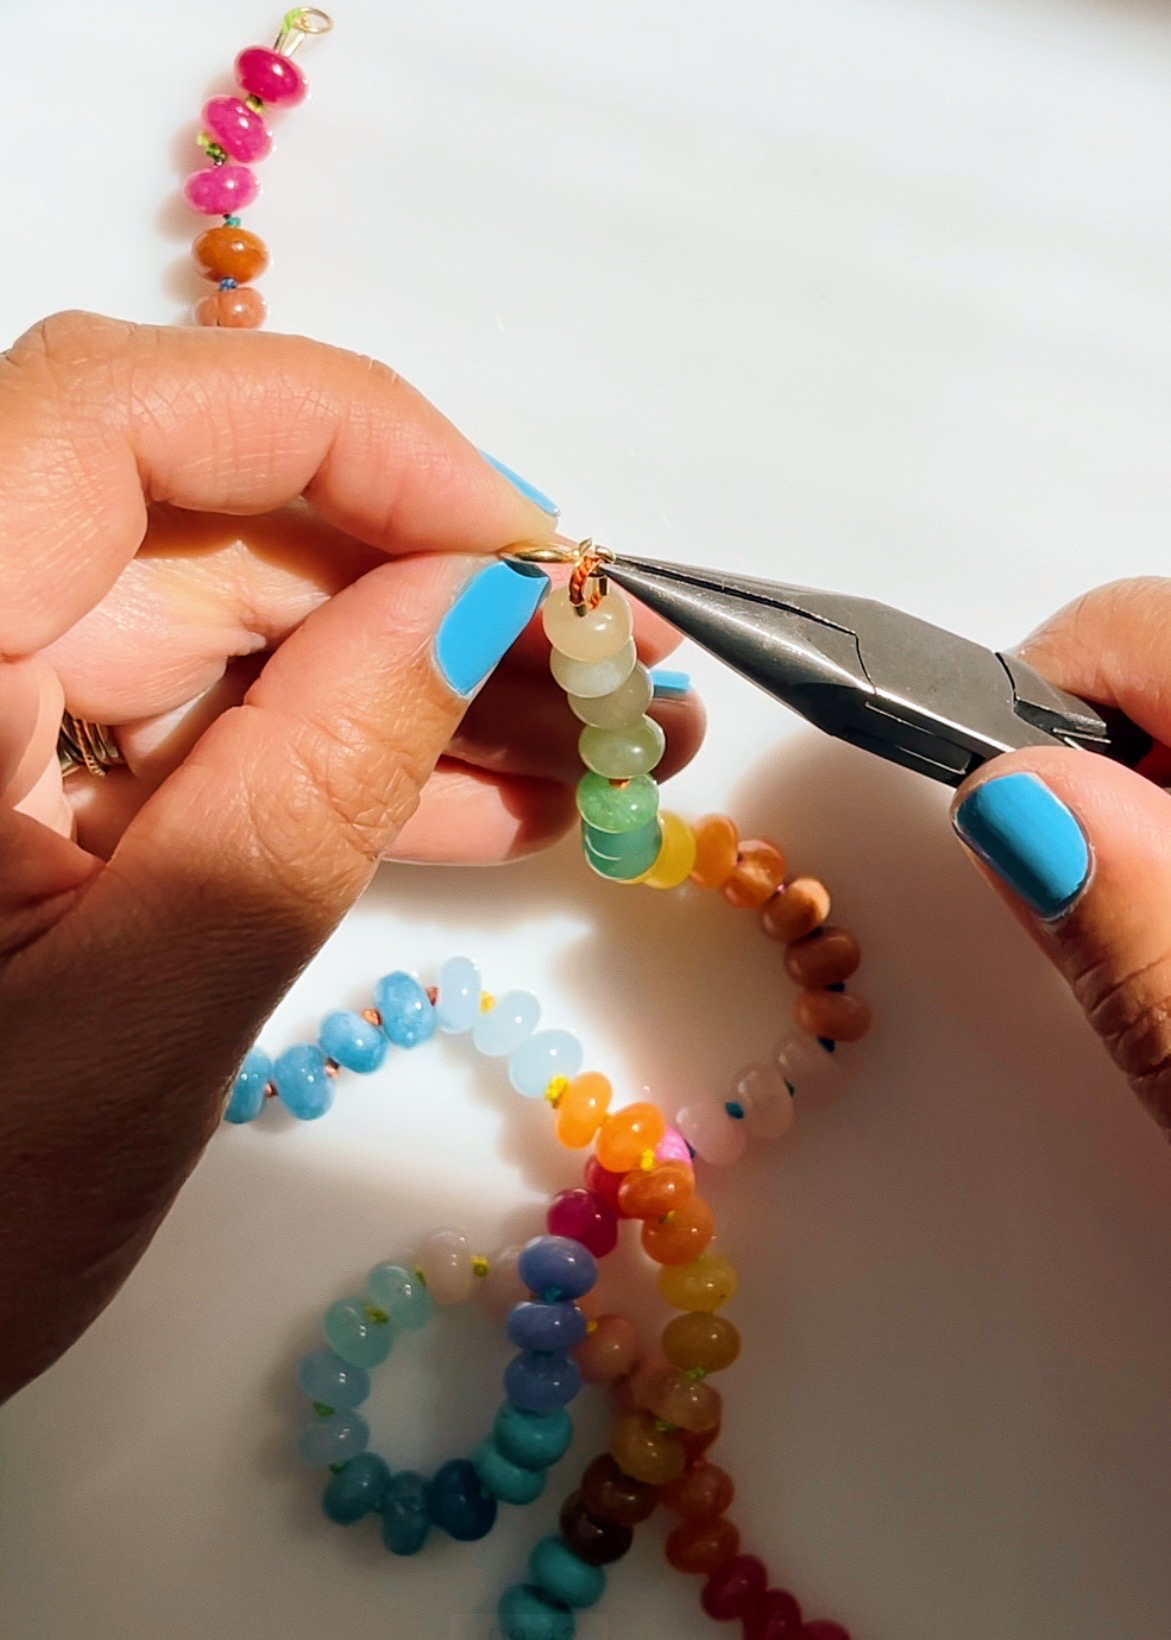
Open up the jump ring attached to the clasp and loop on the other wire guard.
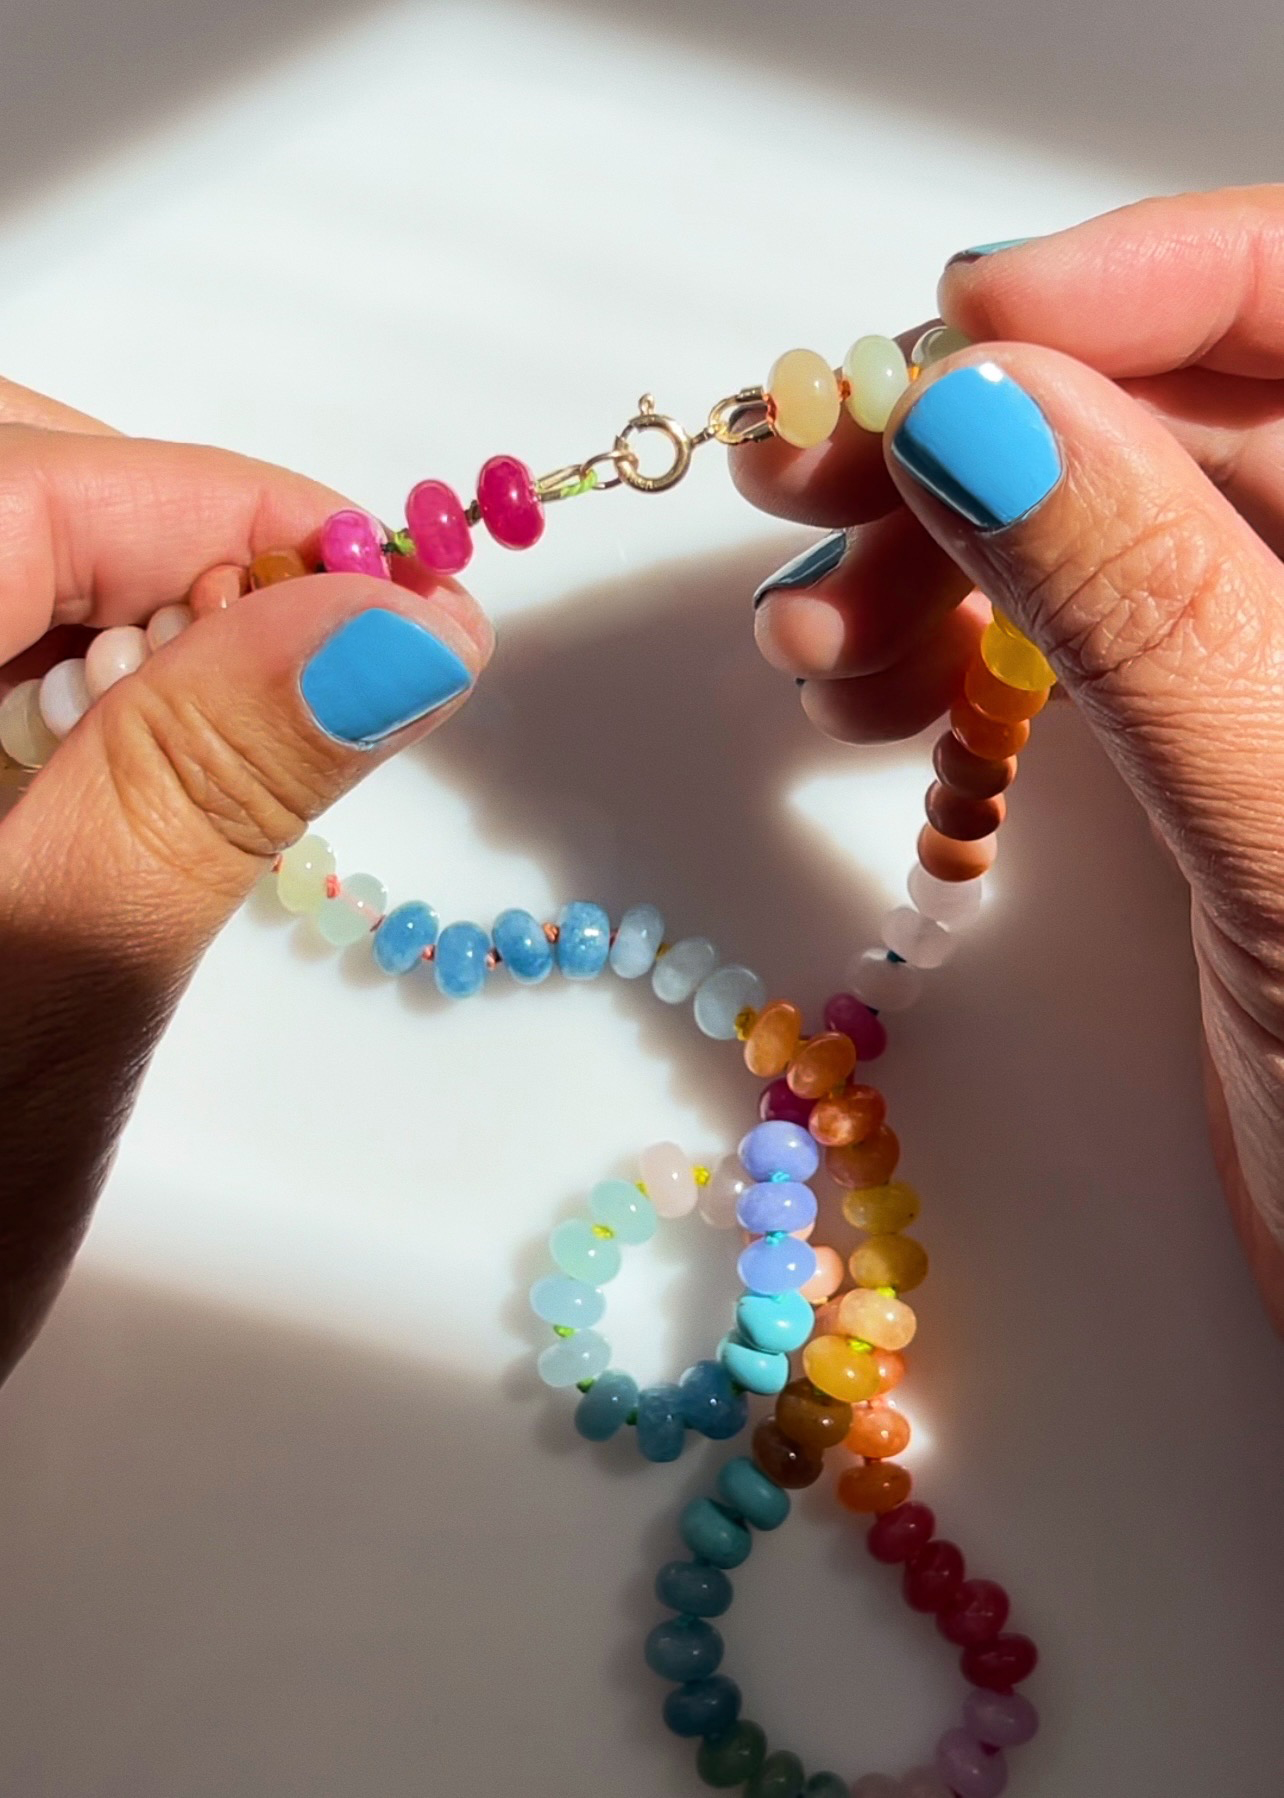
Use your pliers to close it. Voila! Your necklace is finished.
Note: If adding a clasp feels too complicated or expensive to execute, you can always use a single jump ring to connect the ends of the necklace together - as long as it can slide easily over your head!
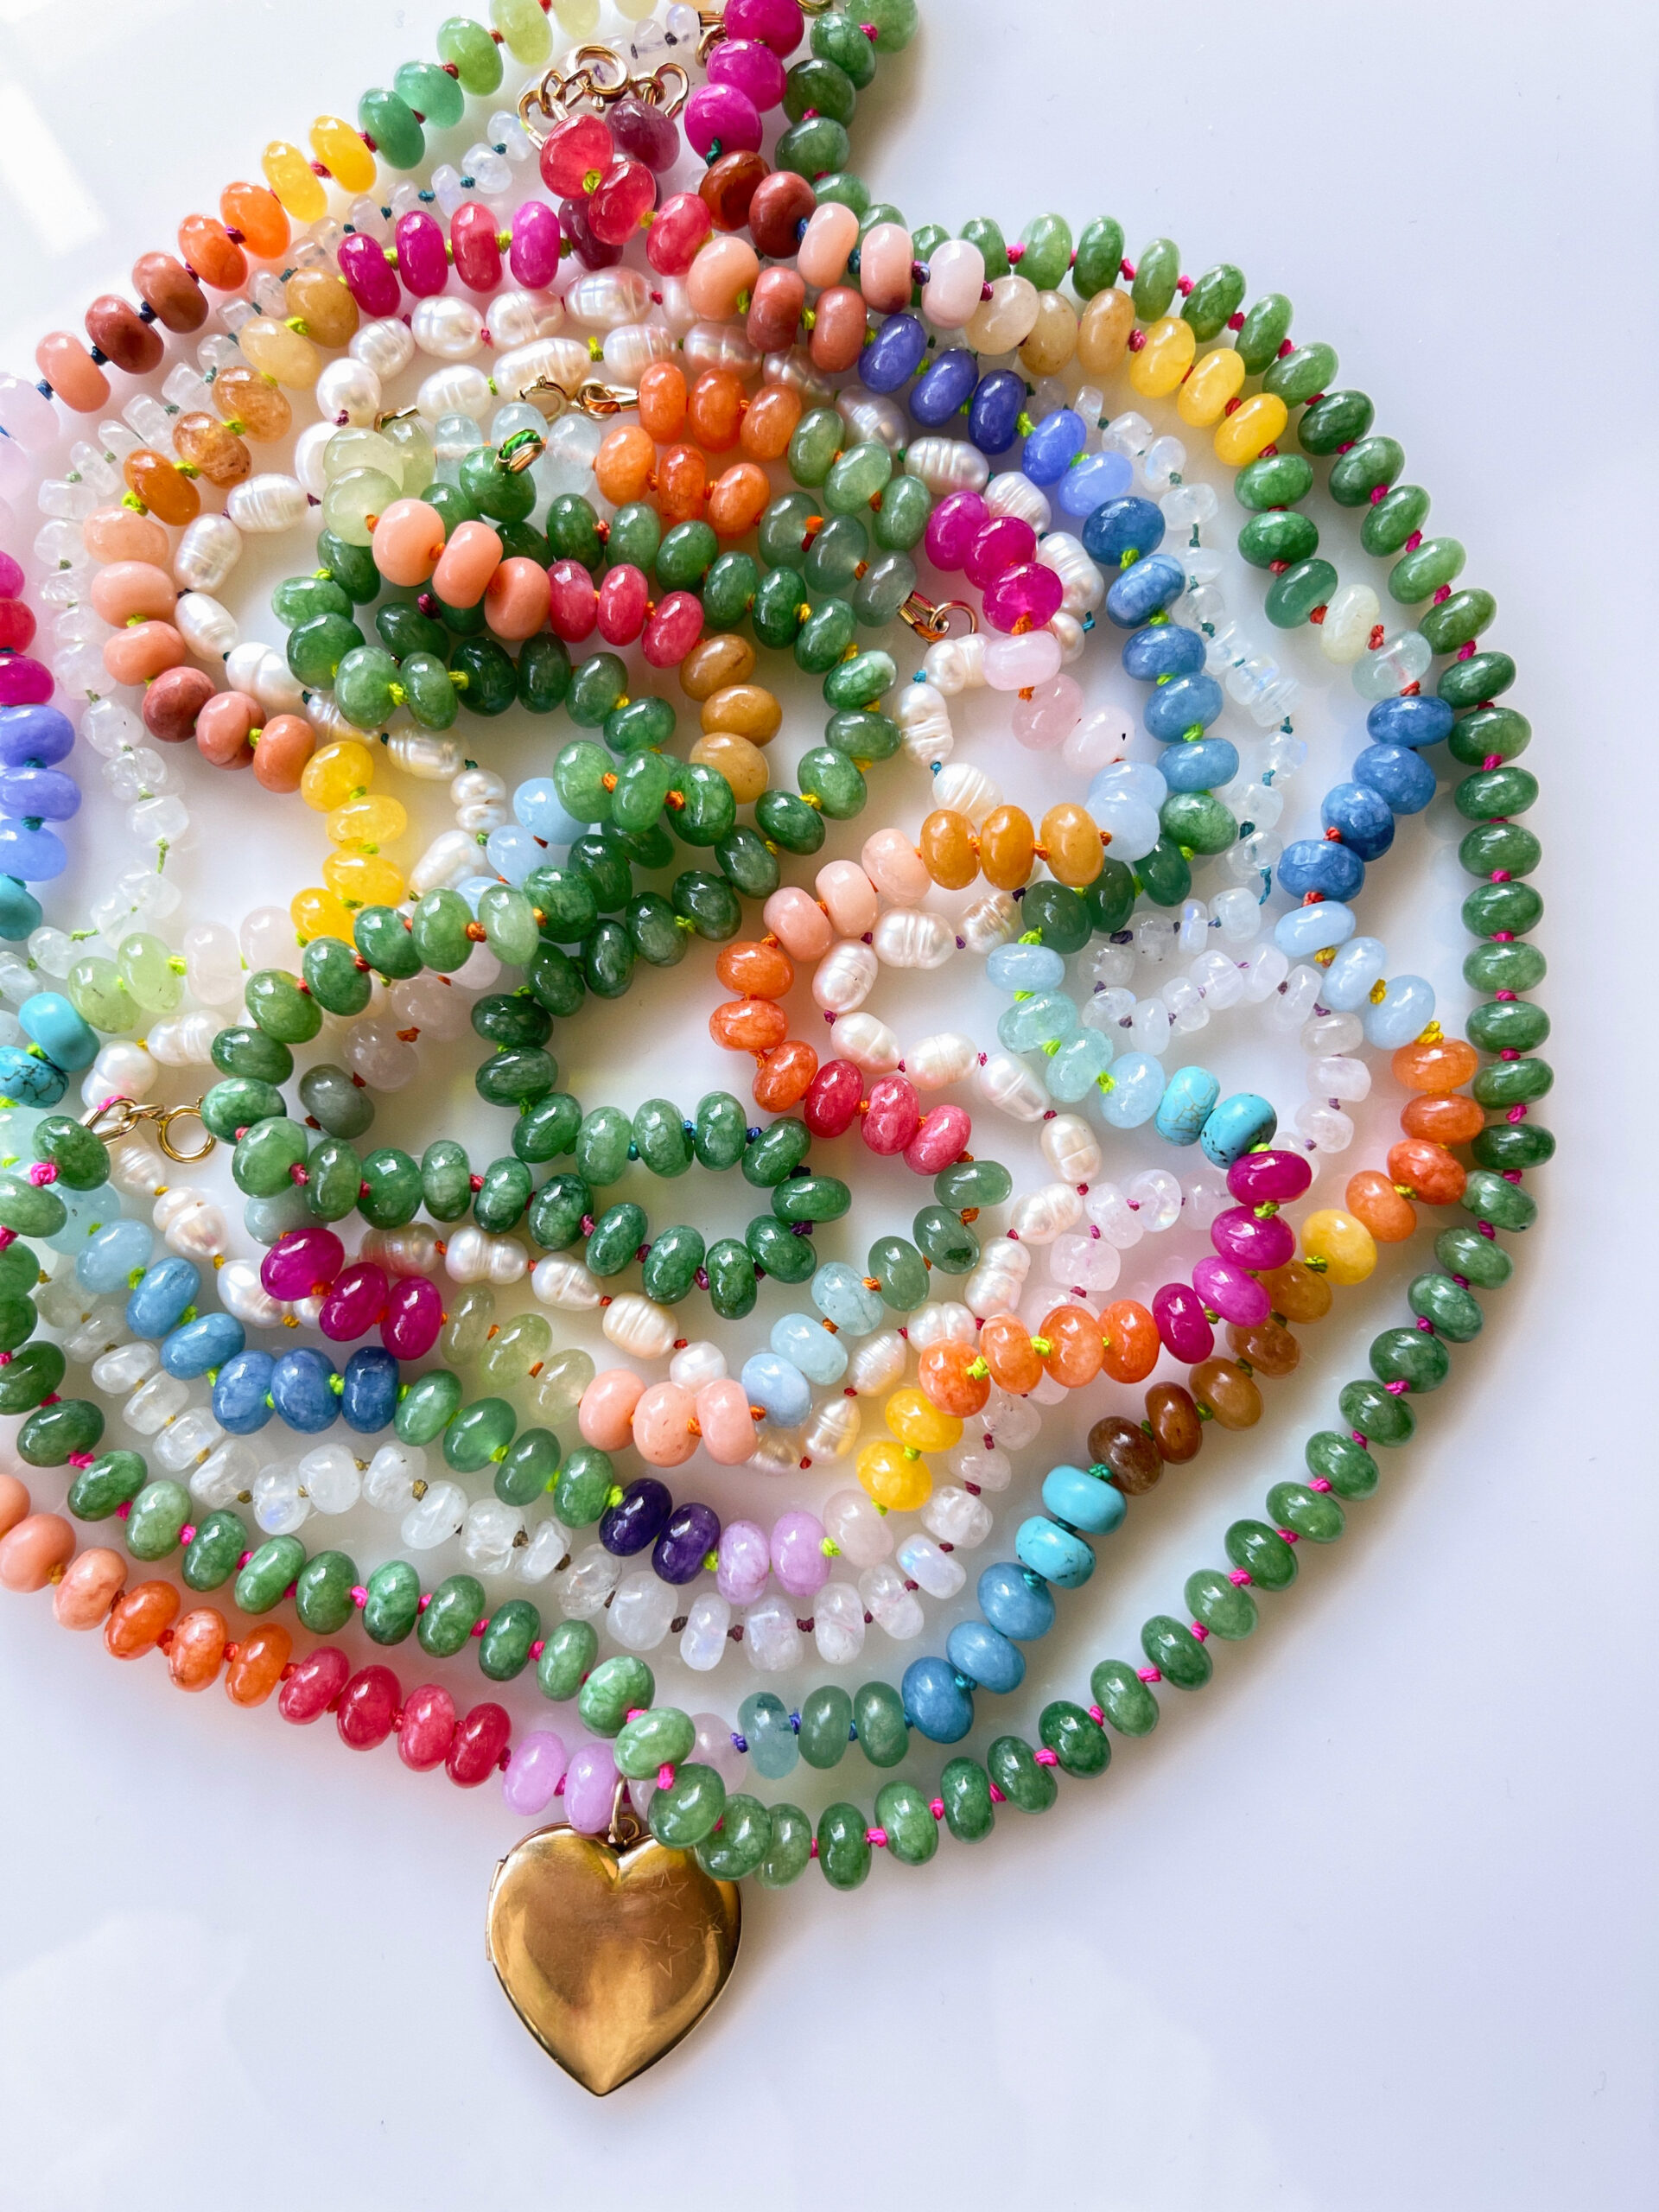
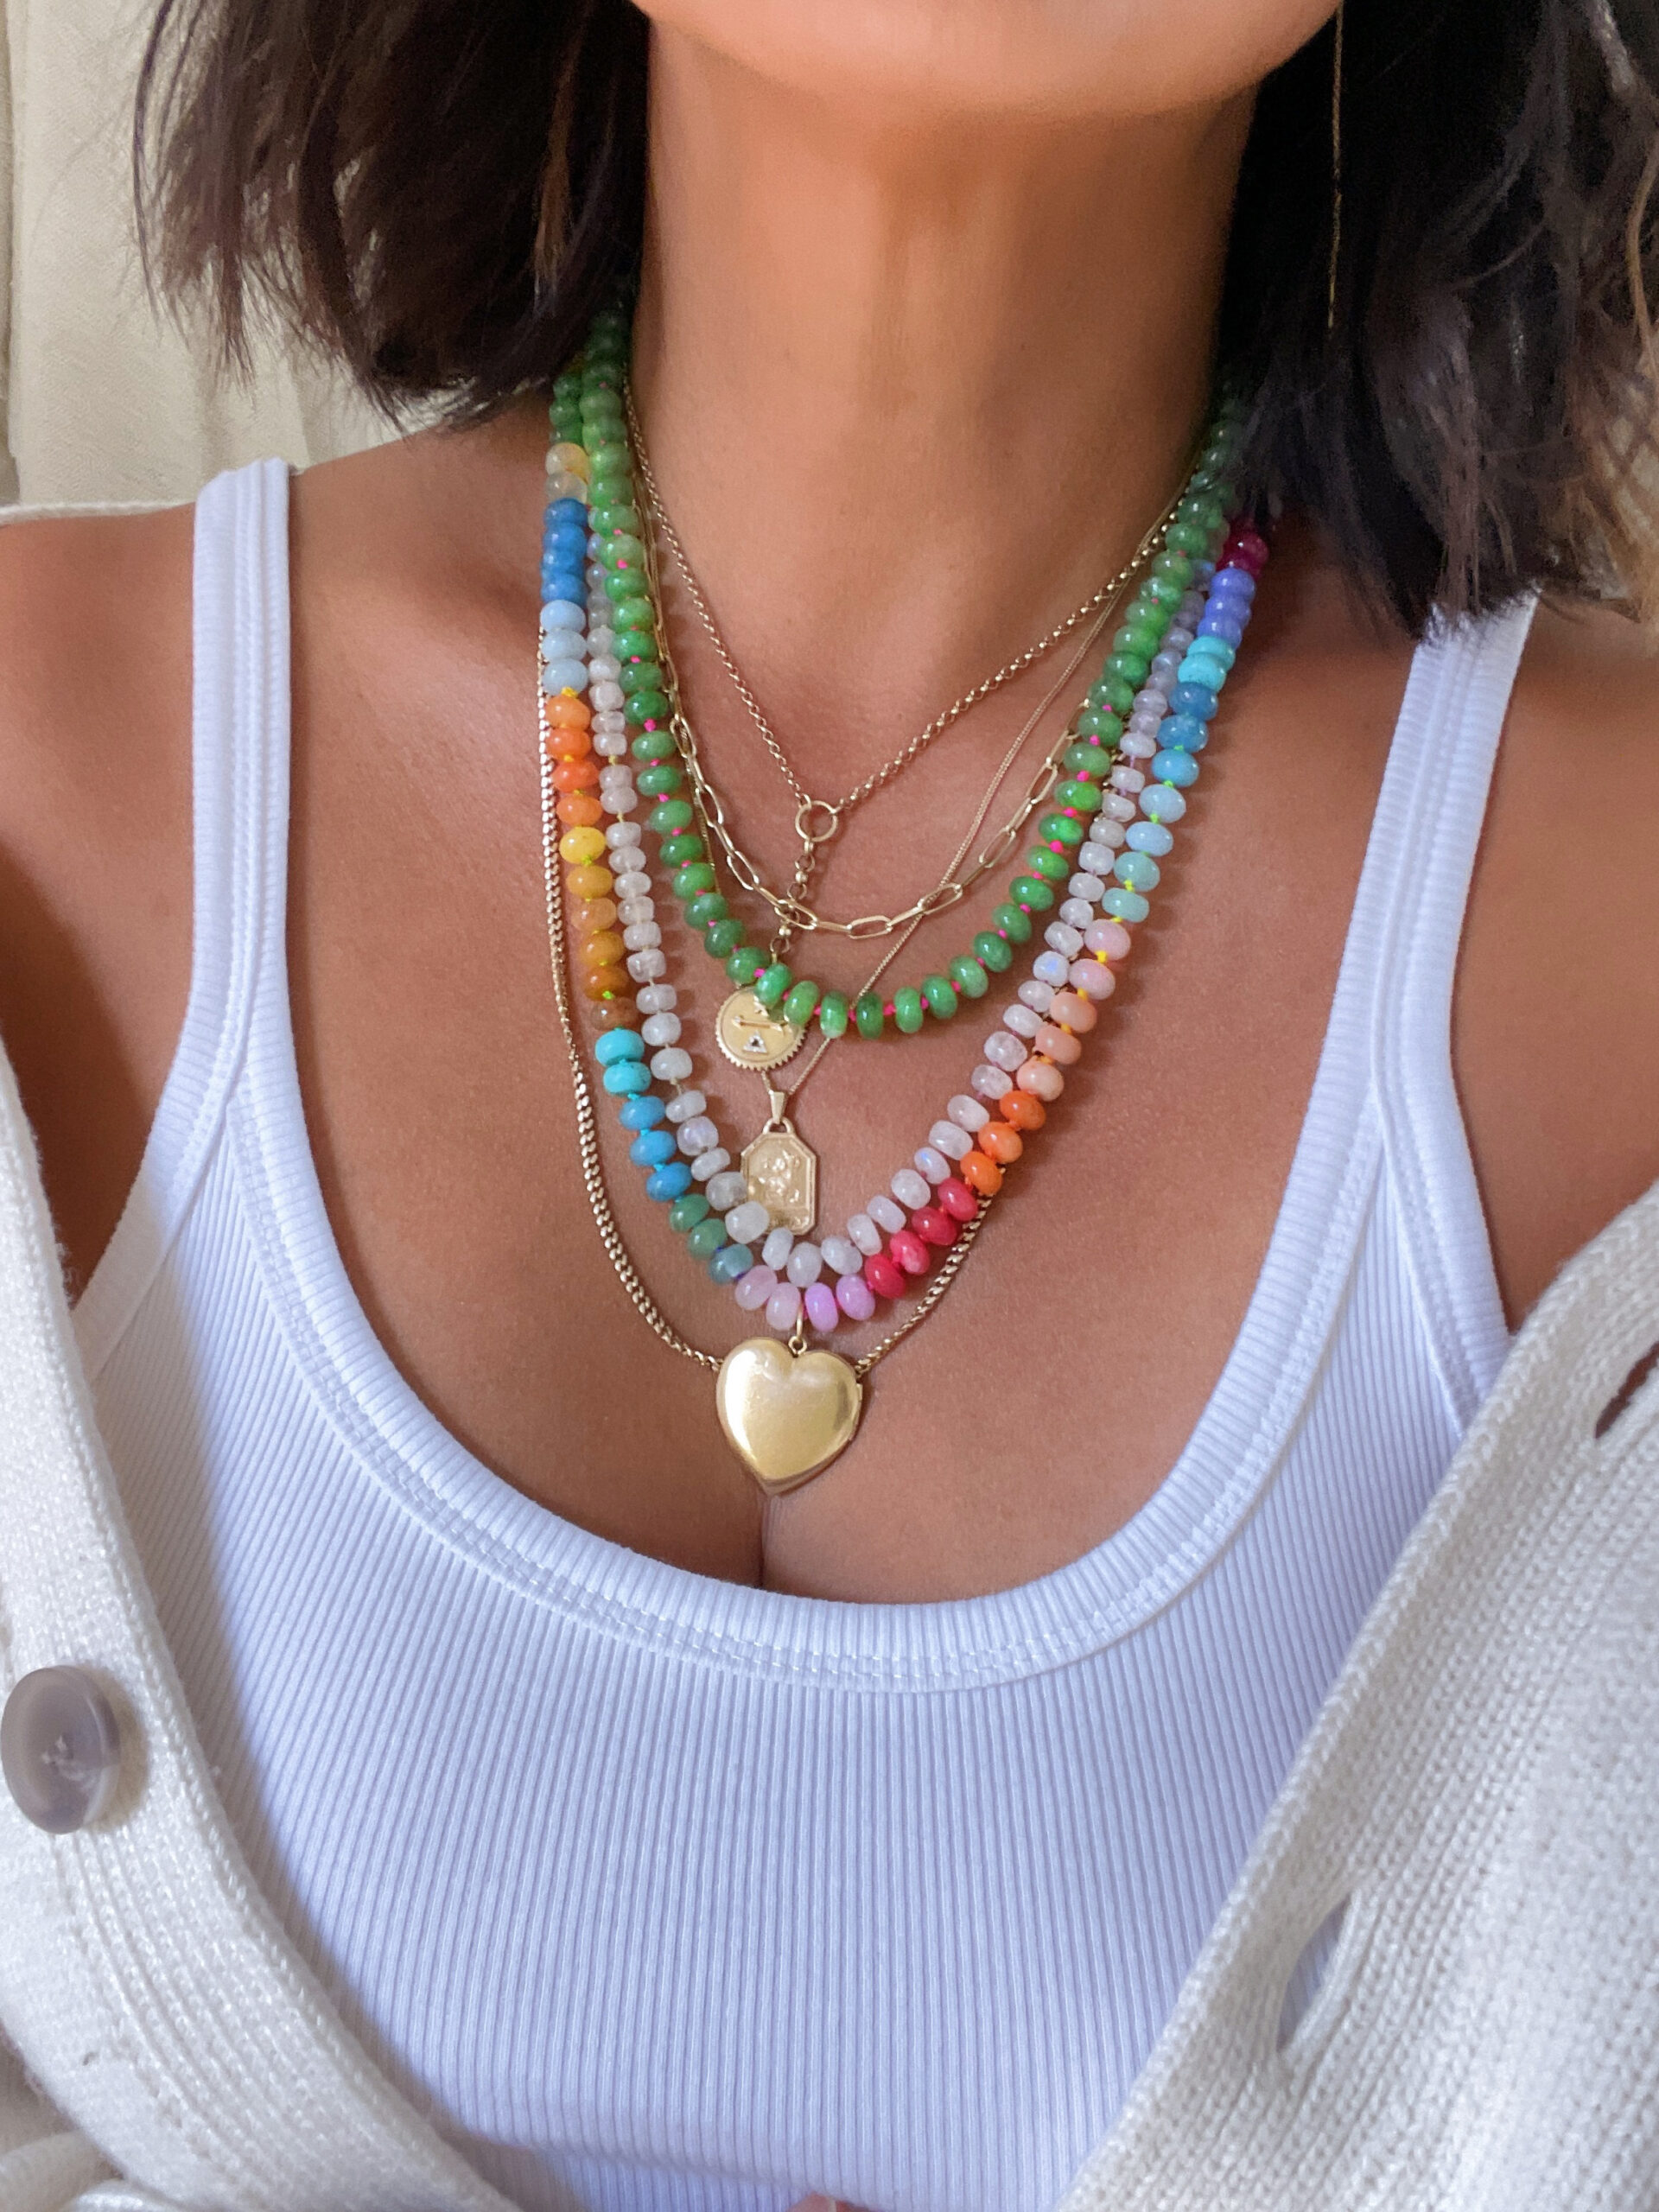
Images by HonestlyWTF. If BUY, and not DIY, is more your speed, you can find these colorful gemstone necklaces at House of Cardoon & Jessica Winzelberg.
Beautiful and inspiring as always!
In this video tutorial, see how to make a knotted pearl necklace without a clasp. This continuous strand of pearls looks lovely and, if you are careful.
I just made a blue toned one and it looks great. Thank you for the instructions. I added a sterling silver carabiner with that has a gold bolt and it really set it off, great for adding charms to as well.
Is this one large strand? Or are they each separate with their own clasp? Thank you so much by the way. These are stunning. I find that I need to get back to creating my pieces b/c I miss the therapeutic component of it.
I think they are all separate. Can see their own clasps when zooming in. Lovely aren’t they? I’m heading to Etsy to stock up on beads.
What a lovely site! I just happened upon it, searching chignons. Can’t stop clicking and scrolling!
May I ask what the name of the site means, the “WTF”? If it is the commonly accepted acronym, may I ask why a place filled with such beauty would be named in such an ugly way?
Wow. It’s a gorgeous handwork.
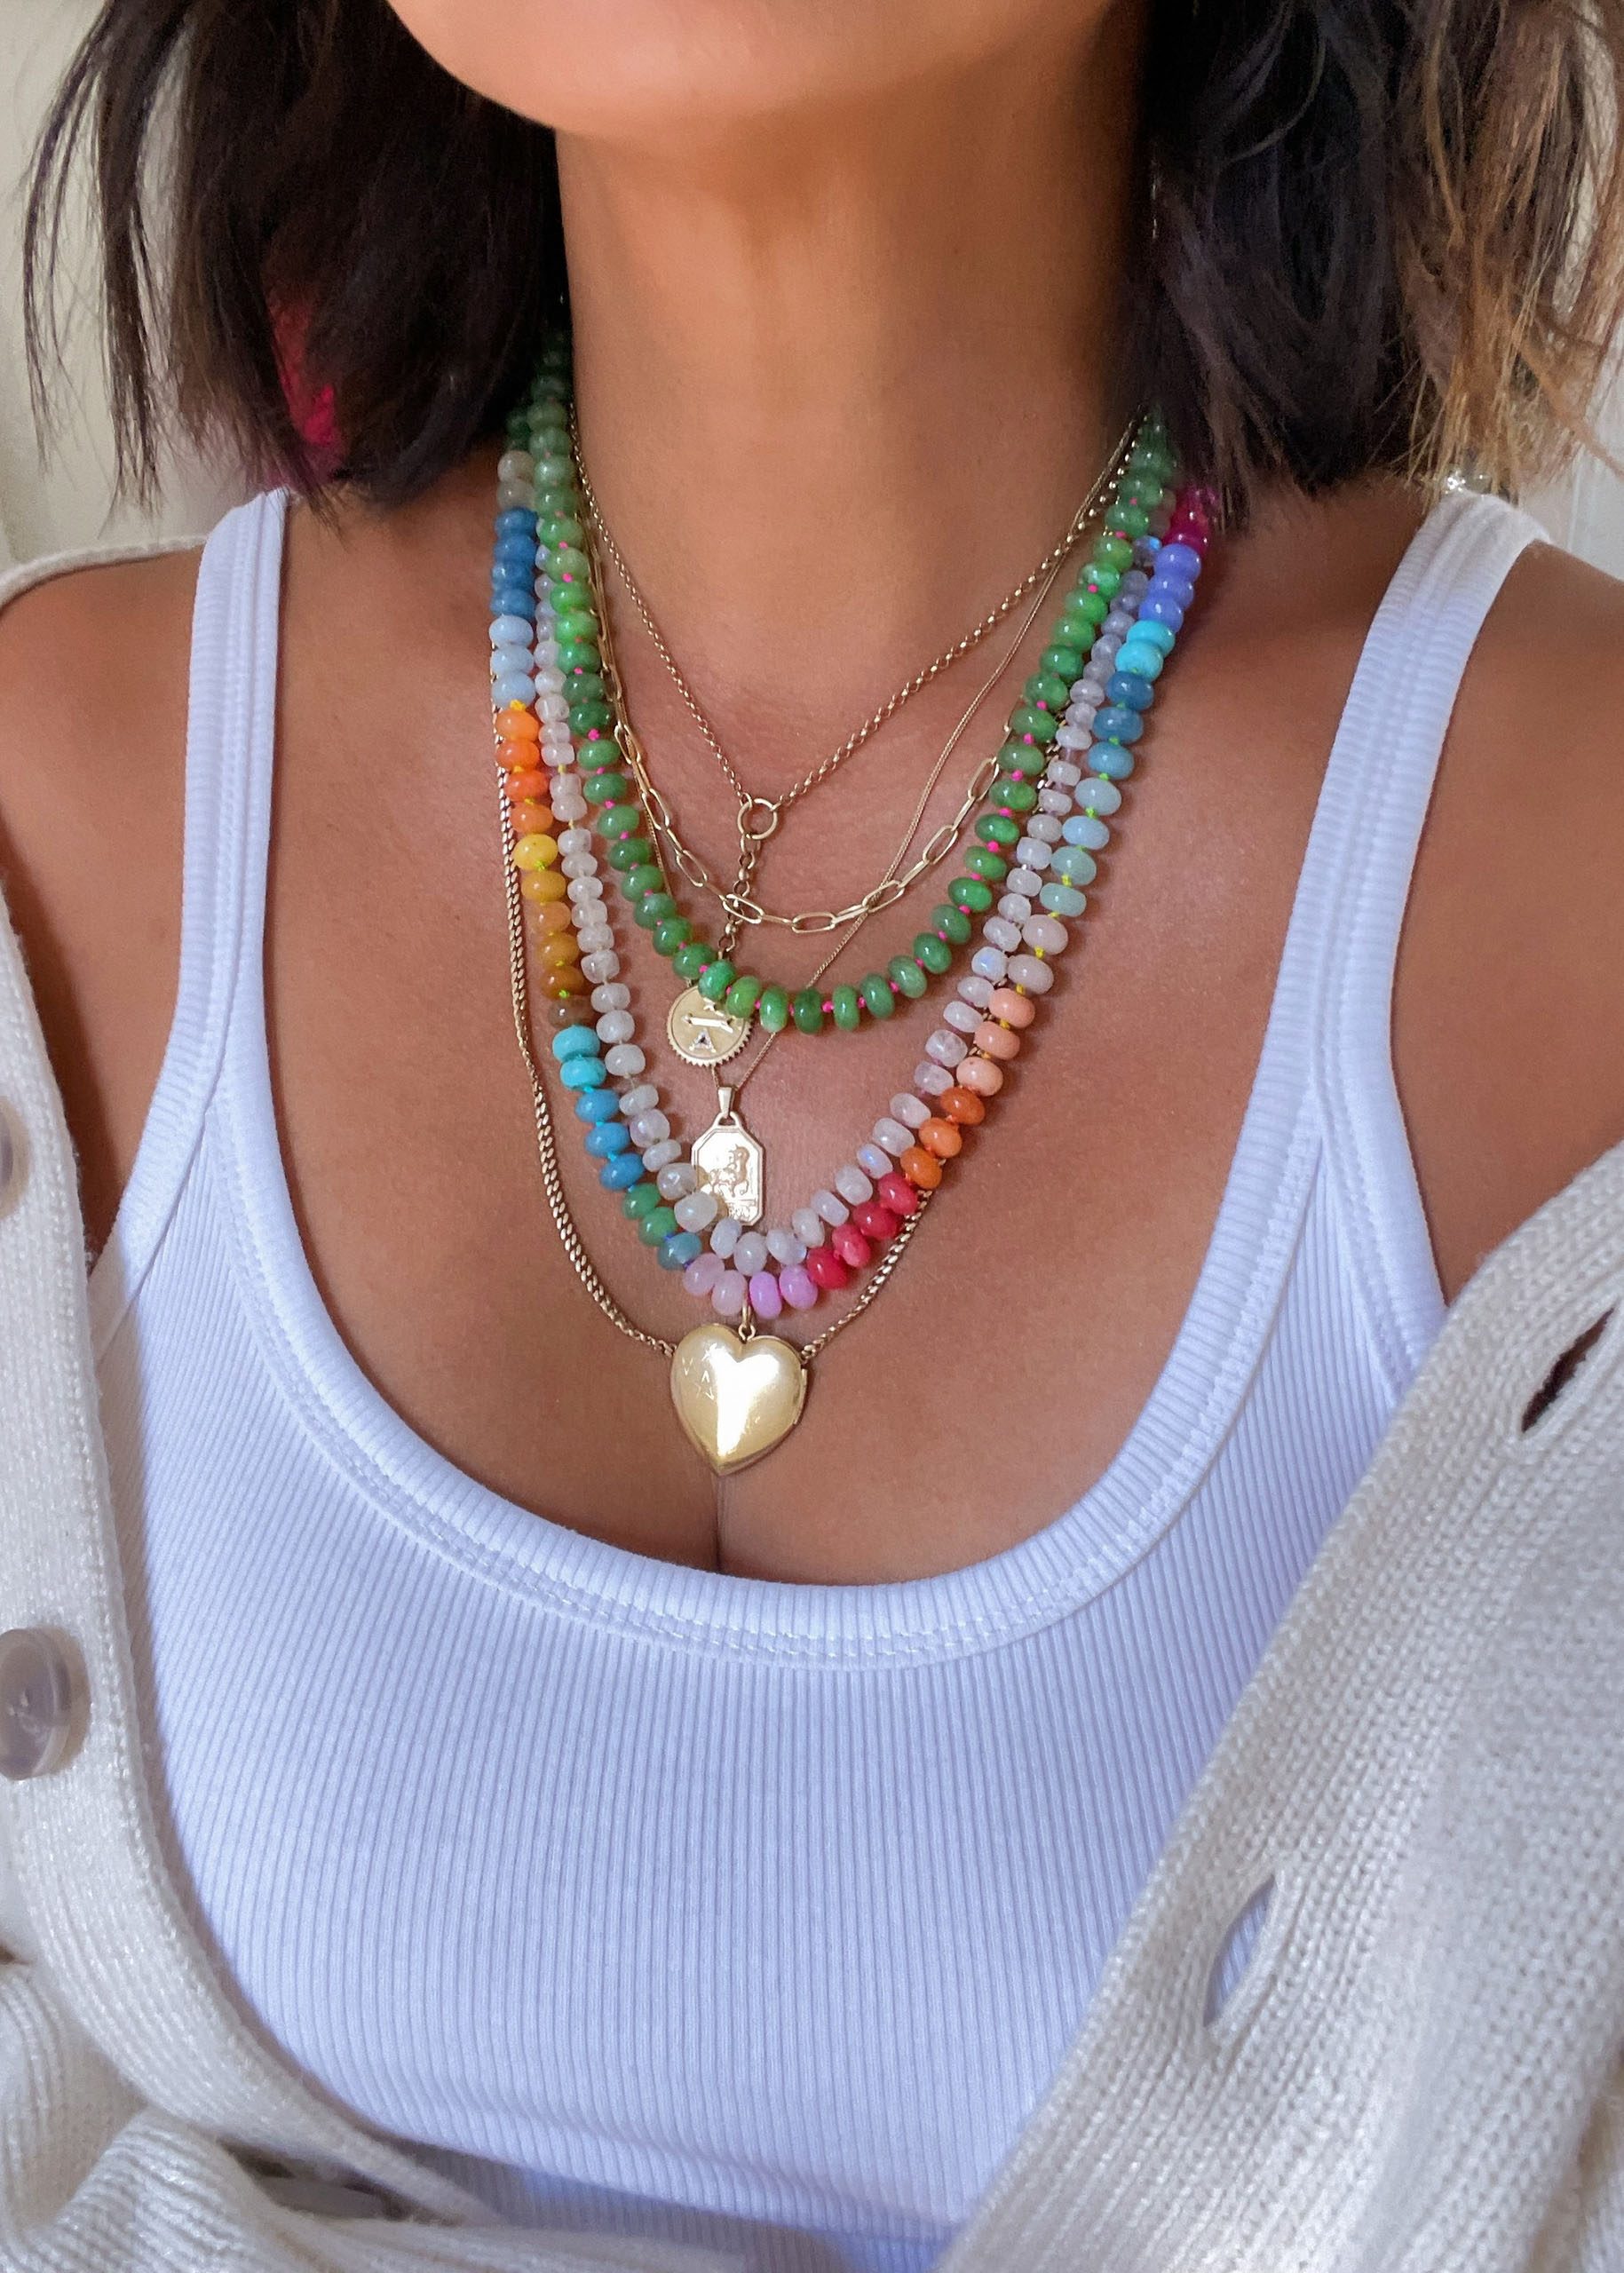
Such a fantastic tutorial! I especially like the way the different colors of beads are used to create a rainbow effect. It’s beautiful!
Wow… Same like Sunny Leone
come to Indonesia,… here there are lots of knick-knacks available
either made from machines or home made
This is GORGEOUS! Can you choose to not make it a knot necklace and just string in the beads? Will this material hold the weight?
You’d probably be best off using beading wire like Beadalon multi strand wire
OOOh~~~ This is so fun to make~ Thank you for sharing!
I cant figure out how to get the wire guard on the 0.08 silk cord. It doesnt fit and im so confused. HELP
Absolutely loved making this project! The final product is beautiful and looks like it was made professionally. Can’t wait to wear it.
download musiz shad
Download New Music Sina Shabankhani – Yaram
I ordered everything to your specifications and I can not for the life of me get the threaded cord through the “wire protector”. Do you have any tips to help guide it through? Or can the necklace be made without the use of them?
I had the same issue. I had to force it in and it works.
Download New Music Safaei – Eshghe Man
Download a new Turkish song by Peyman Kivani called Ardabil
https://musicjadDownload Music Hasan Shojaee Sogoliidhapy.blogspot.com
I found a great silicone manufacturer that has very high-quality solid silicone, liquid silicone and vulcanizer, and this product happens to use this type of silicone. https://tansilicone.com/
download song jazb