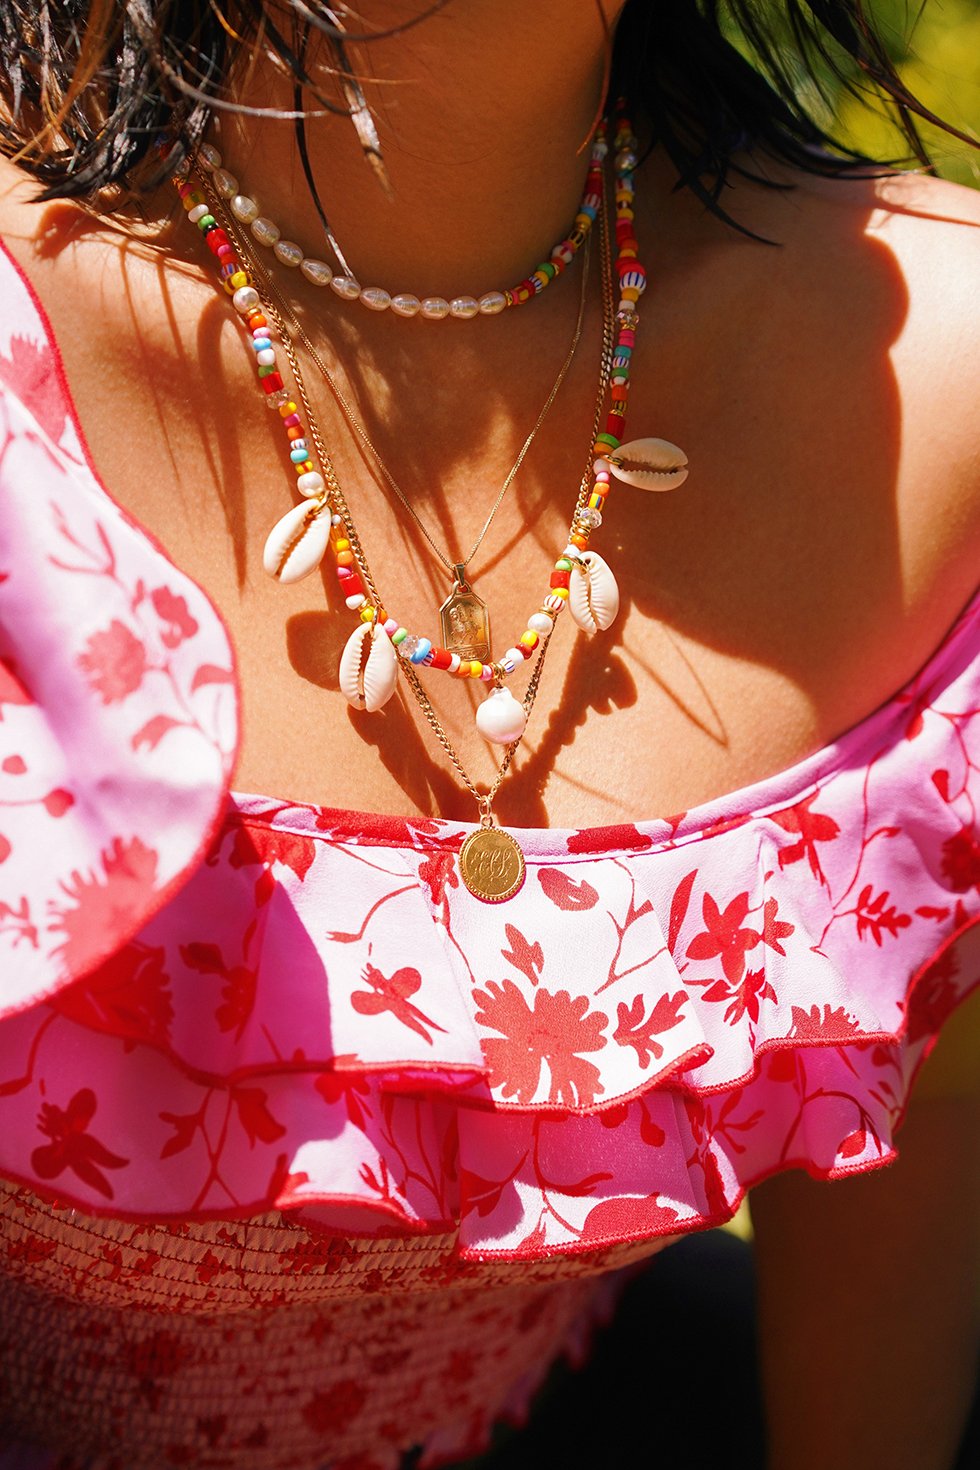

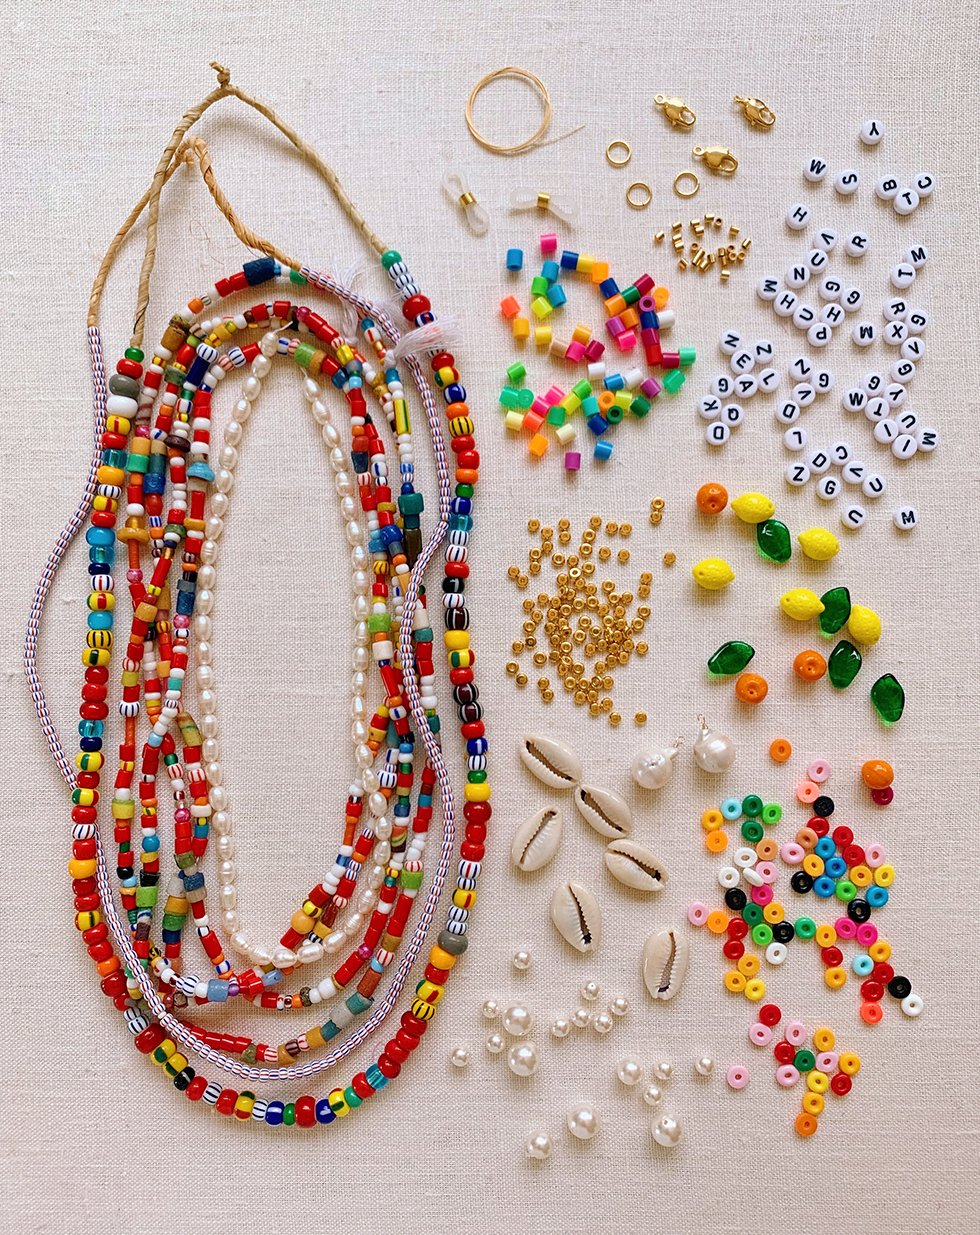
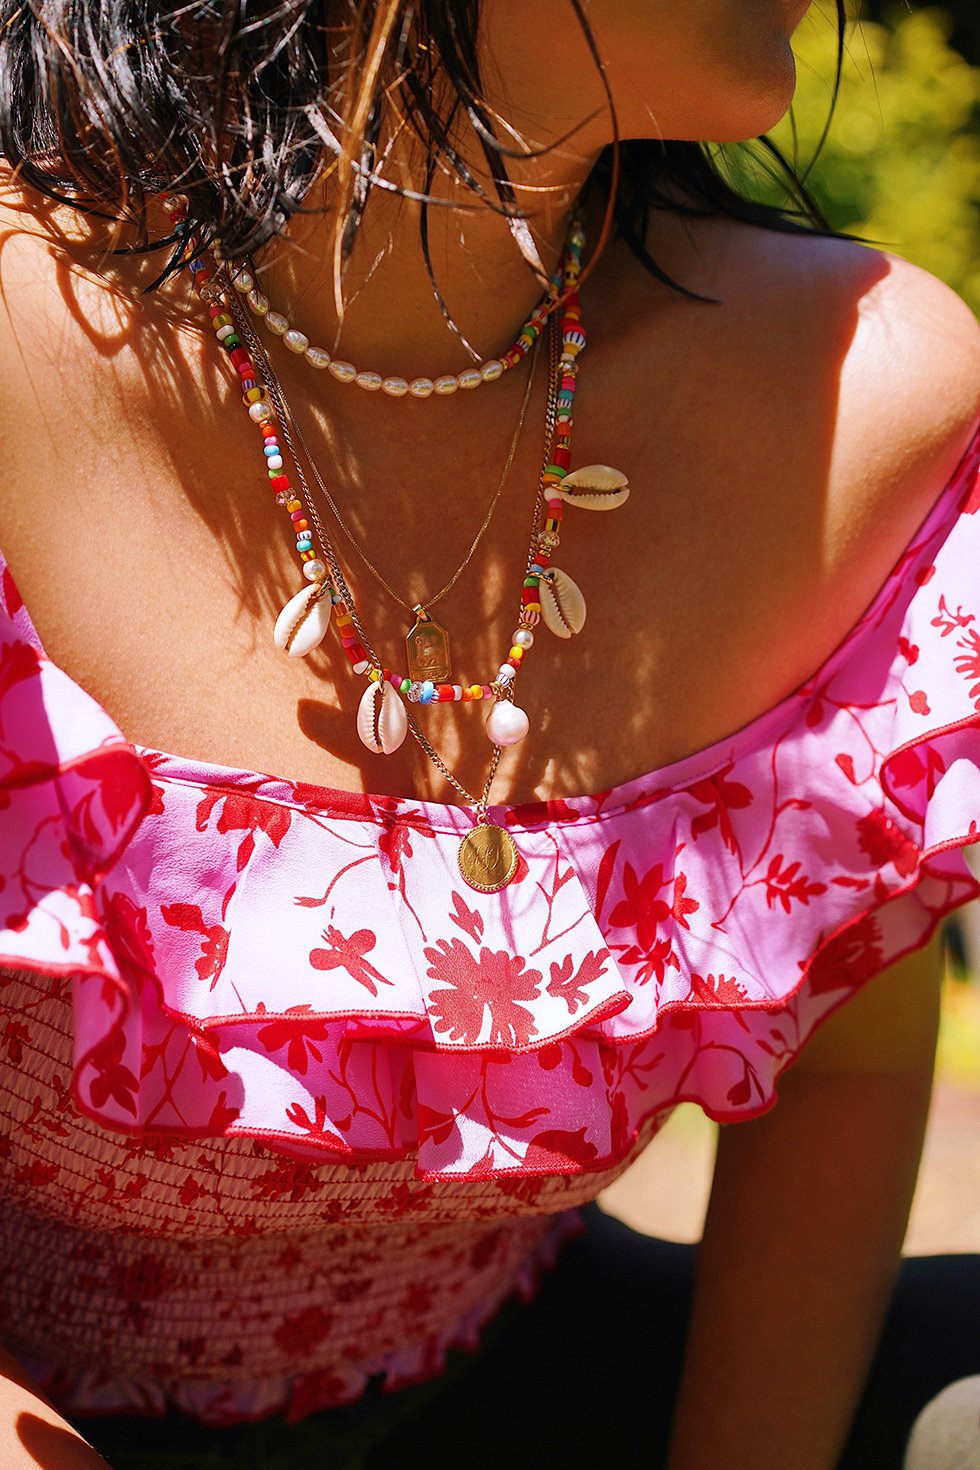
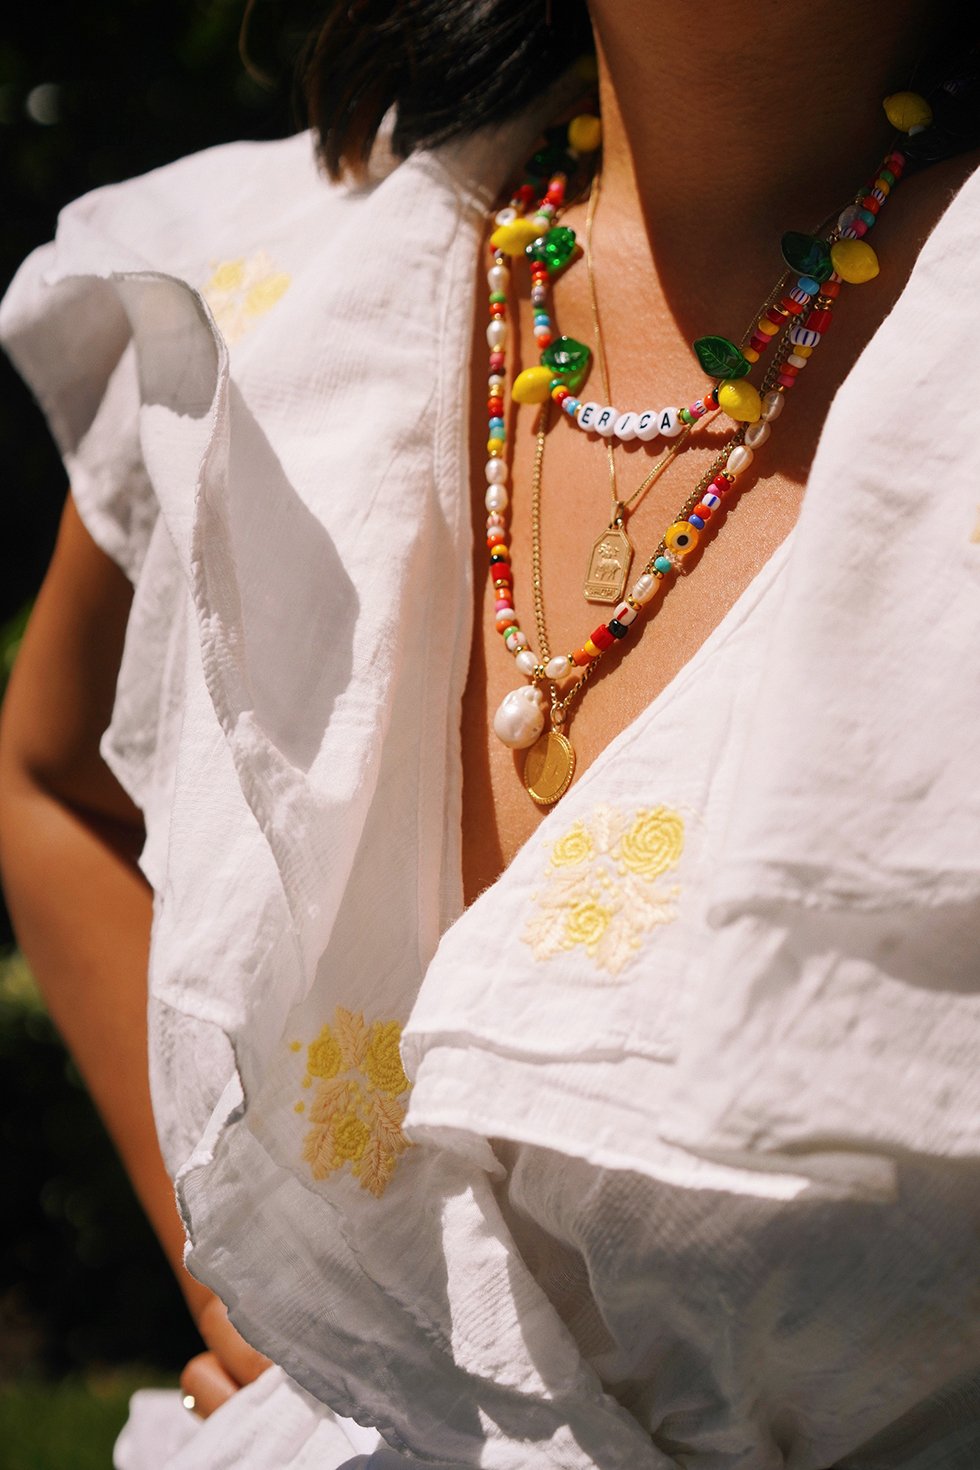
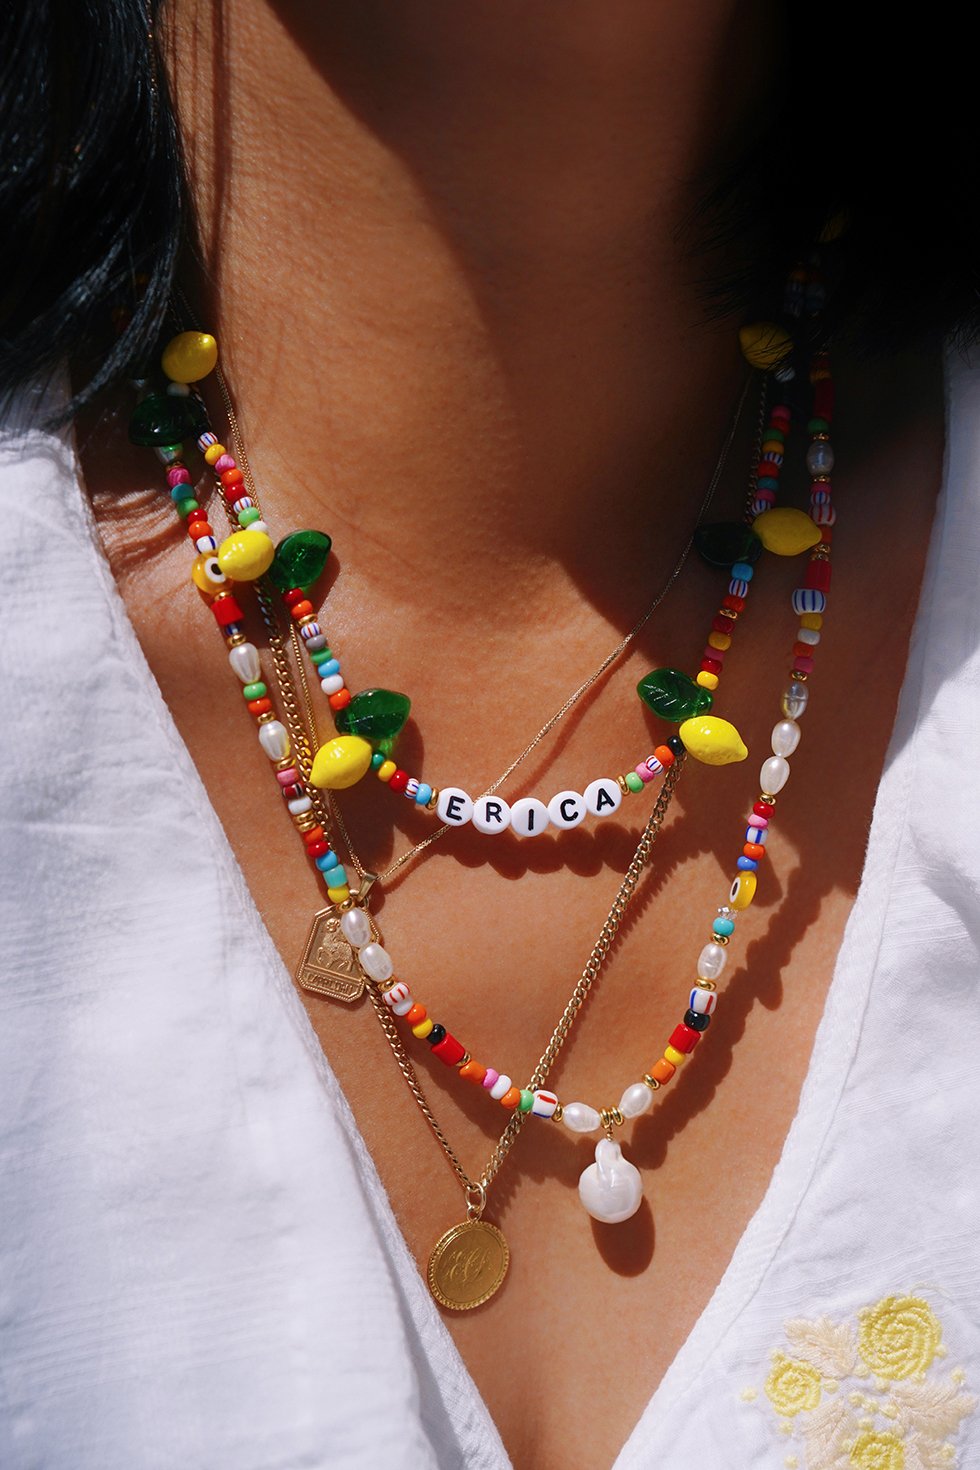
Summer has officially begun and so has the heavy rotation of of playful, summery accessories - most favorably, jewelry. I've been collecting African trade beads, pearls and shells for almost a decade, so when I stumbled upon jewelry label éliou's beautifully beaded necklaces, I knew I finally had reason to put my collection to good use. I loved experimenting with acrylic alphabet letters, glass fruit beads and melted perler beads, which were leftover from last summer's DIY. My only advice here is to prep all of your components before you begin stringing your necklaces. I like to place the different elements into small bowls, making the assembling process so much easier. This is, by the way, a great group activity. Enjoy!
You'll Need:
- African beads (found here and here)
- Czech beads
- perler beads
- melted perler beads
- gold spacer beads
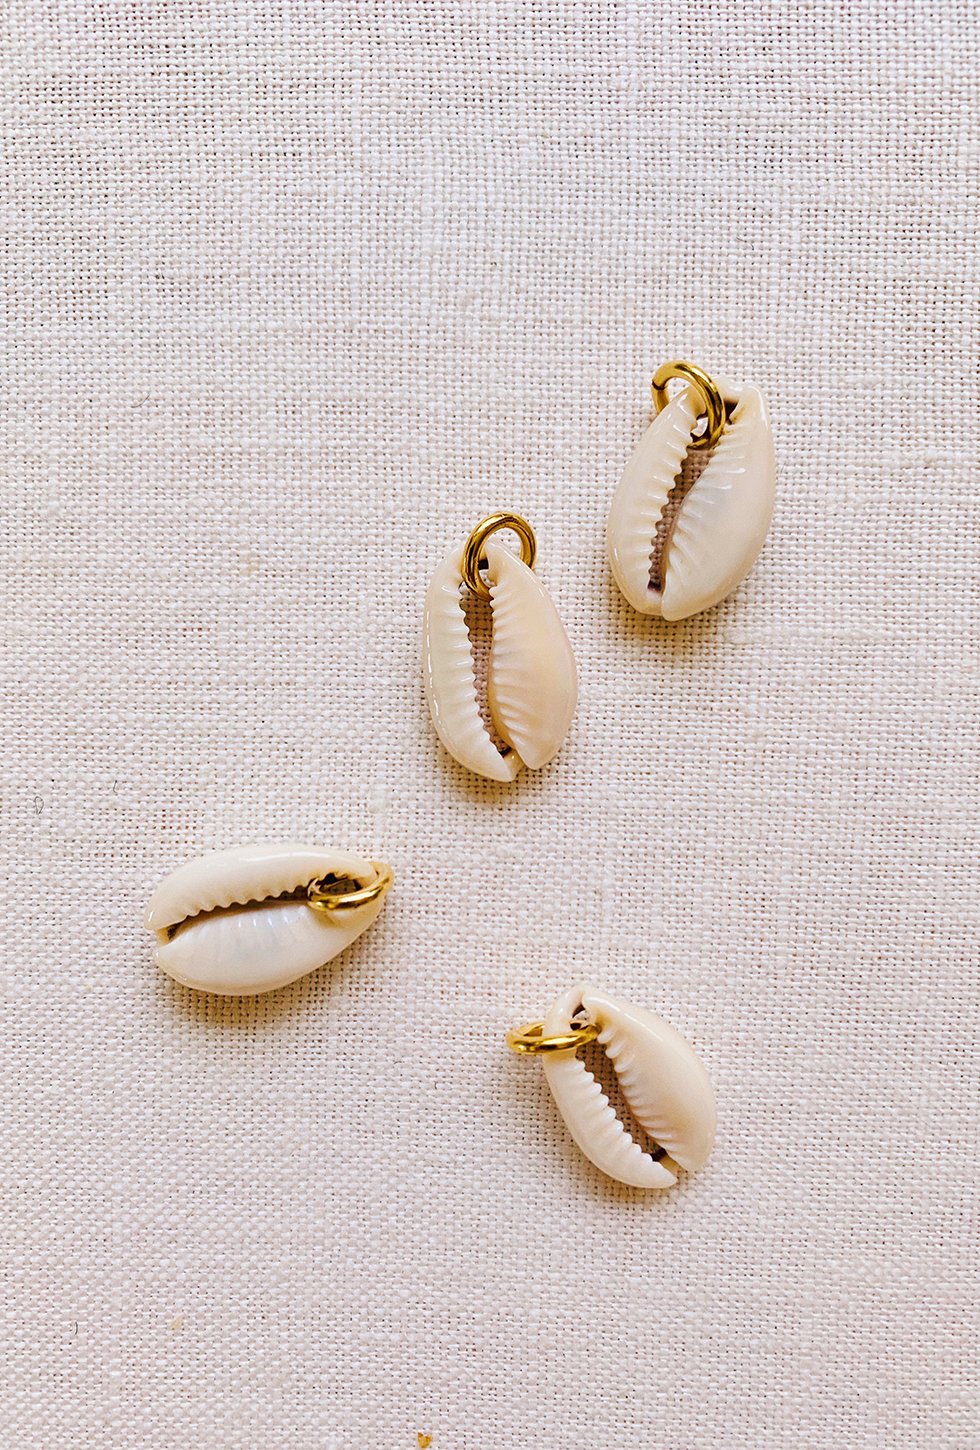
- sliced cowrie shells
- freshwater pearls
- baroque pearls pendant
- alphabet beads
- fruit beads
- crimp tubes
- 4mm gold filled crimp bead covers
- 5mm open jump rings
- 6mm closed jump rings
- 7 x 12mm lobster clasps
- metallic flex wire in gold
- 2 chain nose pliers
- crimping tool
- scissors or clippers

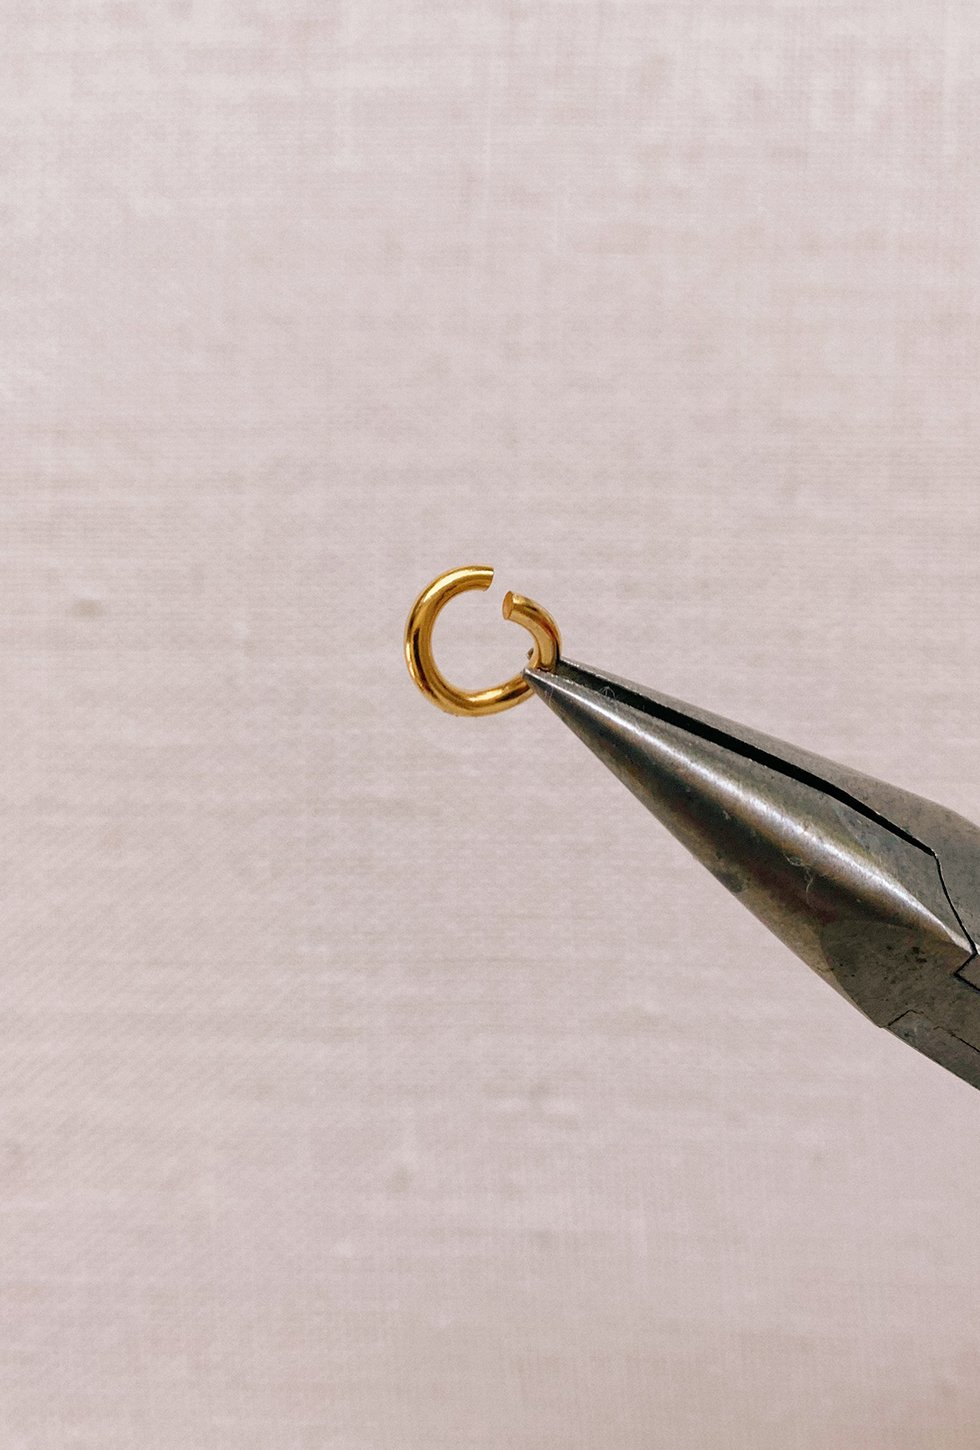
I like to start by prepping all of the pendants and dangling elements. The easiest way to attach cowrie shells to a necklace is with jump rings. You'll want to test 5mm - 8mm jump rings to see which ones will fit through the top of the cowrie shell. Use the chain nose pliers to open the jump rings by pushing one end back and pulling the other end forward.
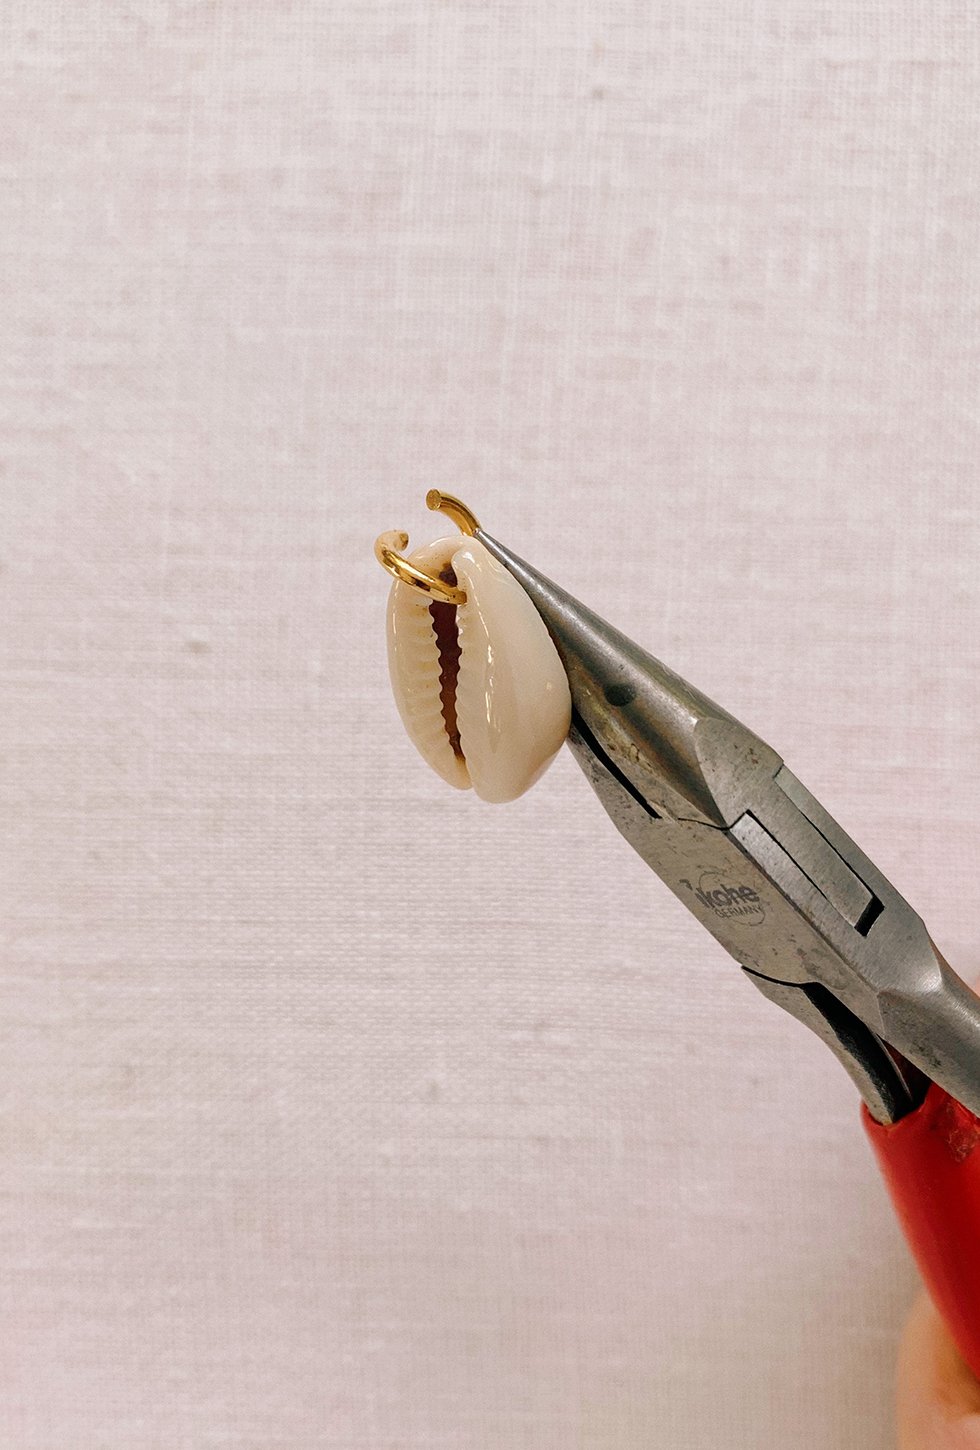
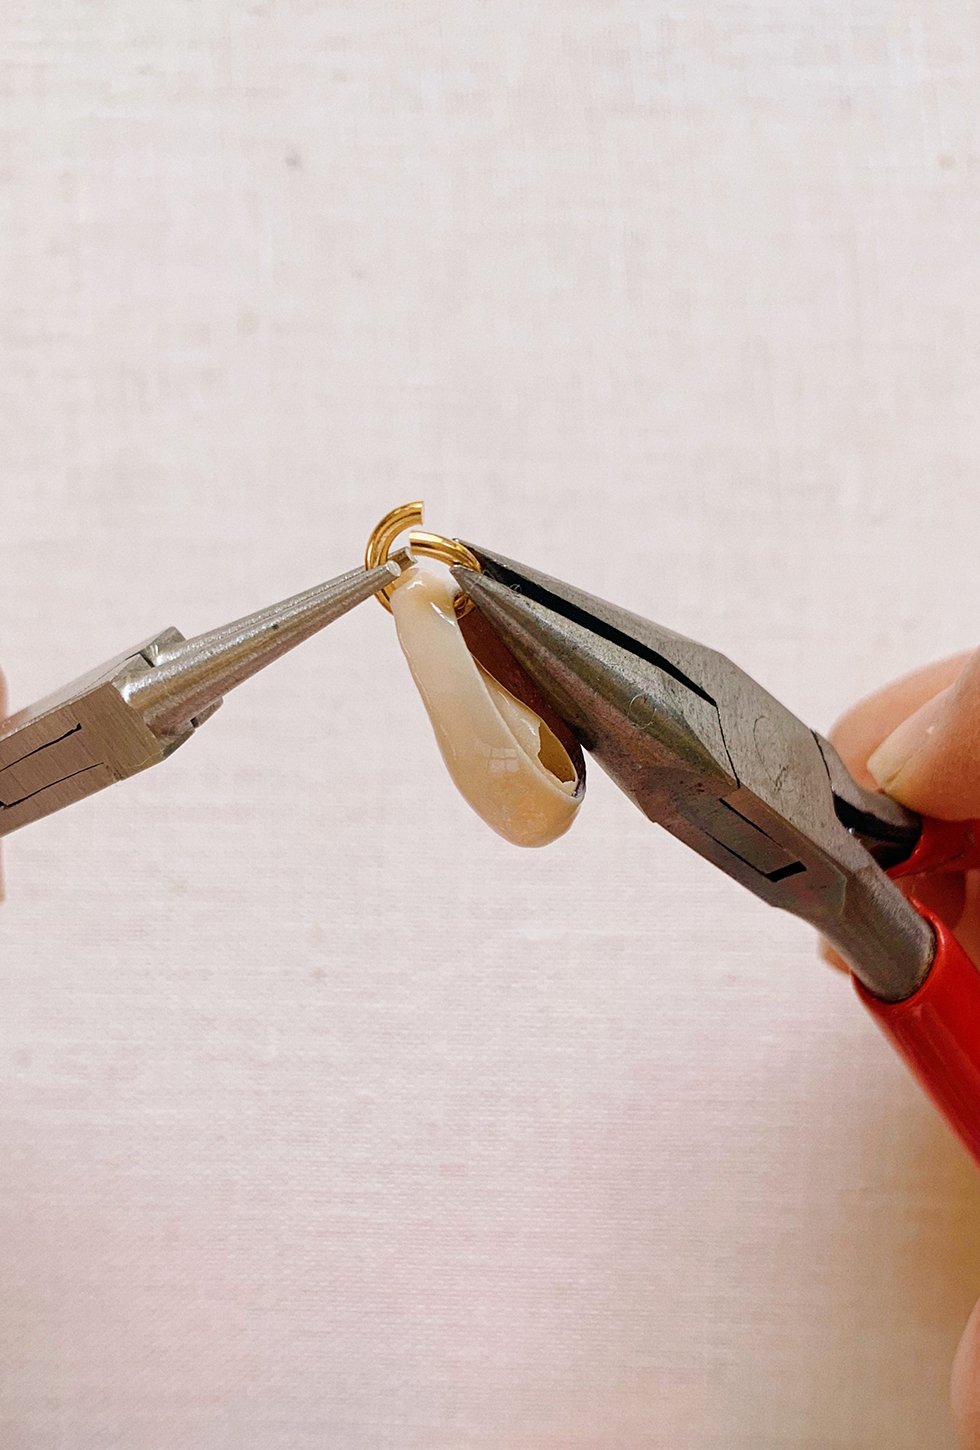
Use the chain nose plier to thread the open jump ring through the top of the cowrie shell. Use the chain nose pliers to close the jump ring.
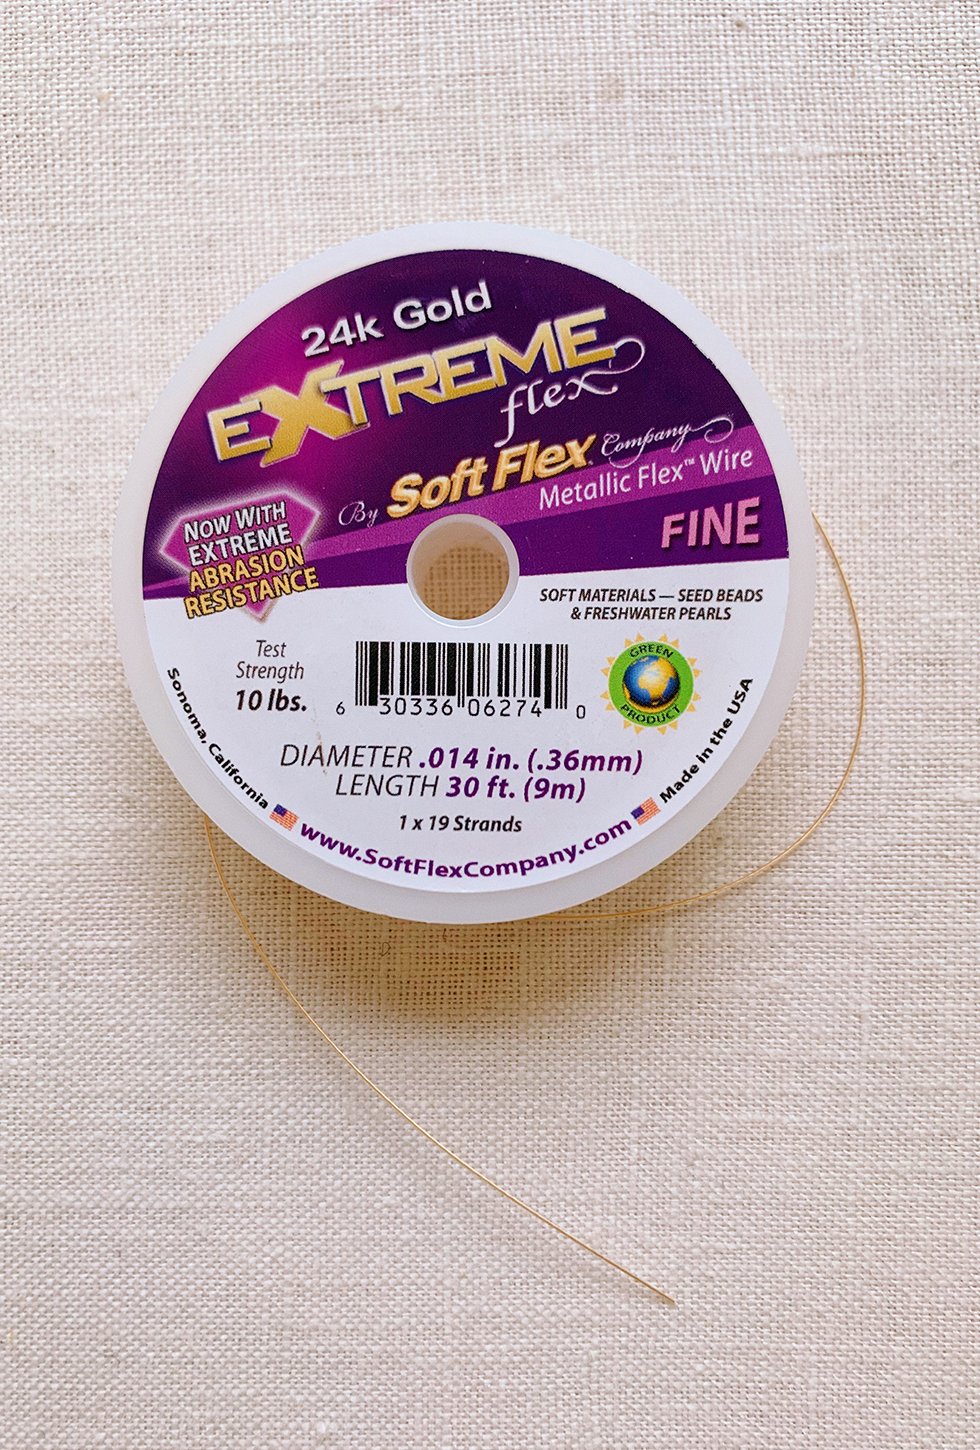
Set the cowrie shells aside, as well as the pre-made baroque pearl pendants. Then, it's onto the stringing. I like to use fine, gold Softflex, which is an extremely strong and flexible stringing wire. It holds up nicely and can handle the weight of the beaded necklace.
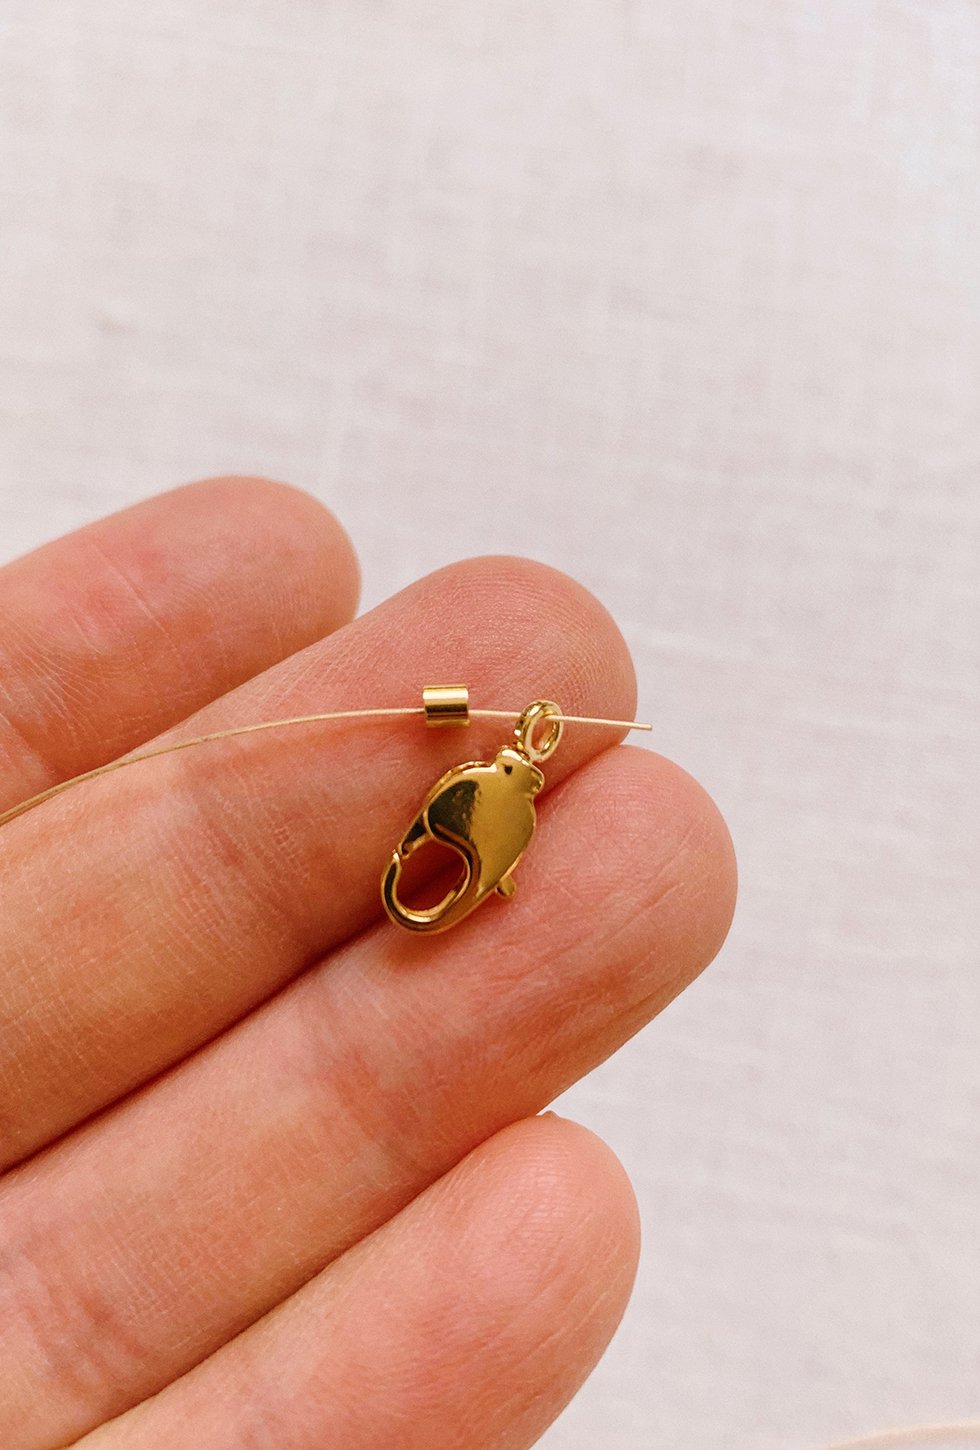
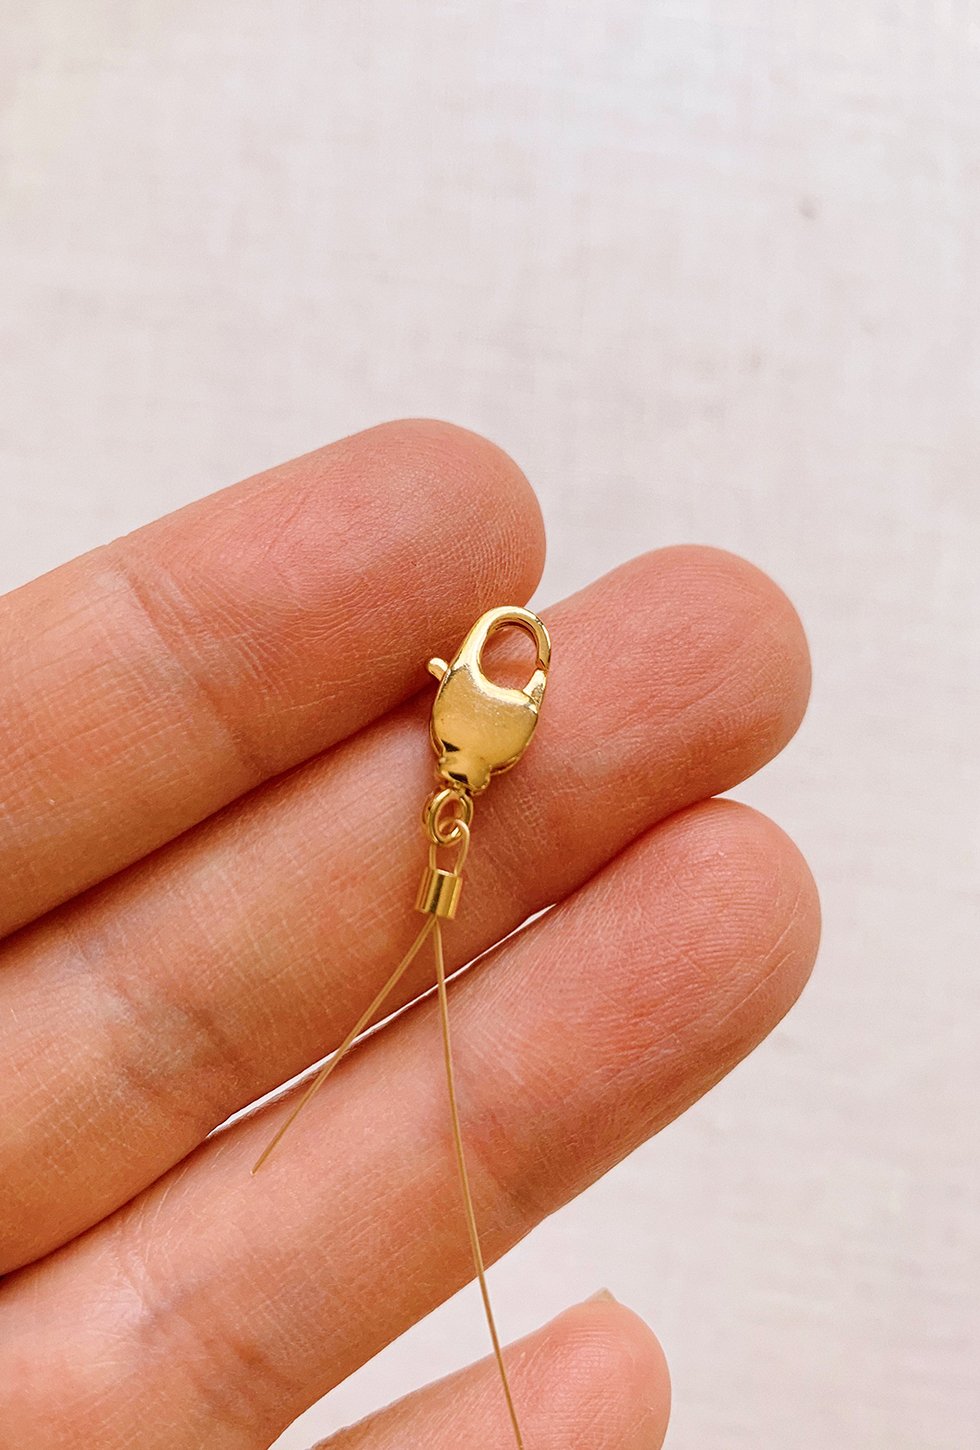
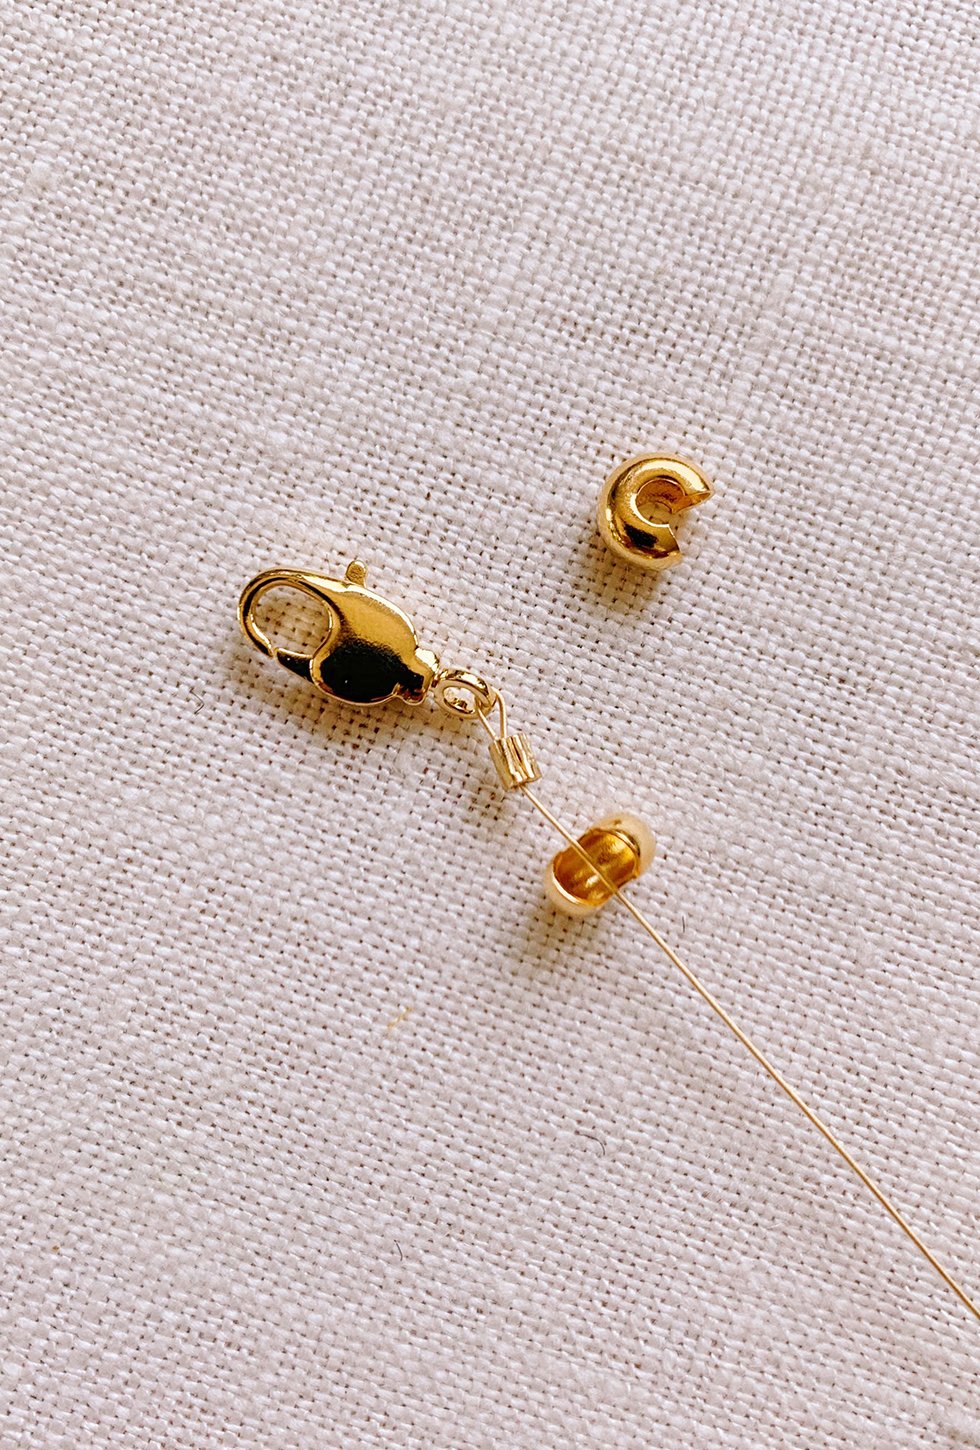
Cut the desired length of your necklace plus 6 inches. Thread a crimp tube on and then the clasp. Thread the stringing wire back through the crimp tube and pull to tighten, leaving a little tail.
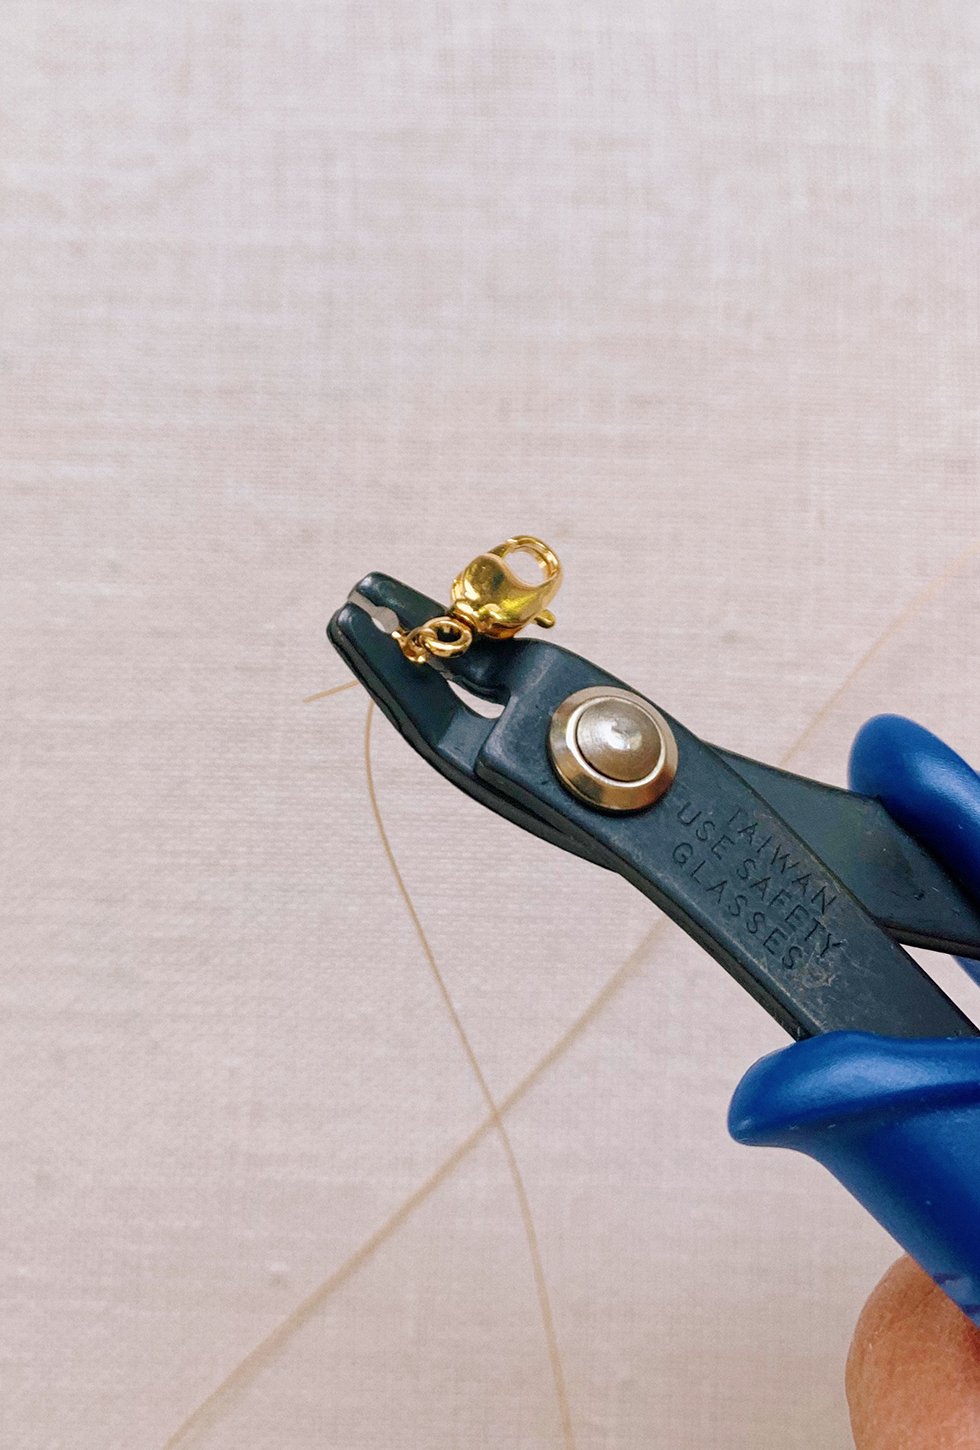
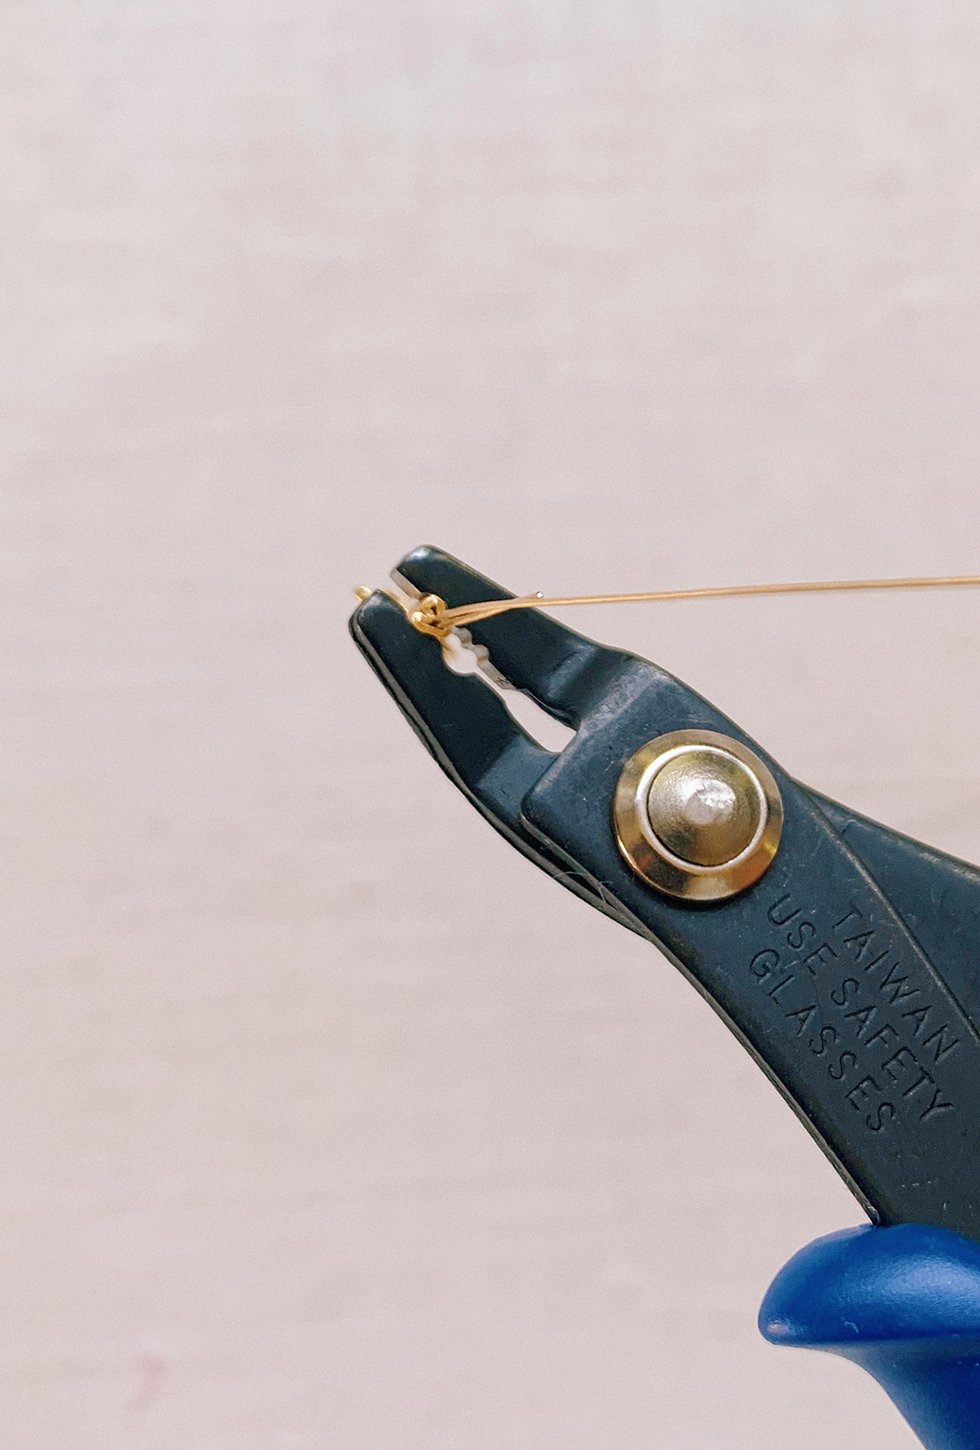
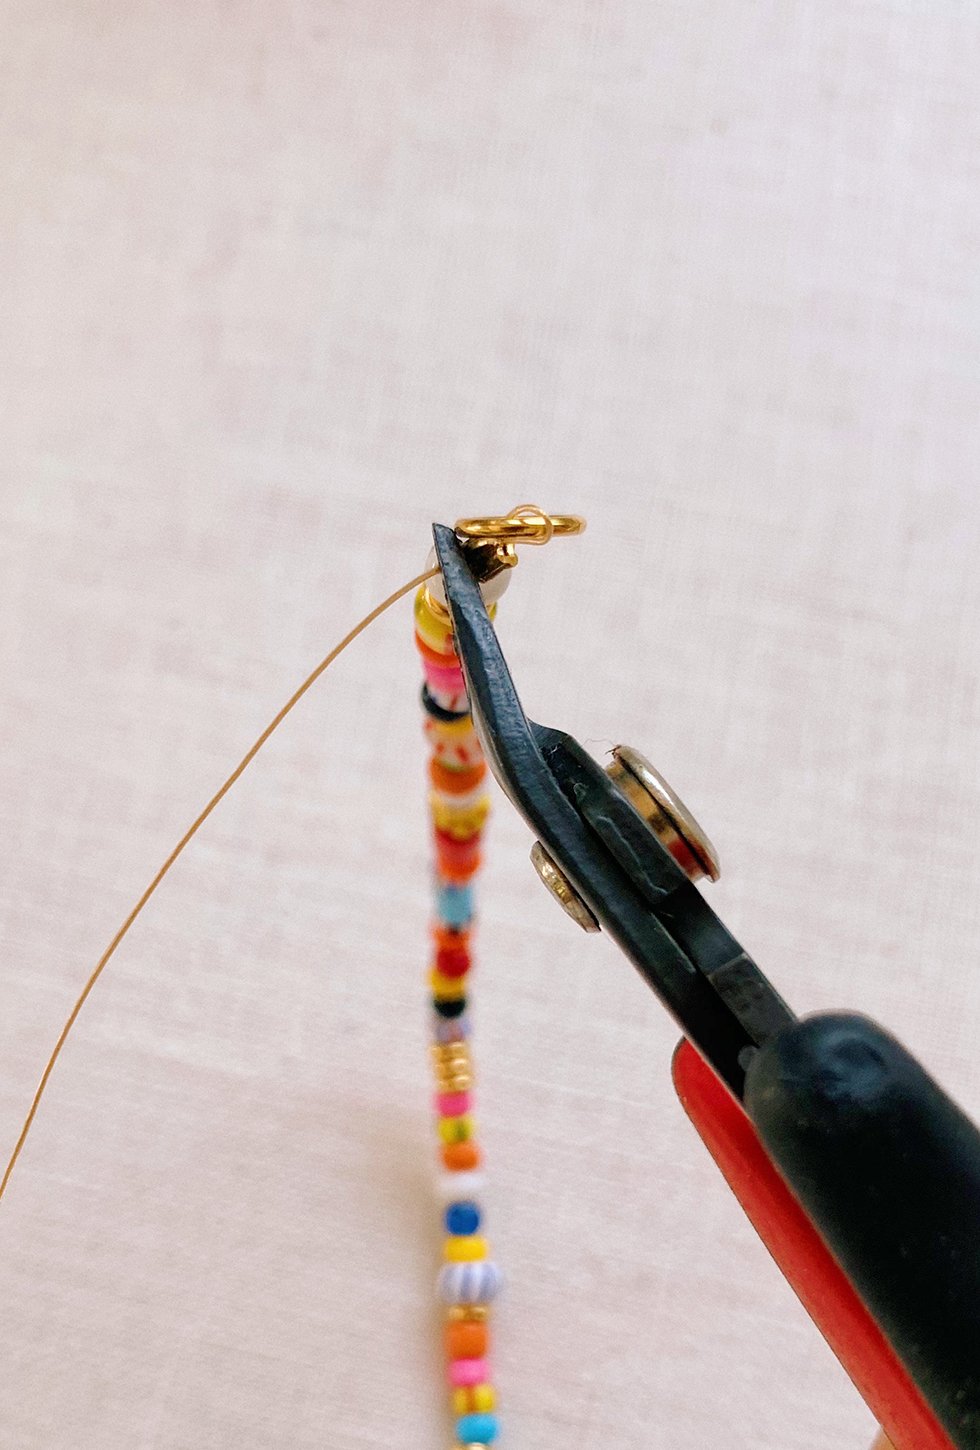
You can close your crimp tube with a pair of chain nose pliers but a crimping tool can be even more efficient and handy for closing crimp beads. They're about $8 and a good tool to have in your craft tool box! Position the crimp bead and thread in the second oval of the pliers (the one with the dip), and close the pliers around the bead. You'll see it curl. Next, turn the crimp bead to its side, position it in the first oval, and close the pliers around the crimp bead again so that you're compressing the curled bead into a rounded shape.
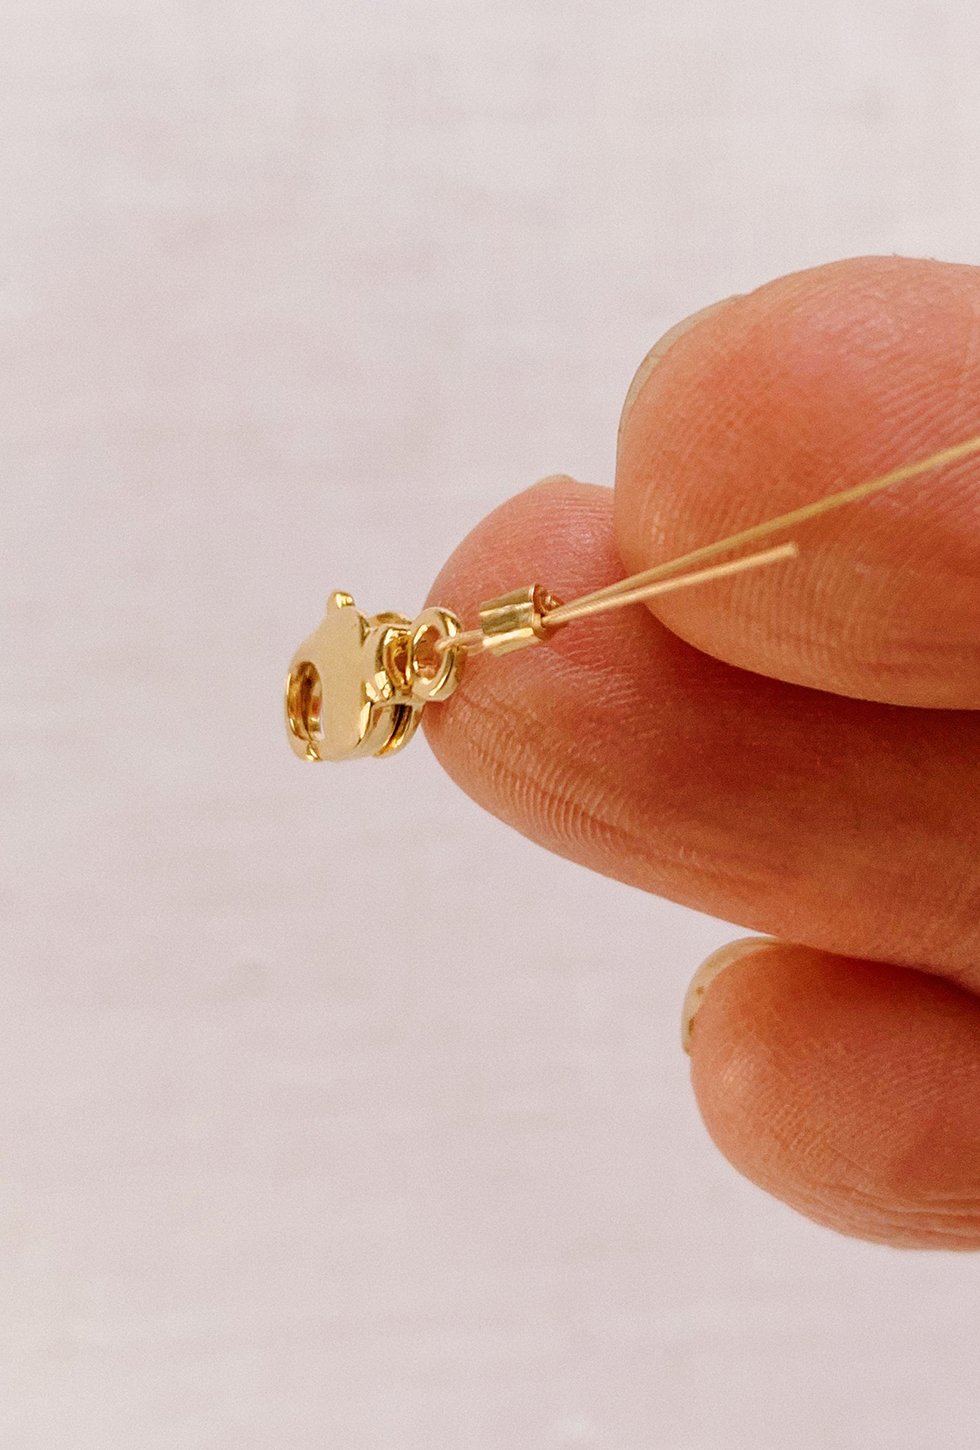
Give it a little tug to make sure the stringing wire is secure. Then trim the excess wire. The edges of the crimp tube can be rather scratchy so I recommend using a crimp cover to conceal the crimp tube, making the clasp smooth and seamless.
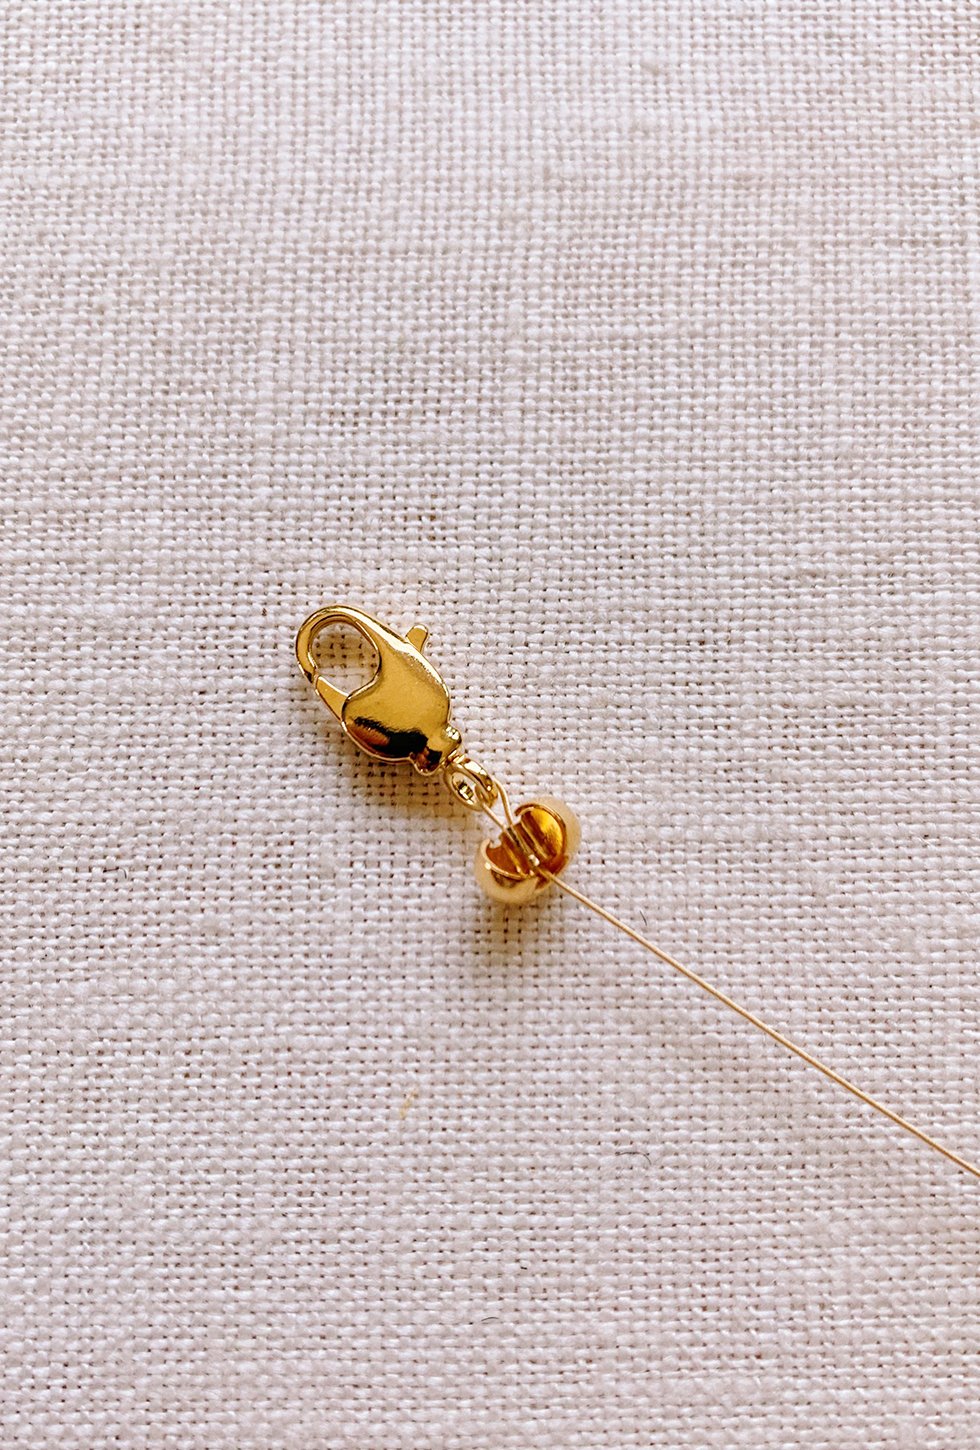

Place the crimped tube into the open crimp cover. Use your chain nose pliers to slowly and carefully close the crimp cover.
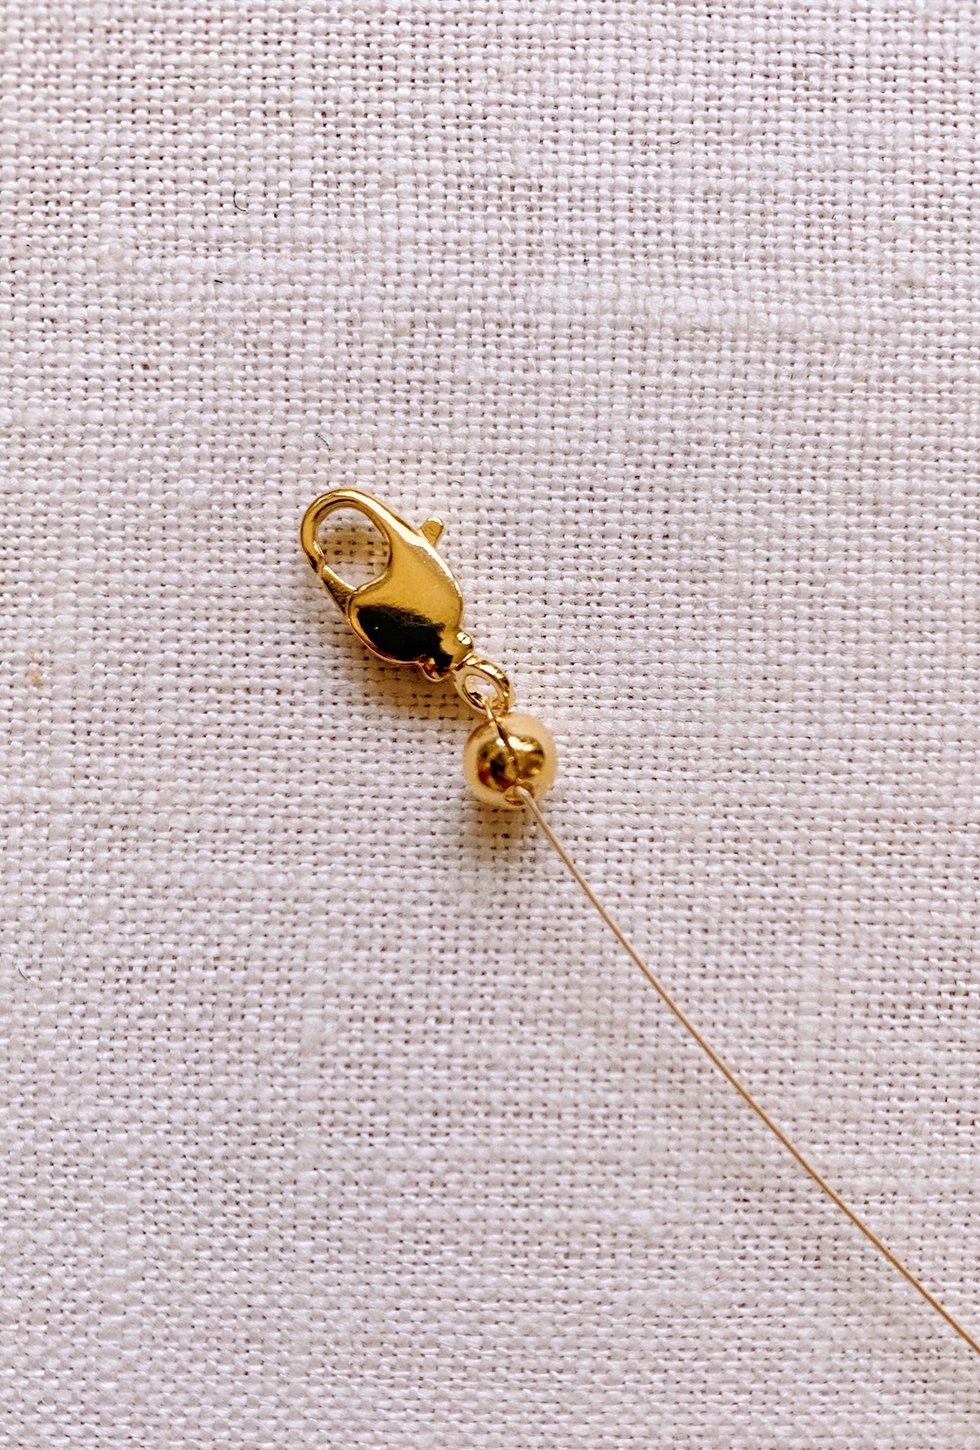
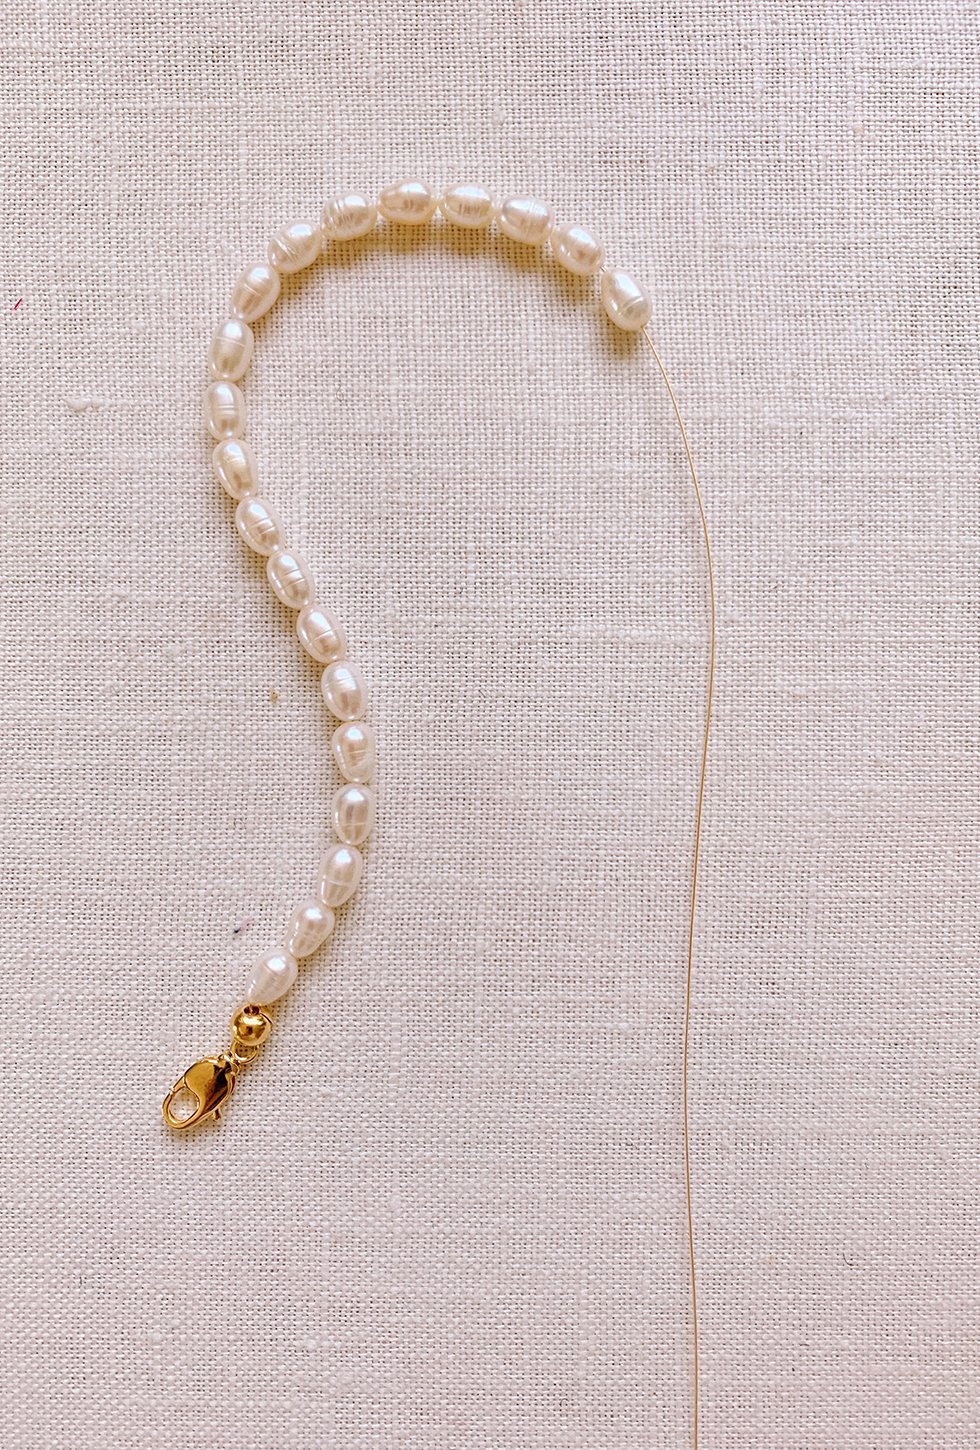
Then, start beading!!
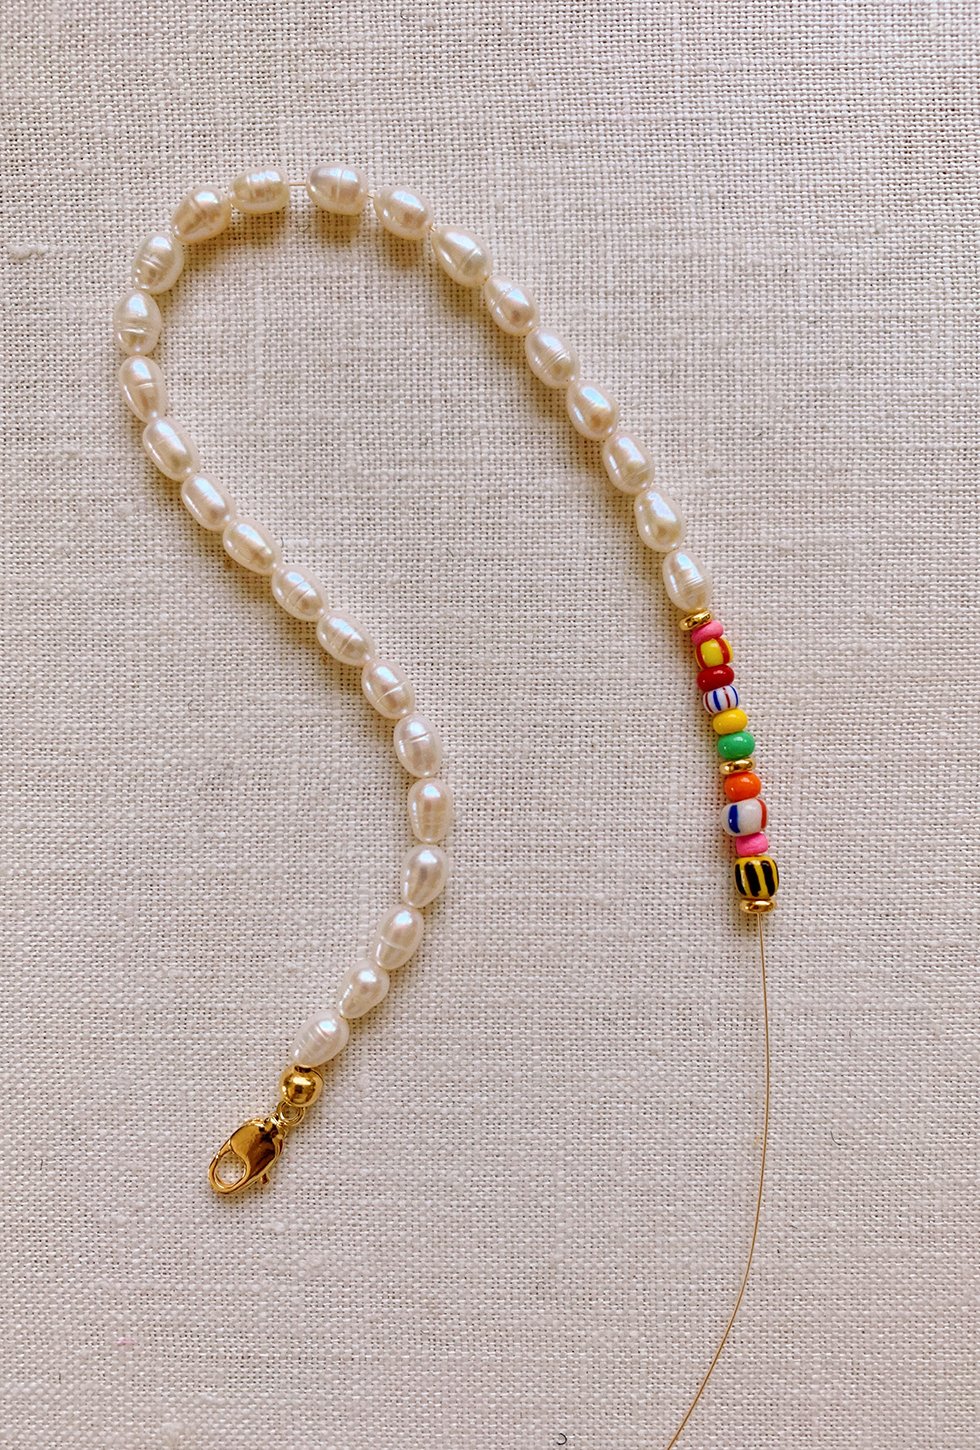
Anything goes here. If you have all your elements prepared, this is definitely the easiest and most fun part!
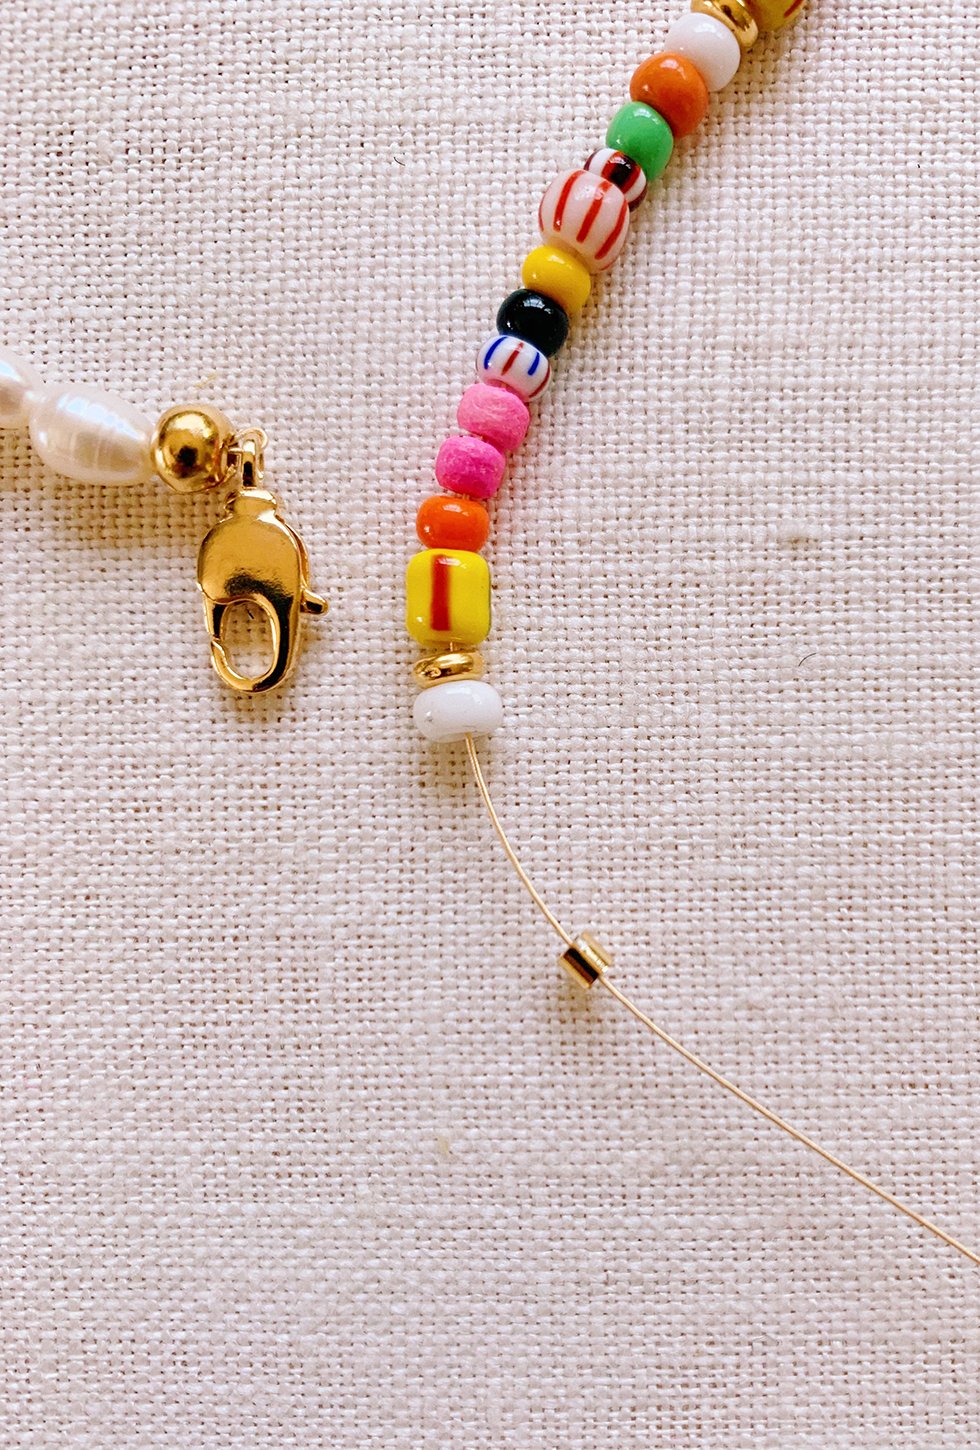
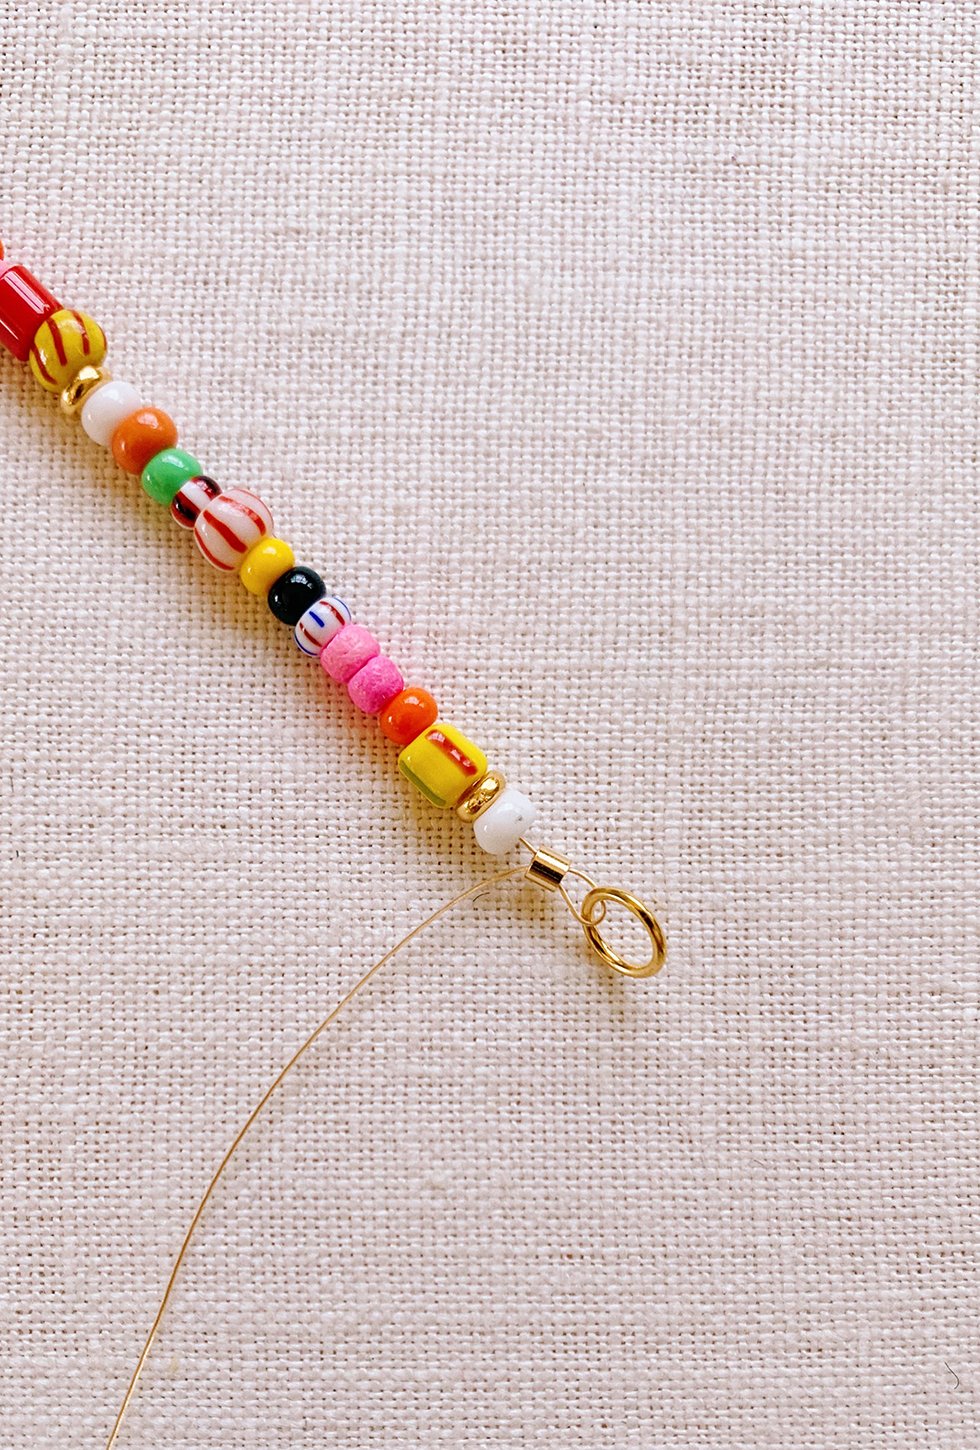
Once you've reached the end of your necklace, thread on another crimp bead and then the closed jump ring.

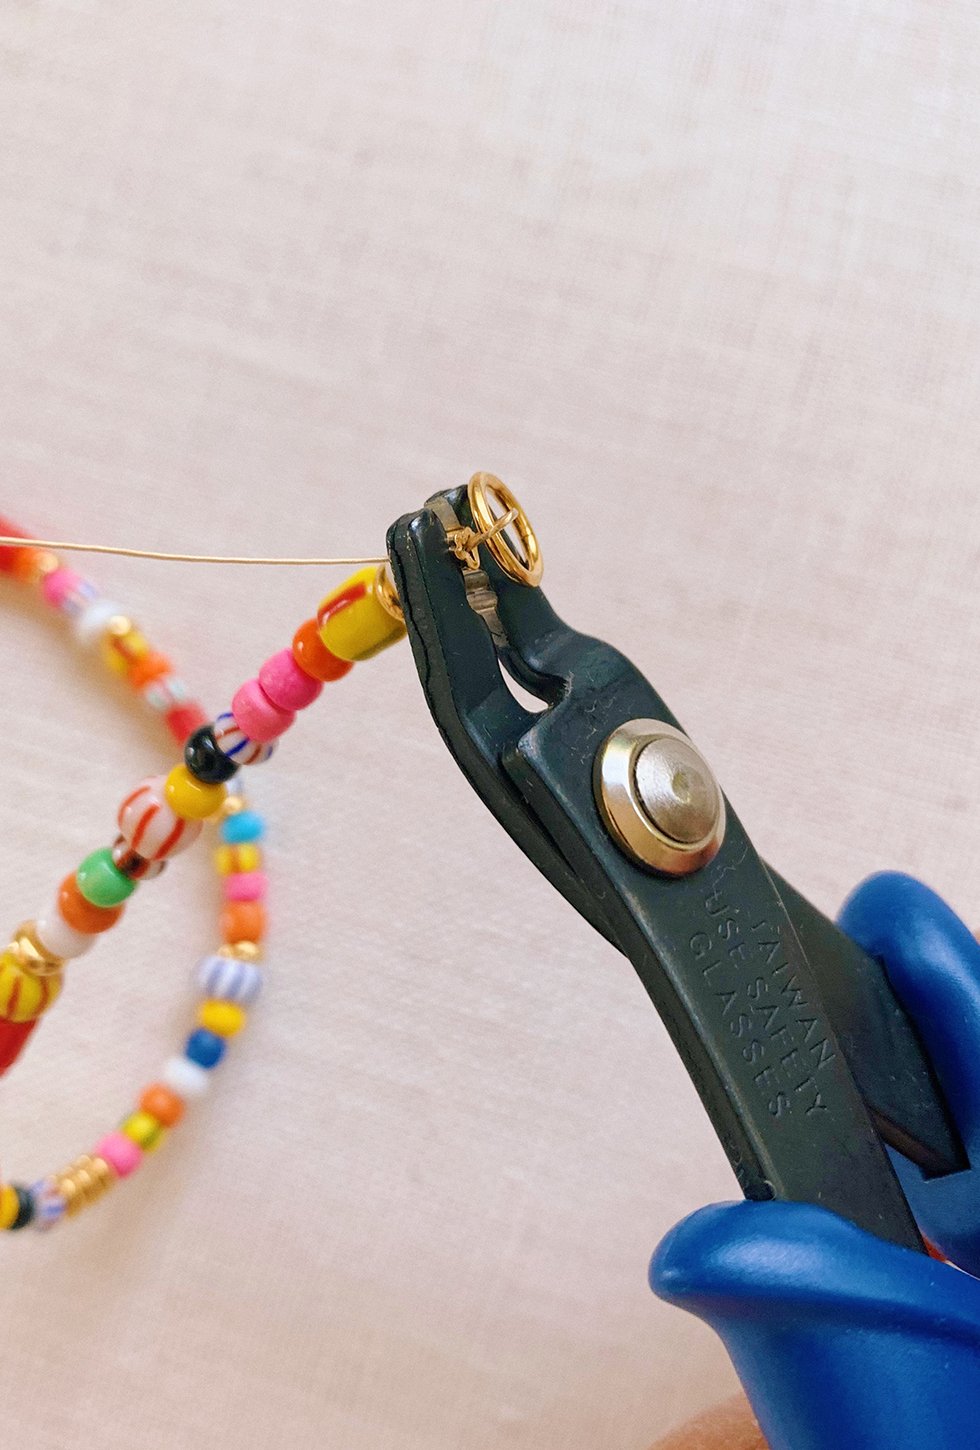
Thread the stringing wire back through the crimp bead and pull tight, leaving enough space on either end of the crimp bead to be covered.
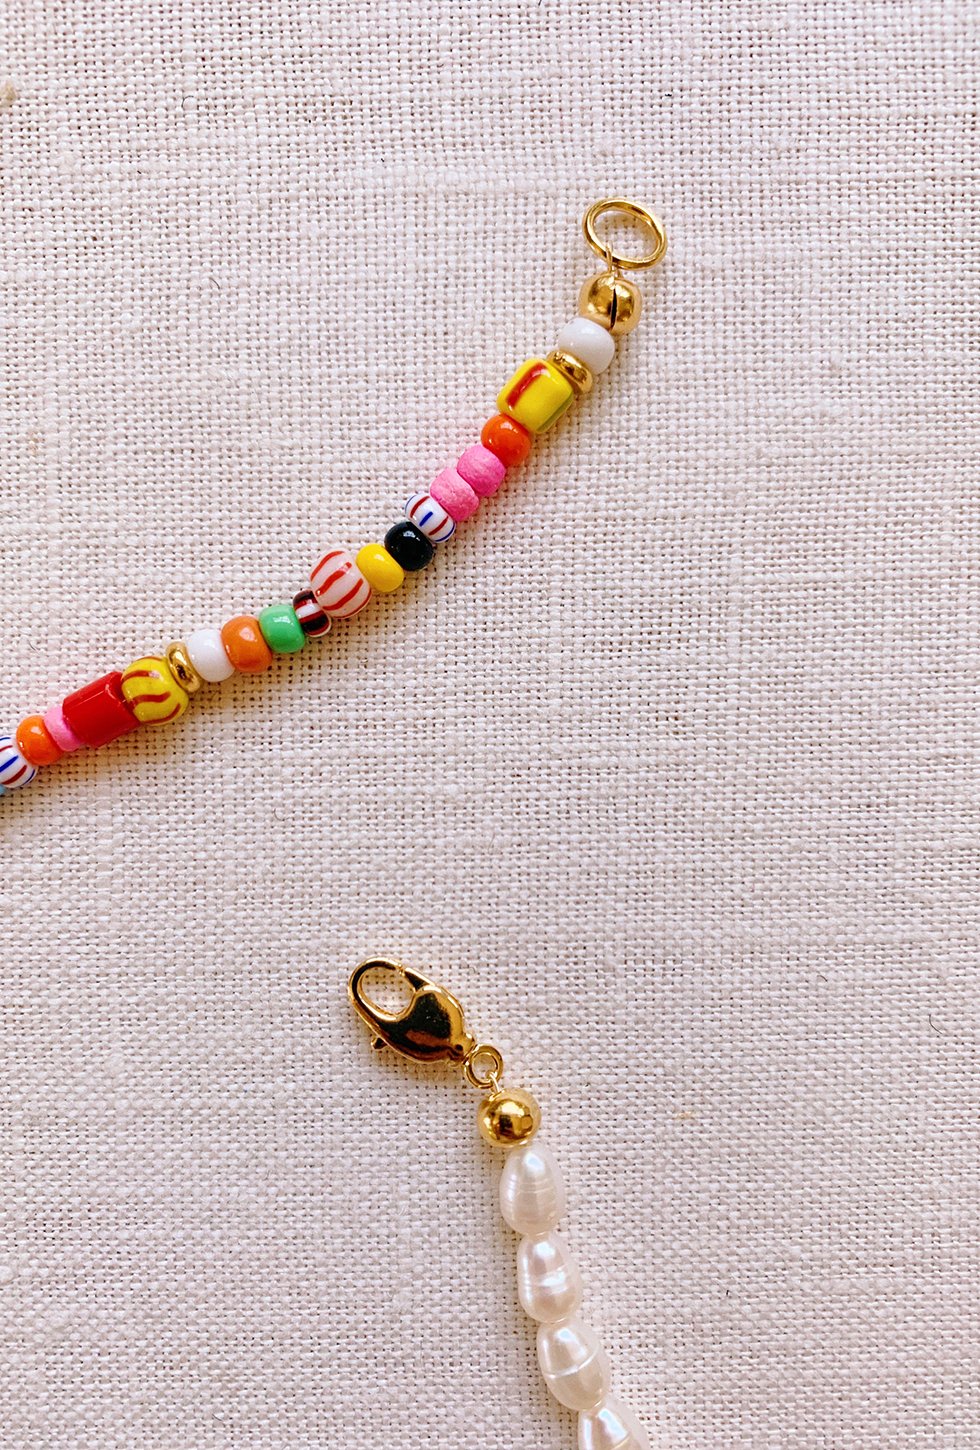
Trim away the excess wire and voila, you're finished!
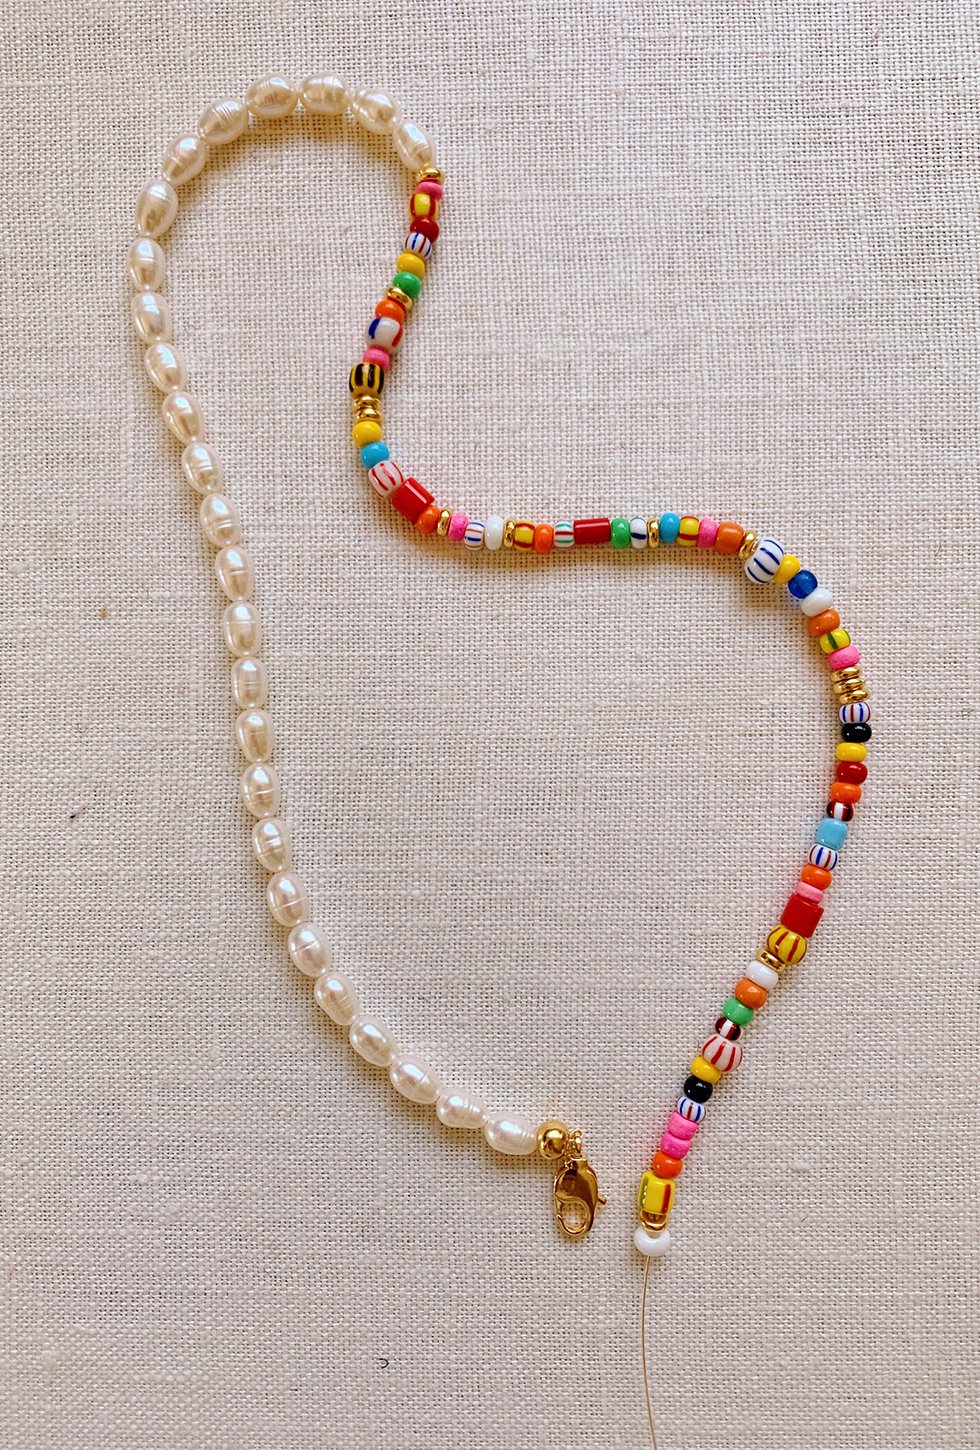
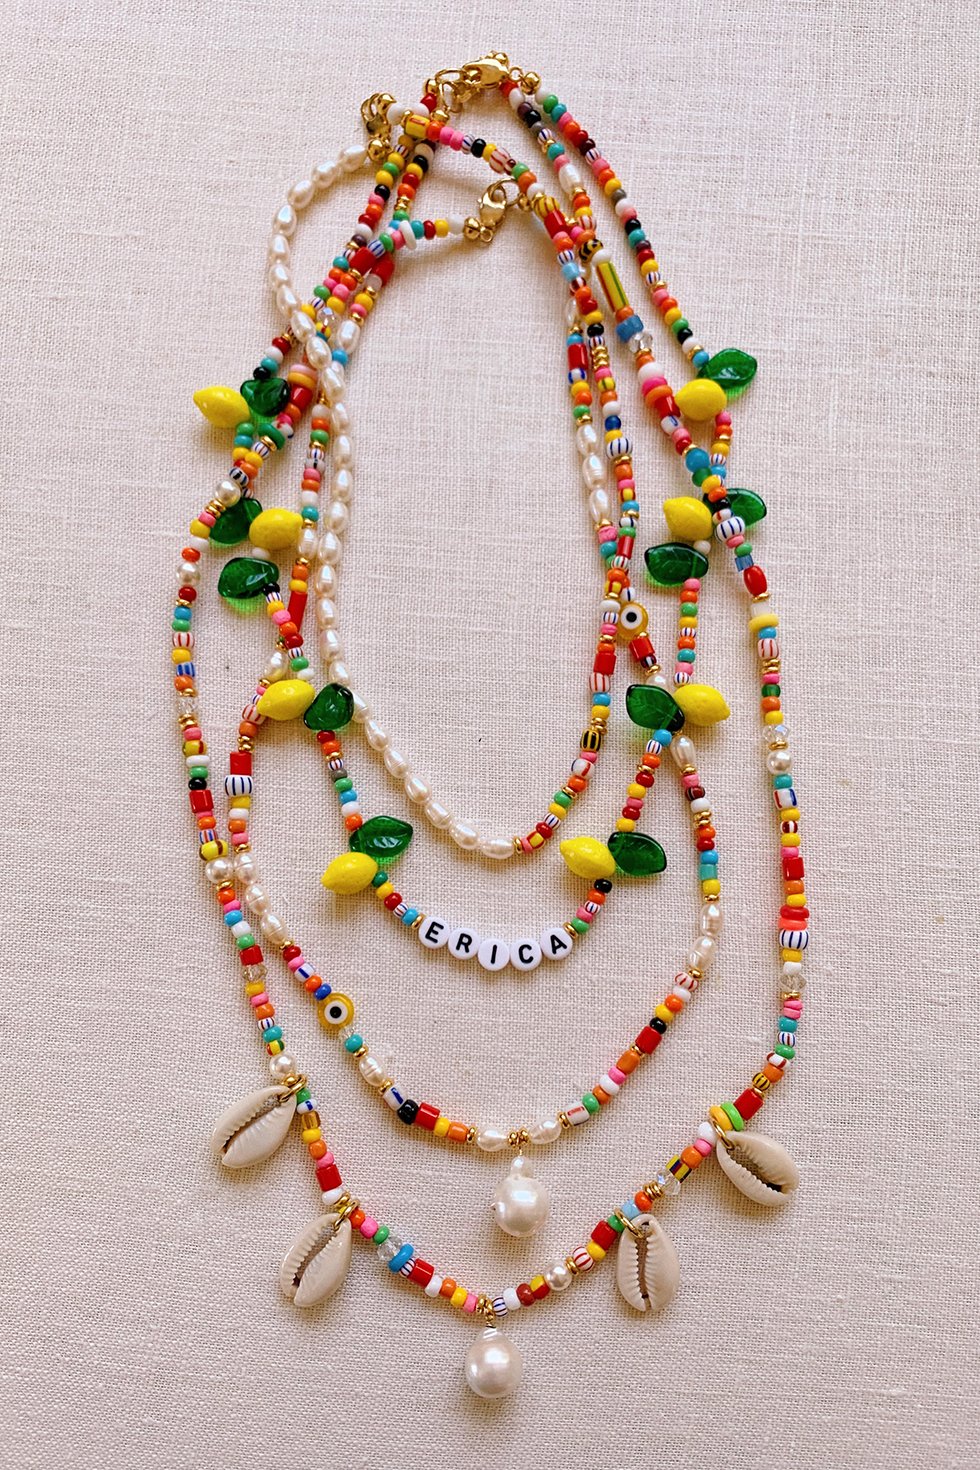
Have fun with this! Play around with different lengths and combination of beads, pearls, gold spacers and shells. And layer away!
tutorial and images by HonestlyWTF
I LOVE THIS SO MUCH!!!!! Been seeing these everywhere. Definitely making some for myself this summer.
https://gmailposteingang.de/
Hi,
These seed beads are so cute. Can you tell me where did you get them?
I love these! I just so happen to have some African Christmas beads in my stash right now. Totally making these. Thanks for the inspo!!
where can i buy material like these?
I would definitely look at Michaels. You can be creative and choose beads that you would like too!
This was so helpful!! Thank you so much!
Love this!!
Great step-by-step instructions and photos! Thank you!
These are so fun and beautiful. Thanks for sharing your diy