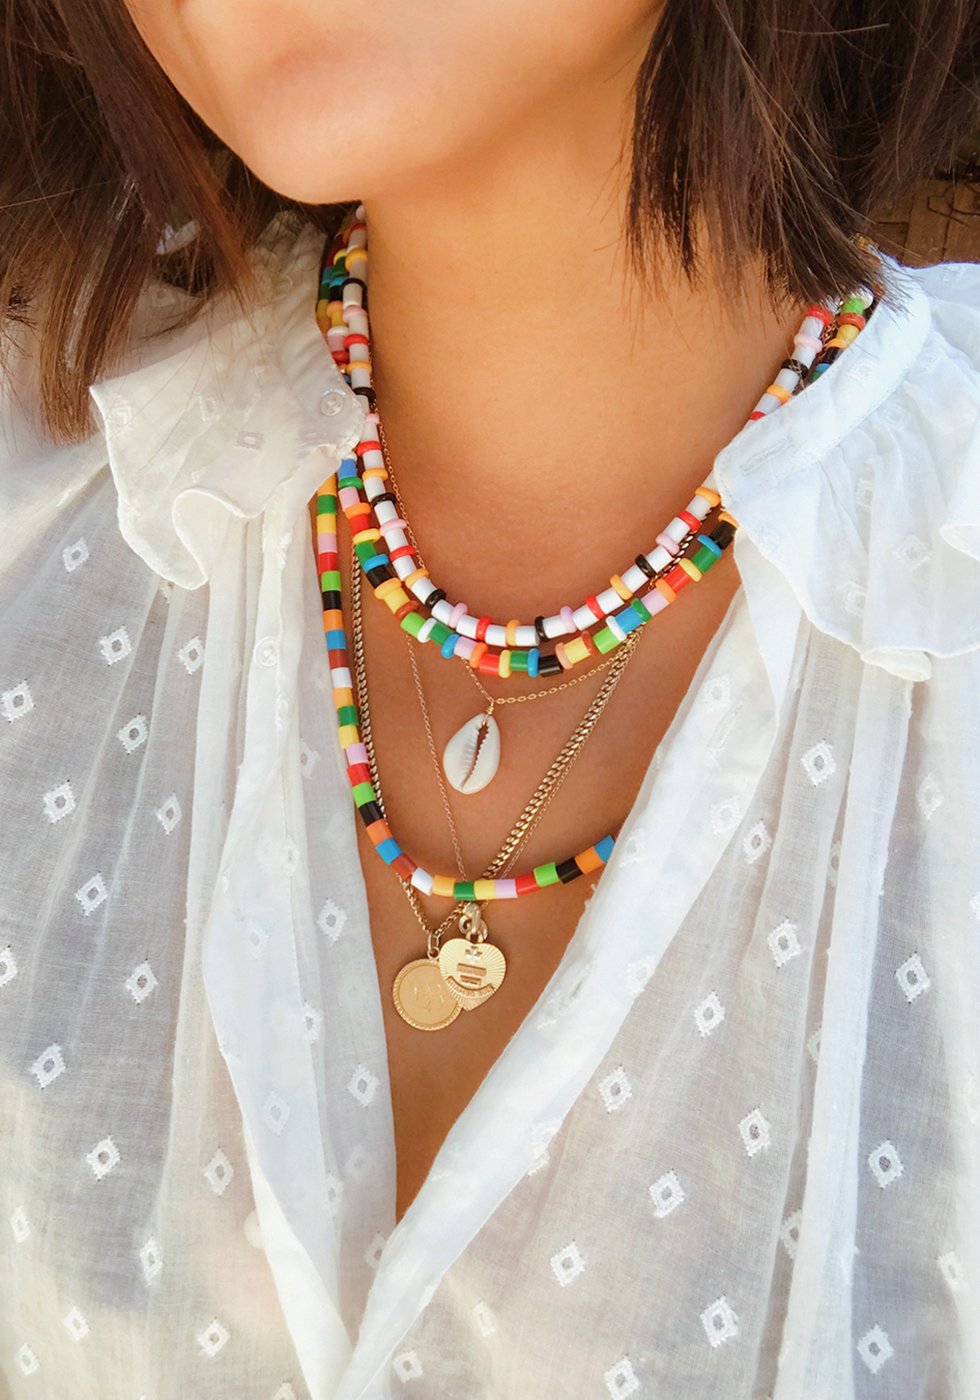
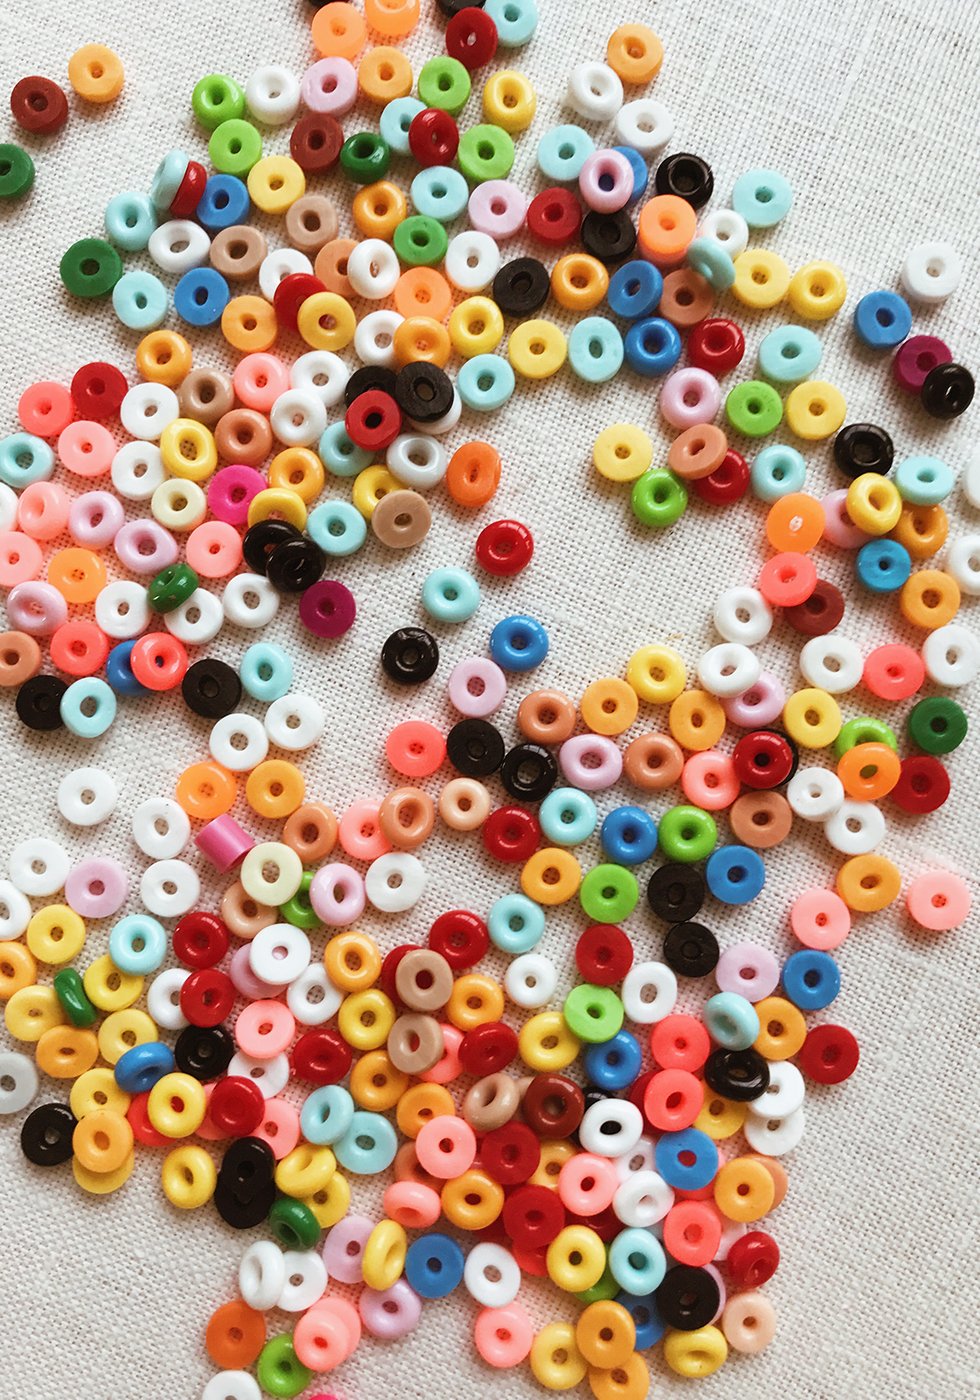
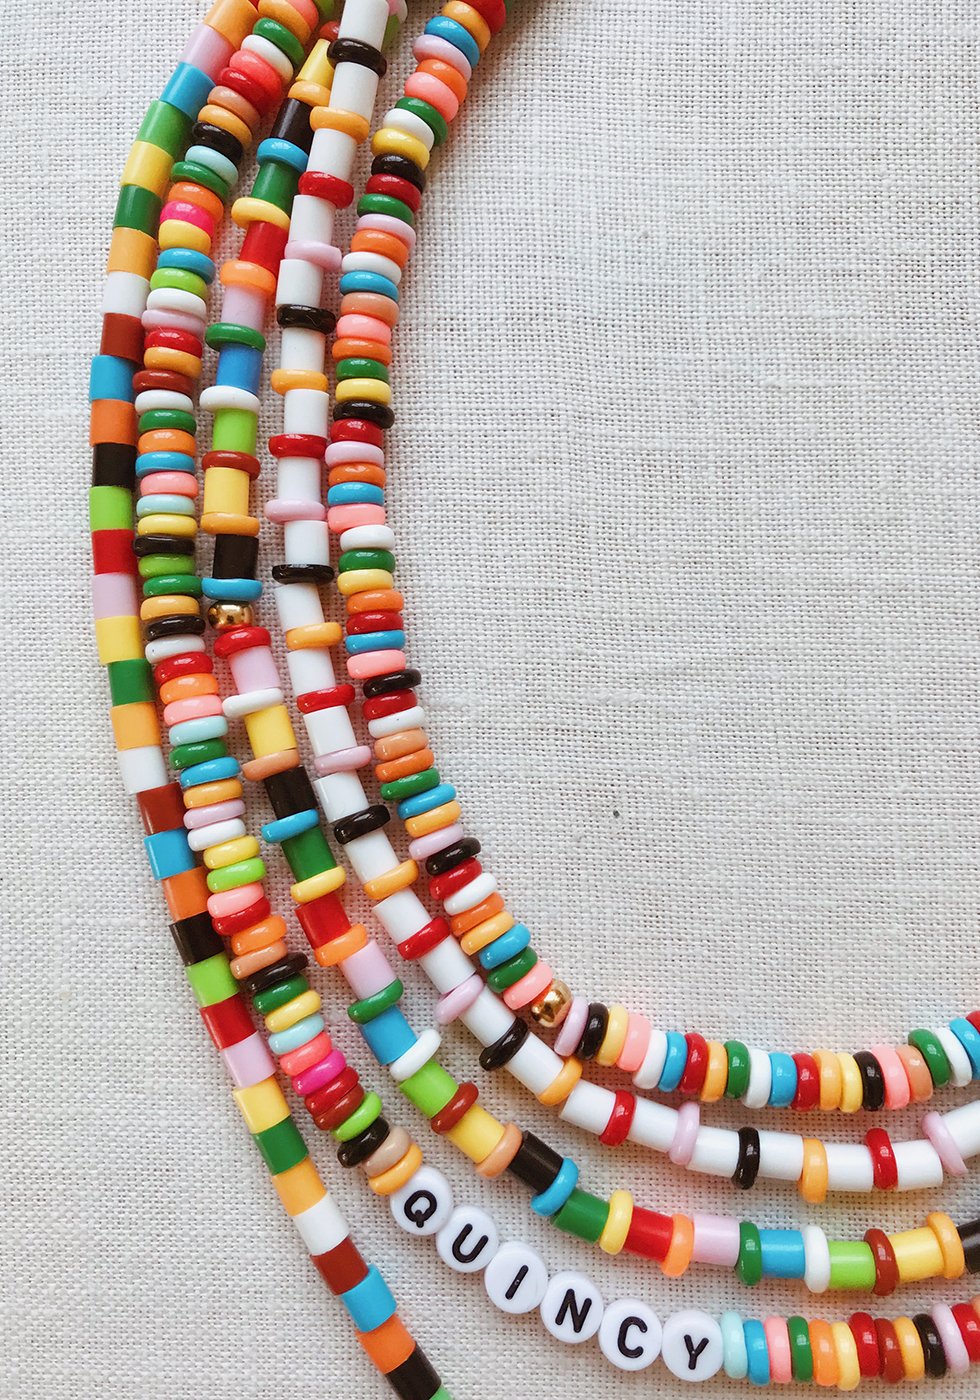
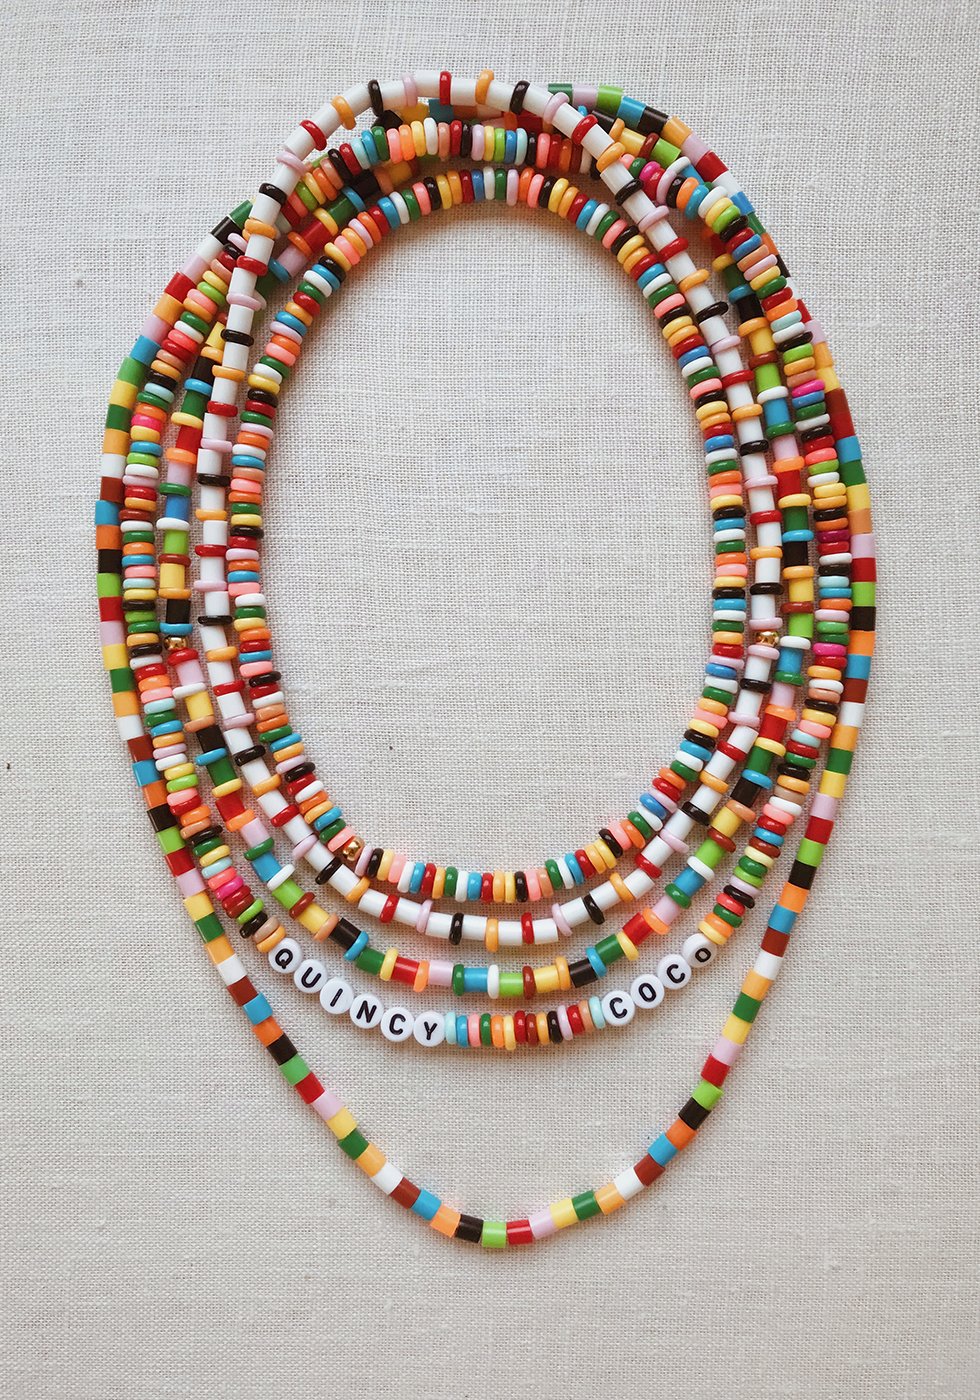
A couple of weeks ago, I took Quincy to the craft store to pass the time indoors on a scorchingly hot day in LA. I was surprised, and thrilled, to come across an entire section dedicated to Perler beads! Overcome with nostalgia, I left with enough beads to last us a lifetime. That, or make 1,000+ coasters. While searching for different ideas and patterns online, I stumbled upon a tutorial for turning the short cylindrical beads into flat donut beads In the oven! WTF, awesome. I love how they reminded me of Roxanne Assoulin's candy-like enamel bracelets and necklaces and so alas, time spent making dinosaur Perler coasters for Quincy turned into making Perler jewelry for me.
You'll Need:
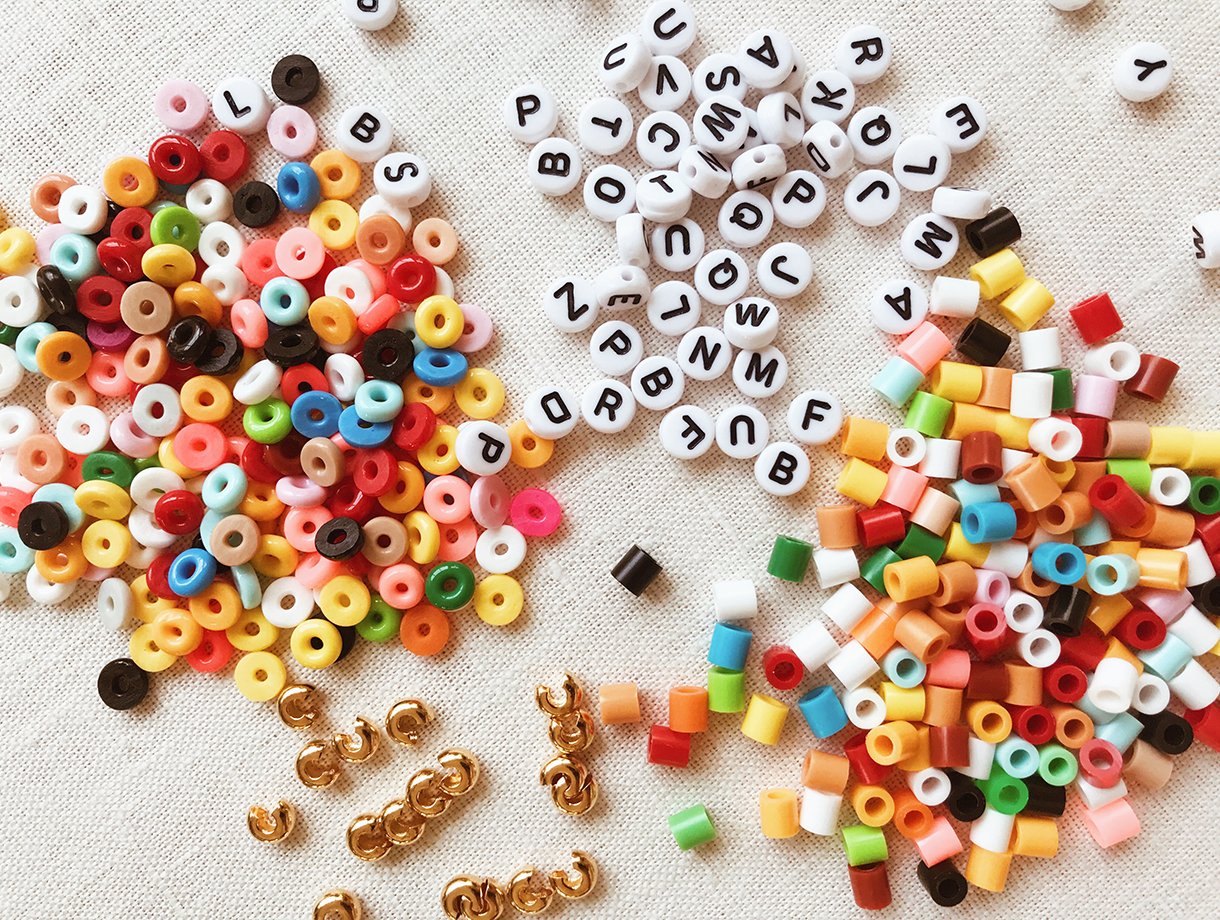
- Perler beads (fuse beads)
- 0.8mm - 1mm elastic string
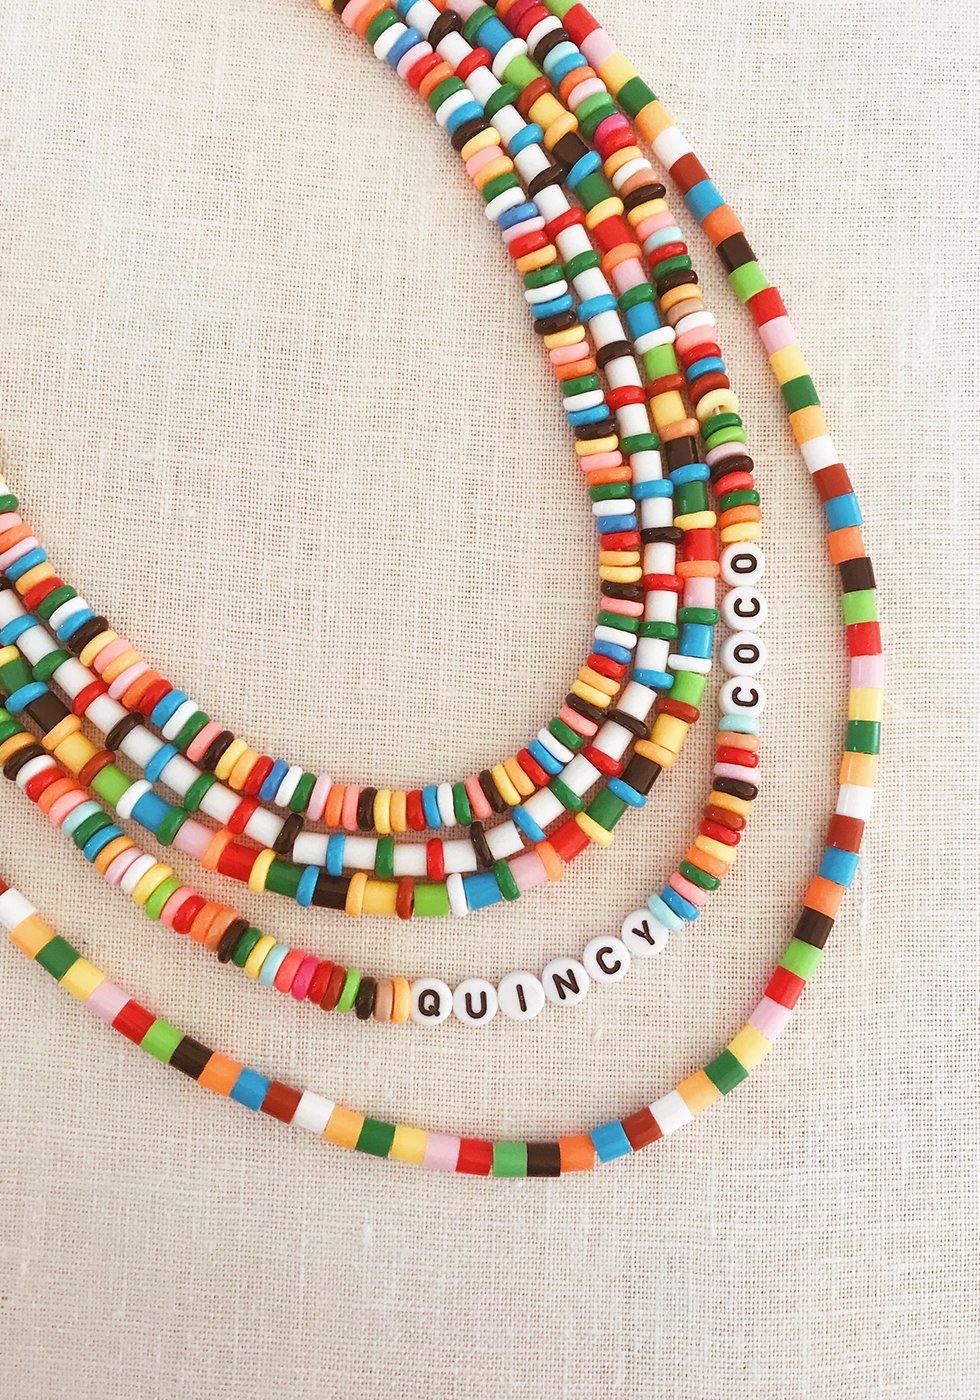
- letter beads
- 5mm crimp covers
- super glue
- scissors
- parchment paper
- flat nose pliers

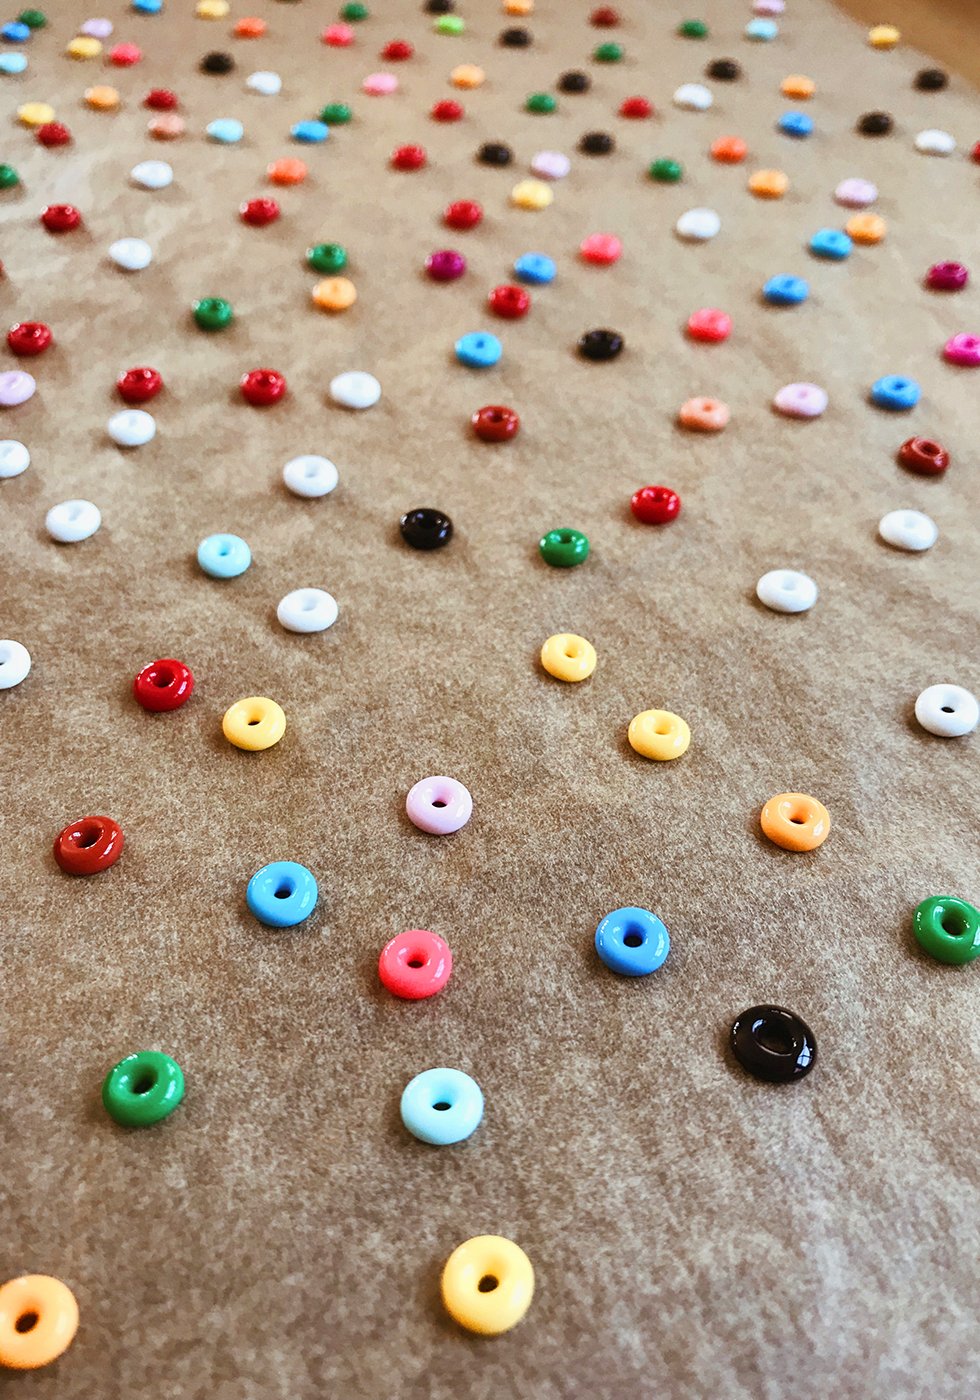
Preheat your oven to 400°. Line a baking sheet with parchment paper and spread a handful of Perler beads onto the paper and stand them upright. Each oven varies so I recommend baking the beads for 2 minutes and then checking on them. You want them to have flattened, but not too much as you'll want to keep the hole large enough to thread your cord through. If you bake them too long, they'll melt into solid discs. We don't want that! I baked my beads for 3 minutes in my oven and they turned out great!
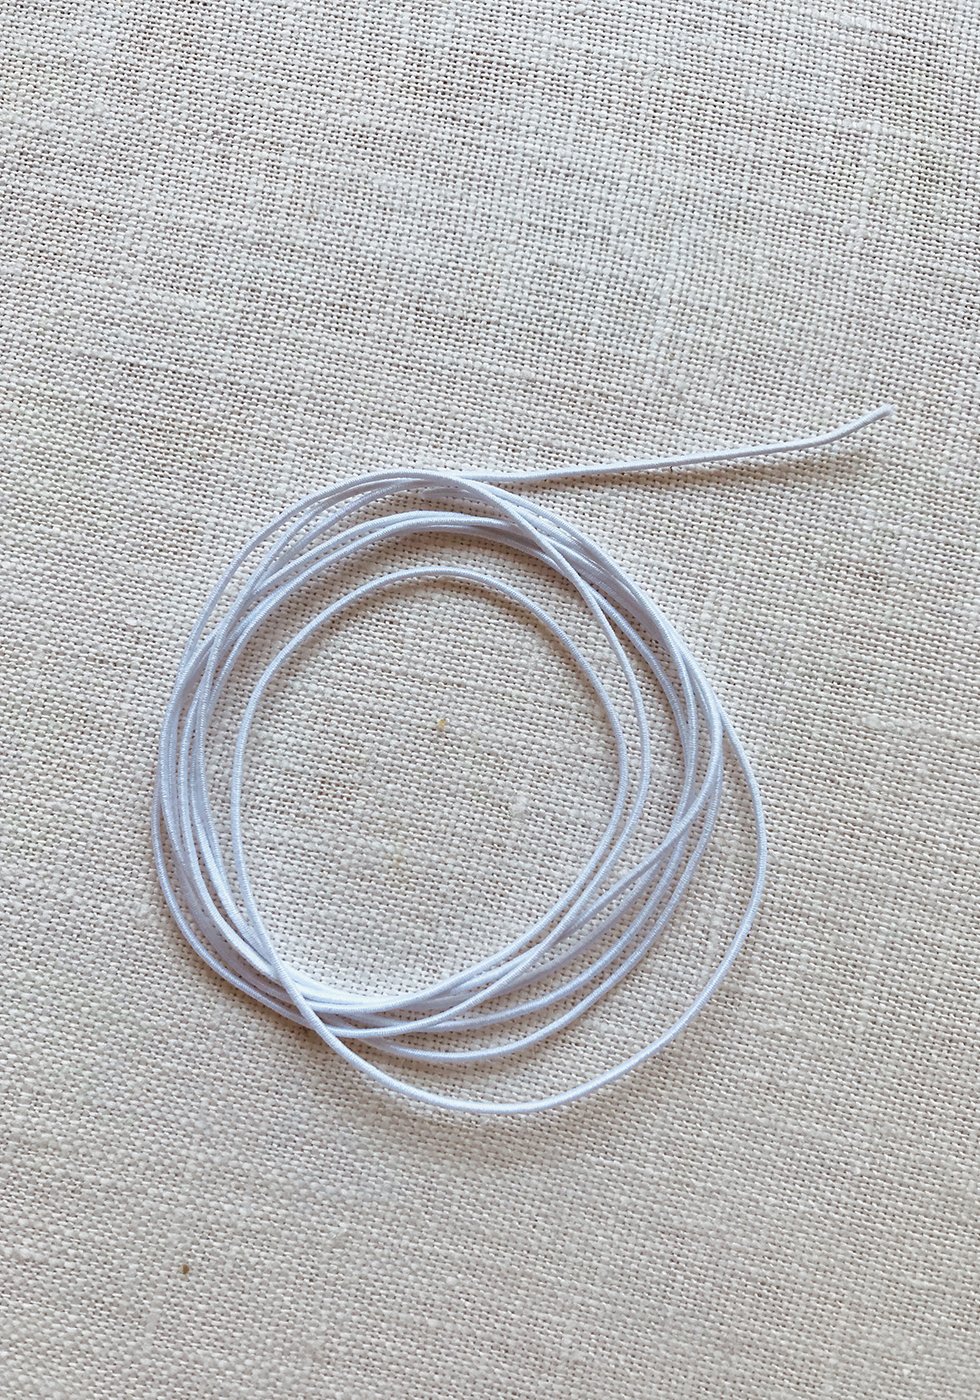
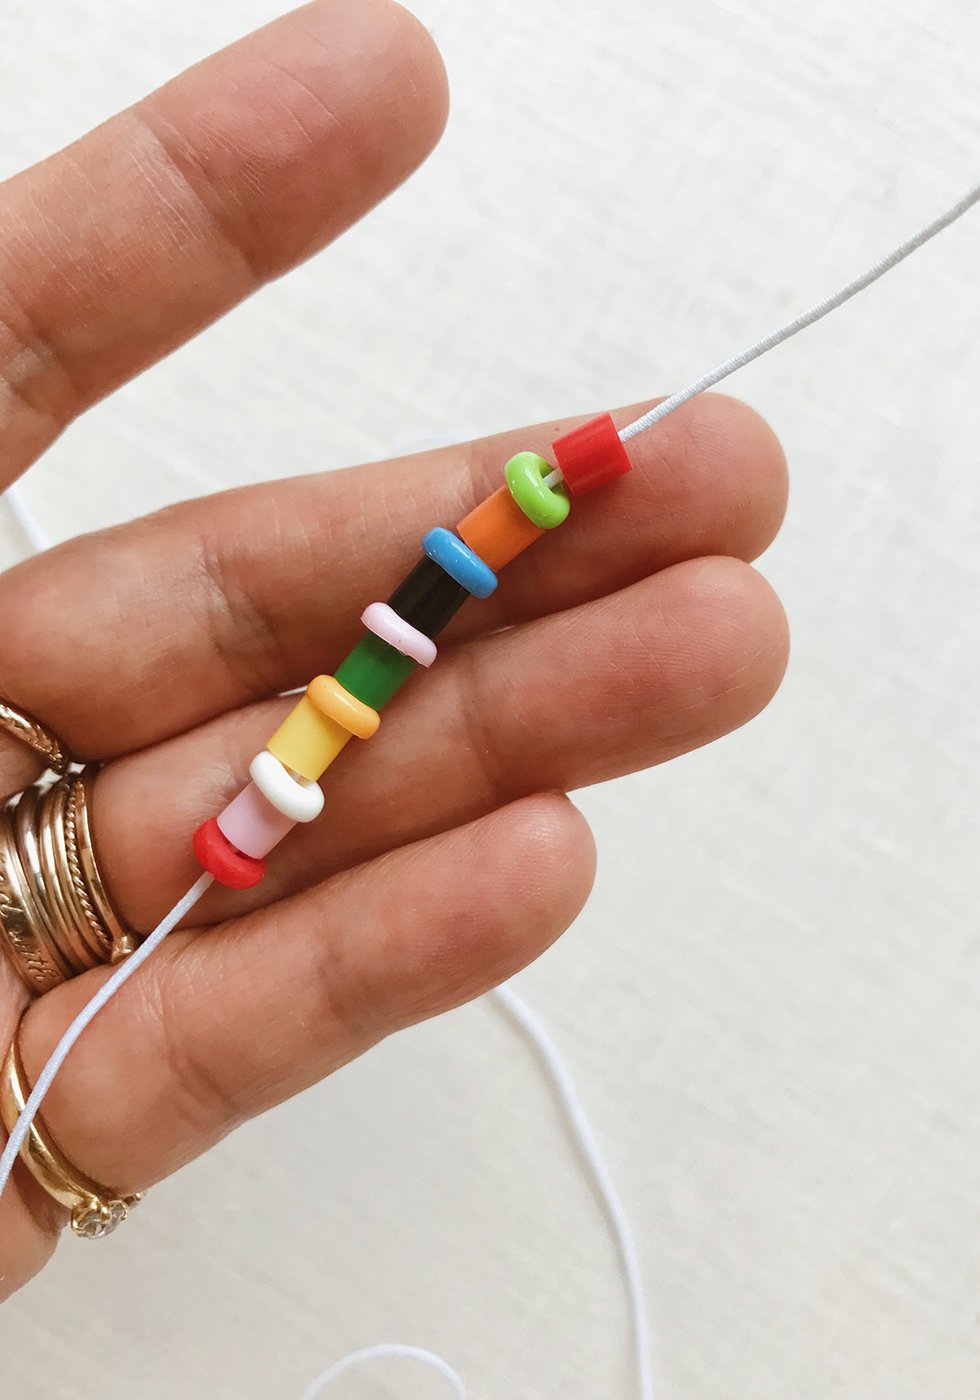
Keep the flattened Perler beads separate from the regular Perler beads when beading. It makes things go so much faster! I like using elastic cording for this project. This is such an easy and quick project that troubling yourself to incorporate clasps defeats the simplicity.
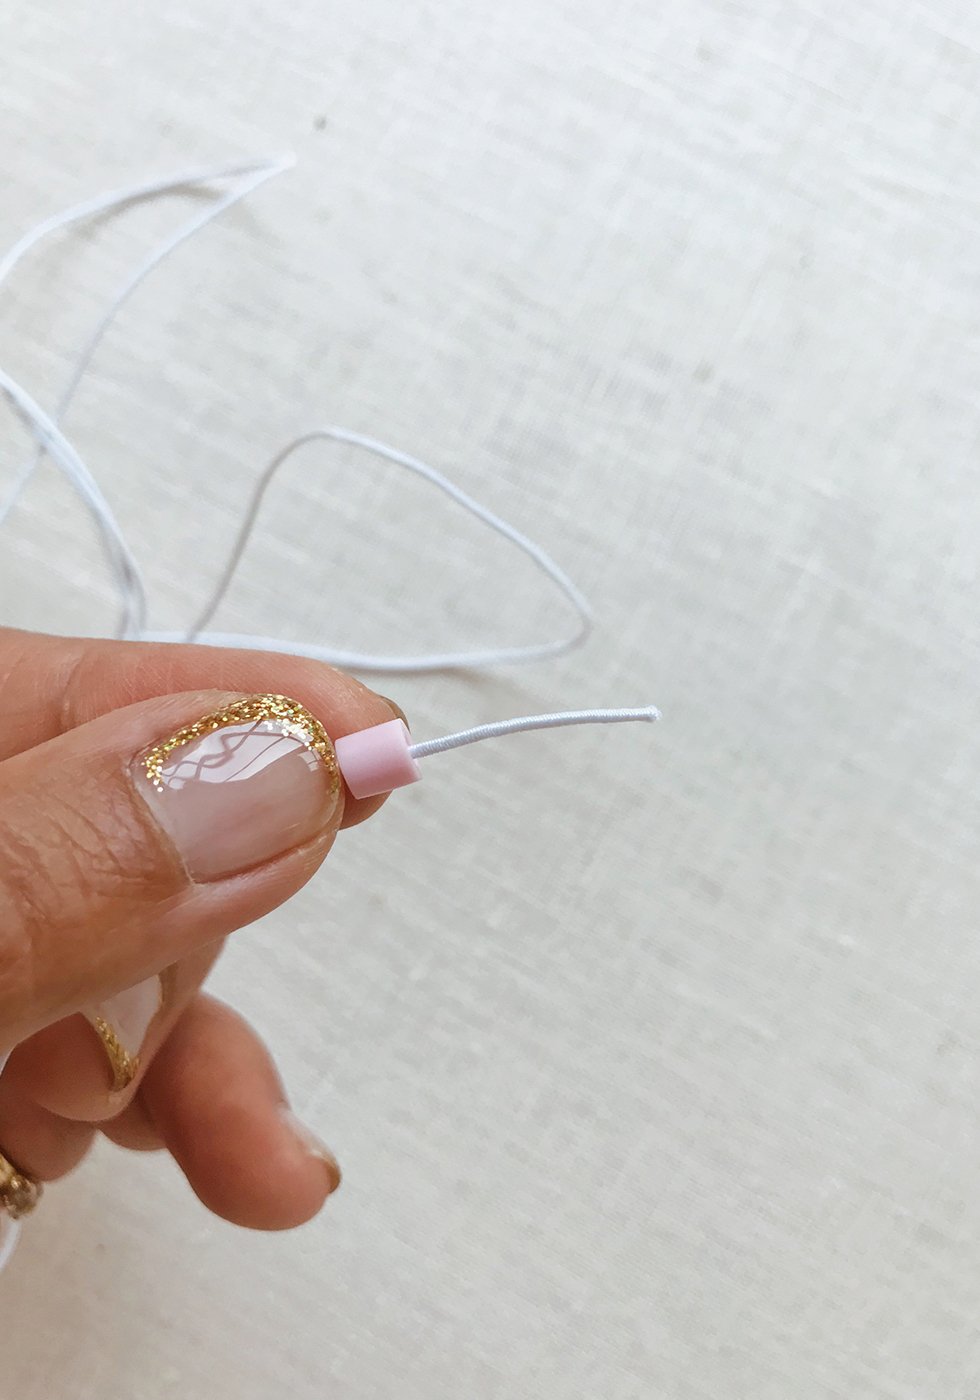
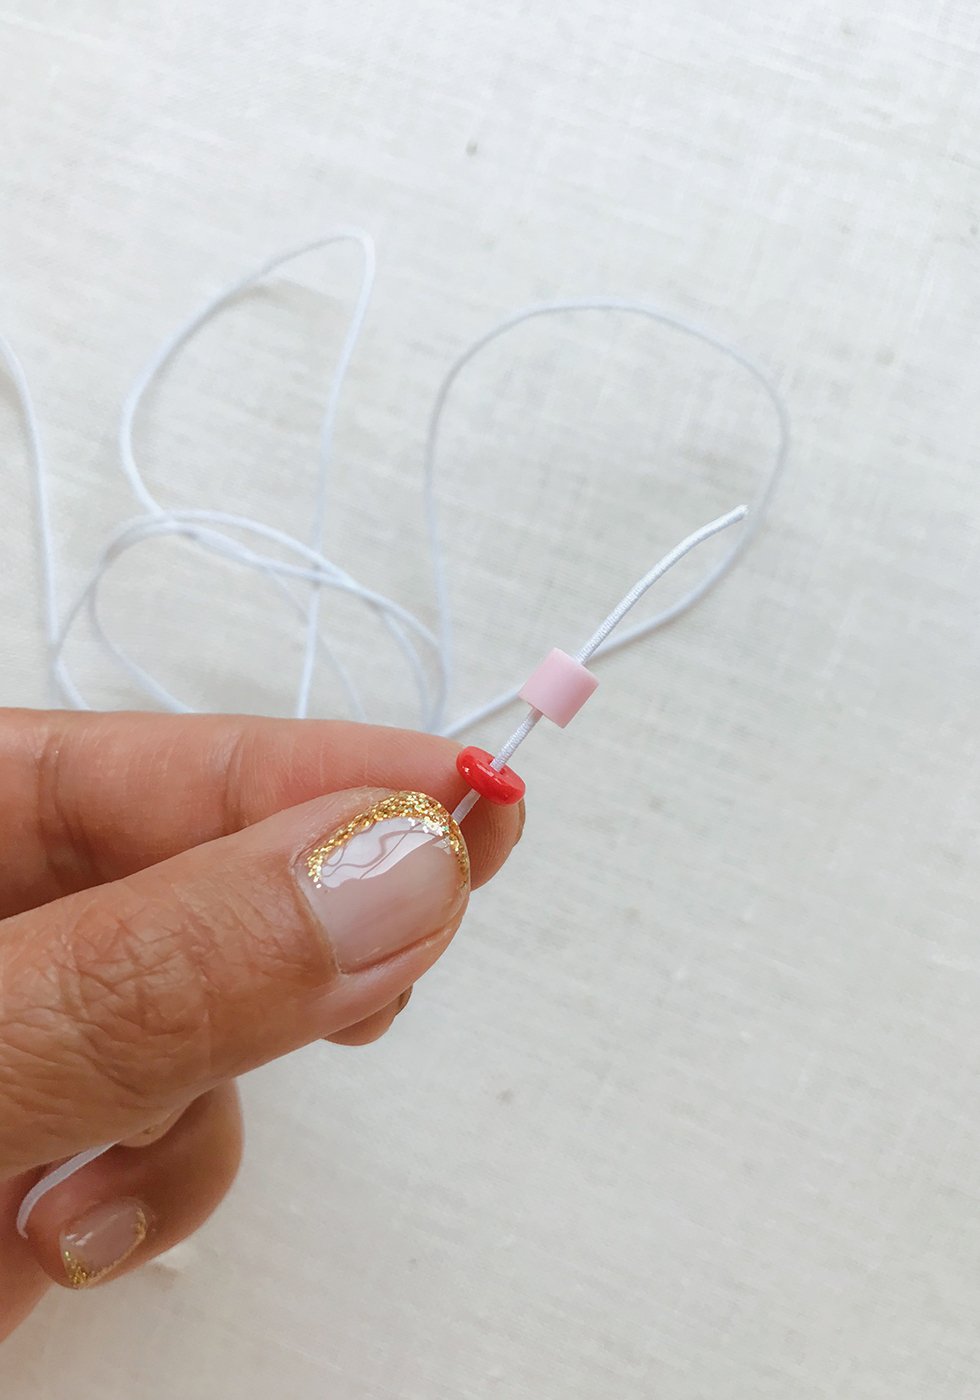
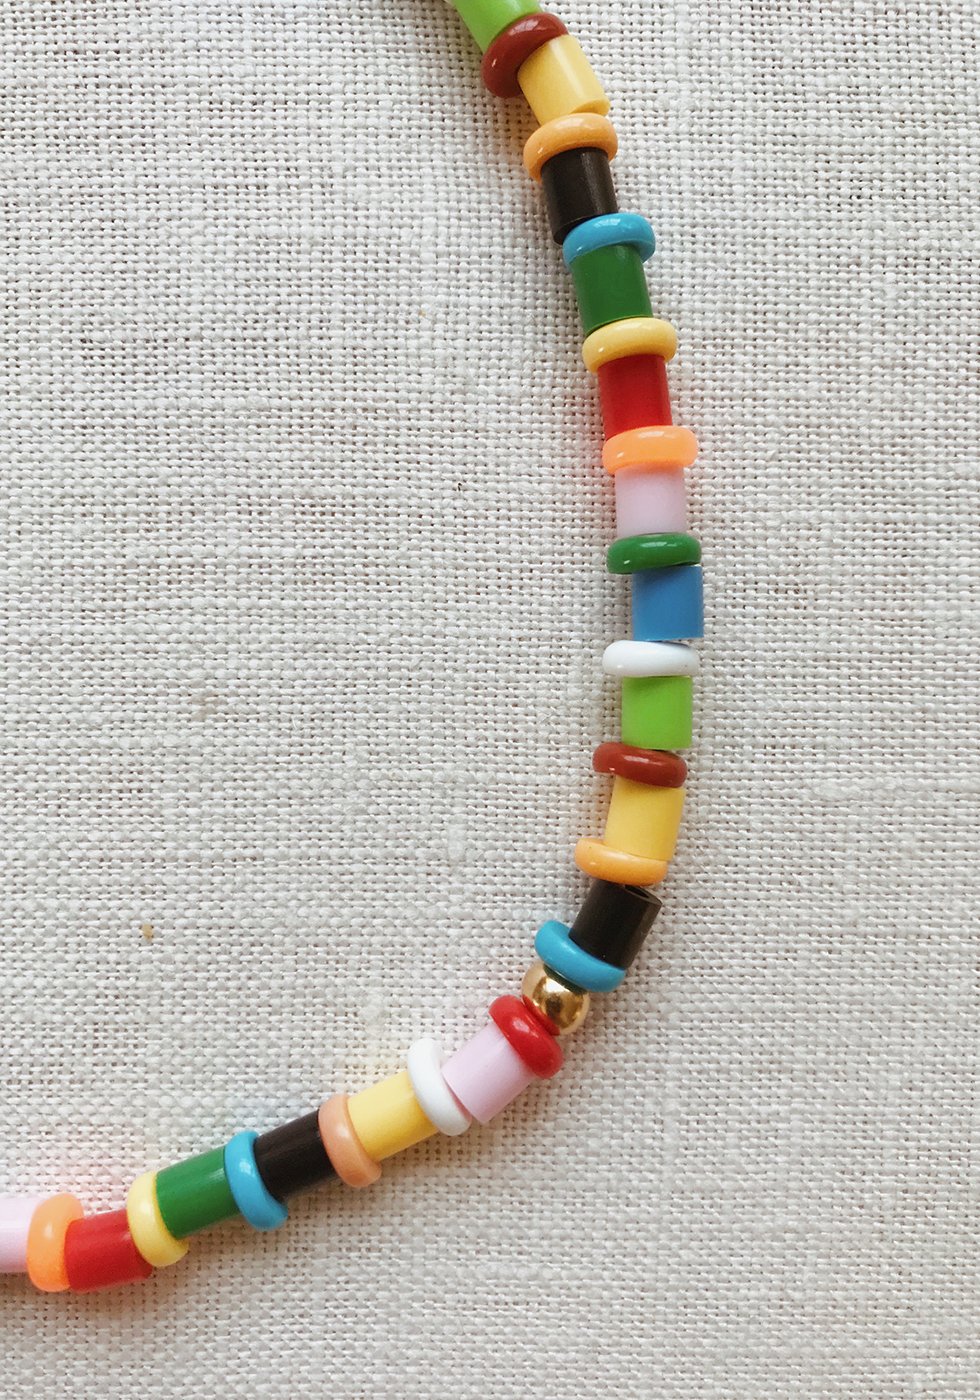
Tie a double knot at the end of the elastic cord. Start threading on your beads. Have fun! Mix it up!

Keep threading beads on until you've reached your desired length.
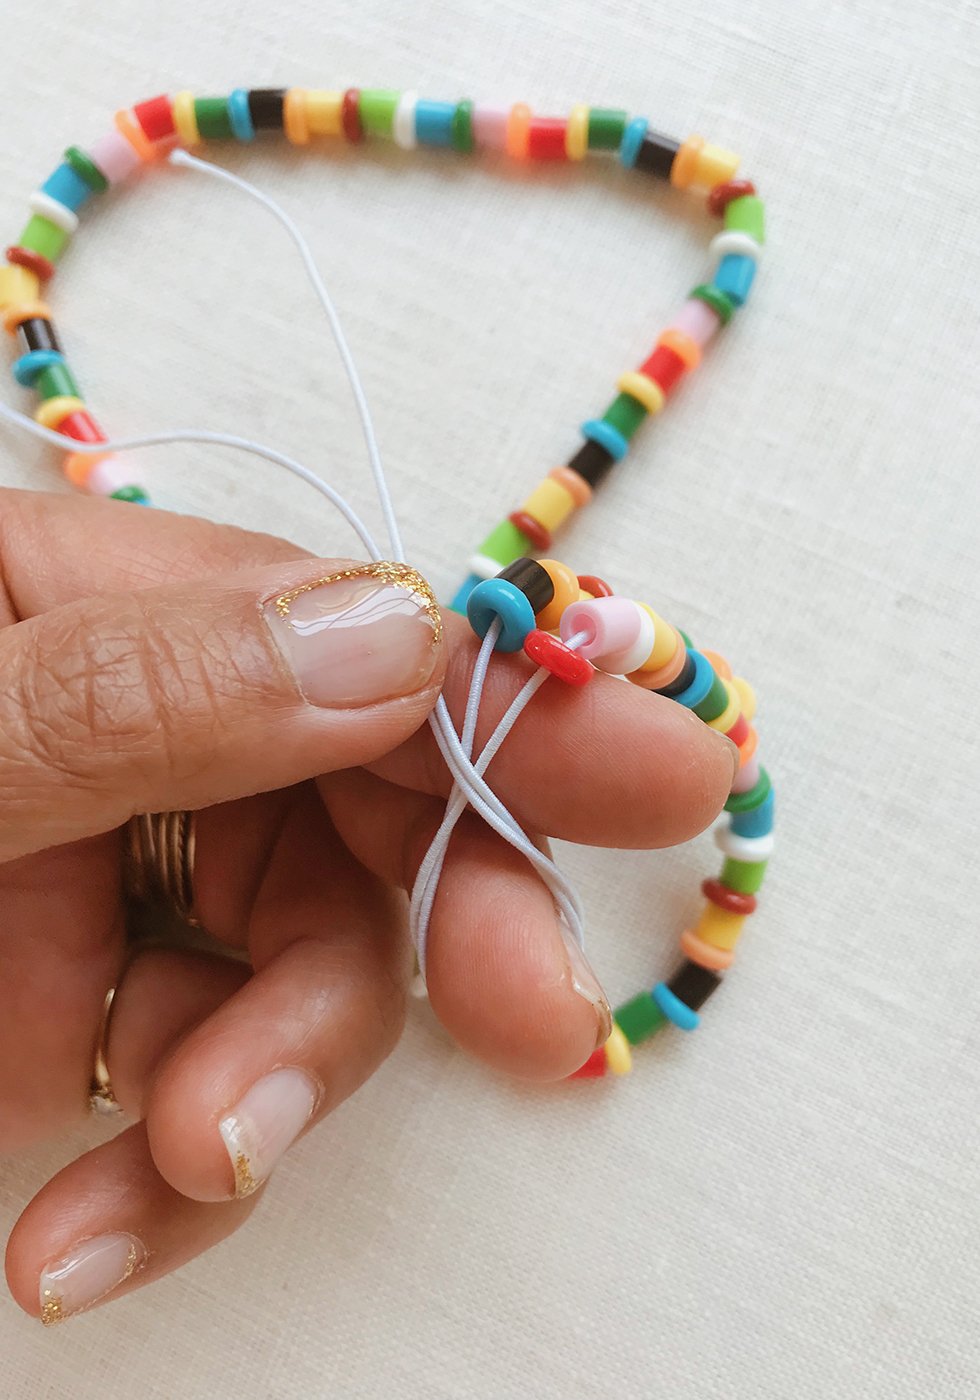
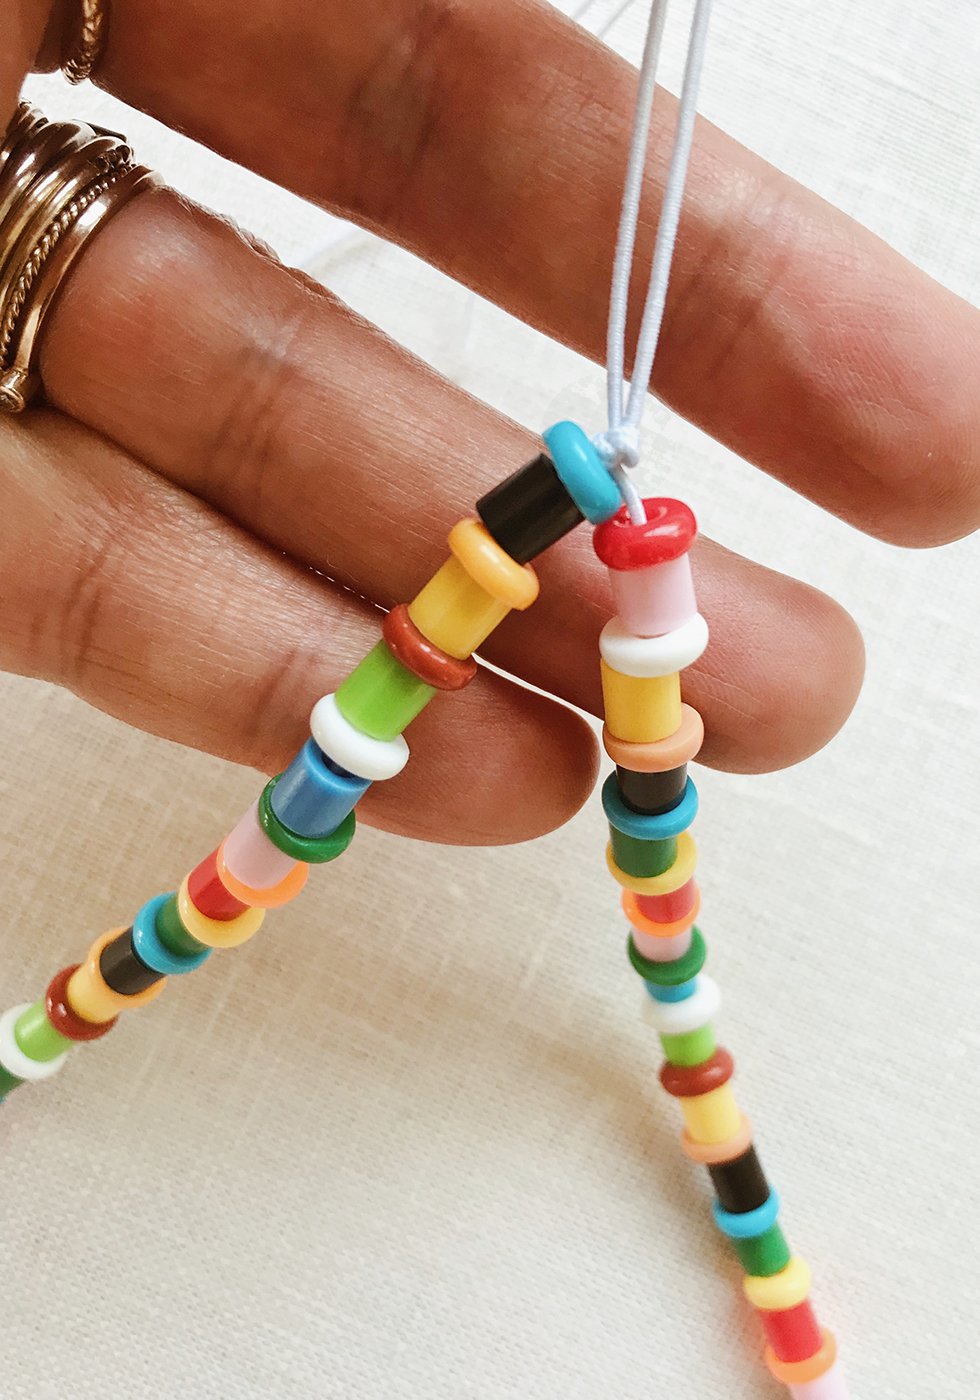
Grap the ends and tie the end of the necklace into a single knot. Pull tight.
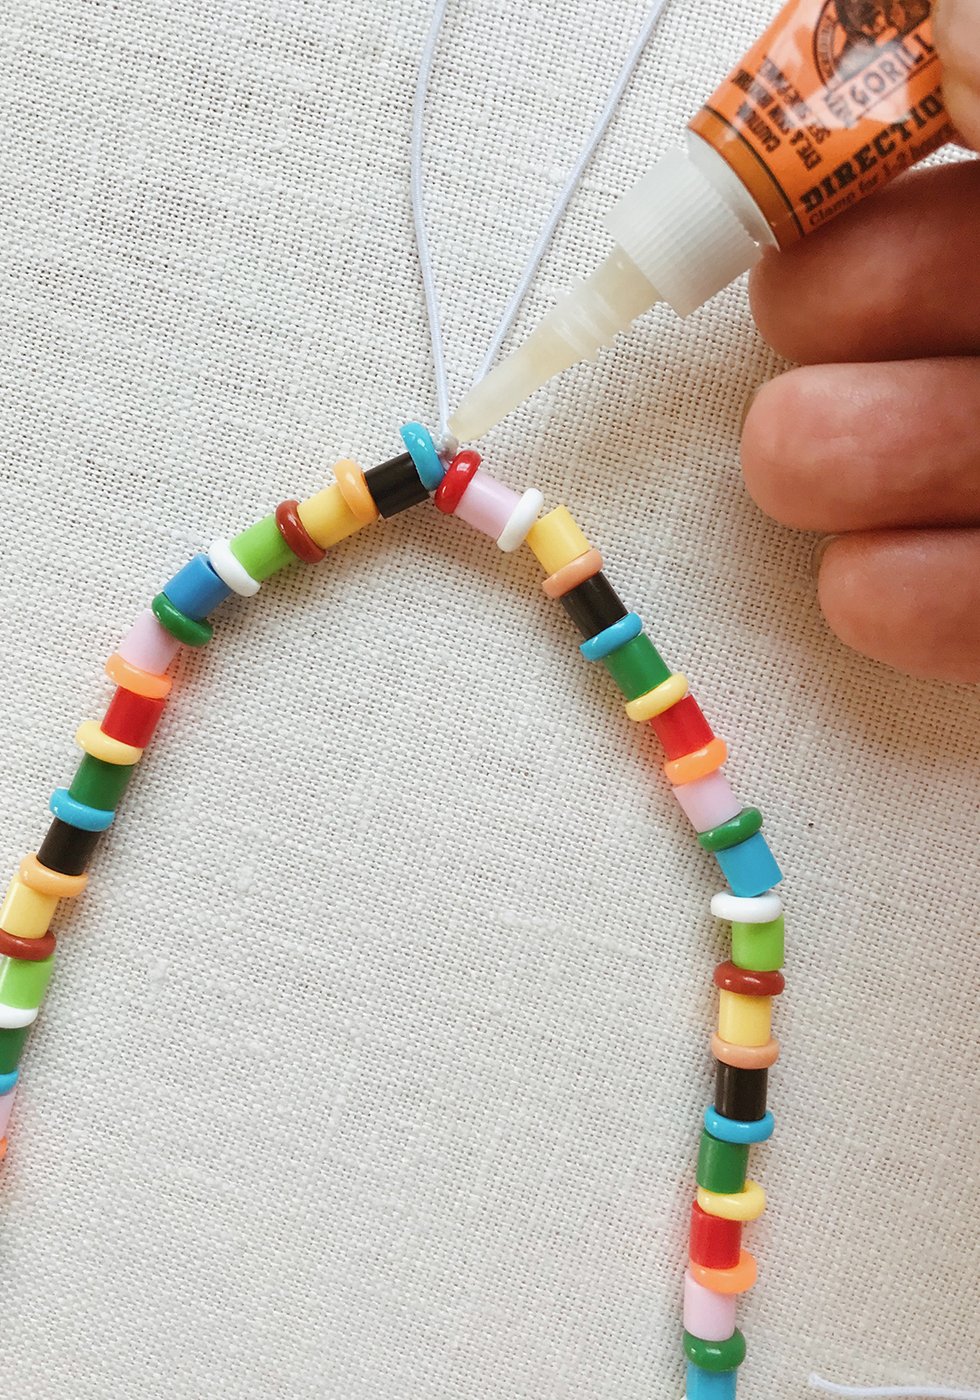
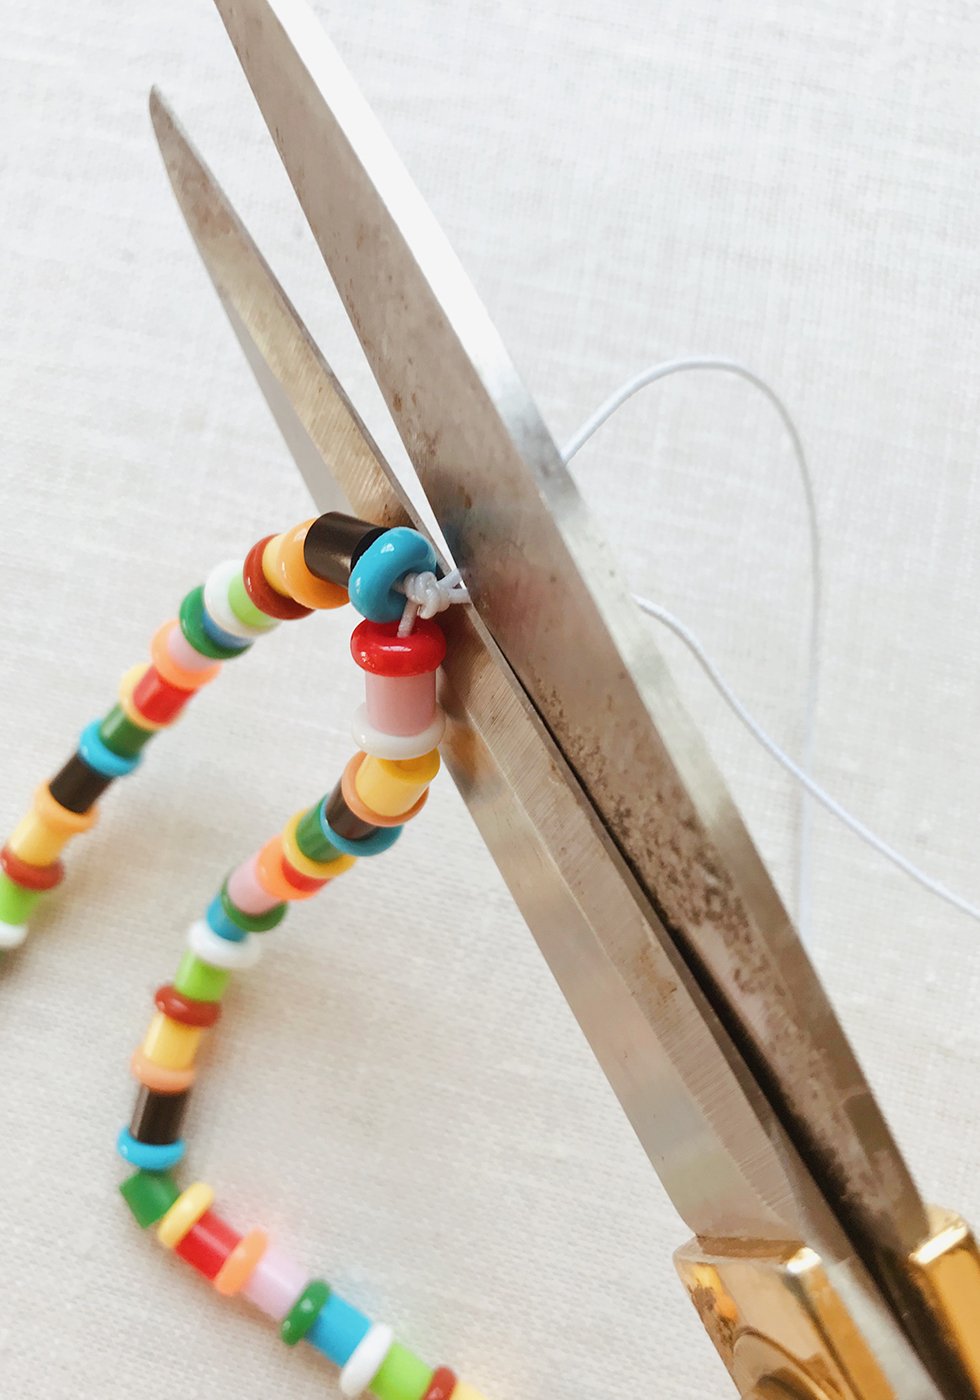
Place a drop of superglue onto the knot and allow to dry for few minutes. Trim the ends, close to the knot.
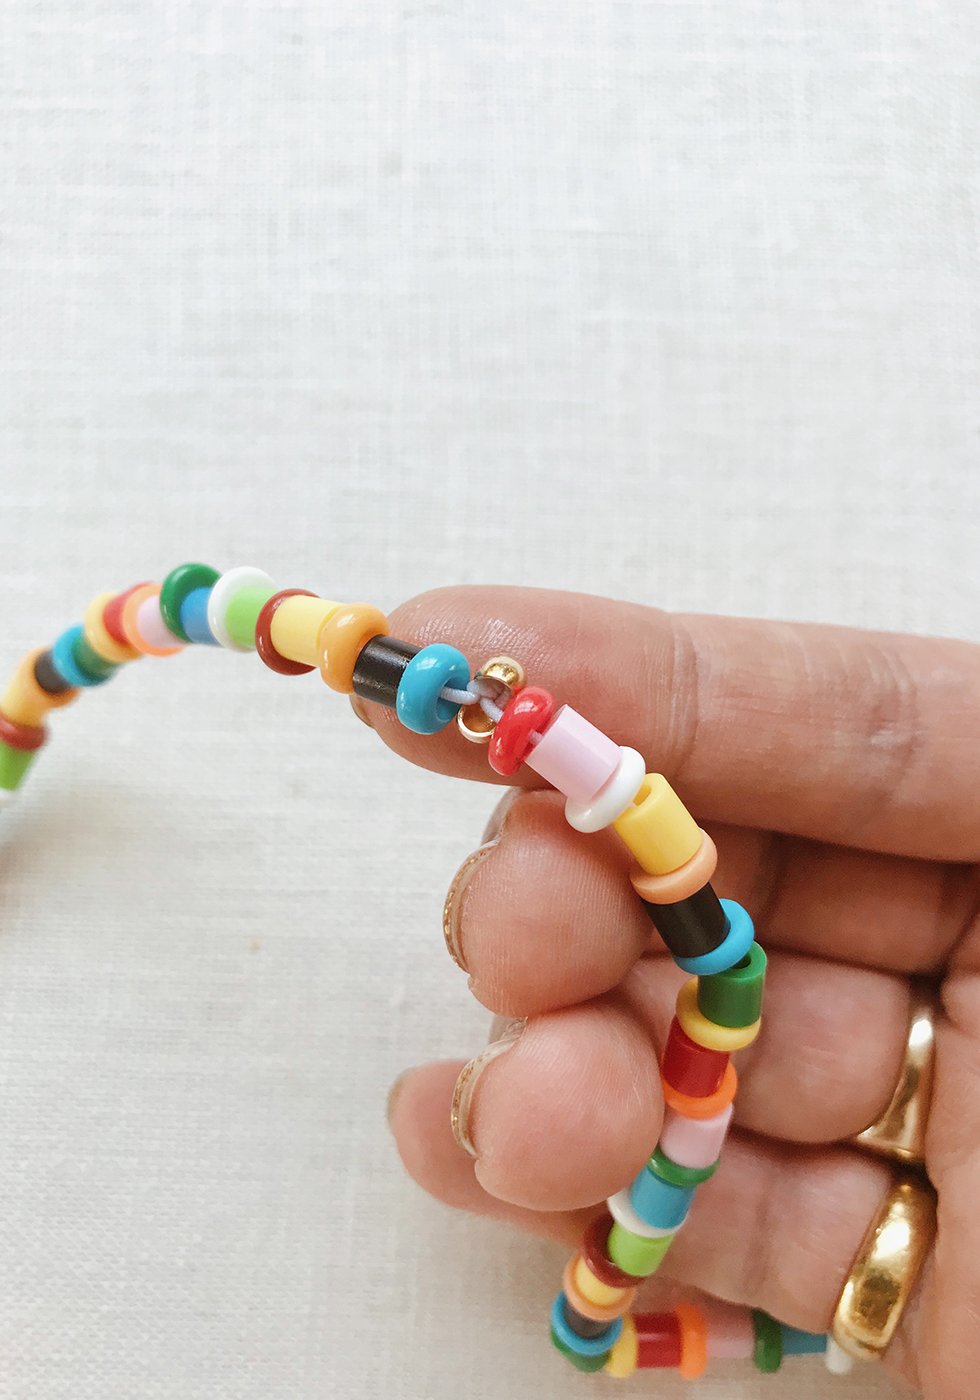

Place a crimp cover over the knot. Use a pair of pliers to squeeze the crimp cover closed.
The crimp cover should know look like a gold bead! I love using crimp covers, not only because they conceal knots, but because it makes it so that there's no end or front of the necklace. There are no worries when the necklace slides around your neck throughout the day!

images by HonestlyWTF
Except we HAVE to stop using unnecessary plastics. Use glass beads instead.
Plastic beads are much more affordable. I love these!
i buy them used so its like recycling! Check out ebay, etsy, fb market place, etc. Awesome tutorial.
I love this it reminds me of when I was younger and made jewelry in craft class
I am stuck at home with a broken leg. O cant tell you how happy this made me today. I have been looking everywhere for beads like this. I spent the morning melting beads! Thanks!
I don’t have elastic string. Has anyone used fishing string/multipurpose line?
Thanks!
Love,love,love
Personally, I love jewelry. I feel naked if I’m without any. Thinking about getting a piercing but I’m crazy scared of needles. Still, this one https://www.freshtrends.com/item/ft2-nse-pfstar is adorable. Anyone care to share some advice about hose rings or piercing in general. I’d like to hear the good and the bad, please.
I did the SAME THING! I randomly bought a million of those beads for my kids but never thought to bake them! They look so cute and have so much more dimension that way. Great idea. We’ll definitely be doing this.
Very nice necklace, it suits you!
I can’t get the beads flat and fat like the ones you have even though I’m using the same time frames… is it because I bought off brand perler 🙁 ? Mine end up looking up like seed beads
Me too! I bought Hama beads… perhaps they melt differently?
I love this! Adorable!
These are so beautiful. I believe they are extracted from New Zealand and Ireland.
What a beautiful necklace you have created! These stunning colours would really compliment a Spring/Summer type outfit. Thank you for sharing the guide and the finished product! xxx
super cute necklaces. where did you find the rounds beads?
thank you! thanks for sharing such great DIY projects. There are a few that I’m going to be starting.
I don’t have elastic string. Has anyone used fishing string/multipurpose line?
Thanks!
Yes!! I used fishing line and tied it to old low-quality clasps from necklaces that have ling since tarnished
All beautiful no prices? Or does it come as kits?
You could have just used streach cord much Easier!
Hi! Can I ask about your nails in this post? Is there a tutorial?! So beautiful!
Beautiful, going to make it!
Ooh I want to try this!
Has anyone melted perler beads int silicone molds? I know how plastic pony beads respond. They are great but some take different times and temperatures to melt so I thought, since perler beads are actually made to melt, melting times and temps might be a bit more consistent. I have never used perler beads so I don’t know anything about them. Would they ruin my silicone molds that I use for other plastics? Do they cool as hard as other plastics? They seem so soft to begin with.
What a creative way to spend time indoors! Turning Perler beads into jewelry sounds like a fantastic idea. The nostalgia combined with the crafting process must have been so much fun. And those flattened Perler beads make for such unique and colorful accessories!
If you’re into crafting unique pieces, you’ll love our collection of leather jackets at Pelle Pelle Store. Just like your creative jewelry, our jackets are crafted with attention to detail and quality materials. Check out our range of stylish leather jackets at https://pellepellestore.com/ and add a touch of urban flair to your wardrobe!