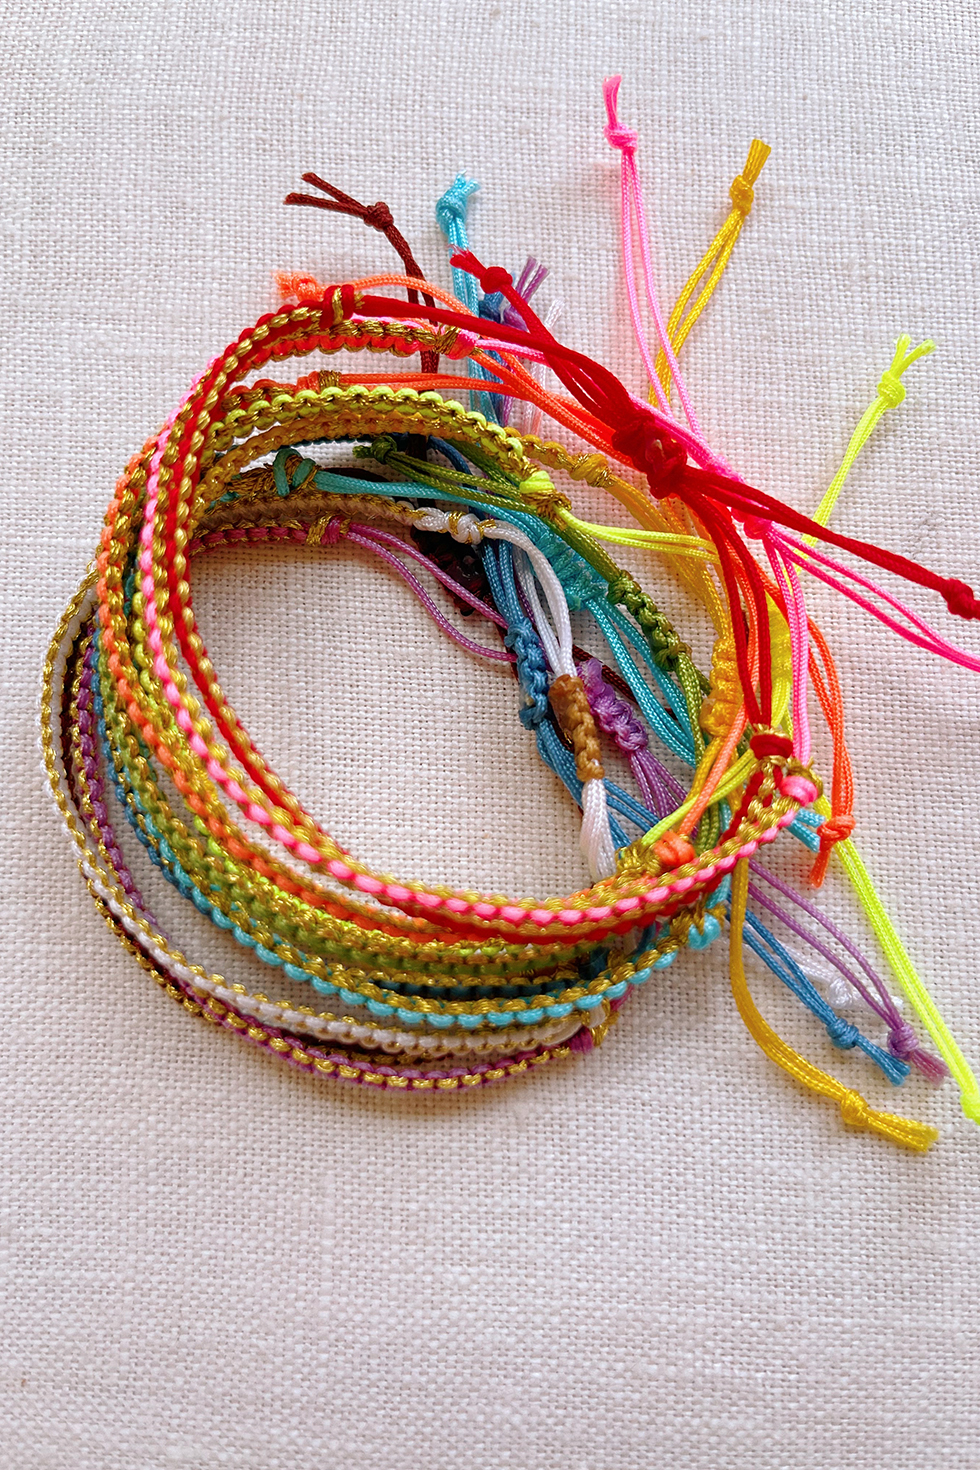
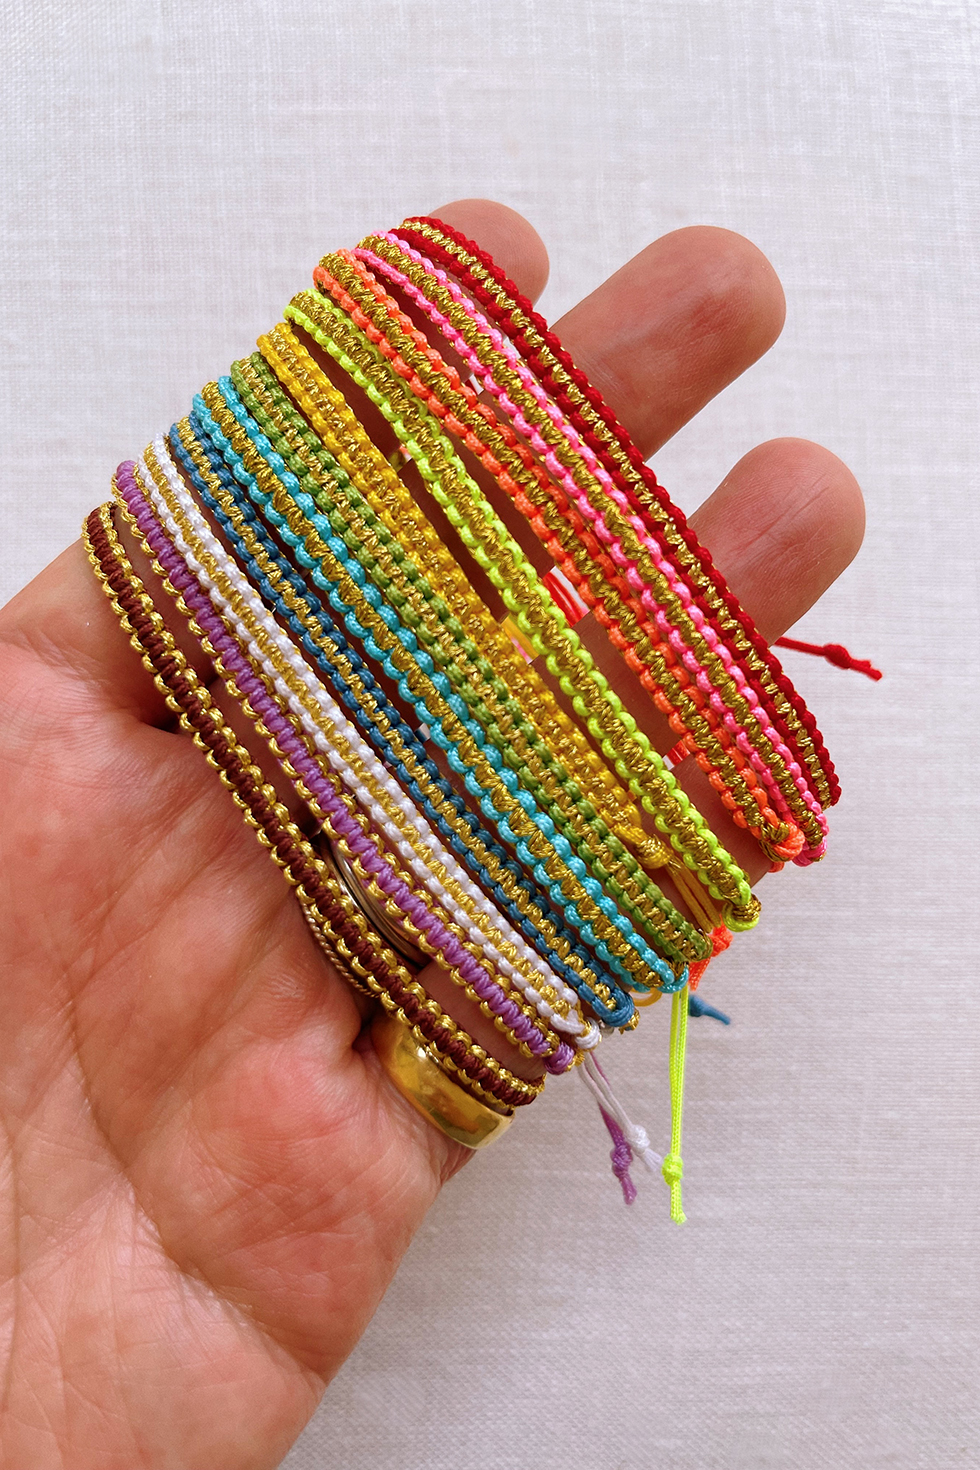
I hope that you all have been enjoying your summer. It's been awhile since my last DIY - between camps and travel, the summer has busy and speeding by! This week's bracelet tutorial is a rendition of an old favorite using an oh-so-handy technique: square knots. I love how the gold embroidery floss makes the bracelet look sparkly and luxe. Make one for yourself and for a friend . . . I dare you to stop at one!
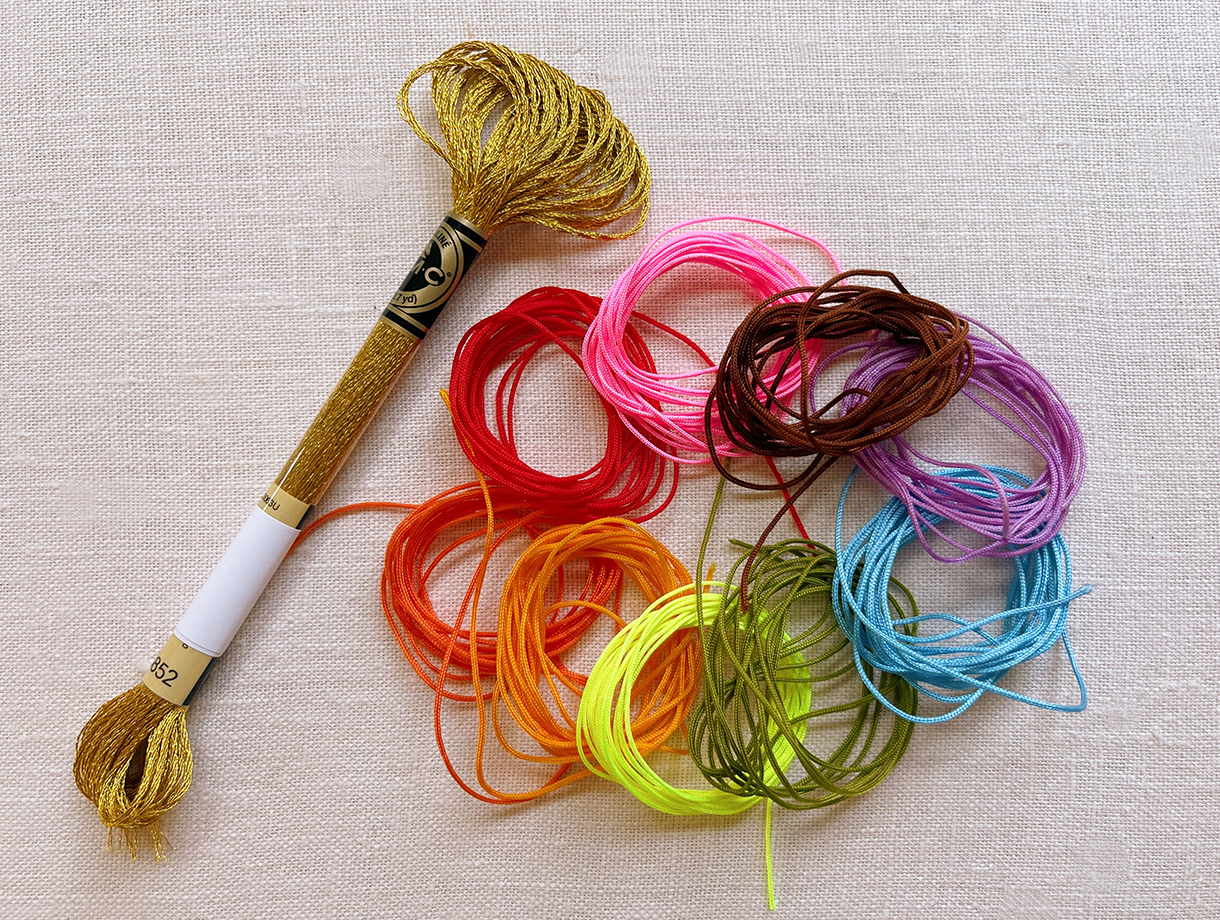
You'll Need:
- 0.8mm nylon knotting cord
- dark gold embroidery floss
- tape
- scissors
- lighter
- super glue
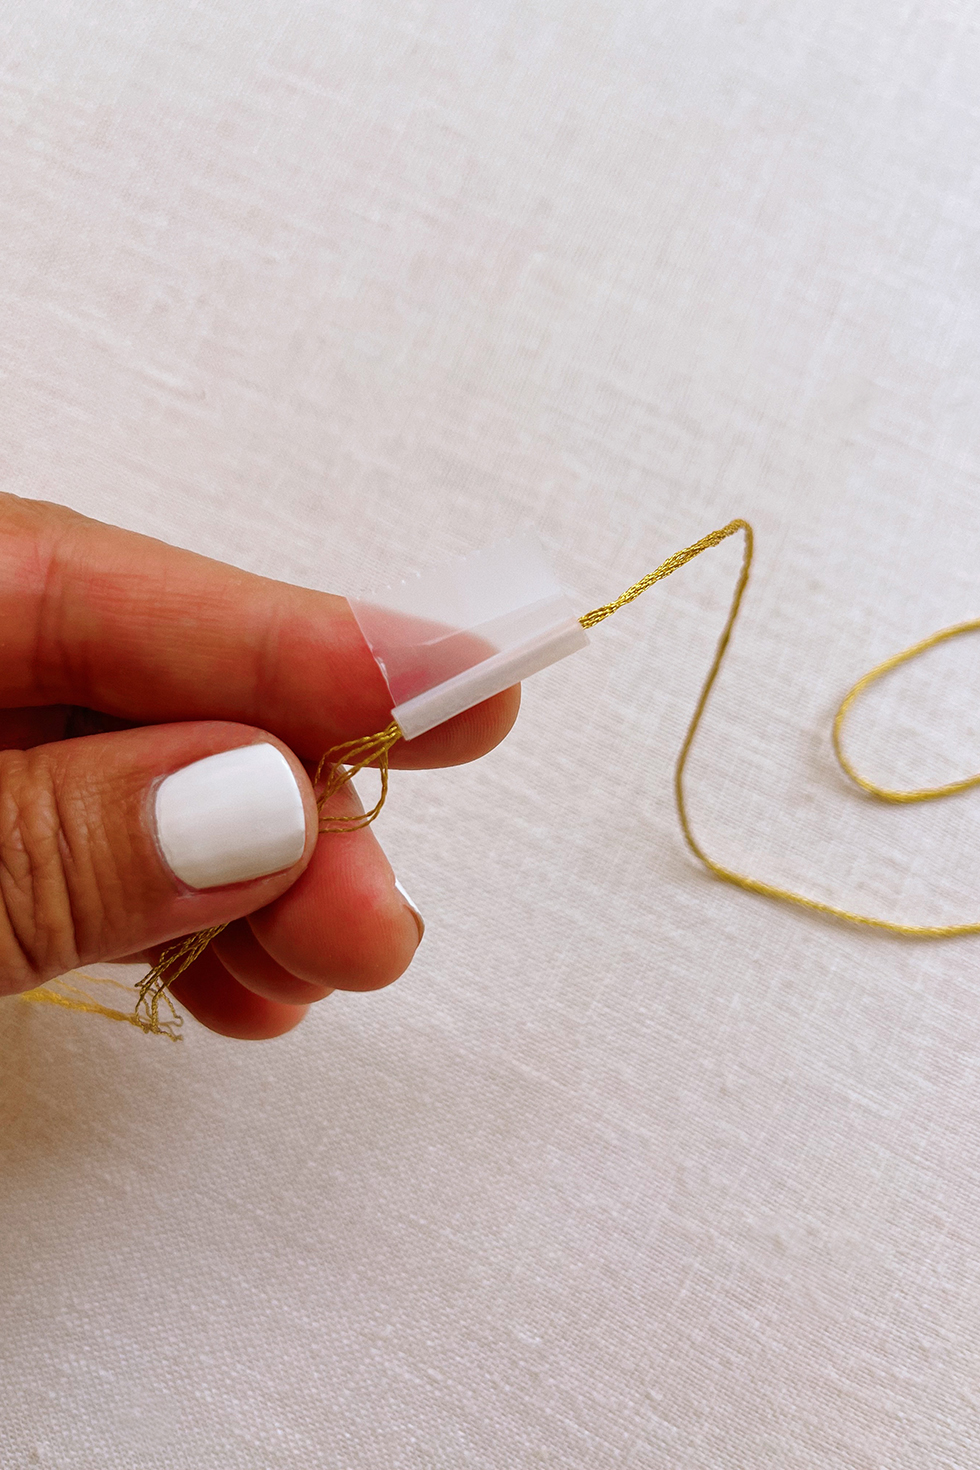
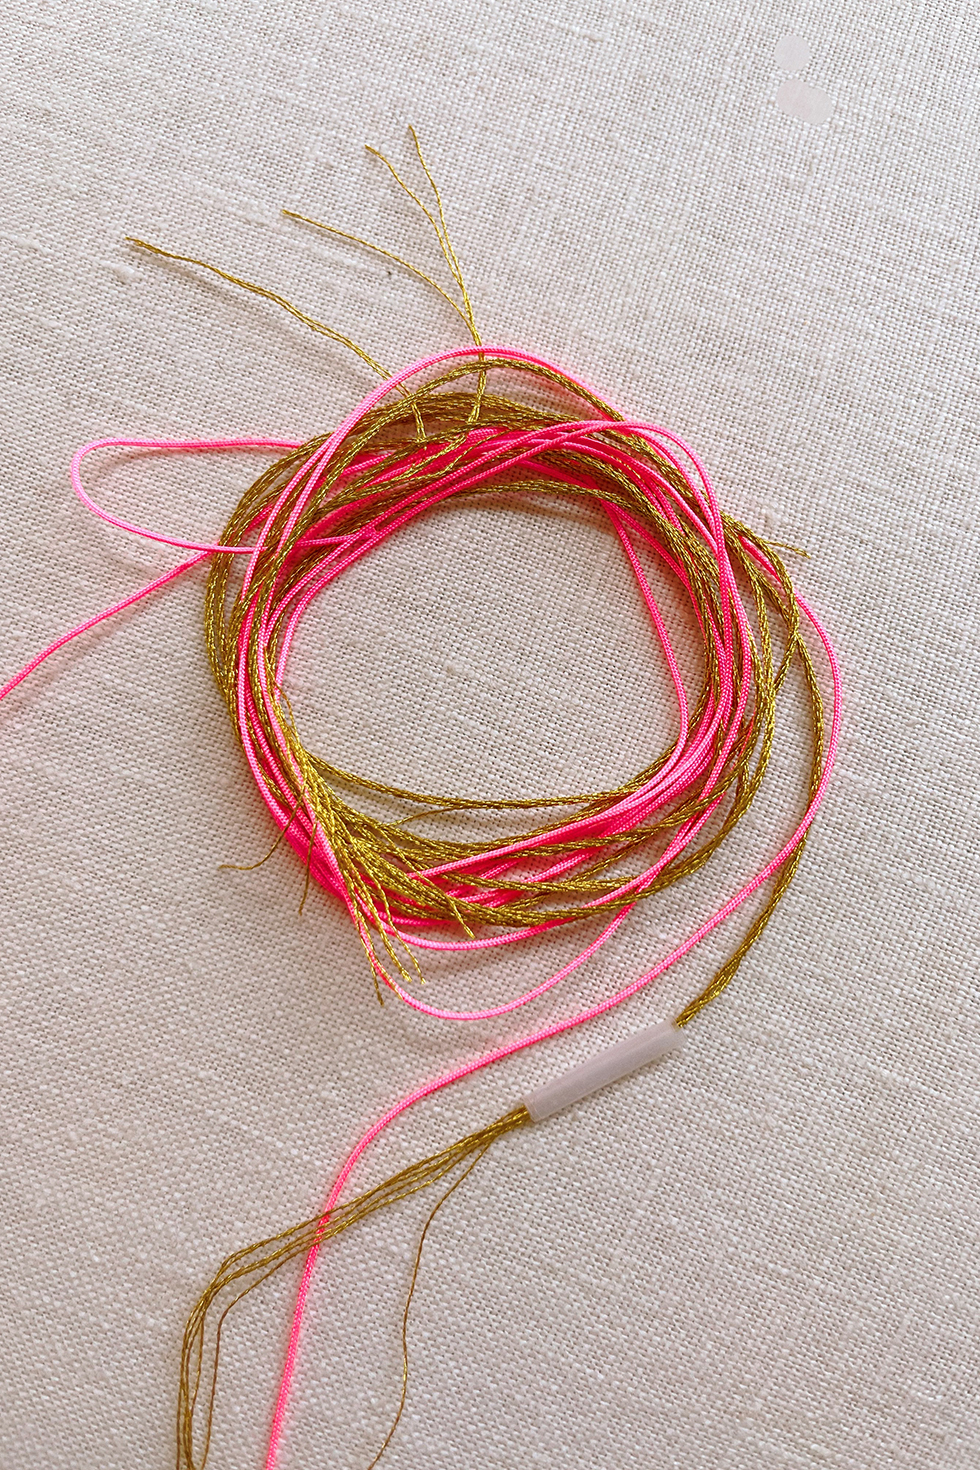
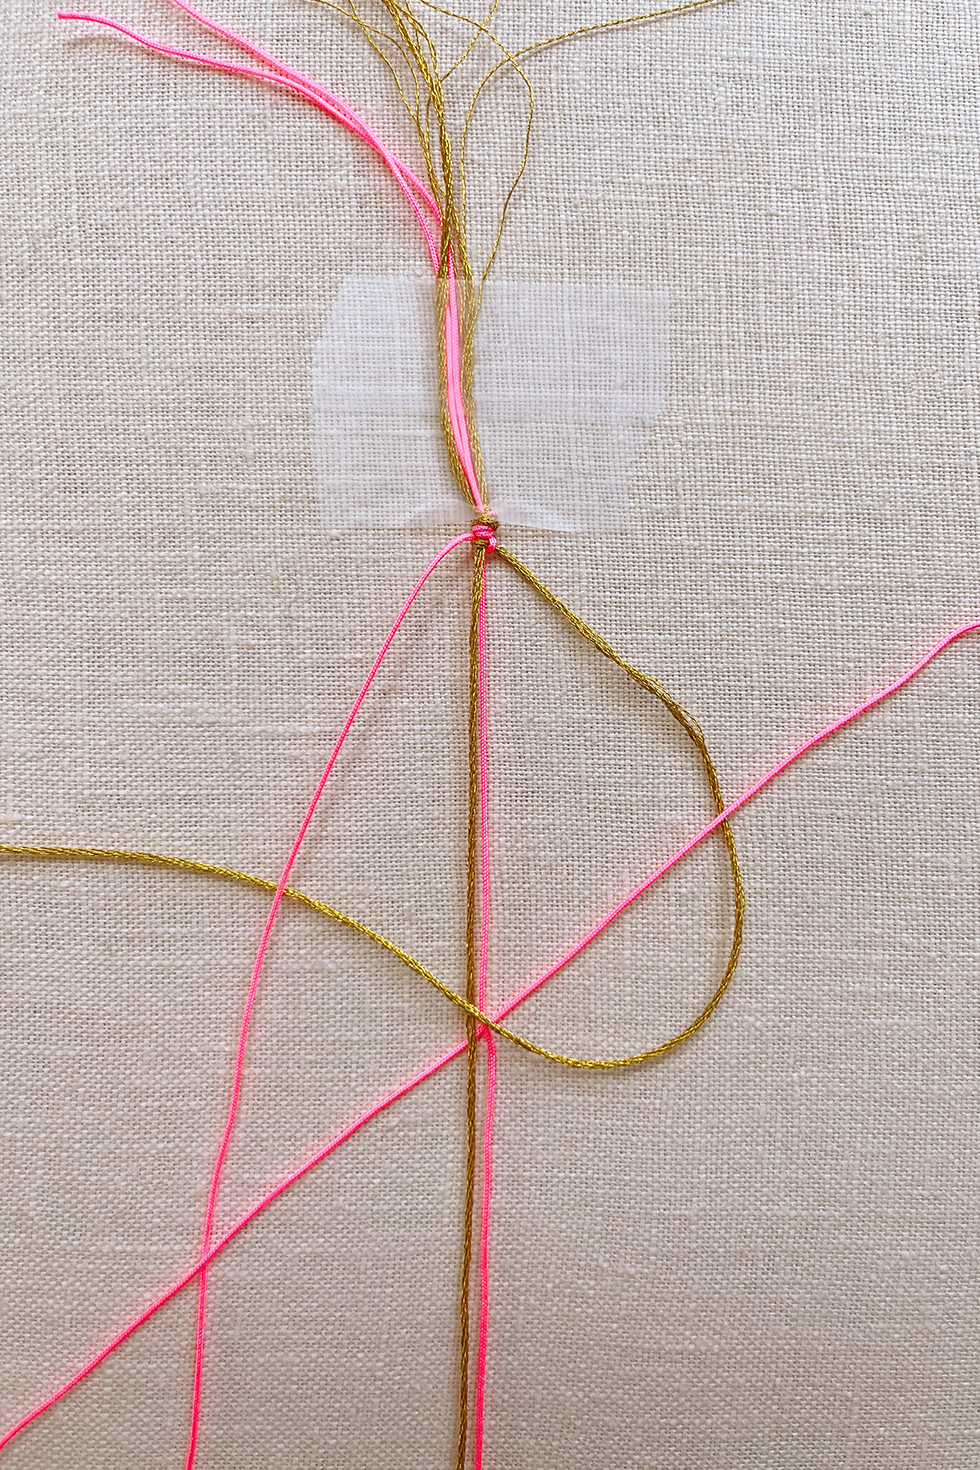
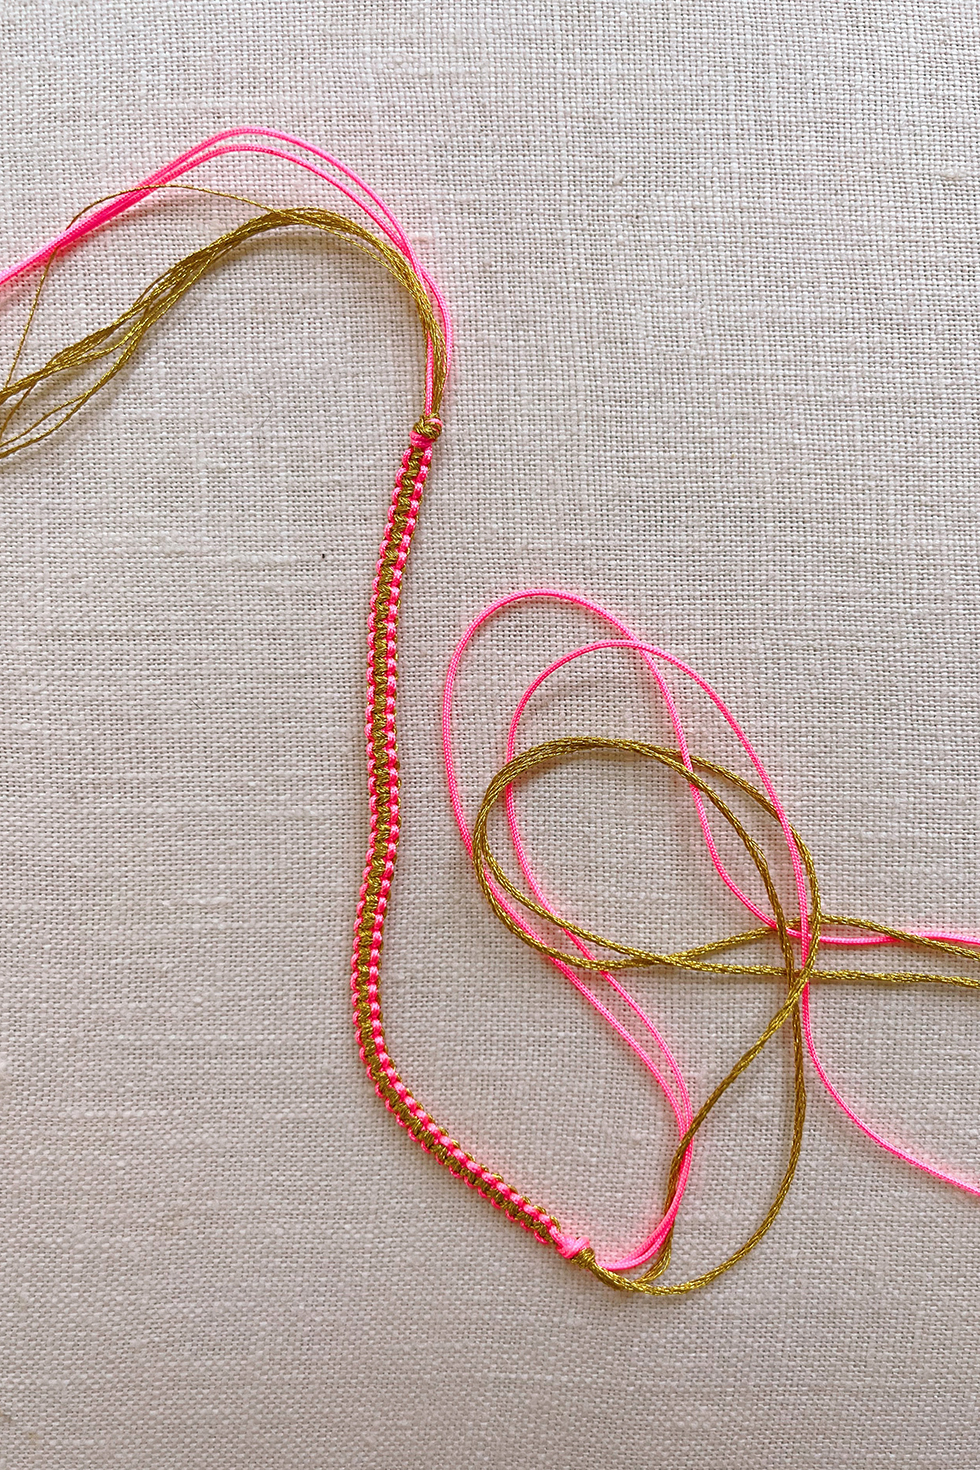
Cut the cord thread into a 16" piece and a 24" piece. Do the same with the gold embroidery cord. Tape the end of the longer strand of gold thread. This is to prevent it from fraying.
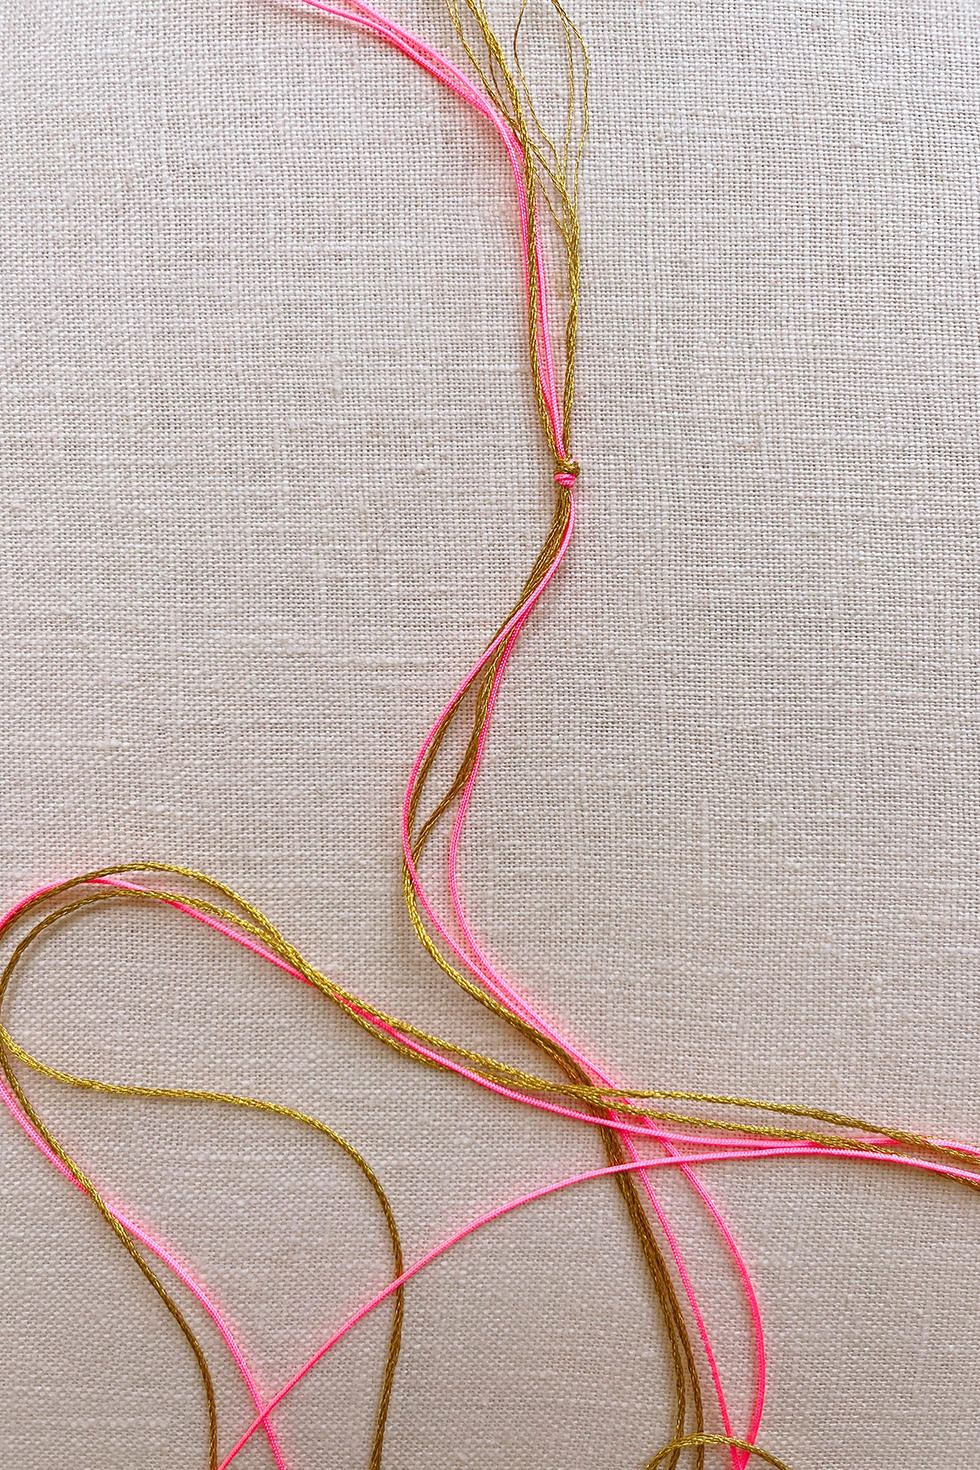
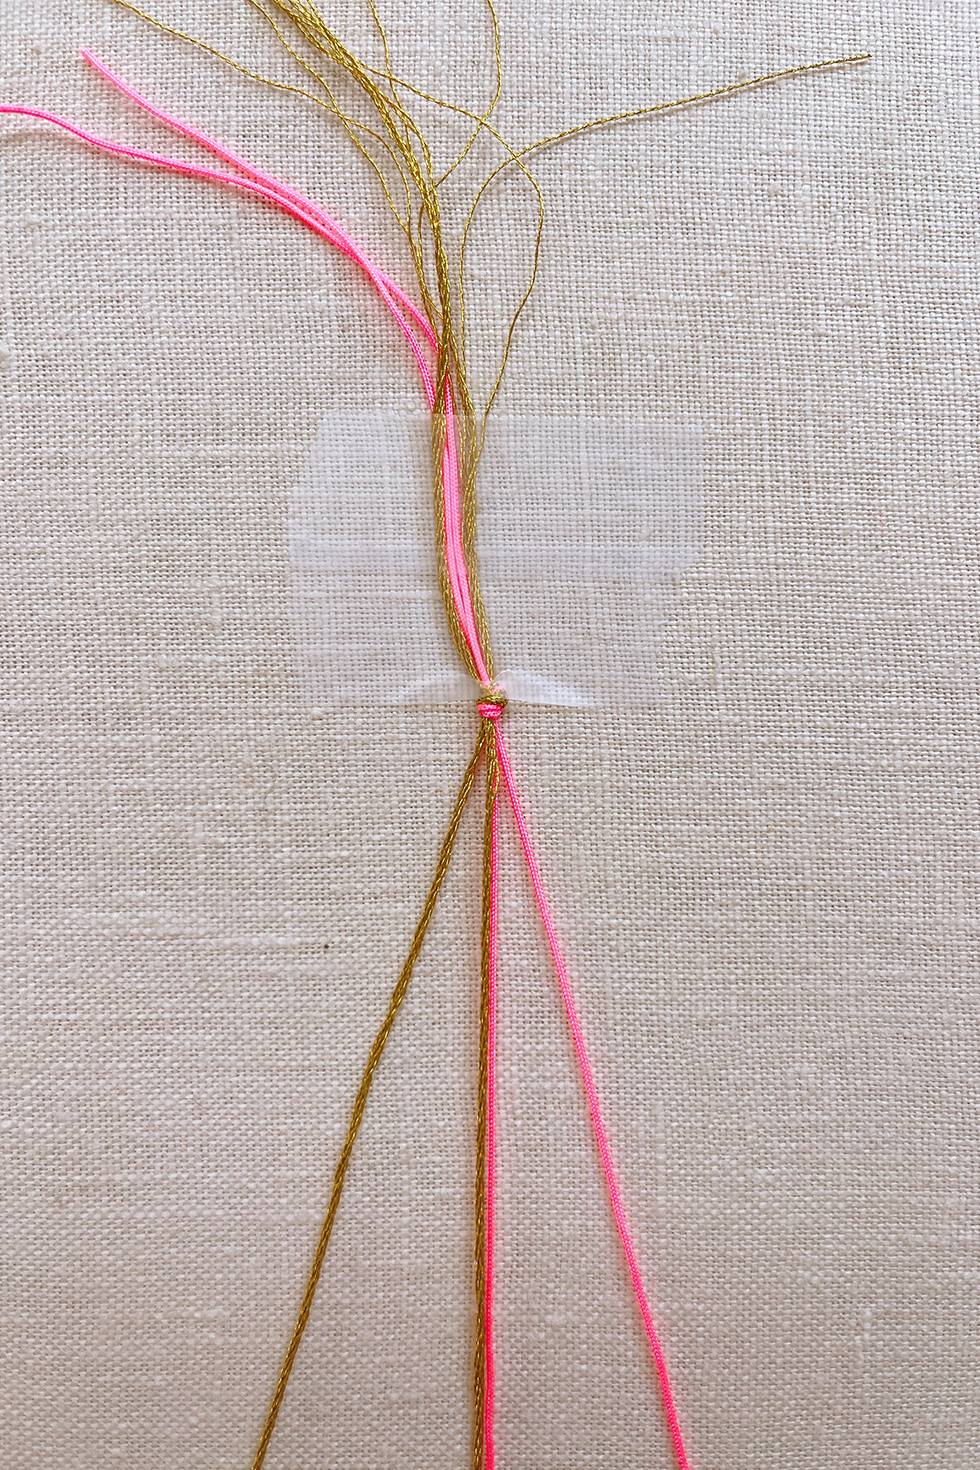
Take the ends of all 4 cords and tie into a knot about 3 inches down. Tape the knot down.
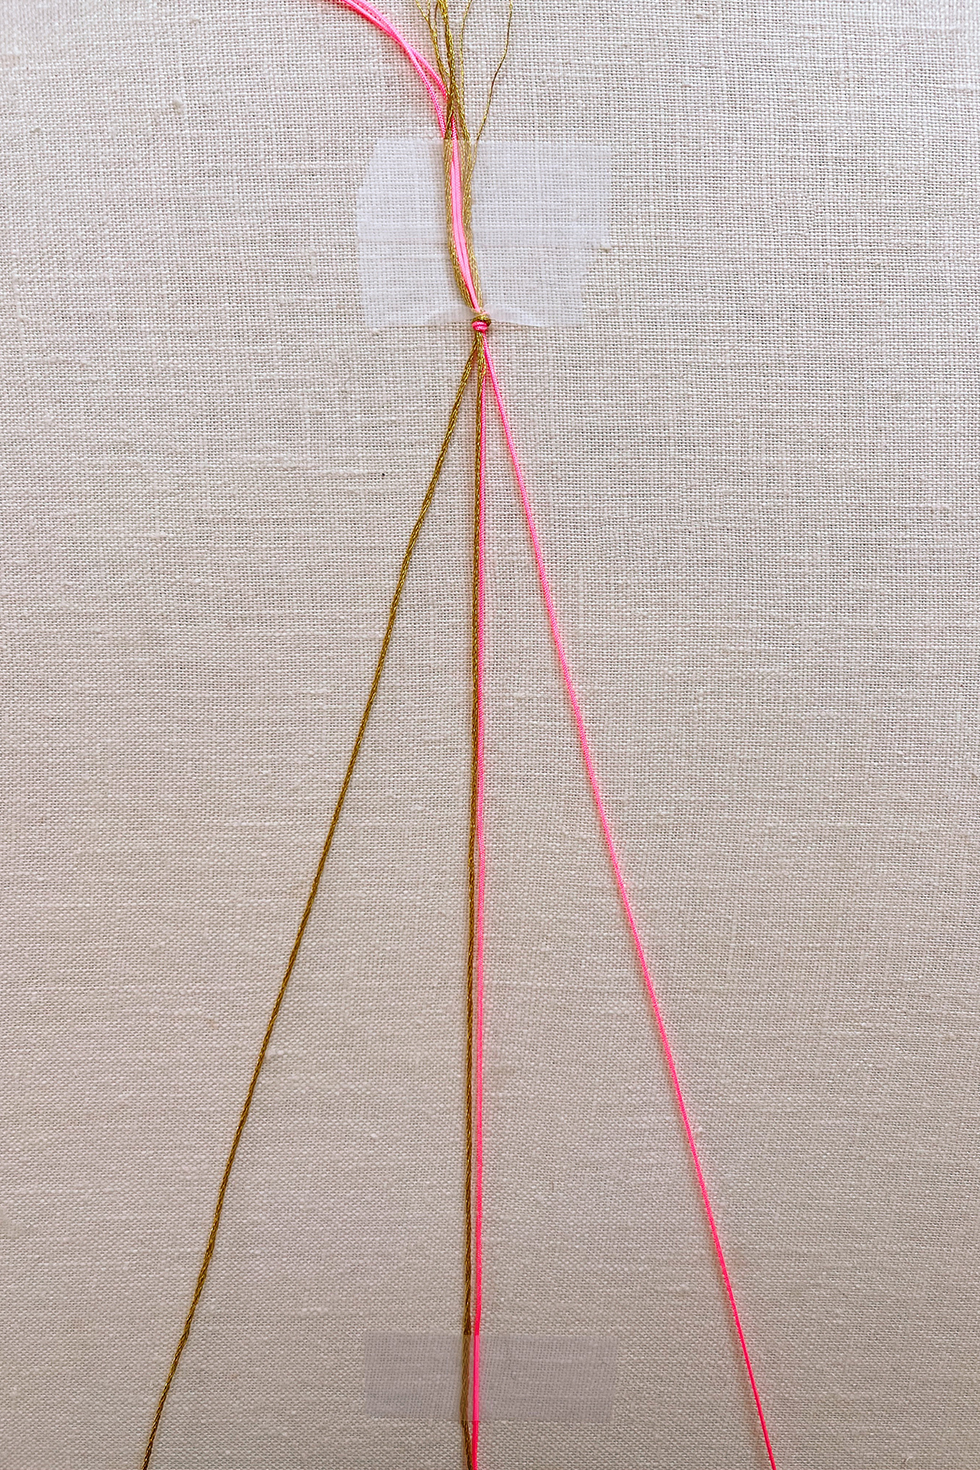
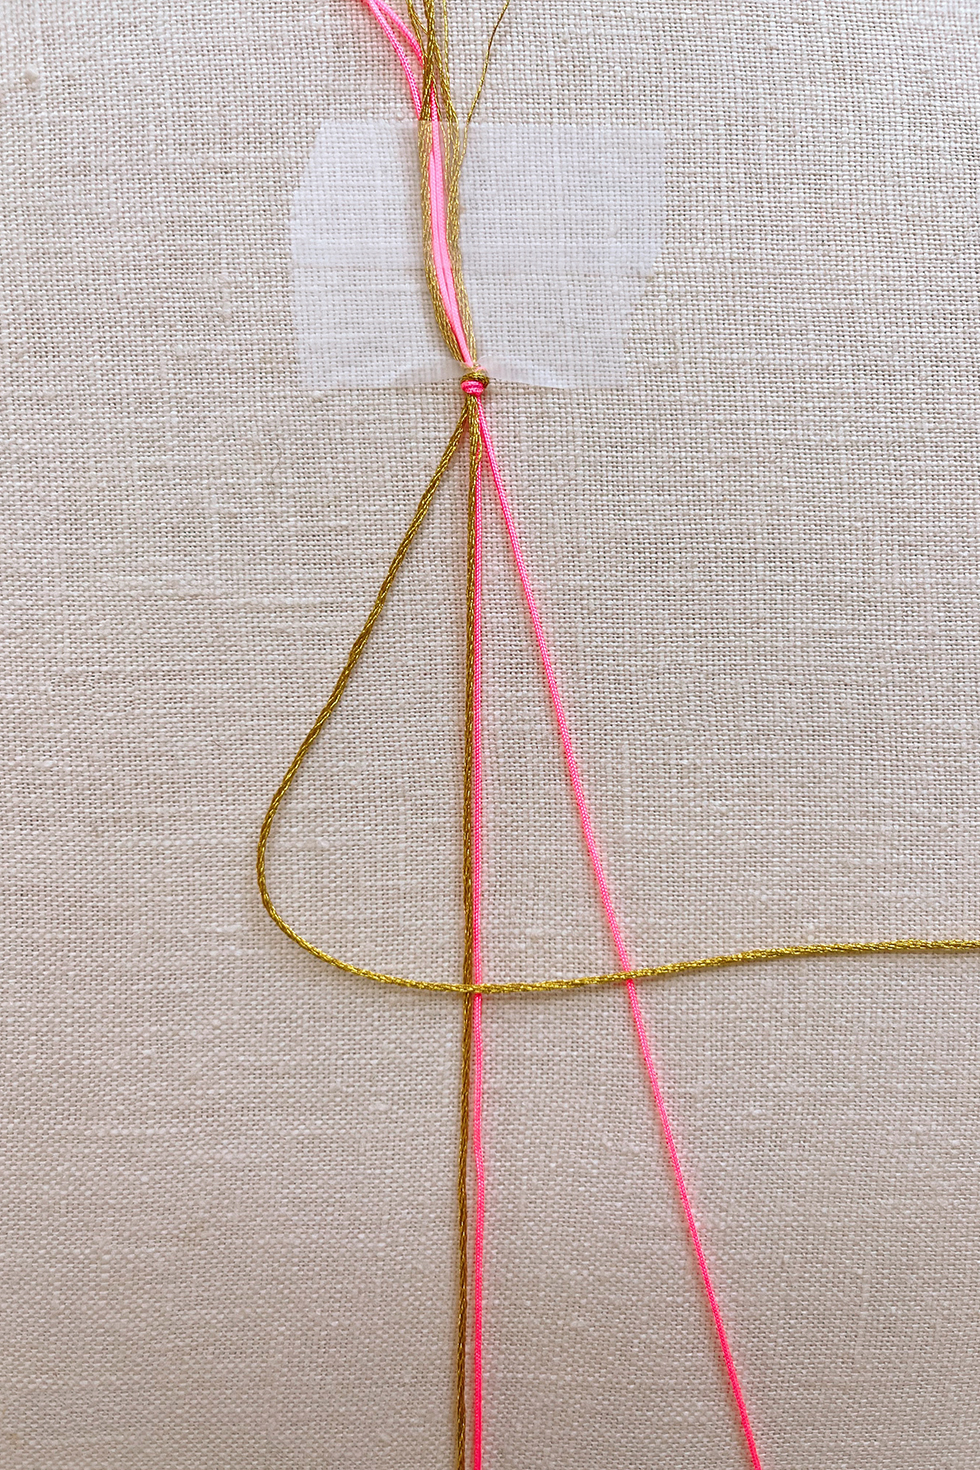
Take the 2 16" pieces and pull them taut down the center. Tape the end to your surface. Part the longer cord and gold cord - one on each side of the middle cords. Fold the left gold cord over the middle strands to begin your square knots.
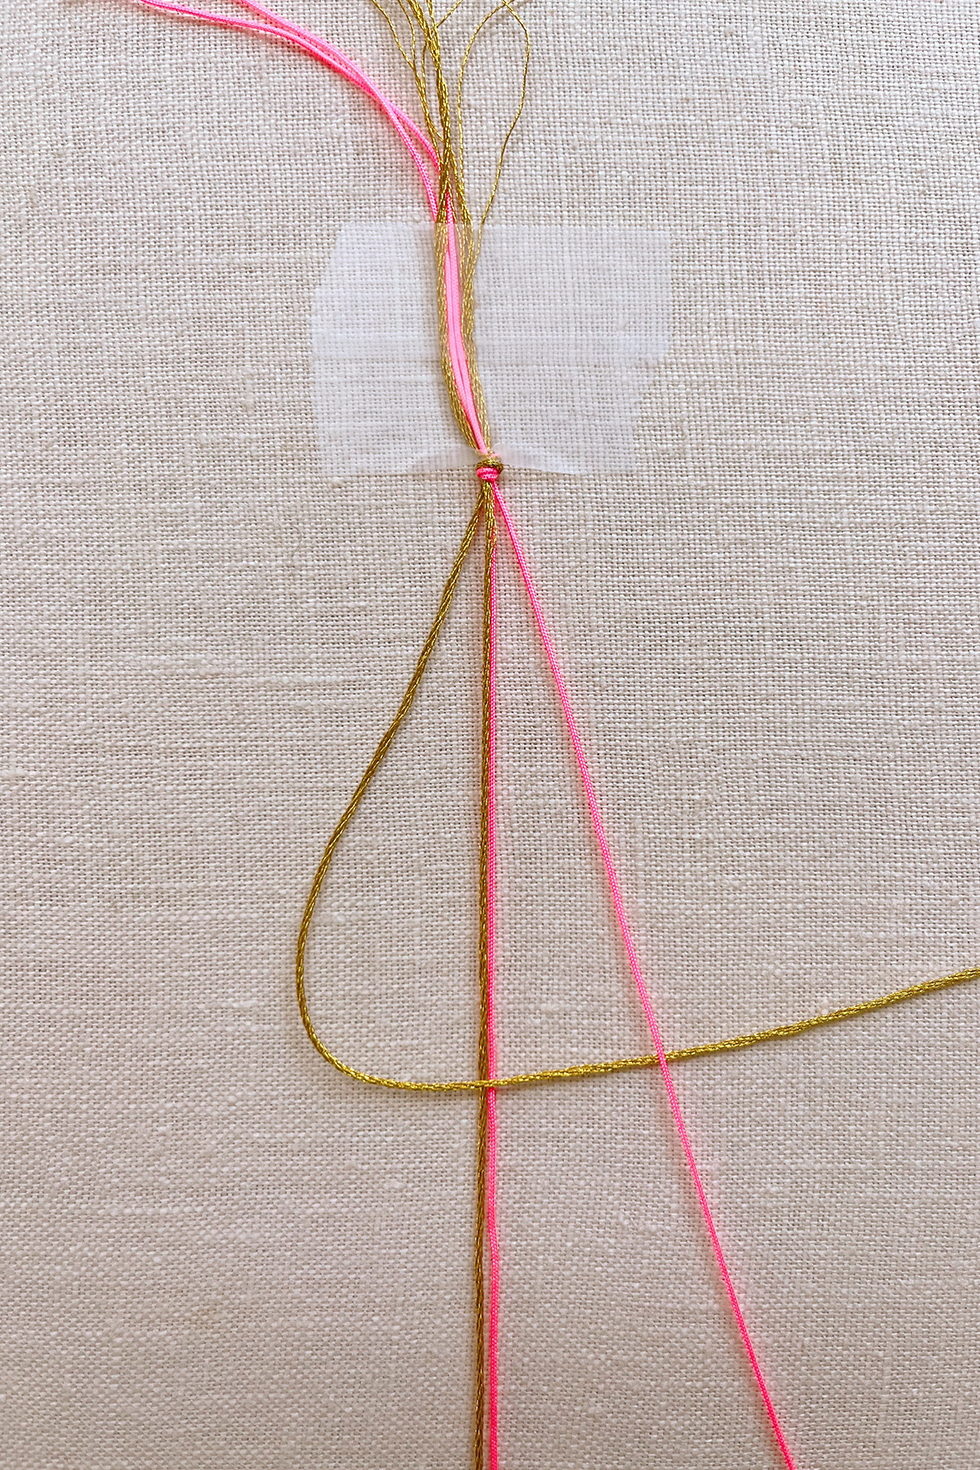

As you're folding the right cord over the middle strands, place it under the left cord. Pull the right cord under the middle strands and through the loop on the left side.
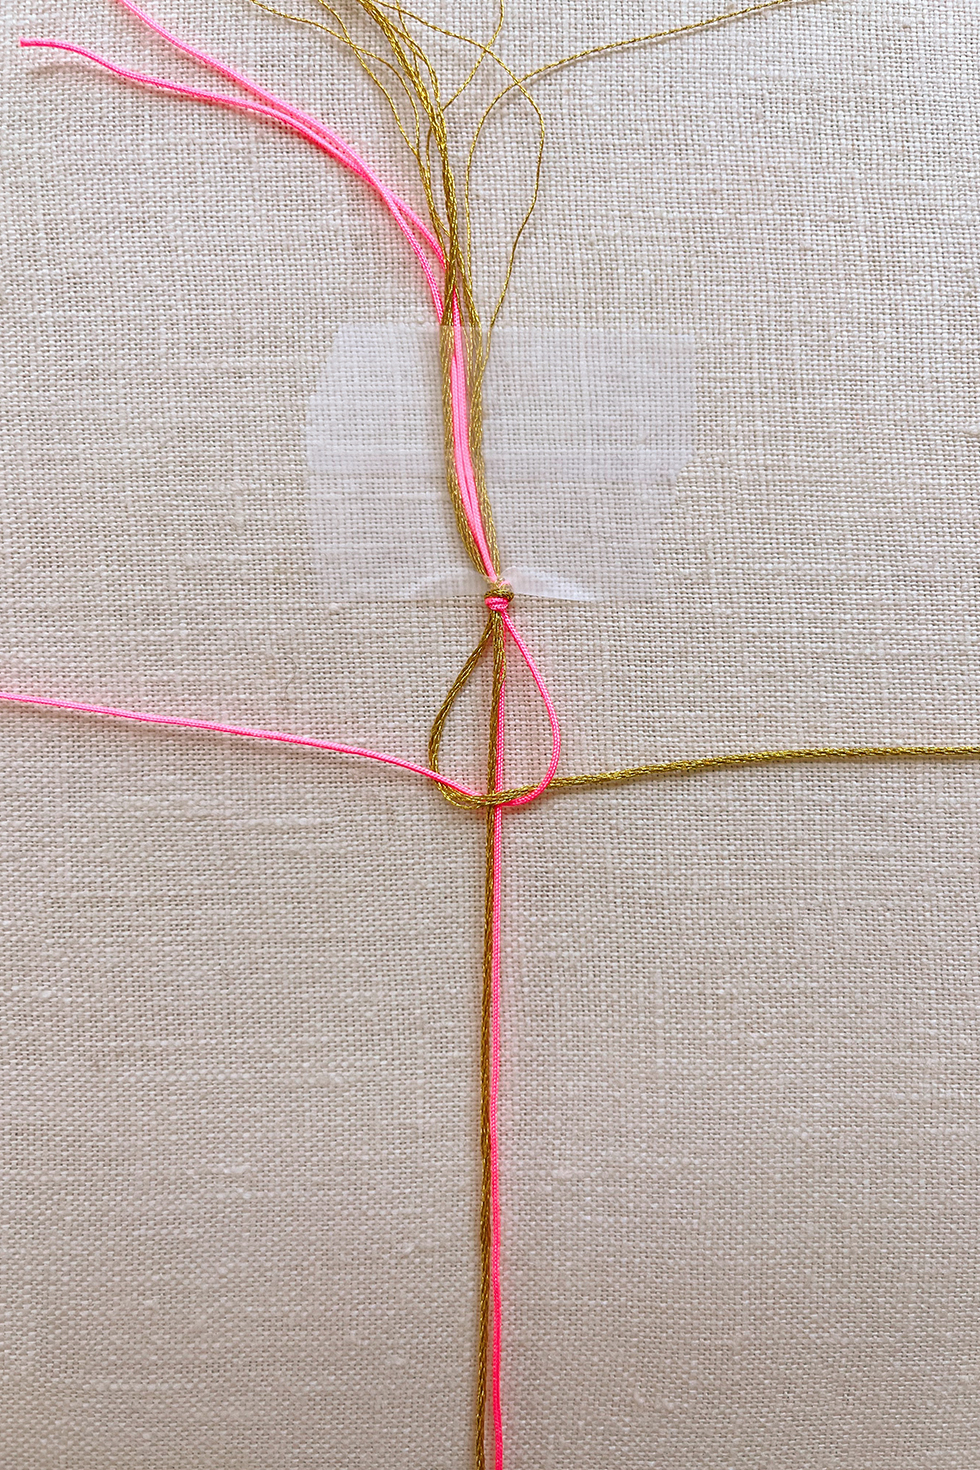
Pull tightly. You have just created a right facing square knot! Now, it's time to make a left facing square knot to complete the square knot.

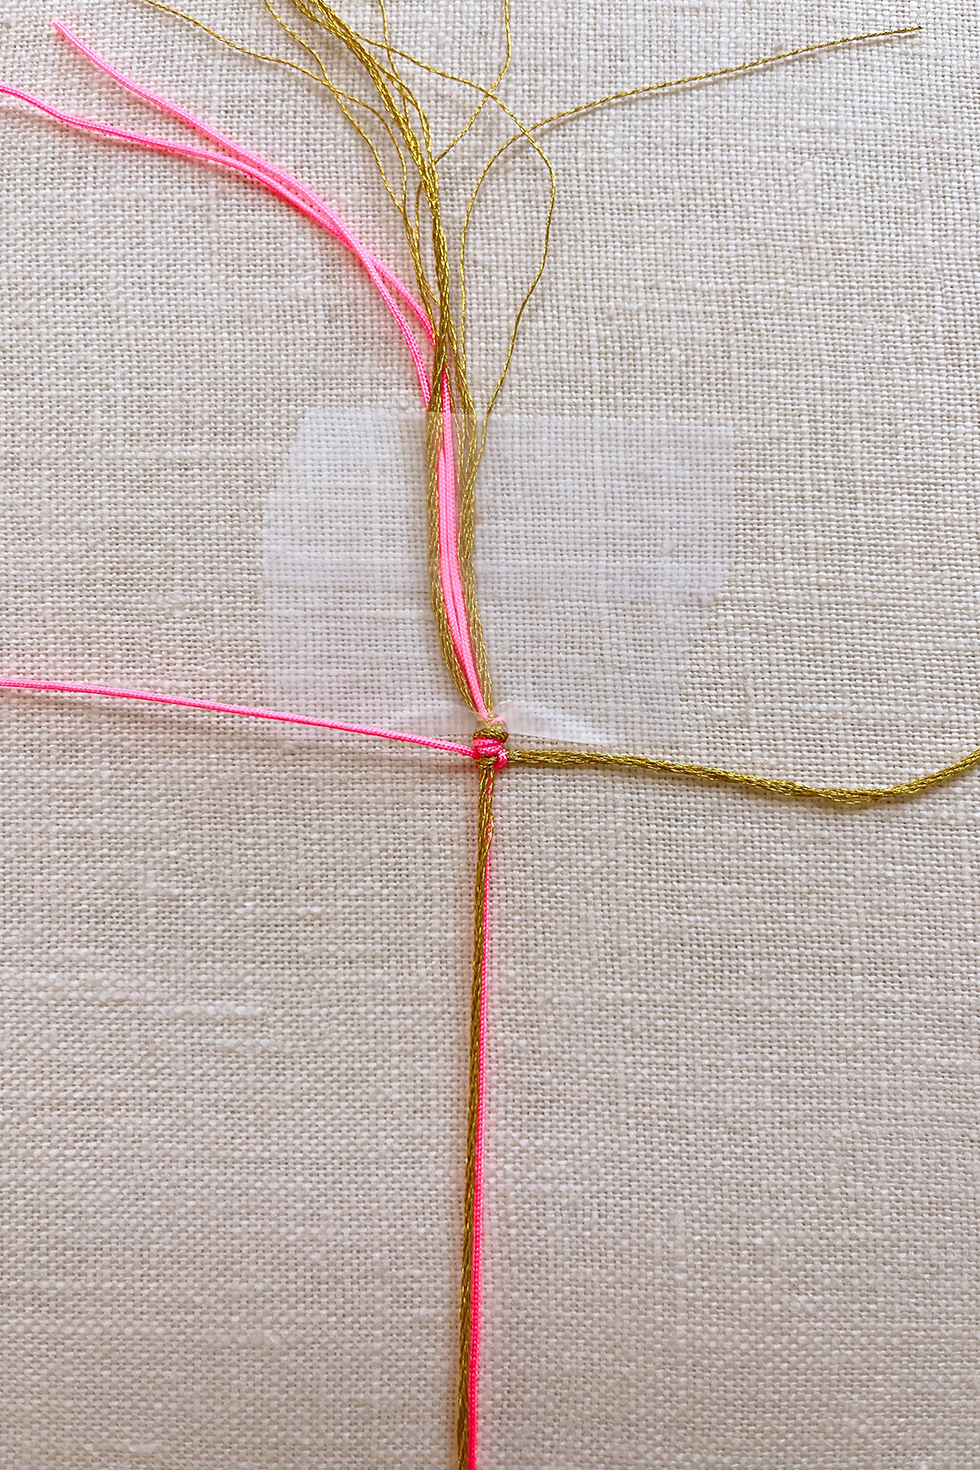
Fold the right cord over the middle strands and under the left cord. Pull the left cord under the middle strands and through the loop on the right side.
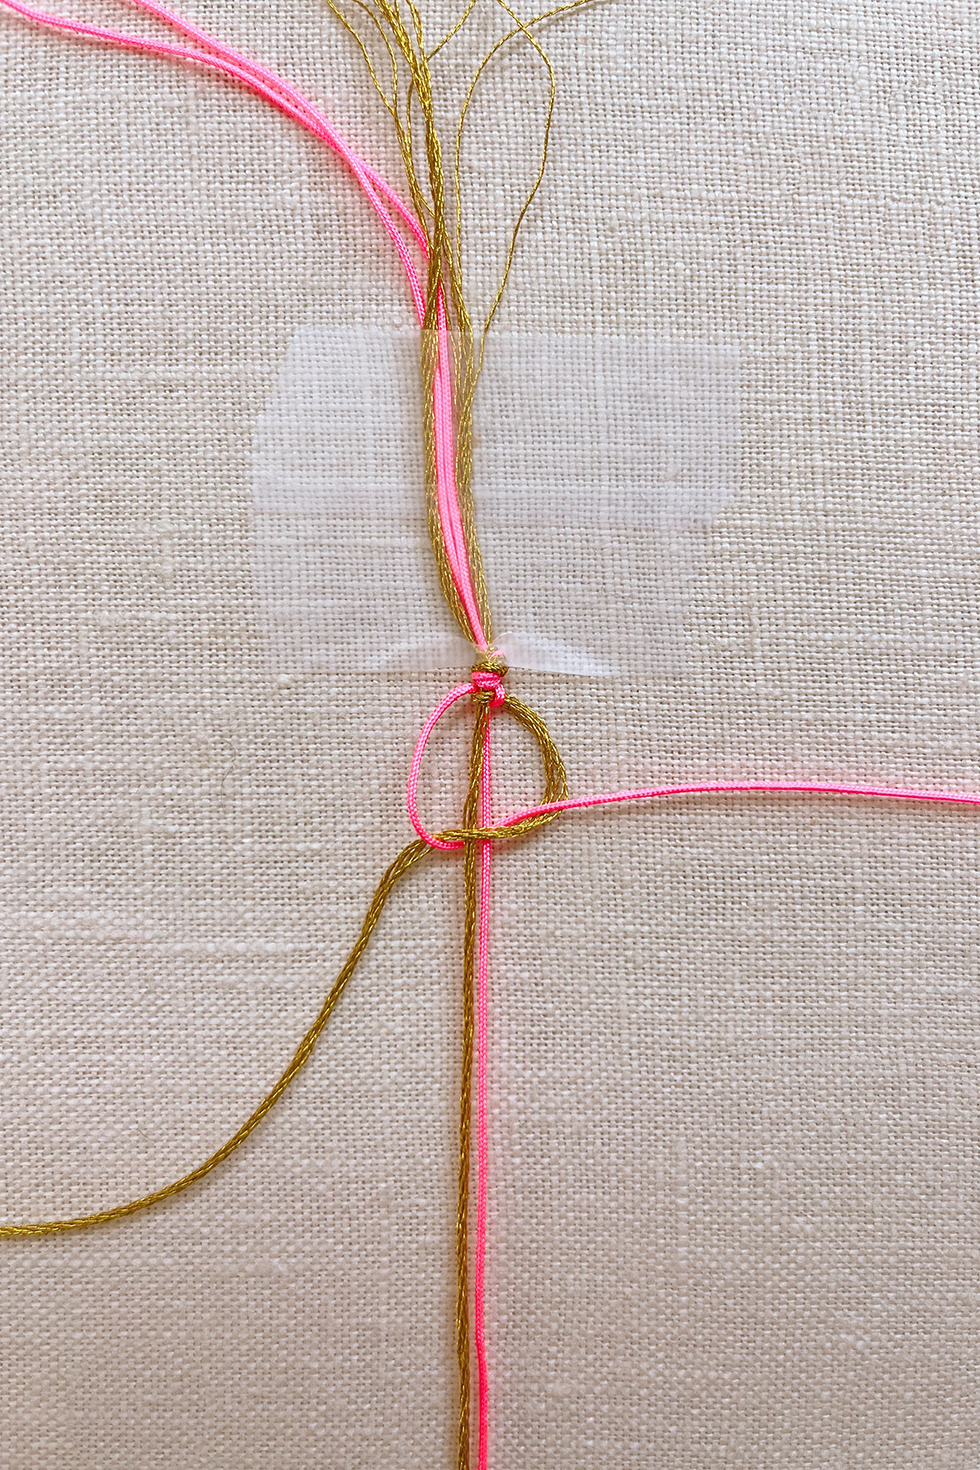

Pull tightly. This is a left facing knot which complete a full square knot.
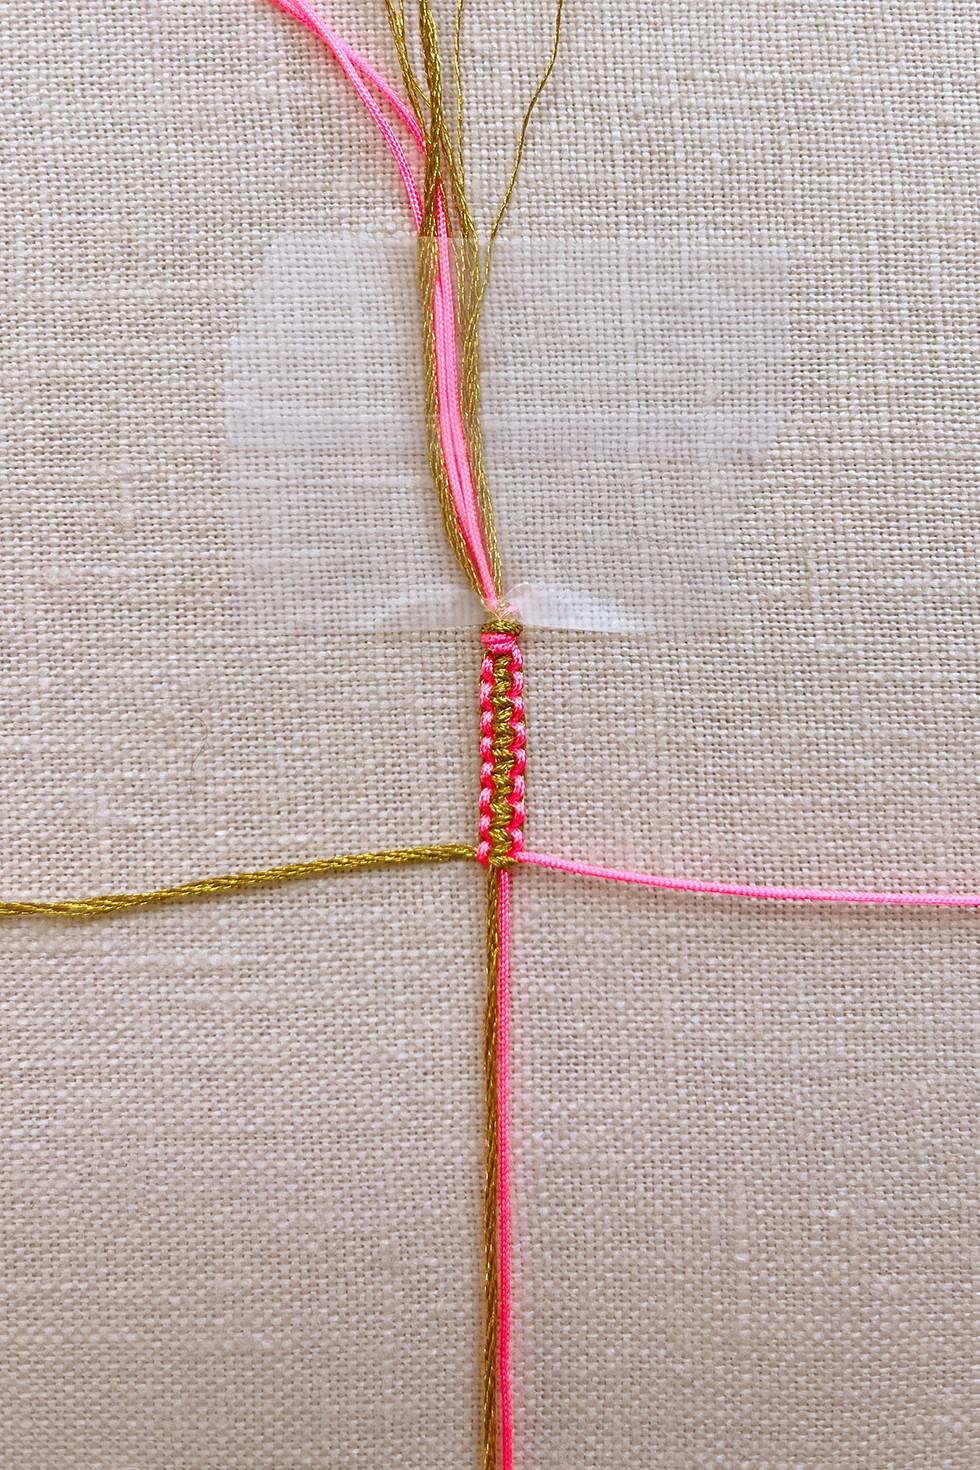
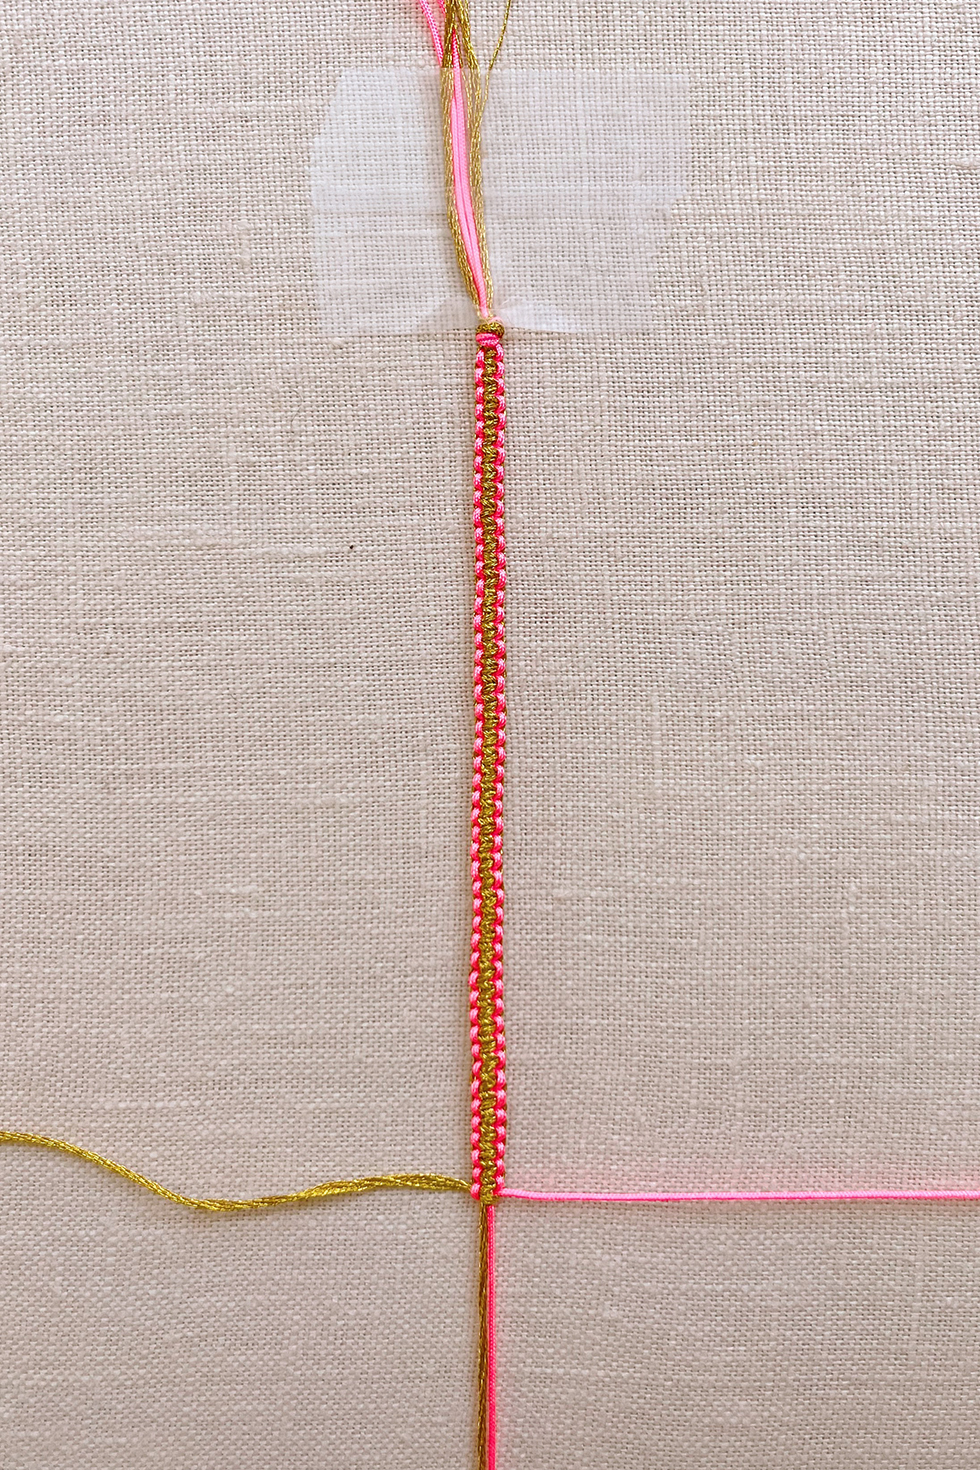
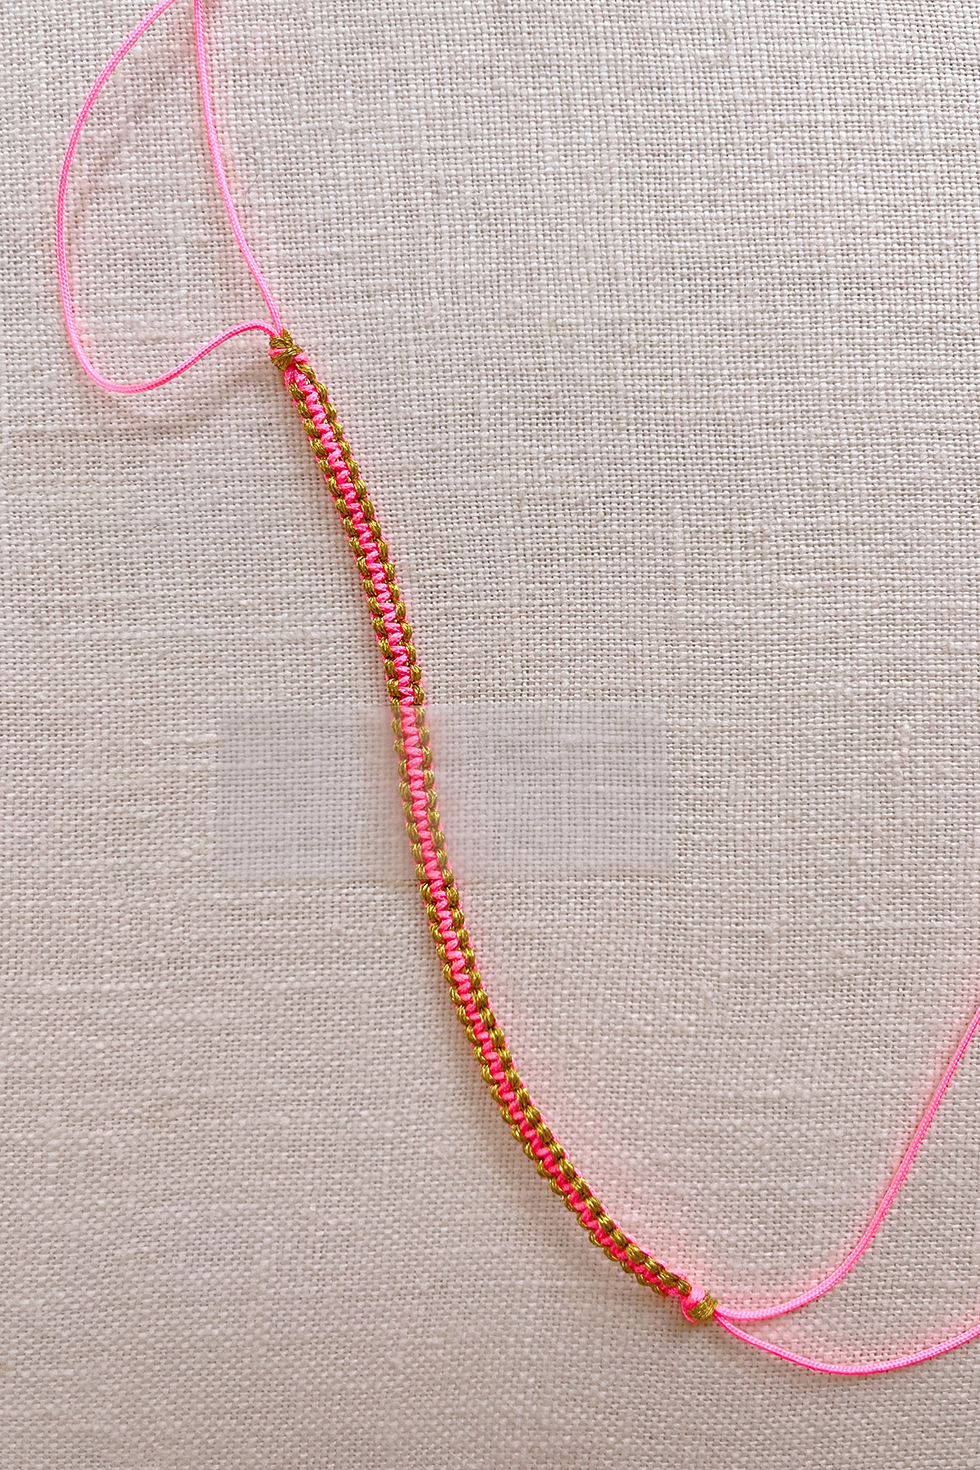
Repeat the steps until you've reached the desired length. Leave at least an additional 1.5-2 inches for the clasp when wrapping around your wrist to test the length.
**Remember the gold cord will always be the cord that you cross over with. The colored cord will always be the working cord, tucking under the cords to create the knots.
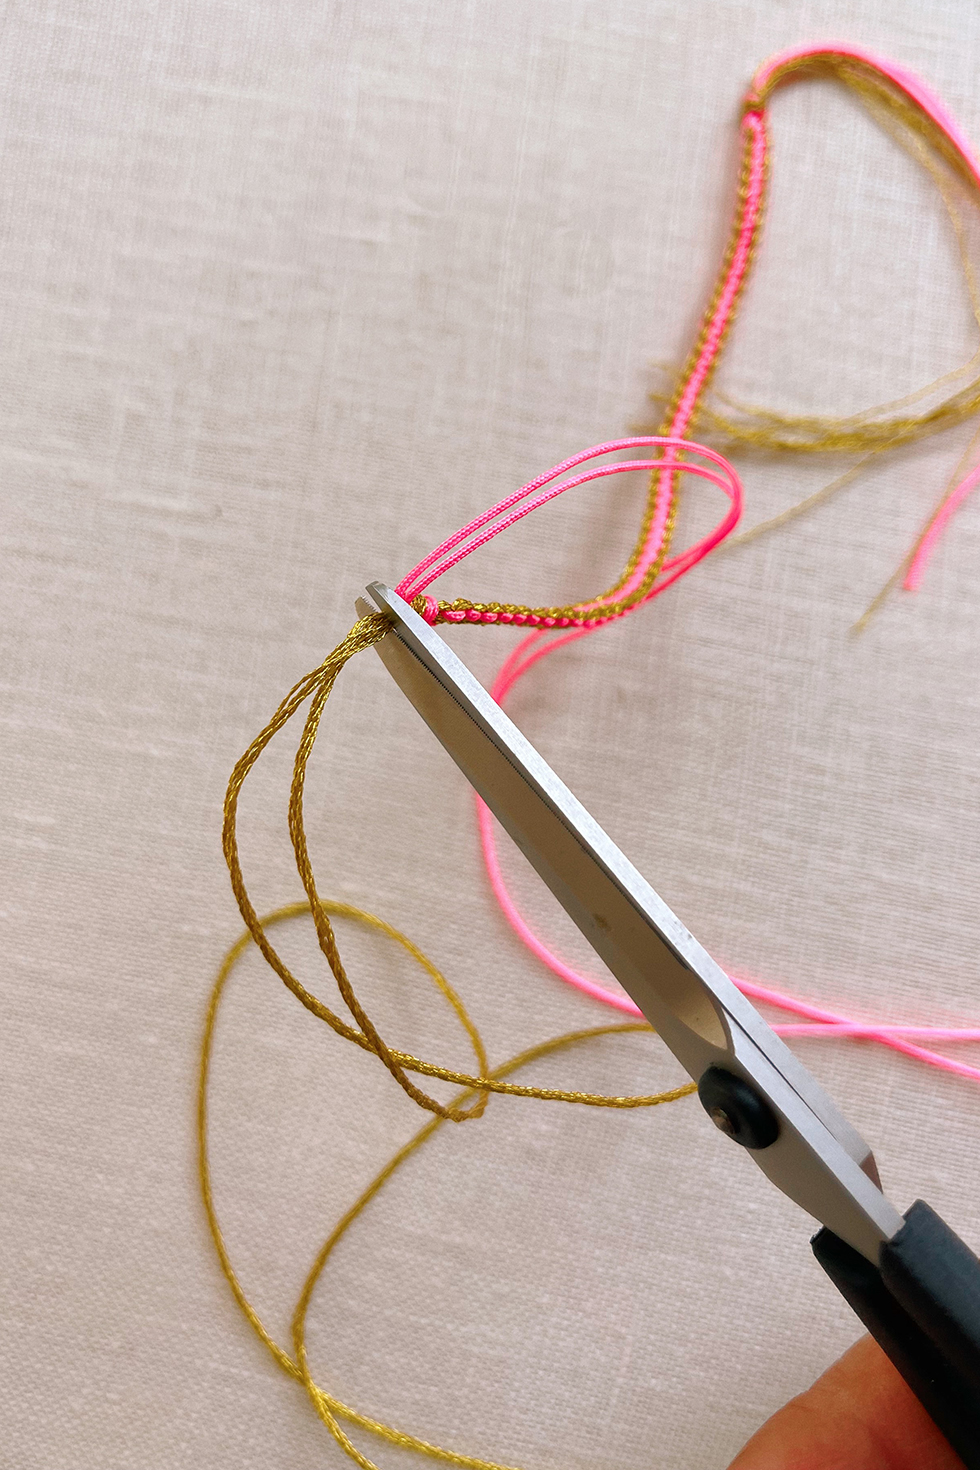
Tie the end into a knot, as you did in the beginning. Trim away the excess gold threads on both ends.
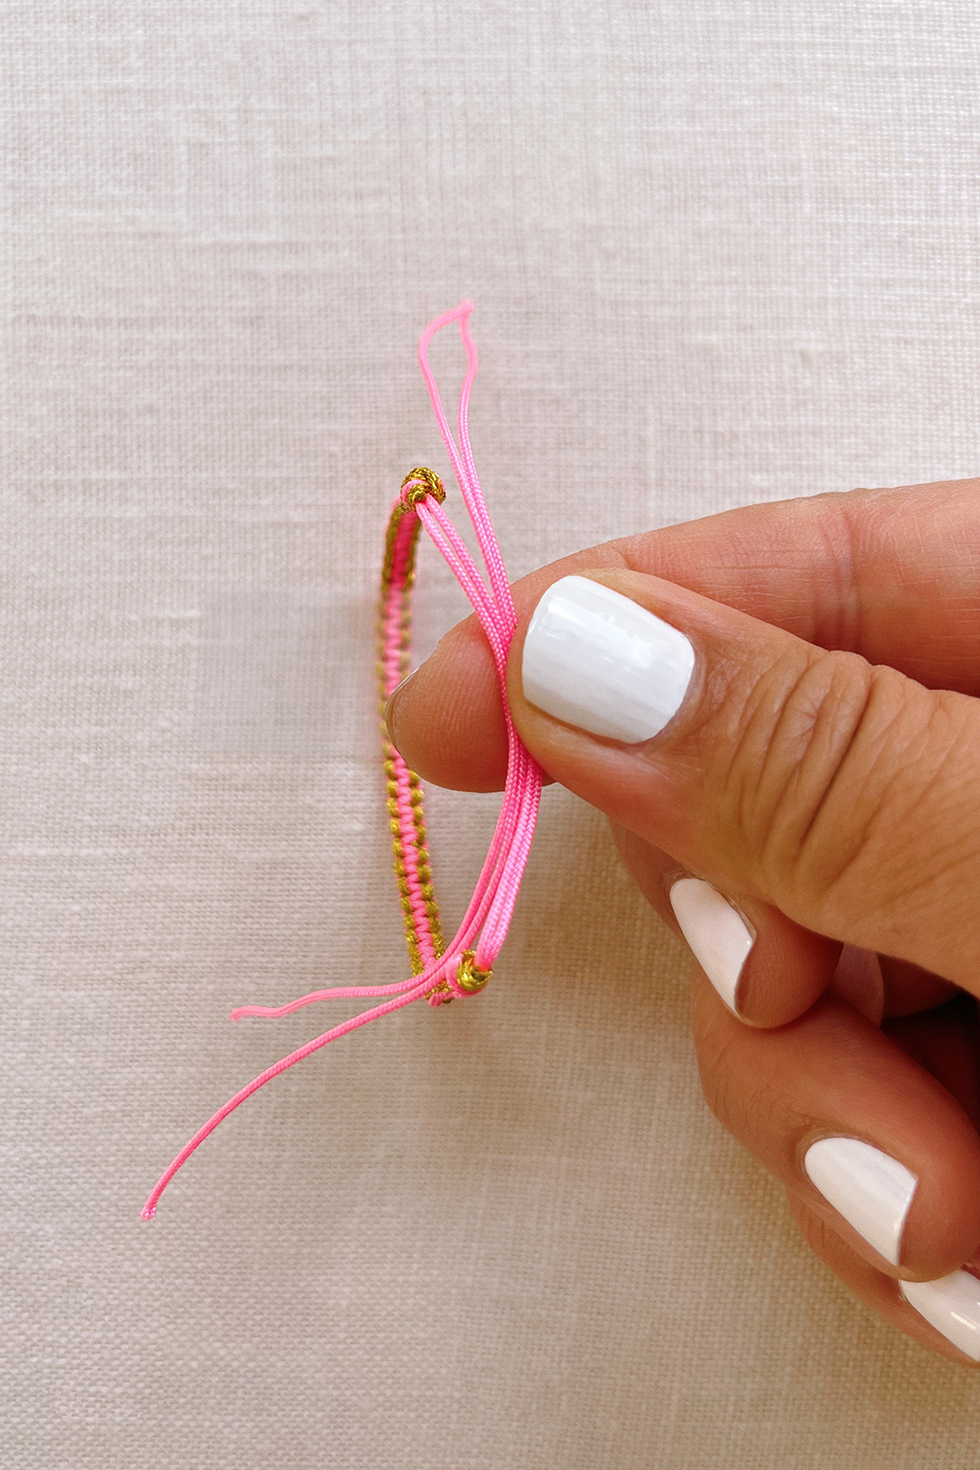
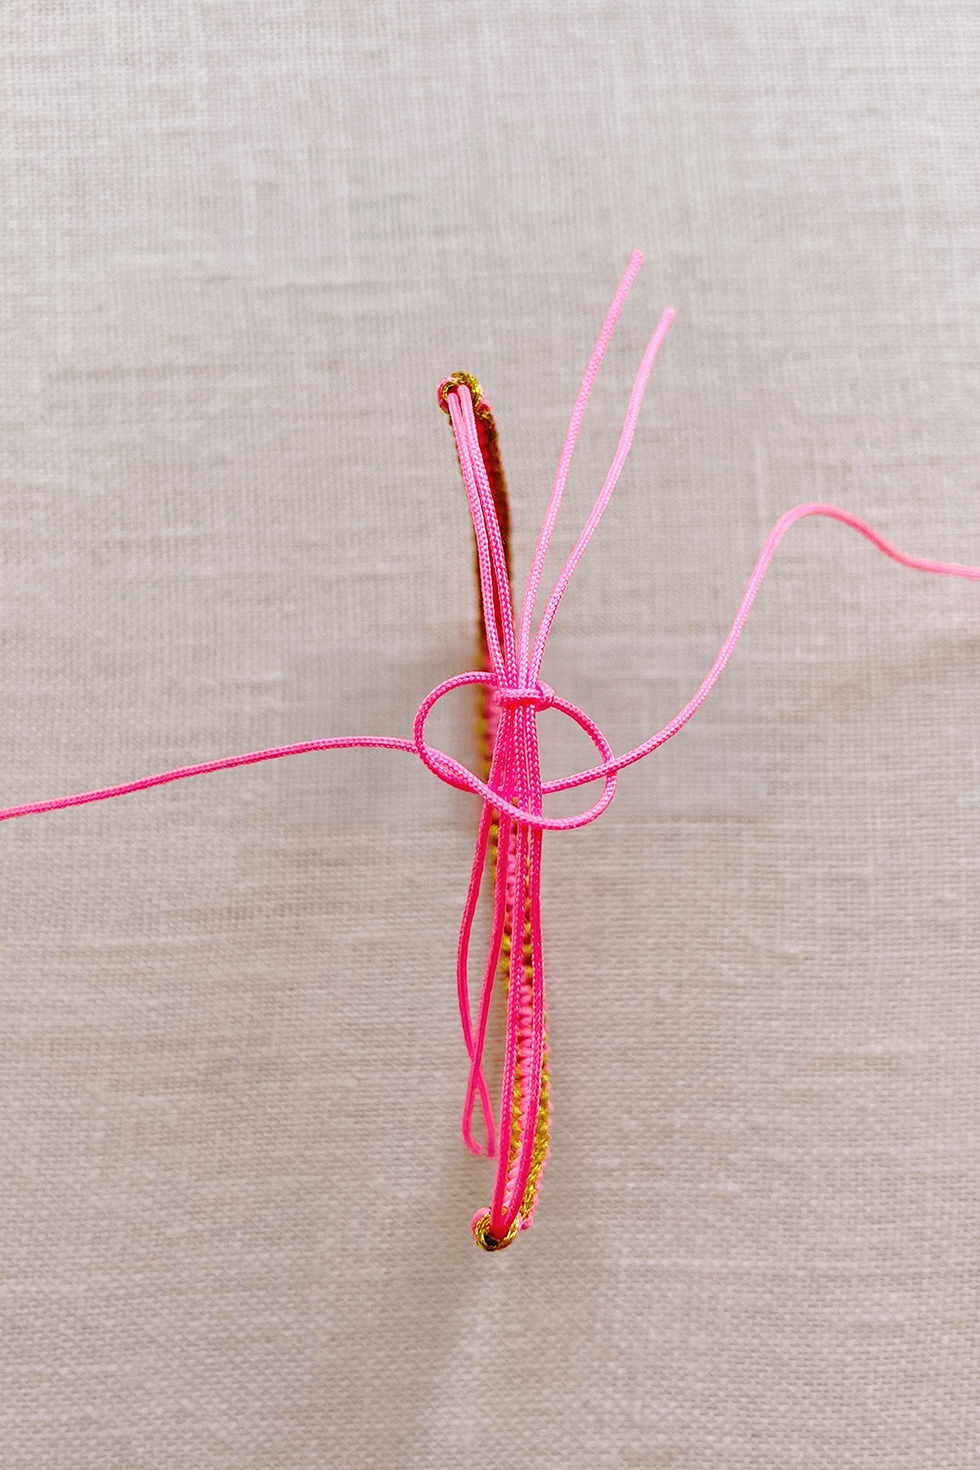
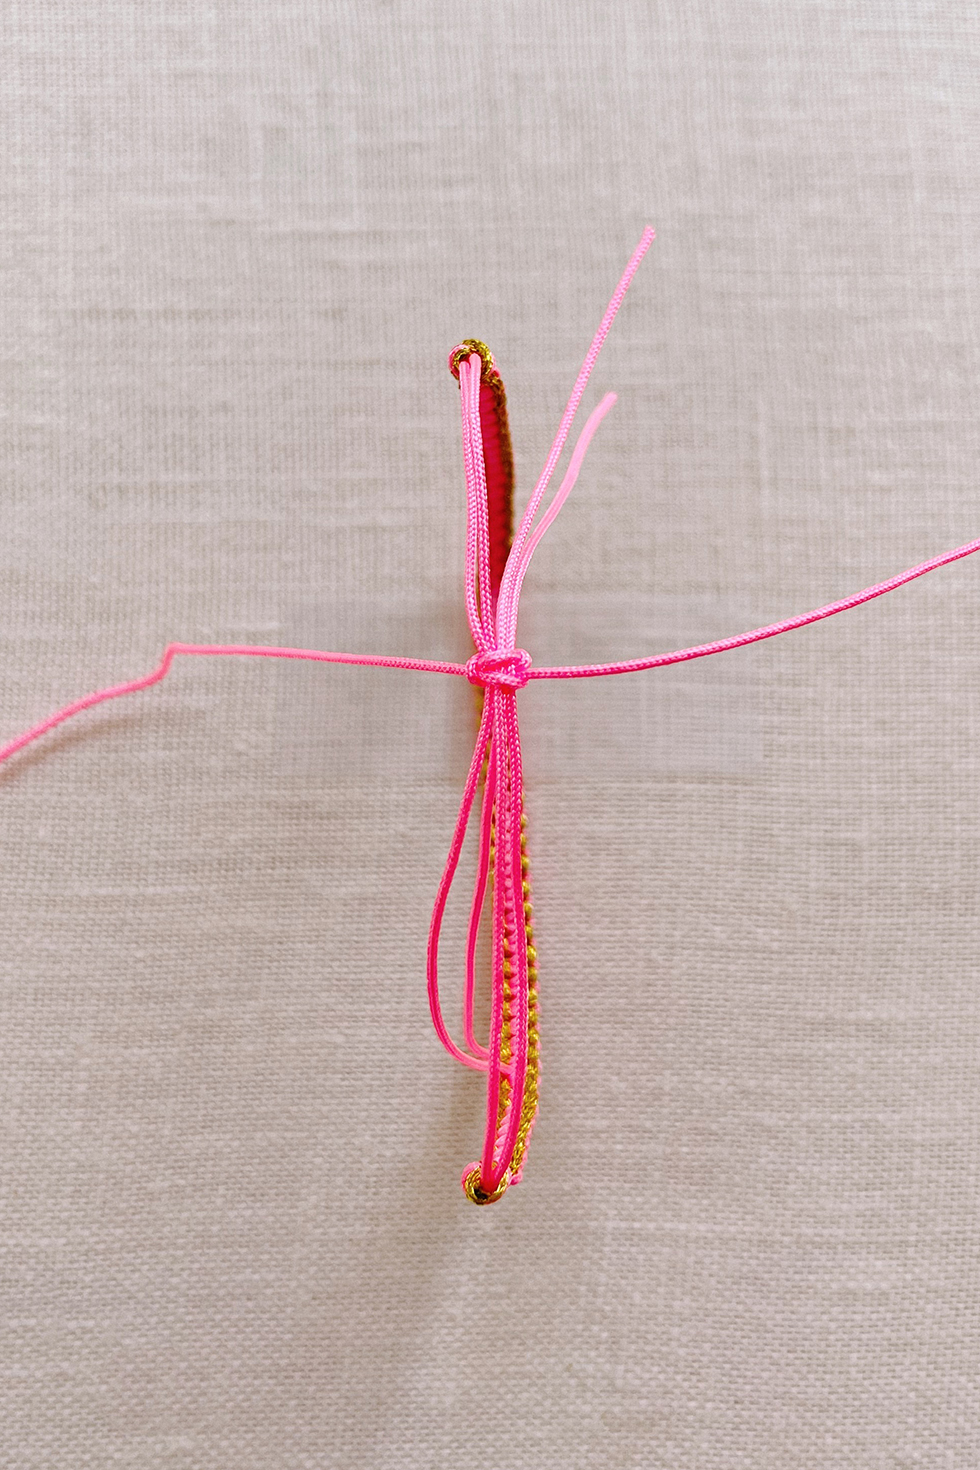
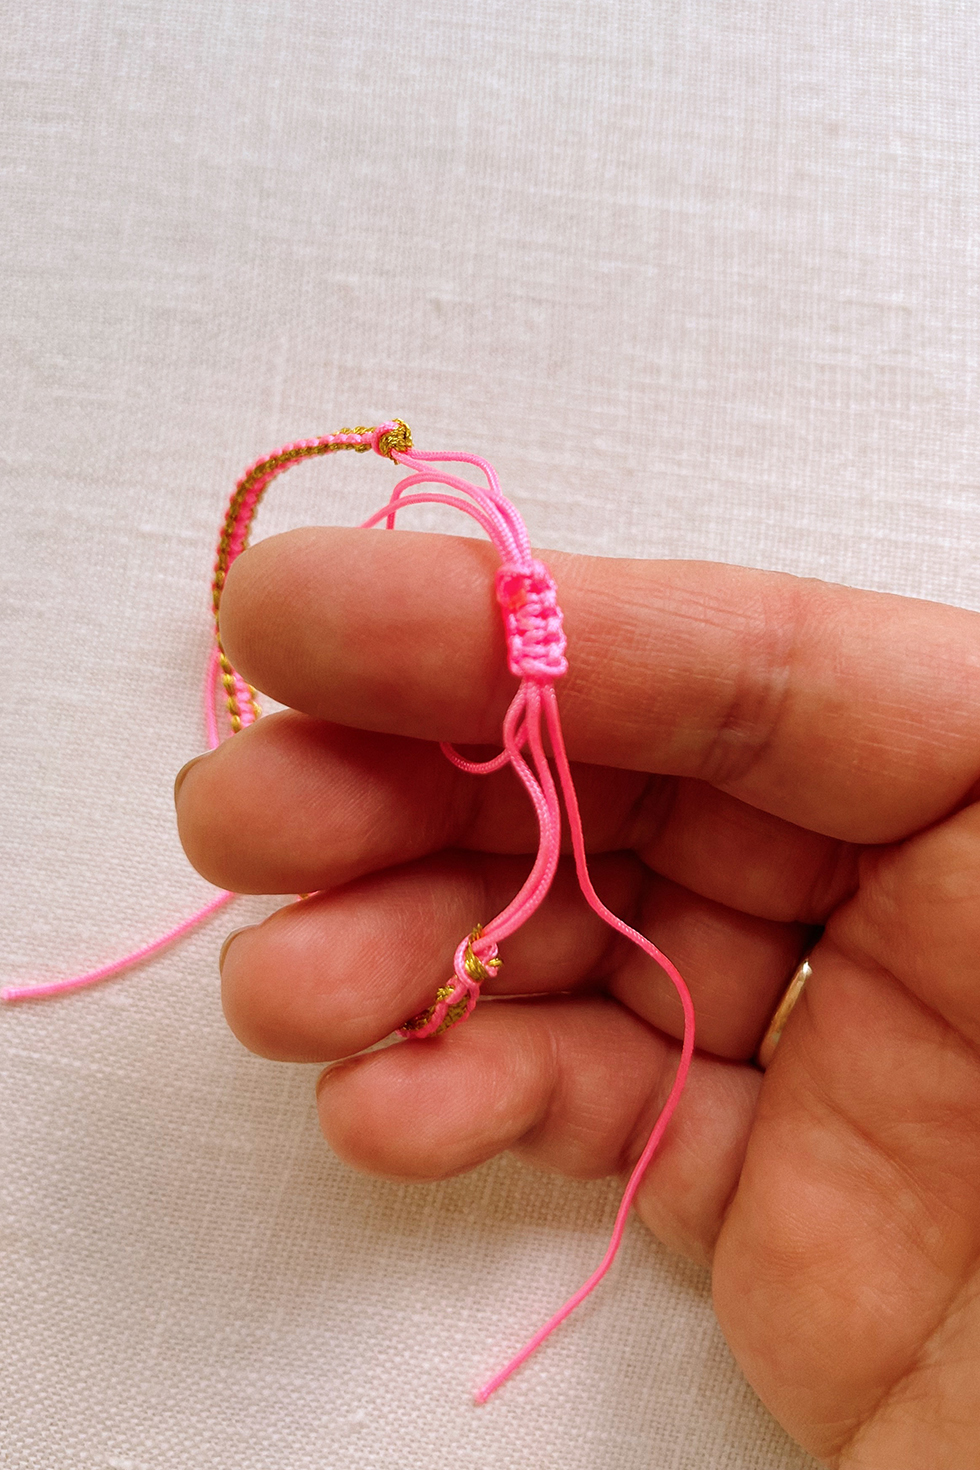
With the backside of the bracelet facing up, tape down the center of the bracelet to your surface. Bring up the two end cords and overlap the middle strands.
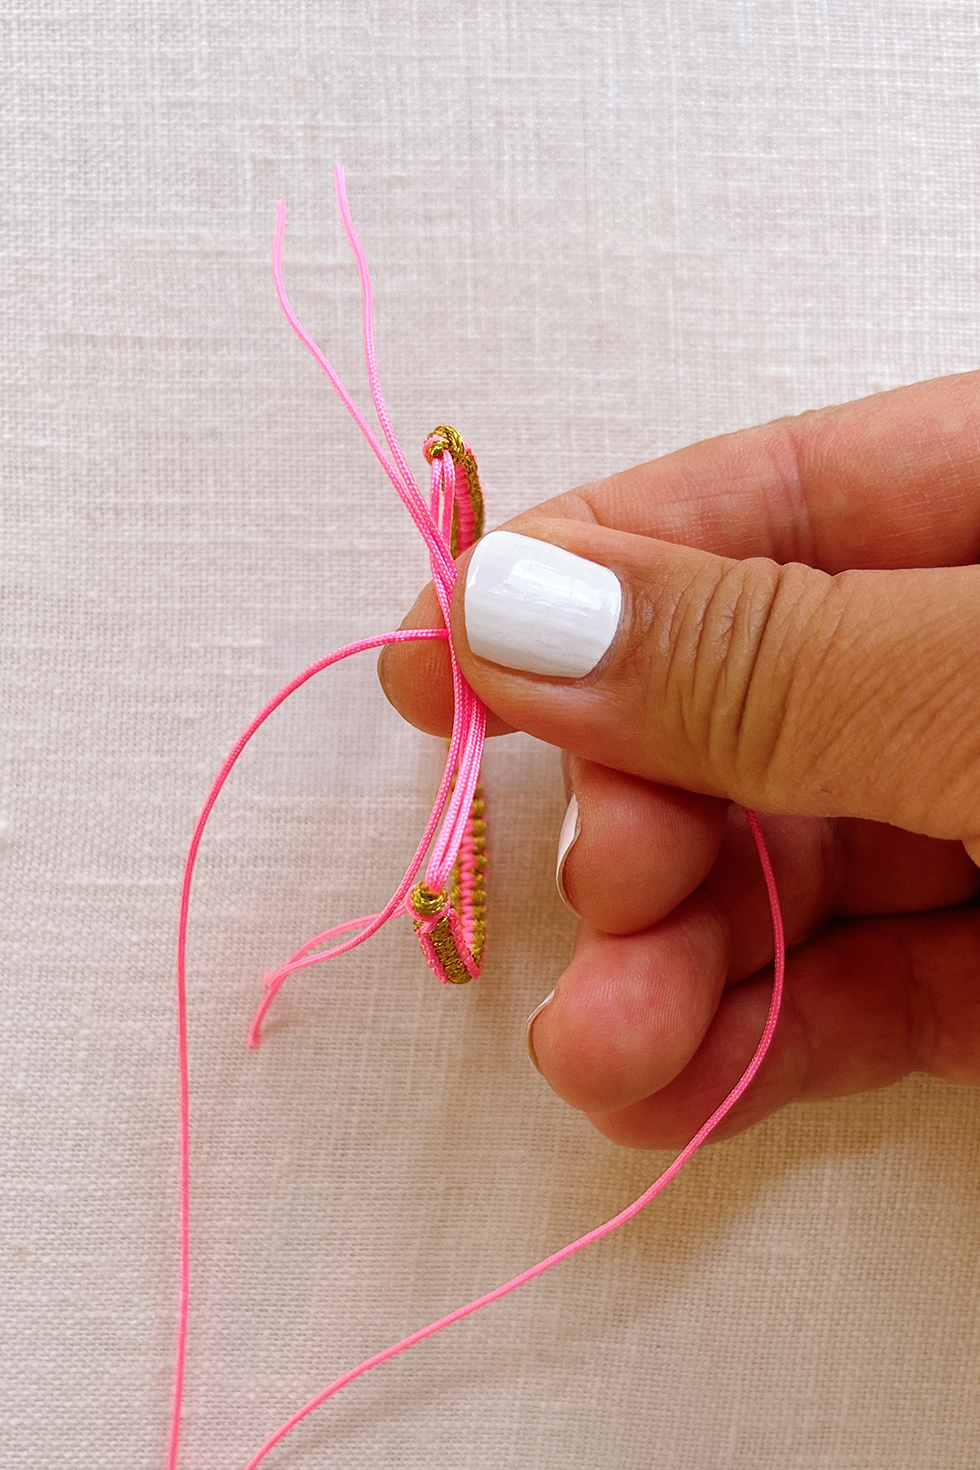
Cut an 8" cord and center it under the strands.
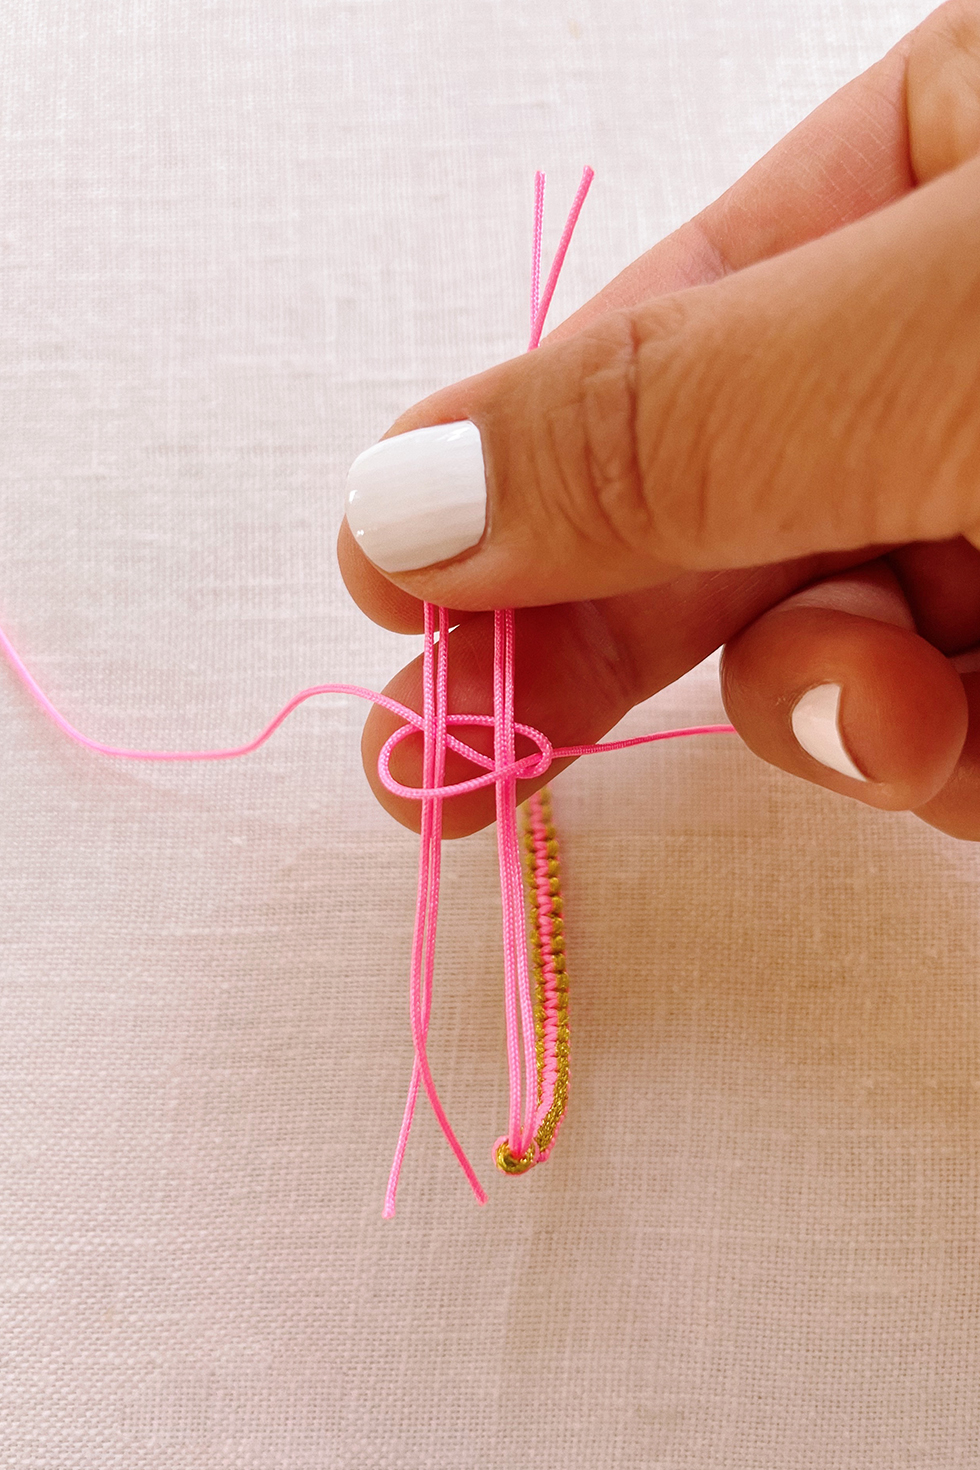
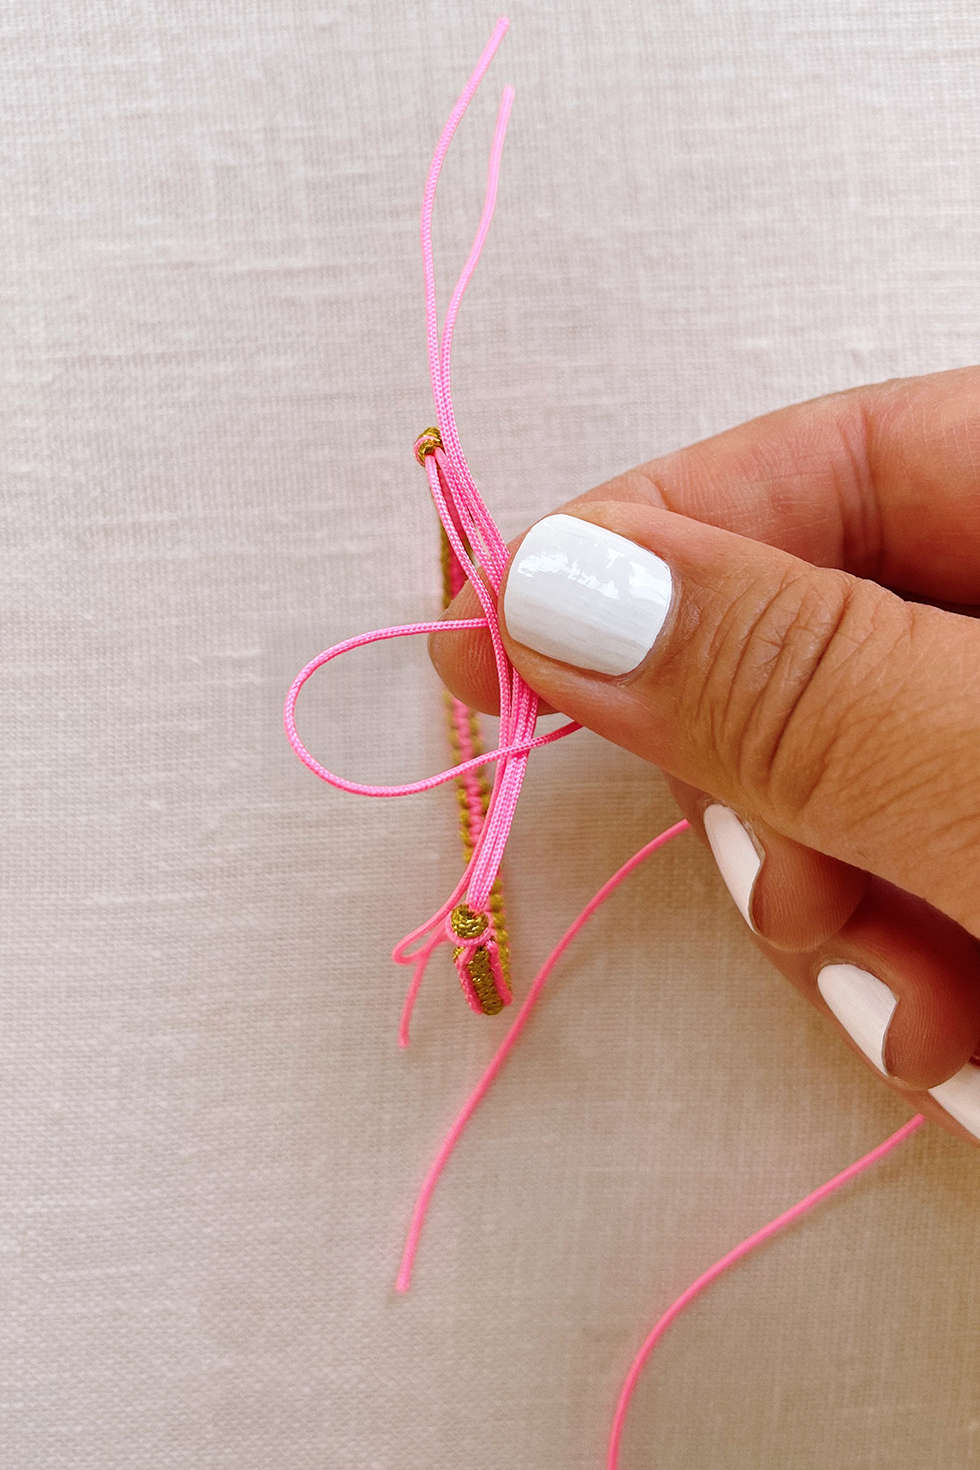
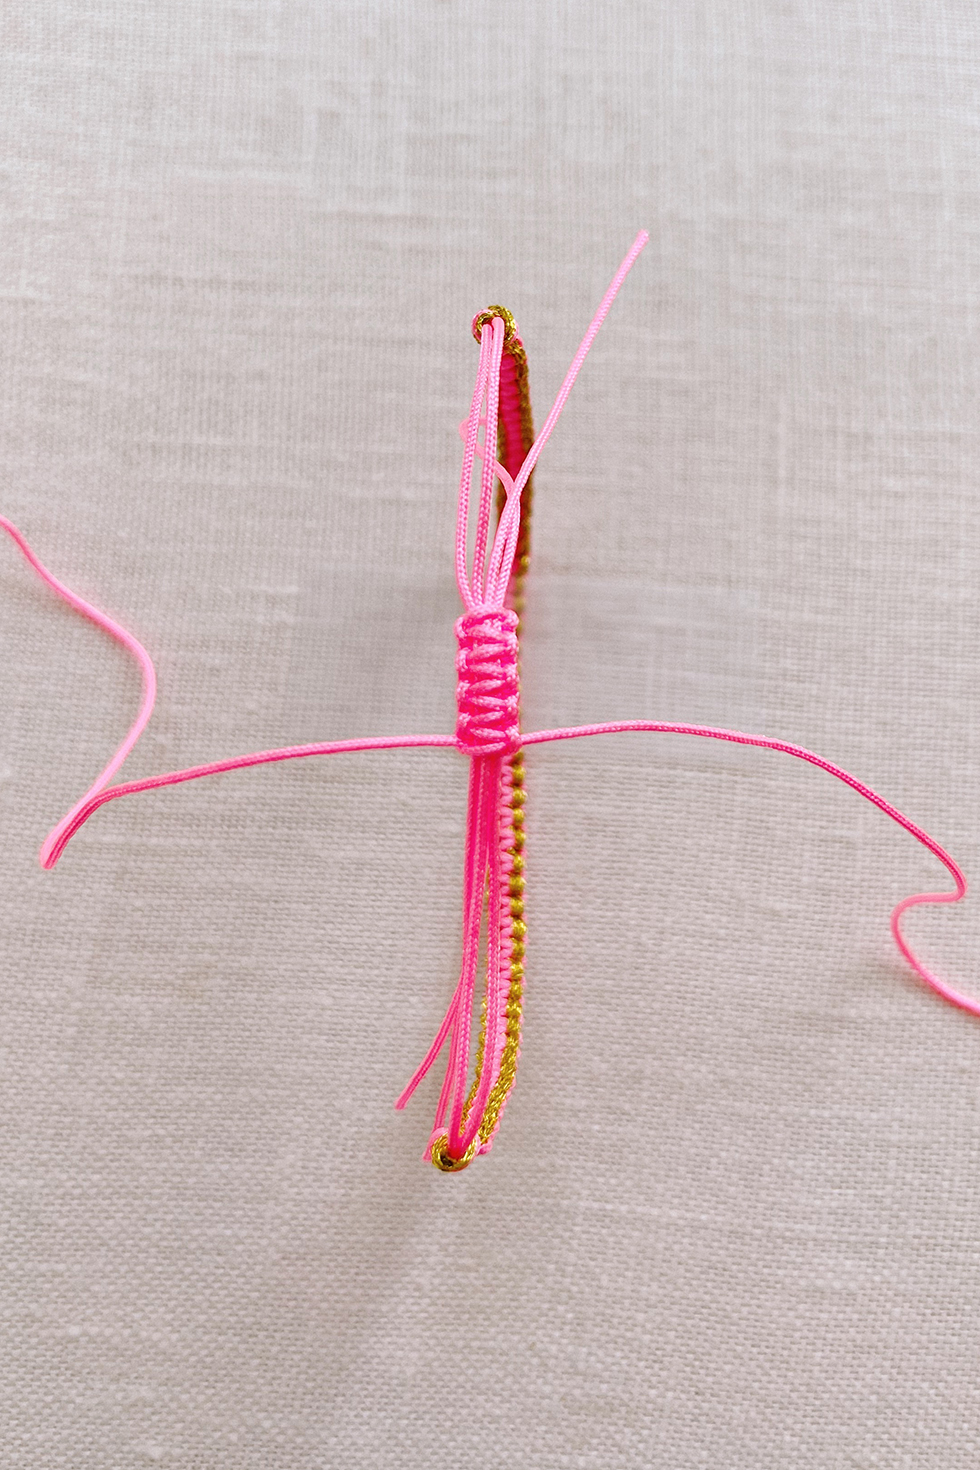
Start tying square knots exactly the same way the bracelet was executed.
Continue until you have about 3-4 full square knots.
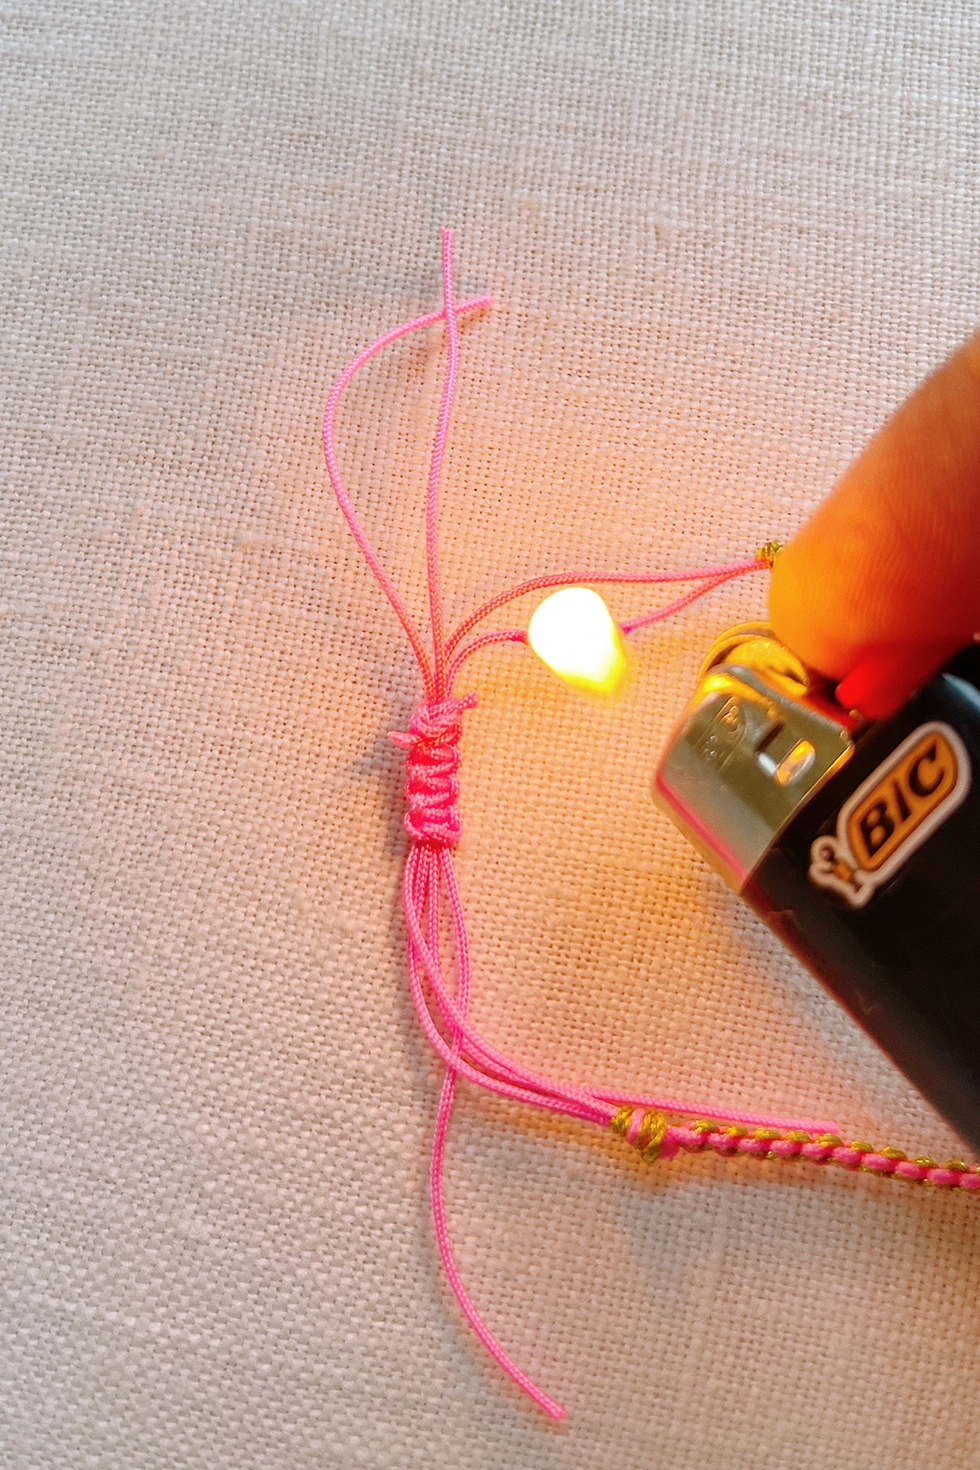
Trim the ends, leaving about 1-2mm. Take a lighter and carefully burn the tips until it melts into a small ball. Quickly take the butt of the lighter and press on the ball. This should secure the clasp but as an extra caution, you can use a tiny bit of crazy glue over the tips.
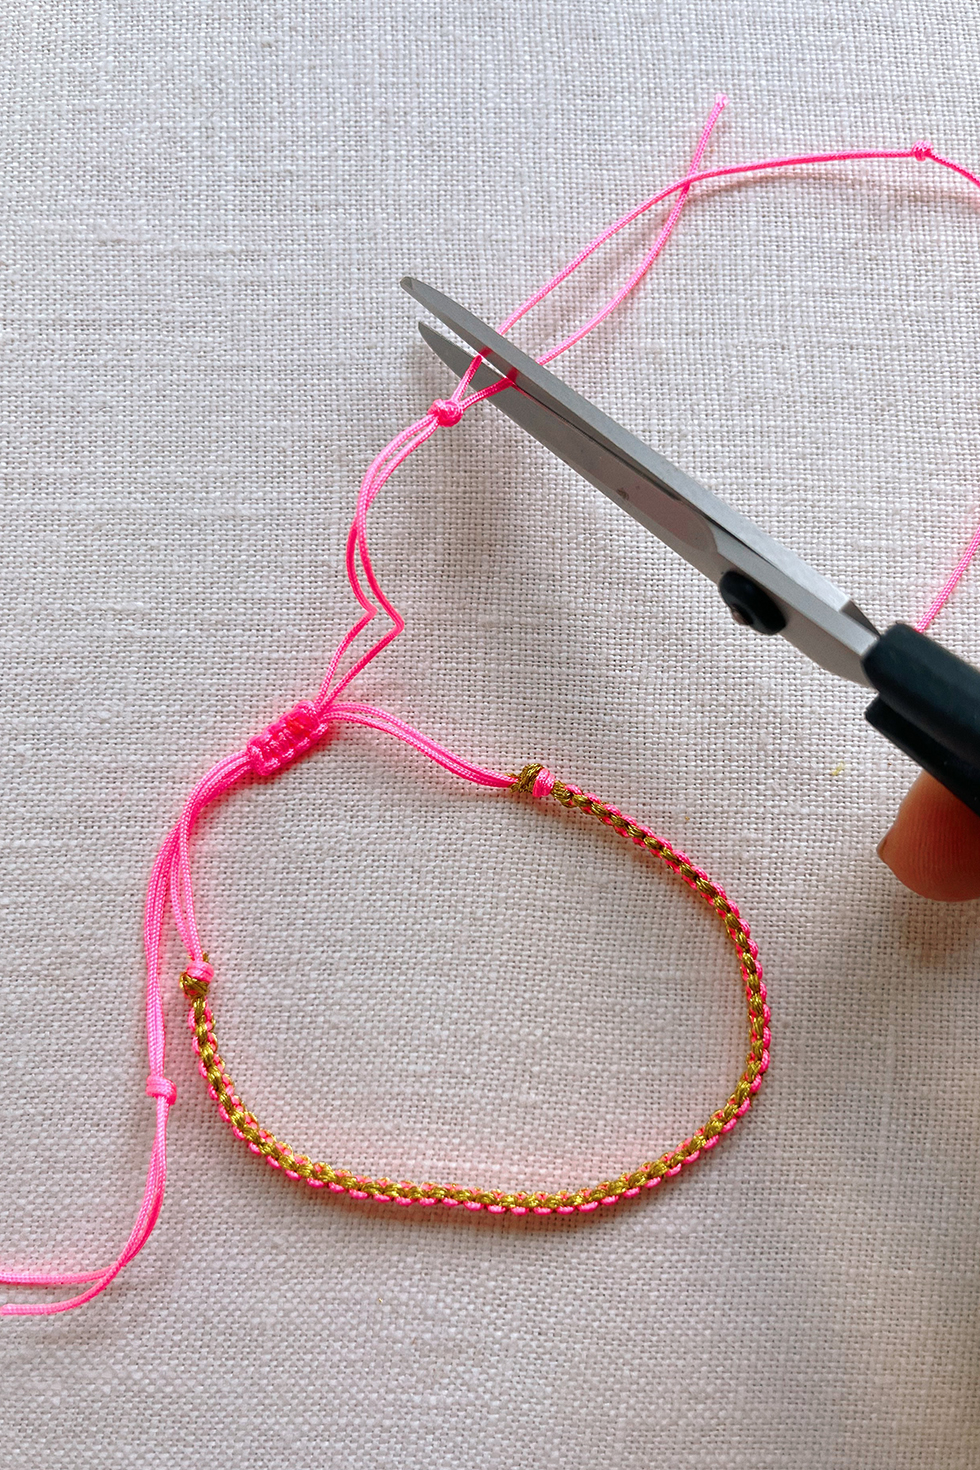
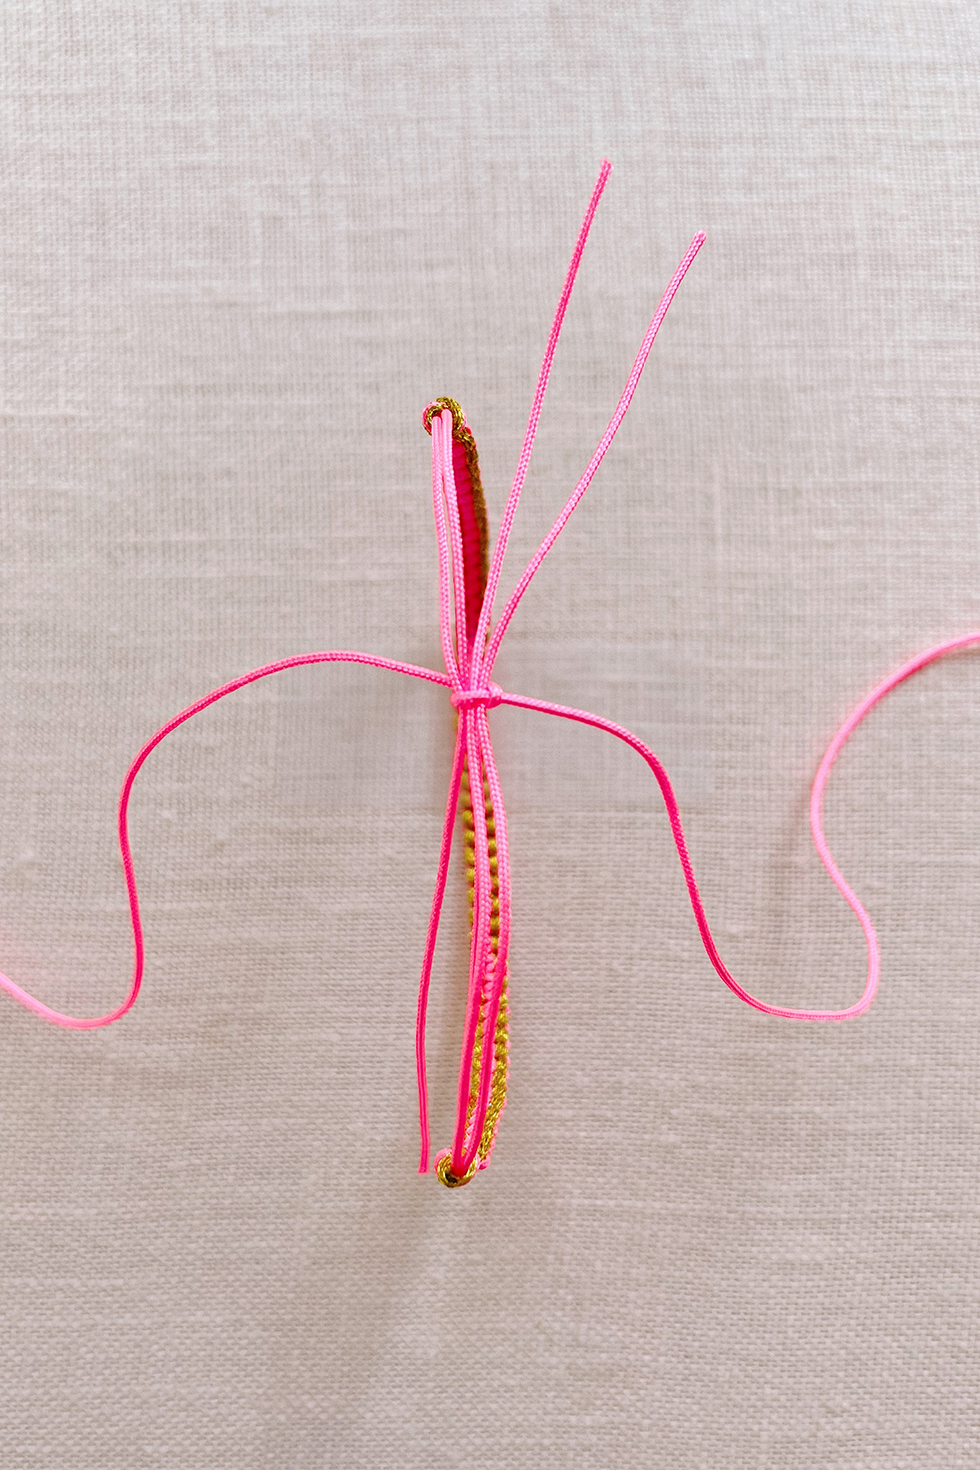
Tie end ends of the bracelet into a knot and trim the ends.
And that's all folks! Feel free to drop any questions you might have in the comments.
images and tutorial by HonestlyWTF
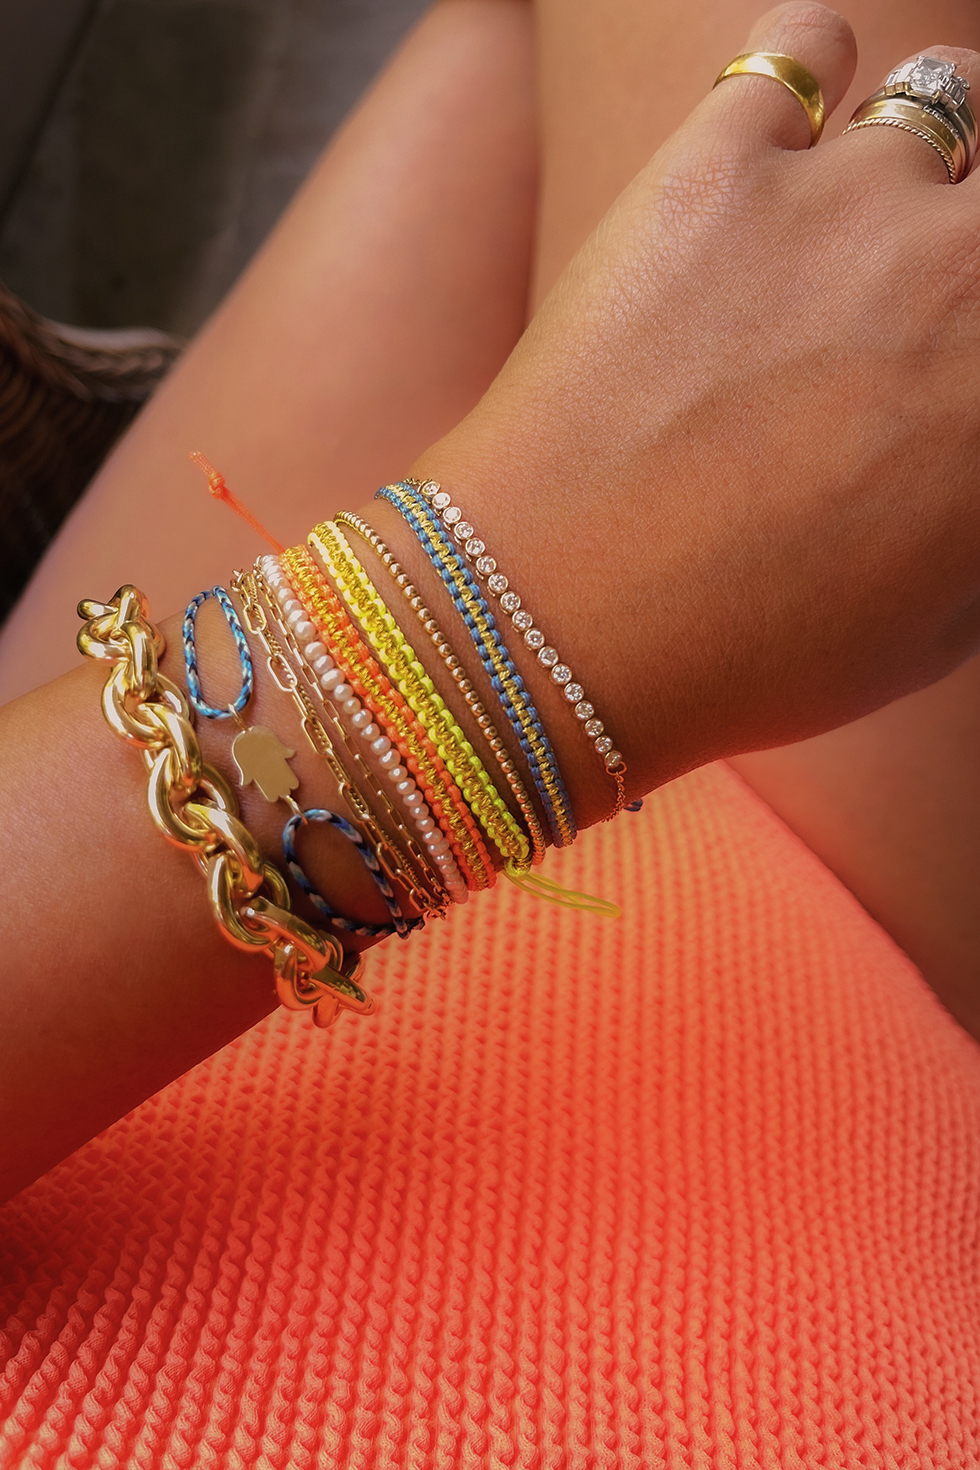
Love your bracelets. The gold in the center, and also on the sides adds a very clean and simple elegance to the design.
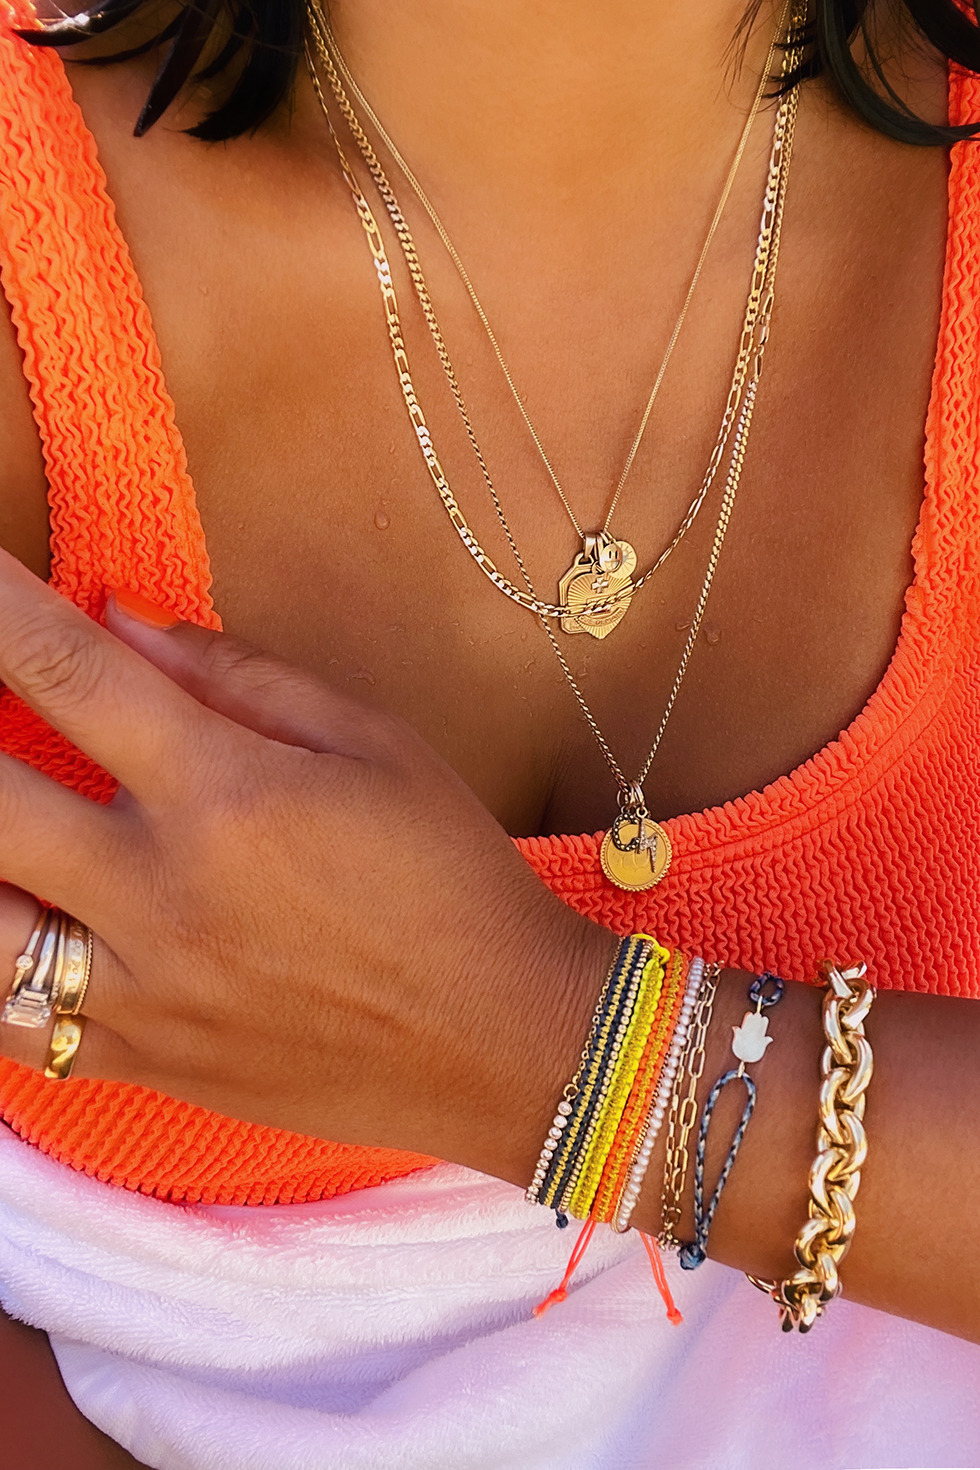
Dress up, or dress down with some jeans or a sundress. They’re absolutely wonderful ❣️
Hello….
Very Nice……
https://oscarsaree.com/
PLEASE DO A TUTORIAL ON THIS https://www.miumiu.com/us/en/ready_to_wear/denim/products.embroidered_denim_miniskirt.GWD264_1ZHM_F0008.html?utm_campaign=GoogleShopping_US&utm_medium=CPC&utm_source=Google&utm_content=Shopping&s_kwcid=AL!8549!3!341935175219!!!g!299225398028!&gclid=CjwKCAjw092IBhAwEiwAxR1lRpk6XQ99-9Gz7qy-TSF–x8b5miDobz0SAuYZep_MXfZdOeXgXGT_xoC8E4QAvD_BwE&gclsrc=aw.ds
I bookmarked this page, ordered the supplies, and just spent an evening making a bracelet while jamming to tunes. This was such a relaxing and fun activity! Can’t wait to make more for my family and friends!
Will trimming away the excess gold threads lead to unraveling of the gold threads throughout? Thank you!!
Love your version of the macrame bracelet. Will defo add a variation of this idea to our selection.
Gorgeous!! I love these bracelets so much~adding gemmies, charms and pearls to mine. also making some anklets. Are you in Portugal??? I have been dreaming of moving there for a couple years~!!!! Beautiful!!!!
Thank You for your tutorial!!!you make very pretty jewelry!
Love them! Wonderful, bright colors. They are chic and sexy! Thank you 🙂
https://lifestyleandberries.com
Is it possible to get the bracelet instructions emailed to me?
I would love to print them. It would make it easier for me.
Thanks
Love These!
cool
Nice post..i learn a new…things…that is helpful also
Hello!
Super cool, brings back memories as a teen in the 90’s.
Love this.
https://www.likewow.beauty
I am going crazy having pulled apart my bracelet multiple times. I’m following your instructions exactly but I’m not getting the solid color in the center with the gold on the edges. Mine is alternating down the middle. What is happening?!
what a fantastic blog, I like your blogs. thanks for sharing such information
Hey Macrame Bracelet are really cool
Whether you need an office suite, media player, or backup tool, kftz5k.com has you covered. We provide a wide selection of trusted Windows software, all free and easy to download. Perfect for personal, professional, and academic use.
Looking for the safest place to download the latest PC software for Windows? Visit kftz5k.com, your trusted source in 2025. Whether you’re searching for productivity tools, antivirus programs, or creative applications, everything is free, secure, and easy to download—no hidden costs, no signups. Ideal for users in the USA and worldwide.
A well-organized and thoughtful post! You might like this modern, cleanly designed page for App Downloads for Windows. It highlights editor’s picks and trending downloads, which is great for discovering powerful new software you might not have known existed.
https://kftz5k.com/