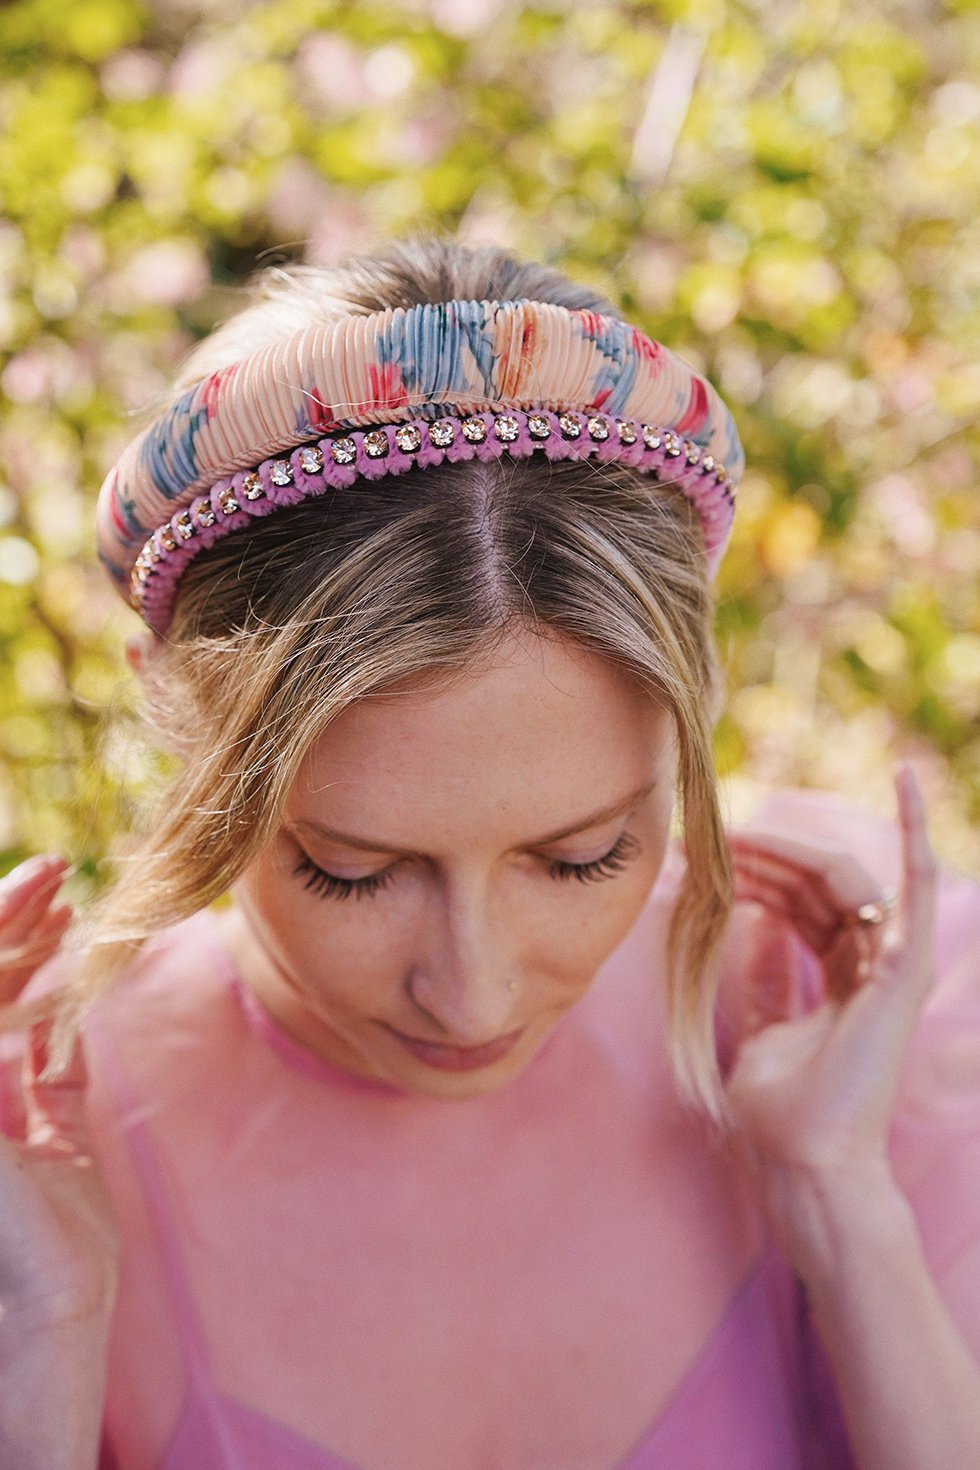
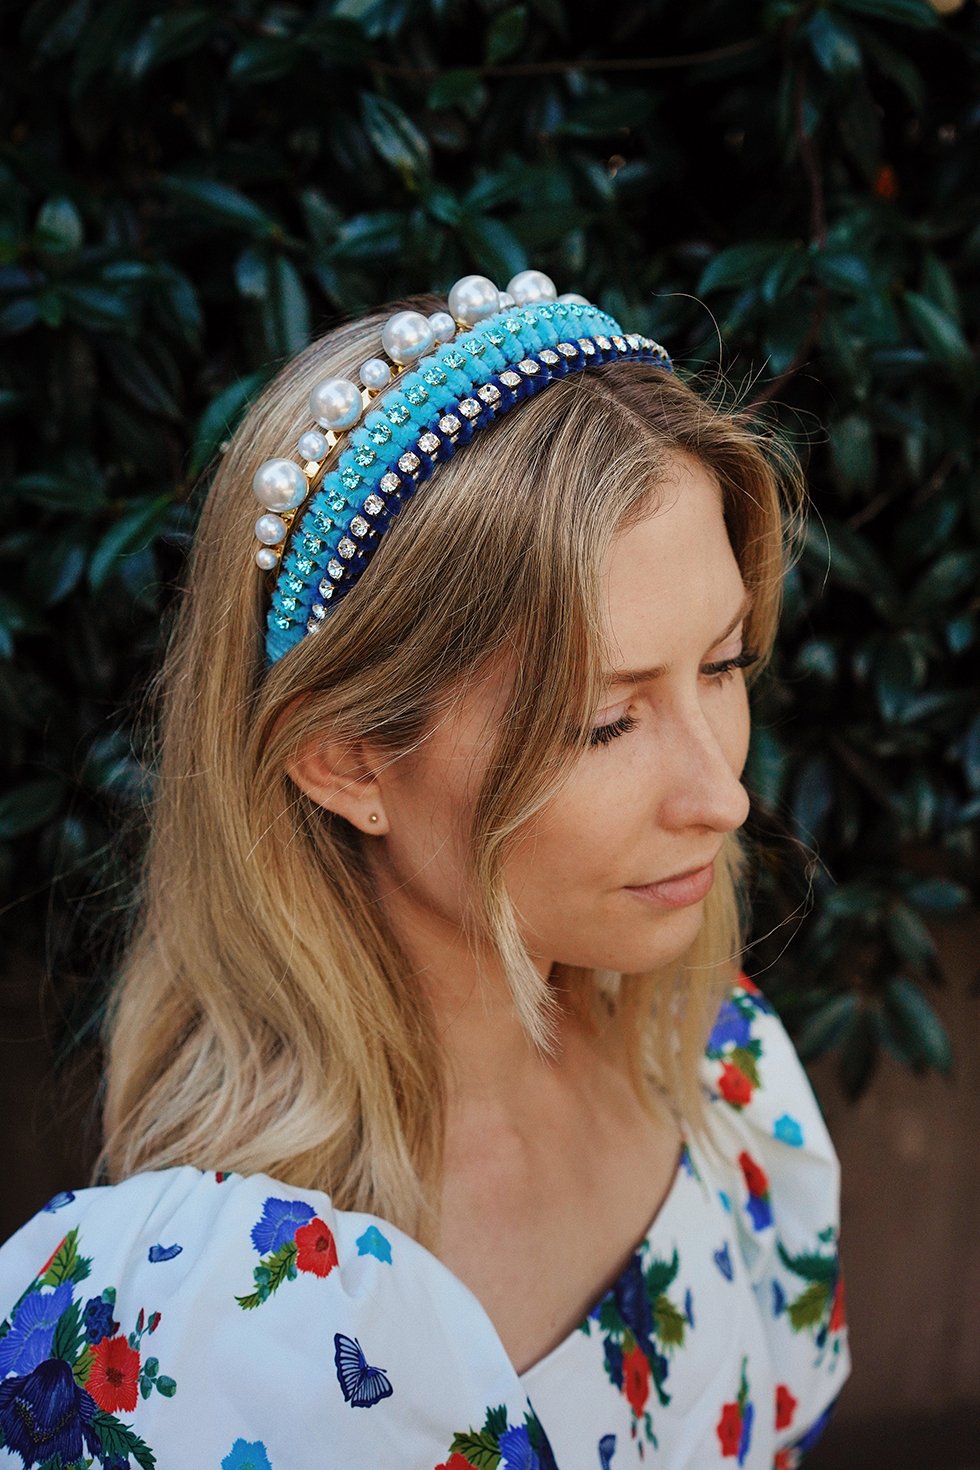
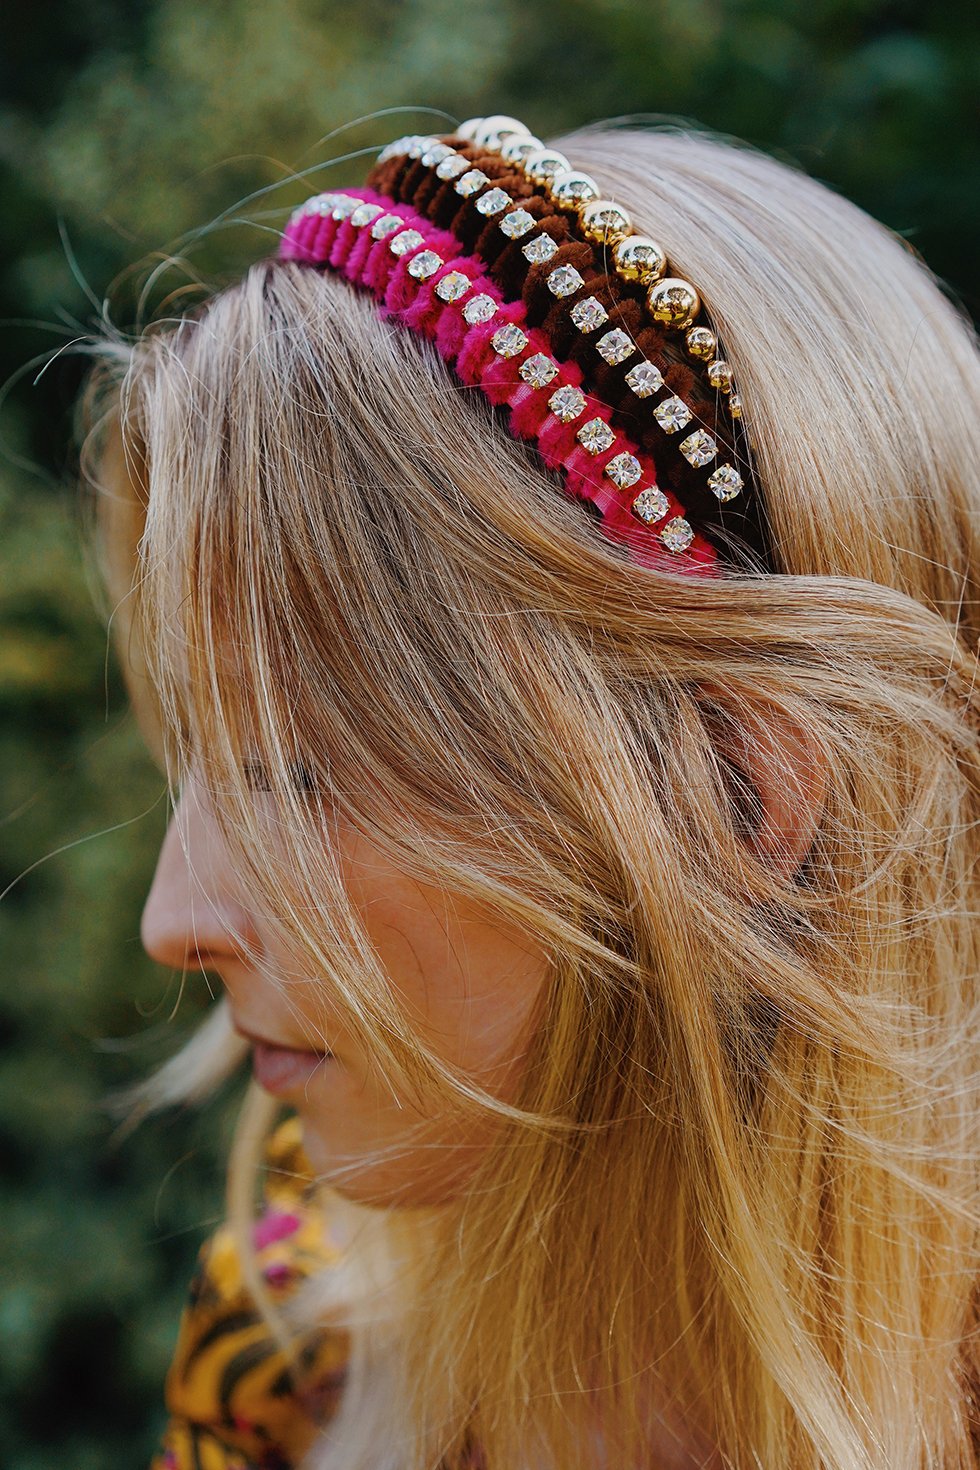
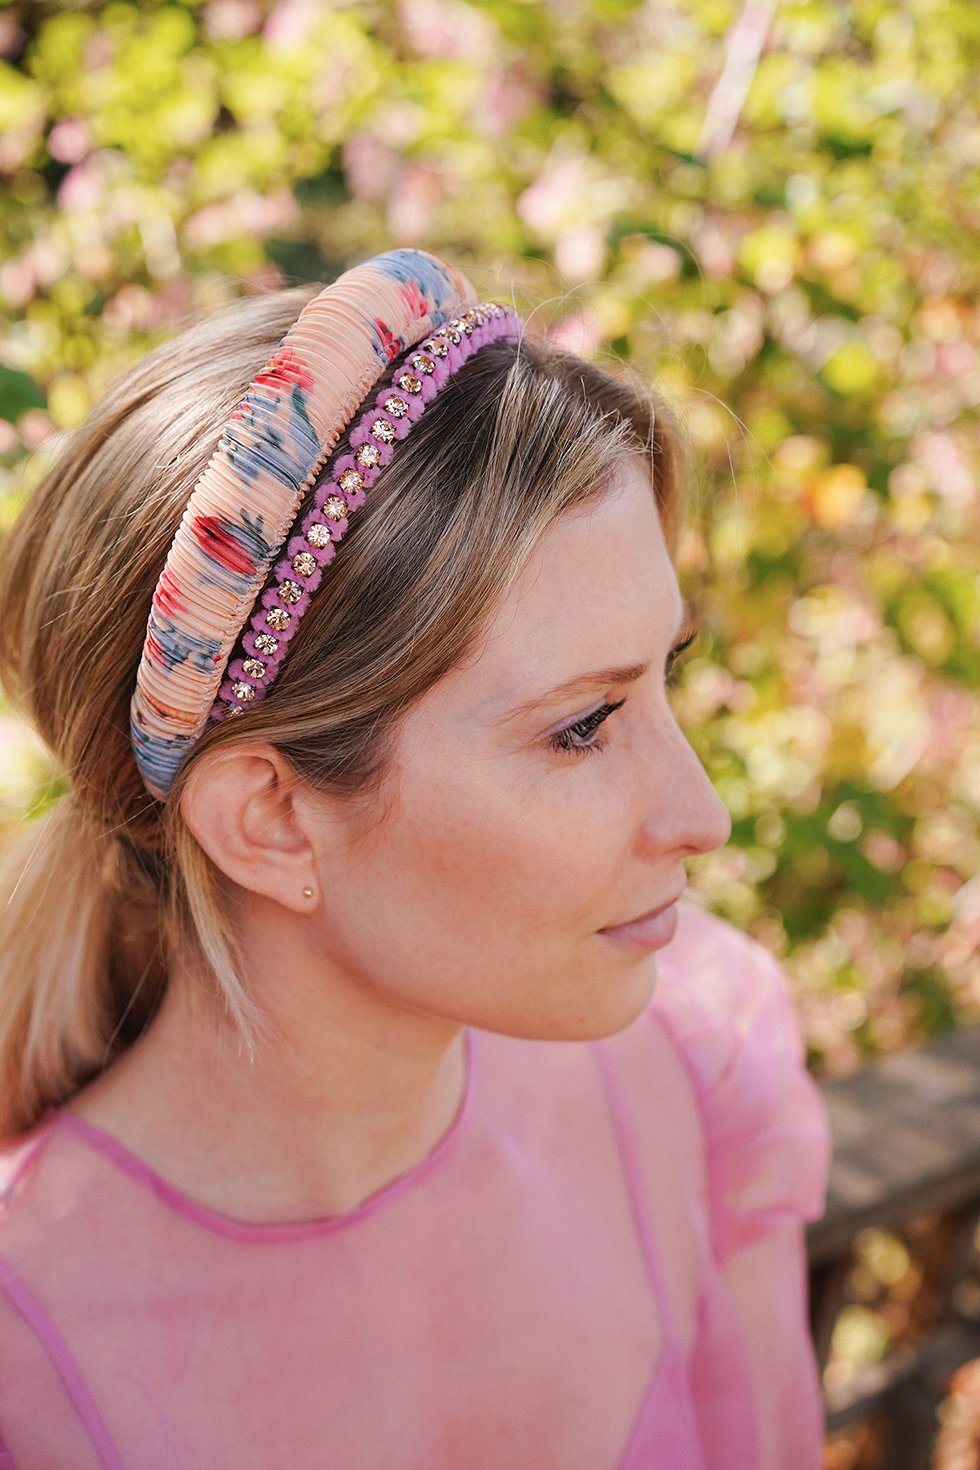
No, your eyes are not deceiving you. What you're seeing are indeed headbands wrapped with pipe cleaners. Pipe cleaners! Inspired by Lelet NY's gorgeous velour wrapped crystal headbands, this week's accessory is insanely easy to DIY. All you need is a handful of good ol' "chenille stems" and rhinestone chain to achieve the look. It's amazing how a couple of your average craft-store supplies can produce something as elegant and luxurious as these headbands! Honestly, designer Sara Bieler Sasson of Lelet NY is a genius.
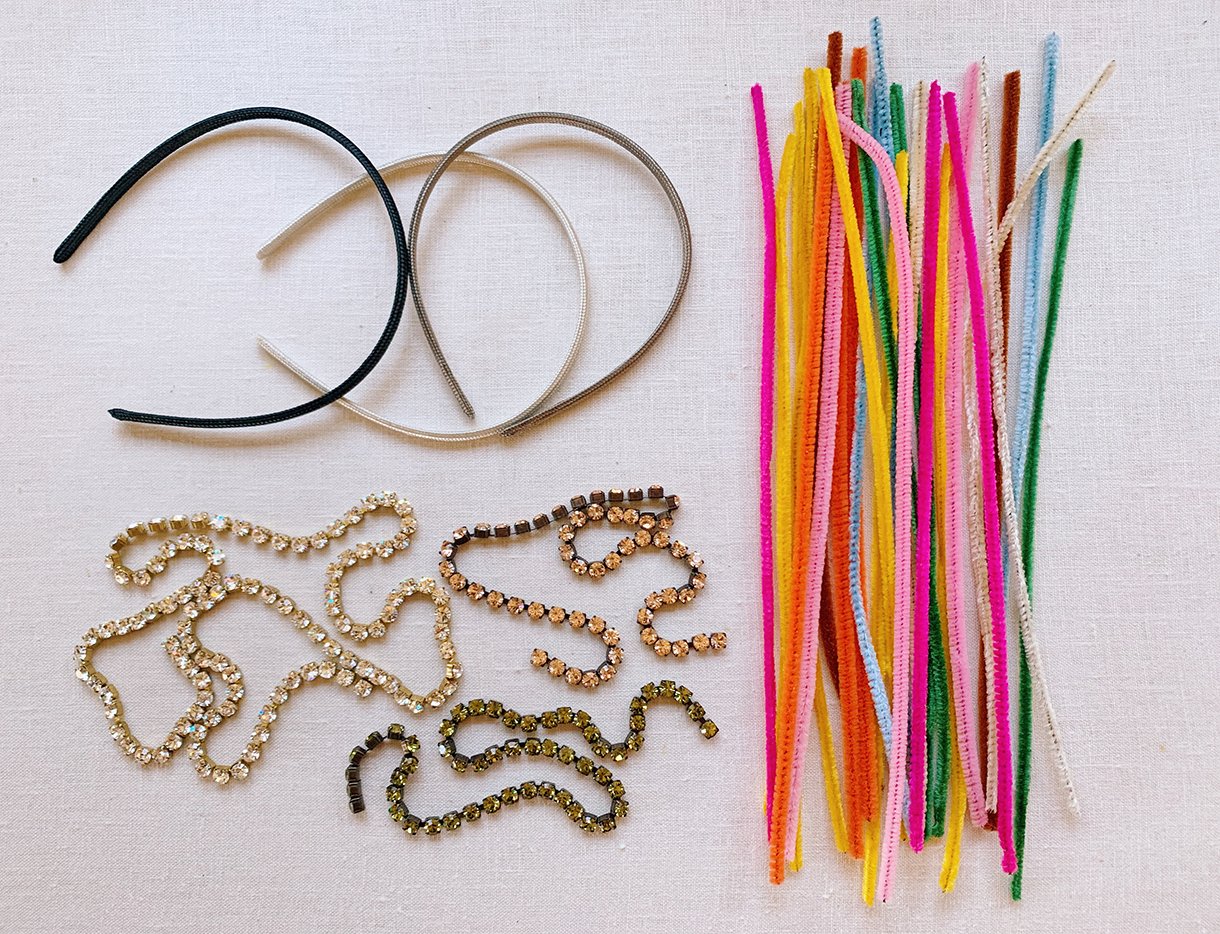
You'll Need:
- thin and thick headbands
- velour pipe cleaners (approx 4-6 pieces per headband)
- 6mm rhinestone cup chain (approx 12-15 inches per headband)
- hot glue gun
- wire clippers
- pliers
SHOP THE SUPPLIES:
[show_shopthepost_widget id="3937811"]
When it comes to selecting your headband, you can go as thick or thin as you want. Obviously, the thicker the headband, the more pipe cleaners you'll need. Also, more of the headband will show through so if you're opting for a thicker headband, make sure to choose a similar color or intentionally contrasting color.
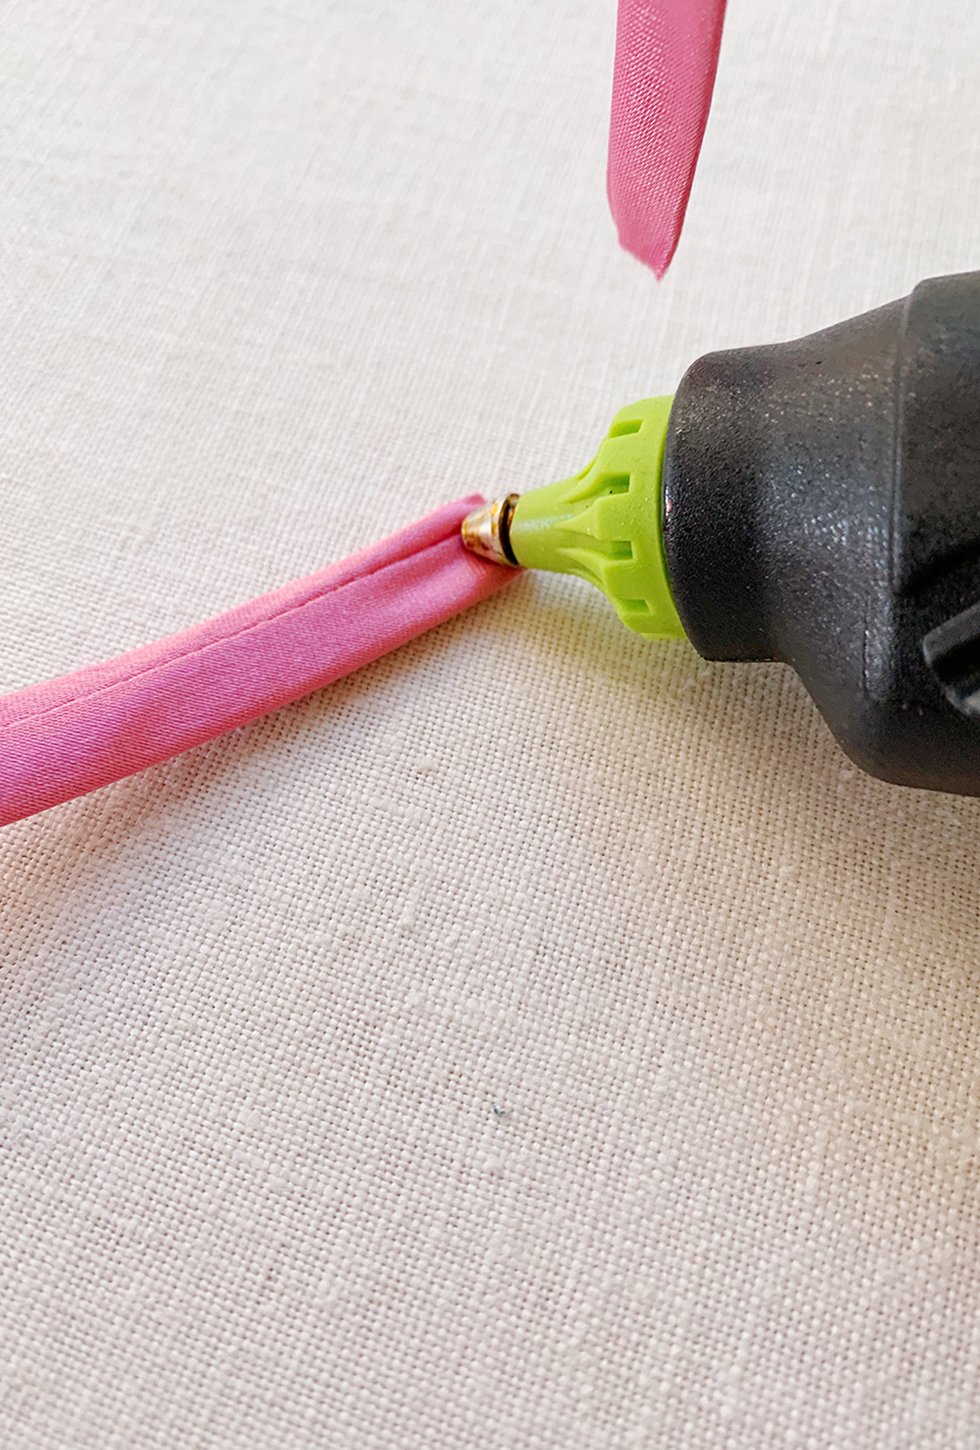
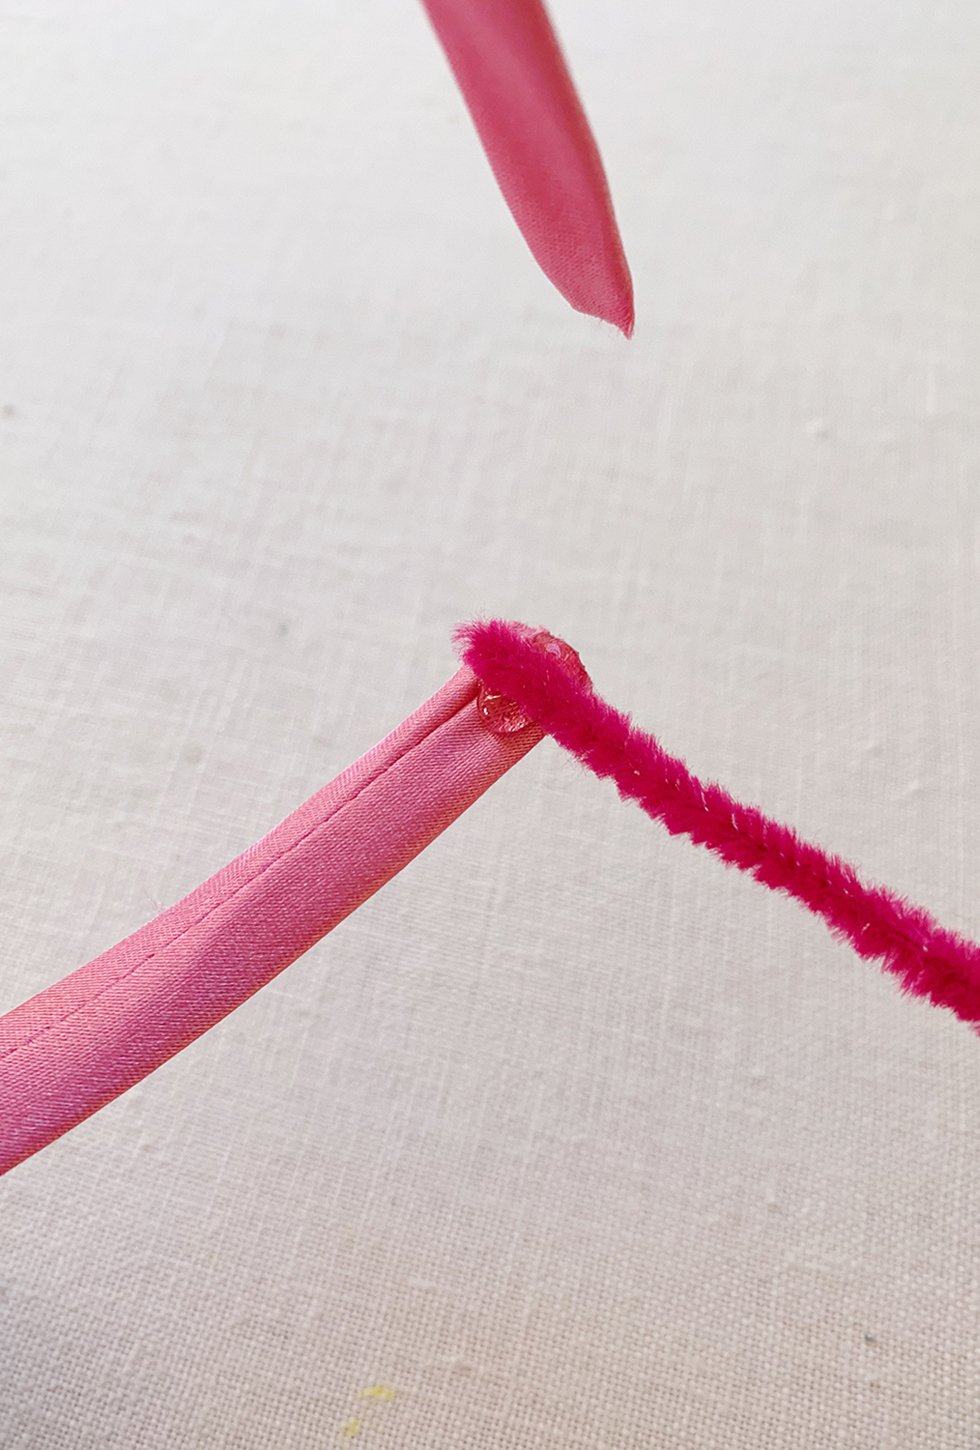
To start, add a drop of hot glue to the end of the headband. Place the end of one of your pipe cleaners on top of that drop of glue. Allow to dry before wrapping.
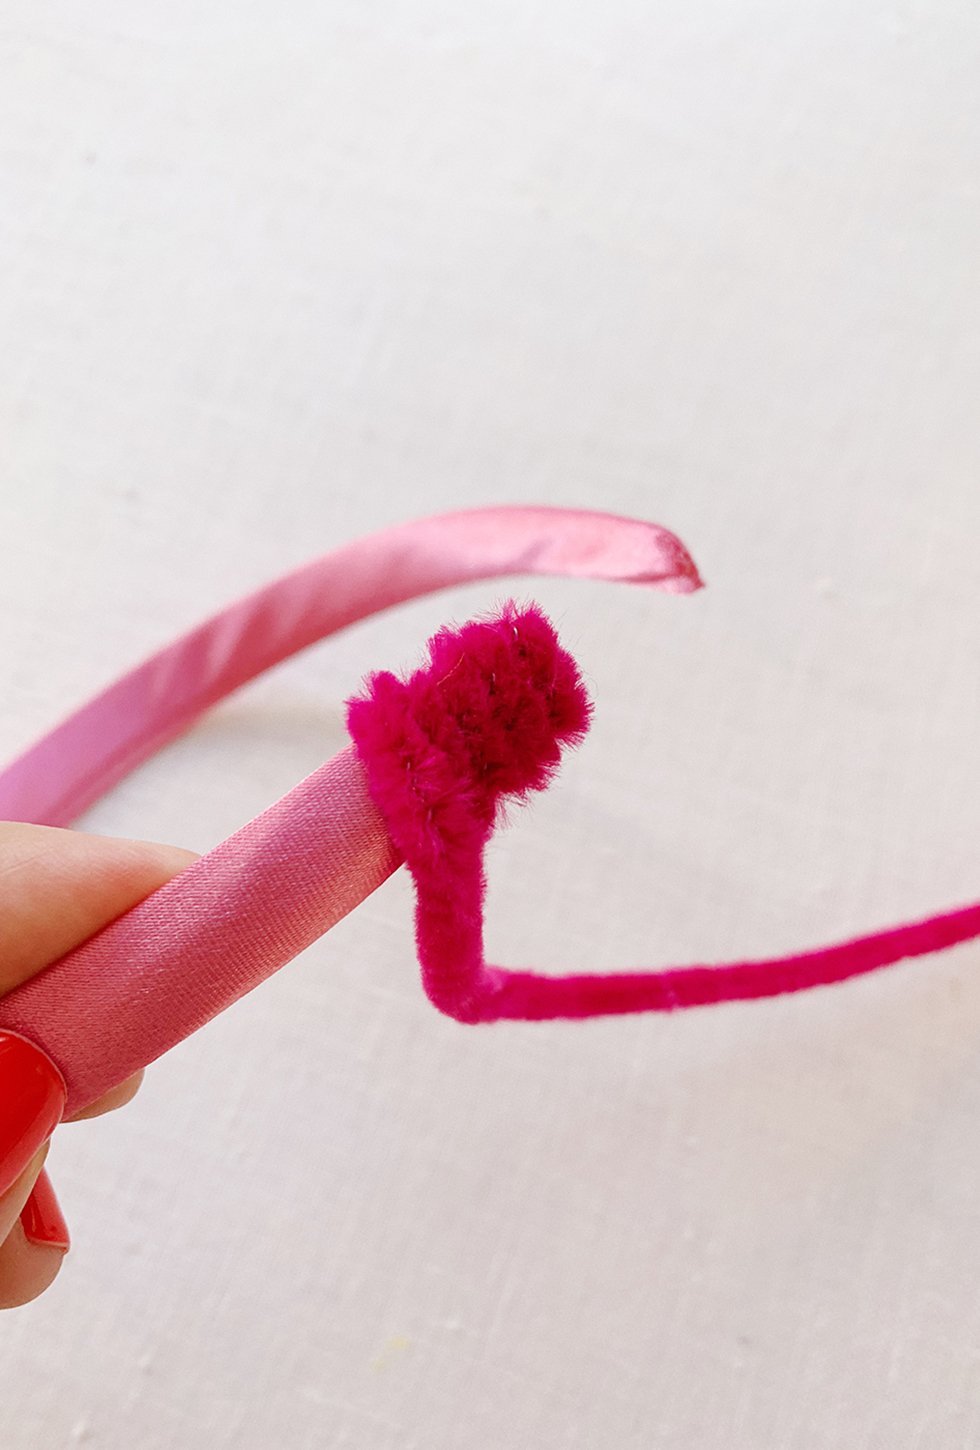
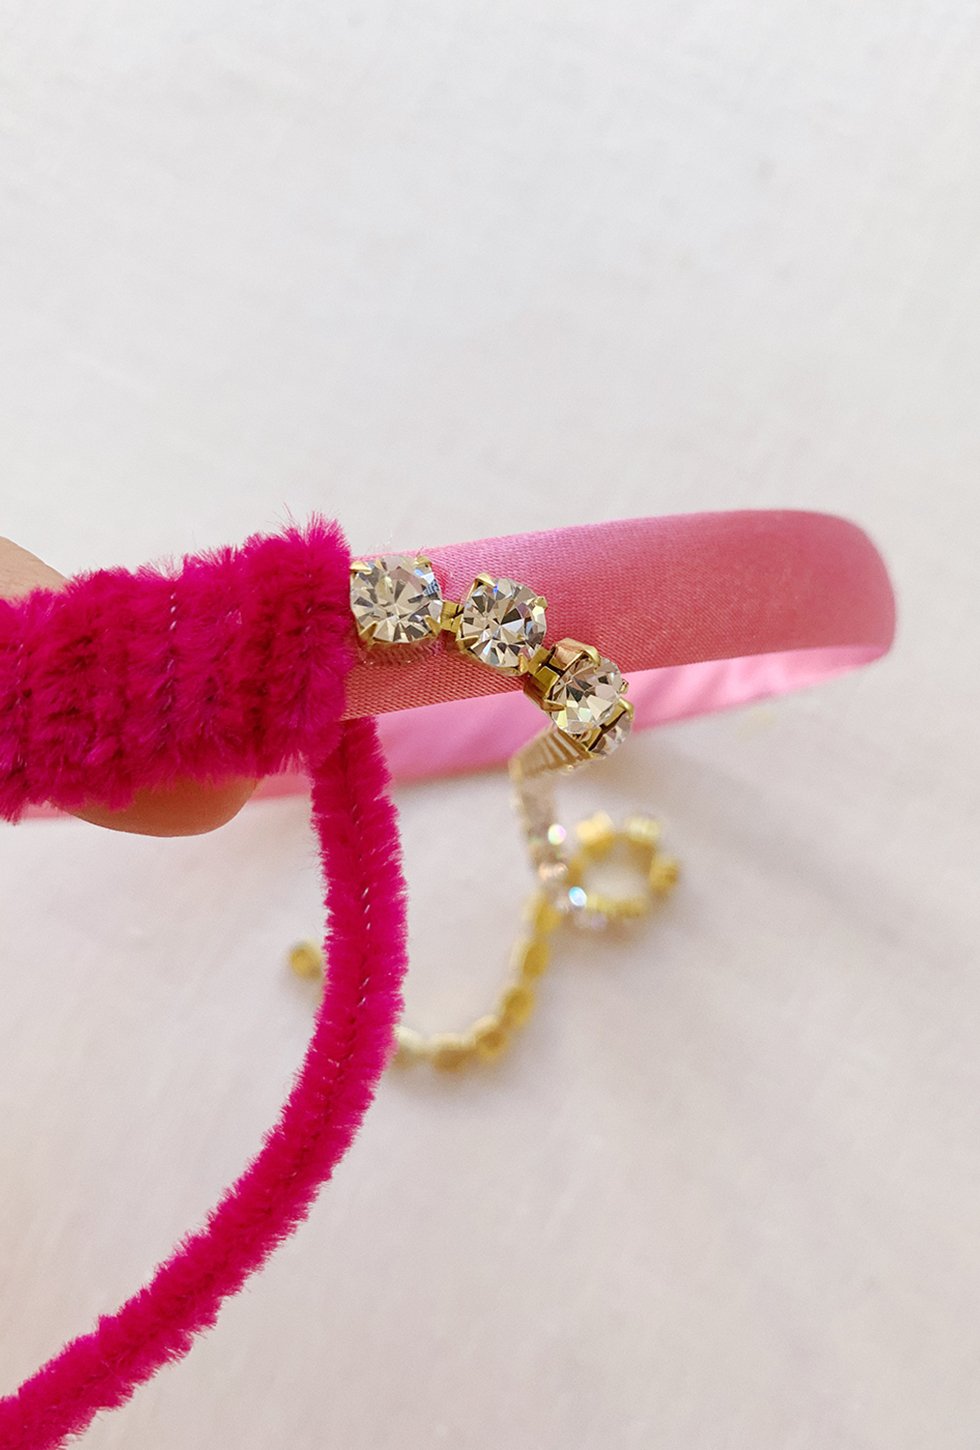
You can begin two ways at this point. You can wrap a few times before incorporating the rhinestone chain. Or you can start it immediately. It's all personal preference. I find wrapping a few turns first makes a more comfortable headband. Start wrapping the headband with the pipe cleaner. After about an inch of wrapped pipe cleaner, you can start incorporating the rhinestone chain. Glue the end of the rhinestone chain to the center of the headband and allow to dry for a few seconds.
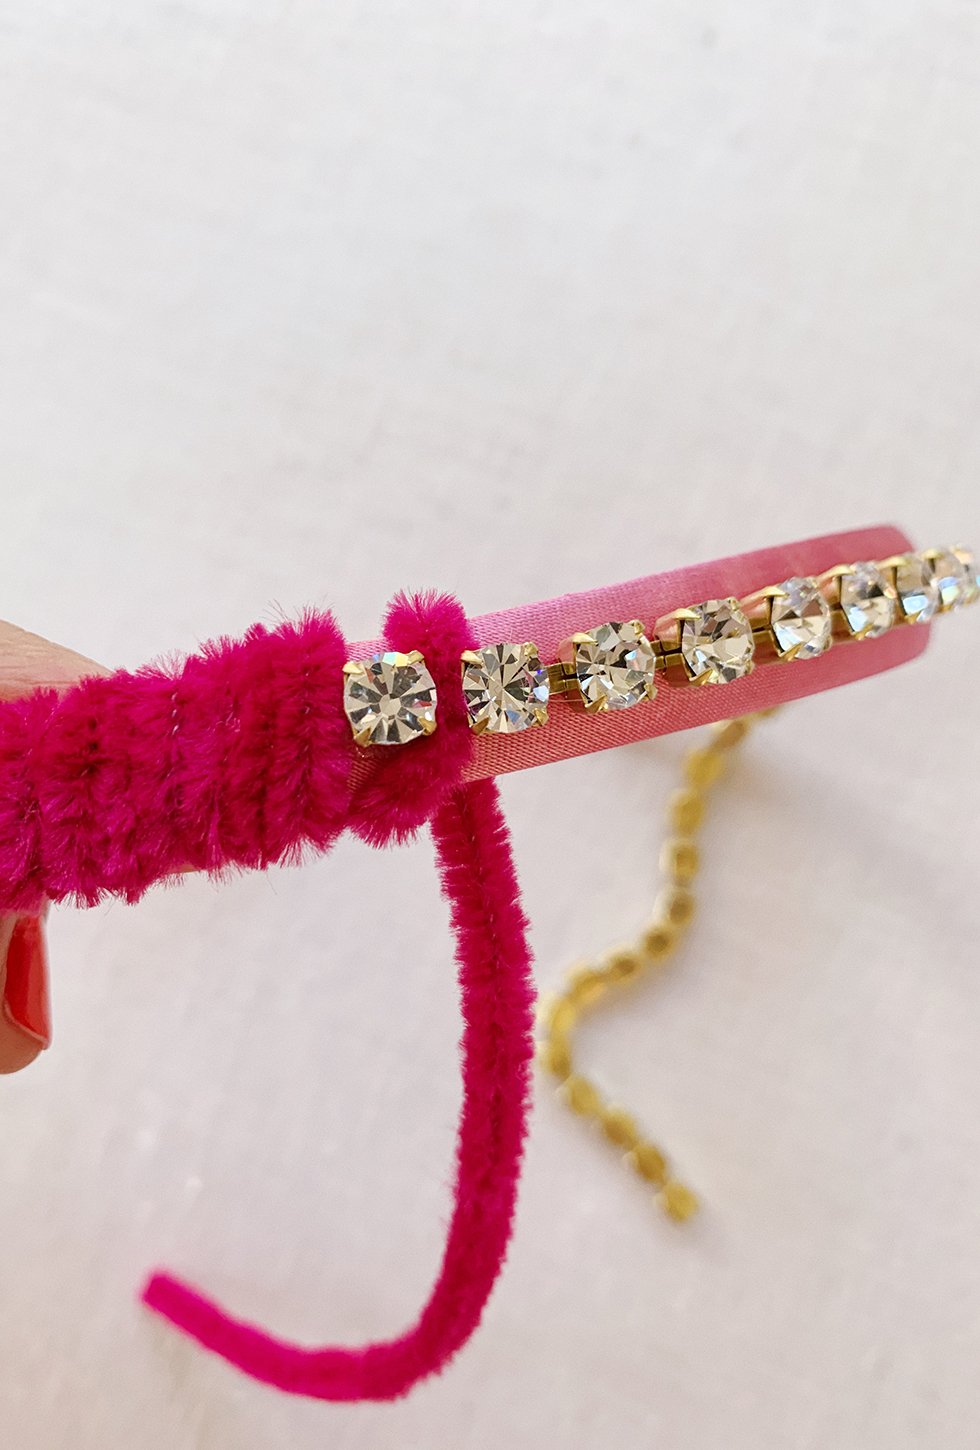
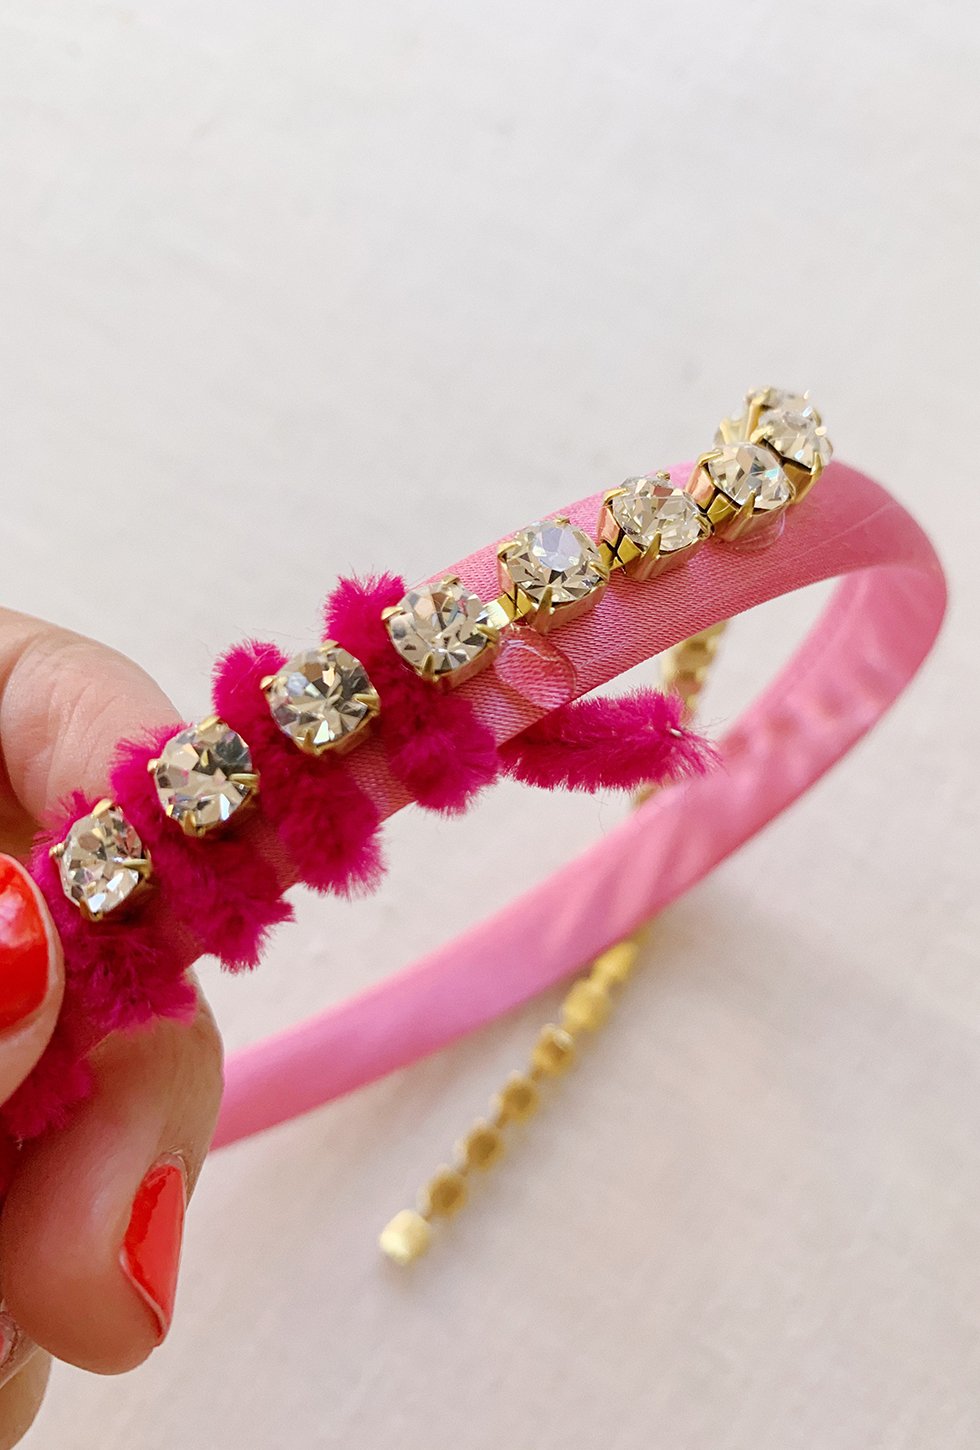
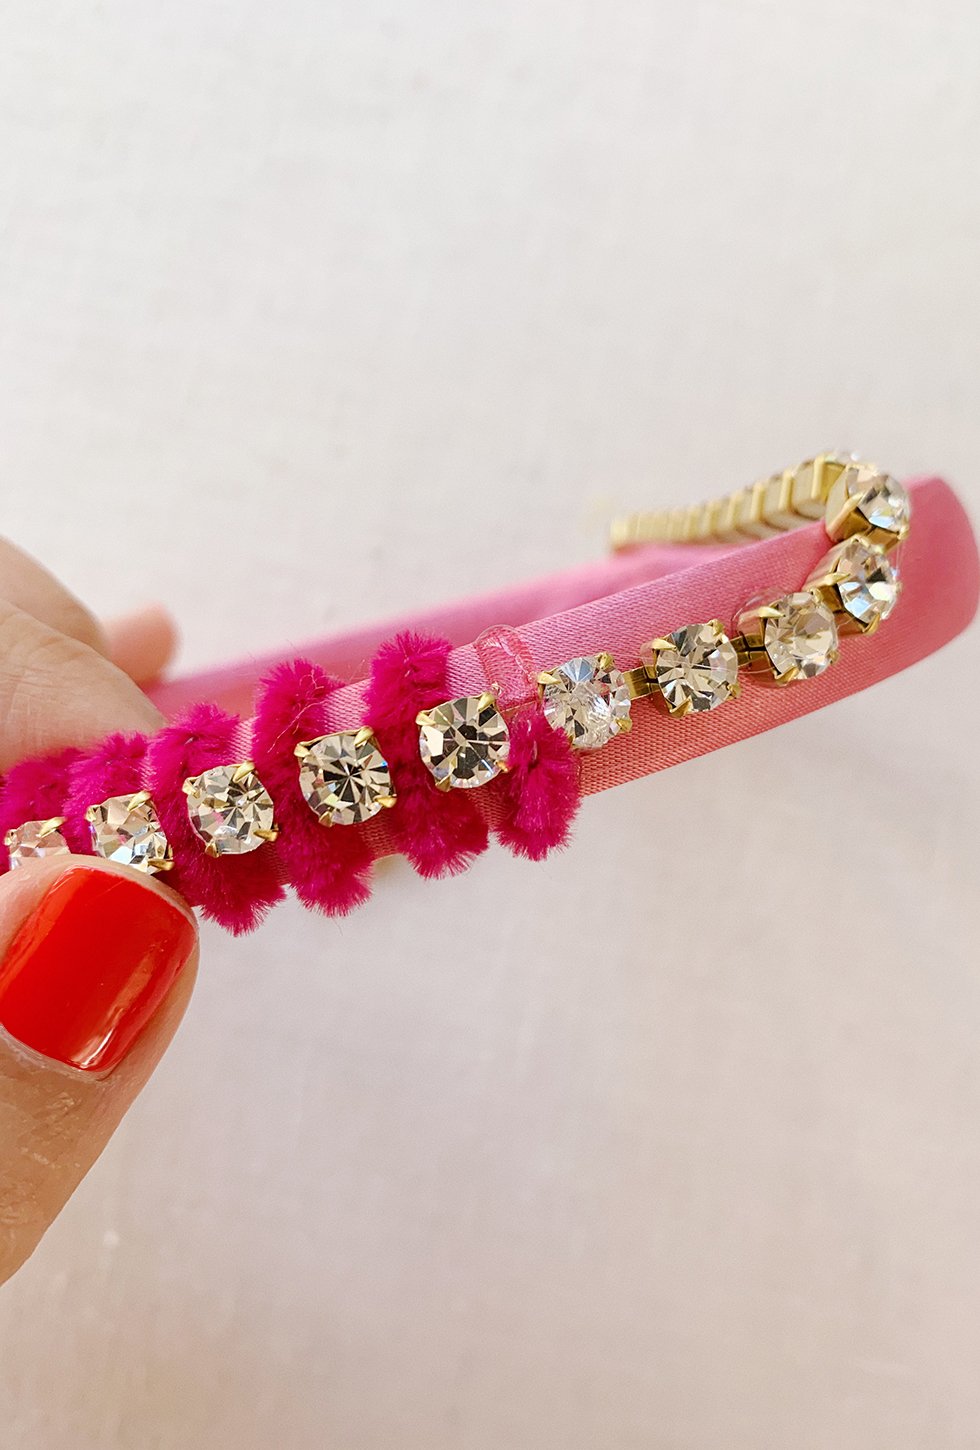
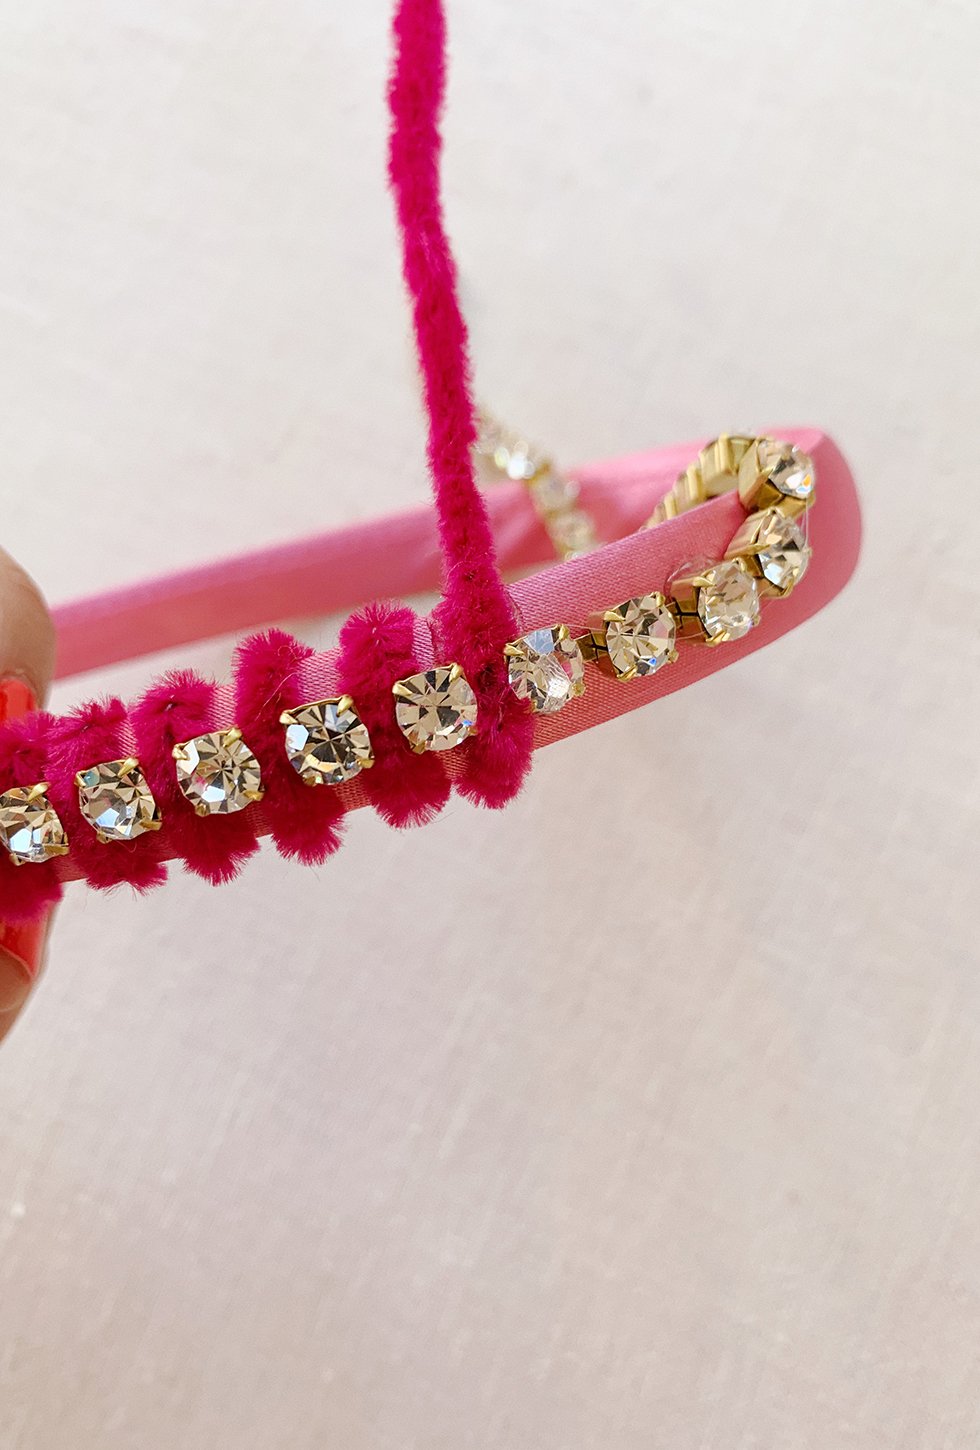
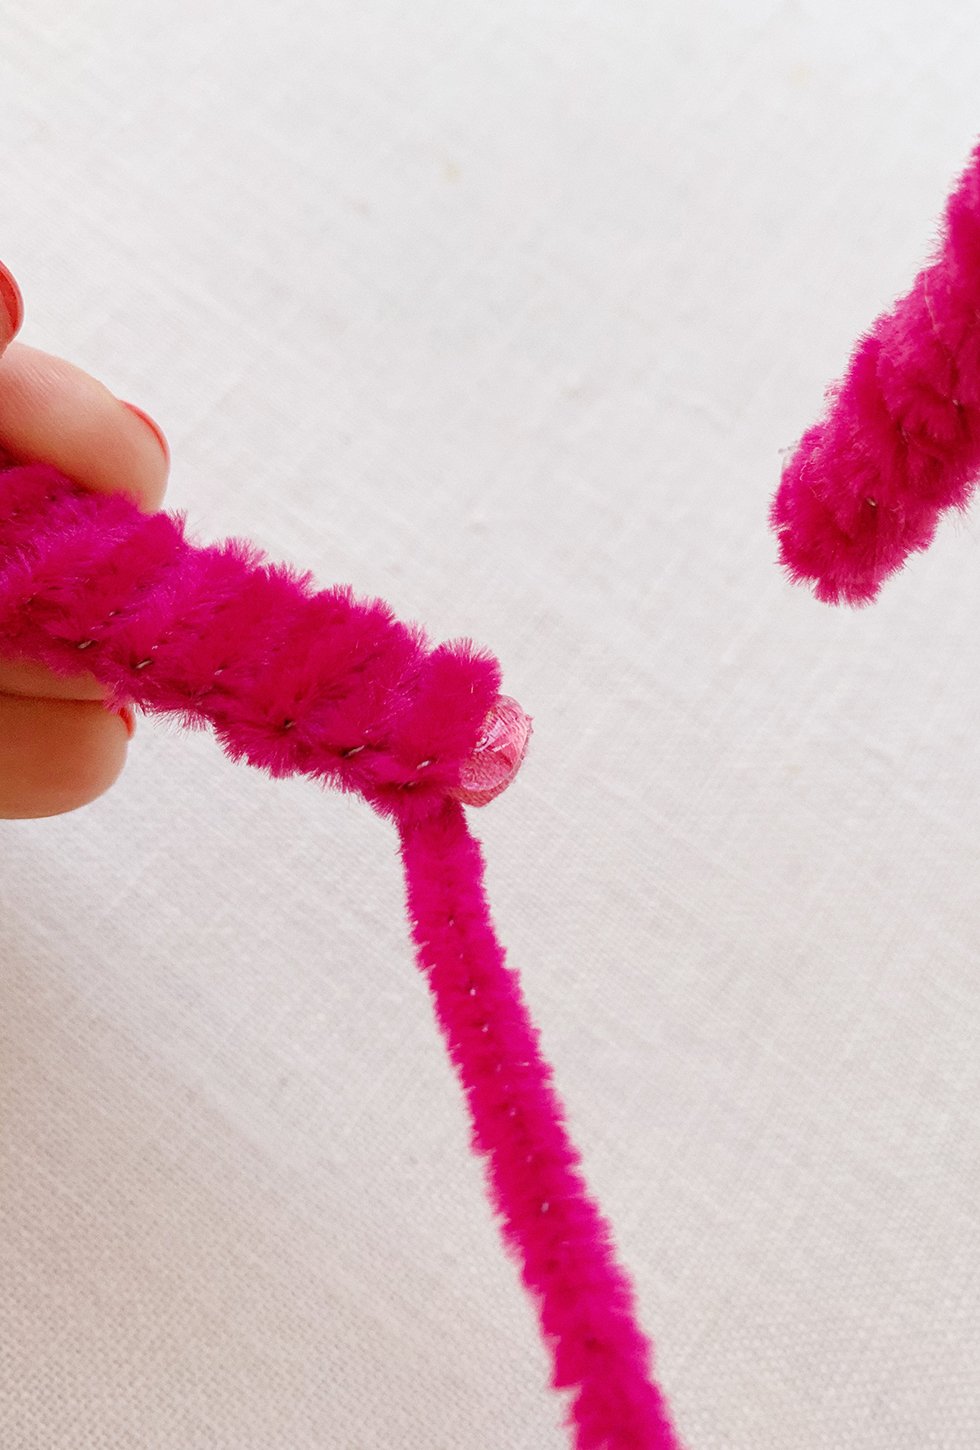
Continue wrapping in between each rhinestone. There's no need to glue down every rhinestone - the wrapped pipe cleaner will keep it in place! When the pipe cleaner runs out, place a drop of hot glue to the headband and press the end of the pipe cleaner down over the glue.
Add another drop of hot glue next the end of the previous pipe cleaner and press the end of a new pipe cleaner down into it.

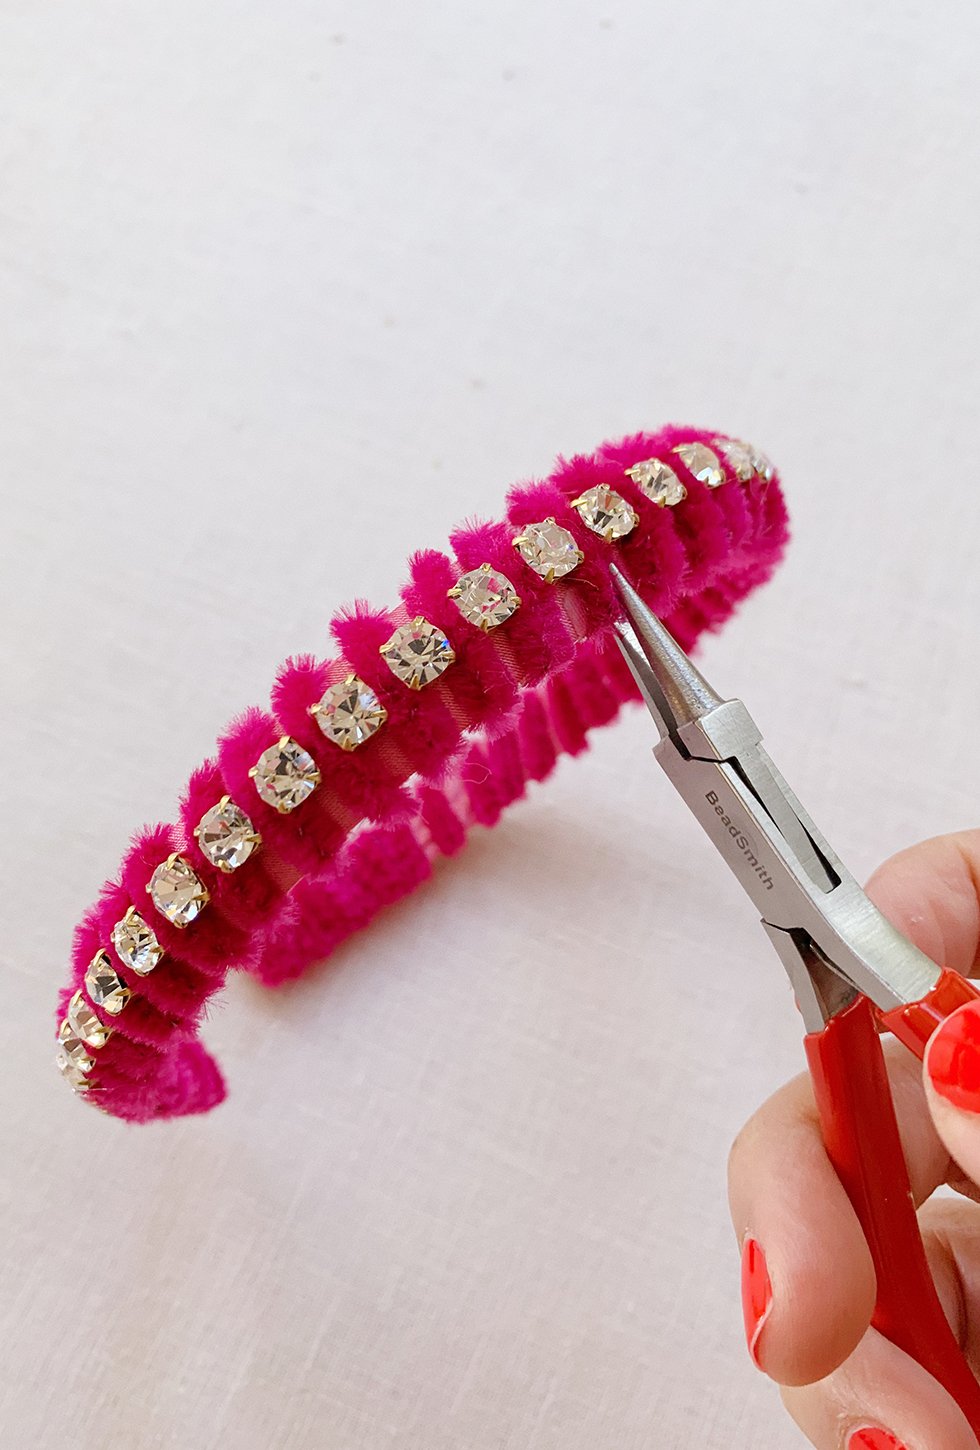
Continue wrapping. When you reach the opposite side and the rhinestone chain is symmetrical to the other side, trim the rhinestone chain with a pair of wire cutters. Then glue down the last rhinestone with hot glue. Continue wrapping until you reach the end of the headband and finish with a final drop of hot glue.
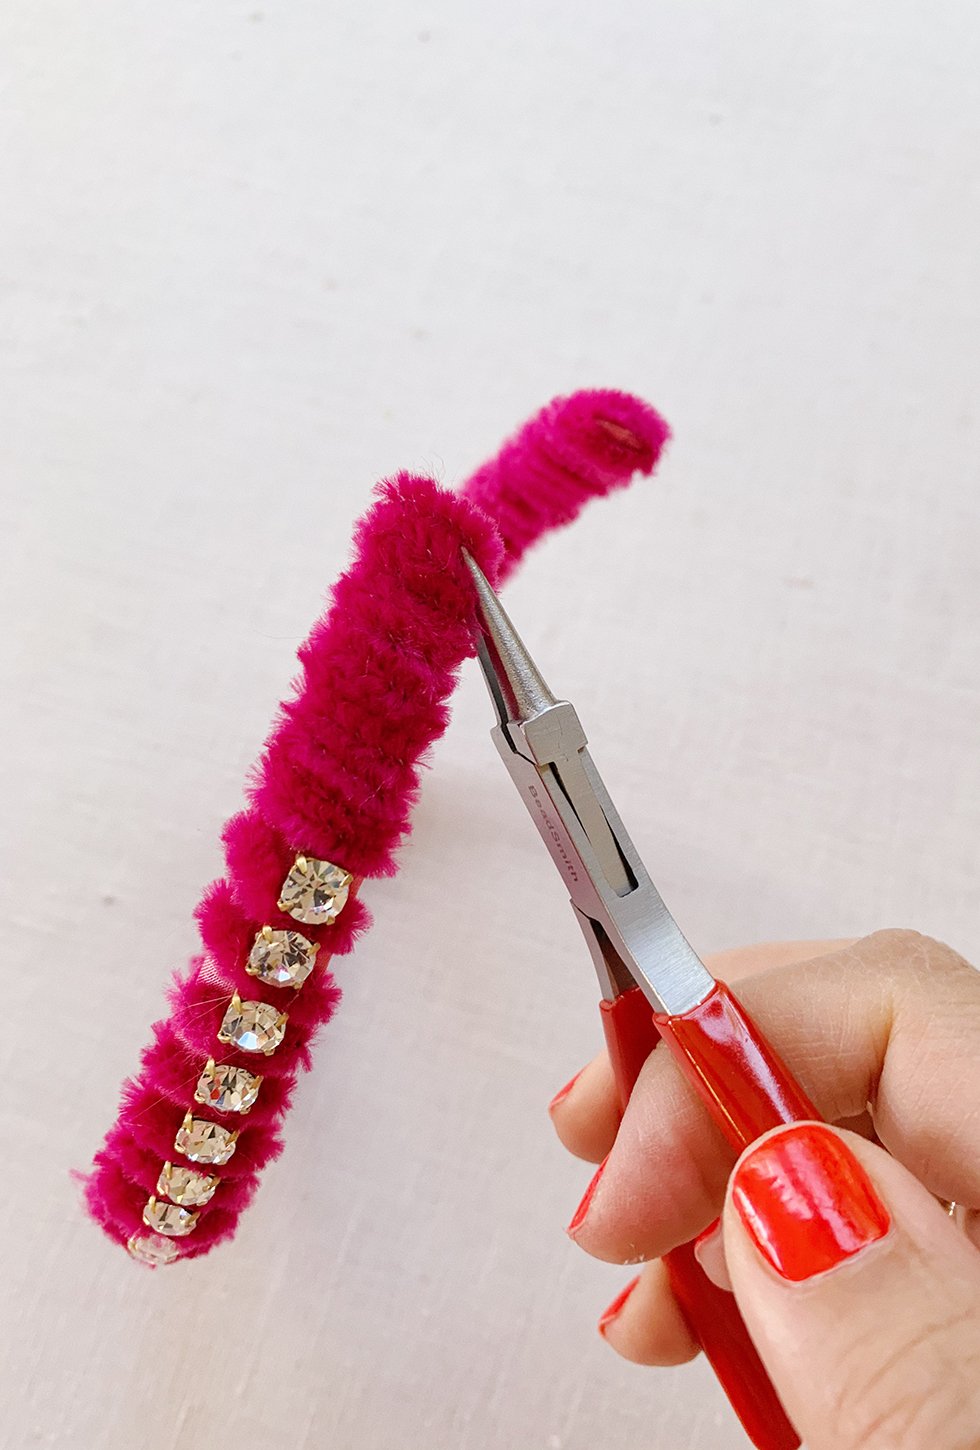
Go back with a pair of needle nose pliers and press down any wire bits that might be poking out.
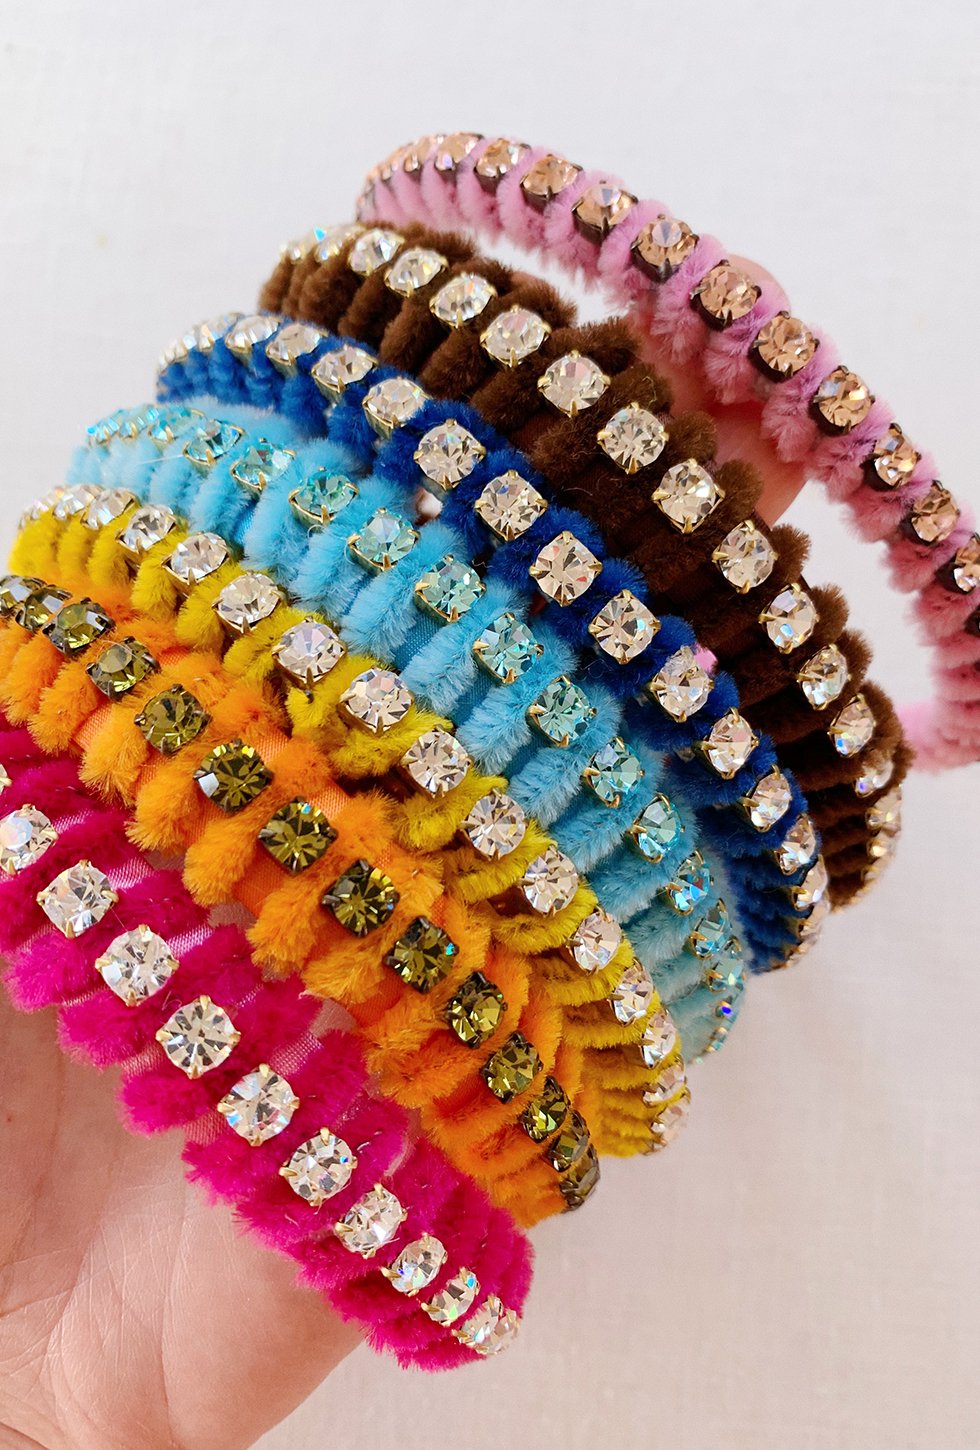
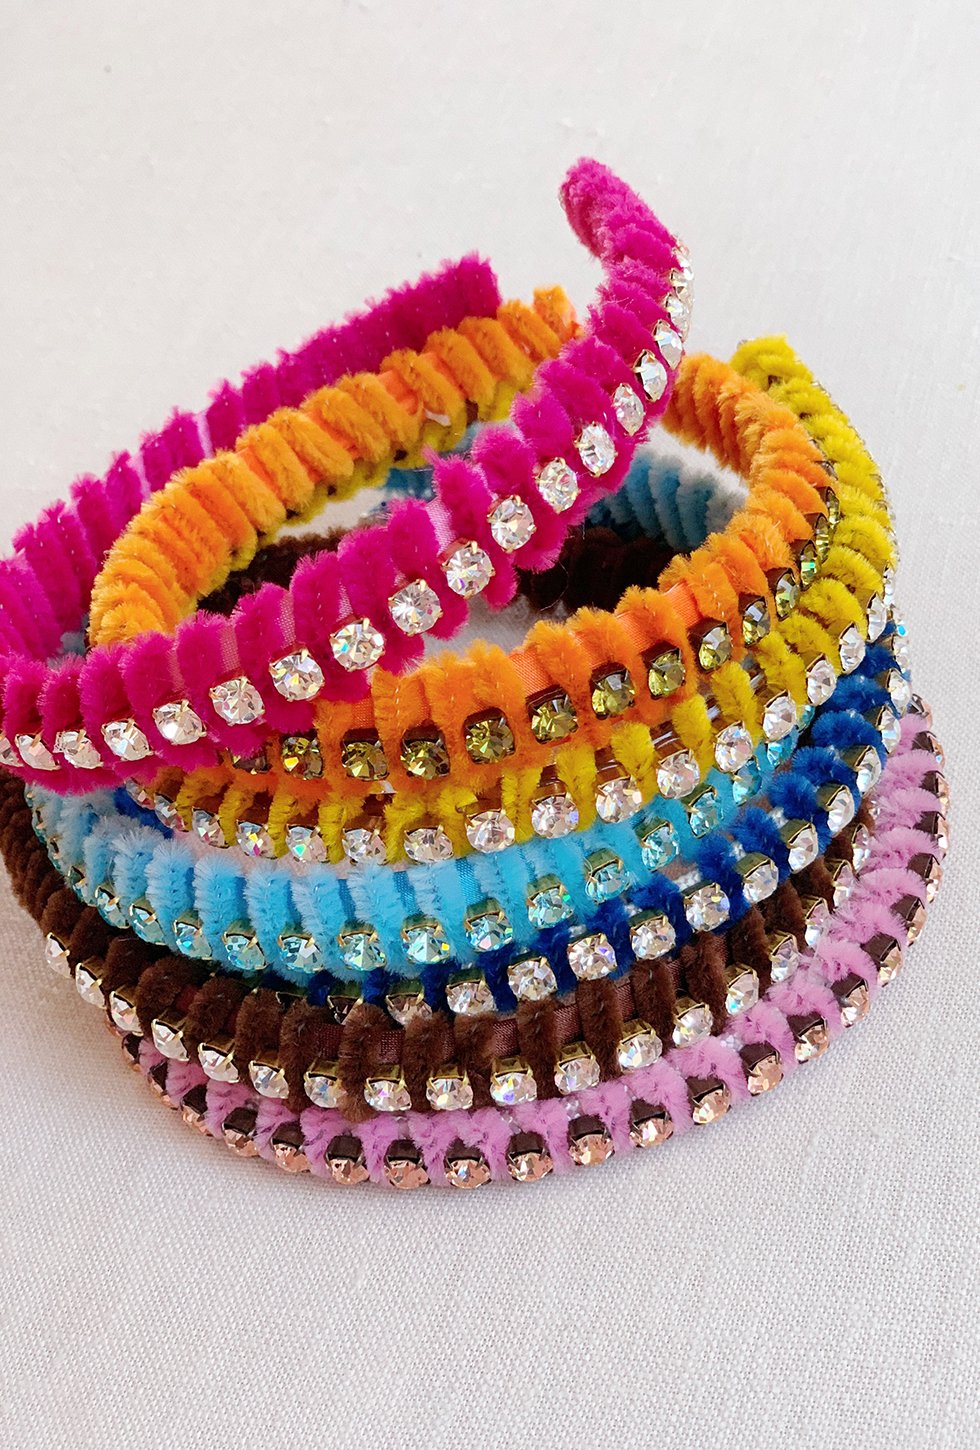
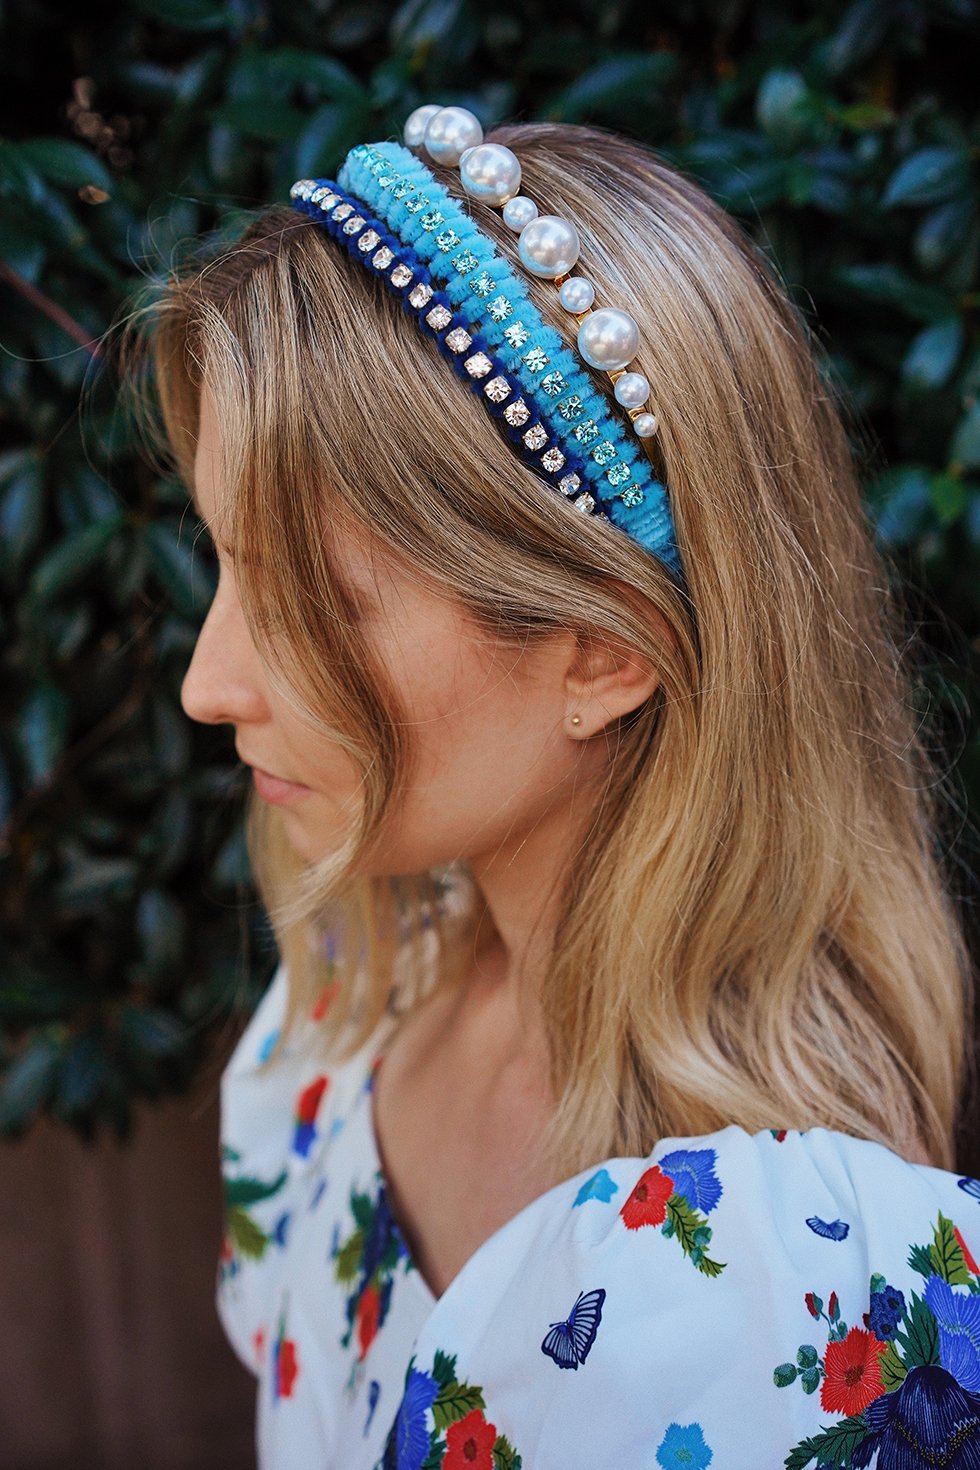
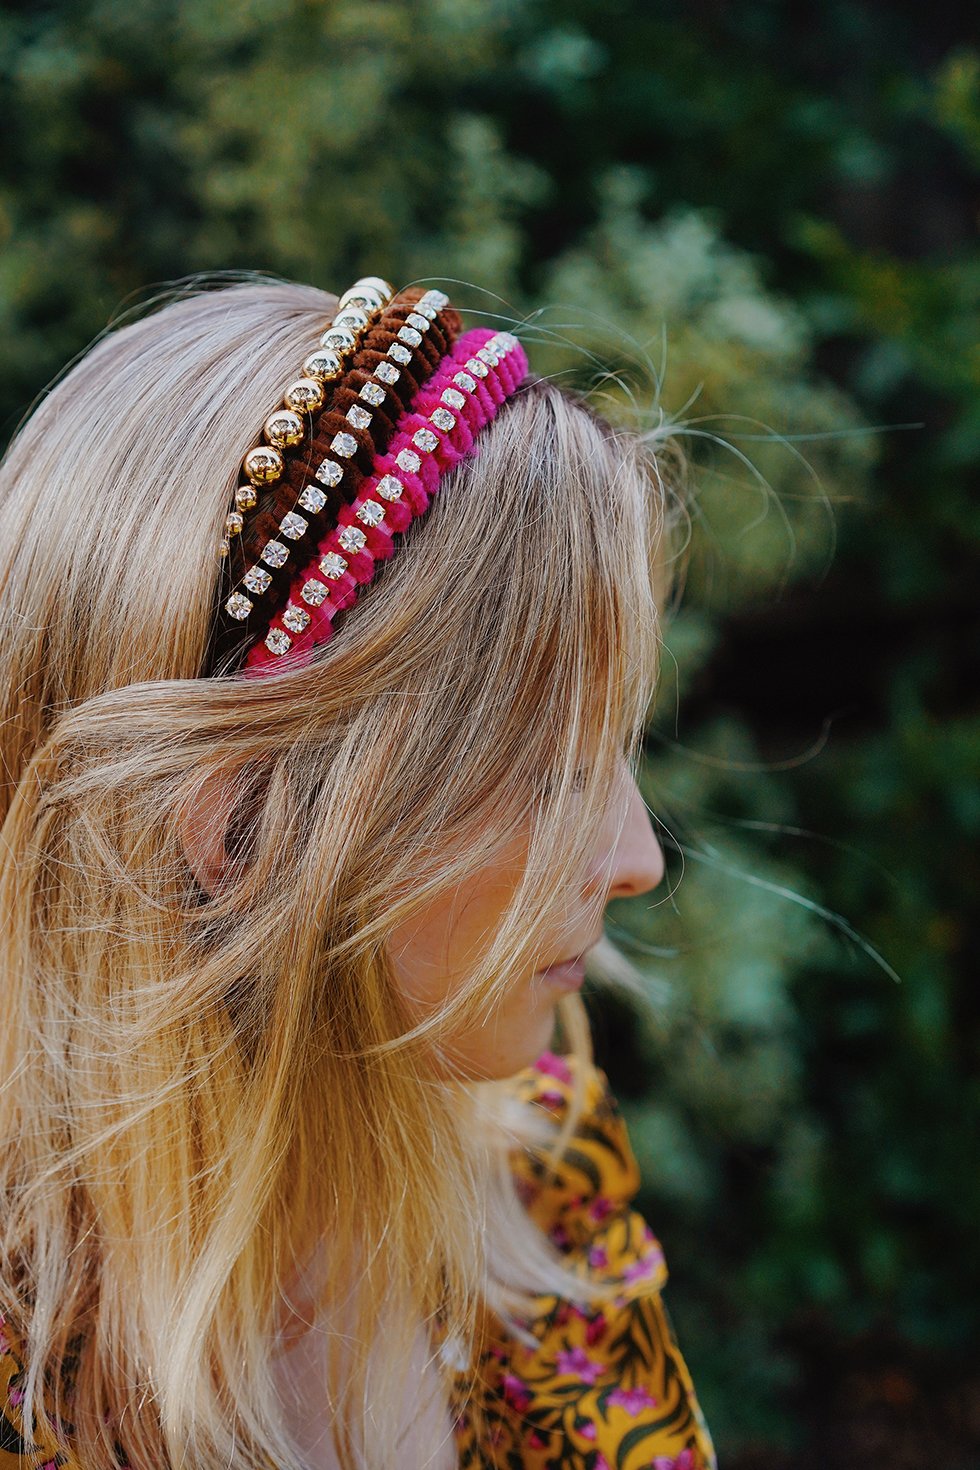
And voila! I dare you not to want to make them in every color!
Wear them on their own or layer them with each other or other statement headbands . . .
photography by HonestlyWTF; if you'd rather BUY than DIY, you can purchase the velour wrapped headbands from Lelet NY here.
i love it awesome
This is such a creative tutorial. I love the velour headband trend. x
Jacqueline | Jackieomy.com
Wow 🙂
This is an incredible collection of ideas!
Waiting for more helpful pieces.
You would amazing to read a similar one here-
https://diysbest.com/
is very good!!
Thanks for sharing the content with us. kwwp postingn that kind of stuff withy us.
My hair is oily and the jewels fall off often when i use hot glue gun