
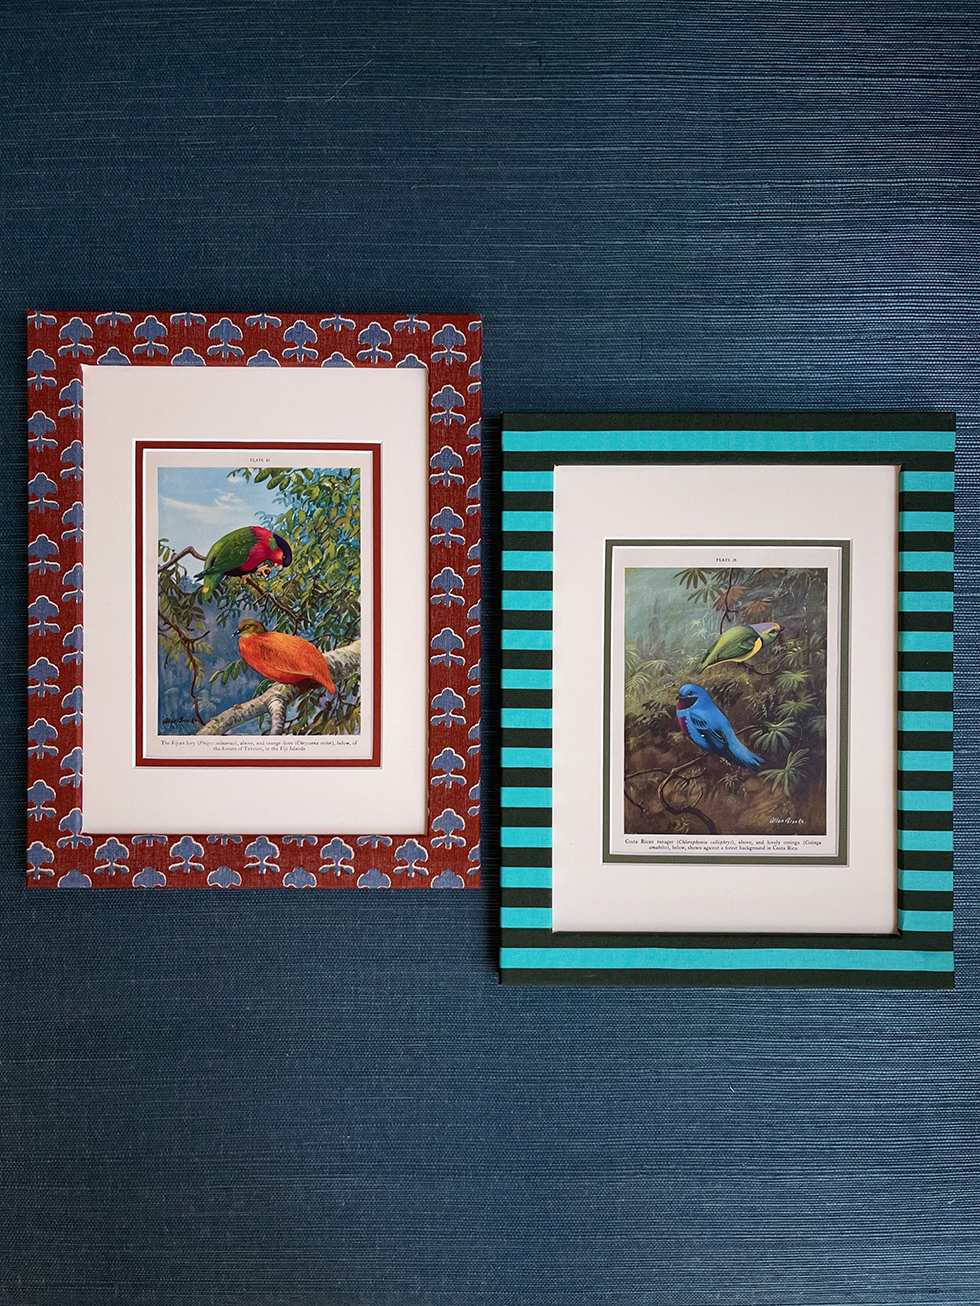
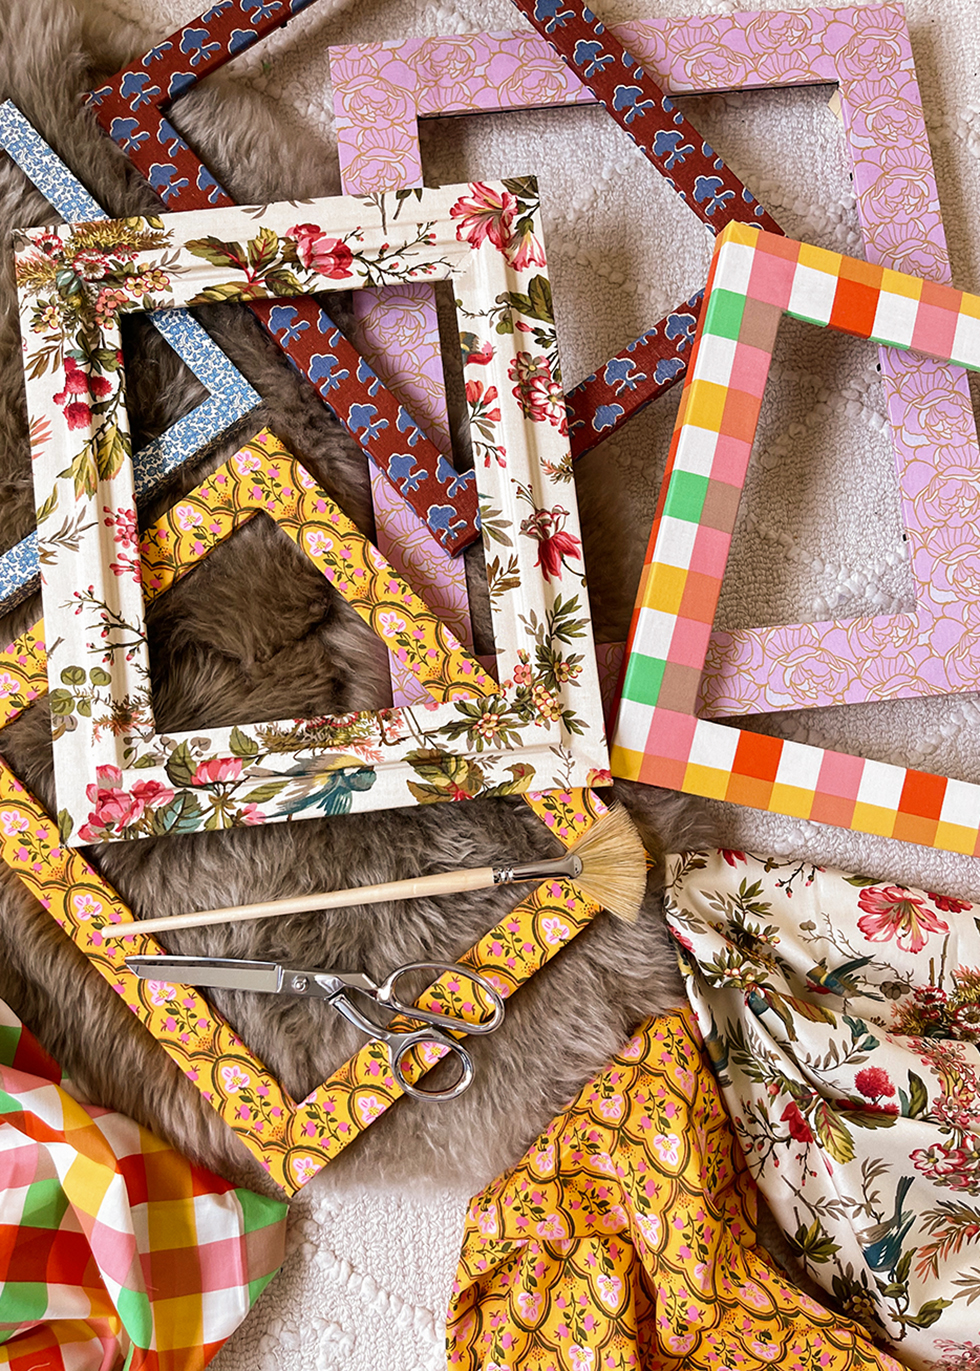
Iris Apfel once said "More is more and less is a bore." If you've been following this blog for awhile, you'll know that I proudly live by that maximalist mantra. So it's no surprise that, for months, I've been collecting white, minimalist frames, just waiting for that perfect upcycling project. I had toyed around with the idea of creating patterns with acrylic paints but my past failures trying to achieve clean lines with stenciling had me brainstorming an alternative plan . . . fabric!!! Why hadn't I thought of this sooner?! Upholstering frames with fabric is surprisingly easy - as long as take your time with it. And with all the gorgeous fabrics out there in the world, it's literally impossible to make just one. I dare you!
You'll Need:
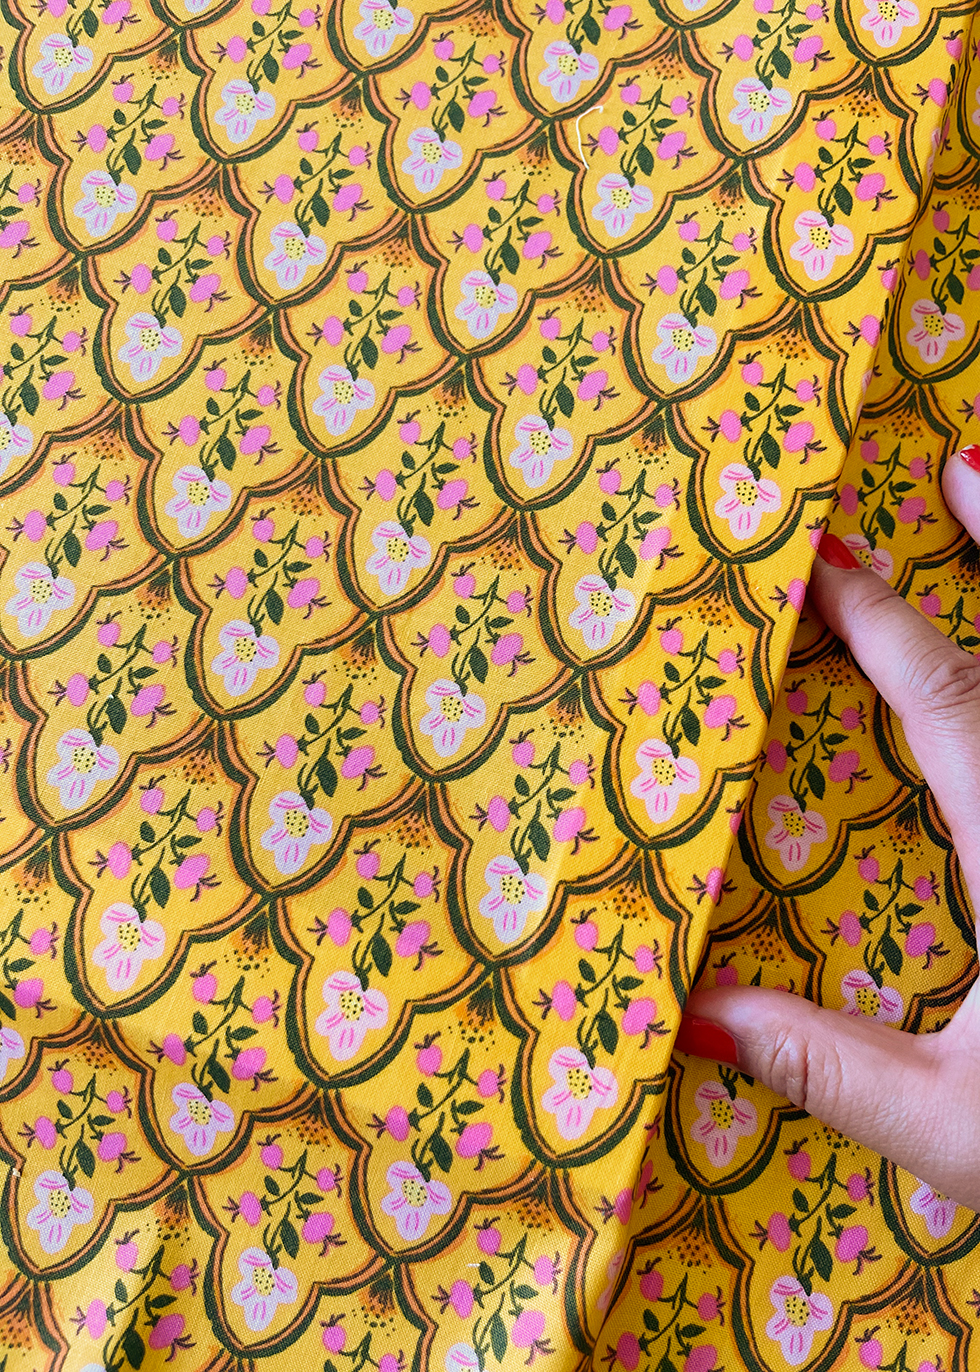
- cotton fabric (approx 1/2 yard, see bottom of post for links to purchasing fabric)
- frame (preferably white, light or raw wood)
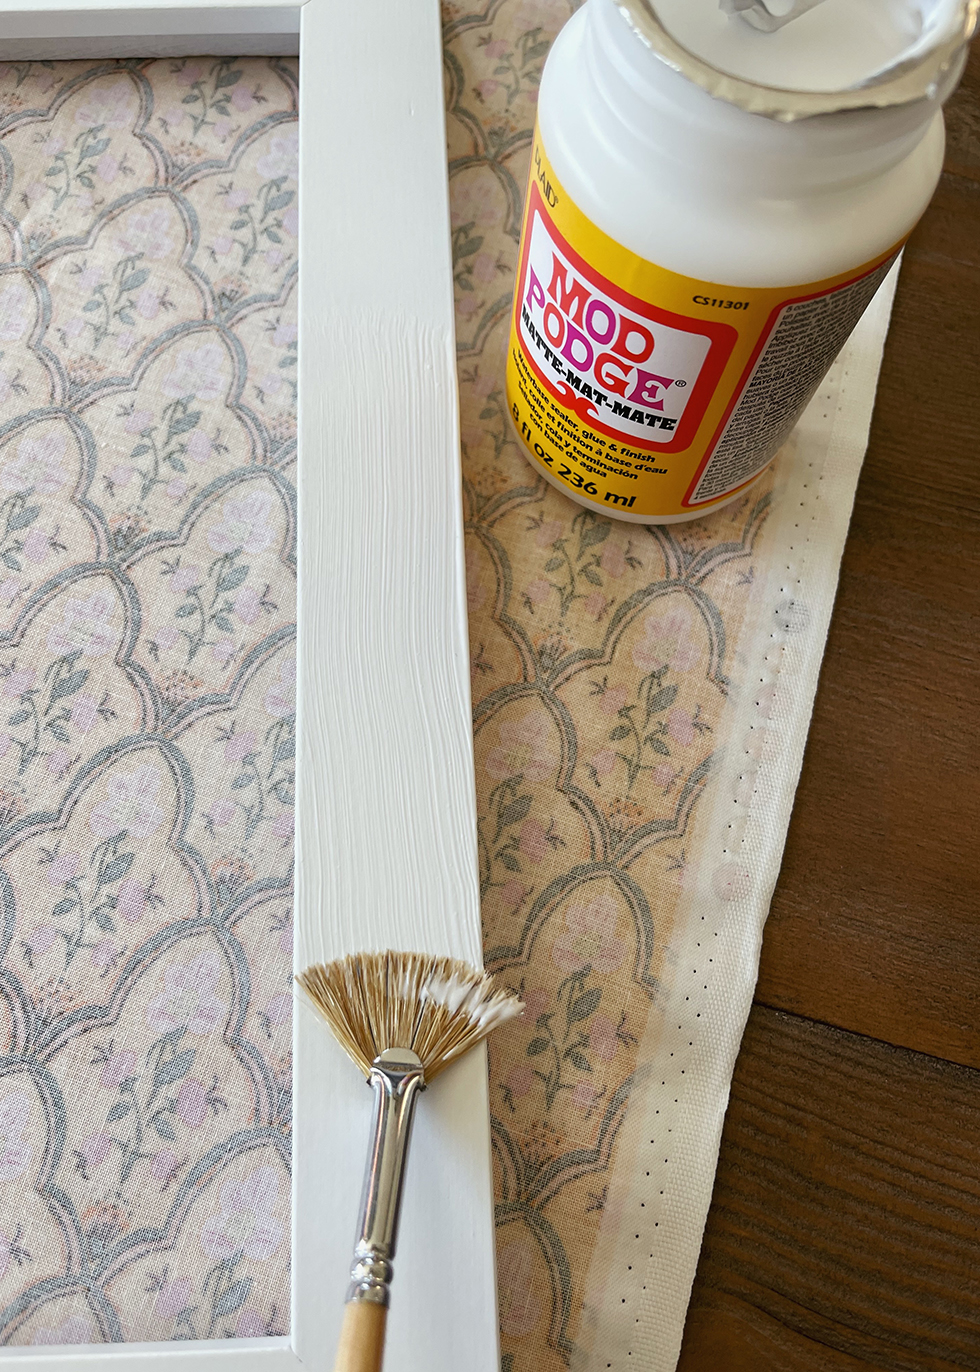
- Mod Podge
- fabric shears (the sharper, the better!)
- fan brush
- ruler
- pencil
- credit card (optional)

Before we start, let's talk about fabric and frames. You'll want to use cotton here. I like quilting cotton because it has a tight weave and no stretch. You'll want to use a frame that isn't too detailed - the flatter the surface, the better. If you use a frame with some dimension, it's best to use a busier fabric without a geometric pattern. This way, you can cut into the fabric without distorting the pattern.
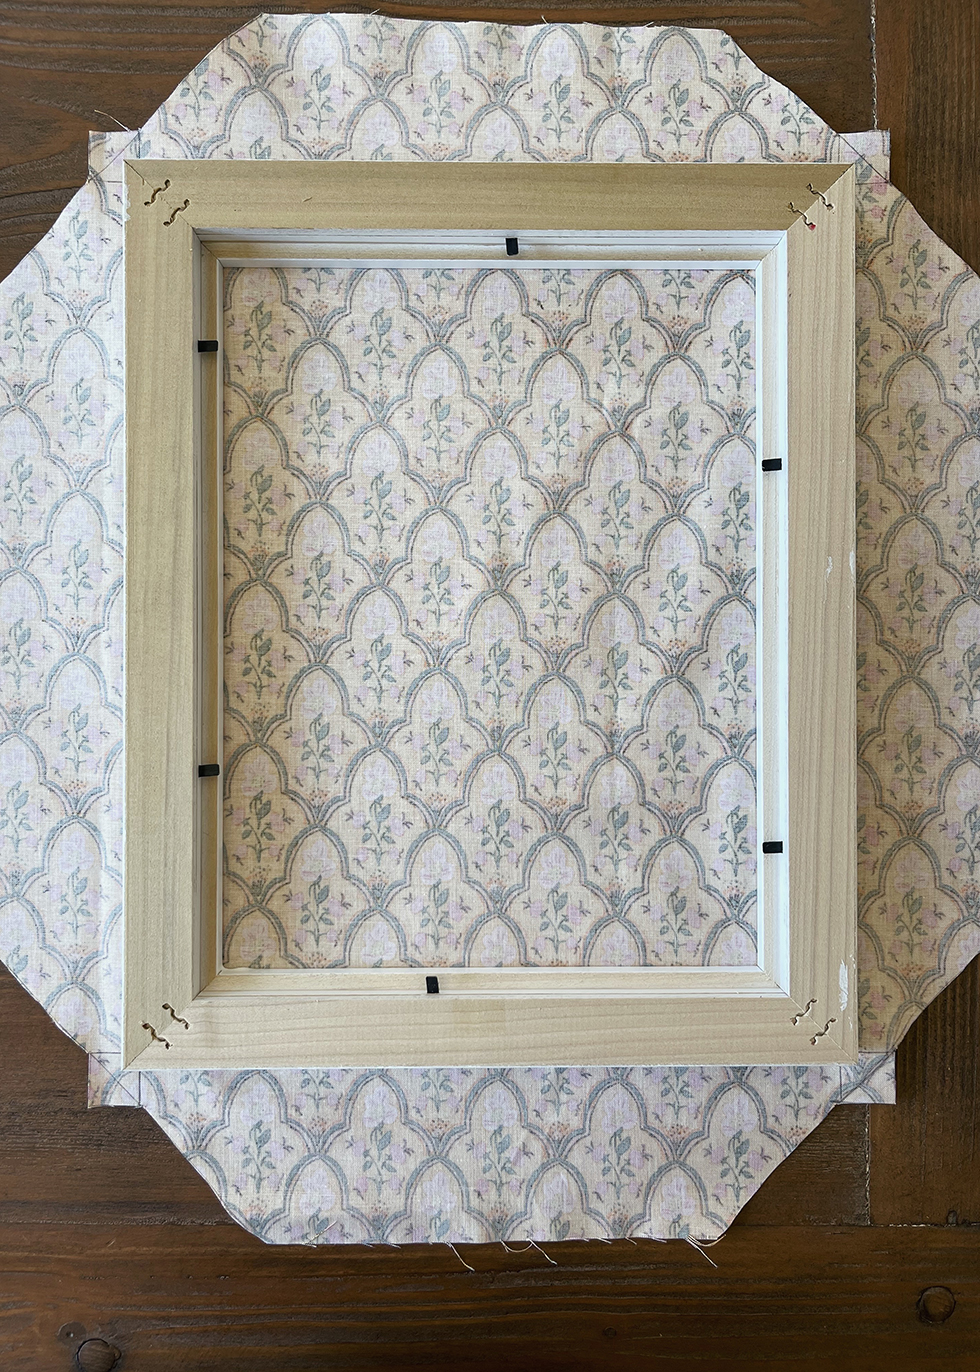
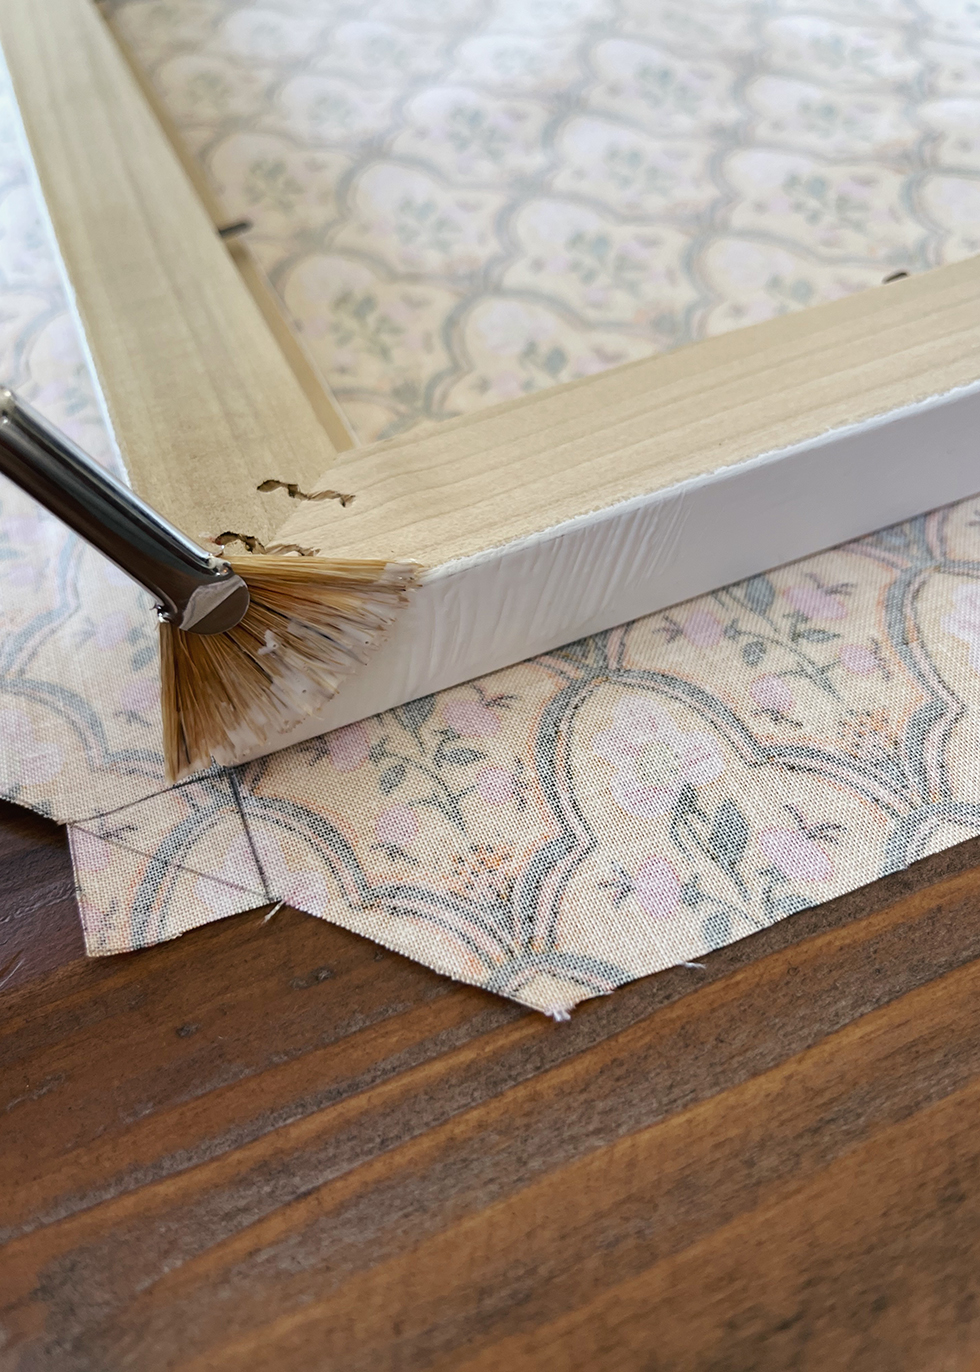
Start by cutting the fabric so that its dimensions exceed those of the frame by at least 3-4 inches on each side. If the fabric has wrinkles, iron it flat before gluing. Glue the front side only with a fan brush. I like using a fan brush because it's easier to get a very thin application. You want a very very thin and even amount of glue here. You don't want any of the glue to seep through the fabric.
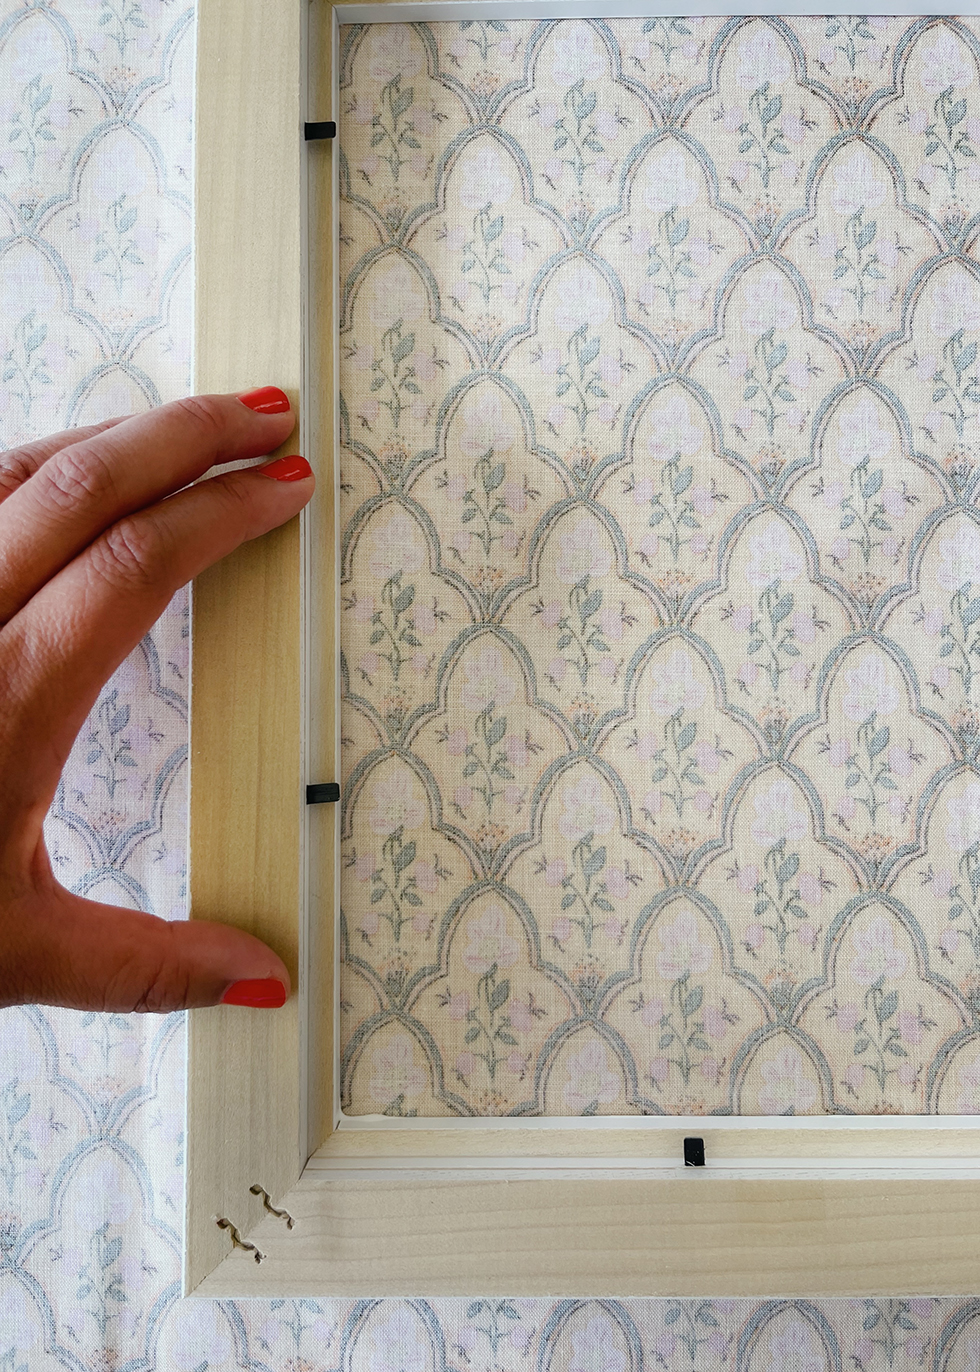
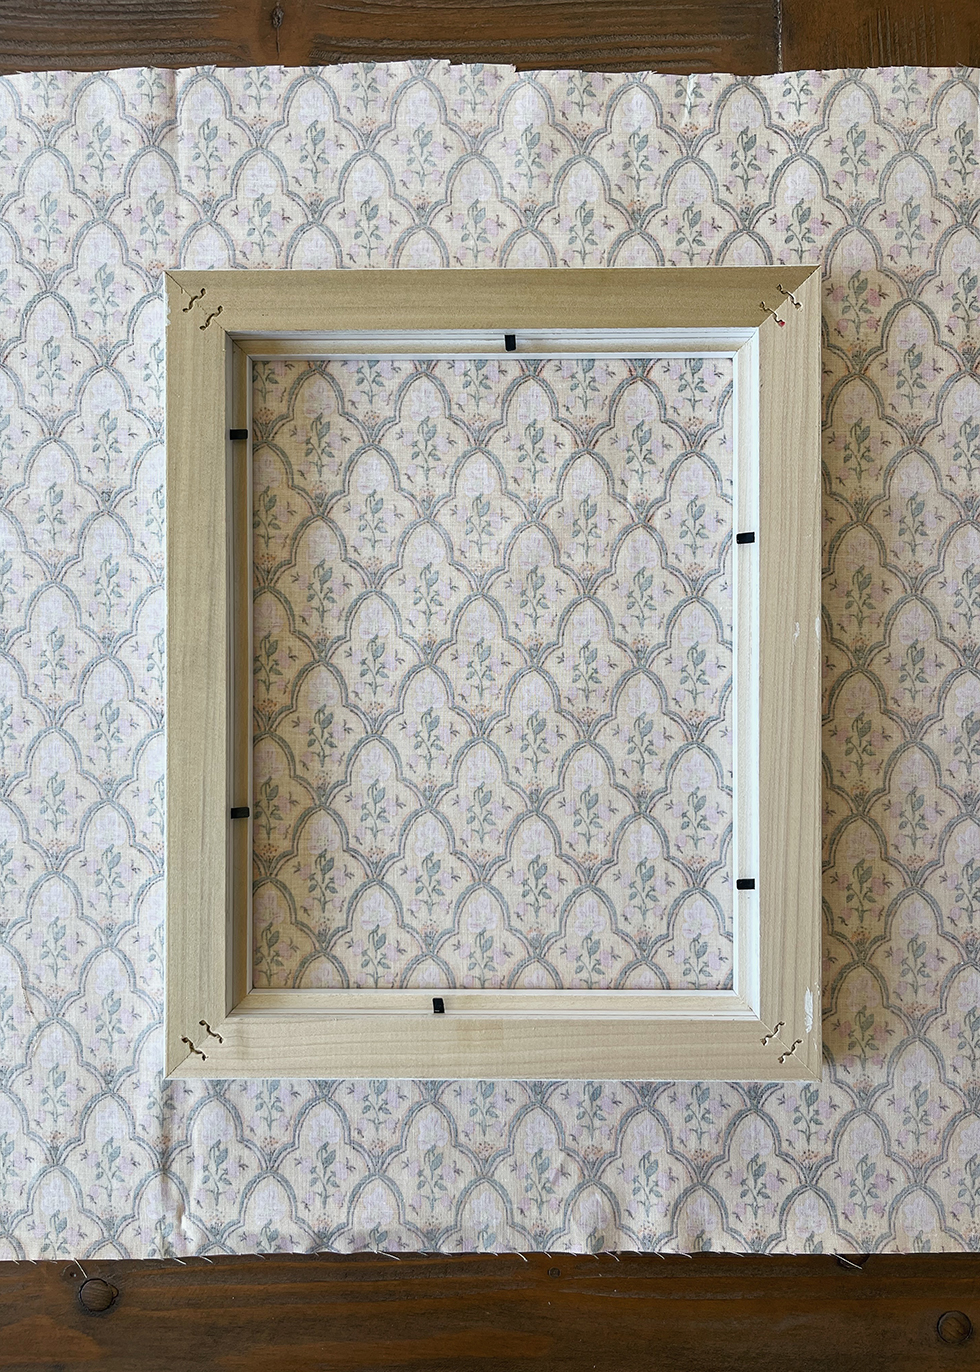
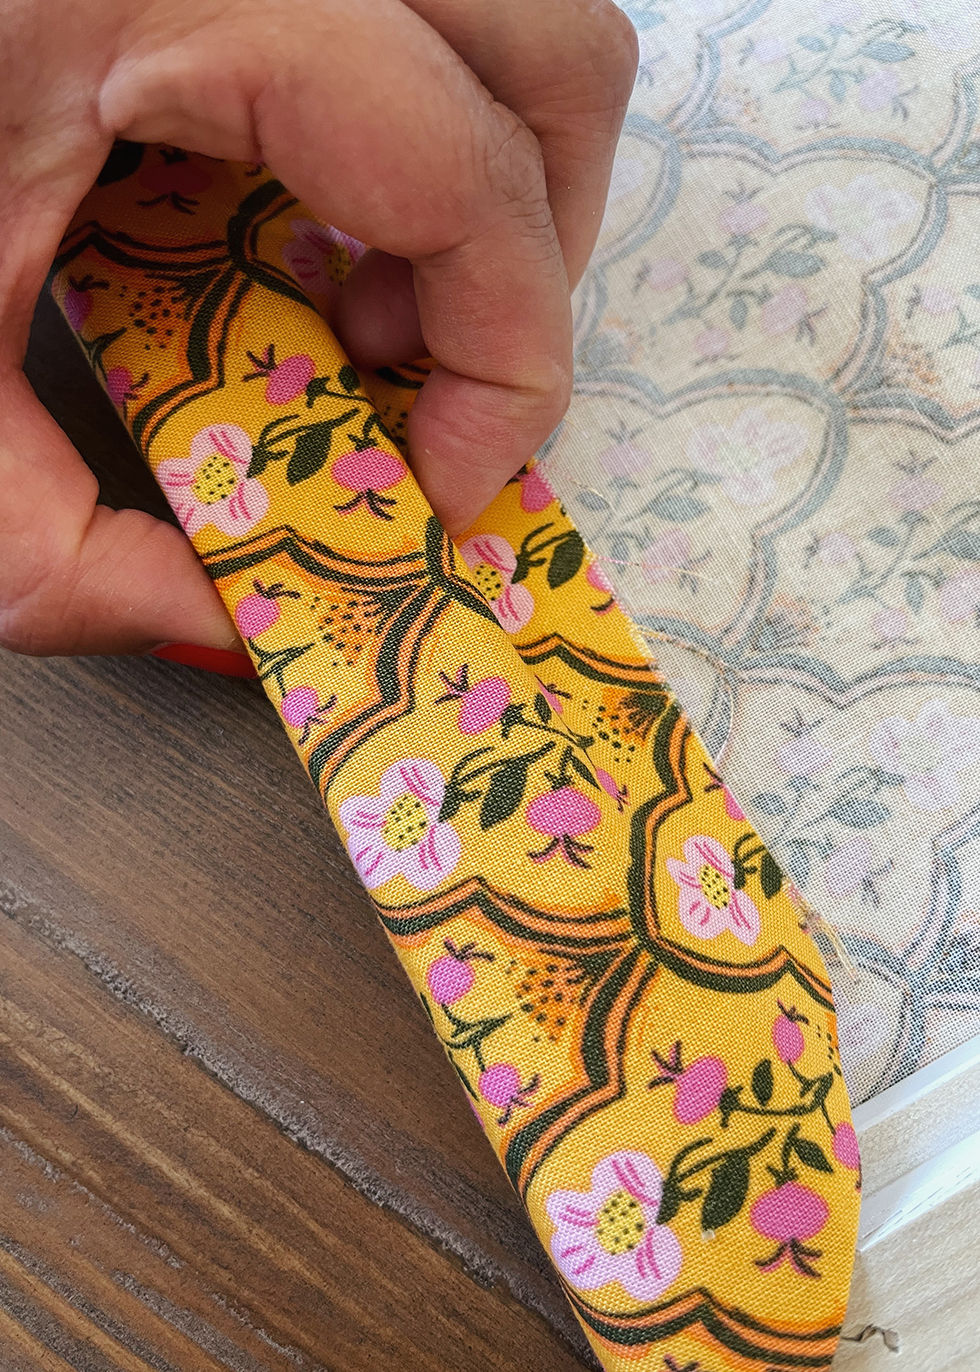
Turn the frame upside down and line the frame up against the back of the fabric. I like to use the pattern as a guide. Press the frame down firmly against the fabric.
Flip the frame over and run your fingers over each side of the frame, making sure to flatten out any air bubbles or wrinkles. Double check the alignment and work quickly before the glue dries.
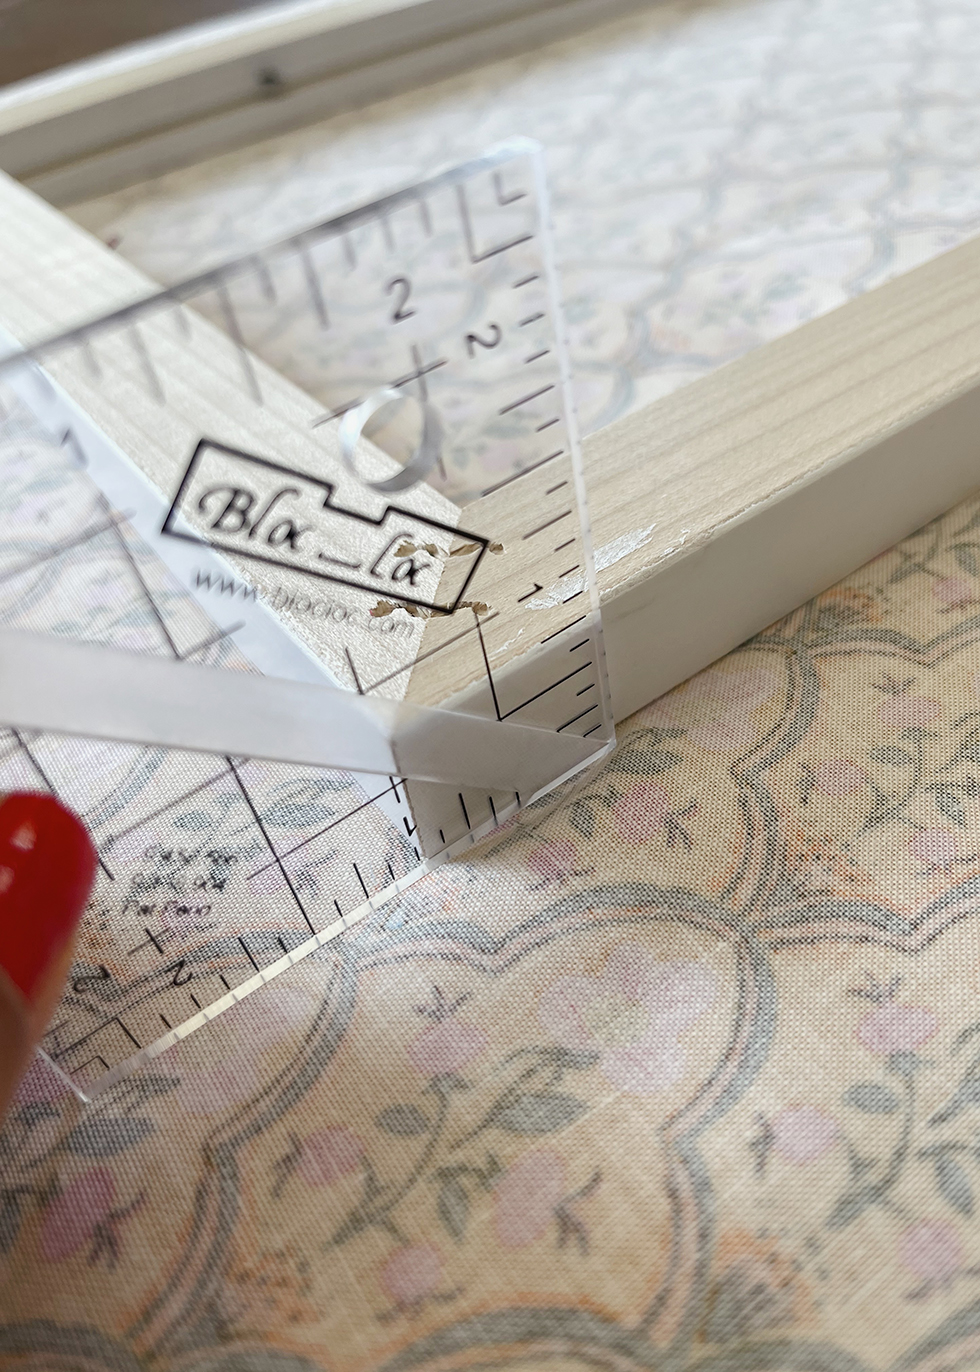

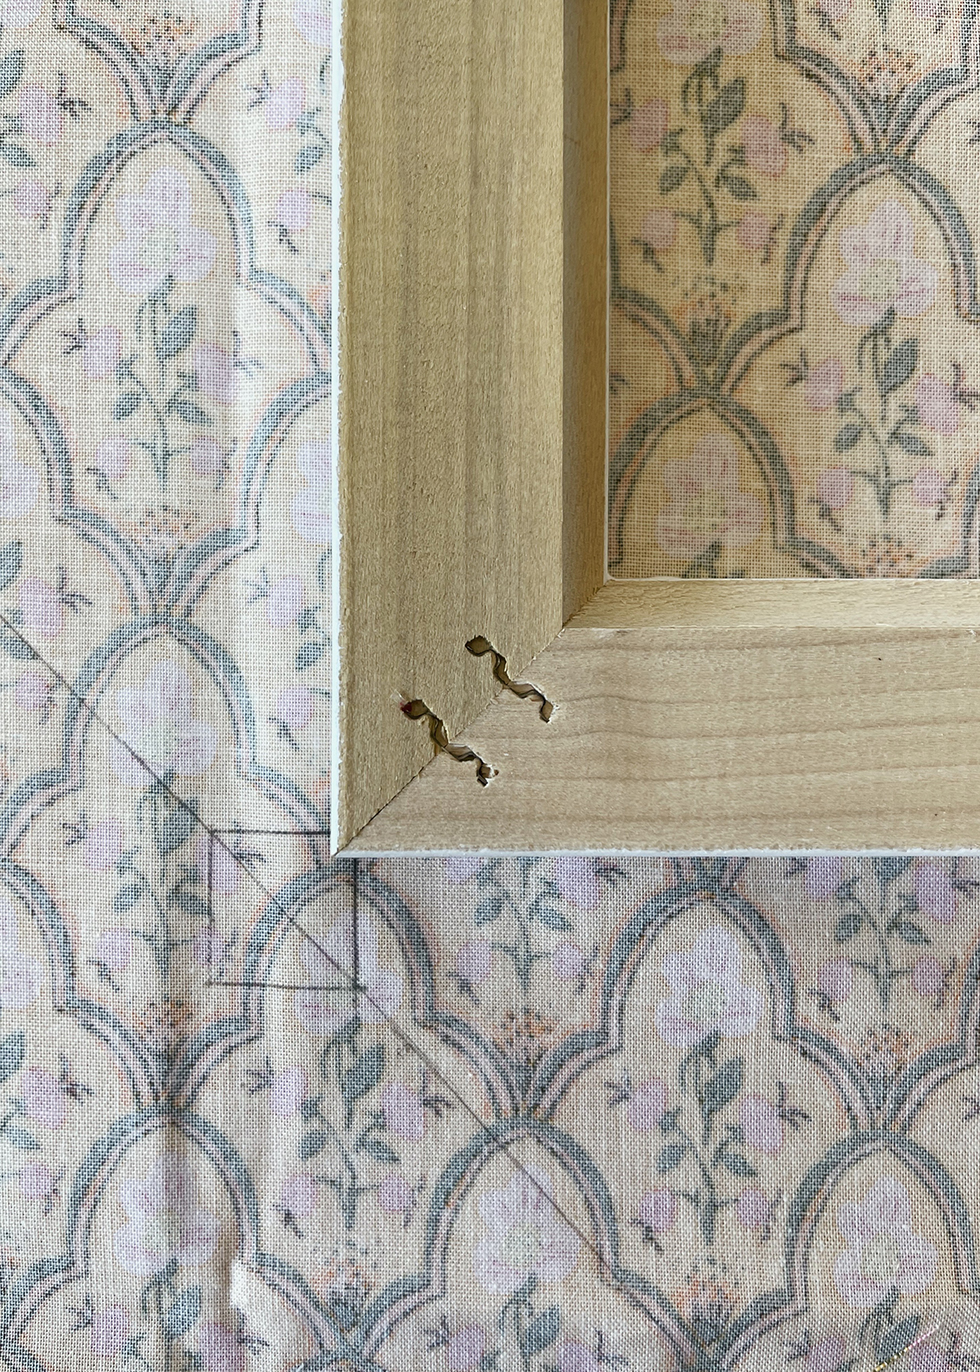
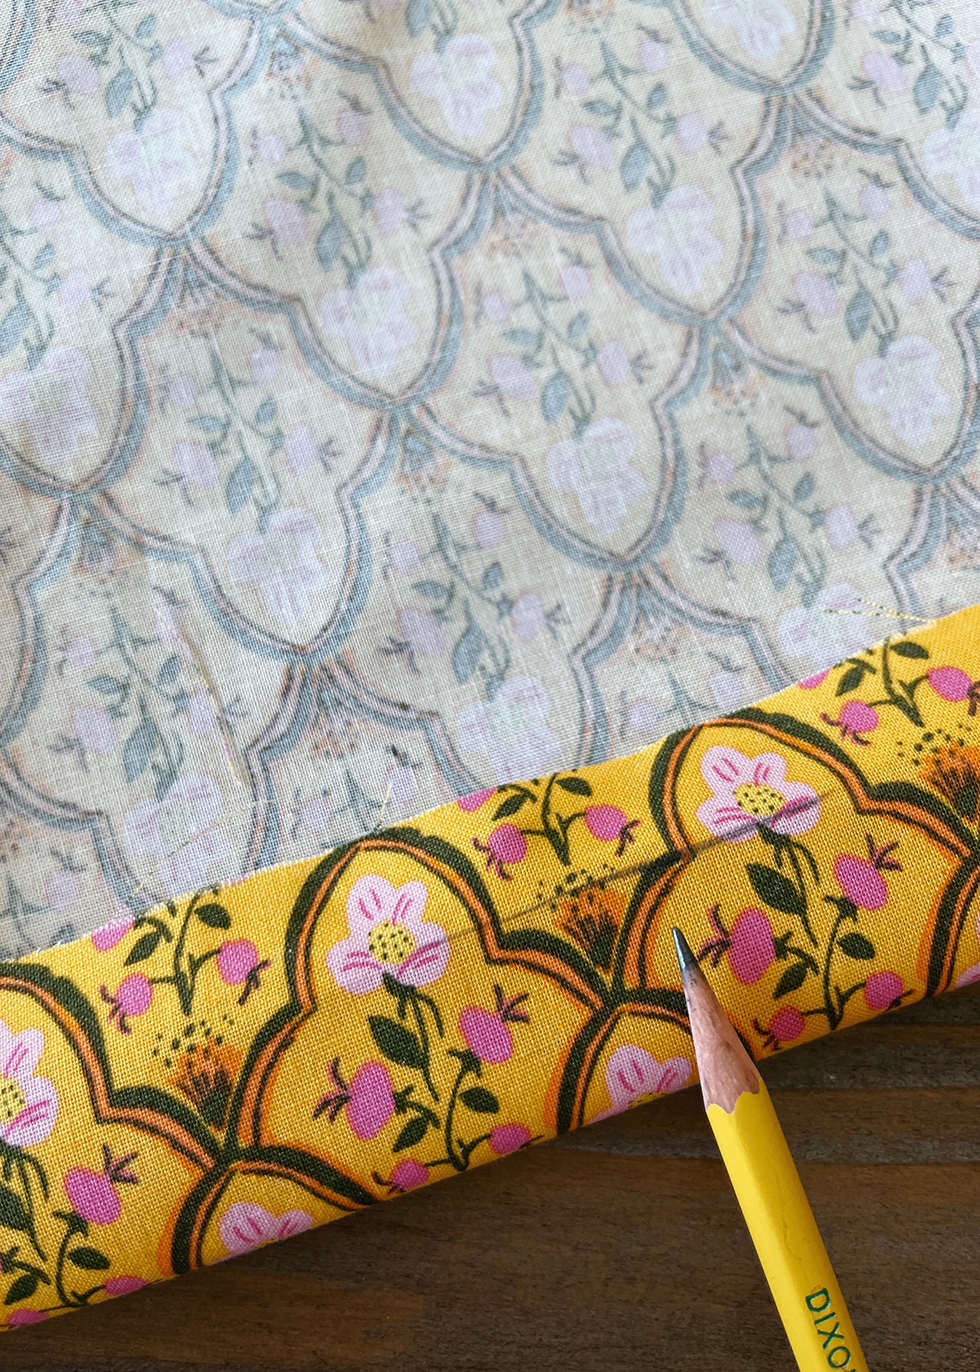
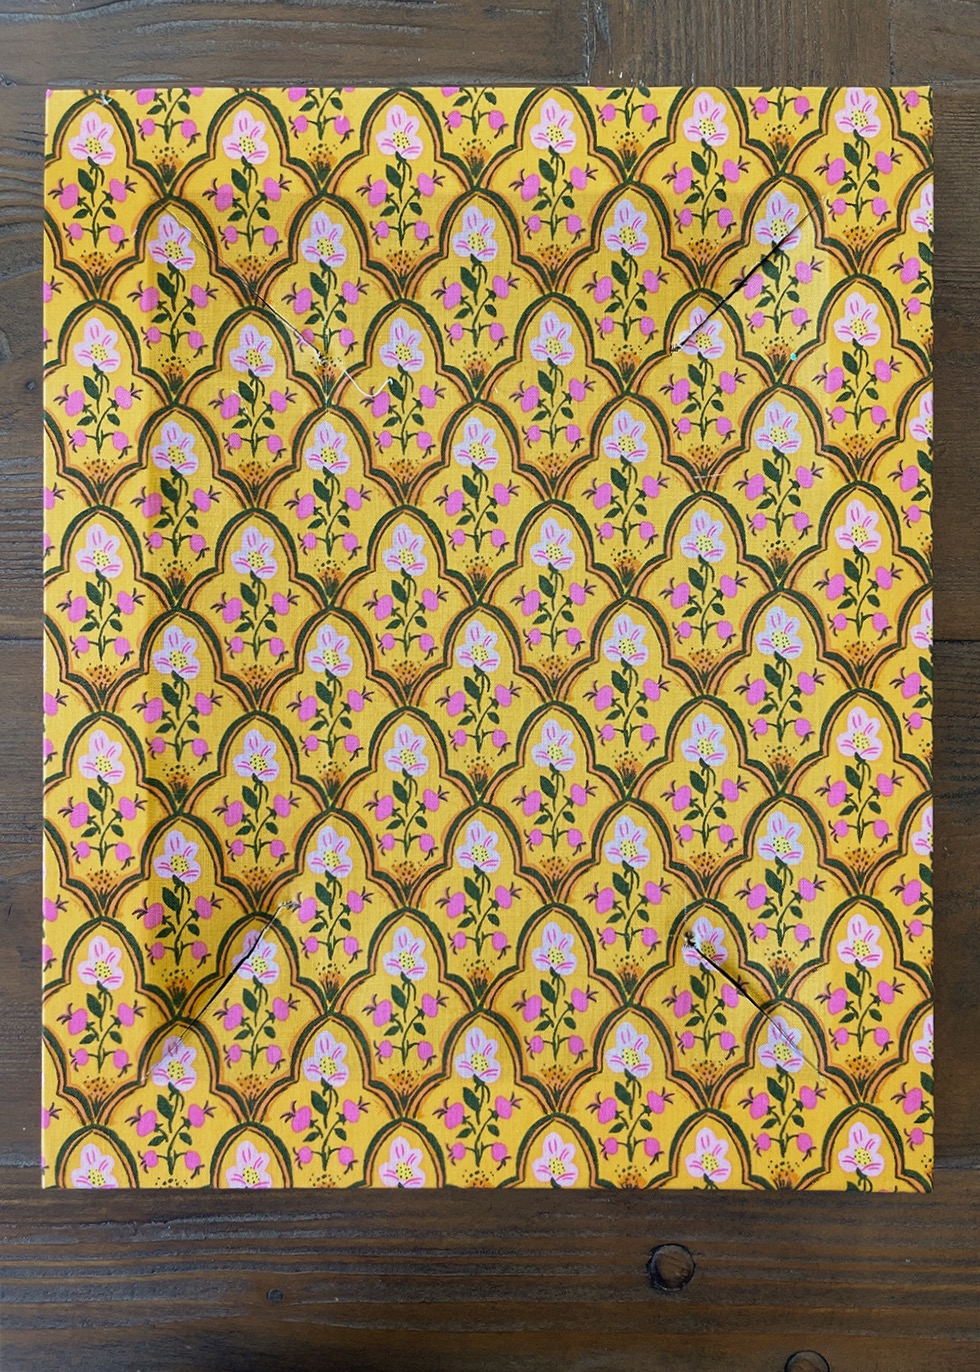
Flip the frame back over and allow it to dry for a few minutes. Then, take a ruler and measure the thickness of the frame. Using the ruler, draw a square with the dimensions equal to that measurement. So if the thickness of the frame is 3/4", then draw a square 3/4" x 3/4" - with the outside corner touching the outside corner of the frame. Do this on all four corners.
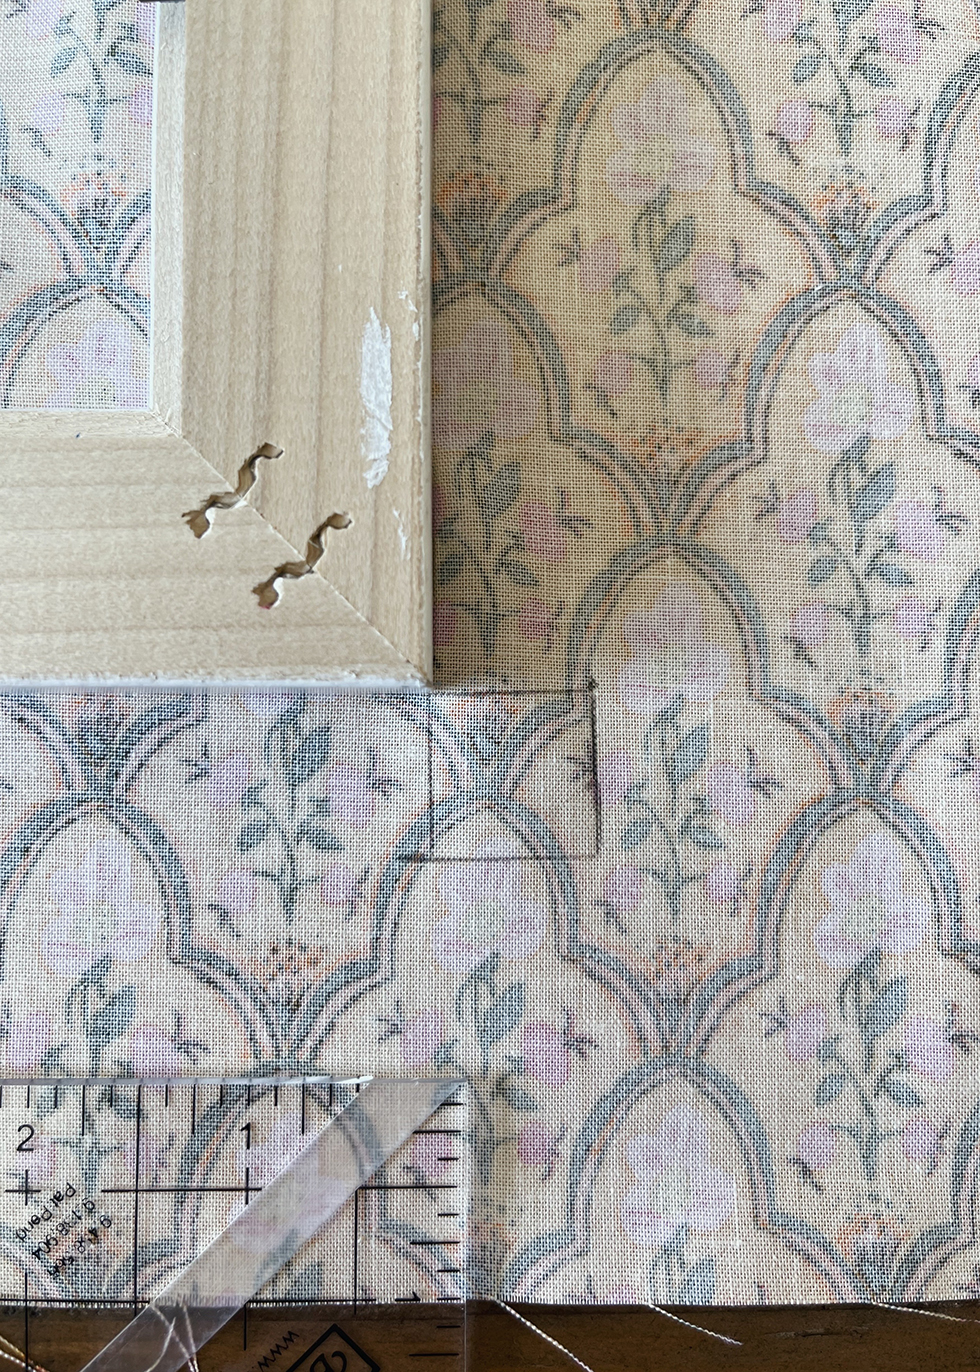
Then go back and draw a diagonal line through the square and extending past the square.
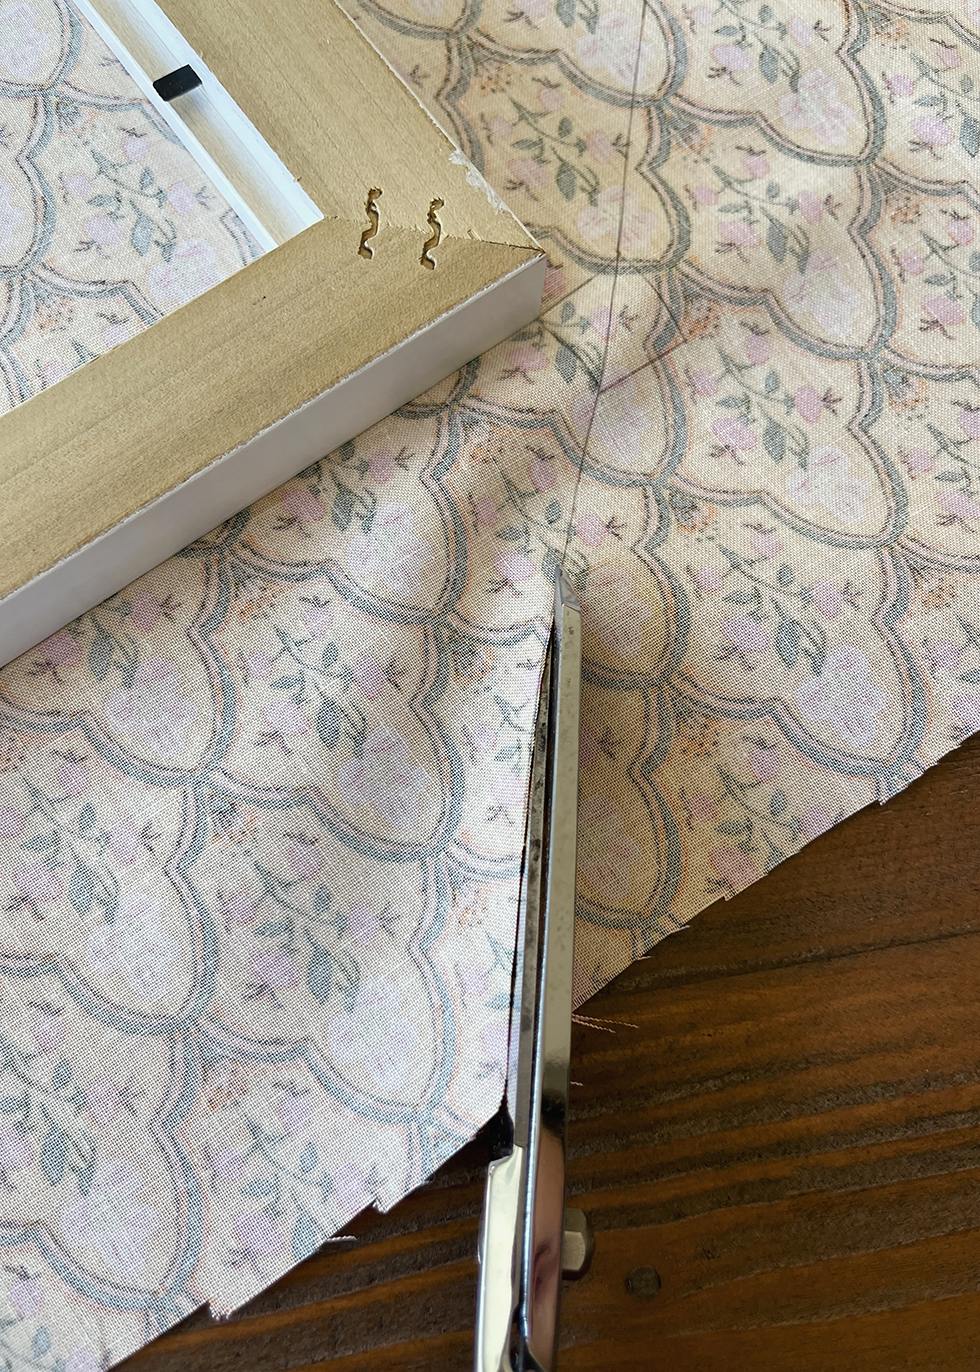
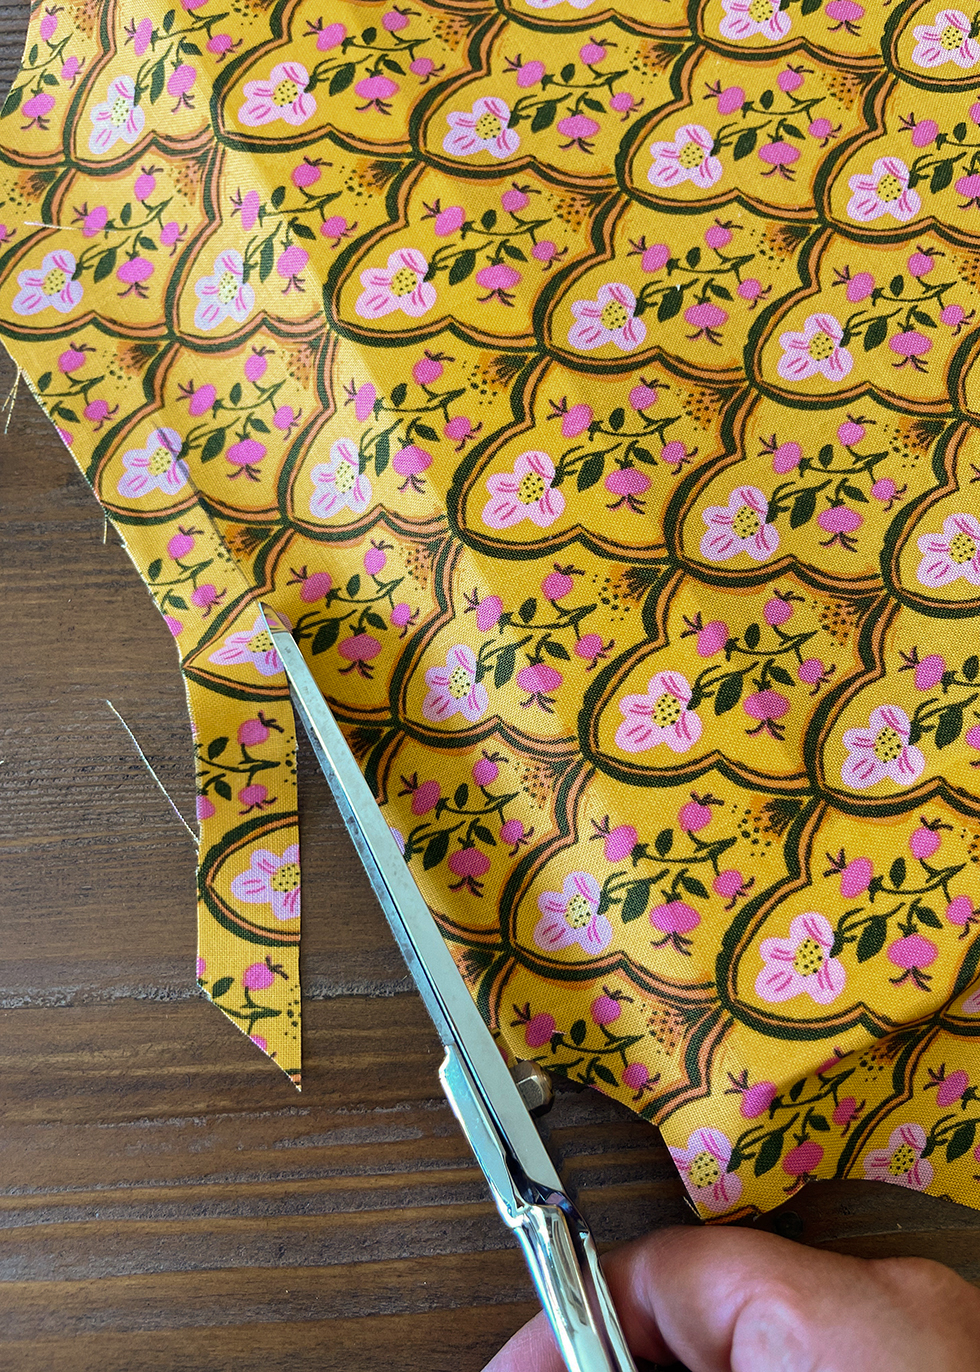
Repeat on all 4 sides and then cut along the lines and around the sqaures.

With the scissors, snip along the inside face of the square. You'll make 4 cuts in the exact same position. This creates a tab to help hide the corners.
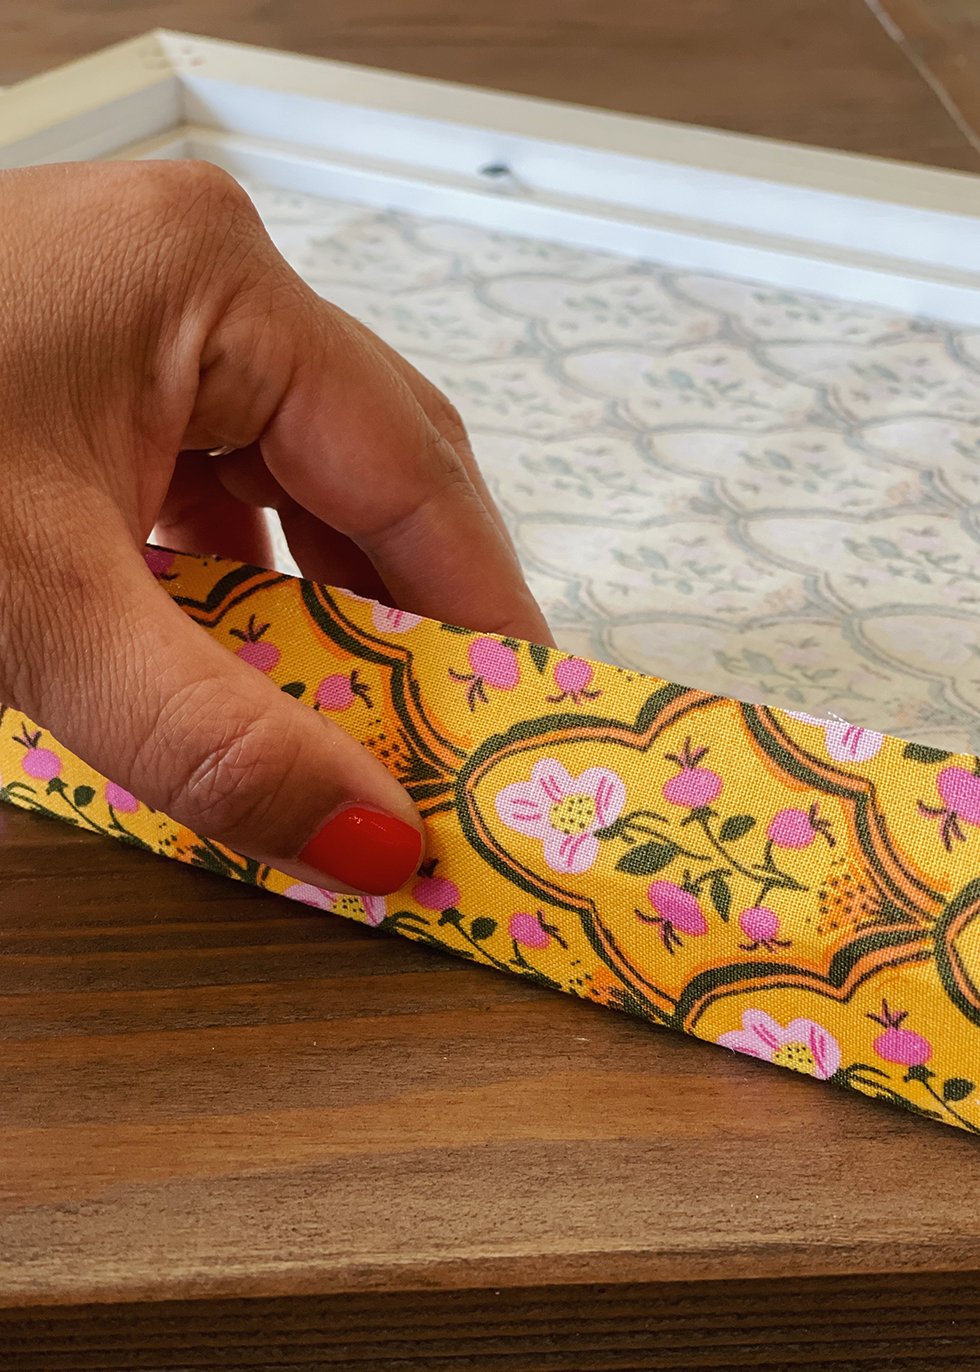
Fold up each side of the fabric, stretching it over the backside of the frame.
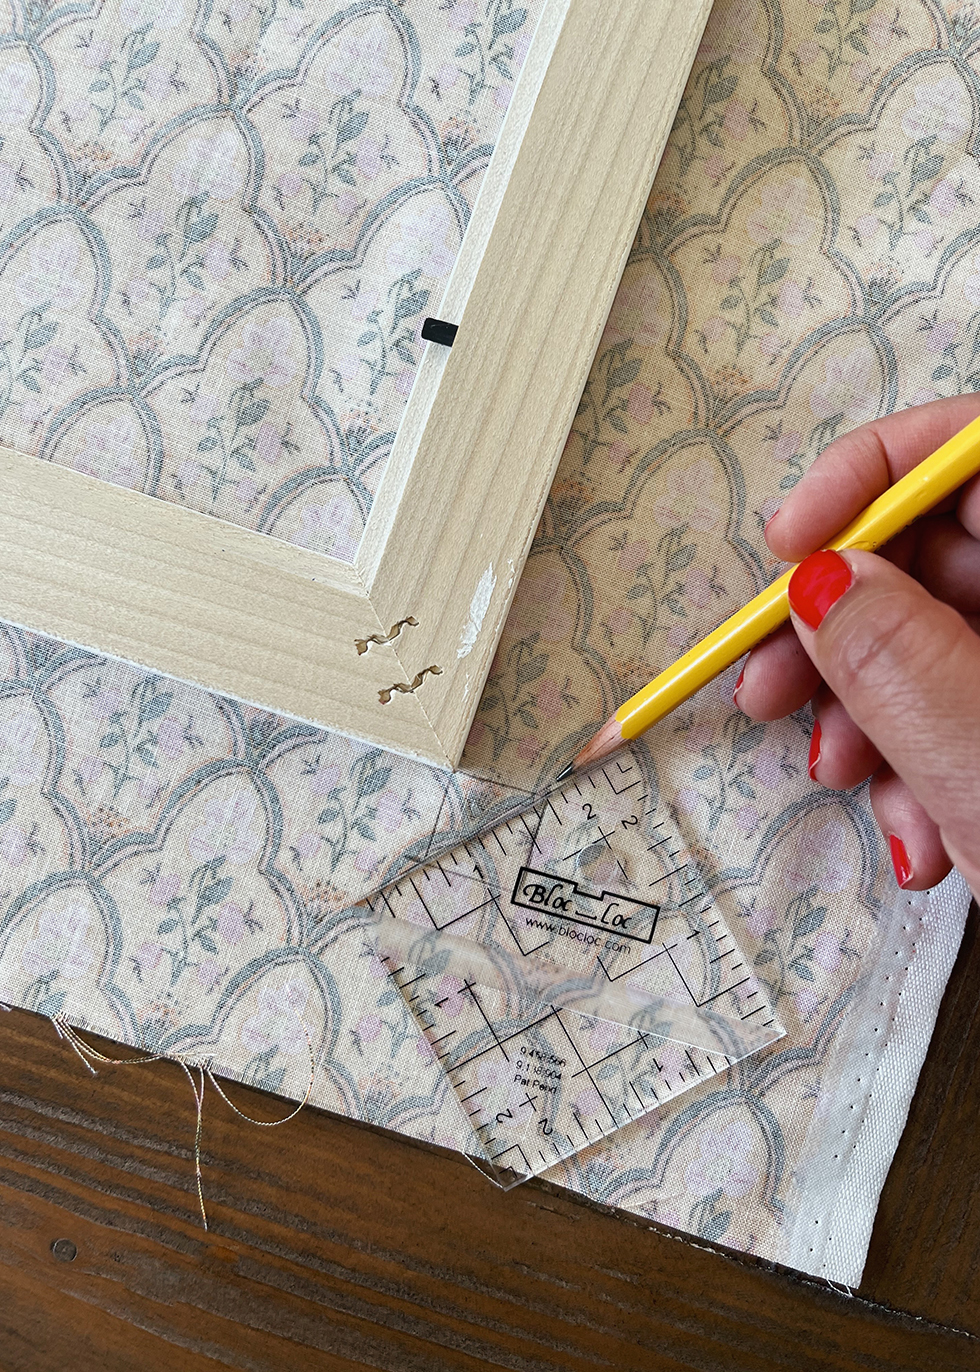
Use the side of a pencil and rub it against the inside edge. This will be a guide to help you trim down the edges of the fabric. You can also use the pattern of the fabric as a guide.
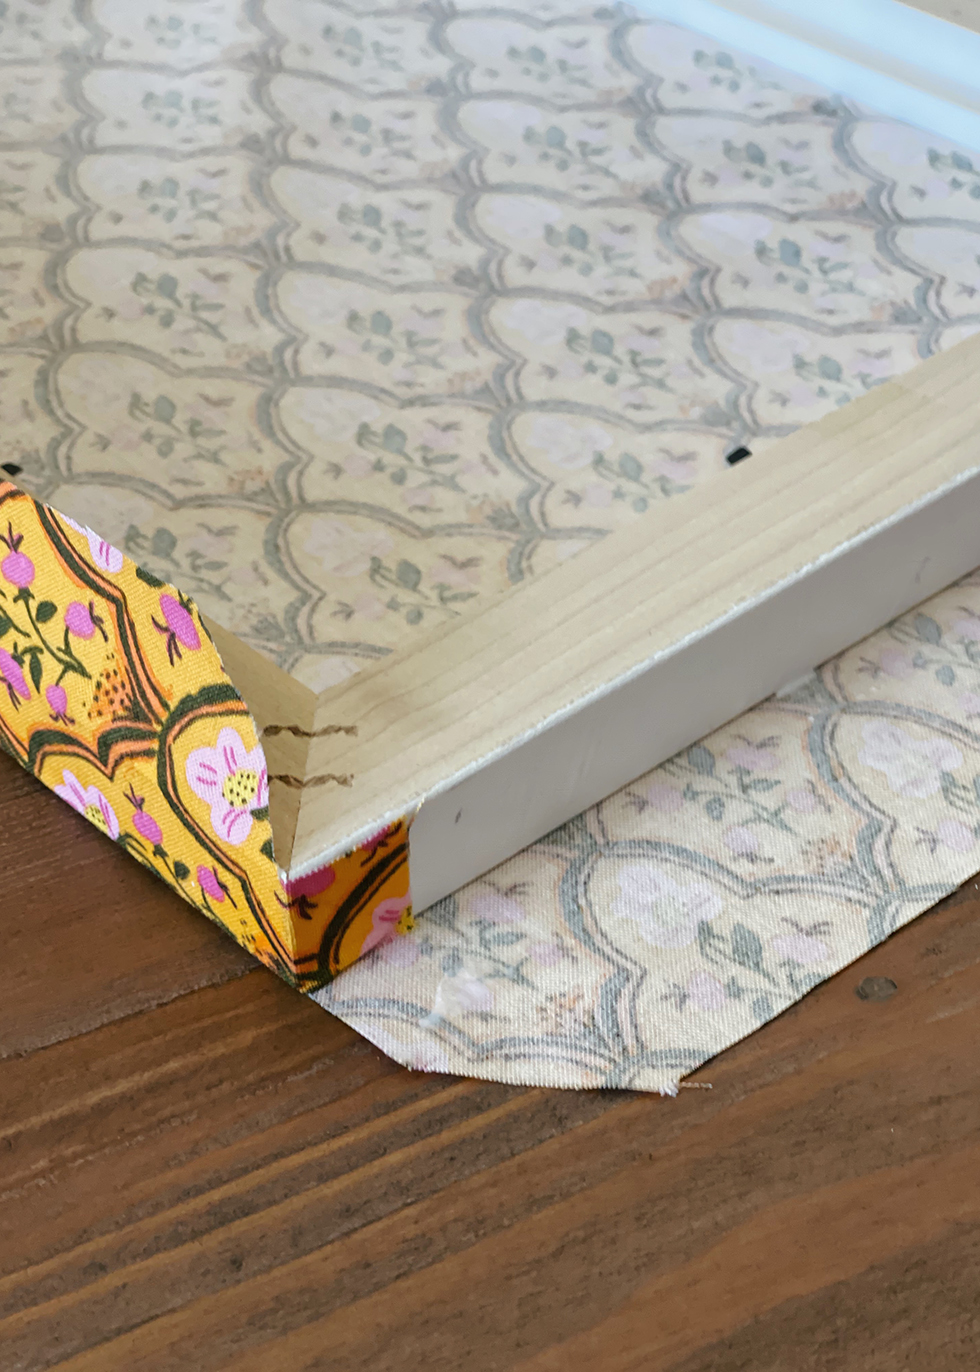
Now that all the edges are trimmed to size, you can finish gluing. Apply a very thin amount of glue only along one side (the side with the tab attached) of the frame.

Fold the fabric up and onto the glued side. Use your thumbs and run them up in a vertical motion (bottom up) to prevent wrinkles and bubbles. I like to start in the middle of the frame and work my way out on both sides.
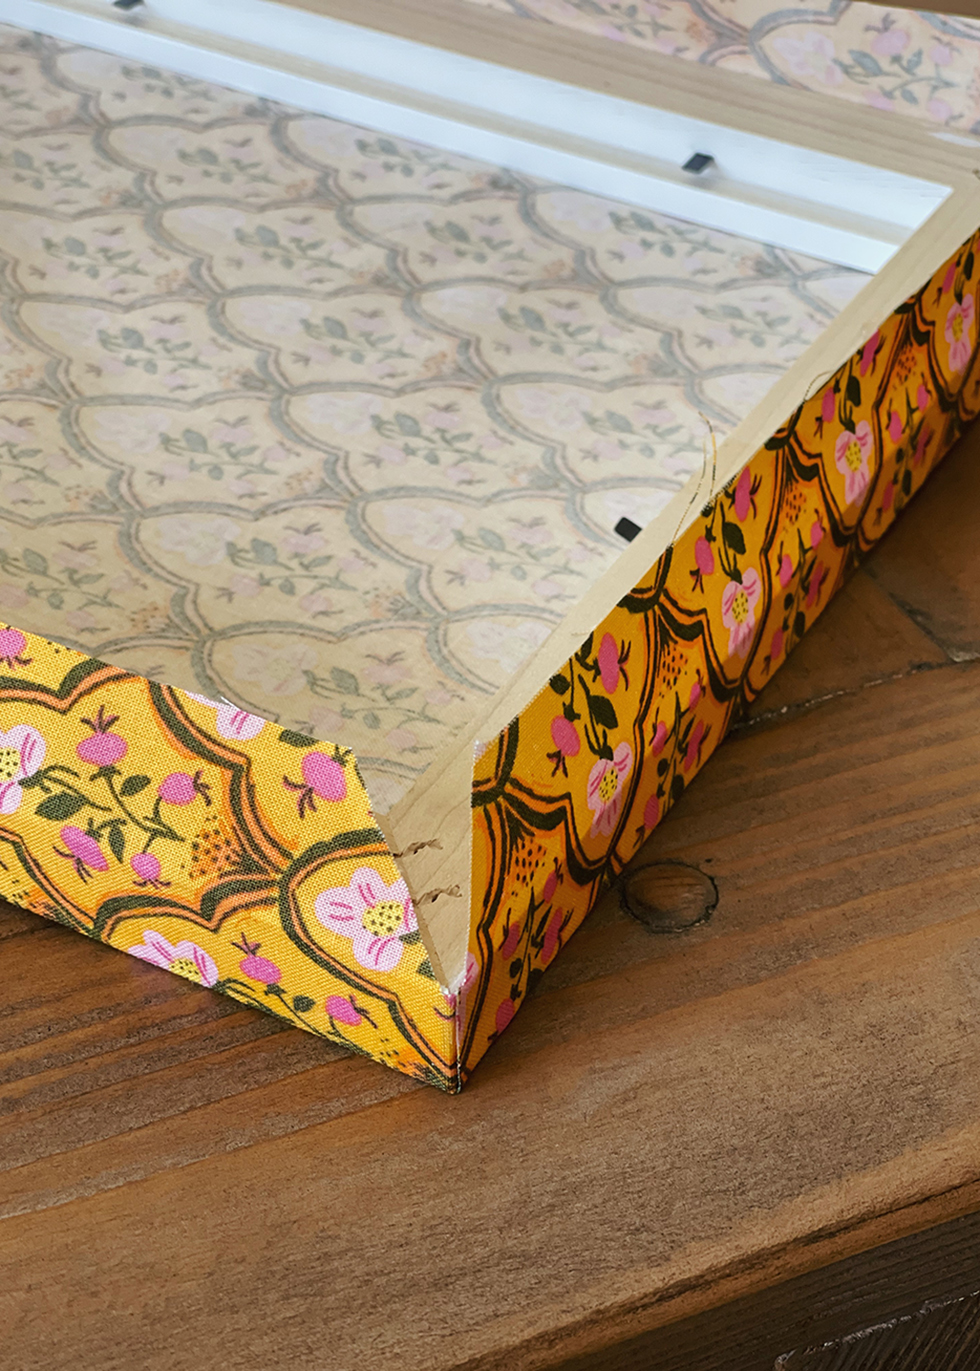
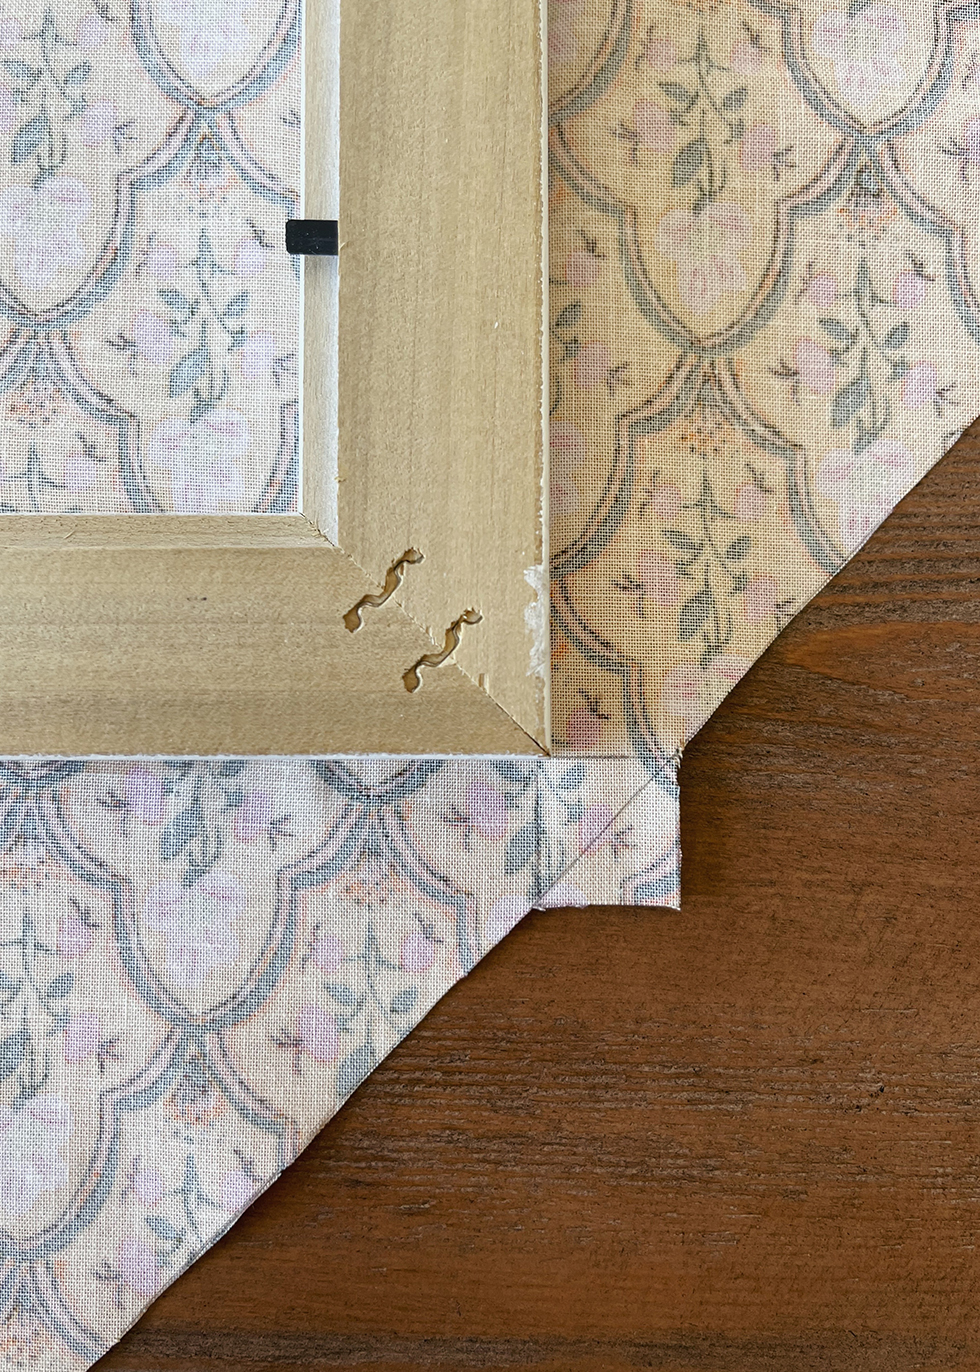
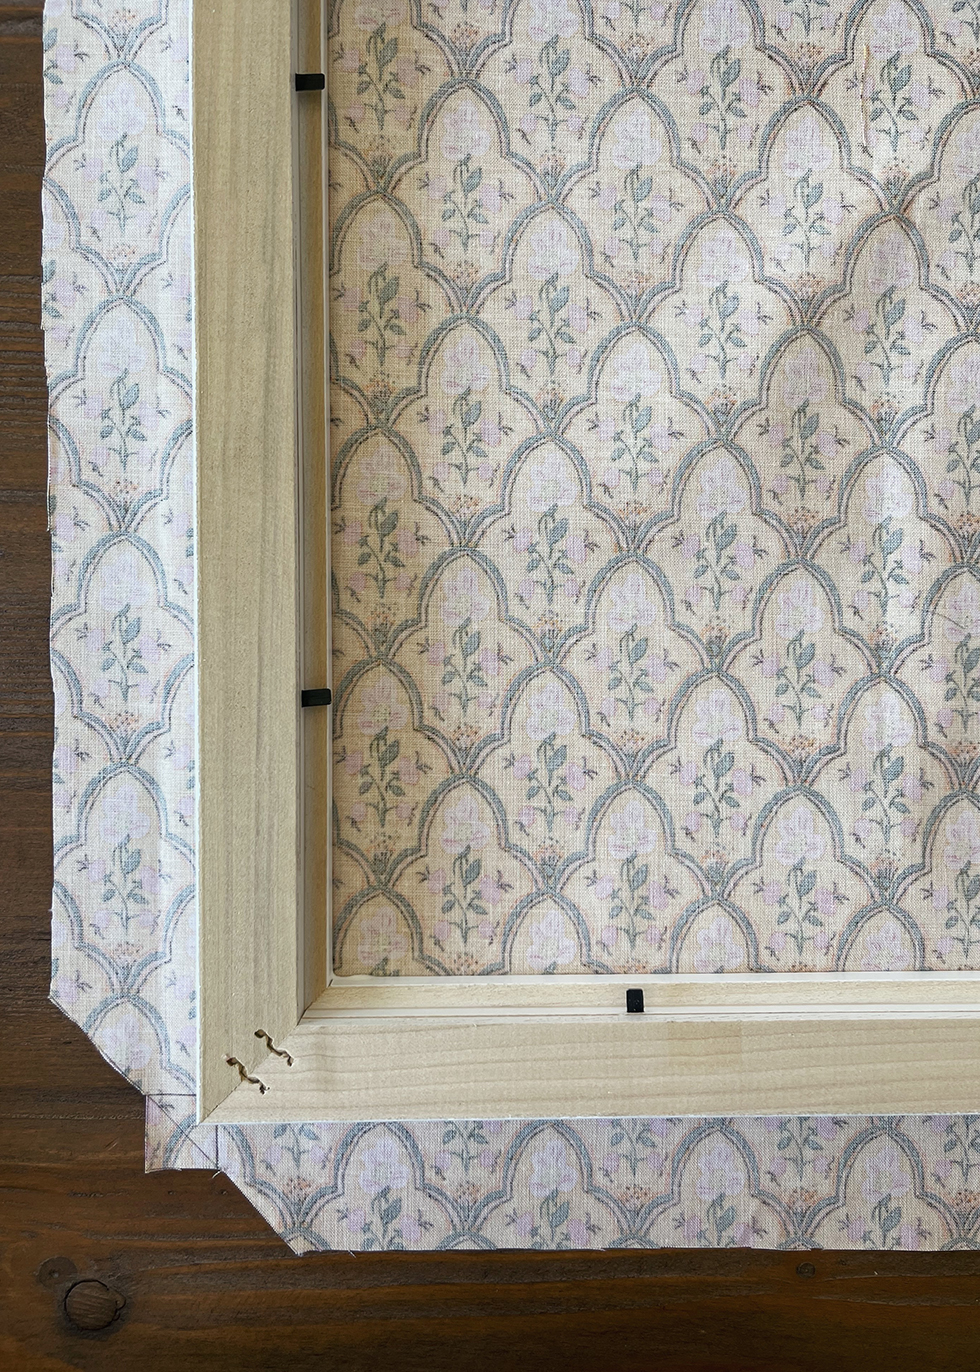
Then glue the tabs onto the other sides. Repeat this step on the opposite side. And then on the adjacent sides, folding the sides up to cover the tabs. Look at those neat corners!!

Now that the sides are glued, you can glue the backside - one side at a time.
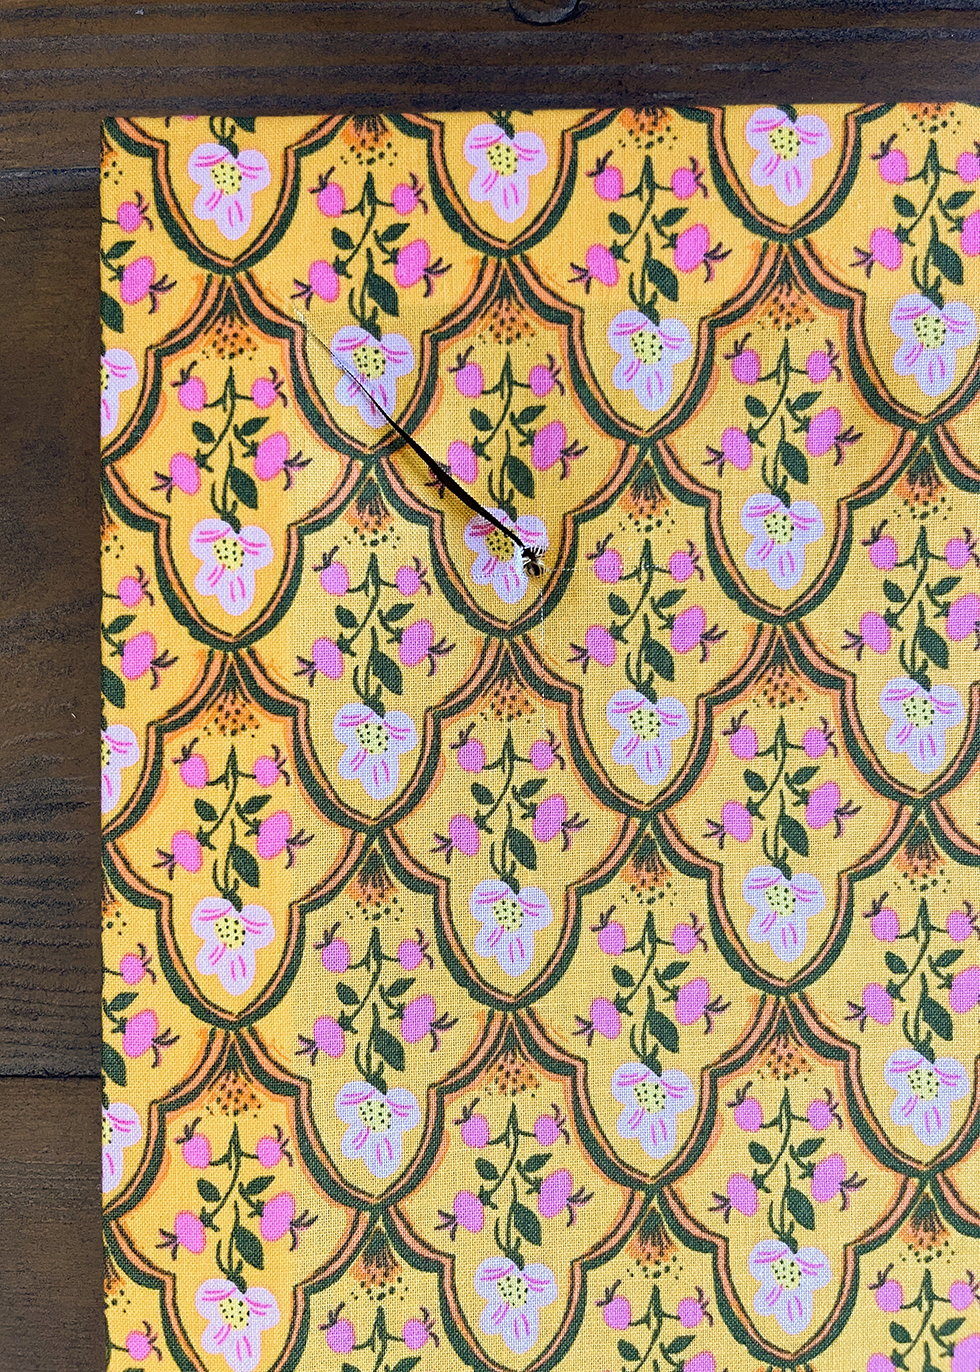
Now for the front of the frame. Use your scissors and poke a hole in the front of the frame. Cut toward the corner at a 45 degree angle. You can eyeball it or use a pencil to create a mark first before cutting. Repeat on all 4 sides.
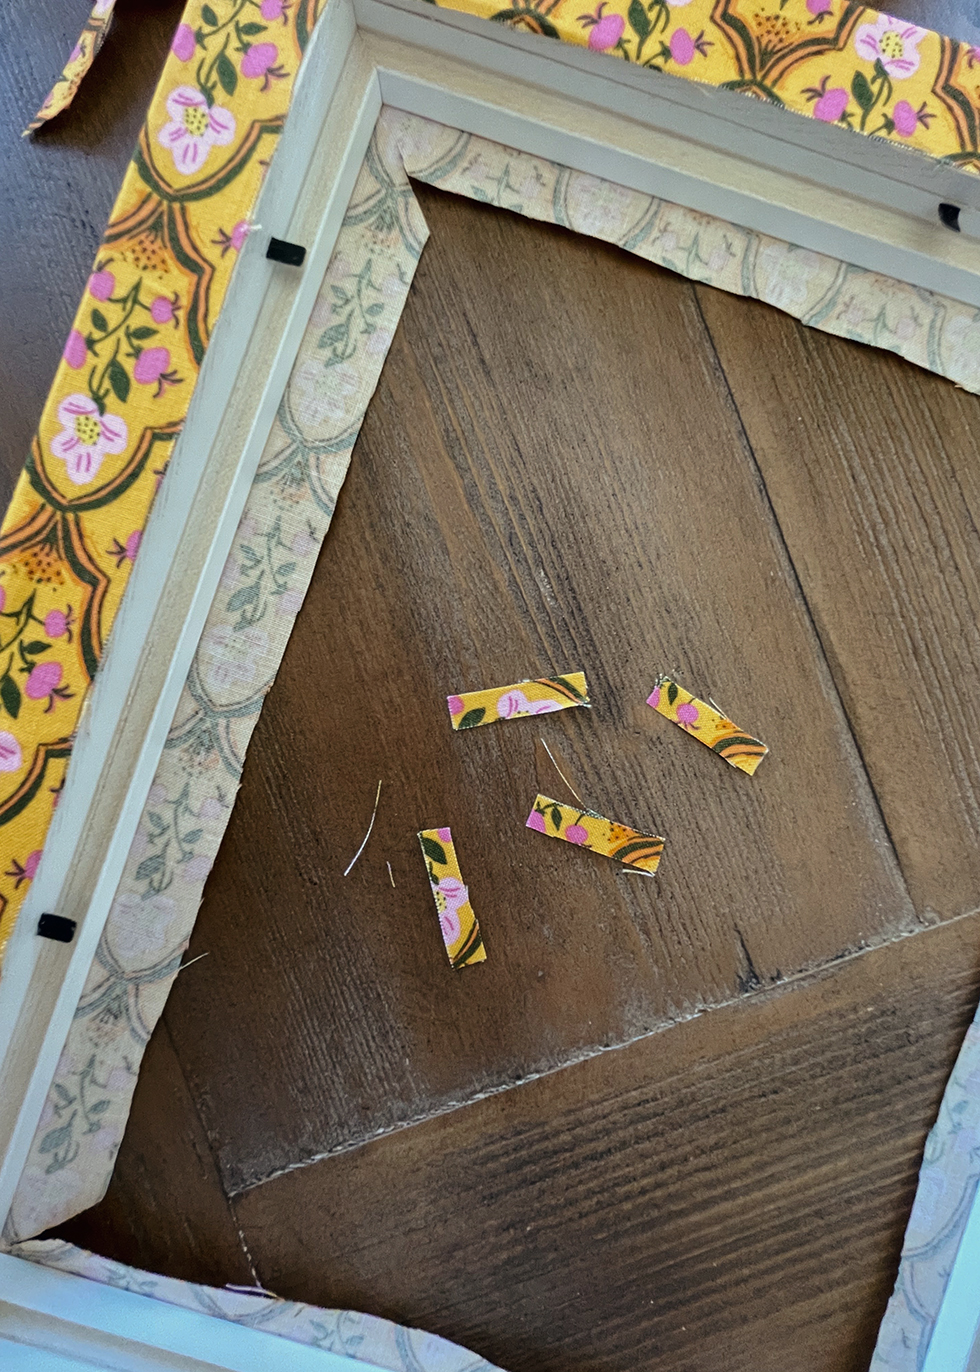
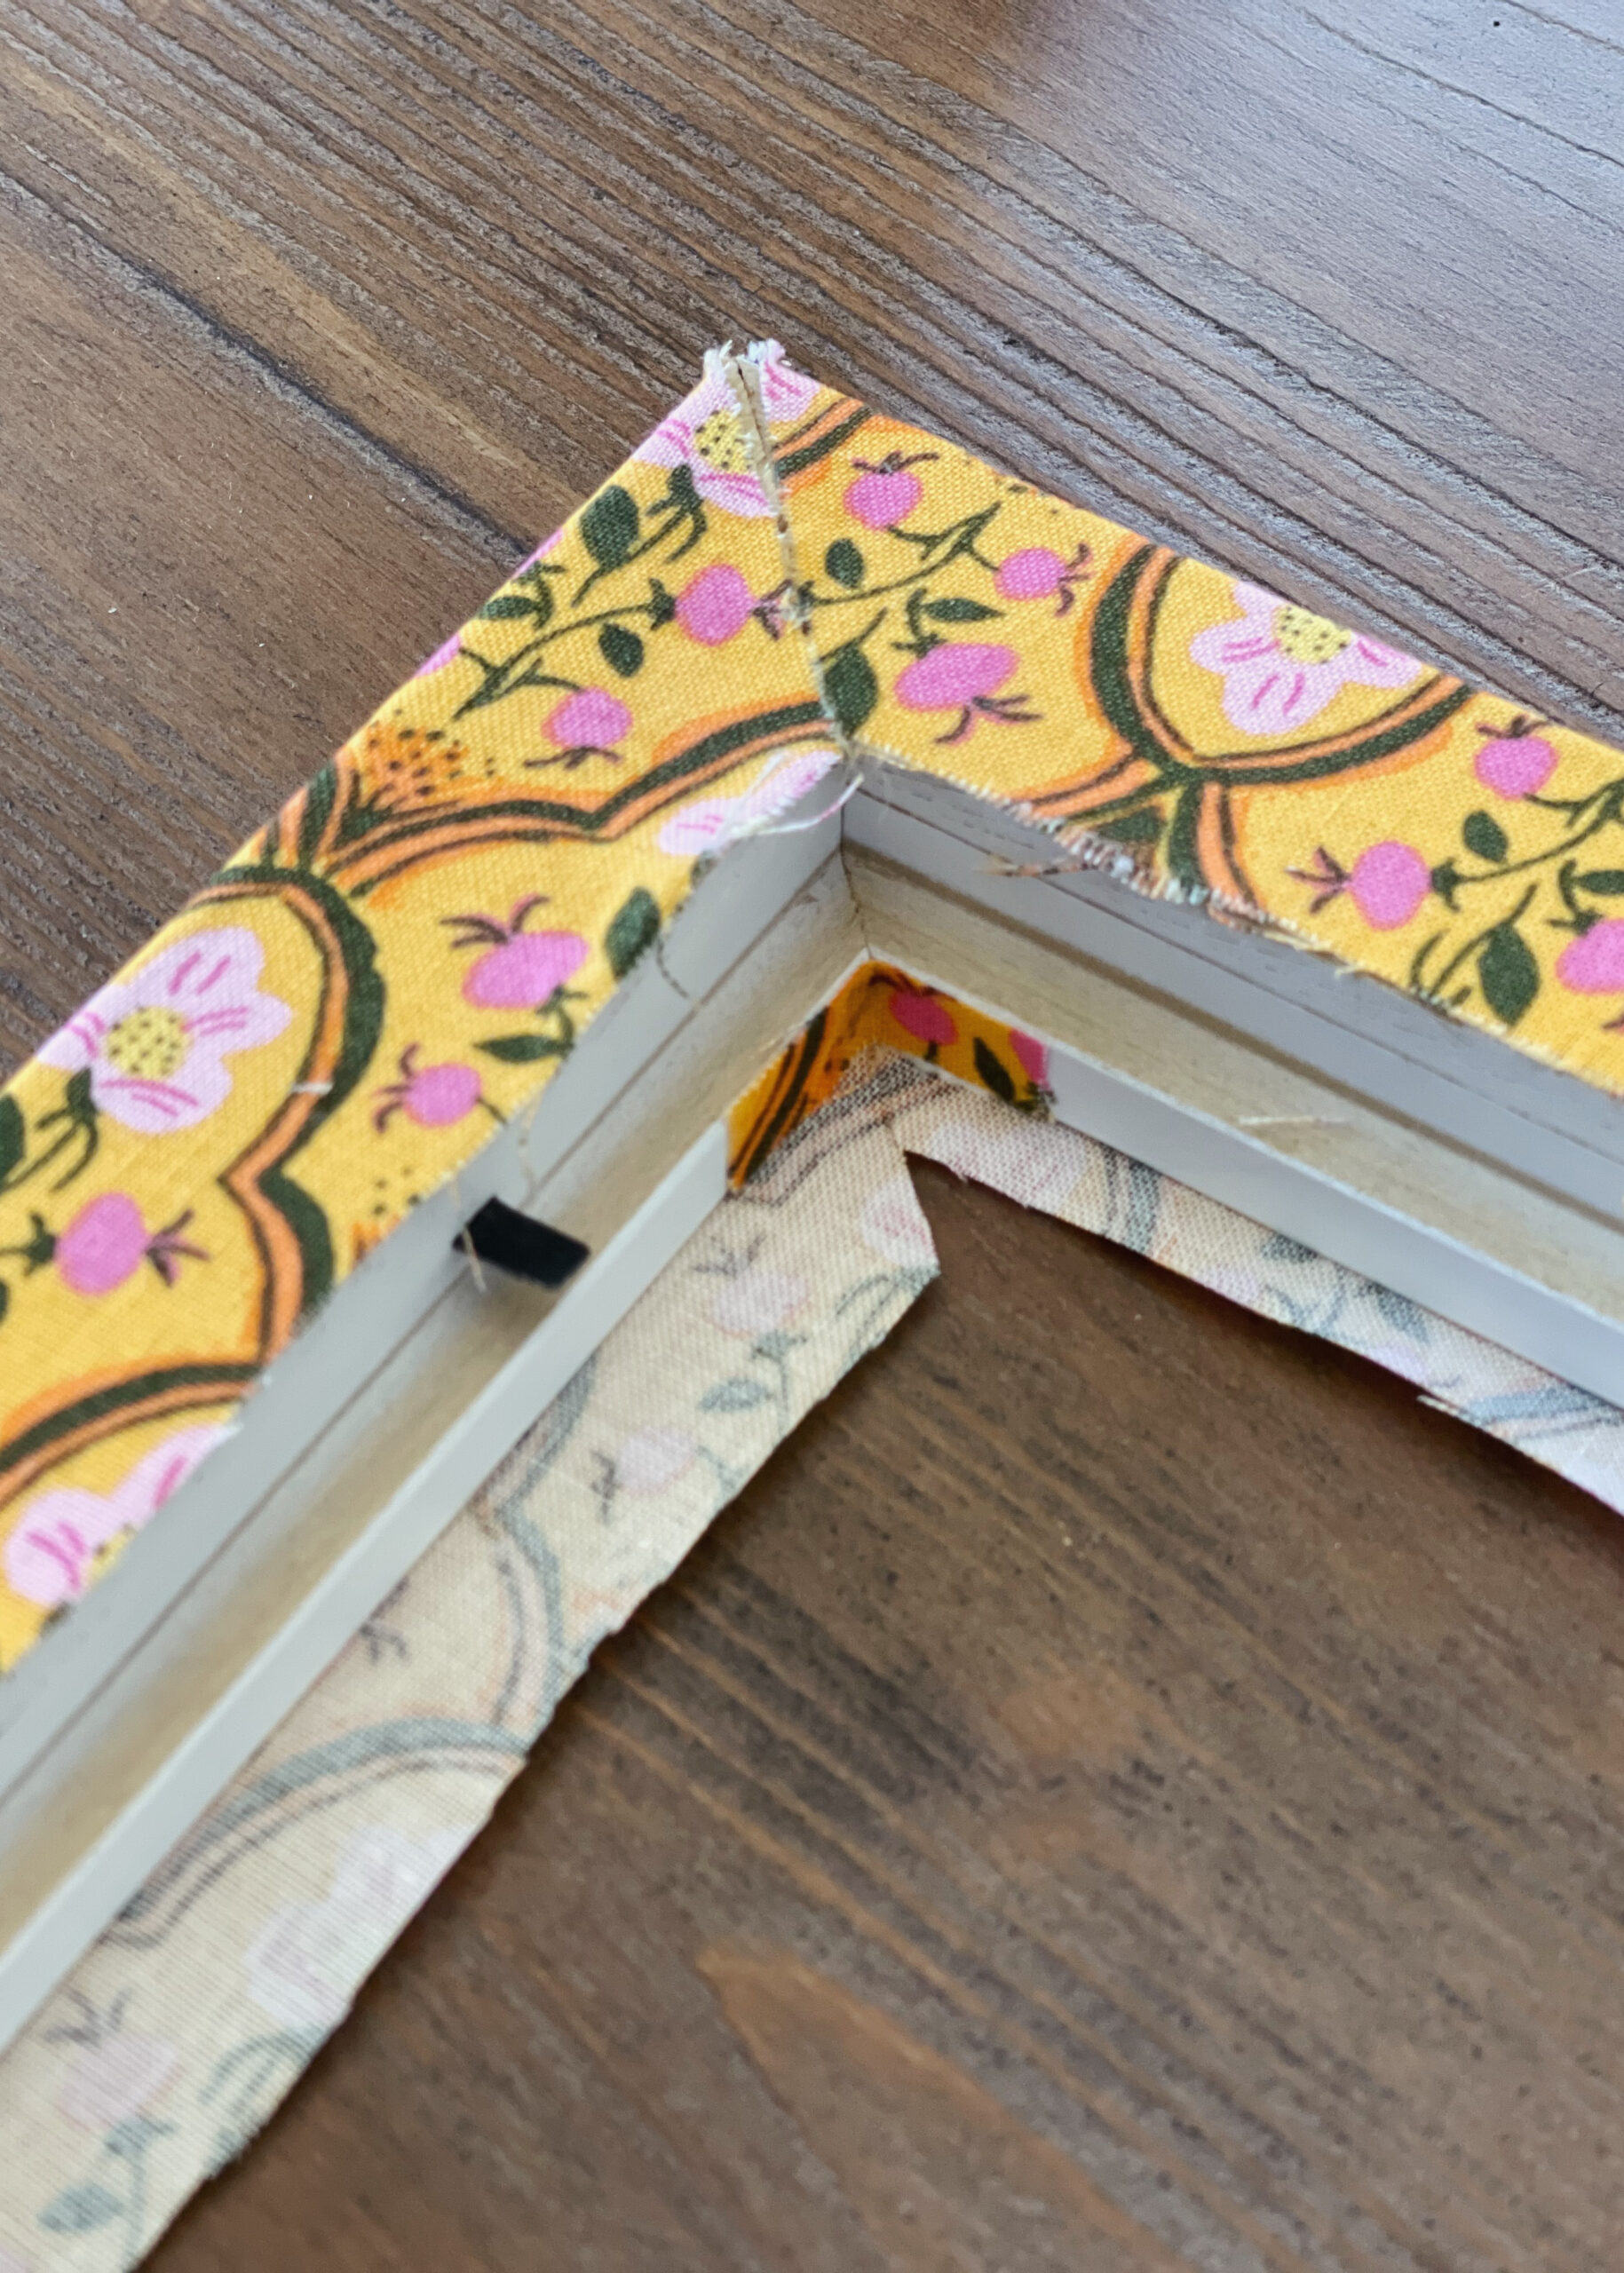
You won't need much fabric to cover the inside of the frame so feel free to cut away the majority of the fabric, leaving about 1/2" on each side. You can also fold the fabric up and gauge where the fabric should be cut.
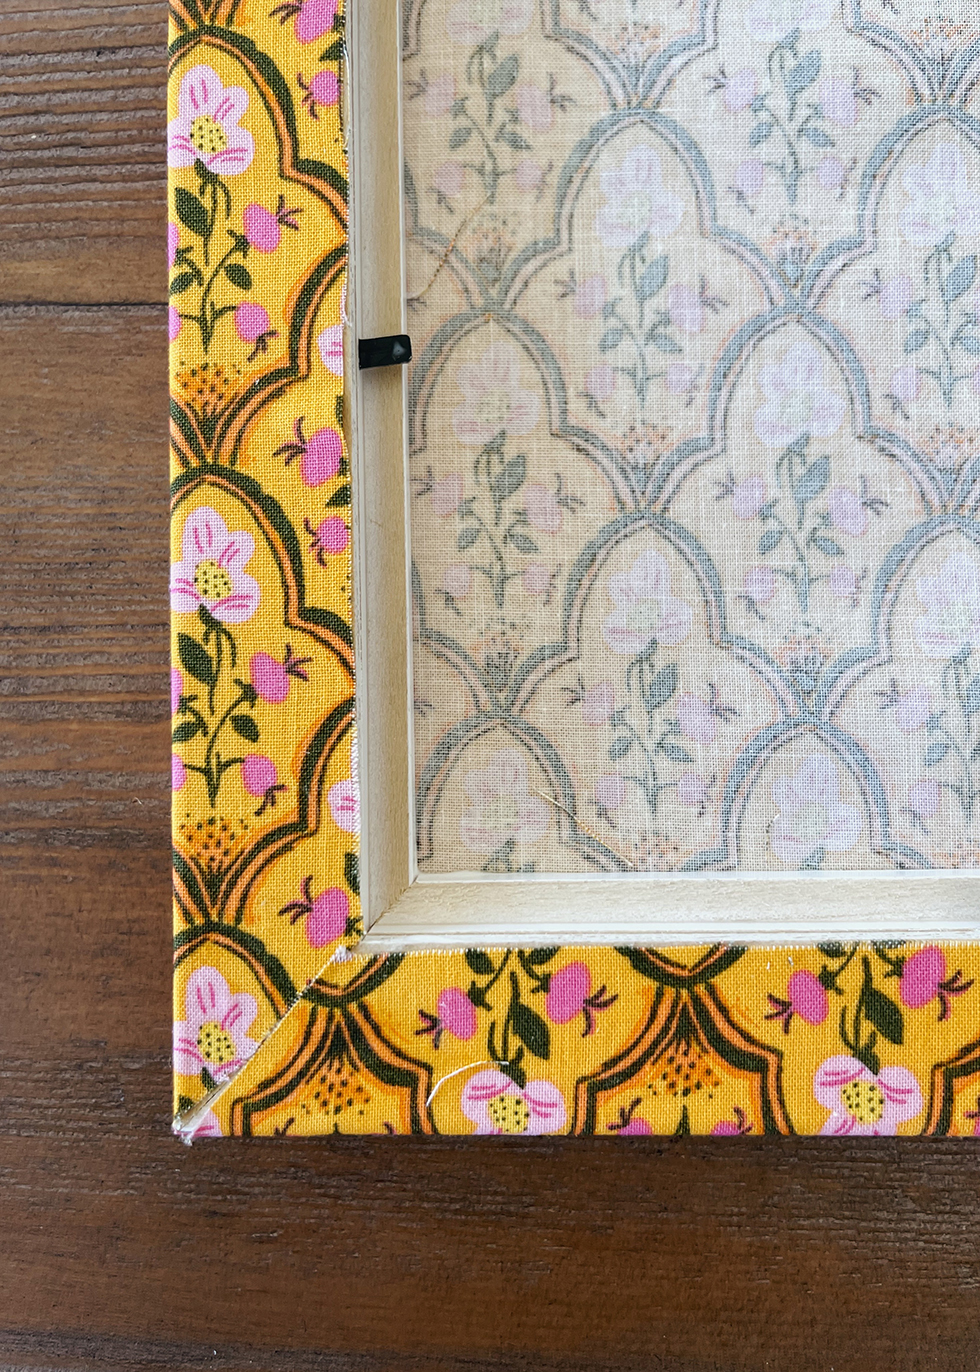
Optional: When the inside flaps get folded in, it'll leave the tiniest part of the frame exposed at the corners. You can cut very small strips of fabric and then glue them into the corners to hide it.
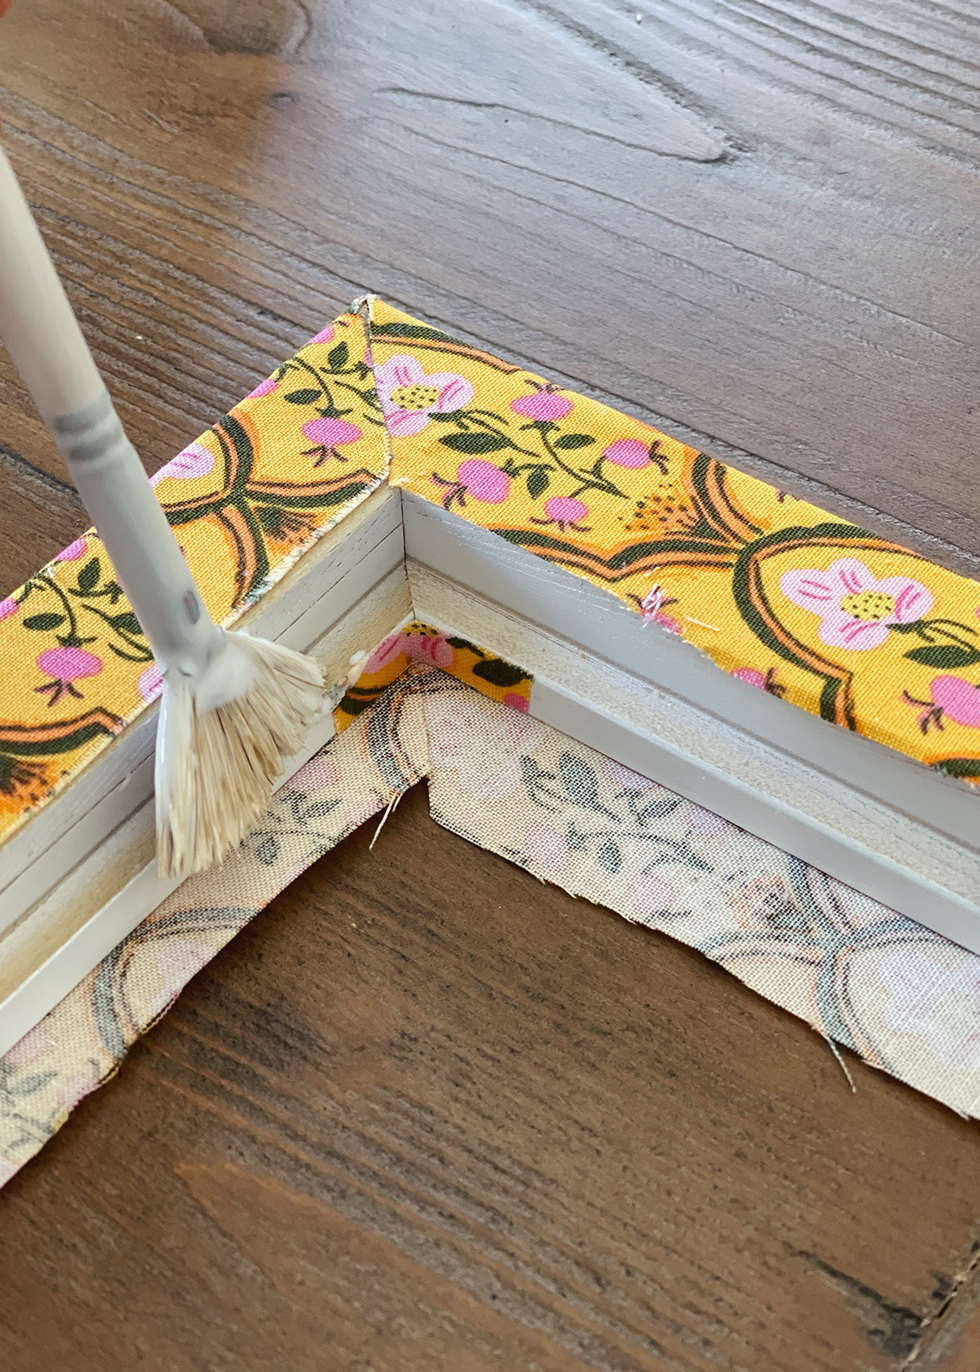
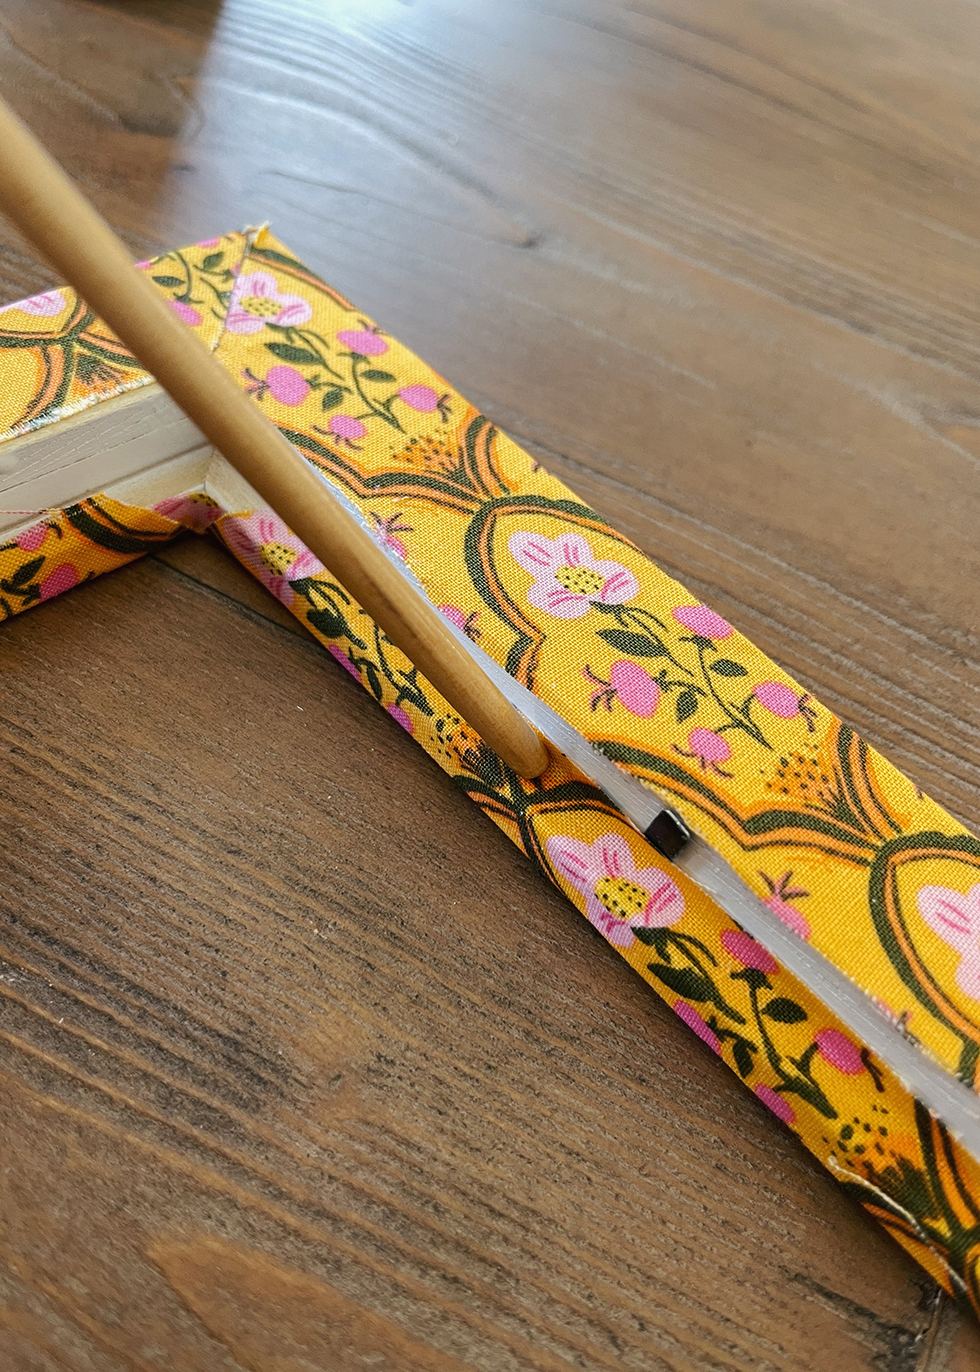
Then working one side at time, glue the inner edges. It's important that you always glue one face at a time. This is how you get clean edges. Each edge will dry before moving onto another. Otherwise, when the glue is still wet, the fabric will budge and you'll end up with bulges and sloppy folds. With these smaller edges, you can use a credit card or the tip of your brush to get into those tight edges and corners.
And you're done!! Have fun experimenting.

Tutorial and photographs by HonestlyWTF
Good morning, a little while back you did a review of Hoka shoes. I was telling two friends about it but can’t track it down. If it’s easy enough could you possibly send me a link to that article?
Thanks so much. Your WTF are like a breath of fresh air, thanks Gx
HI Gillian! Sure, here you go:
https://honestlywtf.com/style/hoka-one-one/
They’re so great!!
Dying! This is so good, Erica. We’re wholly inspired — these will be such fun to make, not to mention a fantastic way to use all the remnant textiles we have leftover from our design projects. Thanks for the inspo – as always!
Yay, Krista! I’m so glad you are inspired by this – can’t wait to see what you guys make!! xx
The frames are lovely, adding one of those details which make rooms charming. Erica, I am a longtime fan of your blog and I am very appreciative of the interesting, useful and beautiful items you send our way.
Thank you!!
This is so cool! I am so in awe of your creativity.
Aww, thank you Emma!
I love this idea so much and agree, MORE IS MORE! Great fabric too!
Picking out the fabric is half of the fun! xx
Attempting this one this weekend. Thank you for sharing, Erica! So pretty.
Where did you find your frames? Thanks so much. ❤️
You can find them at Target, Cheap Pete’s , and Amazon!
Finally! I’ve been looking everywhere for a good list of home improvement blogs that won’t straight out advertise their services. Thank you for doing the effort of coalescing these. I agree with most of the sites listed. I’ve been through some of them in search of home improving tips and advice that the average person can do and was happy to have found what I am looking for. 🙂 Simple joys in life like this ought to be celebrated!
I really love this. I have made it for my mum as a mother’s day gift using some beautiful australiana fabric from my stash. I can’t wait to give it to her 🙂
Great DYI! Thanks! Reclaimed Wood. Reclaimed wood make a wonderful alternative to traditional headboards and they are relatively easy to make if you are crafty
OMG!! What a fabulous website. I could spend hours here exploring and getting inspired and I definitely will. Thanks from aspiring artist
hiii….
https://oscarsaree.com/
I just clicked on your d.i.y. tab after looking at your cute phone case chain, and I’m so glad I saw this project.
I have a lot of simple boring frames that I was going to spray paint, but I love this so much more.
Thanks for all the photos. The instructions are wonderfully detailed. I have some pretty cotton fabric leftovers from mask making that will work perfectly.
I love these! You have only the best DIYs! Thank you.
Very helpful post. The frames are looking awesome.
I will definitely try this.
What a great idea to brighten up the home! Thanks for sharing xxx
beautiful design in low price
brilliant year
Love your creative mind thanks
Nice Yaar thanks for share with us
I am so excited to try this.
Lovely blog thanks buddy
Love this idea, thank you! I’m making a photo board of our travels and have a frame from the op shop – this will be the perfect way to finish it off.
Thanks for the article. Best regards.
Thank you so much for such amazingly detailed instructions! All the pictures are so helpful. This must have been a lot of work to create and I really appreciate it!
Will the glue shown also be suitable for wallpaper or craft paper?
Wow, these frames are amazing! I’m definitely going to try this.xxx
These are amazing! I’m just wondering if you have any tips for handling more three-dimensional frames, such as the one you’ve covered in the bird and foliage fabric? Does it work to do the 45 degree cuts from the centre and just follow the contours from outside in? Thanks!
Love this
erg leuk,en handige tips. dankjewel
Hi! I know this is an older post but where did you get the mattes for inside the frames?
Gorgeous idea! Especially for renters who want to add pizzazz to a room!
Love your work. Have you ever covered frame on a mirror?
Hi, I am a longtime fan and wanted to shout out how f$%#^ing cool it is that you are still here, all these years later, offering up the most quality and iconic, cool-girl DIYs. Over the last couple years I’ve seen a resurgence in really bad DIYs with gen z (I’m sure it’s a rite of passage! Or a canon event as they say) but this site is always just the best with the freshest of ideas. Happy holidays, you are so appreciated.
“This article provides a wealth of valuable insights, offering a fresh and well-researched perspective on the topic. The in-depth analysis, combined with practical examples, makes it both engaging and informative. Thanks for sharing such valuable content
This is such a great tutorial! I did two frames tonight I two different fabrics. Very easy to follow. Loved, loved, loved the result. Even did matching, pattern matched matting. I’ll hang them tomorrow and do one more frame soon. Thank you!!!