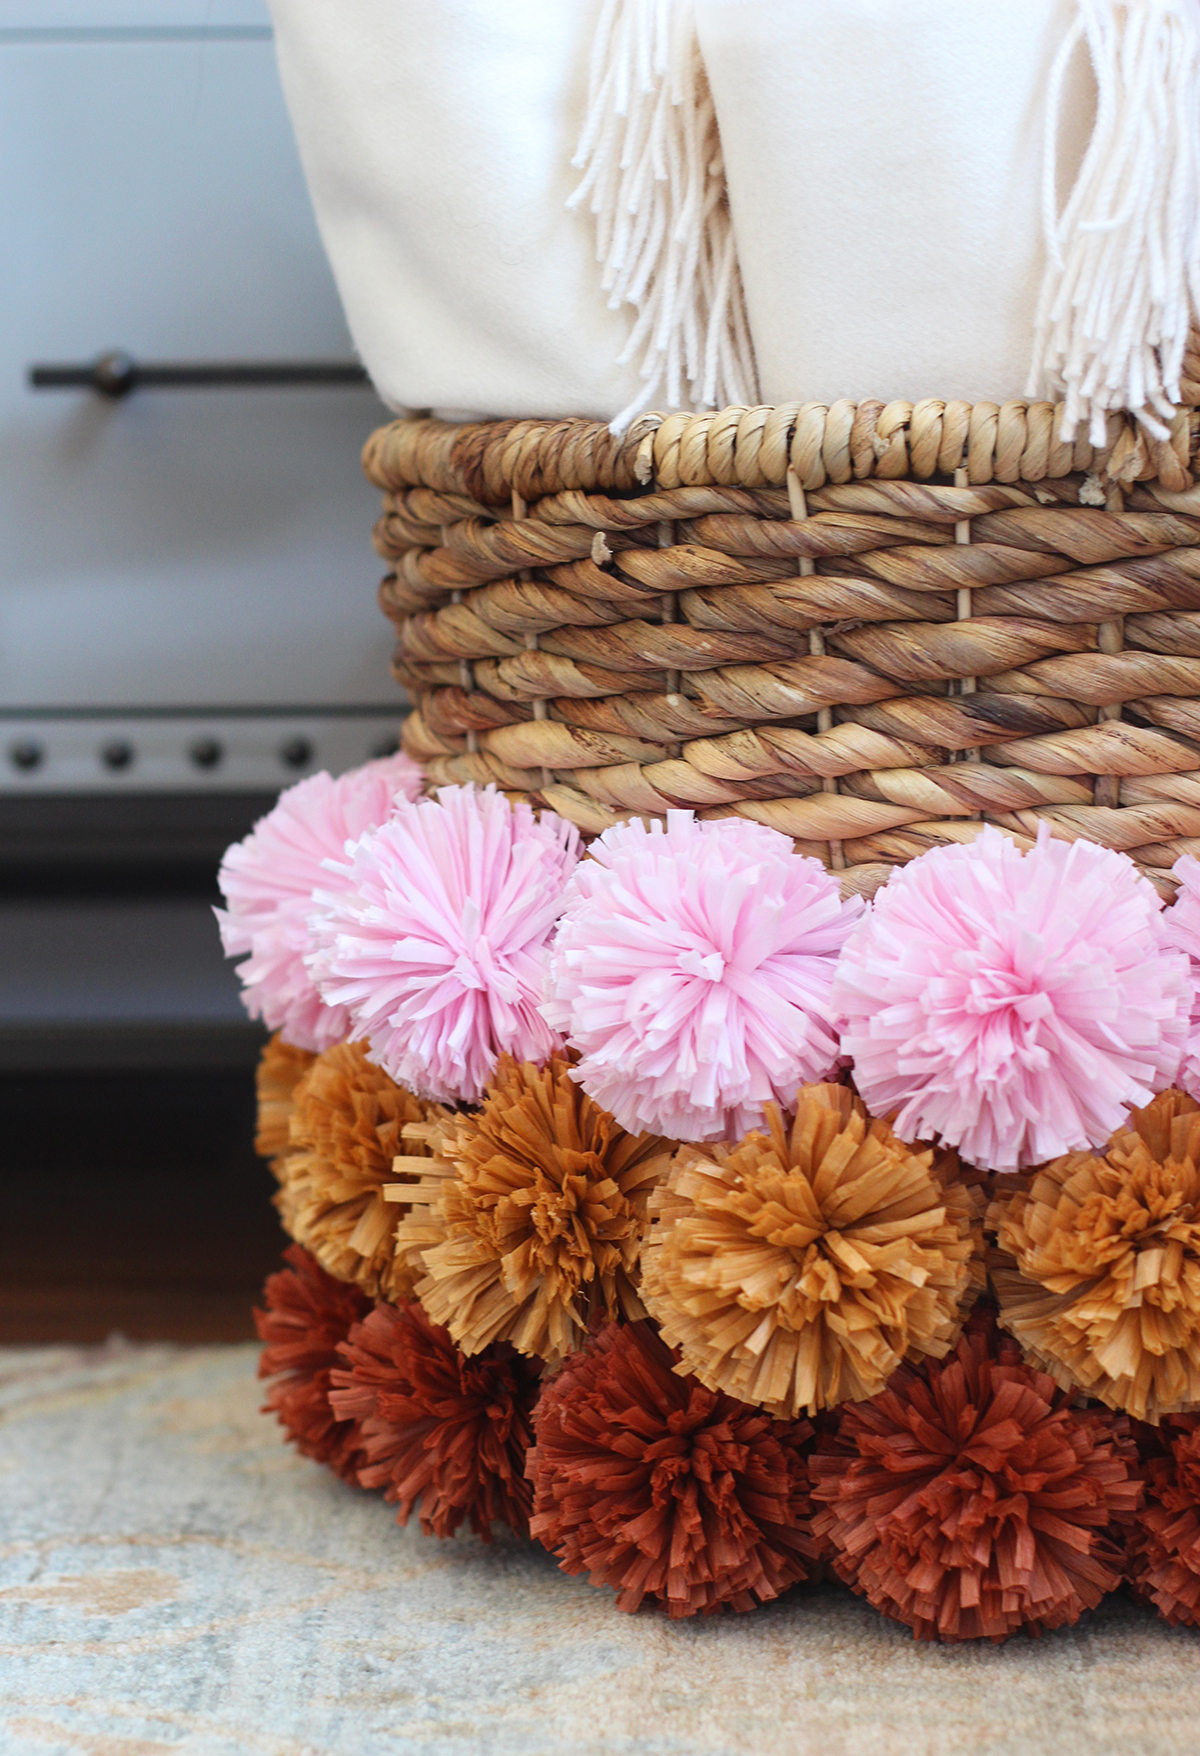
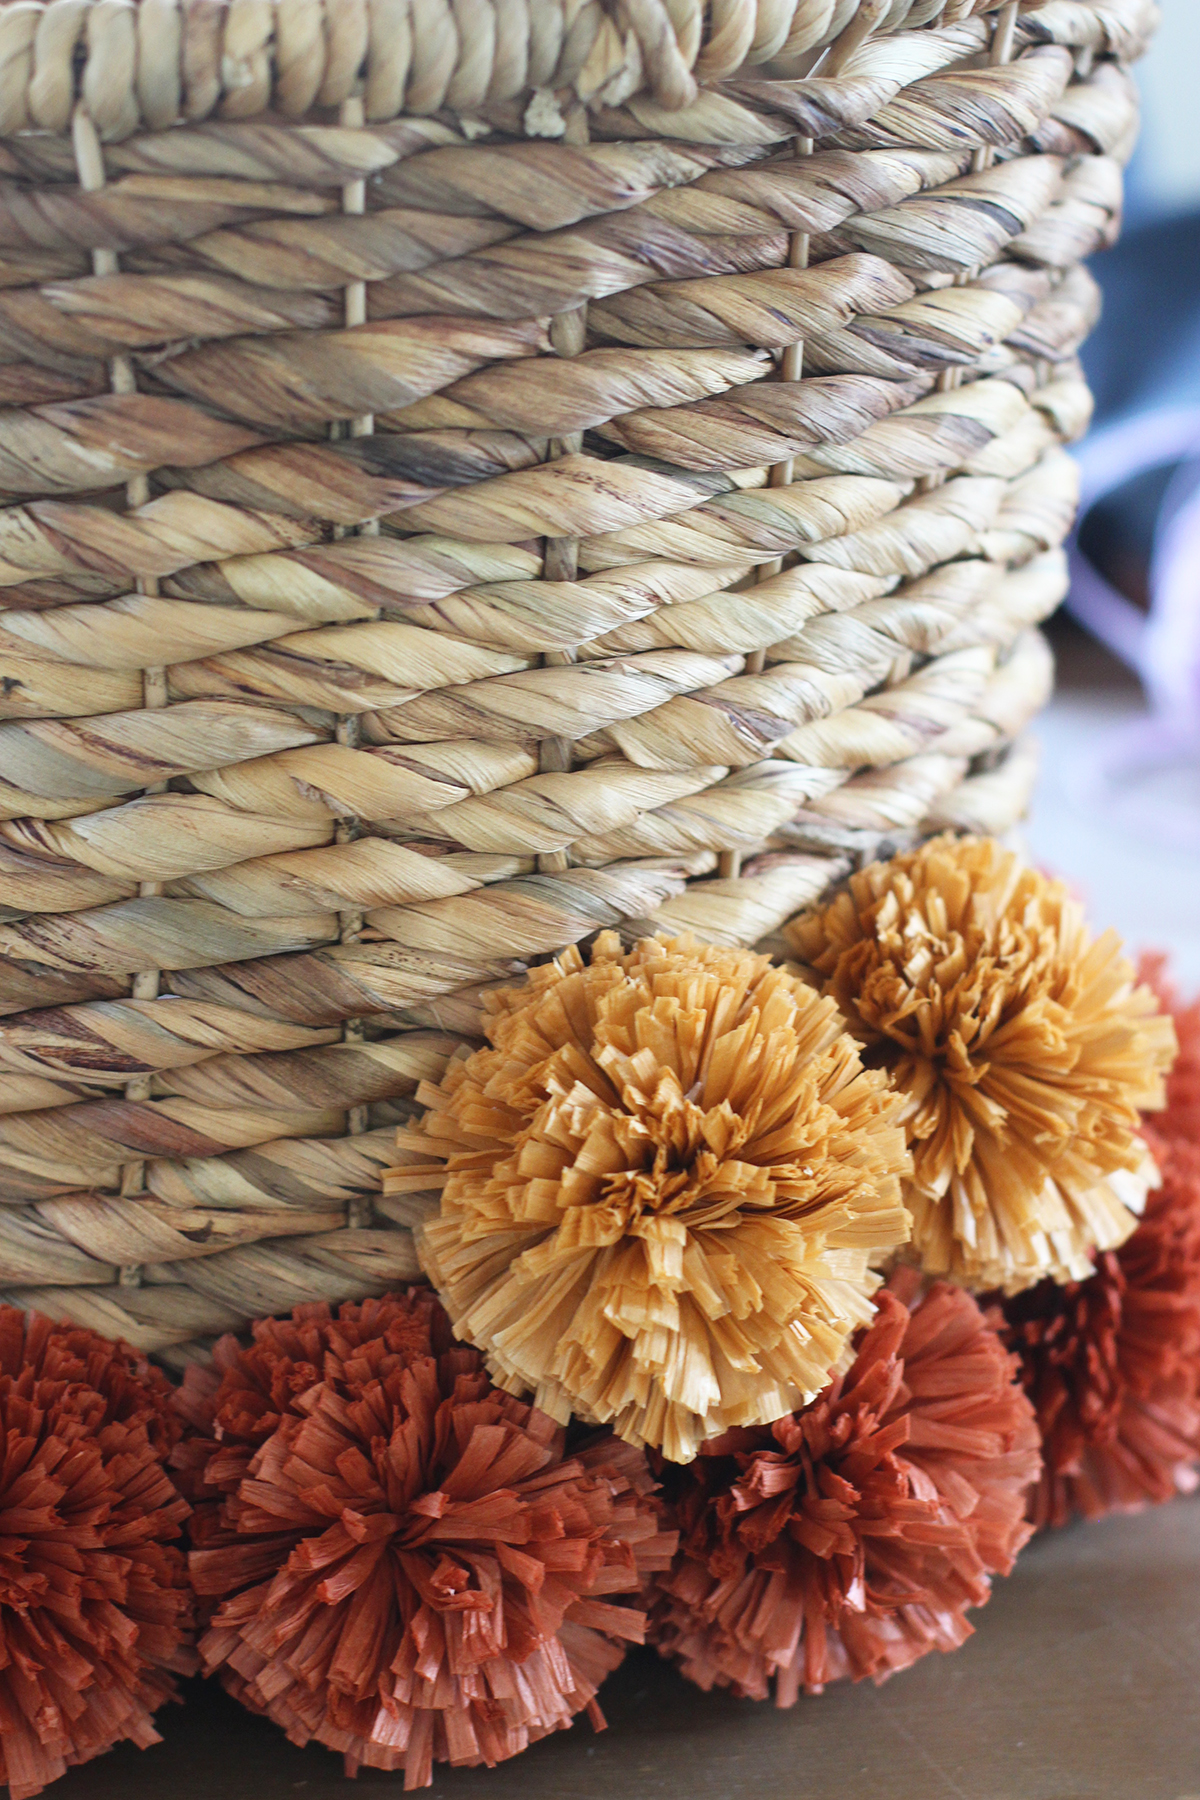
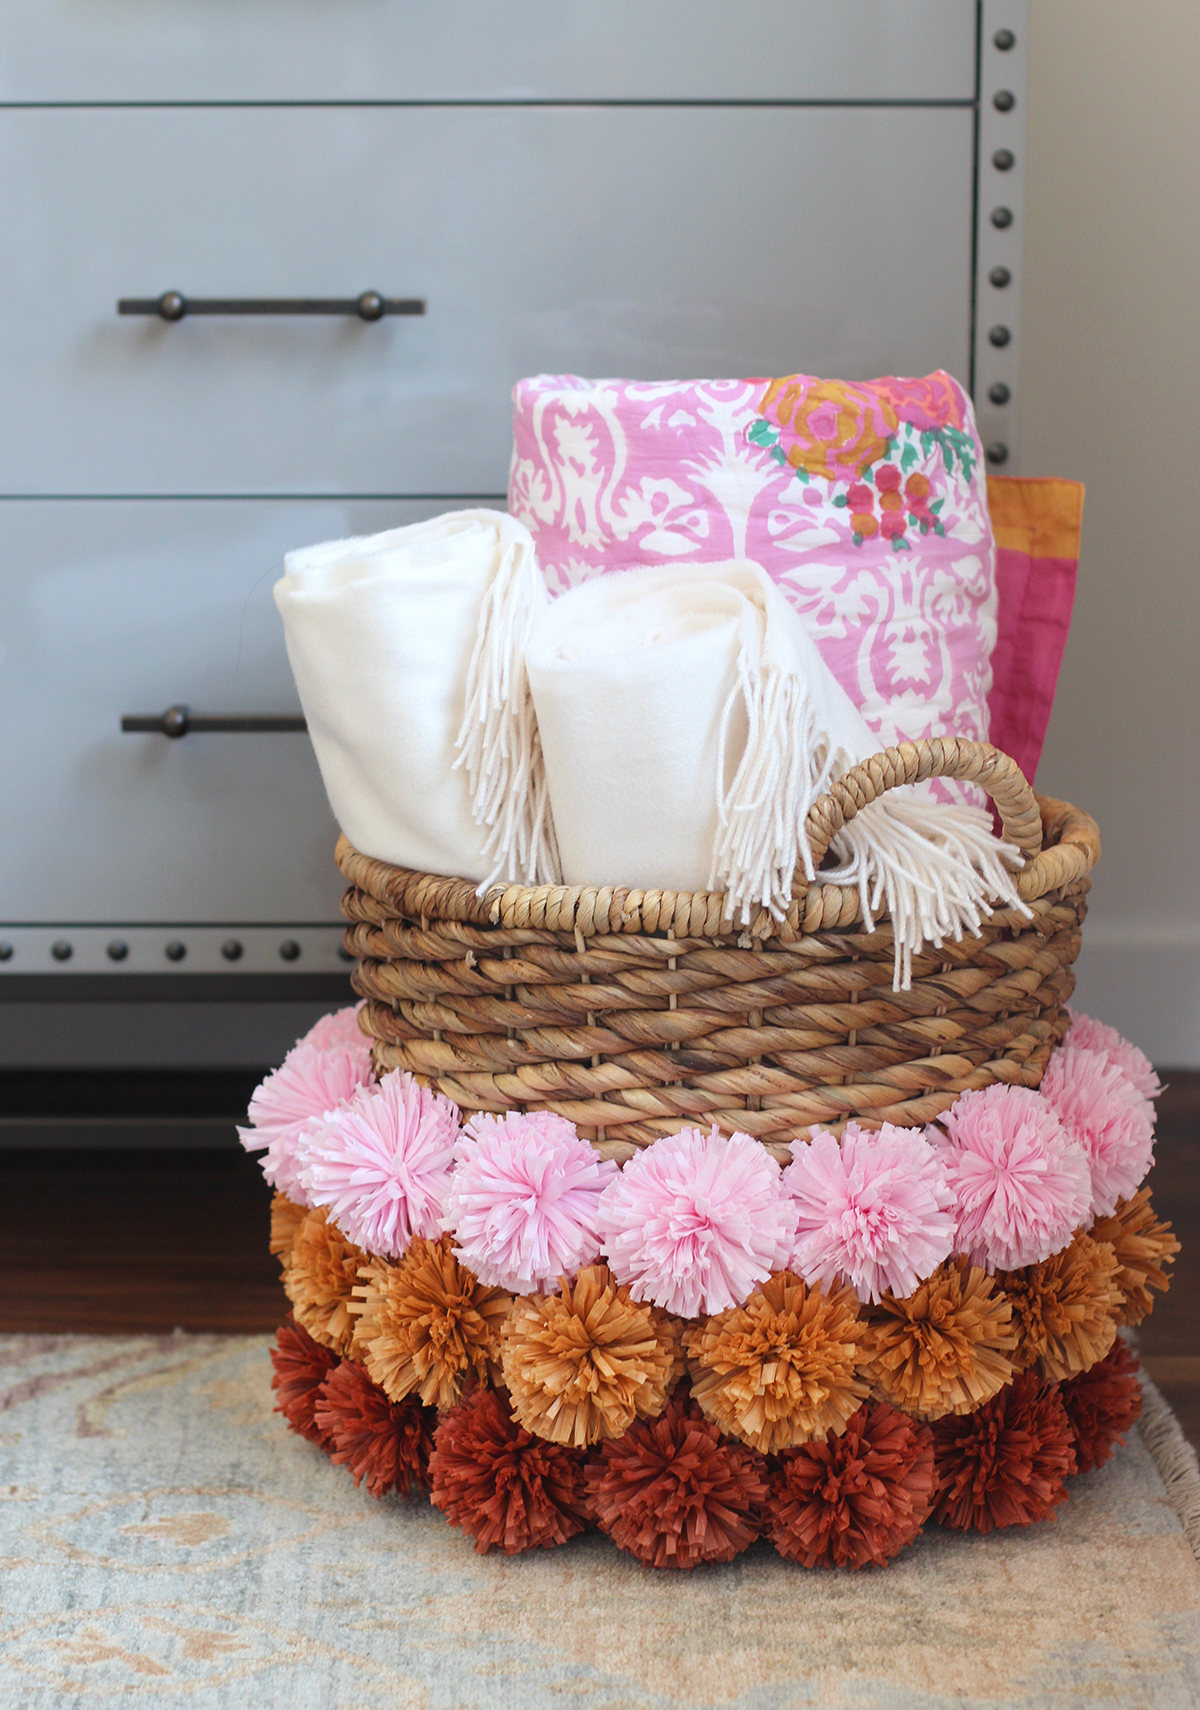
Soon after Lauren and I started HonestlyWTF five years ago, we discovered the ultimate DIY tool: the Clover Pom Pom Maker. And our lives have never been the same ever since. No really – in all honesty, it’s been a mood enhancer, an ice breaker, and the cause for thousands and thousands of pom poms created as of 2010. But after all these years, I’m surprised I’ve never experimented with making pom poms with anything other than yarn and more recently, wool roving. It wasn’t until I spotted this adorable pom pom basket, at Anthropologie, that I was inspired to recreate it using raffia pom poms. Raffia can be slippery, bulky and difficult to work with – but I developed a few tricks that will help you through the process. So . . . follow along!
You’ll need:
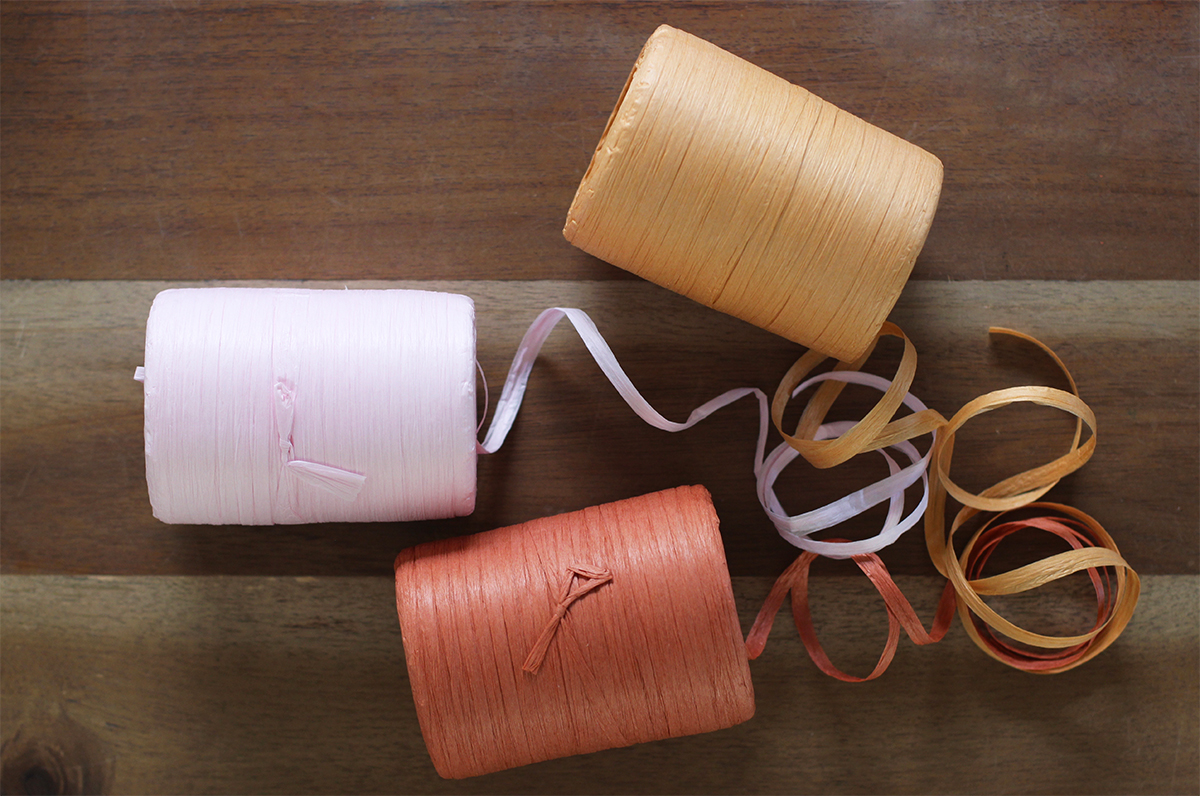
- paper raffia (approximately 900 yards total)
- round woven basket
- medium pom pom maker
- kitchen twine
- hot glue gun
- scissors
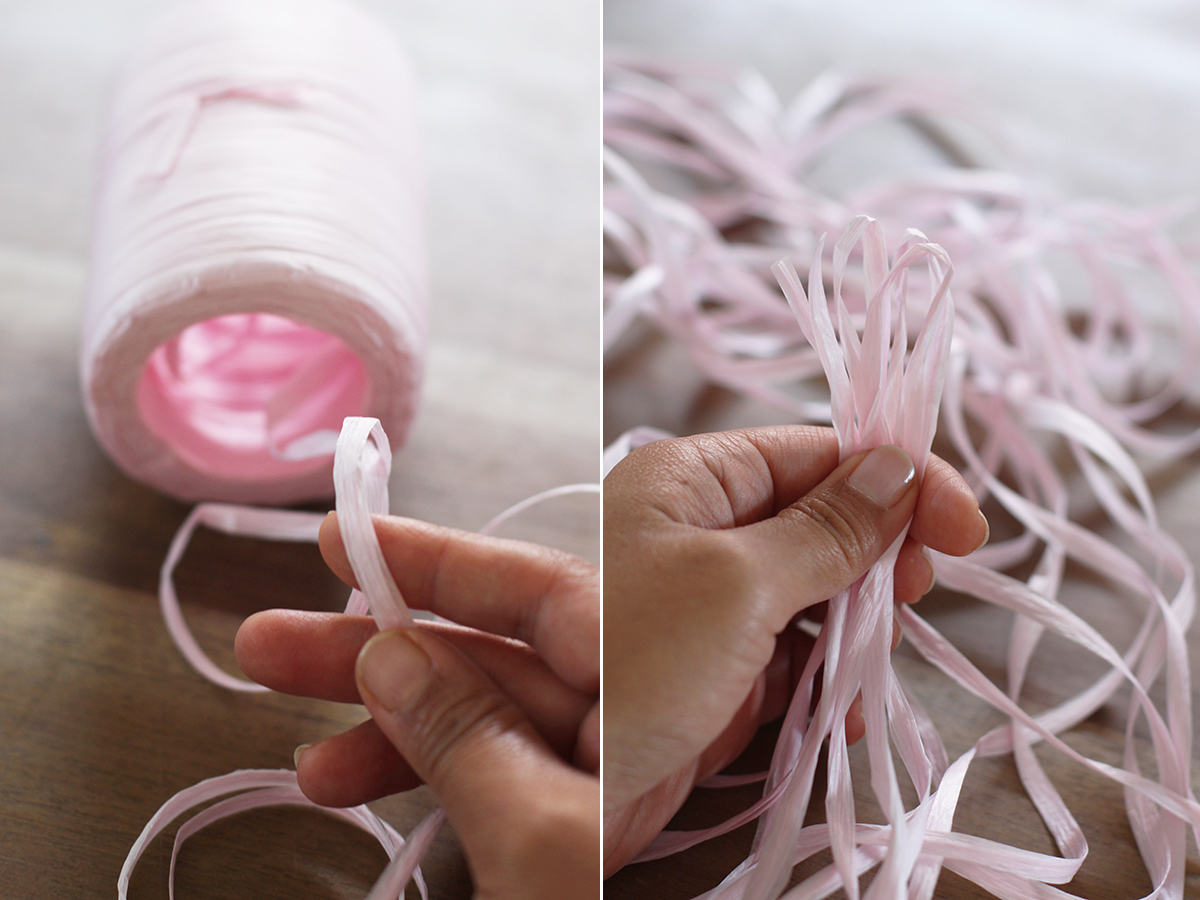
For my 16″ diameter basket, I used about 300 yards of raffia per color to attach around the entire circumference of the basket. To make the pom poms, pull about 7-8 arms length worth of raffia out from the spool. Double up the raffia twice. It helps save time when wrapping it around the pom pom maker!
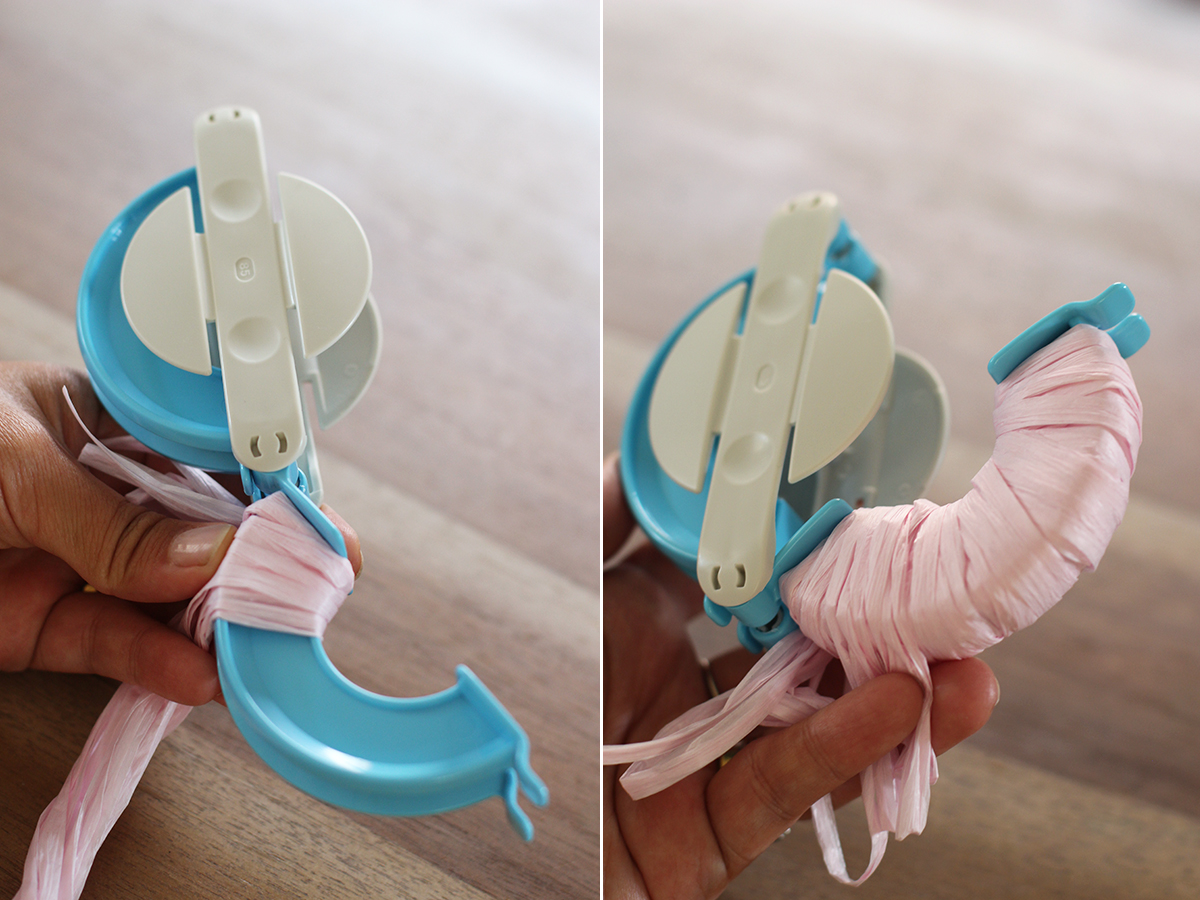
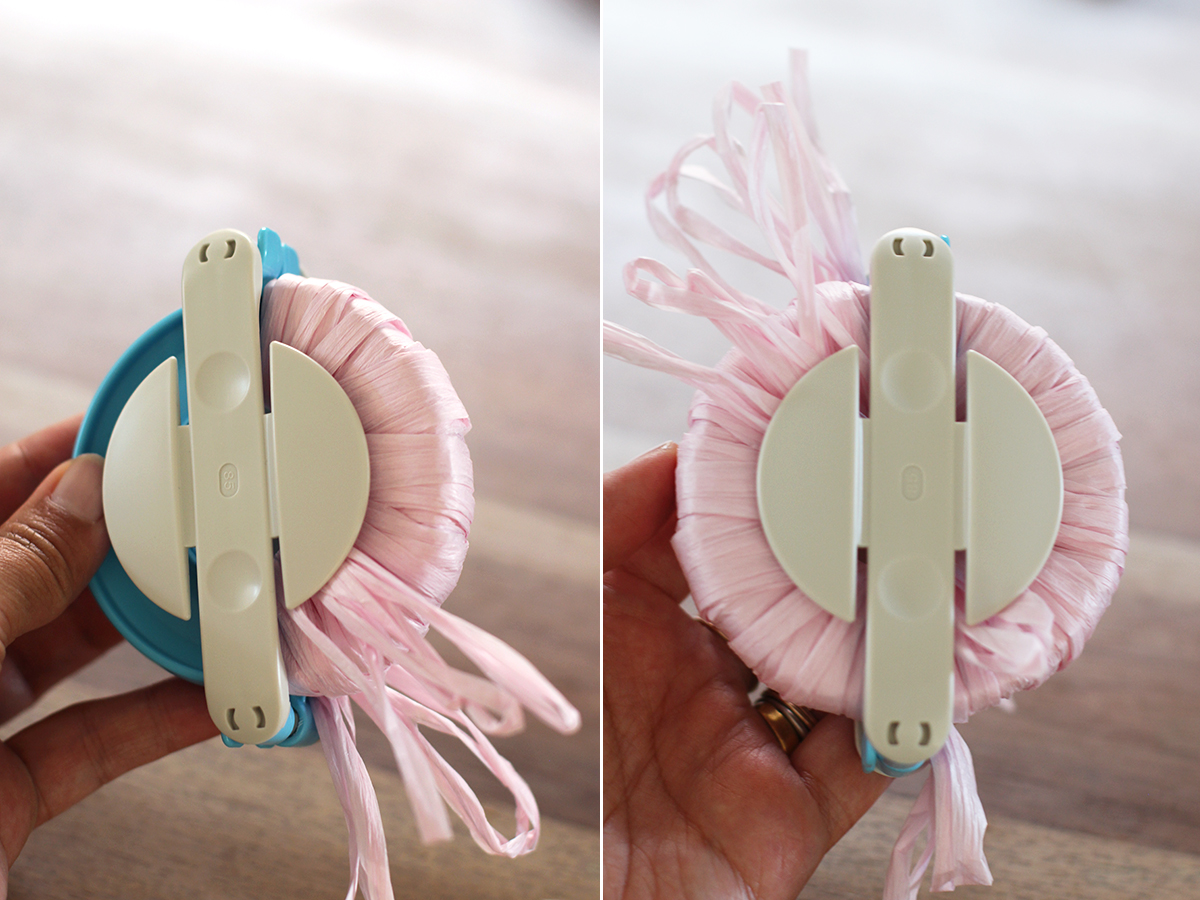
The Clover Pom Pom Maker separates into two halves. And when joined together, it separates into two sets of arms that swing open and close. Open one set of arms and wrap the raffia from one end of the arm to the other, all while consistently covering it.
Close the arm and repeat the step on the other side.
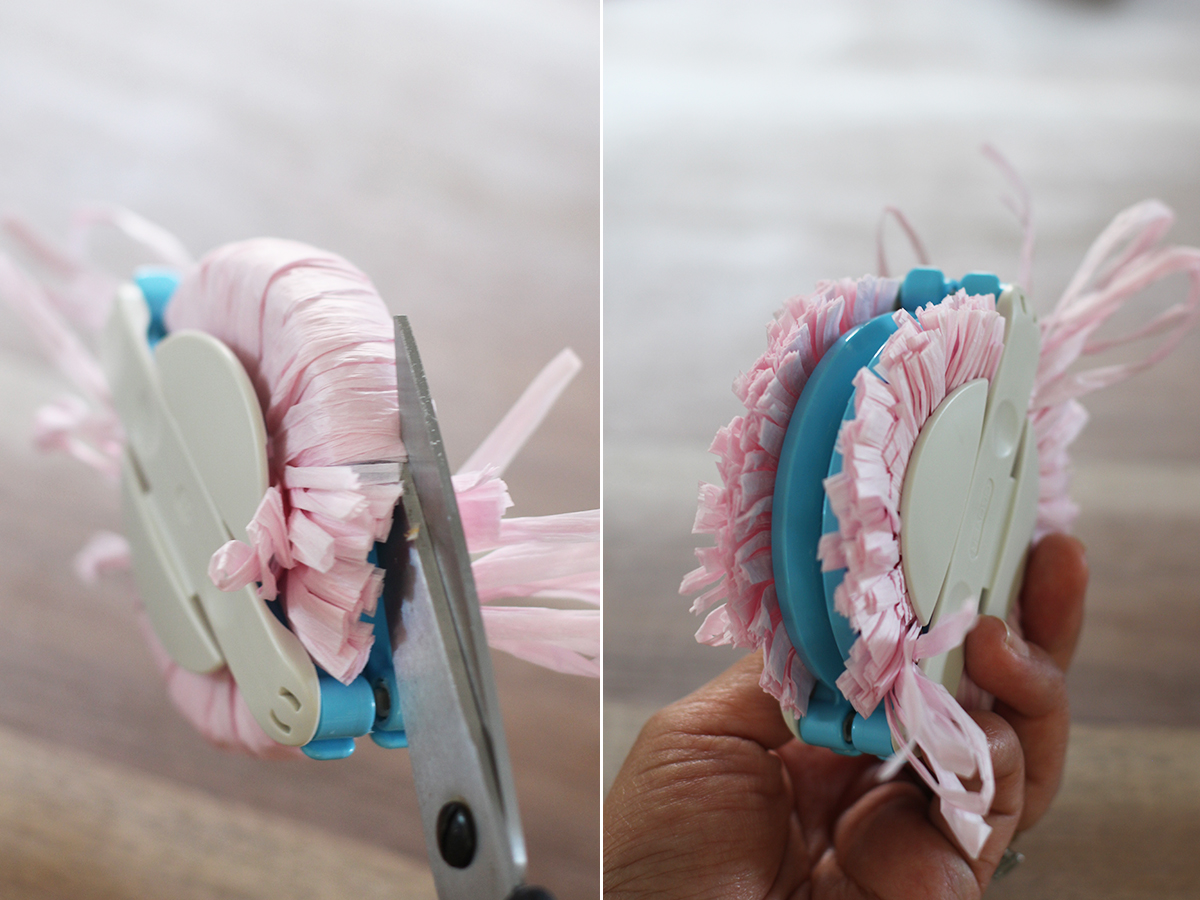
Run your scissors along the middle and cut around the entire pom pom maker.
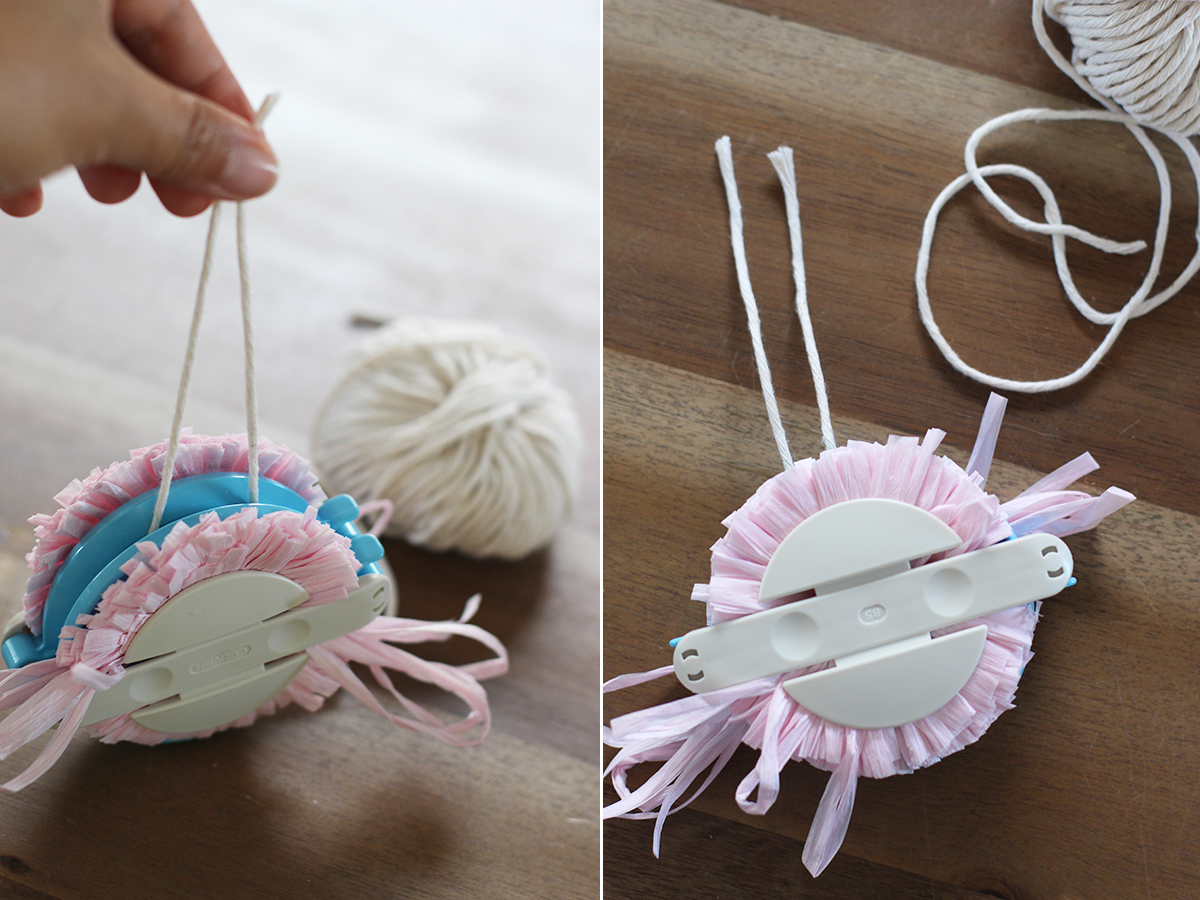
Cut a 6-8 inch piece of twine and slide it between the two halves. Pull it as tight as you can and then into a double knot. The reason why I use kitchen twine is because it’s thick and is able to really get a good grasp on the thick raffia. Anything thinner may not hold the pom pom together as tightly.
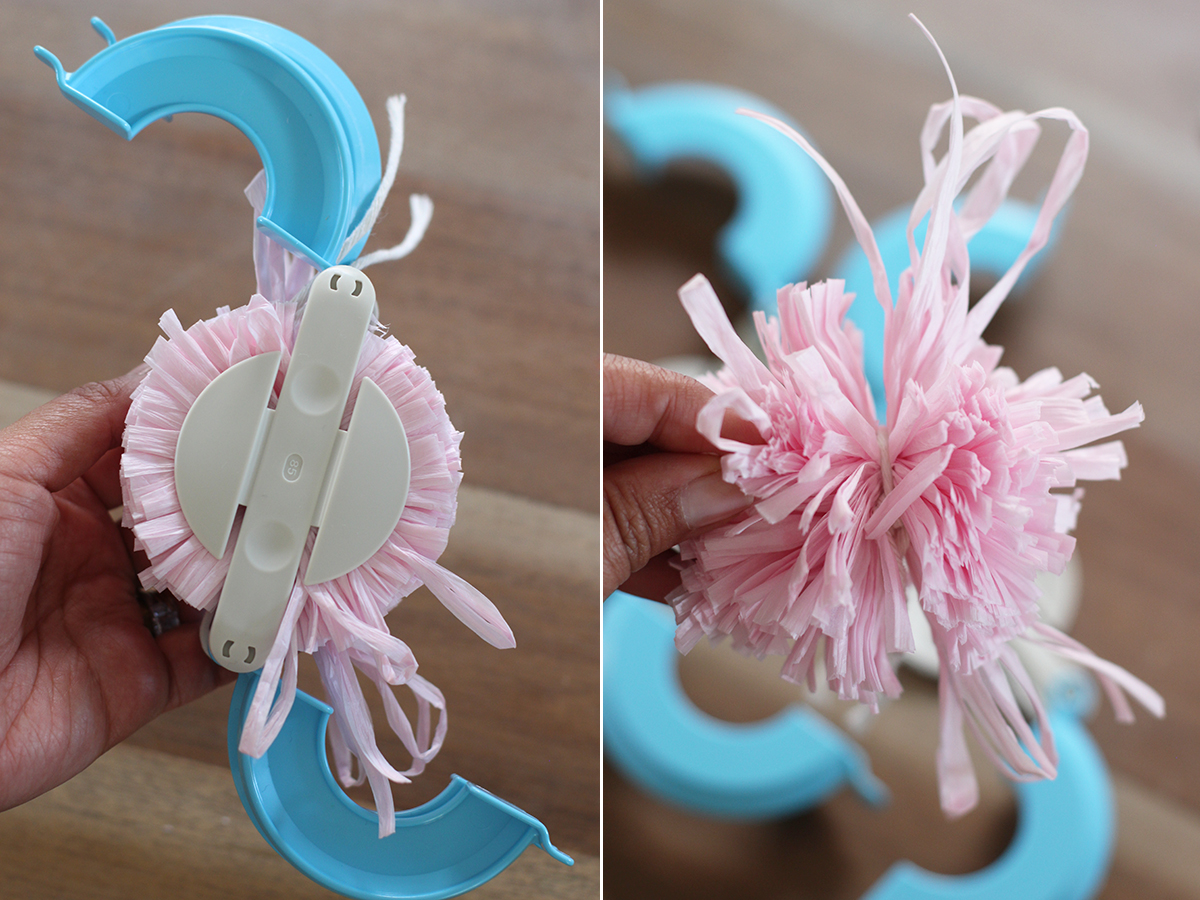
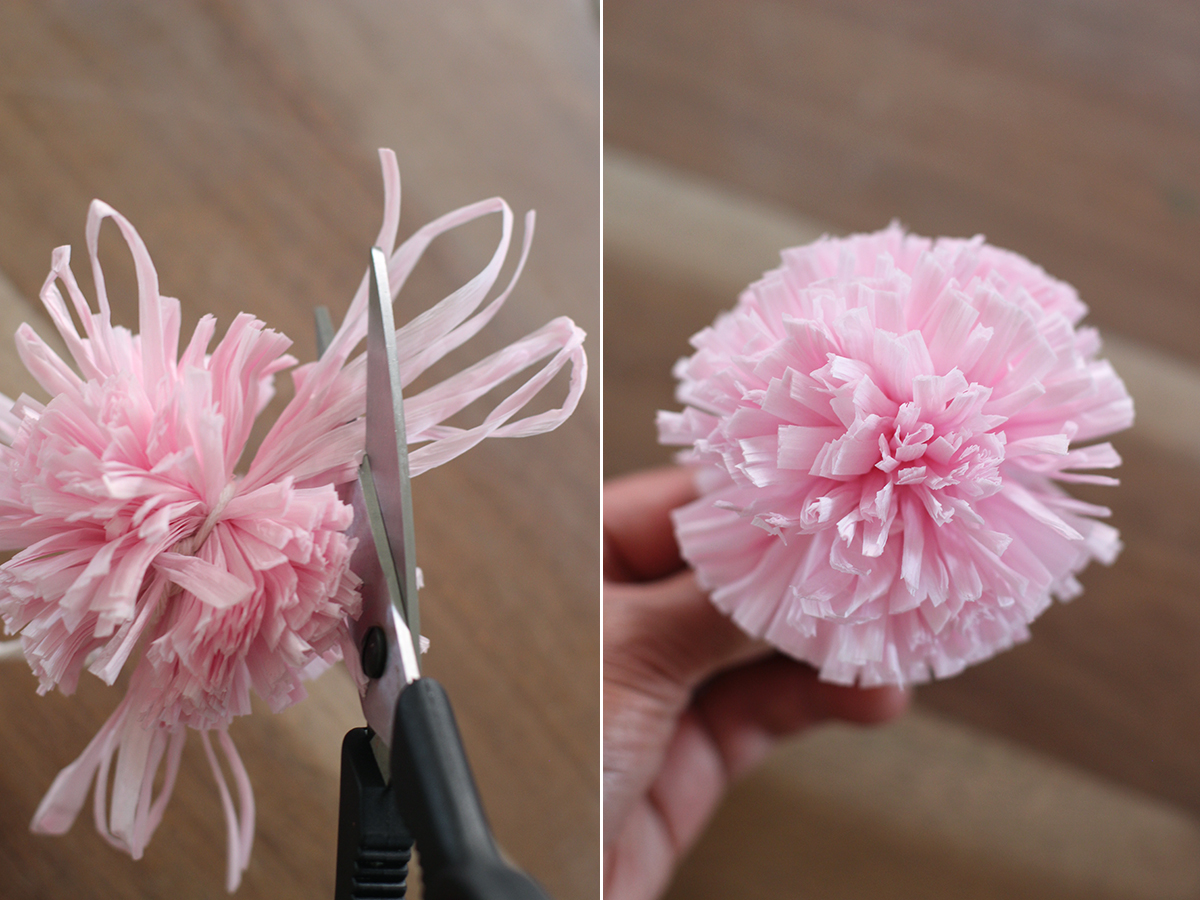
Open the arms and separate the pom pom maker. You’ll end up with a not so pretty pom pom – but you’re close!
Trim away any excess strands to even out the pom pom. Fluff it between the palm of your hands and now you’ve got yourself a perfect little pom pom!
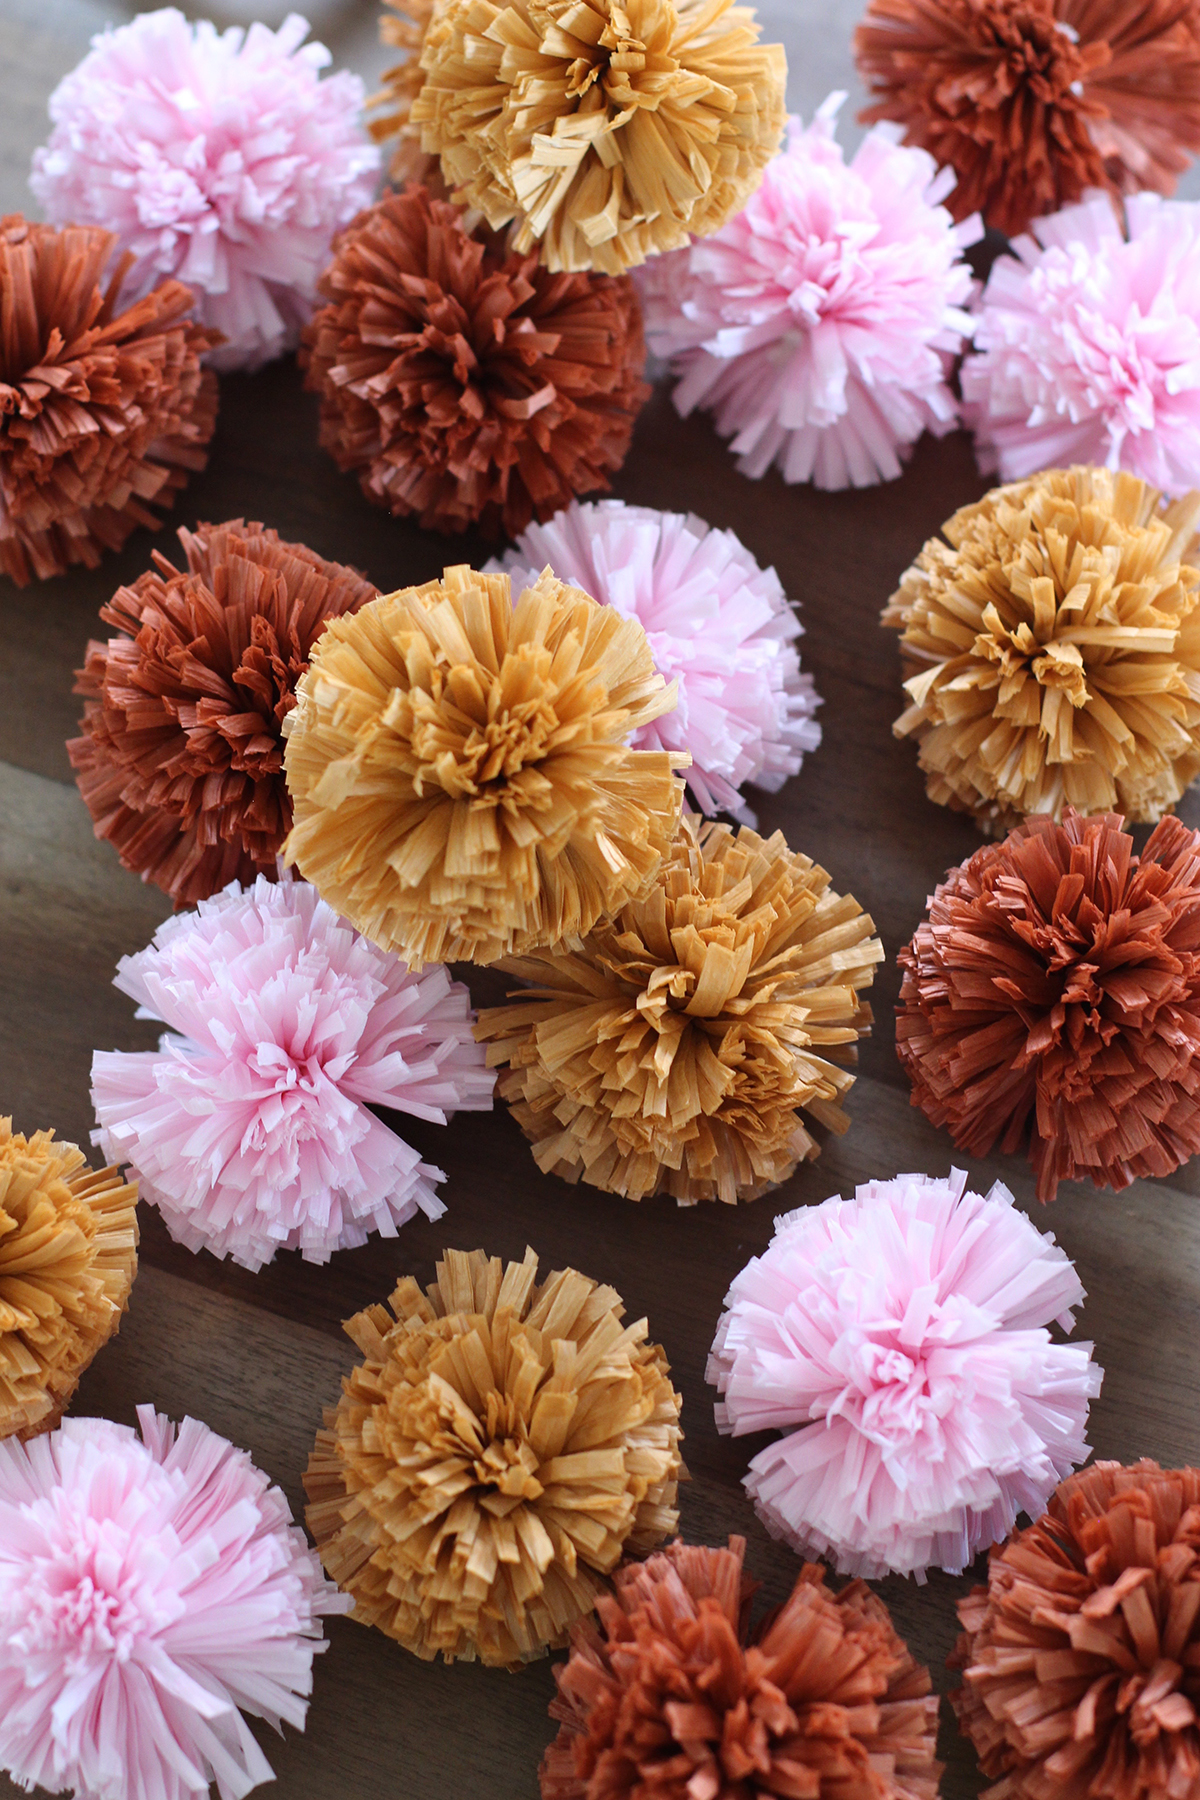
Continue making pom poms until you’re ready to add them to your basket.
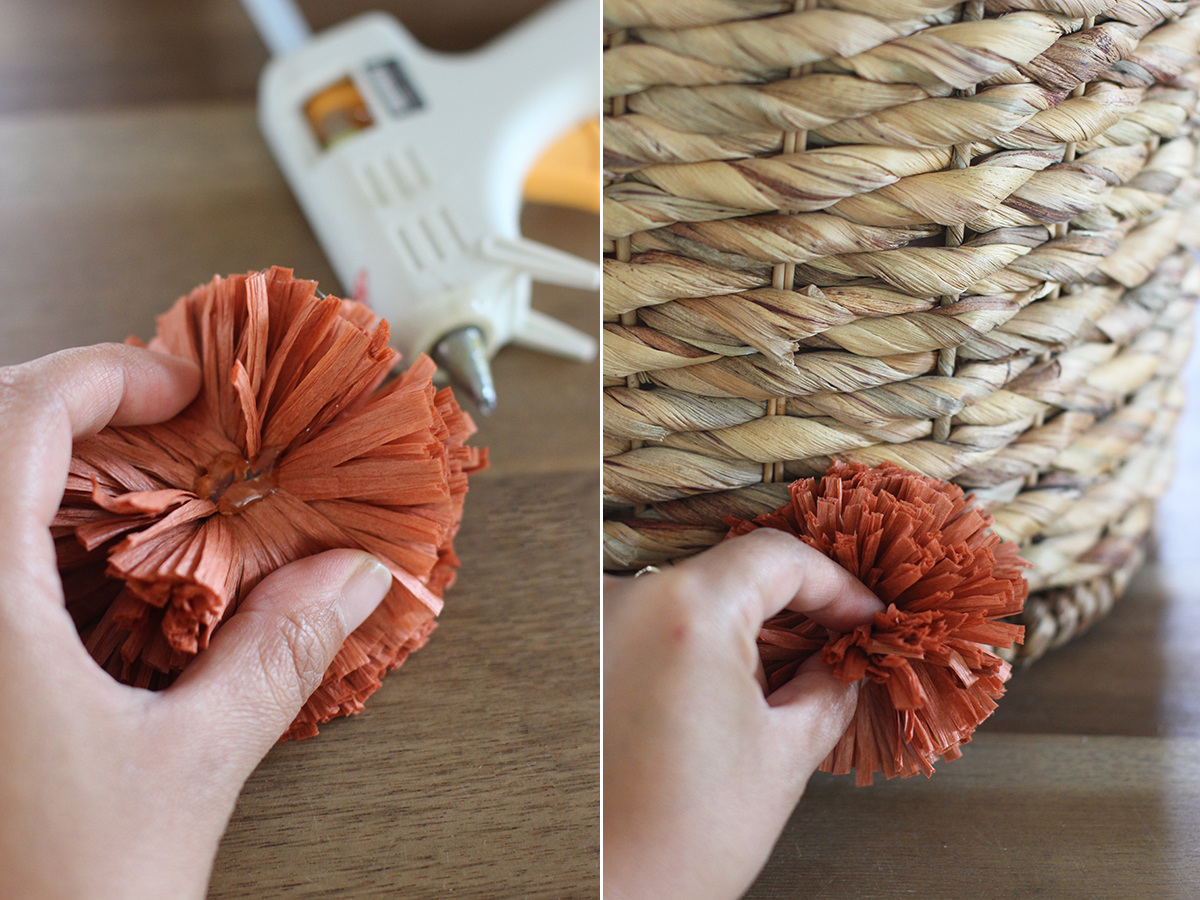
Find the center of the pom pom and squeeze a big dollop of hot glue in the center. Immediately press it firmly against the the bottom of the basket.
Depending on what type of raffia you use, you might still be able to see a gap where the twine holds the pom pom together. You can run your glue gun along the twine and sandwich the twine between the raffia. This helps make the pom pom look seamless.
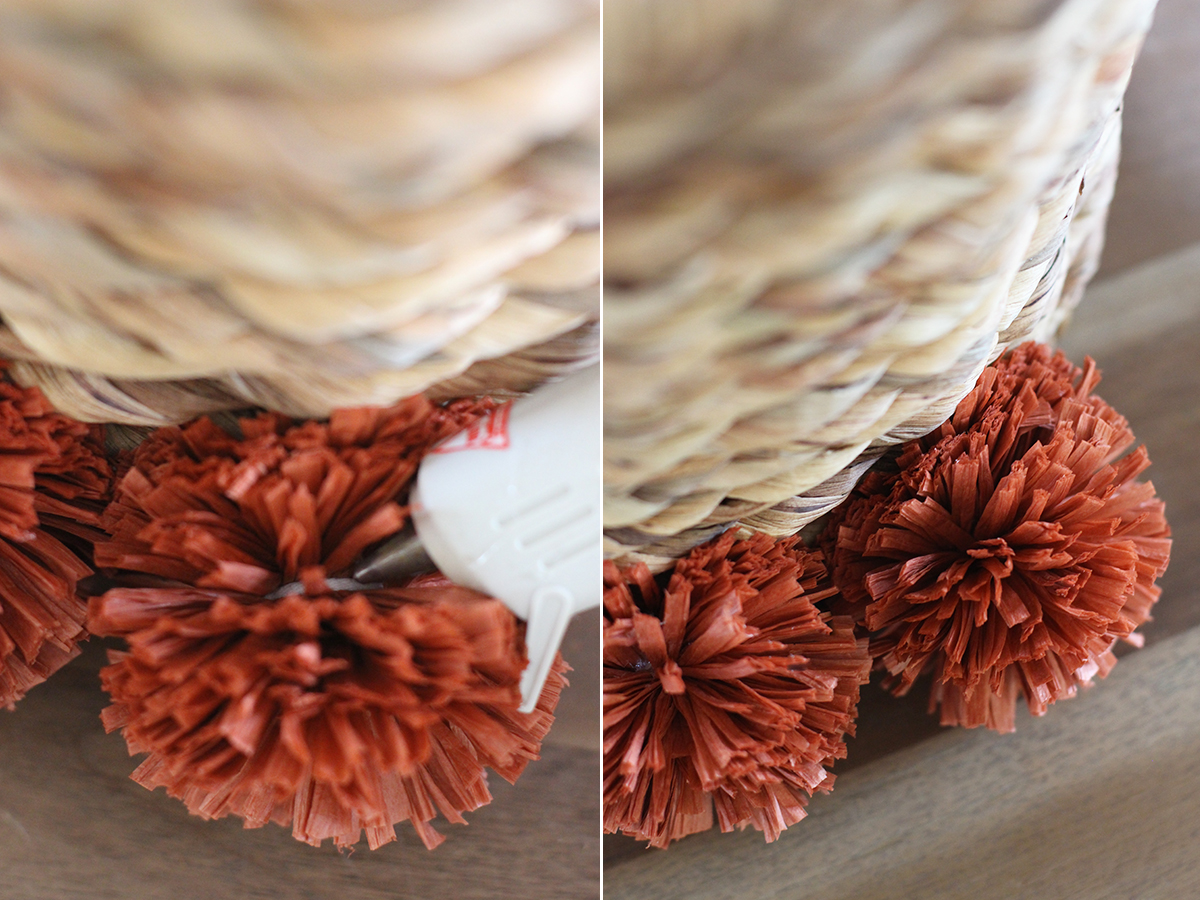
The 2nd row of pom poms should be placed between the poms poms in the 1st row. And so on . . .
Give each pom pom a gentle tug. If any of them need reinforcing, just add more hot glue. Enjoy and happy pom pom making!
(images by HonestlyWTF)



Lovely
this is such a cute idea!
Cute basket! 🙂 I wonder if it’s possible to DIY the DIY tool though and make your own pom pom maker?!
@Zen, you can use the cardboard donut method as Catherine pointed out. Or you can even make pom poms with your hand. Here is a decent tutorial: http://www.wikihow.com/Make-a-Pom-Pom-Without-Cardboard. Would love to hear how they turned out for you!
Hi Zen
I use two ‘donuts’ of the same size cut out of thick cardboard. Wrap the wool round and round until you can’t get any more through the central hole, then cut through all the wool until you can see the two discs of cardboard. Tie the string between the two discs and tear or cut away the cardboard. Job done!
It’s always so great to add DIY element to an existing shape …so much more personal…
xoxo
Yael Guetta
http://www.ftwwl.com
Wow! This tool is awesome!
Alexandra ~ ArtMandy.ro
This is so fun! Love this!
These DIY pom poms are so cute and they make fantastic decorations! Thanks for sharing!
Prudence
http://www.prudencepetitestyle.com
Great Idea! loves your diy pom pom basket! thanks for sharing
This is ultra charming 🙂
Love it! Thanks for this DIY!
http://www.obras.life
Loving your DIY tutorials as always! Thanks for sharing with us.
http://www.jewelryunder5.com/topic/
This is so adorable! I love pompoms so much – they just make me smile! Let’s cover the world in them 🙂
Hannah x
http://crafternooncabaretclub.com
Just created my 1st pom pom DIY tutorial for my blog (woefully behind I know!)- http://hapinesswherever.com/2016/07/4633/ – but really should start on home decor soon- especially since I just bought a pom pom maker!
There are many interesting information here. http://www.escortlondon.biz
Love the color combo. I could’ve lived a million years and never would’ve thought of that. Thanks.