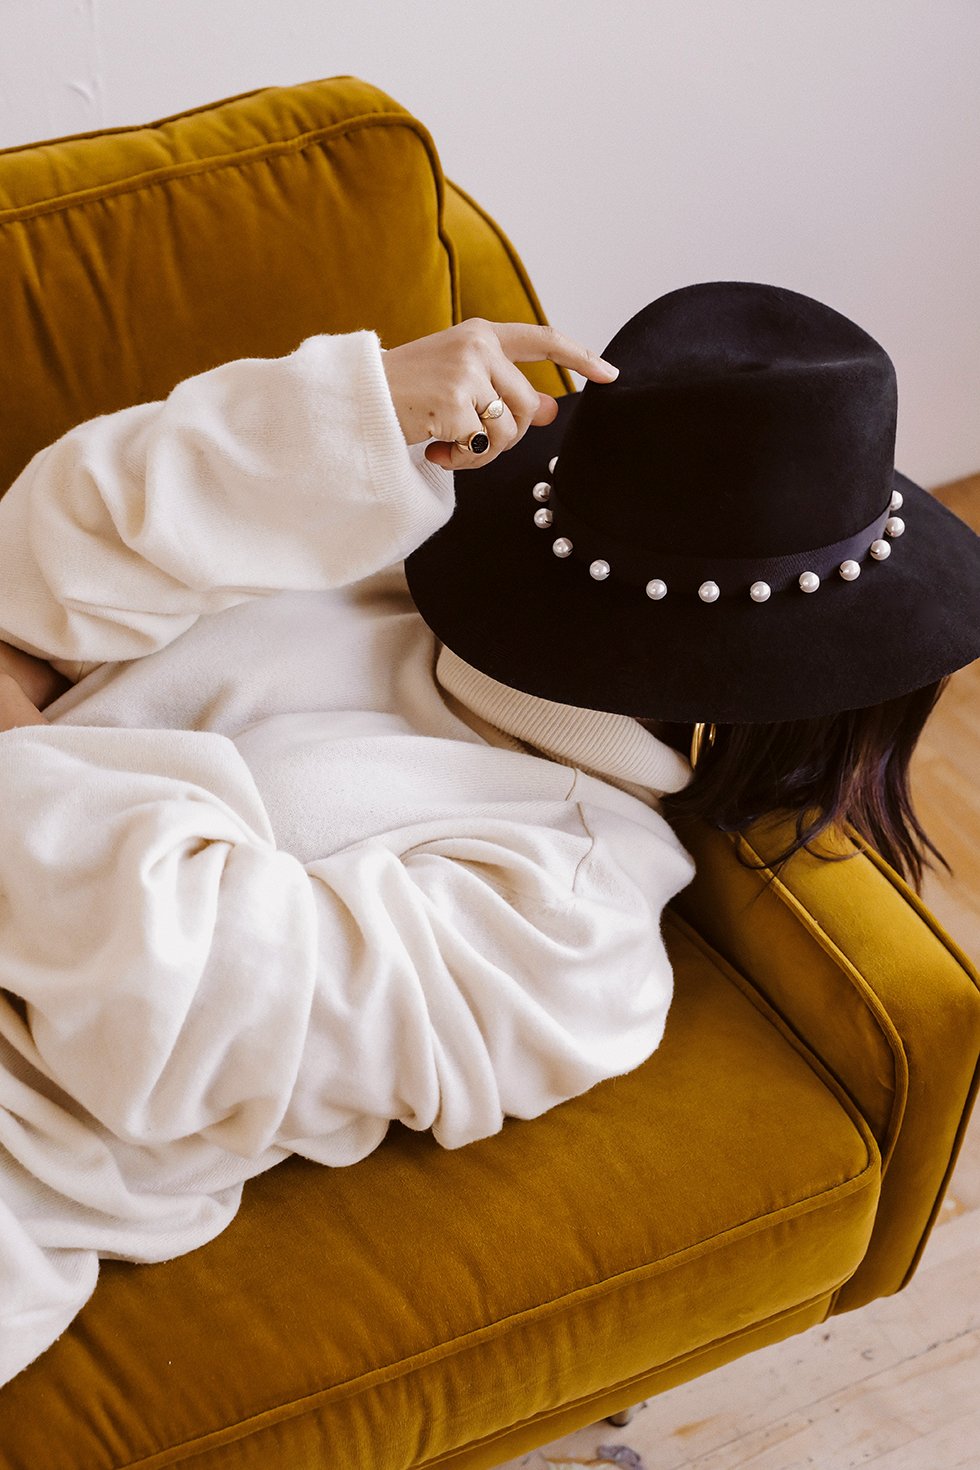

I love hats. And I love pearls. After a recent trip to Santa Fe, I developed a passion for hat embellishments after scoring a couple of antique concho hat bands and horse hair tassels for my collection of fedoras and felt hats. So when I spotted Eugenia Kim's pearl studded fedora, I had to recreate it for myself - with Swarovski pearls, of course! Only the best. What I love about this tutorial is that the hat band is actually removable, which allow you to choose your look, depending on a mood or the season.
You'll Need:
- 25 12mm White Swarovski Pearls with Two Holes
- 1 felt hat or fedora
- 1 yard of 1" black grosgrain ribbon
- E6000 glue
- needle & thread
- scissors


Mark one side of the grosgrain ribbon, with about 2-3 inches at the end, with a thin piece of tape. Measure the grosgrain ribbon around the base of the crown of the hat and add another strip of tape. This will roughly be the size of your hat band.


I love E6000 glue for this project. It takes awhile to dry but it bonds the pearls to the ribbon very well, whereas hot glue will don't bind the two materials together. Place a very small dollop of glue on a pearl, between the two drilled holes. Place the pearl at the base of the ribbon.
A quicker option is to use a hot glue gun. If you do decide to use hot glue, I definitely recommend sewing the pearls on (see below). Hot glue is not a permanent fix for these two different textures.


Continue adding pearls, trying to evenly space them as much as you can. Leave the ribbon flat, for at least 3-4 hours, to dry.
Once the glue has dried, I recommend going back and sewing the pearls onto the ribbon.


Pearls can be quite heavy so this is just an extra step to ensure the pearls will stay put!
Once the pearls have all been sewn into place, wrap the hat band around the base of the crown as tightly as you can.


Remove the tape and pink the ends into place. Double check that the hat band is as taut as possible. Re-pin if necessary. Glue the ends together with a few dabs of E6000. Cover the seam with another pearl. And voila, you're done!


this post was created in collaboration with Swarovski Create Your Style, all opinions are my own
Loved it ! Great idea and it looks impeccable.
Those are my dream boots! Where are they from?
I think it’s so perfect, so cool.
this is my dream couch/chair where did you find it!!
the hat is cool…. but those BOOTS!!!! Where are they from?