If you've been a reader of HonestlyWTF from the start, you'll know that one of the most recurring DIY elements here are crystals. And not just any crystals, Swarovski crystals. The quality is simply superior. Nothing sparkles more beautifully than a Swarovski sparkle. And I've said this before and I'll say it again: if you're going to invest time and energy into creating something from scratch, you'll want to be proud of it and you'll want it to last. Thus, Swarovski is a must! So now that I've made my case for Swarovski crystals, I'm excited to share that I'm partnering with them on a series of DIYs in celebration of the launch of their new online community, Create Your Style. It's a place where DIYers like you can find inspiration for your next project and communicate with other makers with questions, tips and suggestions. There are already so many wonderful projects posted, I encourage you to explore it and get inspired. Or even better, share some of your own crystal projects!
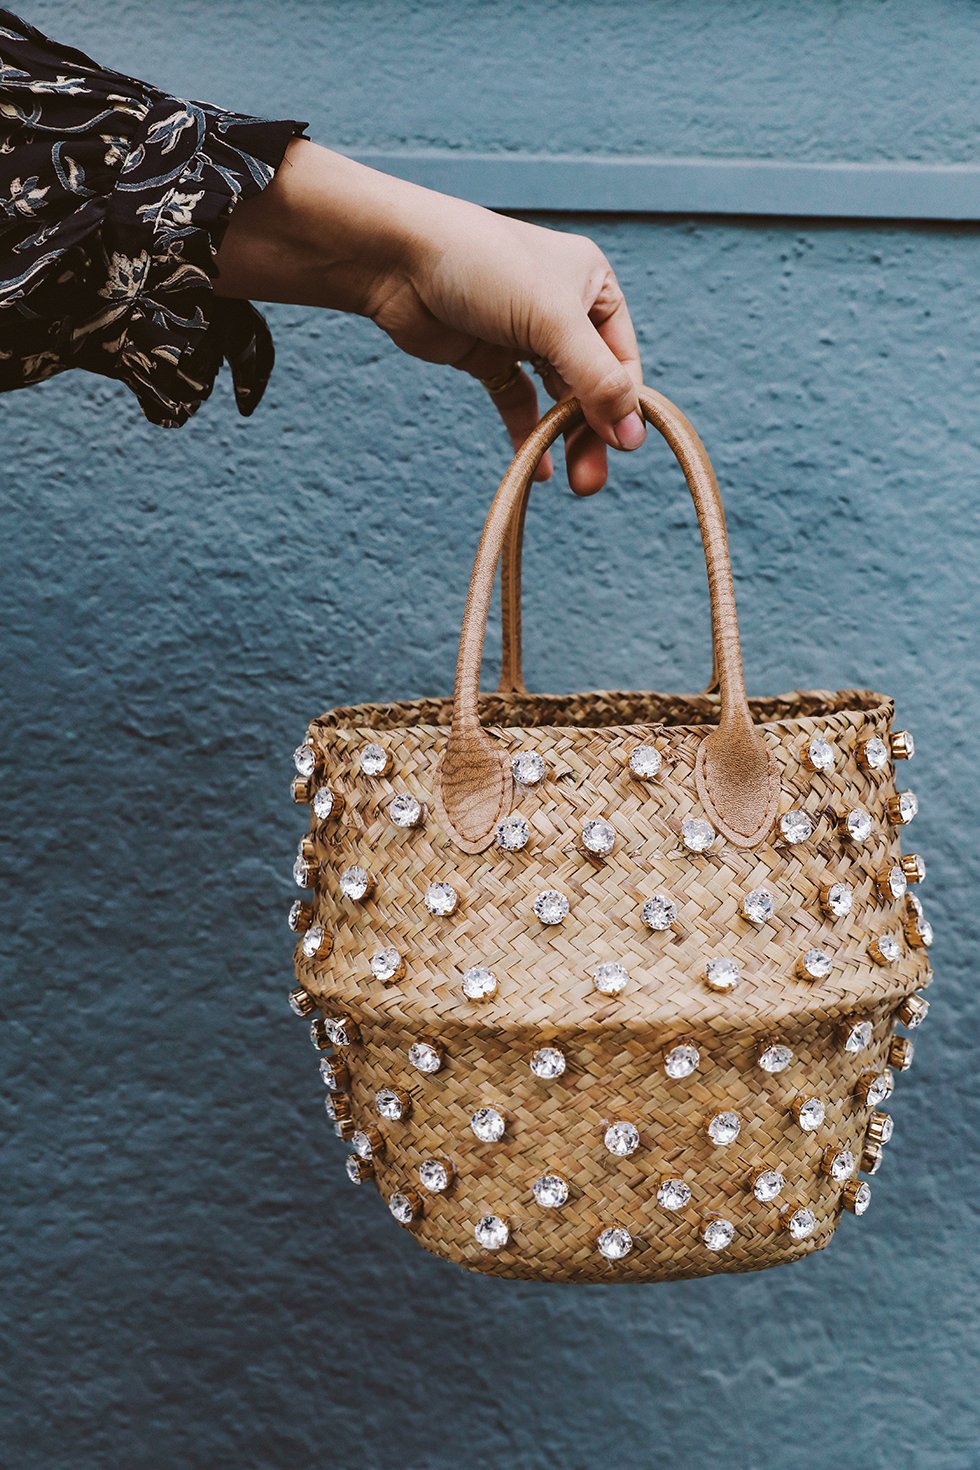
I'm kicking off the DIY series with a tutorial inspired by crystal studded straw baskets by Italian label Le Nine. It's the perfect way to upcycle the abundant amount of straw bags and baskets that I can't seem to stop collecting during the summer months. Adding large crystals to the bag instantly adds glamour and transforms it into a winter appropriate accessory. Here, I'm simply using an inexpensive mini straw belly basket but of course, any small straw bag or basket will do . . .
You'll Need:
- mini straw belly basket
- 100 - 144 Swarovski 1088 XIRIUS Chaton Crystals SS45
- 100 - 144 Swarovski 1088 gold sew-on setting
- flat nose pliers
- hot glue gun or E6000
- leather handbag handles
- waxed thread
- sewing needle
- scissors

Place a loose crystal into its setting. Take a pair of flat nose pliers and press one of the prongs down, onto the crystal. Then, press down on the opposite prong and close the rest of the prongs so that the crystal is secure in its setting.


Once all of your crystals have been set, you'll start to attach them to your bag. I like to use hot glue here since it dries quickly and you don't have to worry about the stones sliding during the drying process with a glue like E6000. If you do use a hot glue gun, it'll probably need some extra reinforcement, which is why I like using Swarovski's sew-on settings. You can go back with a needle and thread and sew them onto the bag after they've been glued.


I like to start in the middle of the bag and work horizontally, in rows. Alternate the pattern moving onto the next rows.
Continue glueing!


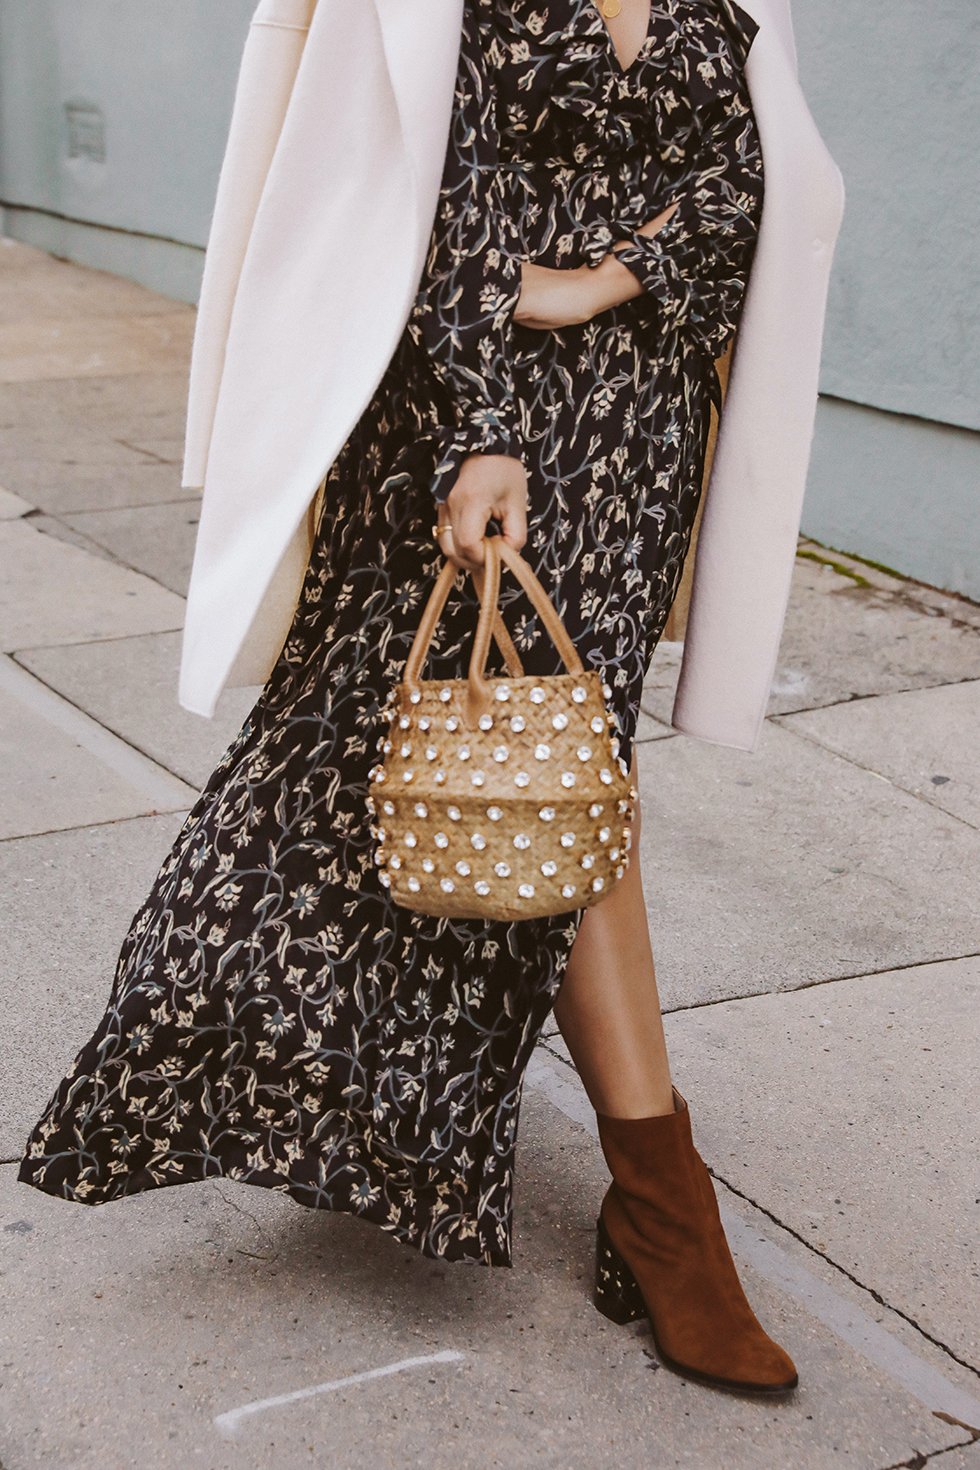
Most of these straw belly baskets come with very short handles. You'll want to replace them with longer leather straps. Simply cut the straw handles off with a sharp pair of shears.


These leather purse handles come with pre-punched holes for easy sewing. Waxed thread is necessary here since it's so durable and gives the leather a strong hold onto your surface. Tie a double knot at the end of your waxed thread and push it through the inside of the bag, through the first hole.


Make your first stitch by pushing the needle through the second hole. Then (this is important!), push the needle through the 3rd hole.
Push the needle through the second hole. Continue to the 4th hole and then back into the 3rd. Continue to the 5th hole and then push through the 4th. See the pattern here?


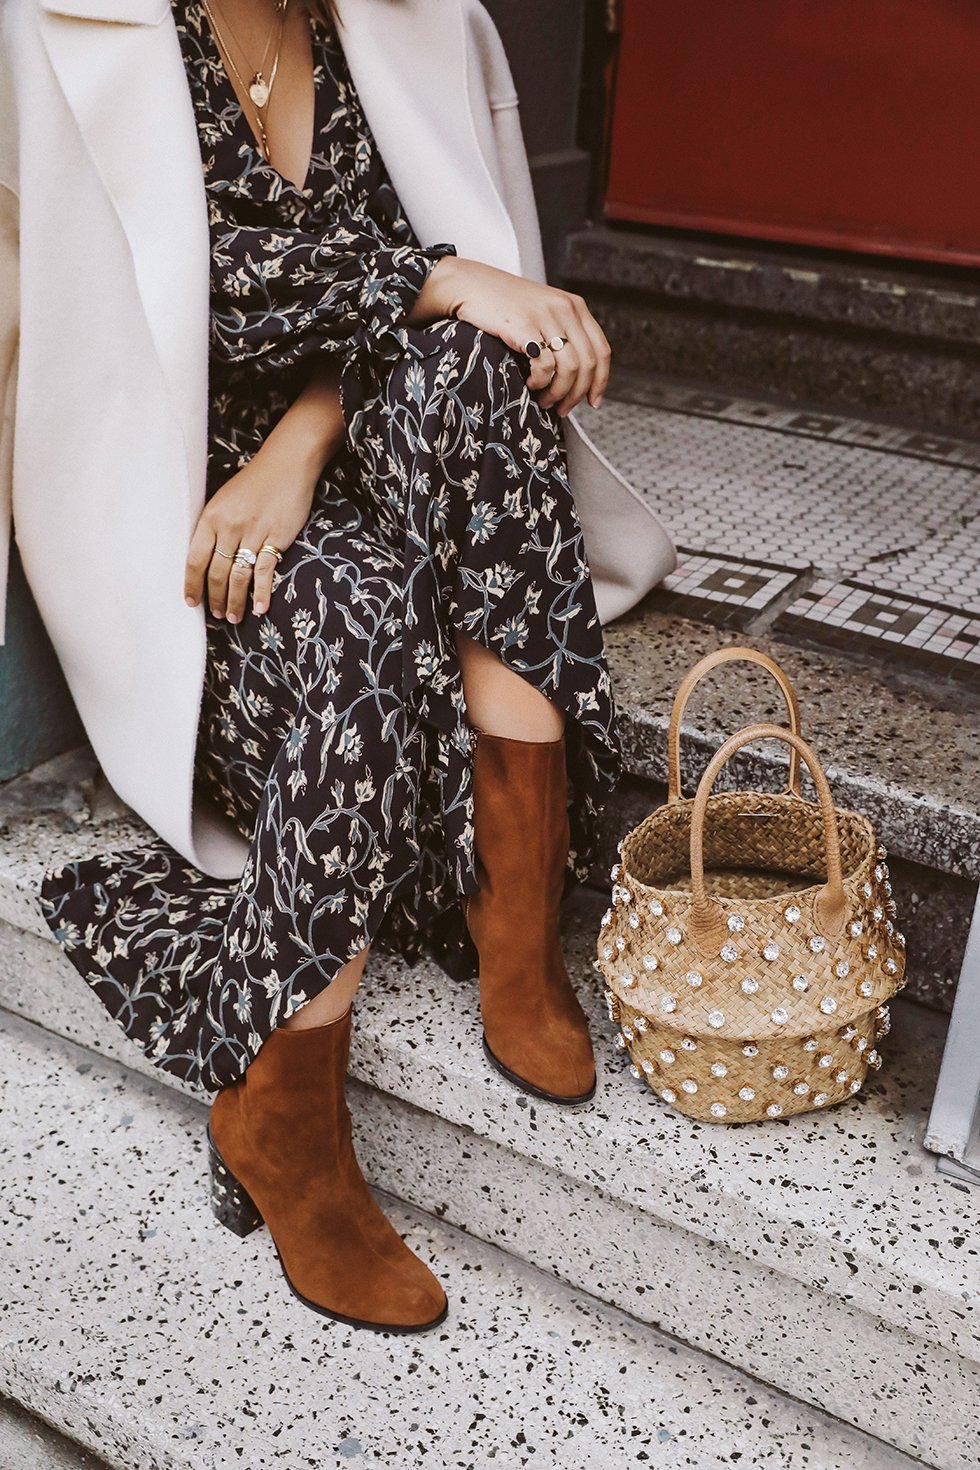
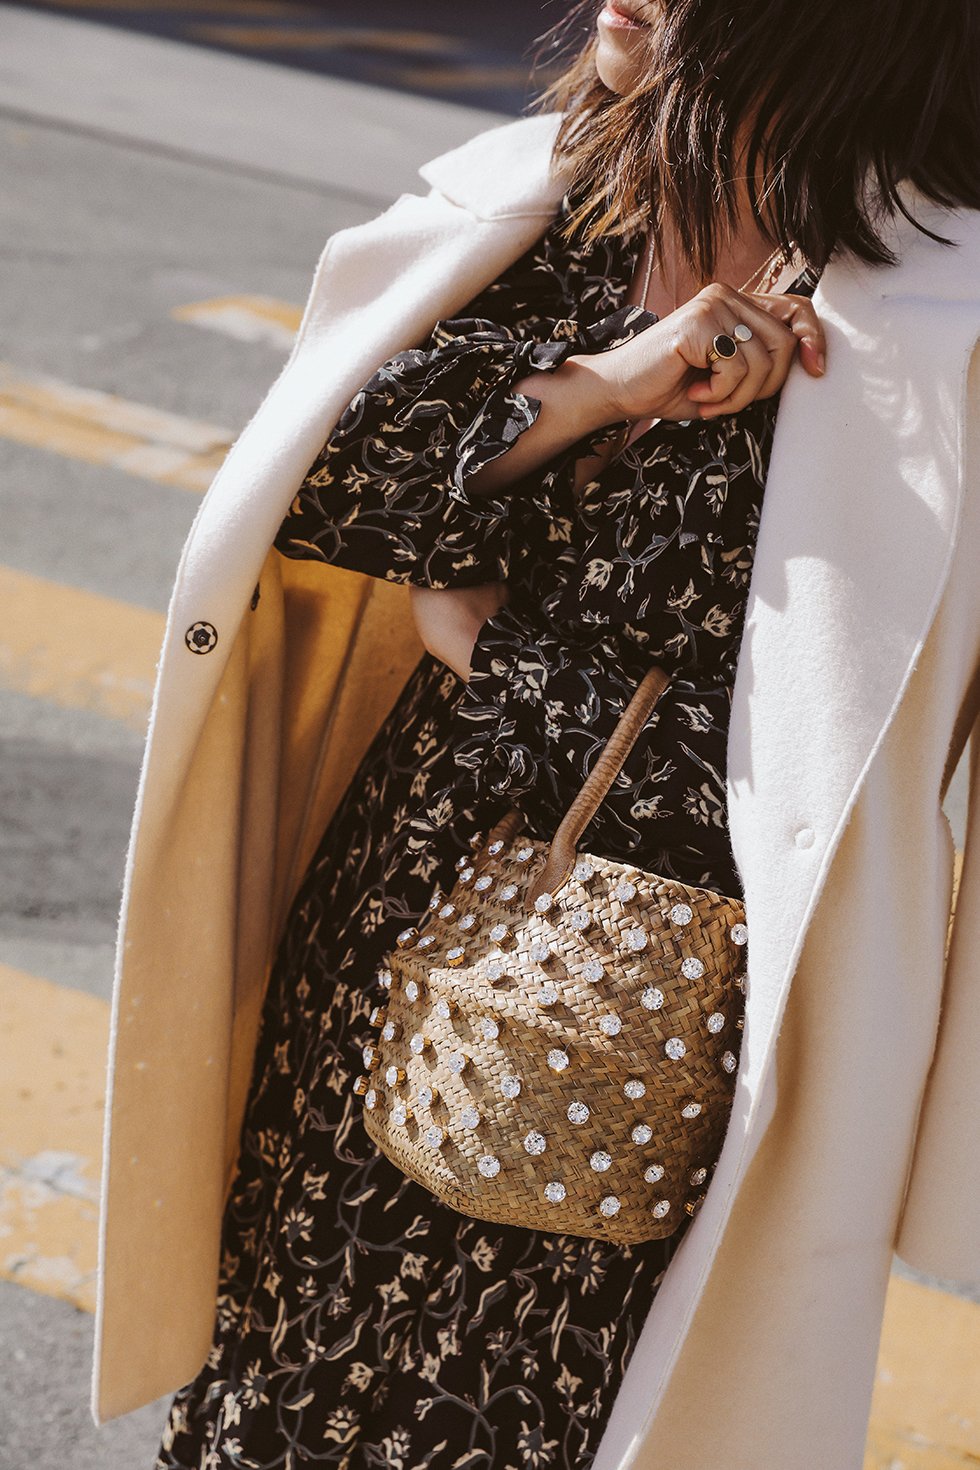
Once you've reached the end, tie a double knot from the inside and repeat. And voila, your bag is ready to carry!
this post was created in collaboration with Swarovski Create Your Style, all opinions are my own
Hi, this bag is adorable. Do you have links to where you purchased your supplies and bag? Thanks and Happy Holidays!
M
I’ve just updated the post with links!
Hey There, i really love the shoes your are wearing? Can you please please tell me were you got them from? Thanks. And by the way thank so much for the great DIY Posts. Greetings from Germany
+1
They’re from Dear Frances!
Erica, this is BEYOND and I love the video!
Thanks, Grace! xx
This is so BEAUTIFUL!!!!
Thank you!
WOW. This is so beautiful and so unexpected. Thankfully, I have lots of straw bags laying around for this. I just need to buy the crystals. Thank you for this. I also love the new videos.
Thanks!! Will keep posting more 😉
WOW! Love the new video format! Really beautiful and as always exceptionally inspiring!
Love it!,
Thank you for the great tutorial and video.
This will definitely upstage my ‘Pom pom ‘ basket!
Mary. From Cornwall England
Beautiful bag,
http://krmangalam.edu.in/
Wonderful.
http://indoreinstitute.com
Obsessed! Video is gorgeous. Did you get the 9” bag or the 11” bag? Thanks!
Erica, I’ve been a long time fan of the site back in 2010-ish period. I’m constantly amazed at what you do and yes this is an awesome DIY! =D Love the videos – makes things much more clearer and I love the finish product.
Thank you so much, Joy!! Hoping to continue with the videos 🙂
Hi! Love this idea.
Can you show an example for how to sew on the stones after they have been glued to the bag?
I purchased the sew on settings and attached them to the bag with a hot glue gun. I’d like to sew on the stones to reinforce, but the needle isn’t going through the dried glue.
Thanks!!