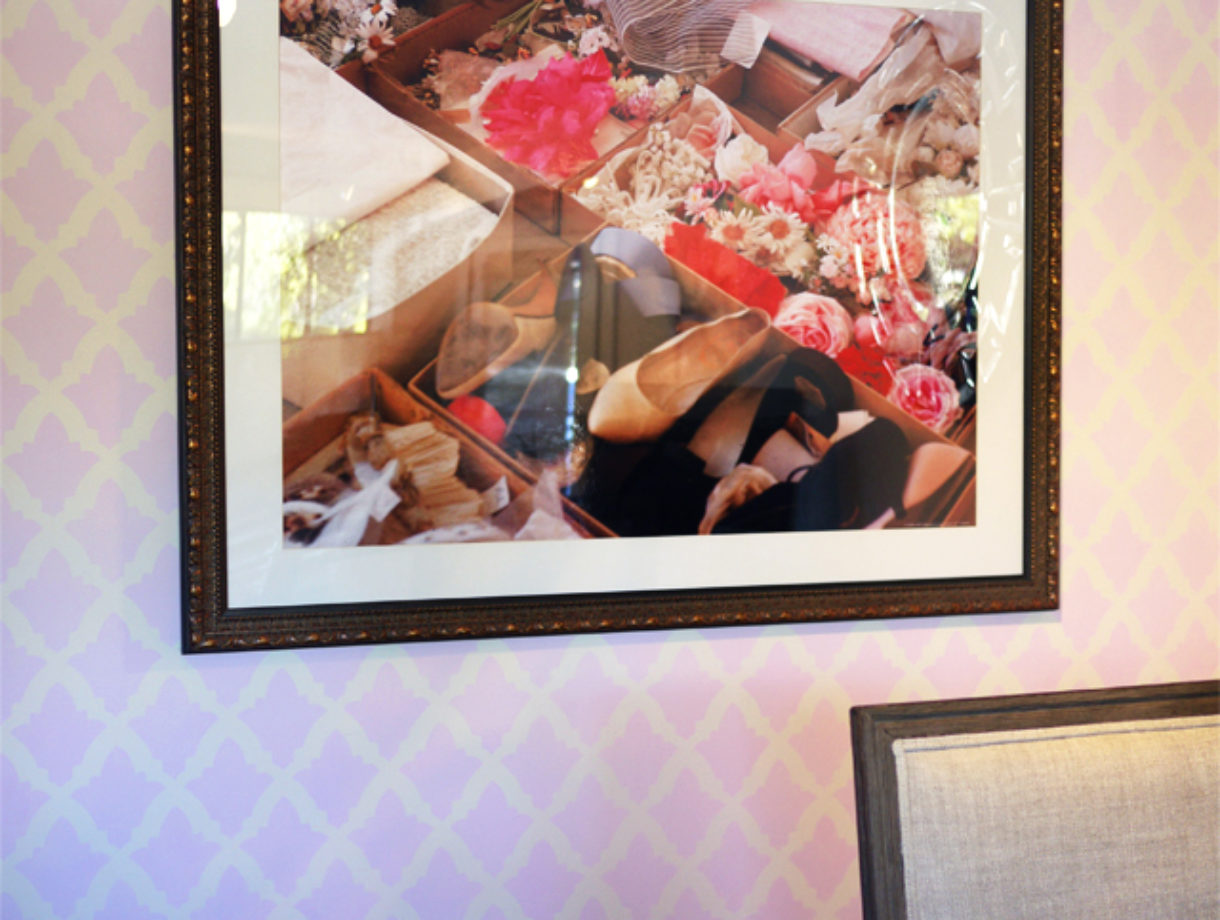
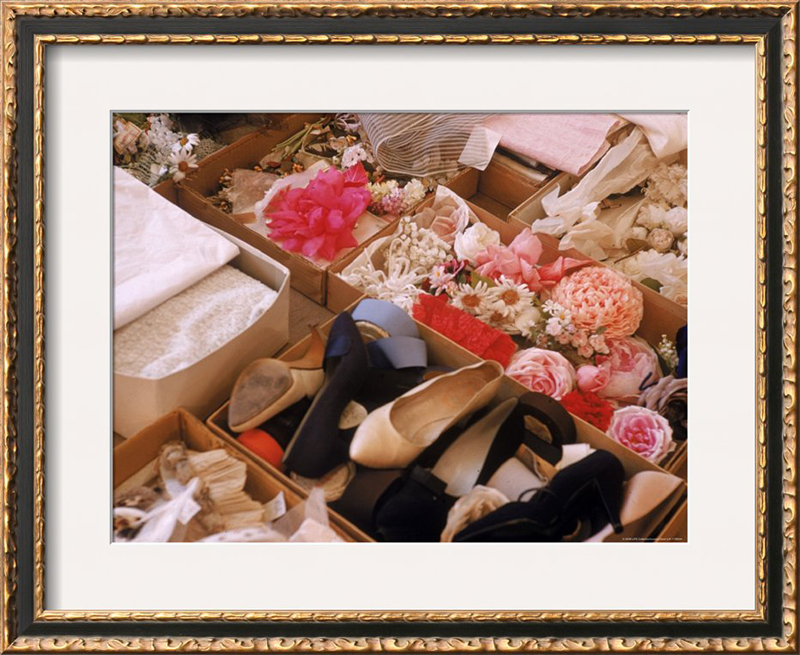
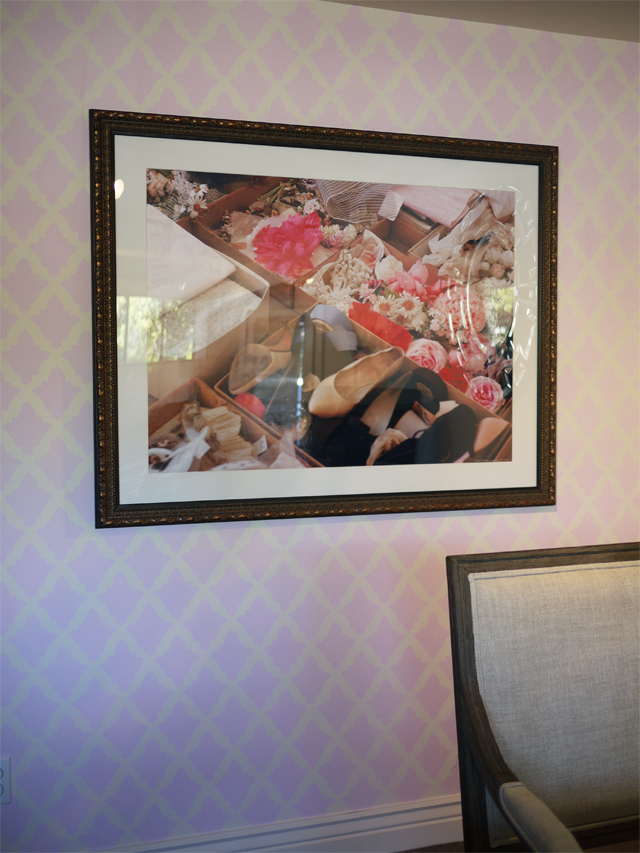
Loomis Dean’s 1957 photograph of Christian Dior’s studio, for Life Magazine, hangs behind my desk on a blank wall. I’ve been looking forward to adding some much needed color and character as a backdrop to this large-scale print, so after spotting a Turkish tulip stencil online, I was inspired to go with a painted pattern. Starting the process was as easy as uploading the print to Glidden® paint’s My Image Inspiration tool, selecting one of many pretty pink palettes, and gearing up for an afternoon of stenciling with paint!
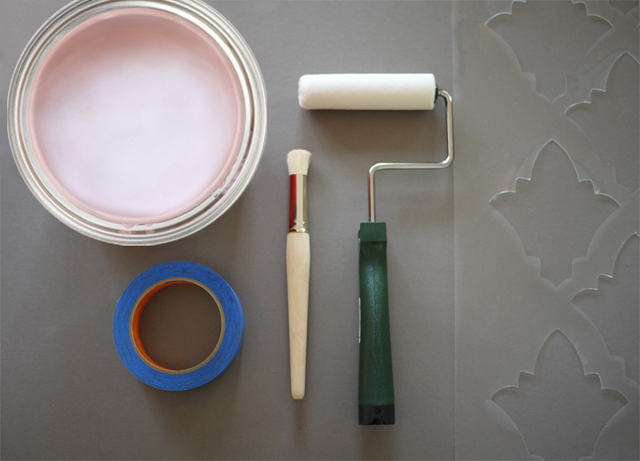
You’ll need:
- flat interior paint (I used Pink Carnation)
- a stencil
- a dense foam roller with rounded ends
- a stippling brush
- painter’s tape
- paint tray
- paper towels
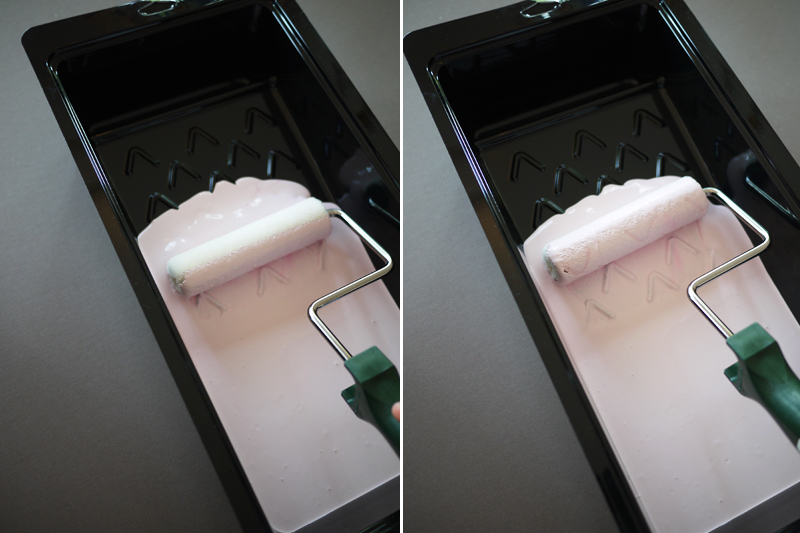
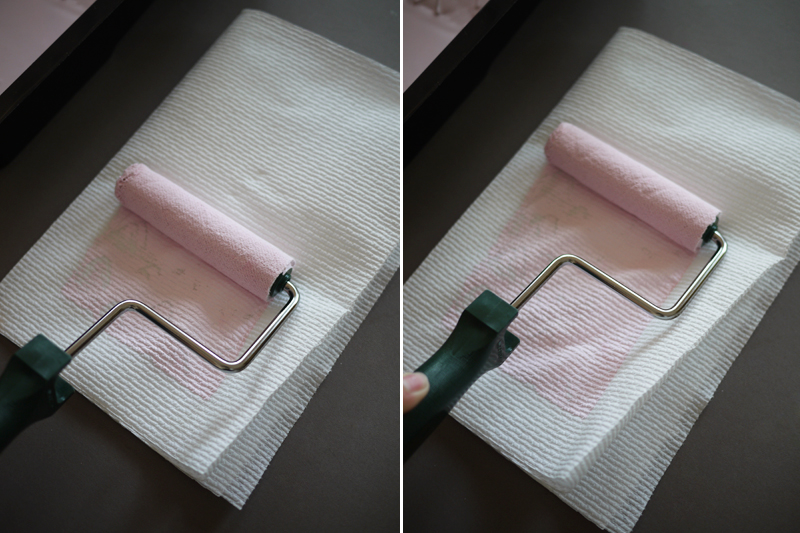
Start masking out the baseboard and ceiling of the wall with painter’s tape. Make sure the wall is clean and dust free. Then, pour a small amount of paint into a paint tray. Tape the stencil onto the middle of the wall. Load the foam roller by rolling it in the paint and back and forth in the tray until it is evenly saturated.
Blot off excess paint onto a folded paper towel. There should be no visible paint on the roller surface – the less paint, the better!
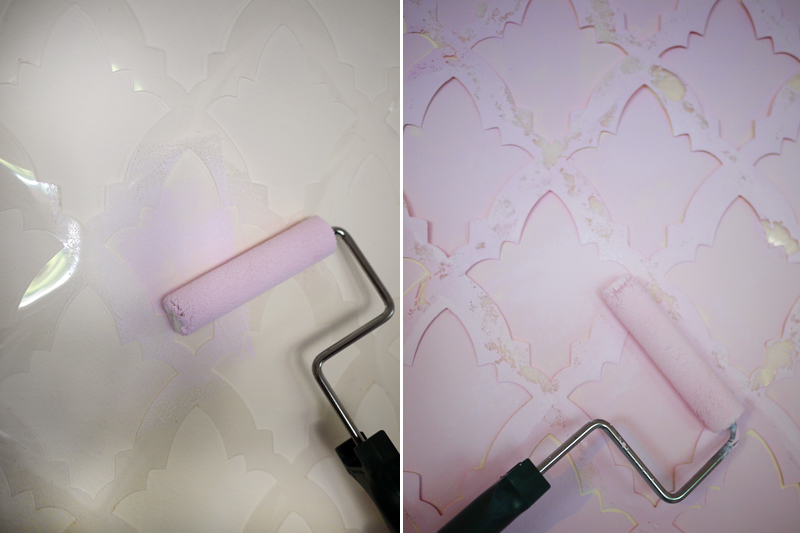
Using light pressure, roll over the stencil with the roller. Excessive pressure and too much paint will cause paint to bleed under the stencil.
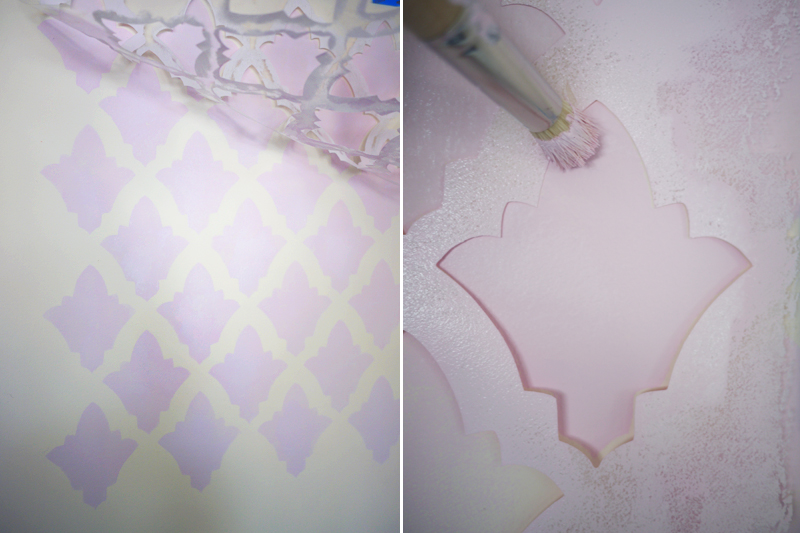
Continue to add light layers and check the work by carefully lifting a corner of the stencil from the wall. Replace the stencil and fill in any missed areas with a stippling brush using a blotting motion. The stippling brush can always be used in place of a roller for smaller executions. It’s as easy as blotting in an up and down motion with a minimal amount of paint on the brush.
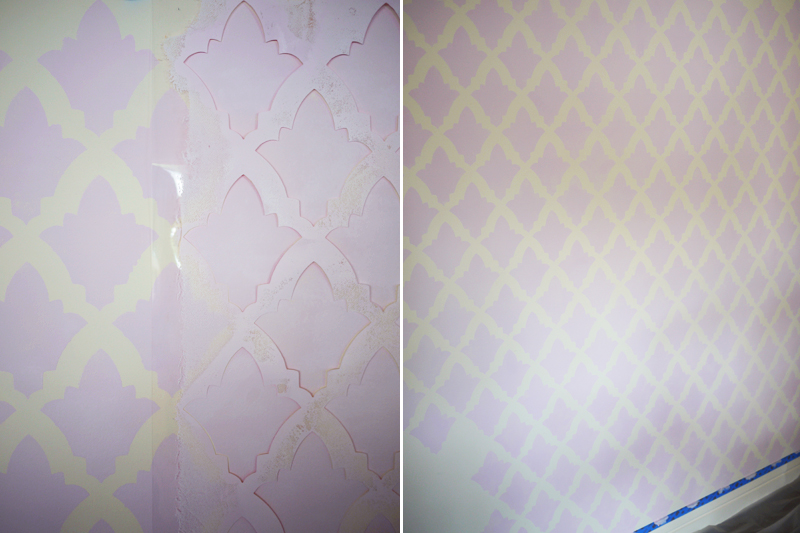
To continue the pattern, simply line up the stencil with a previously painted row. To paint the bottom and top edges of the wall, bend the stencil and blot with the brush.
Allow the paint to dry completely before hanging any artwork on the wall. See how fun it is to create an accent wall?
The wall looks beautiful. Great diy idea 😀
xx Mira
http://www.glamdevils.com
This is so pretty love this diy.
xo
http://pinksole.com
I loved it!!!
I’m posting looks from Los Angeles and accessories:
http://www.thegavlaks.com
Love it !
New post: http://www.thestilettoholic.com/2013/08/08/where-is-the-sun/
Love from Paris
This is absolutely gorgeous!
Mafalda ❤
http://www.mafaldadotzero.blogspot.fr
Amazing DIY! It looks so beautifully!
http://www.theavantguardian.com
The wall looks awesome. I have a feeling this looks WAY harder then you made it look. If I attempted this it would probably be so messy and uneven. You did an amazing job and it looks fantastic.
xo Quinn
Quinn Cooper Style
Oh this looks lovely! I used to love stenciling my walls growing up!
xo, Juliette Laura
http://juliettelaura.blogspot.com
http://www.etsy.com/shop/InfiniteStyleShop
This is stunning, what a great idea! I feel like if I attempted this myself I’d definitely mess it up
this diy is fantastic, the wall style is a great idea!!
DIY ON MY BLOG
http://www.thestelstyle.com
That looks absolutely amazing! I love the colour and the print! PERFECT! I would definitely mess this up though xx
Justine | BRIGHTON DREAM
This looks like way more work than you are letting on! Looks beautiful though.
Naomi
LOST + FOUND
Trust me when I say it’s not perfect. You’re bound to get some bleeding and blemishes when stenciling but you honestly won’t be able to notice them when standing back! Plus, you can always go back with a brush and fix your mistakes. Have fun!
This is so beautiful.
I’m not just talking about the wall, but also the picture..
Is it possible to buy it anywhere? It is so decorative.
I loove DIY projects. Perfect.
http://www.fashiondenis.com/
This looks so amazing and feminine!
https://www.etsy.com/shop/EarthChildArt?ref=si_shop
so beautiful! xx
http://www.vicariousLA.com
love this! thanks for the amazing inspiration!!
http://www.stylemailbox.com
What a cool idea! xx
http://www.creativityandchocolate.com
Wall looks great!
Lauren
livinginaboxx
bloglovin
Everything from the fifties looks better to me .
Um this is perfect. I can’t wait until I have my own house so I can do something like this. Thank you for sharing!
xx
youngmildandfree.wordpress.com
Wow you made a whole wall? Looks adorable.
http://thevulgariangirl.blogspot.com/
This is exactly what I need! I just moved and have these iintense green walls in my bedroom that I would like to brighten up but something like this =)
http://love-your-ego.blogspot.de
Fantastic use of bright colours, they not only brighten up the walls but also make you feel good and bright each time you look around.
Thanks for the step by step guide
I love your stencil pattern…. Where did you get it ?
Amazing technique. Now I can redo my walls for less!
You are totally inspiring me to do more home decor DIYs for my blog hapinesswherever.wordpress.com !
Seems like quite a lot of hard work, but the results look amazing! I think i’d be too scared to try the stenciling, maybe i need to start on the garage wall for practice 🙂