While summer spritzers used to be reserved for the ubiquitous Evian bottle, refreshing water mists now come in a variety of scents heeding a multitude of benefits. The most popular face and body spray would have to be that of rosewater because of it’s cleansing, hydrating and anti-aging properties. Once upon a time, Cleopatra would douse her face in rosewater to keep her complexion flawless while ancient Romans would bathe in this exceptional essence of rose. So this week, with our trusty beauty expert Sarah Howard of Beauty Banter, we’ll take you through the simple steps of making your very own rosewater for a refreshing and fragrant cool down this summer.

You’ll need:
- a dozen freshly picked roses
- a perfume atomizer or spray bottle
- a plastic pipette
- 6 inches of vintage ribbon
- a large stock pot with glass lid
- a small glass bowl
- distilled water
- a brick

Start by plucking the petals off all the roses. The more fragrant the roses are the more fragrant the rosewater will be.

Place the stock pot on top of a stove and put the brick inside the pot. Pack in rose petals around the brick until it fills the sides of the pot.

Pour distilled water into the pot until half of the brick is submerged in water. Place the glass bowl on top of the brick.

Invert the lid and turn the stove on high. Let everything come to a boil. Precipitation will form on the lid and sprinkle droplets of water into the bowl. This is your rosewater! To speed up the process, you can add cold water or ice to the top of the inverted lid.

The smell of roses will start to permeate the kitchen and after about 30 minutes, turn off the stove. Allow the rosewater to cool completely before using a dropper or pipette to transfer into a spray bottle or atomizer.

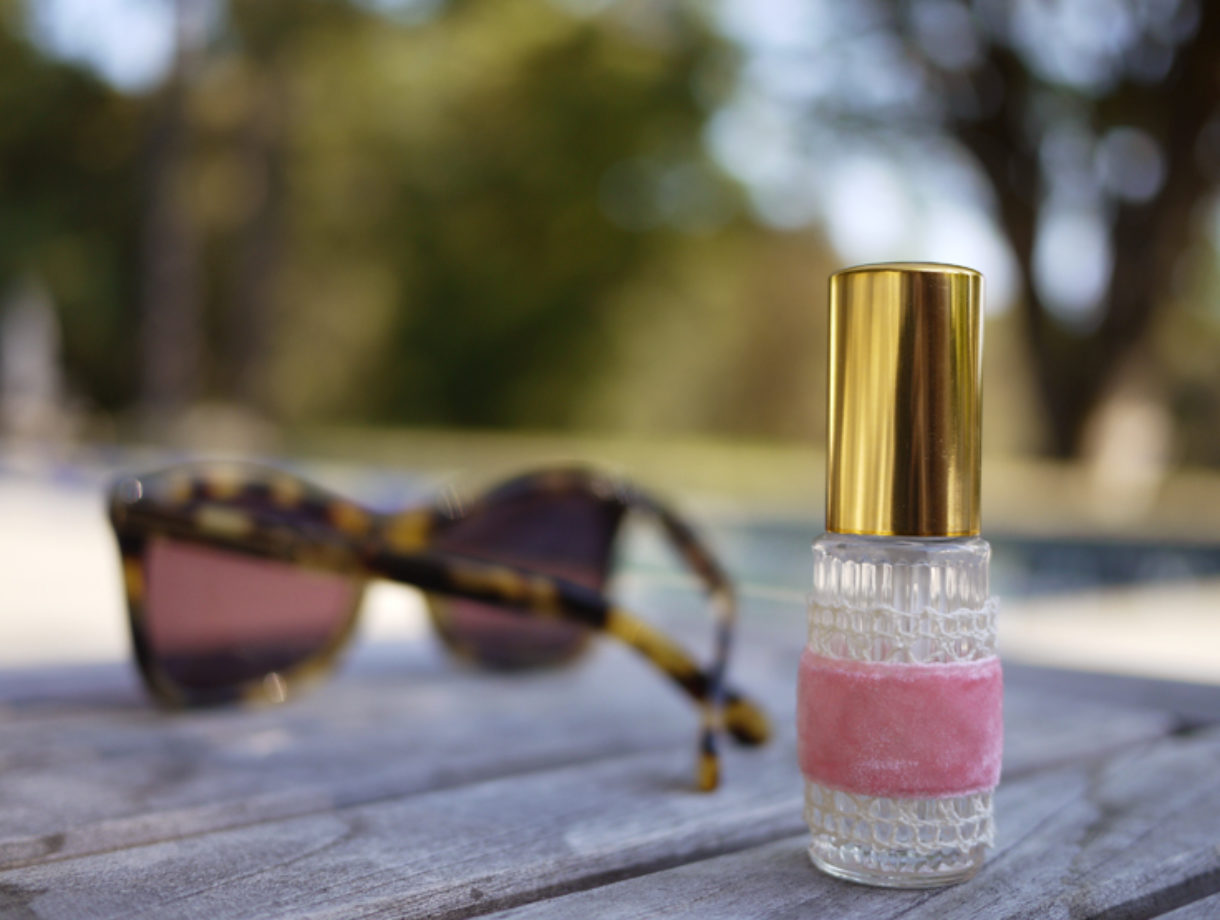
Wrap a piece of ribbon around the bottle and secure it with a simple straight stitch or fabric glue. Feel free to add any essential oils, such as grapefruit or lavender, to the rosewater base. It should be stored in the refrigerator and will last up to 3 weeks.

Enjoy your homemade rosewater spray during these hot summer days! And don’t forget to visit Beauty Banter for more beauty tricks and secrets . . .

(all images by HonestlyWTF; tutorial courtesy of Beauty Banter)
too awesome!
Oooh I love this idea for lavender!! Definitely going to try it out once our garden bounty blooms!
http://aclosetintellectual.blogspot.com/
Love this idea !!! Reminds me of when I was little and how i’d make perfume from the flowers in our garden !!
x
Hippie Fruit
http://hippiefruitandsalad.blogspot.com
Oh! I didn’t know that it was so easy to make your own rosewater.
Does it matter it the type of roses is different?
the quality of rosewater better with red, white roses etc. ?
http://inwhirlofinspiration.blogspot.com
It’s a brillant idea. I really love it.
Amazing, this looks really easy!
xoxo
Fashion Agony blog
This is amazing! Deffs gonna try it for summer! http://www.moiminnie.blogspot.com
xx
This is absolutely lovely! I actually use rosewater toner and have used it for years. It’s so great for your complexion and obviously is smells incredible! I may just have to try this spritzer! I have a jasmine scented one I picked up from Cairo.
http://www.chevronsandeclairs.com
I love this idea!!!
PARROTS and MARC JACOBS in http://cravingforbarneys.com
How fun. This would be an especially cute gift for a bridal shower and/or party. I think I would feel just a little sad throwing perfectly good roses into a pot though. =)
Satisfy Your Cravings For Celebrity Style and All Things Stylish and Sweet
this is great! can you do this with other flowers, such as jasmin, as well?
This is stunning! thank you 🙂
I love your blog. these very pretty 😉
i finally opened mine http://blogcashmeremafia.blogspot.com
kisses from spain
This is too cool – I love it!
can’t wait to try this!
http://lavieenliz.com
This looks amazing. Can’t wait to try it !! Thanks.
WHAT A GREAT IDEA !!!
http://diamondsandspikes.com/
http://www.facebook.com/diamondsandspikes
what a wonderful tutorial! Great, really.
I loved it!
I’m posting looks from Los Angeles and fall accessories:
http://www.thegavlaks.com
Great idea! Can’t wait to try it out.
Very useful post!!thanks for sharing!!
http://lovelittlelulu.blogspot.gr/
This is pretty cool, making this for our house!
Oh my this is a great idea!! Shop Beautiful Casual Dresses Online at CopperEtiquette
Fantastic!
Looking forward to trying it!
Don’t know where to find organic roses though.
http://theblogonastick.wordpress.com/
wow! I definitely have to try this! great DIY!
I am SO in love with this idea. I’m definitely not a perfume kinda girl, but this sounds like it would make me crossover. Now……. to find all of these ingredients!
Thanks,
Trish
http://www.jellybonesblog.blogspot.com
woow amazing diy!!! I love it!!
http://thestelstyle.com
have tons of roses that aren’t pretty enough to pick for the house.. kind of scared of that brick though.
http://www.prettydinos.com
Fabulous! Totally awesome idea.
I can’t wait to try this. Love your DIYs.
howtowindowshop.blogspot.com
I must admit, this is a brilliant idea. I will definitely give it a try.
http://www.zadinblog.com
I love it! Great DIY, I’m gonna try this out
XOXO,
Comemoda
Lovely and Sweet! ✿ \(^◦^)/
Very cute. Thanks for sharing 😀
xo
GIVEAWAY ON MY BLOG
glamDevils
Yay! I do this often, it’s nice to see a pretty tutorial for it 🙂
I just want to stress, DO NOT USE BOUGHT ROSES FOR THIS unless you know where they have come from. Commercially grown flowers are often treated with preservatives and other chemicals so they’ll look pretty after being flown across the country/sitting in a florist all day. The chemicals are sucked up into the plant and will be in the petals, and some will end up in your rosewater. You don’t want to be spraying them on your face! Use petals from your garden or a neighbour, and make sure they haven’t been sprayed.
XX
Awesome idea, I can’t wait to give this a try.
gooorgeous!!!<3
http://unasrandomfashion.blogspot.com/
http://unasrandomfashion.blogspot.com/
http://unasrandomfashion.blogspot.com/
can’t believe this! too awesome! where did you get the idea from??
http://somethinglikecreativity.blogspot.co.at/
I can’t believe it is so simple. I have always loved rosewater, it is such a pretty fragrance, especially compared to all of the chemically junk available. I will definitely try this the next time my rose bush blooms. Great tutorial, very informative, and fun!
http://fashionananthropologicalpointofview.blogspot.ca/
Wow!!!!!! I will definitely try this one!!!!
if you’re not diy inclined…
http://www.amazon.com/Cortas-Rose-Water-10-oz/dp/B000LQL9M6
This reminds me of the brick I have saved where I bugged my bf to get me a brick from his job site to do this. I love how simple this tutorial is. Thanks for the inspiration. BTW Thanks Anna for the tip, def something to consider.
It is beyond nice! actually kind of humbling,friendship bracelet
because I so rarely make any actual finished objects, myself.
It’s usually just samples, samples, samples.
But I do want to braid a necklace for that pendant
I bought off your recent post of New Mexico etsy’ers…It just came, and I really like it.
Wow! I love this idea! It’s so actually DOABLE too! Definitely going to be giving this a shot.
Rachel – turborachelfitness.com
Amazing! I love anything rose scented!
xo, Kelsey
http://www.trashtotrend.blogspot.com
I agree with Anna you should not use commercially grown roses because of the chemicals.
Only use homegrown roses and make sure you dont live in an air polluted city.
Here over in Holland you can buy rose water/ aroma and other flower waters from the arabic shops.
They are not expensive € 1.25 is like $3 and the most suprising thing. Because it safe ! You can also use it for cooking especially when your making cupcakes!!! Hva efun
i was thinking about this.can i make it at home? and ur idea is really amazing.thanks
i m ging to try this bye
This is a great blog. I have to say it feels like my blog has found it’s far more grown up twin.
I’m definitely doing the same as the other lady and trying this idea with my lavender
just tried it out, got really good results!
thank you
xxx
Great idea! I would love to try this, but, one question: What is the brick for and will it damage the pot?
I don’t recommend using a brick for this. While you do need something heavy and non-buoyant to hold up the small bowl, a brick that may or may not contain hash chemicals isn’t the best choice. Especially for those who are concerned with the chemicals used on commercial roses. If anyone has a better suggestion to the brick, that would be awesome. I don’t want to expose my skin (or my expensive pots) to whatever is in a brick. Otherwise, awesome DIY.
Hi there. I have heard if you distill in this way many sites are saying it should last up to a year in the fridge?
There are many benefits of rose water. It is beneficial for skin, hair and eyes. you can buy rose water online on purvari.com