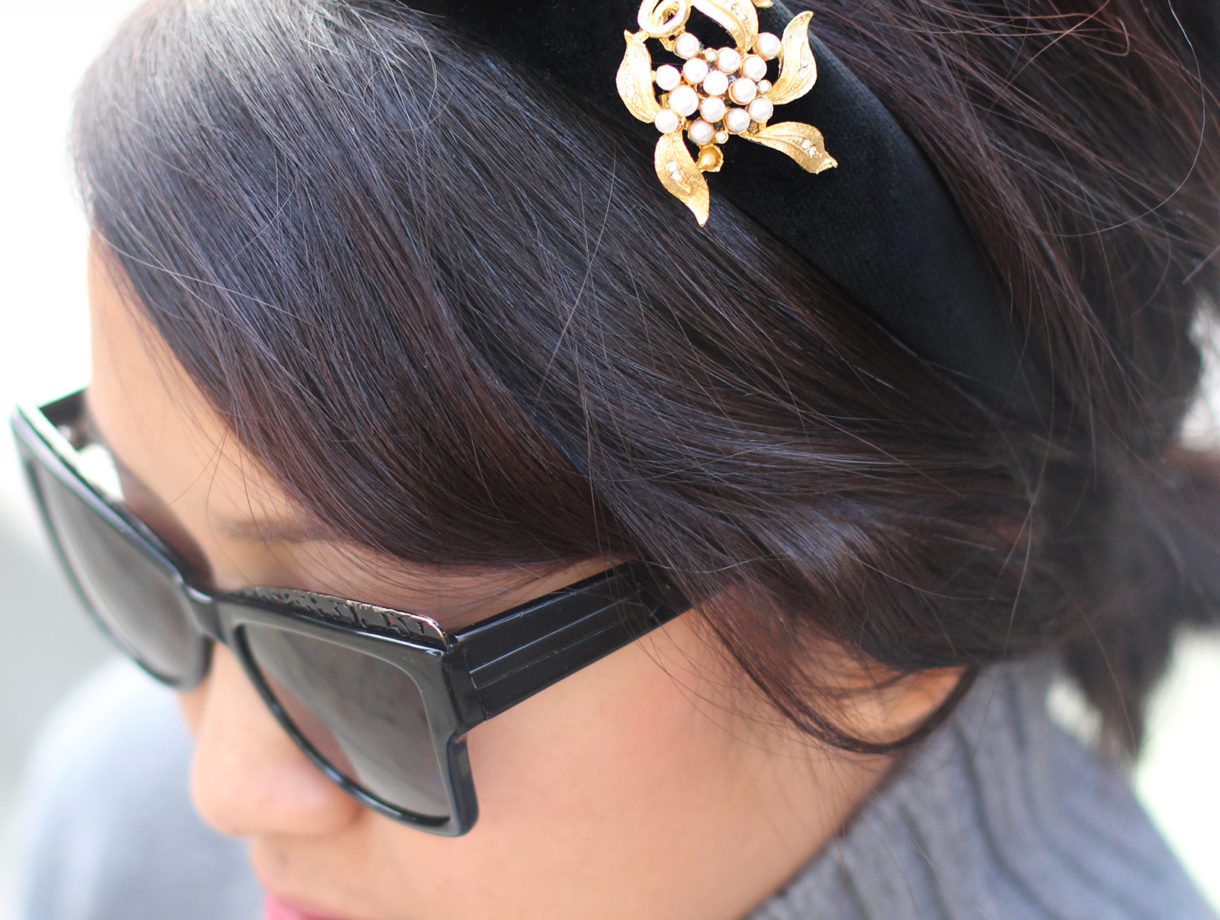
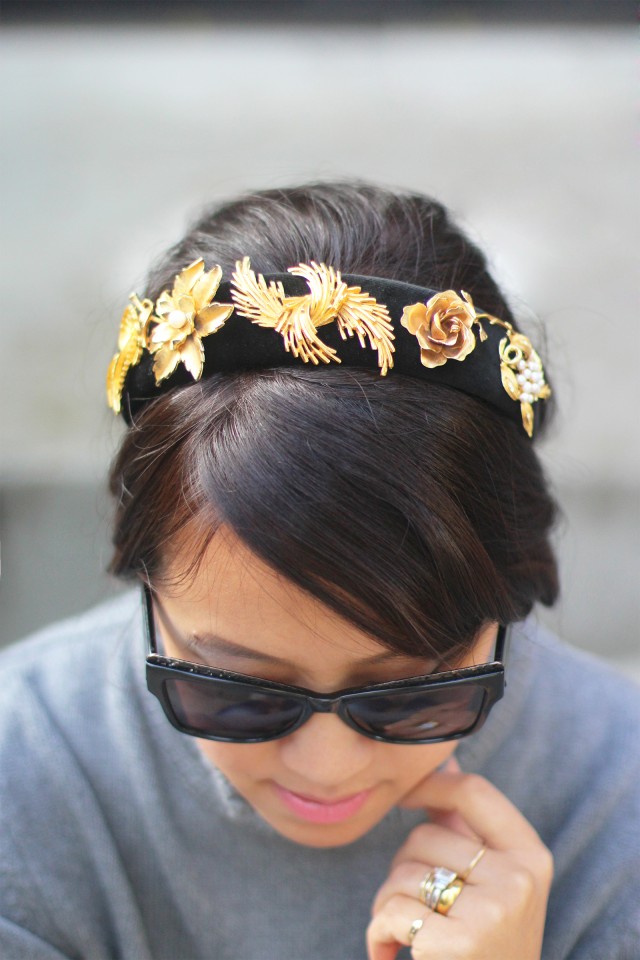
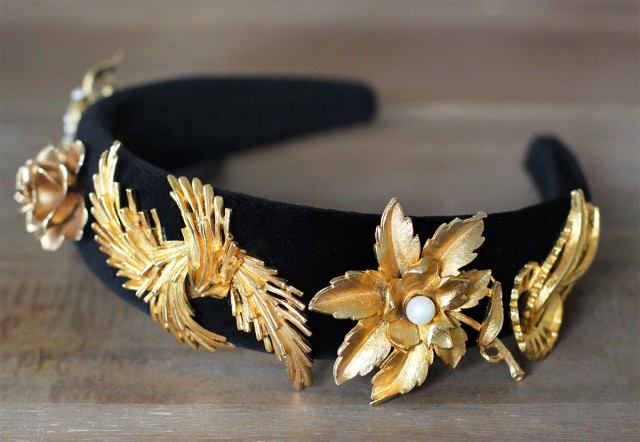
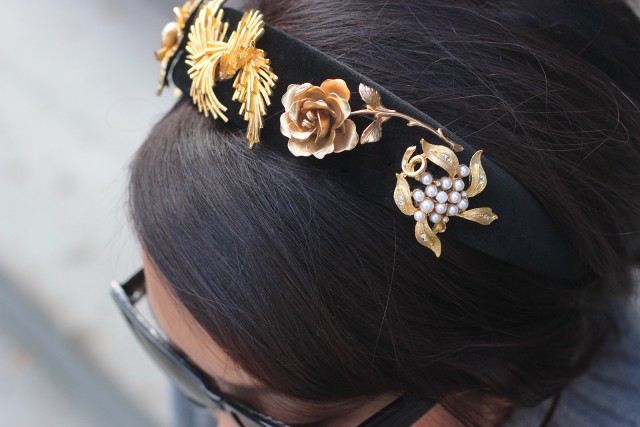
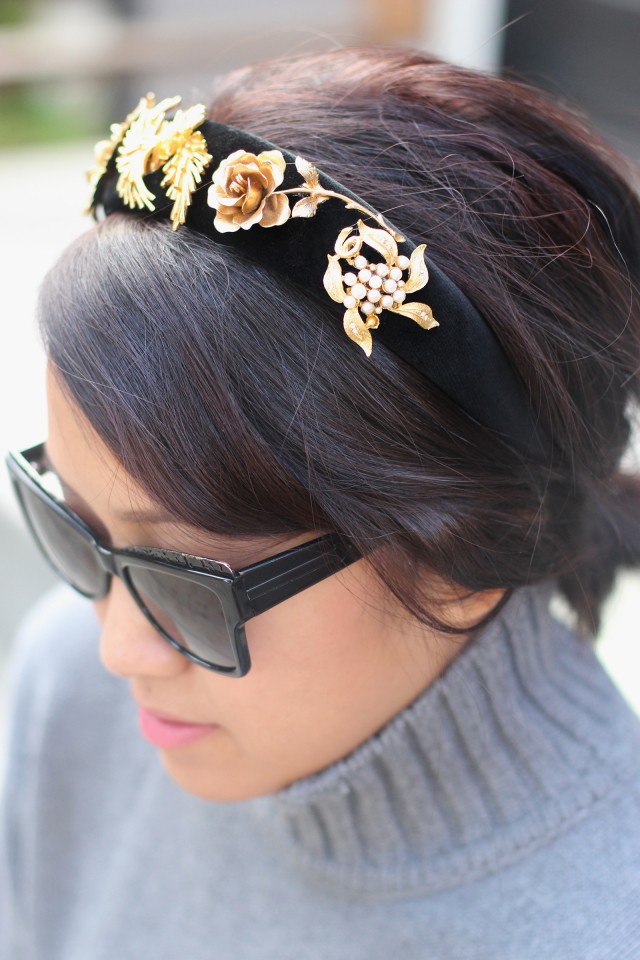
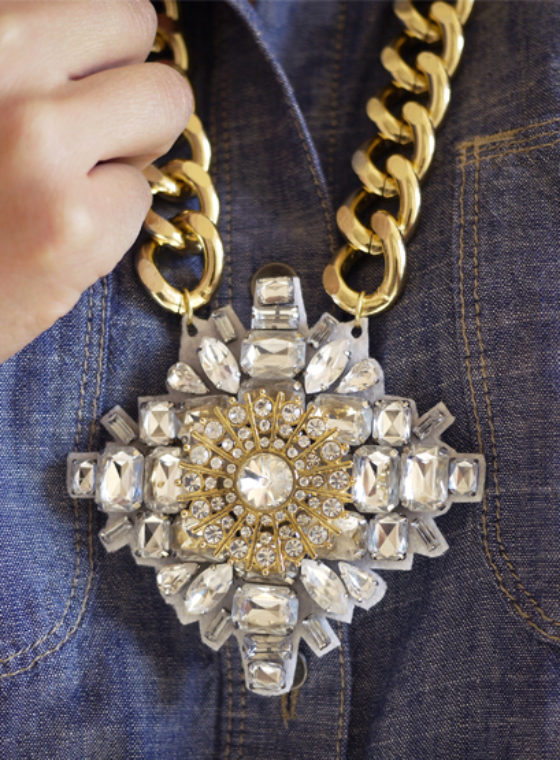
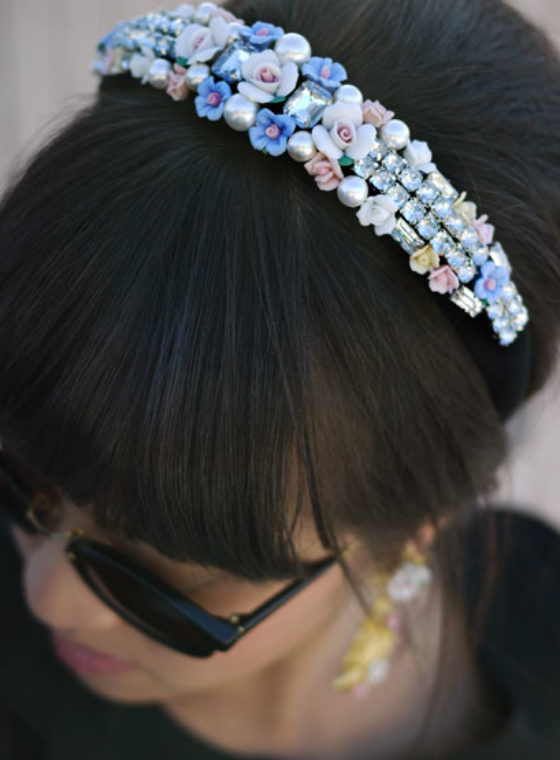
Domenico Dolce & Stefano Gabbana are masters at exuding that aspirational gioia di vivere. This season, they charmed us once again by celebrating the Italian famiglia with mamas confidently walking down the runway with short tunic shifts and midi dresses sweetly embroidered with red roses and children’s drawings. Of course it wasn’t all without an abundance of spectacular, swoon worthy accessories like bejeweled plexi box handbags, pumps with lipsticks embedded in the heel, crystal covered headphones and heirloom brooches nestled in the hair. Oh mamma mia, the brooch adorned headbands! We simply couldn’t resist trying our hand at recreating the headbands – the quintessential Dolce & Gabbana hair accessory.
You’ll need:
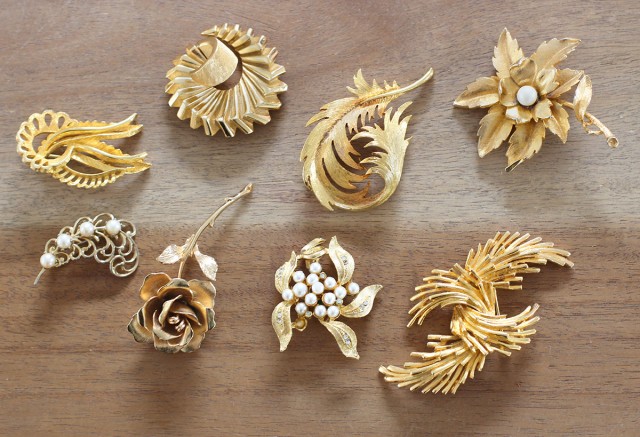
- an assortment of vintage brooches
- 1 1/2″ velvet headband
- E6000
- wire cutters
- toothpick
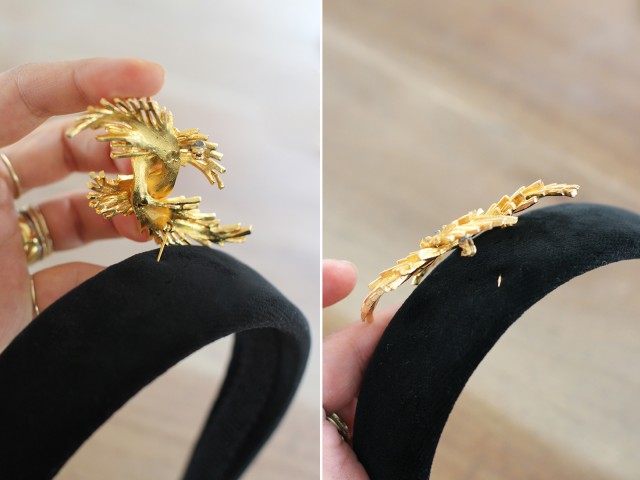
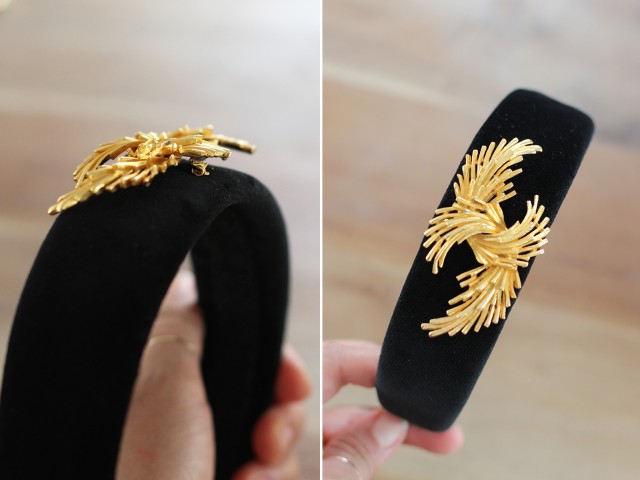
If you are working with a padded, velvet headband and you want to preserve your brooches, you can simply pin the brooches onto the headband. It can be tricky getting the brooch pin through the headband but if you slightly bend the pin upwards, you can cheat it and have the tip come out the other side easier.
So all you would need to do is fasten the brooch and continue adding the rest of the brooches. A temporary solution and all your vintage brooches stay in tact!
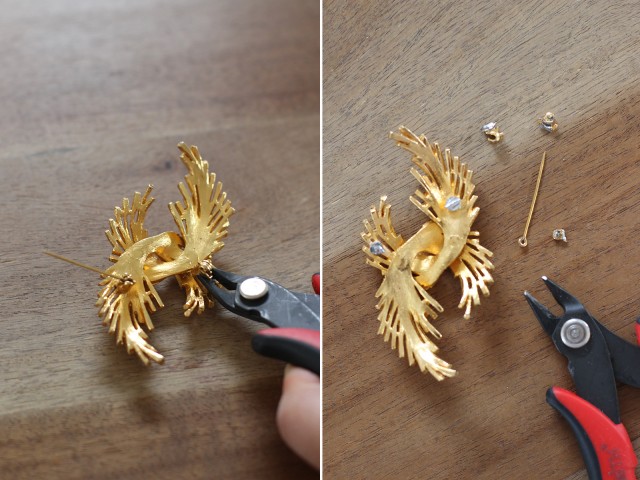
But if you’re like me and have an abundant collection of super inexpensive brooches, then you can remove the pins and permanently glue them onto the headband. All you need is a pair of wire cutters to snip off the pins – you’ll be surprised how easily they come off!
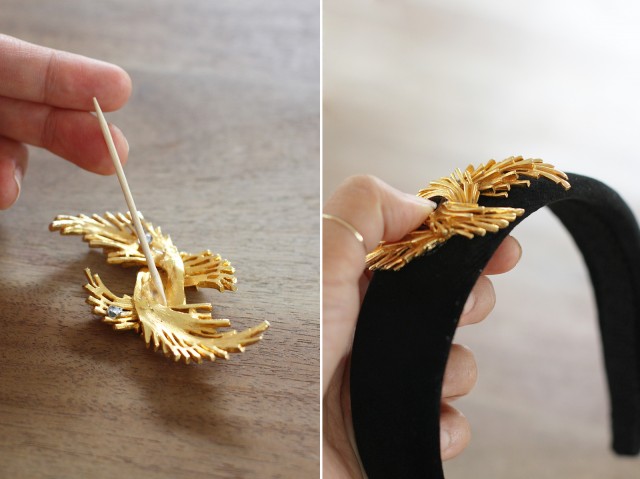
Use a toothpick to add a nice dollop of E600 glue to the backside. Firmly press the brooch onto the headband. You can hang it off the edge of a box to dry for at least an hour.
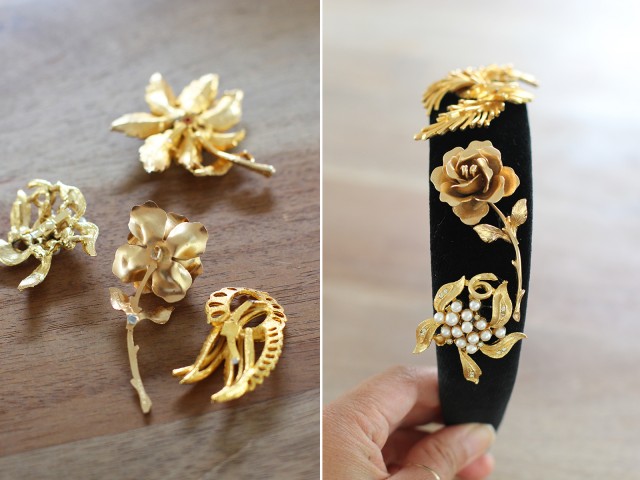
Meanwhile, remove the backings off the rest of the brooches. Add two more to one side of the headband and allow to dry for a couple of hours before working on the other side. Again, you can carefully hook the headband off the edge of a box to dry. Repeat the steps on the other side.
Let the headband set and dry for at least 24 hours before wearing.
(images by HonestlyWTF)
Such a great way to use antique broaches! Love it!
xo
Michaela
http://michaelajeanblog.com
http://www.esty.com/shop/MichaelaJeanArt
I have so many beautiful brooches from family. This is a great way to keep the memories without looking outdated. Thanks for idea! 🙂
Yvonne
Dear Sunny
Great idea, I love the way it looks too x
eleanor’s adventures // UK Fashion & Beauty Blog
This look so nice !
http://www.fruityandpassion.com/2015/03/final-day-of-lfw-hakaan-yildirim.html#more
Definitely going to give this a try!
http://sincerelyrenay.blogspot.com/
I love your blog and found this beautiful idea.
Xoxo
Jaque
http://www.quebreiaregra.com.br
It is absolutely piece of art! Well done!
Very elegant hair details.
http://www.inatrendytown.com
This looks so stunning! Can add jazz to just about any outfit.
Namrata
http://seasoncheck.blogspot.com
What an awesome idea!! This is gorgeous!
http://crafternooncabaretclub.com
Lovely DIY headband. Thanks for the tutorial.
I shared this post on my site.
I absolutely love embellishment at the moment! This is just perfect to jazz up a simple outfit – will have to try this out tomorrow!
Thank you!
Kiren
highheelshighhopesblog.blogspot.co.uk
I absolutely love this idea! That headband is simply beautiful!
xo
styleontheside.com
Lovely,
Great idea!
Bisous,
Melie
http://www.lubiejewelry.com
That’s really cool! I recently did my own attempt at this Dolce & Gabbana jeweled tiara too, but mine is a bit different as I sewed some buttons at the headband.
Here’s the final result if you want to take a look: http://www.somethingfashion.es/2015/07/how-to-dolce-gabbana-jeweled-headband.html
Hope you like it!
Amanda
Amazing way to up cycle old brooches! 🙂 I love up cycling DIYs- do quite a few for my blog hapinesswherever.wordpress.com
Just included this in my top 3 hair DIYs:) https://hapinesswherever.wordpress.com/2015/08/20/round-up-best-hair-tutorials/
I like your writing style.
I’m totally in love with those hair accessories. It is quite clear that you are really creative and I like your sense of style. I can’t wait to read more of your posts.
I like the way that you have used the images to drive your point home. It is always a nice thing to read articles from this site.
http://filmexxxadult.com
A very amazing post. Am glad to learn a lot from you. Thank you for sharing this amazing blog.