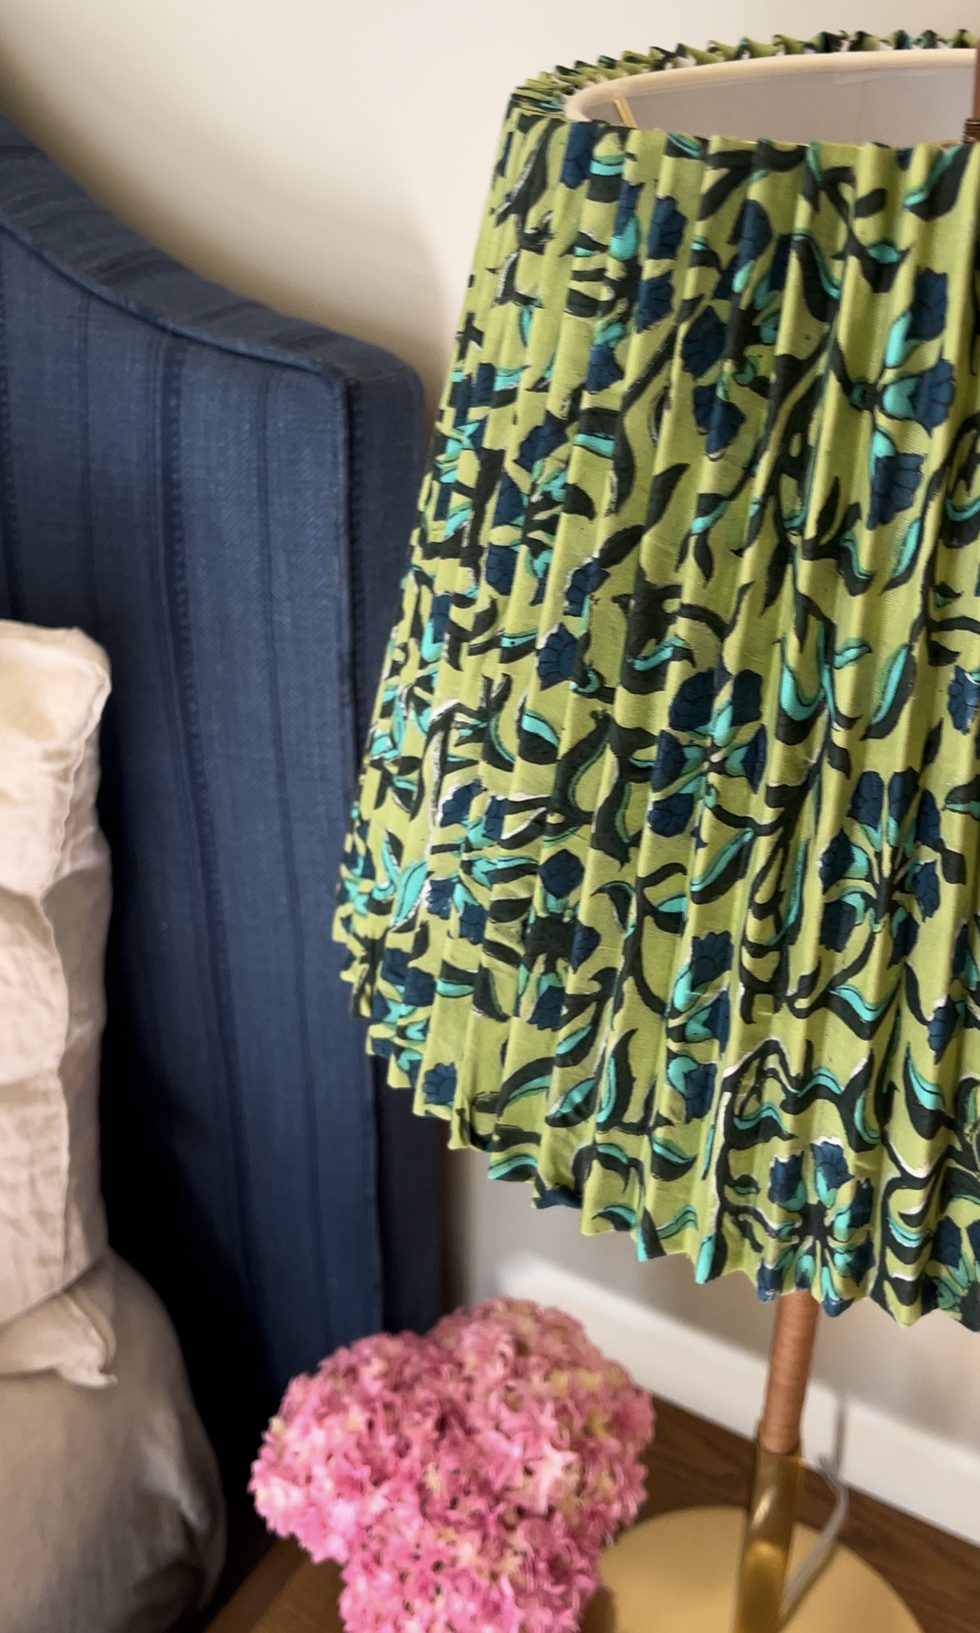
This spring, I finally finished decorating our new guest room and have been reveling in the vibrant patterns and colors that now define the space. However, amidst the newfound charm, one nagging flaw persisted: the stark white bedside lampshades. They seemed out of place, devoid of personality against the room's vibrant backdrop. Naturally, the only way to fix this was to upholster them. I had recently upholstered a set of sconce shades - so how hard could this be?! Turns out, it was actually easier than I anticipated. With just a few simple steps, the lampshades are now infused with the same spirit that permeates the room . . . an instant upgrade!
You'll need
- cotton fabric (busy pattern is preferable)
- pleated lampshade
- spray adhesive
- tacky glue
- fabric shears
- chopstick
- old credit card
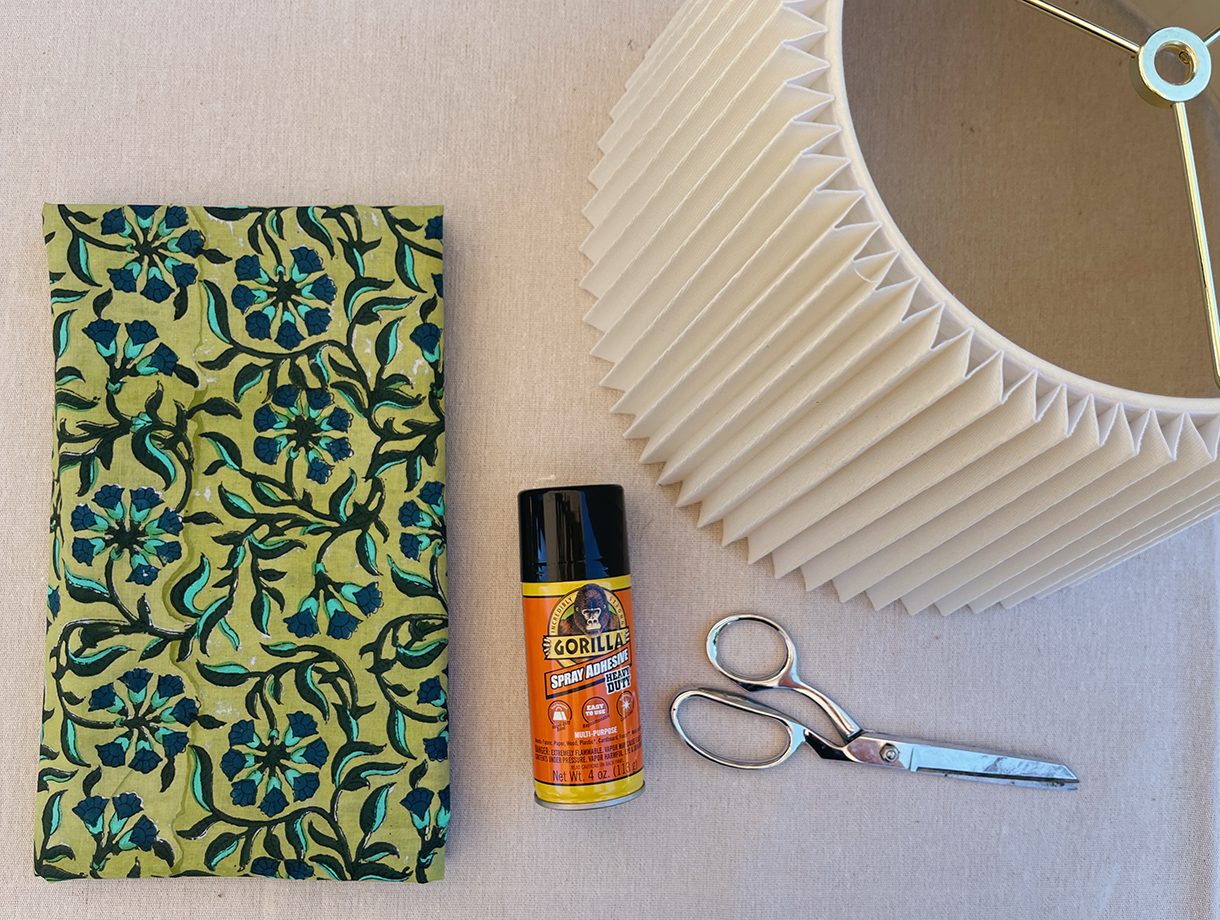
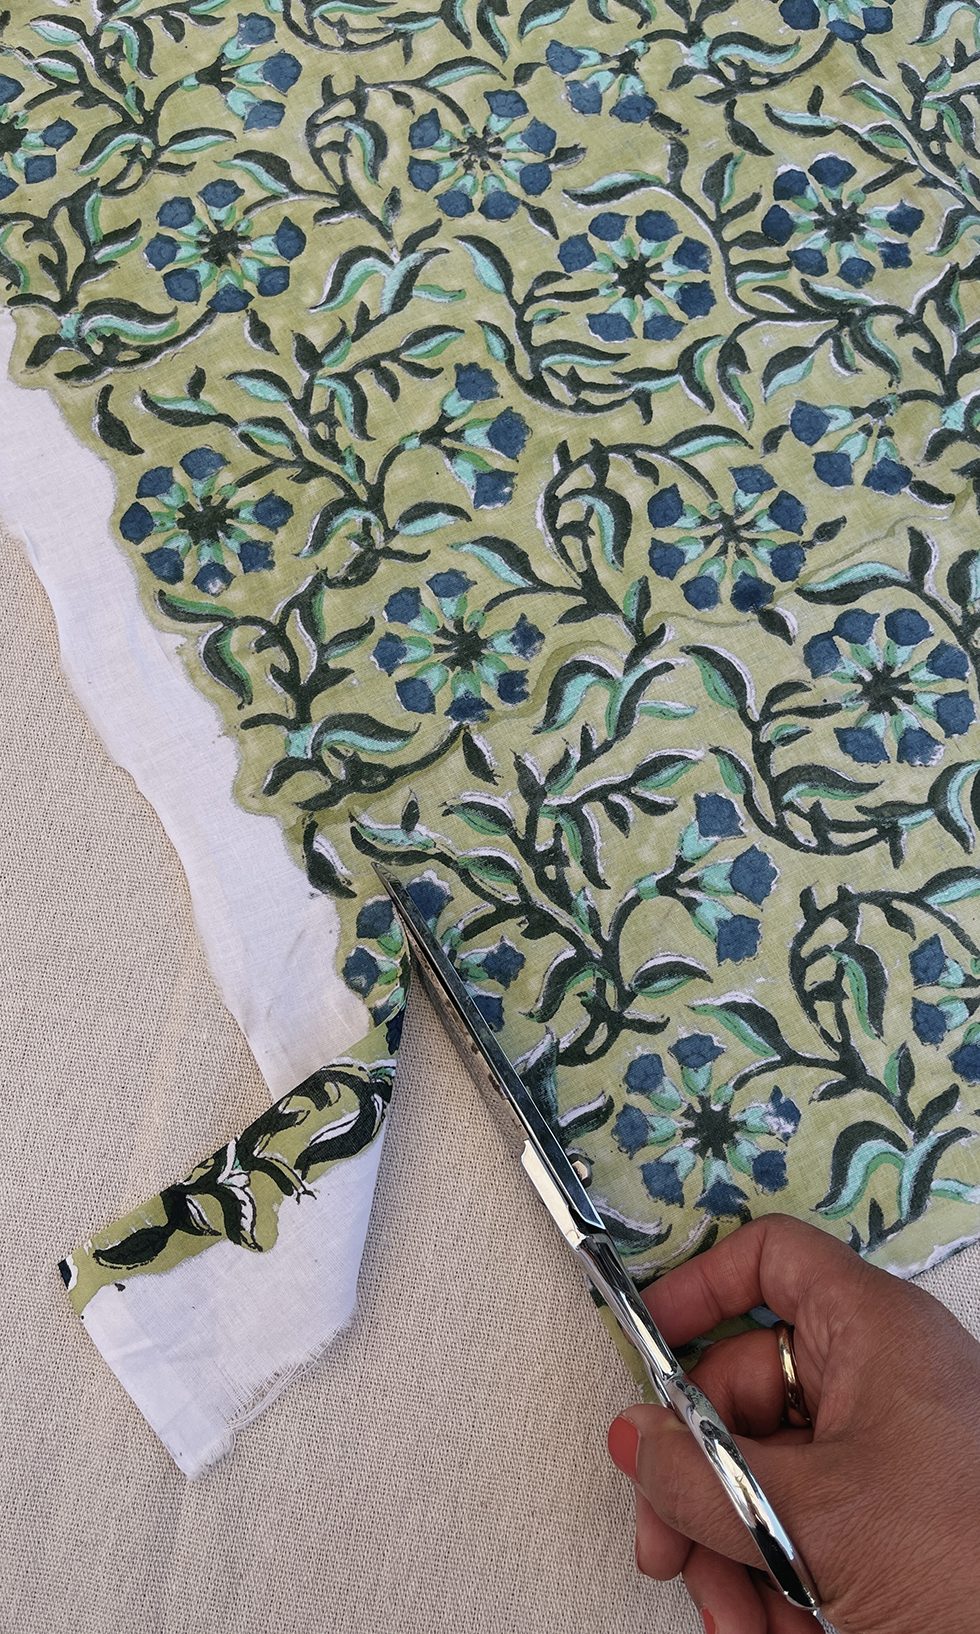
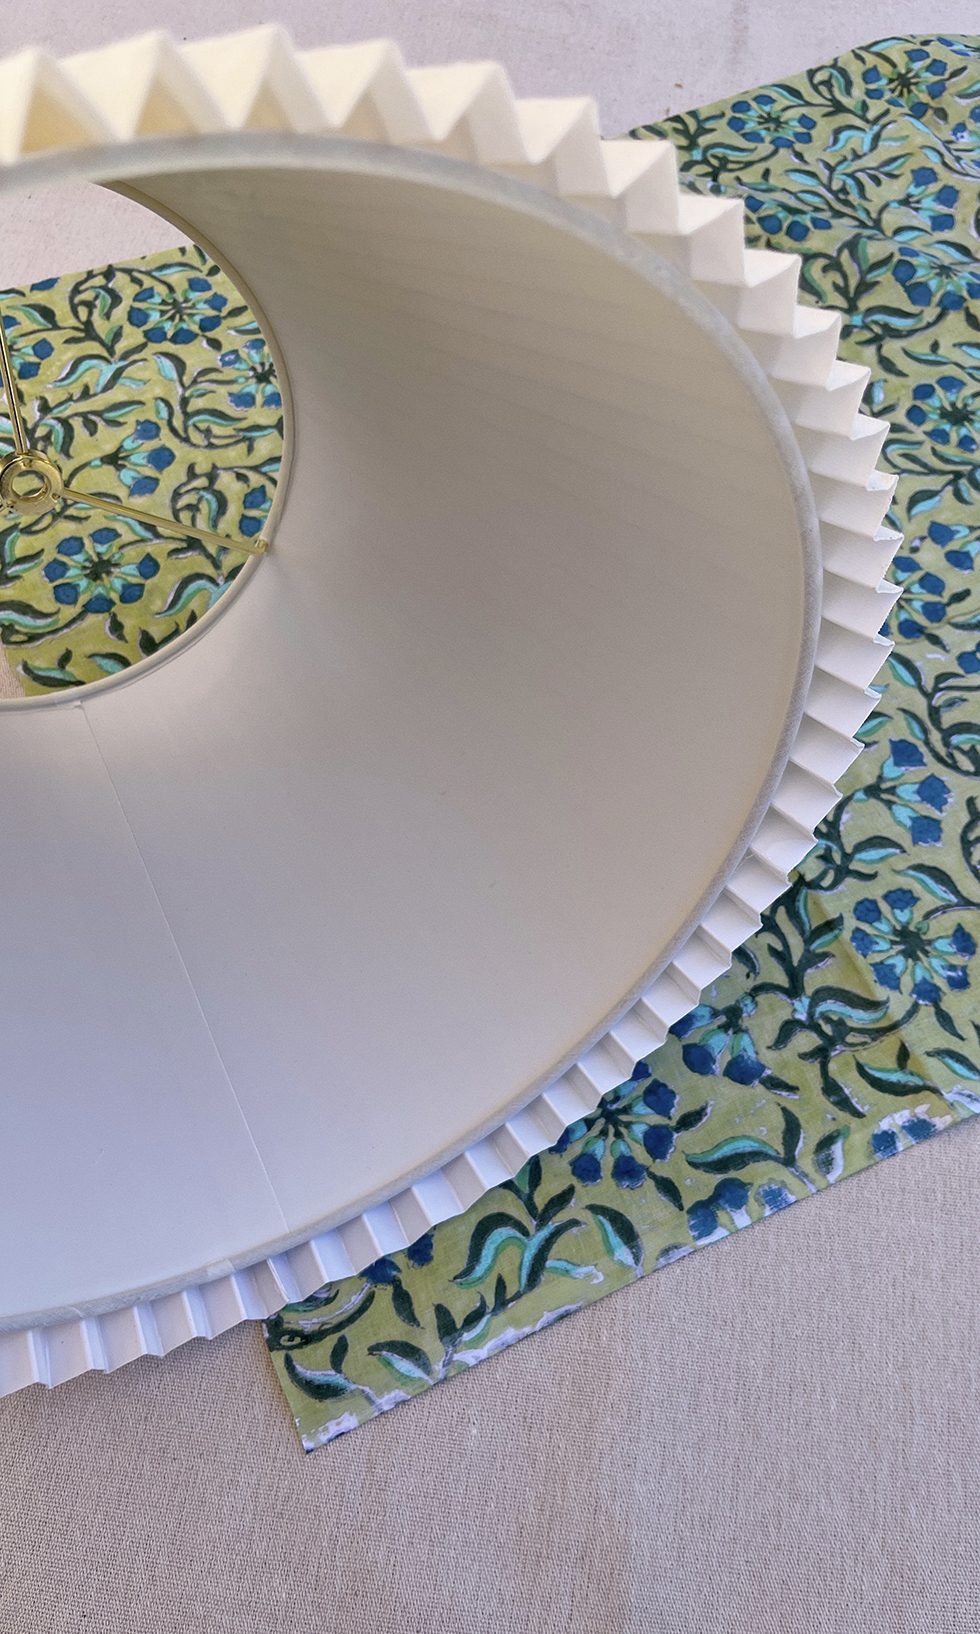
Start by trimming your fabric. You'll want your fabric to be at least 2x the height of your lampshade and 3x the circumference of the widest part. Using your fabric shears, trim the edge of the fabric. You'll want at 1-1.5" of extra fabric on the bottom of the lampshade.
**If you are using a tapered lampshade, as I did, you'll notice that you'll gradually work upwards towards the top of the fabric given its shape. This is okay and you'll need to trim the fabric about halfway through and start with a fresh seam. But don't worry, you won't see it!
***Also, it's very important to work in a well ventilated area, preferably outside.
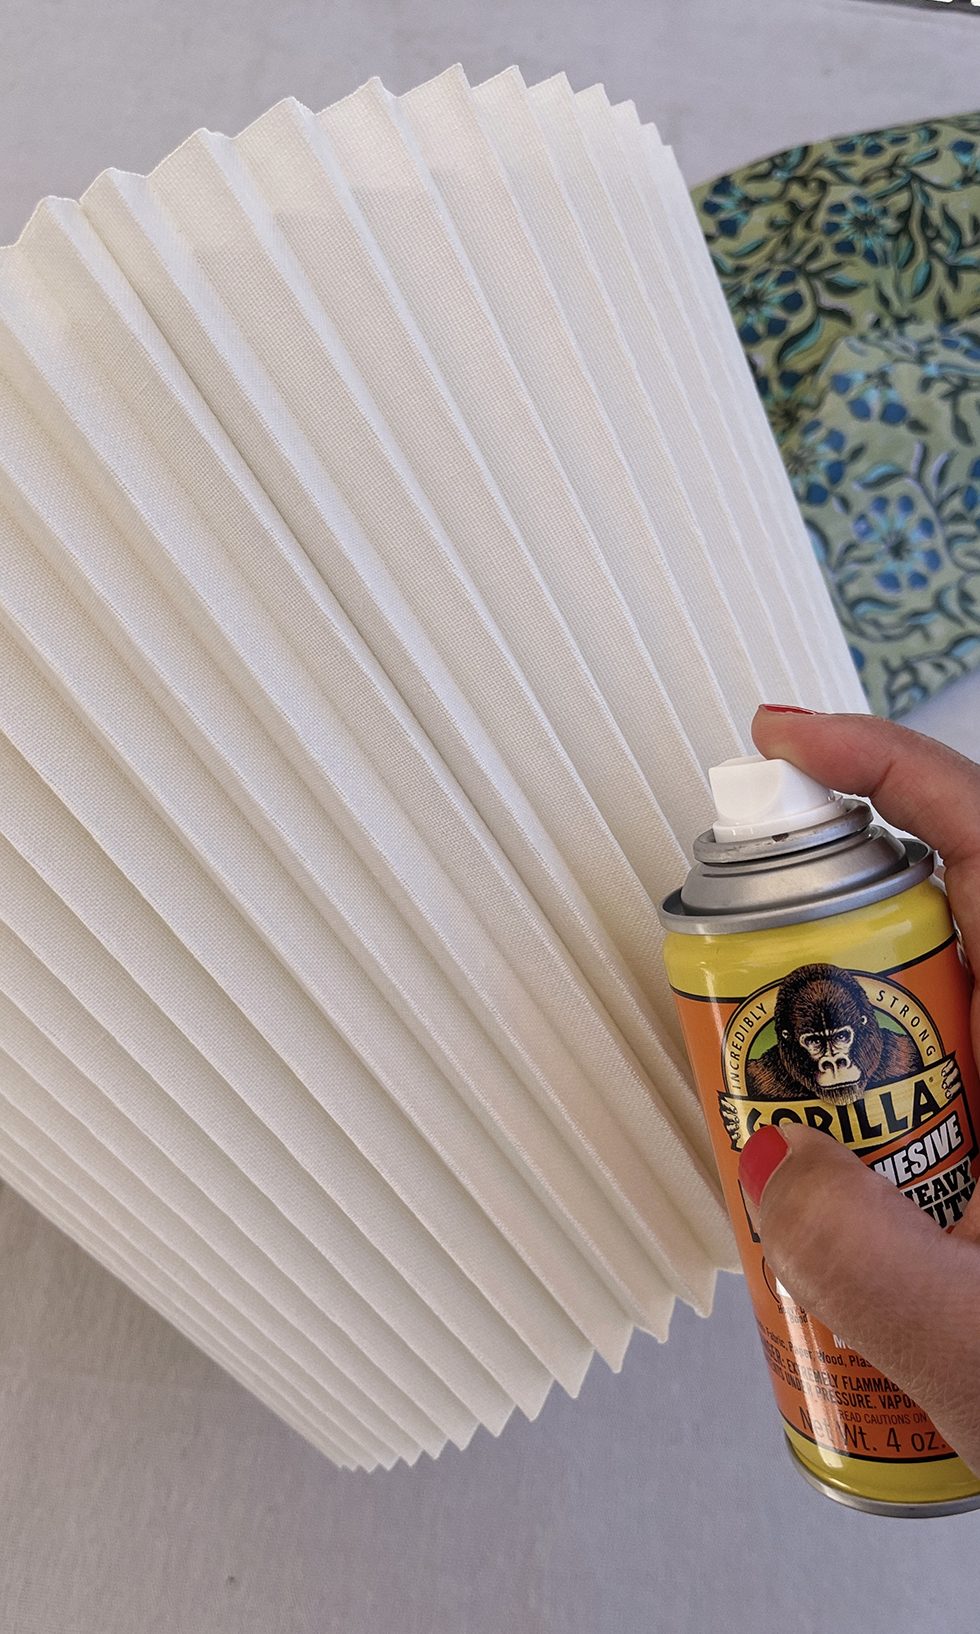
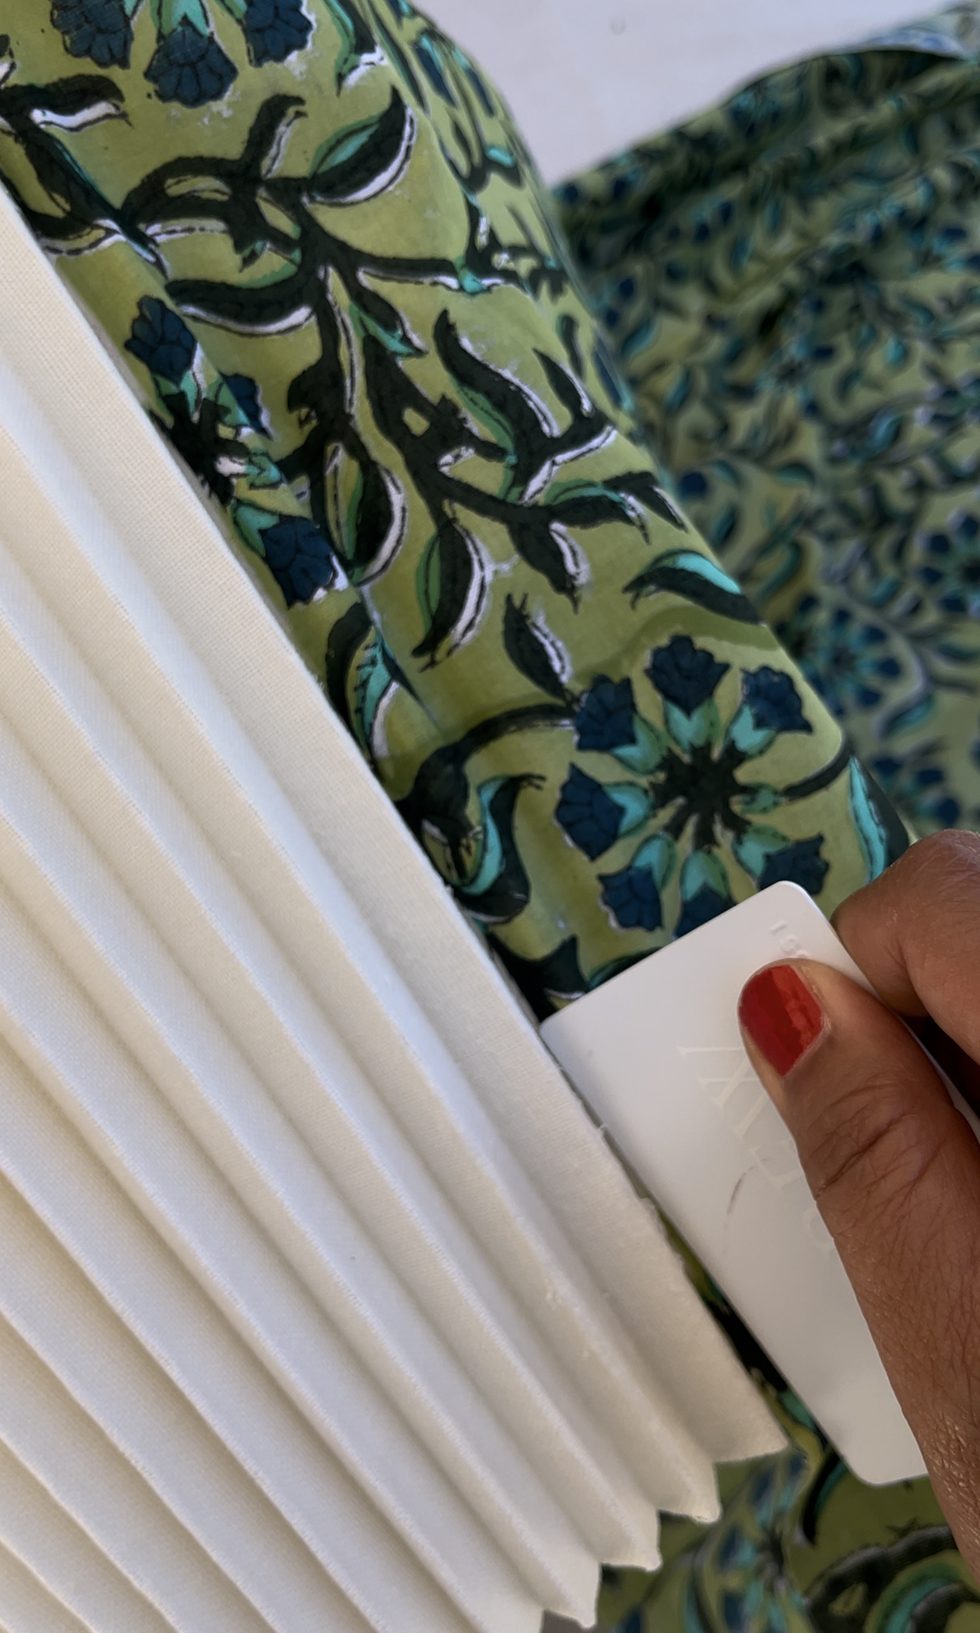
Once your fabric is prepped, spray the spray adhesive on a small section of the lampshade. I like to start at the seam of the lampshade. Let the adhesive set for a few seconds before laying the end of the fabric along the inner crease of the seam. Run an old credit card up and down, along the fabric, pressing it against the lampshade.
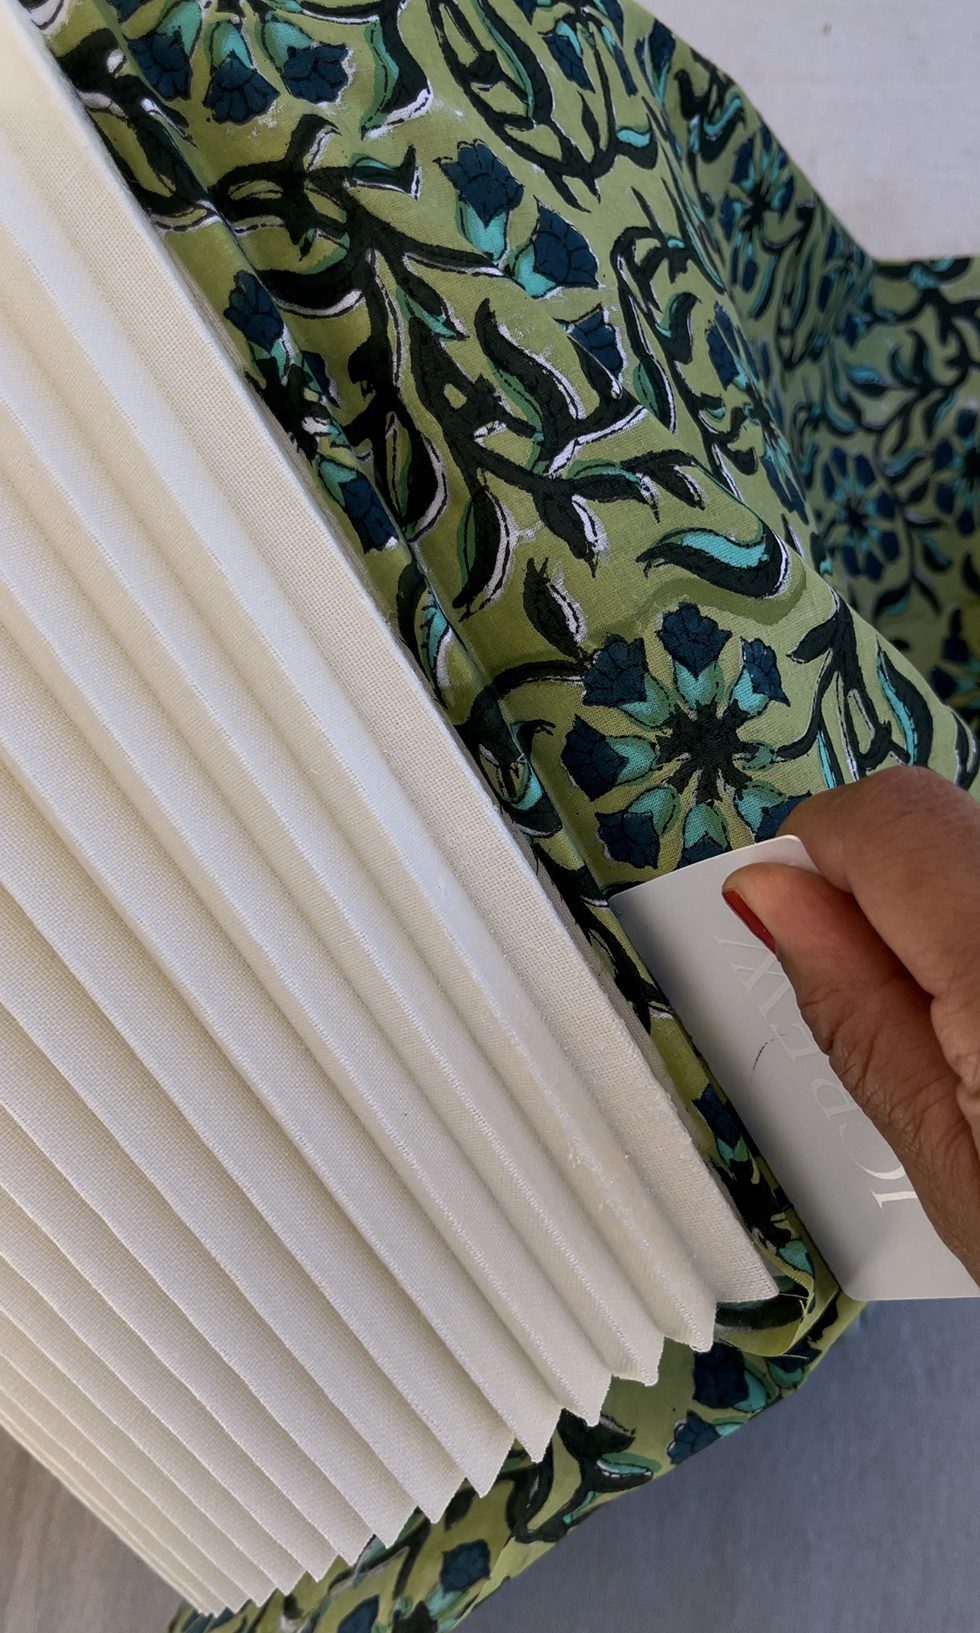
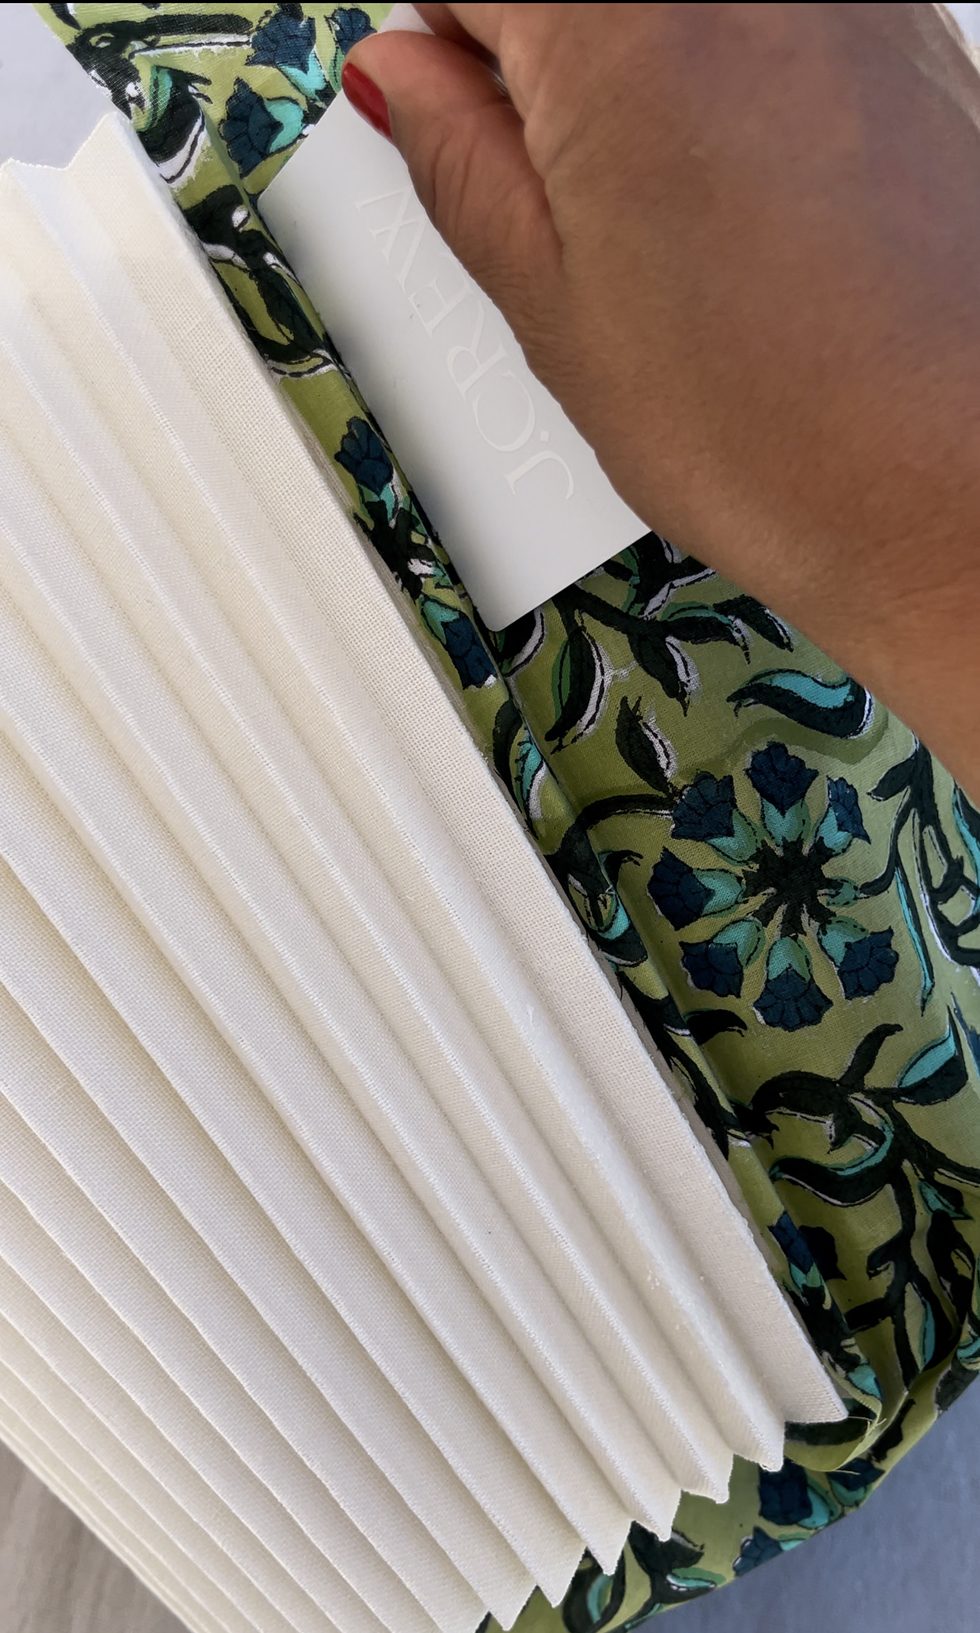
Then, use the card to fold the fabric over the next pleat. I like to start in the middle section and move my way down and then back up again. This prevents the fabric from wrinkling.
**If you see any wrinkles, quickly release the fabric from the shade and reset.
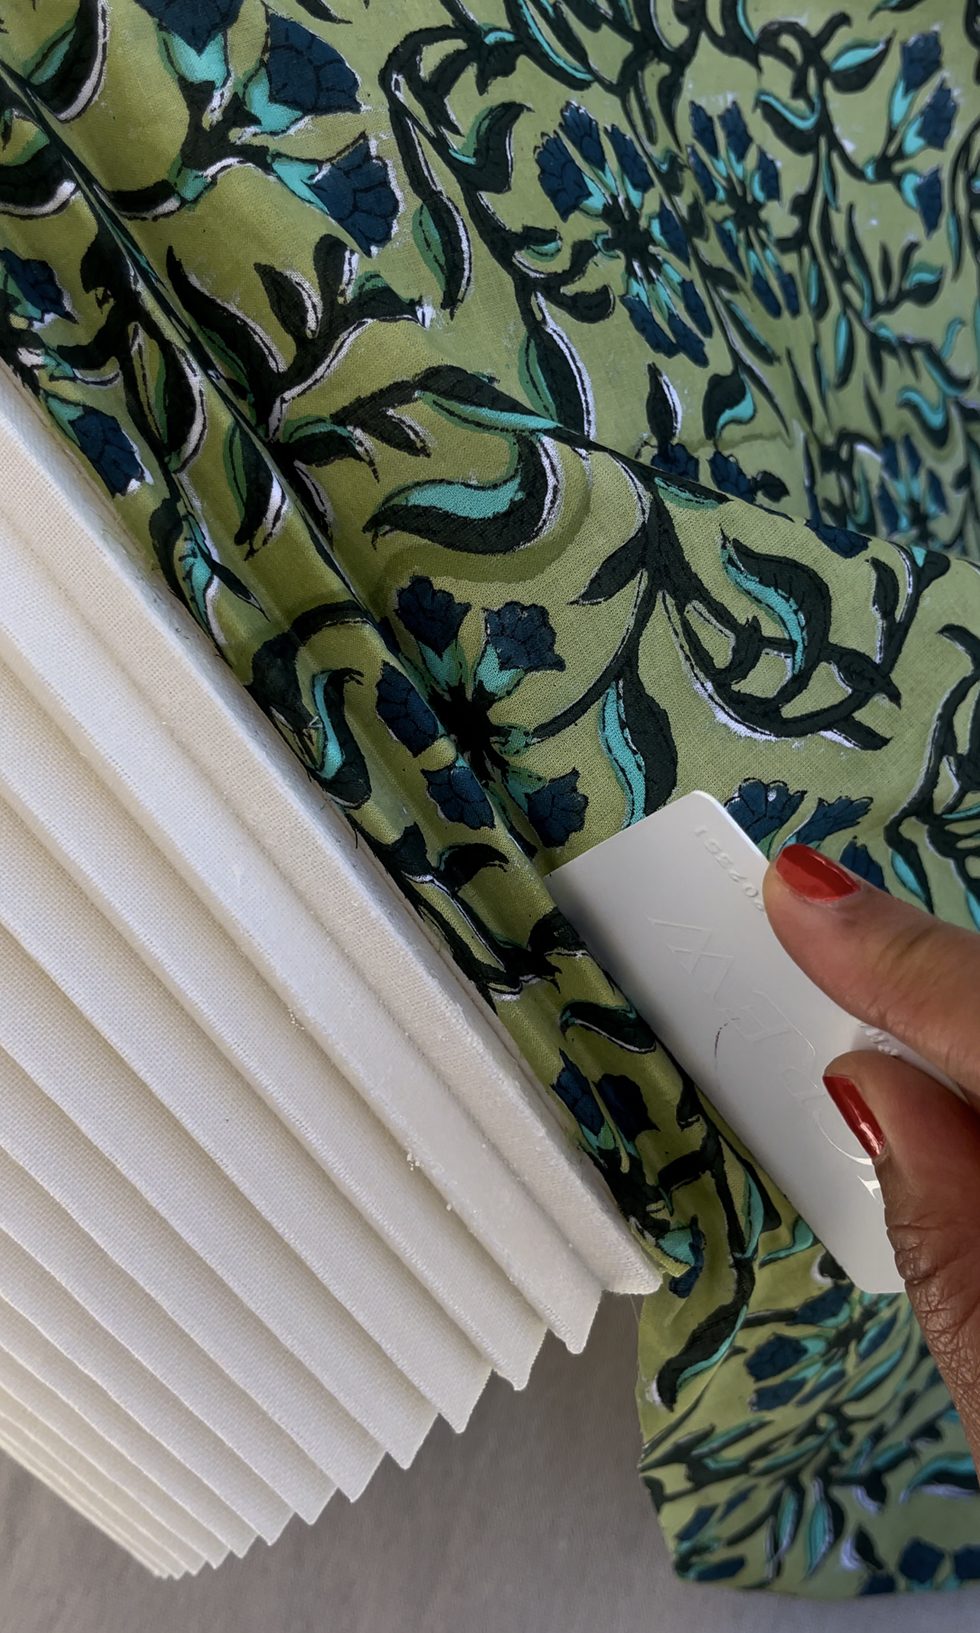
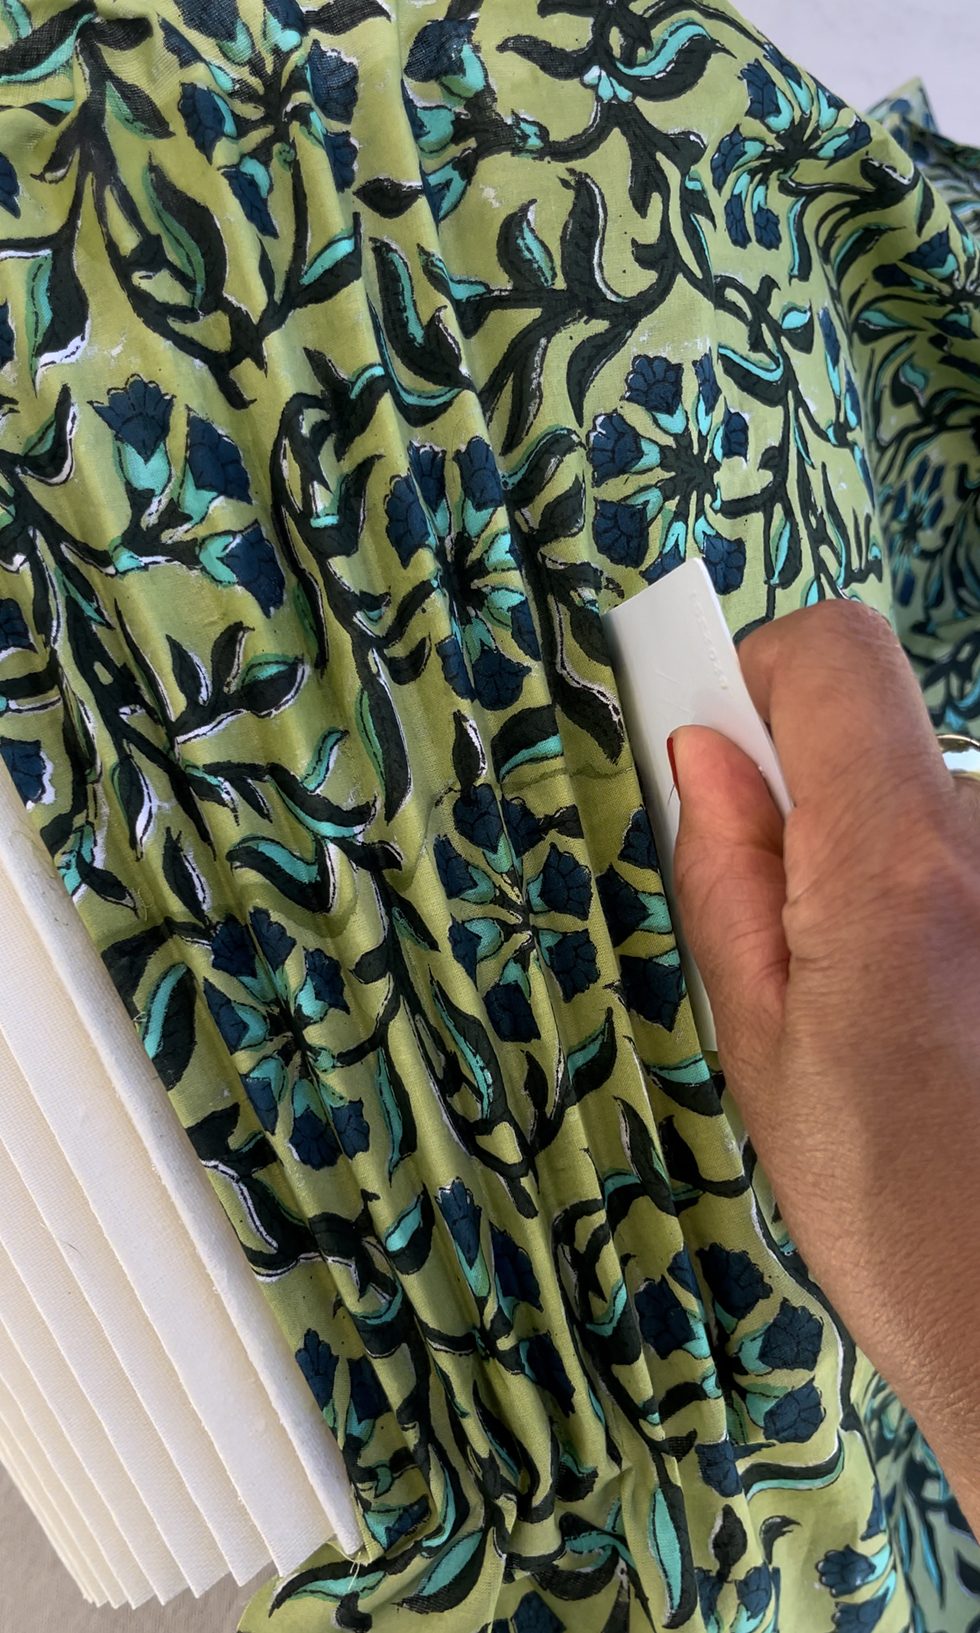
Continue working along the glued sections of the shade.
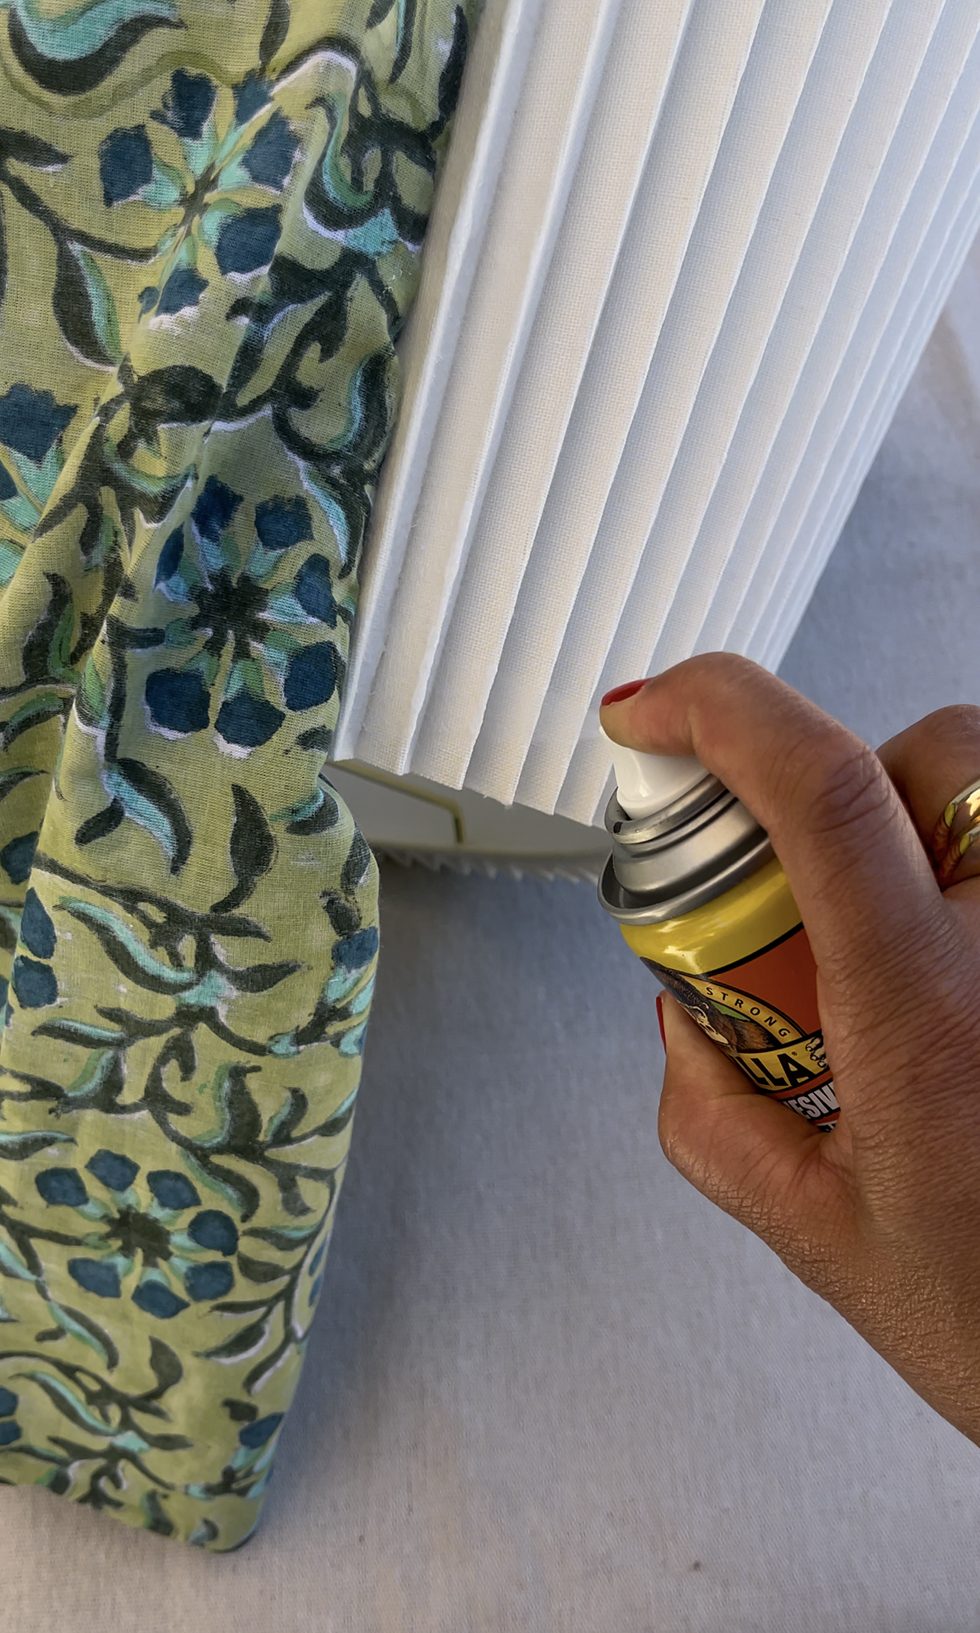
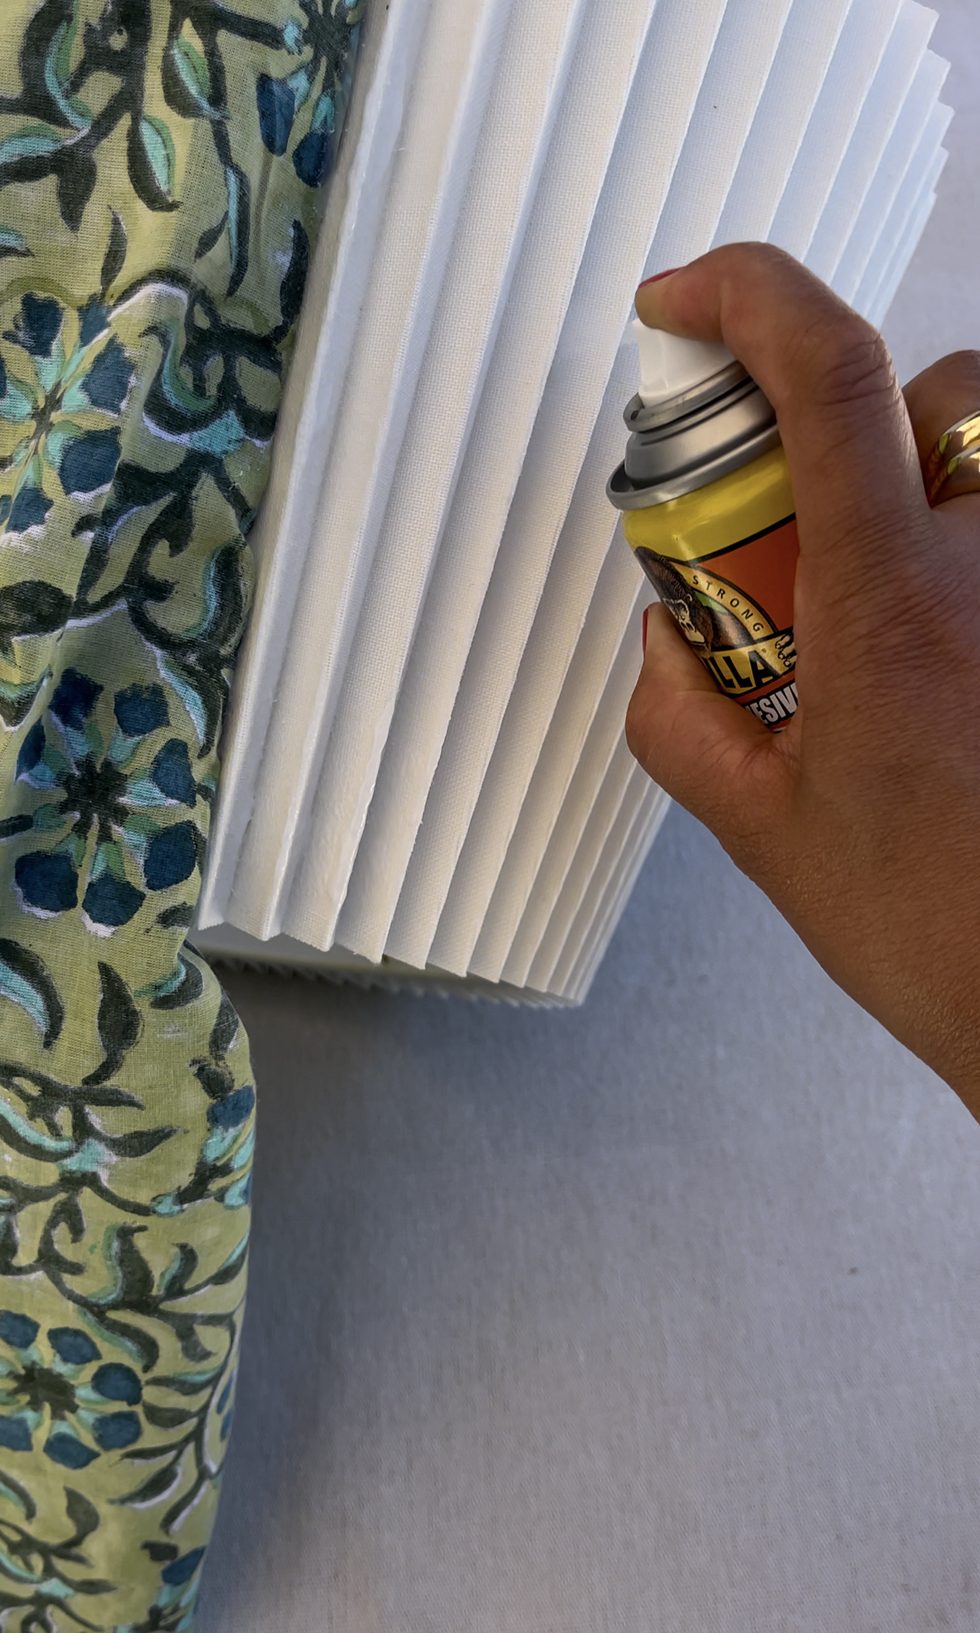
Fold the fabric back and spray on more glue to the next section.
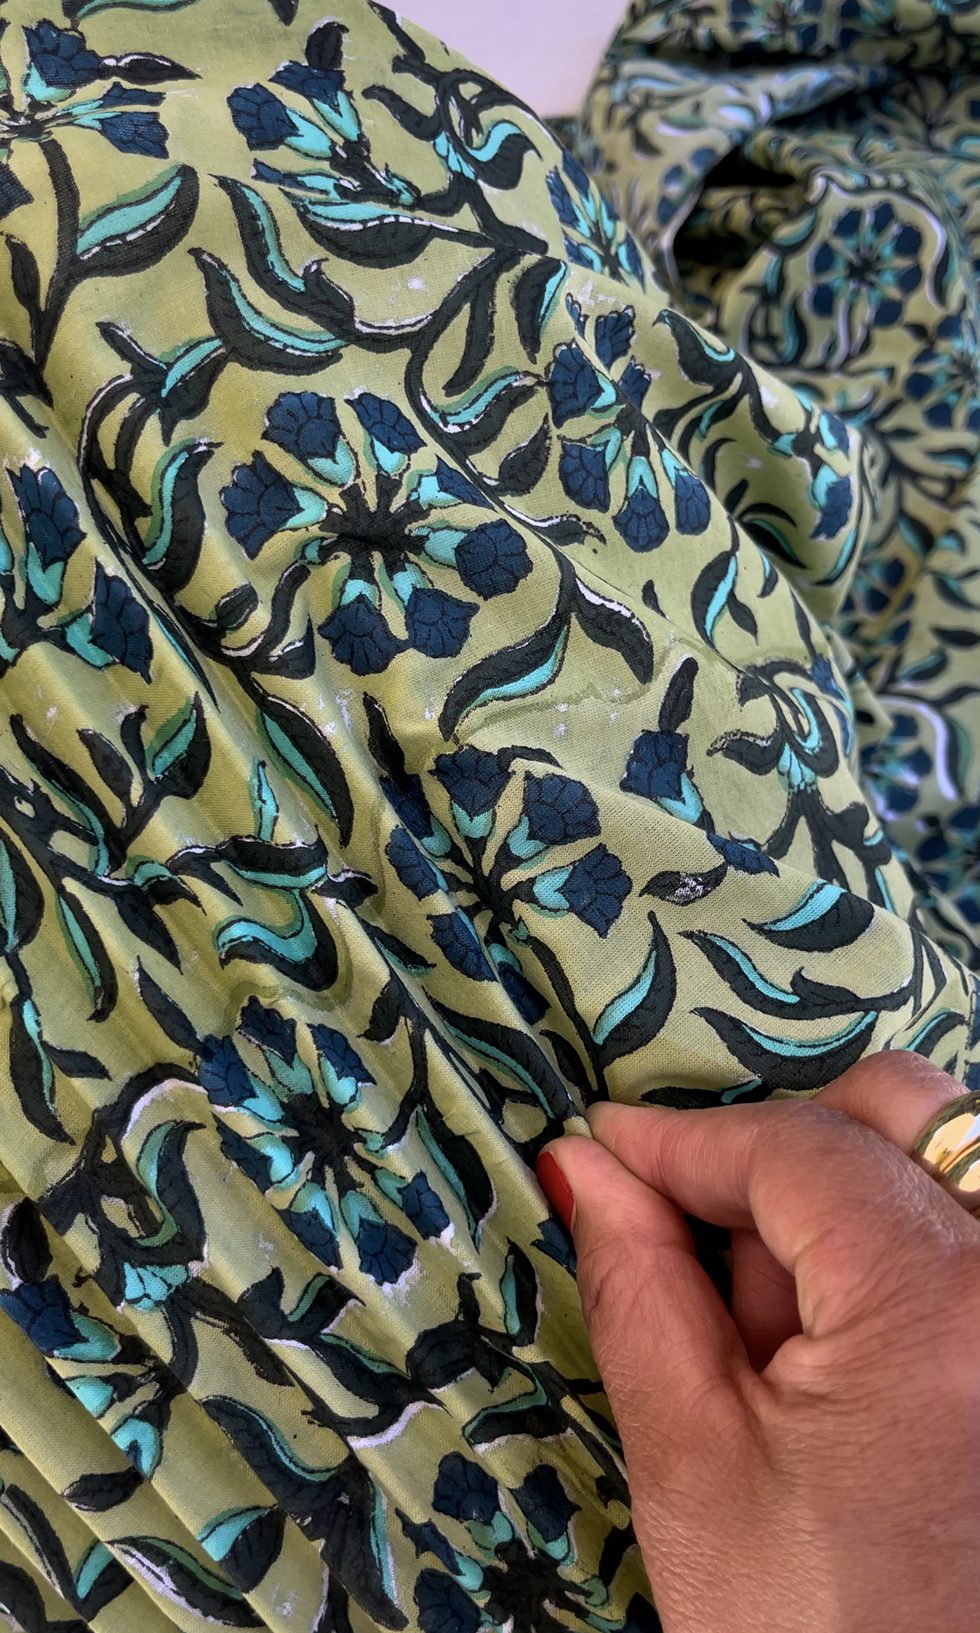
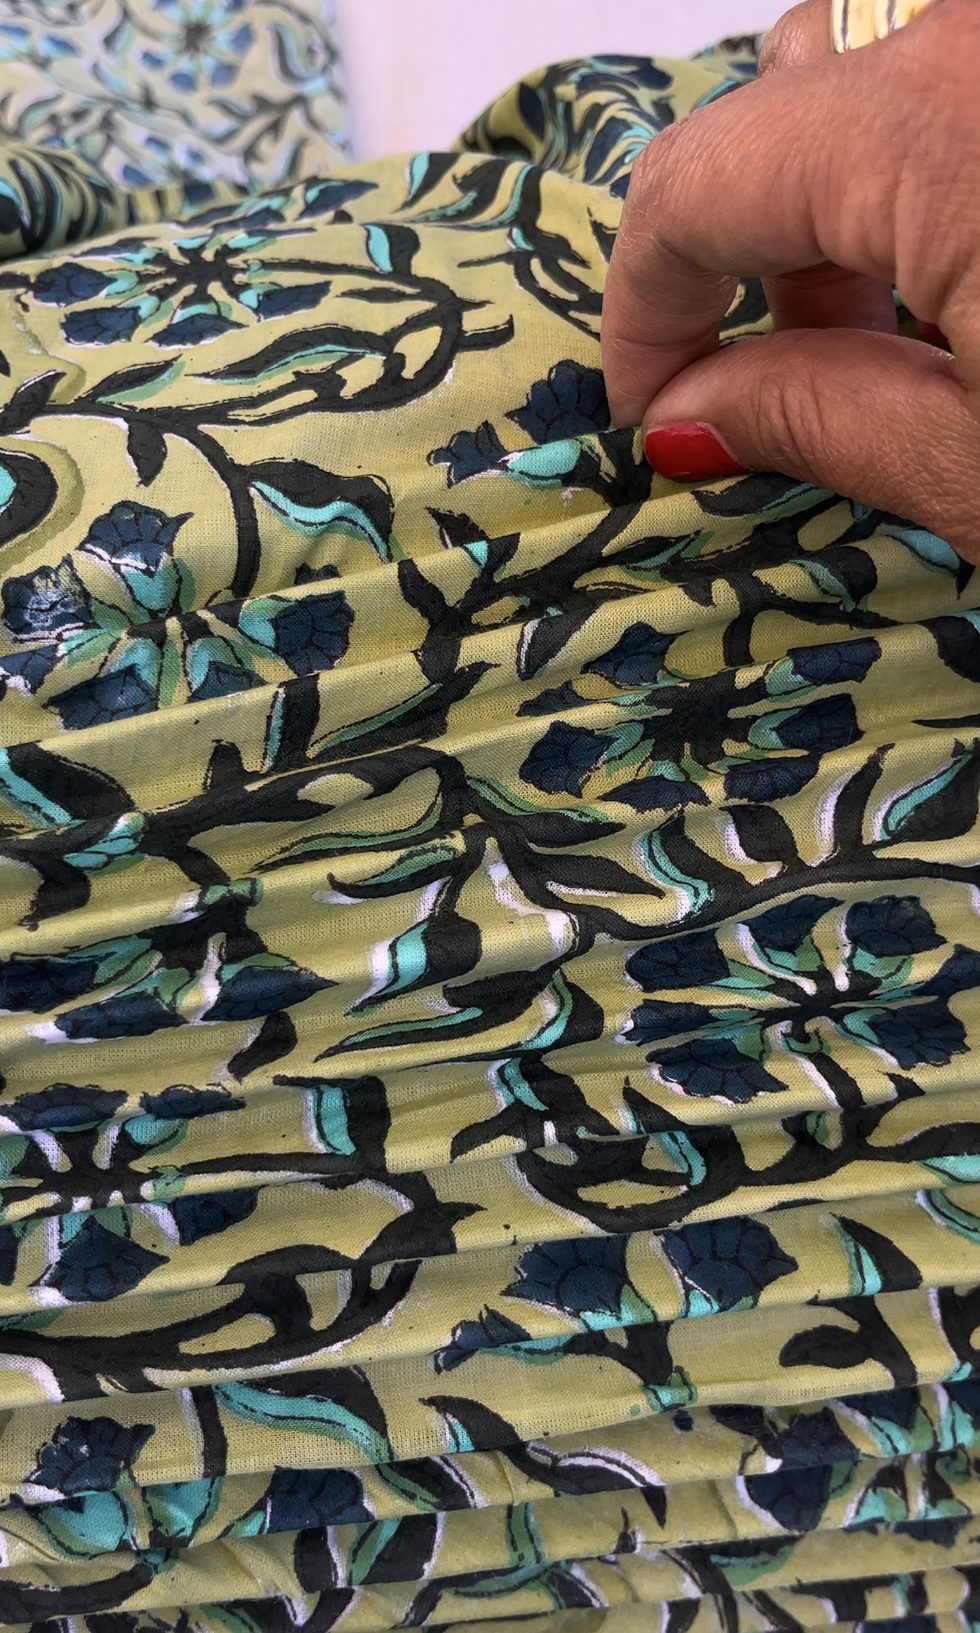
Continue working each section. You could even use your fingers to help reinforce each section.
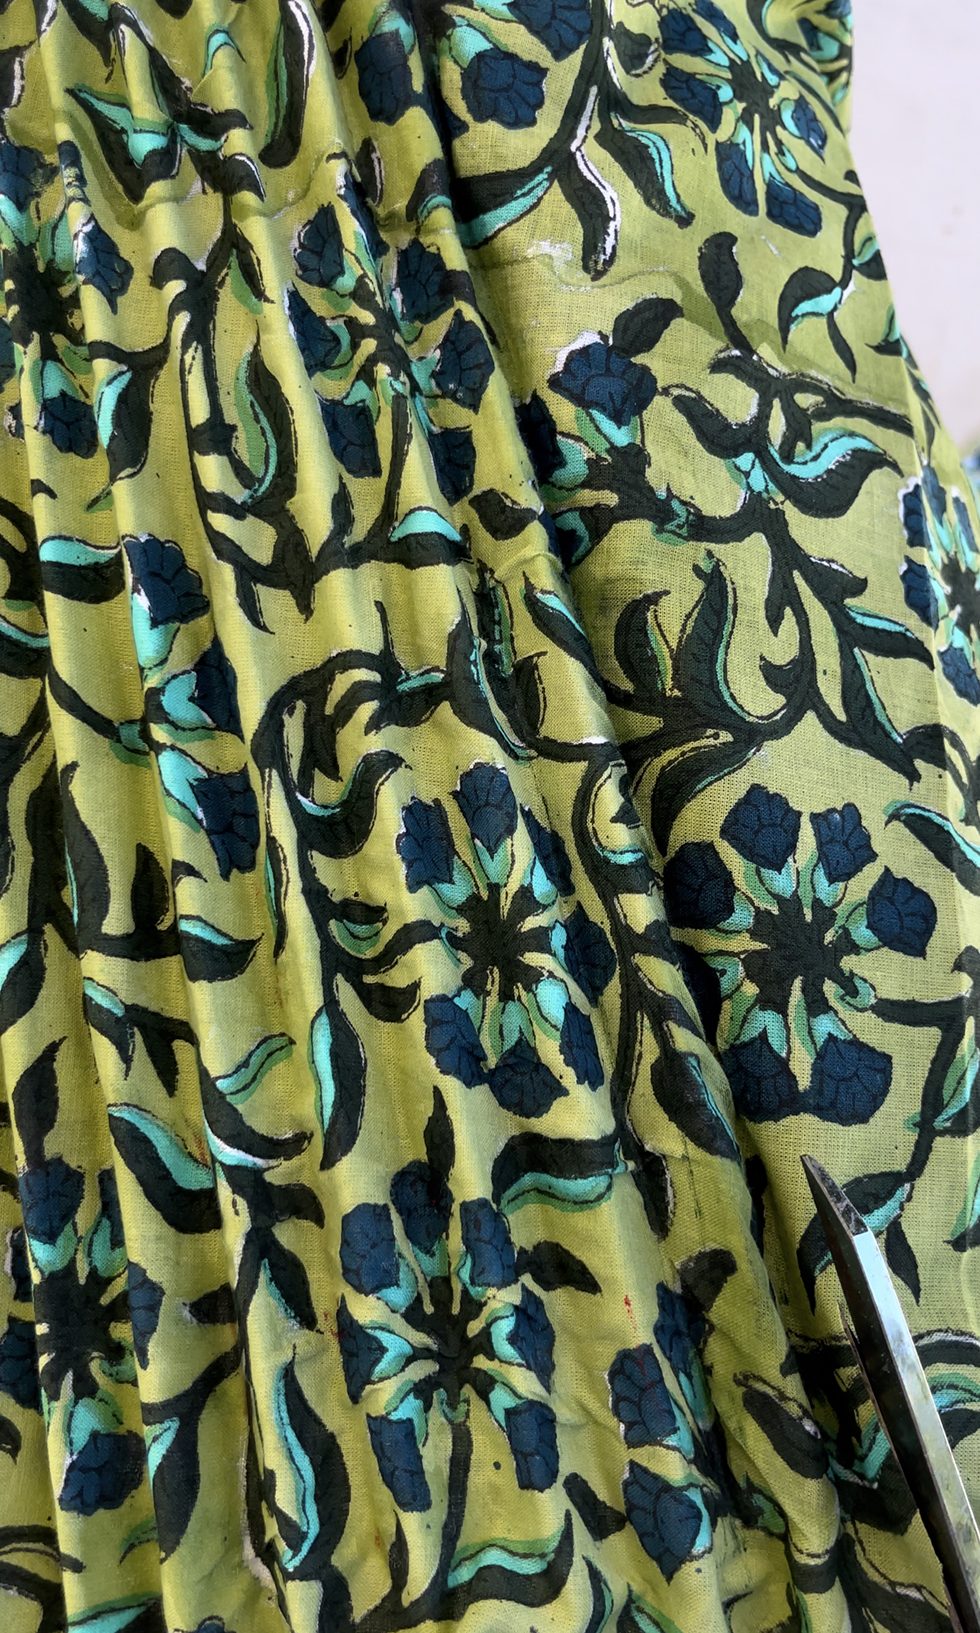
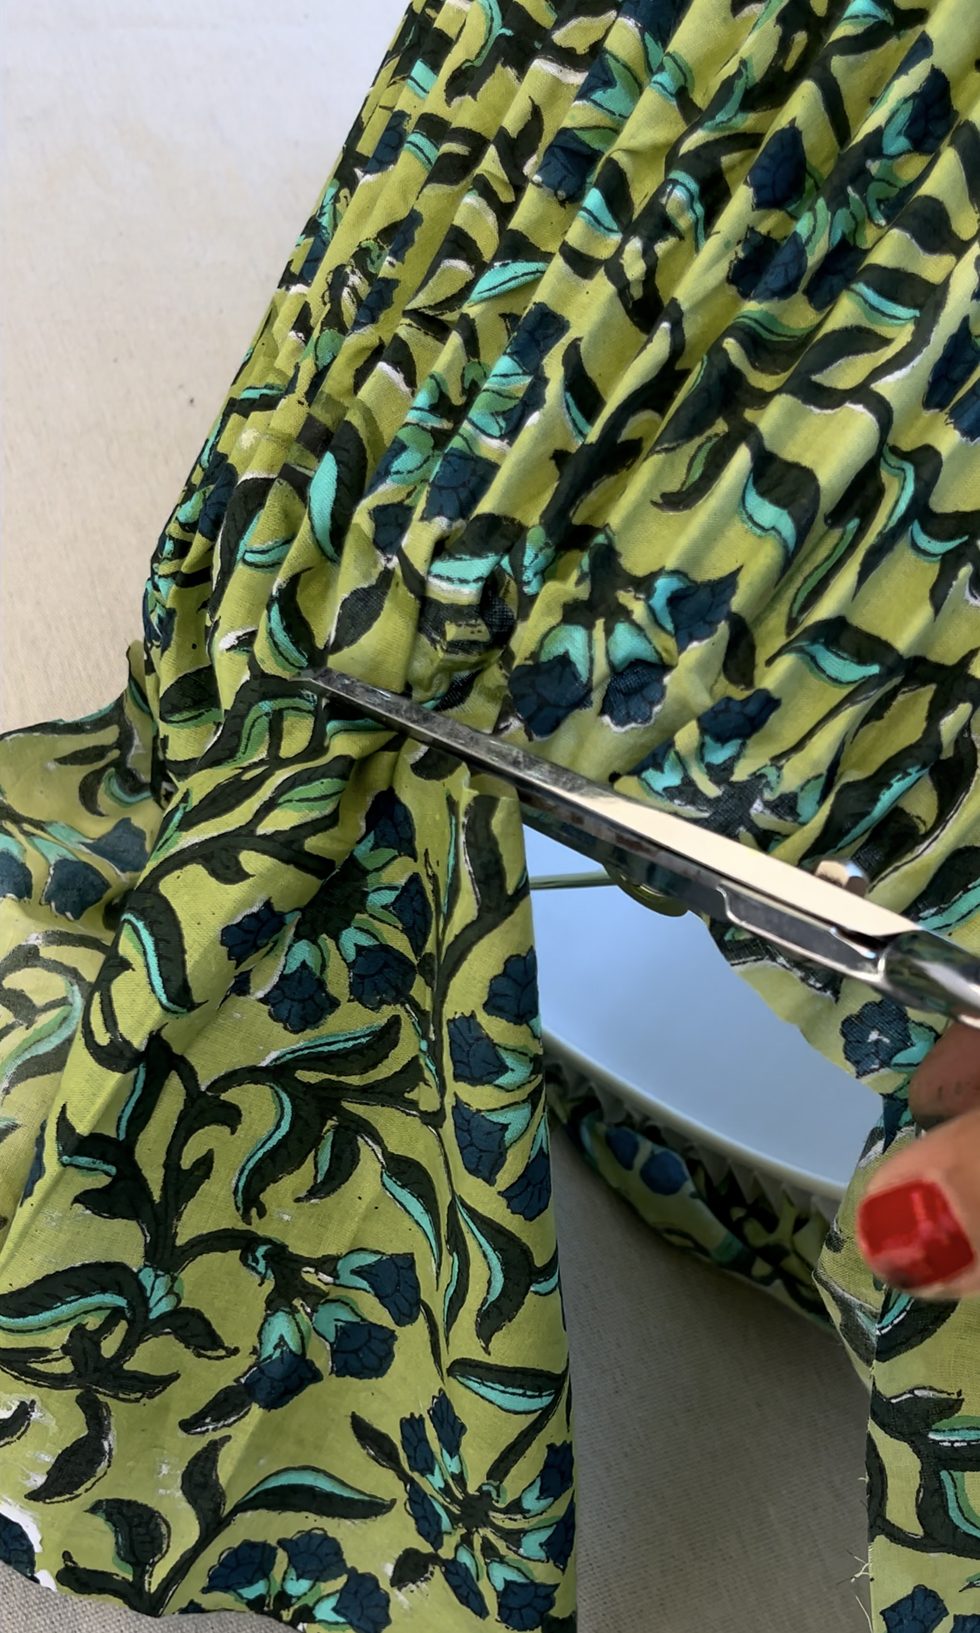
If the shade is creeping up towards the top of the fabric, leaving less than 1-1.5" at the top, simply trim the fabric. Cut a straight line and then recut the edge of your remaining fabric so you're starting with a squared off edge. Using a busy pattern help conceal this seam. Once you're finished, trim the fabric in a straight line and overlap it with your starting edge.
Let the glue dry for a few minutes before trimming away any excess fabric. Again, leave 1-1.5" of fabric on the top and bottom.
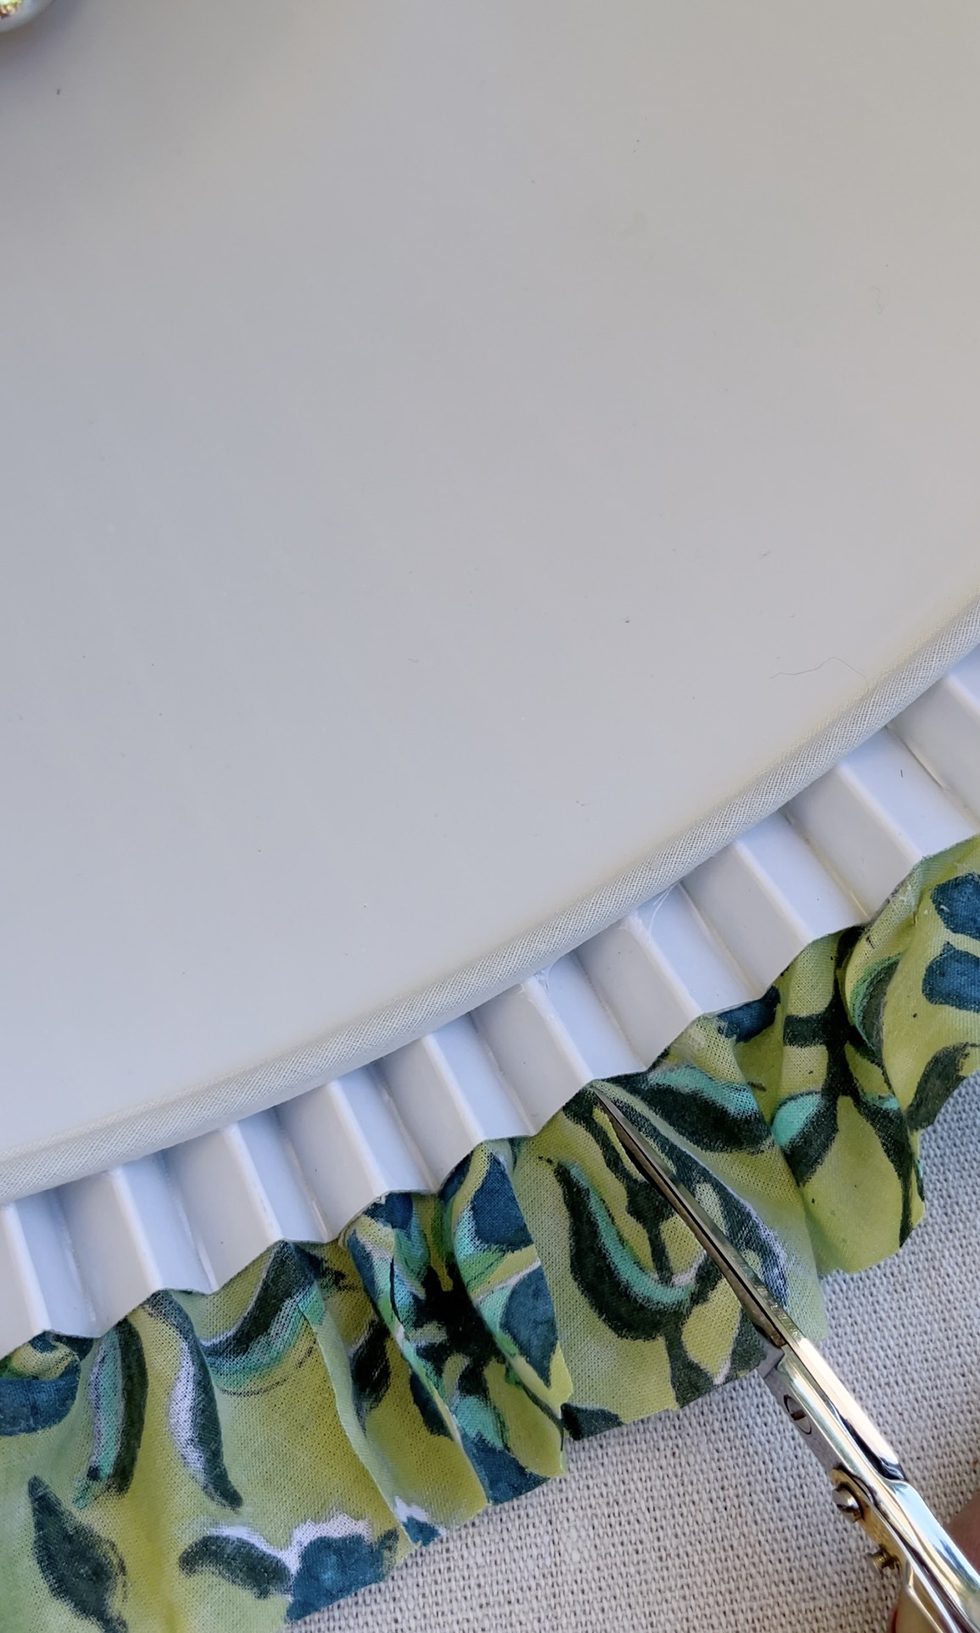
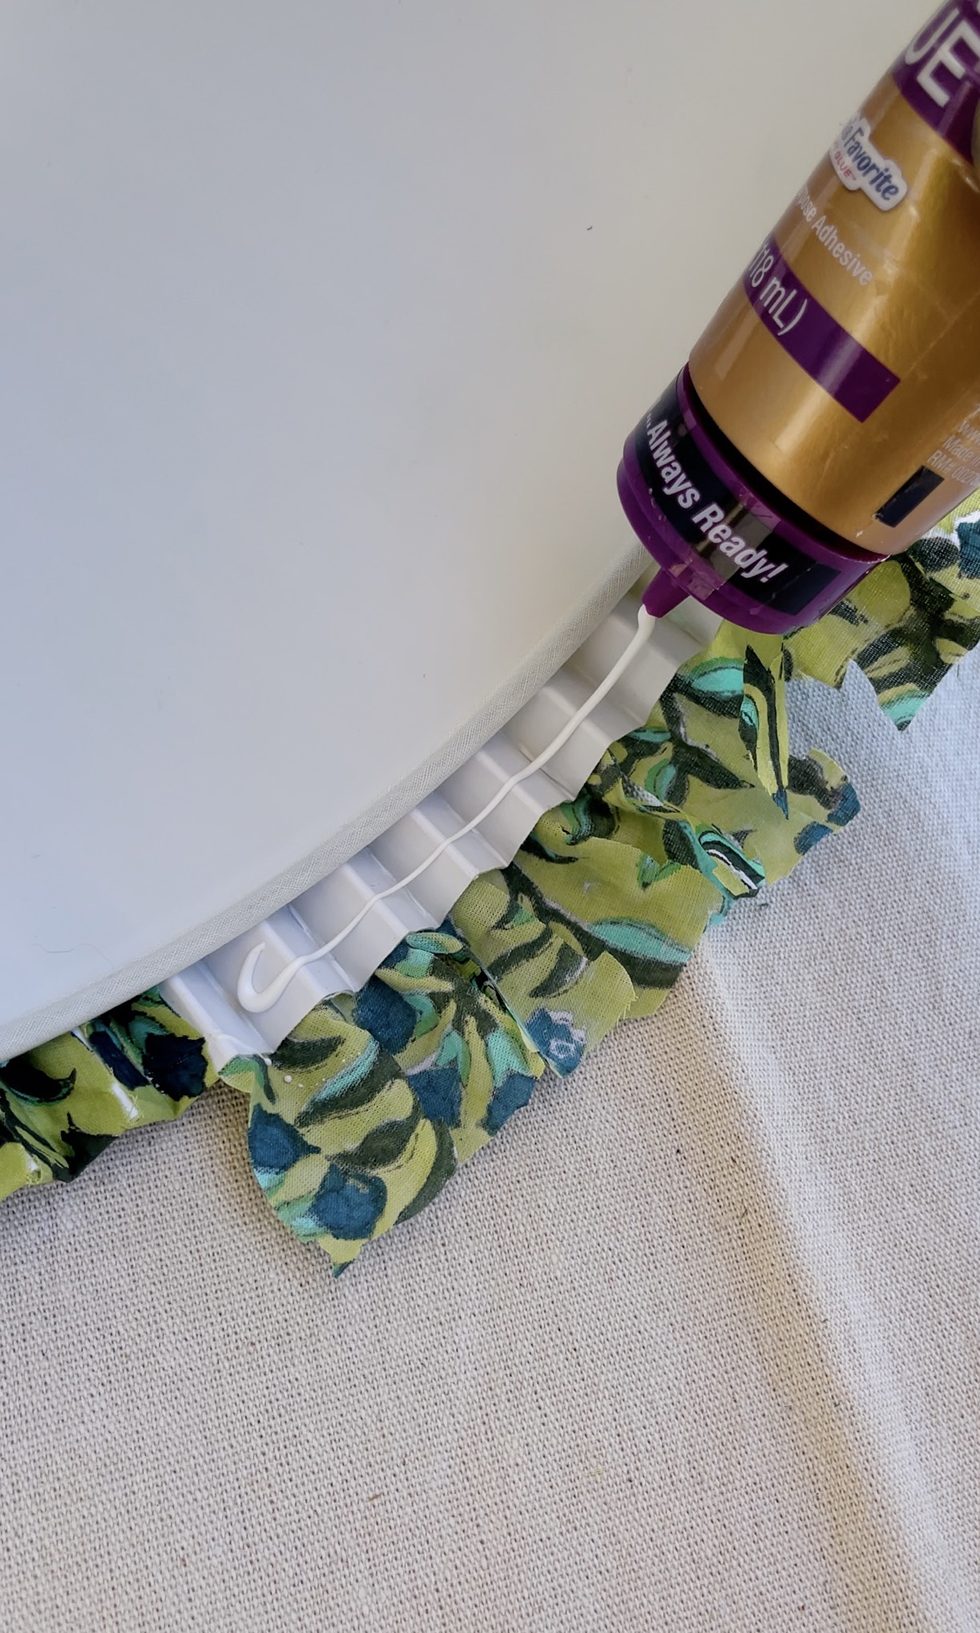
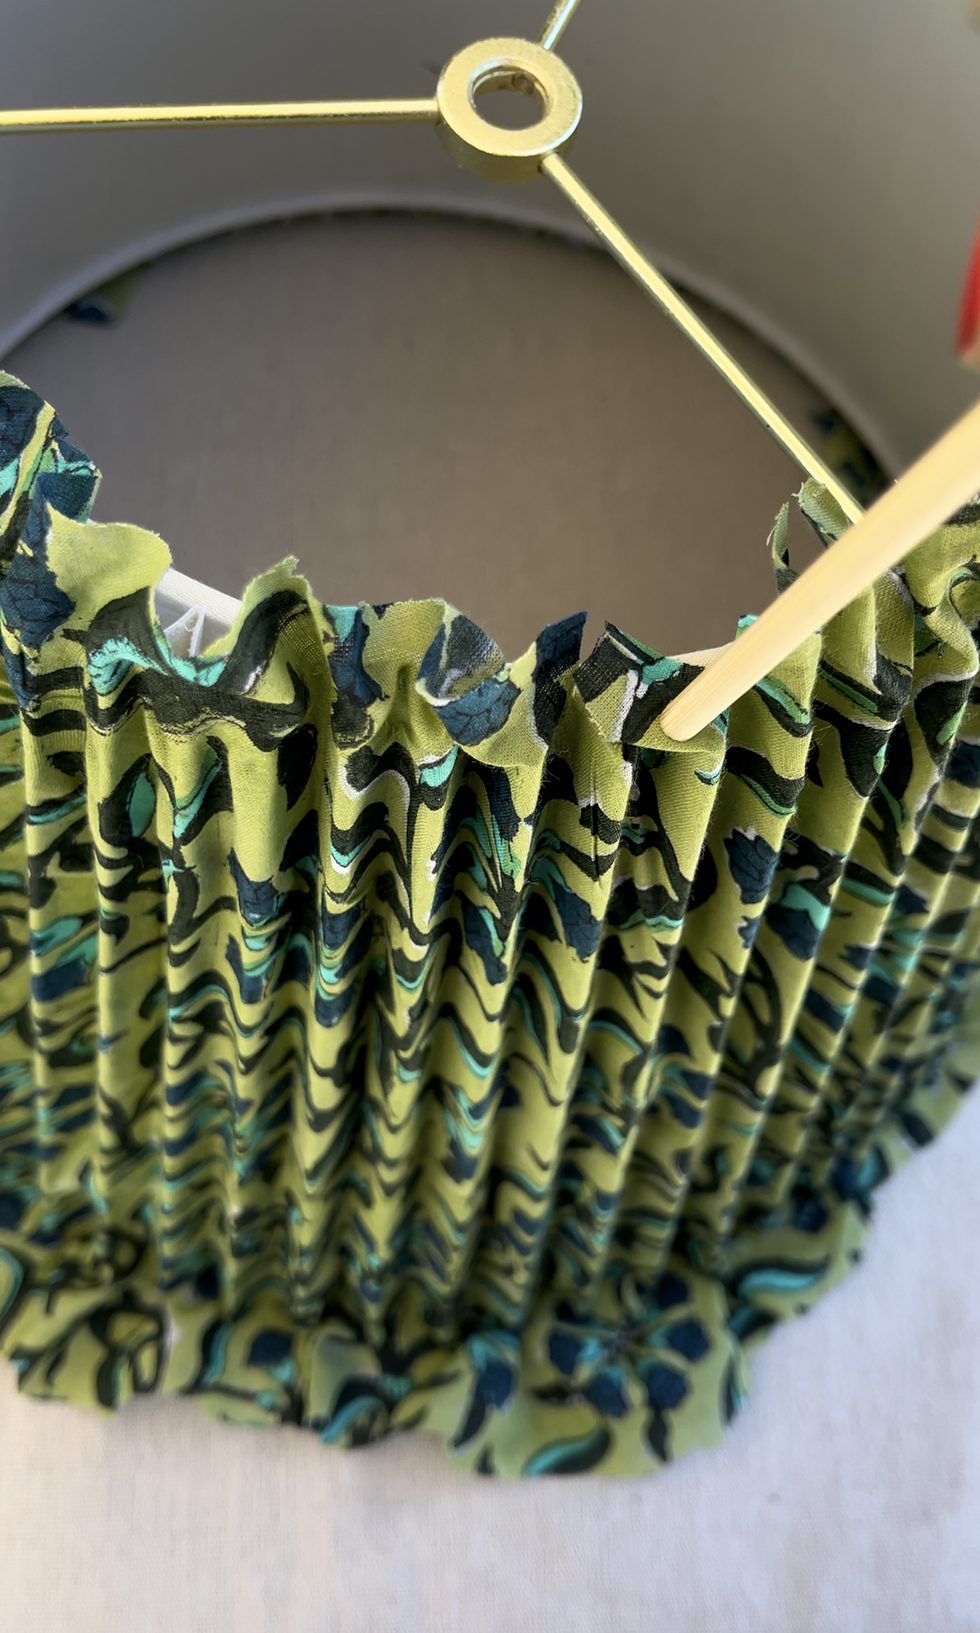
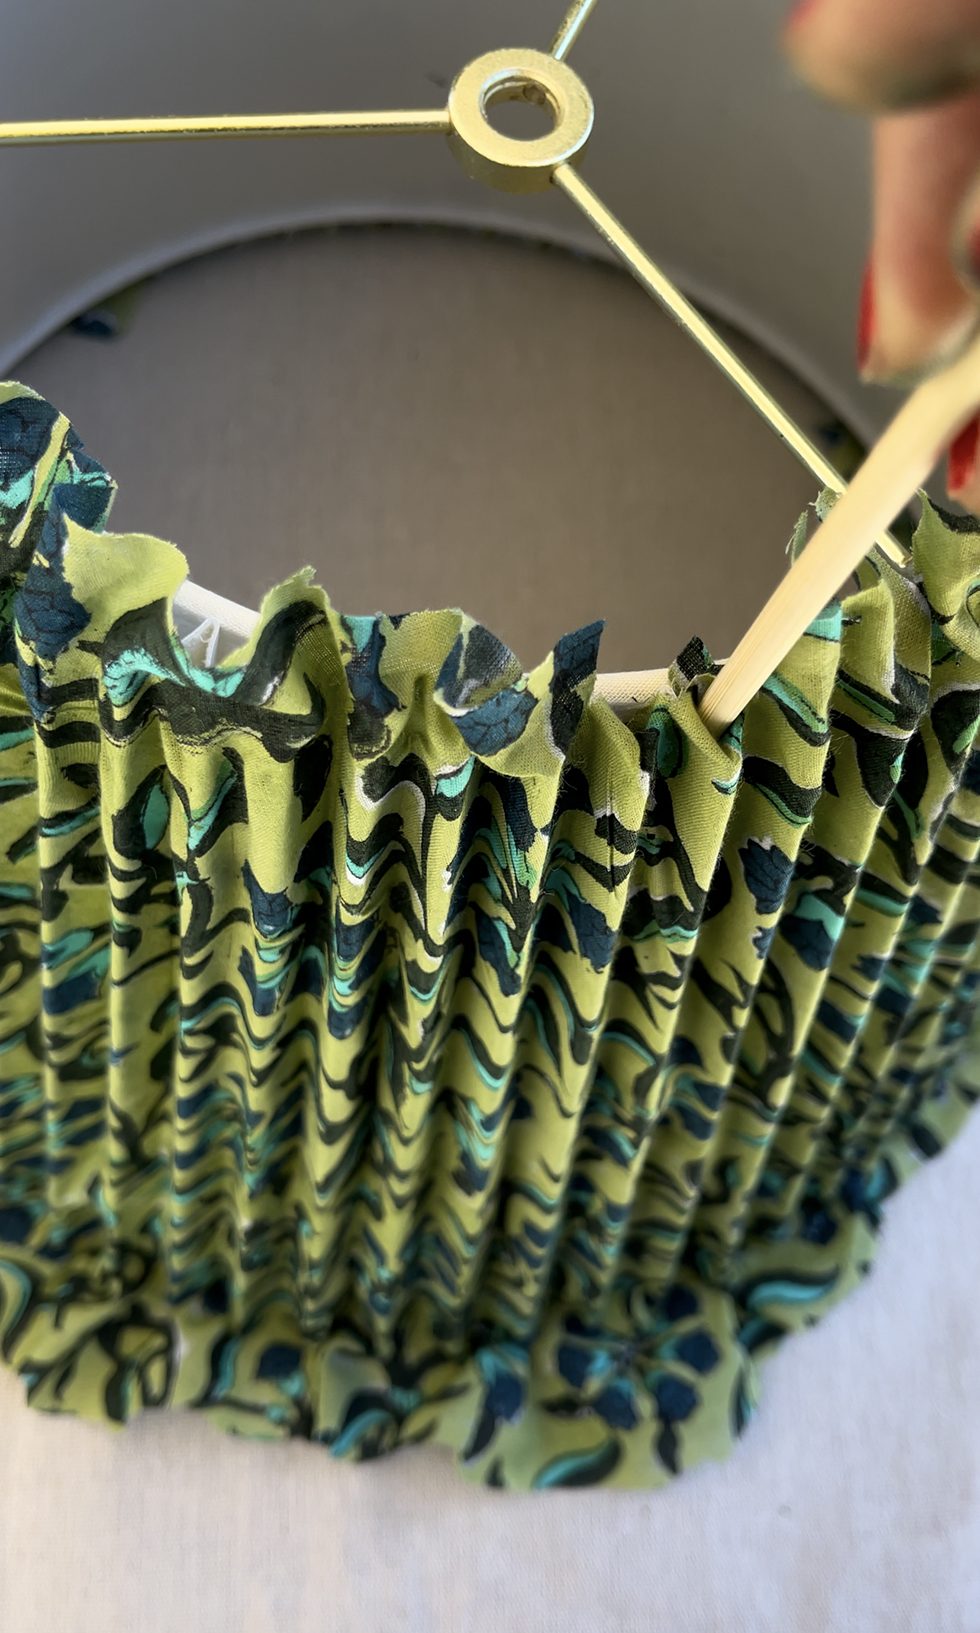
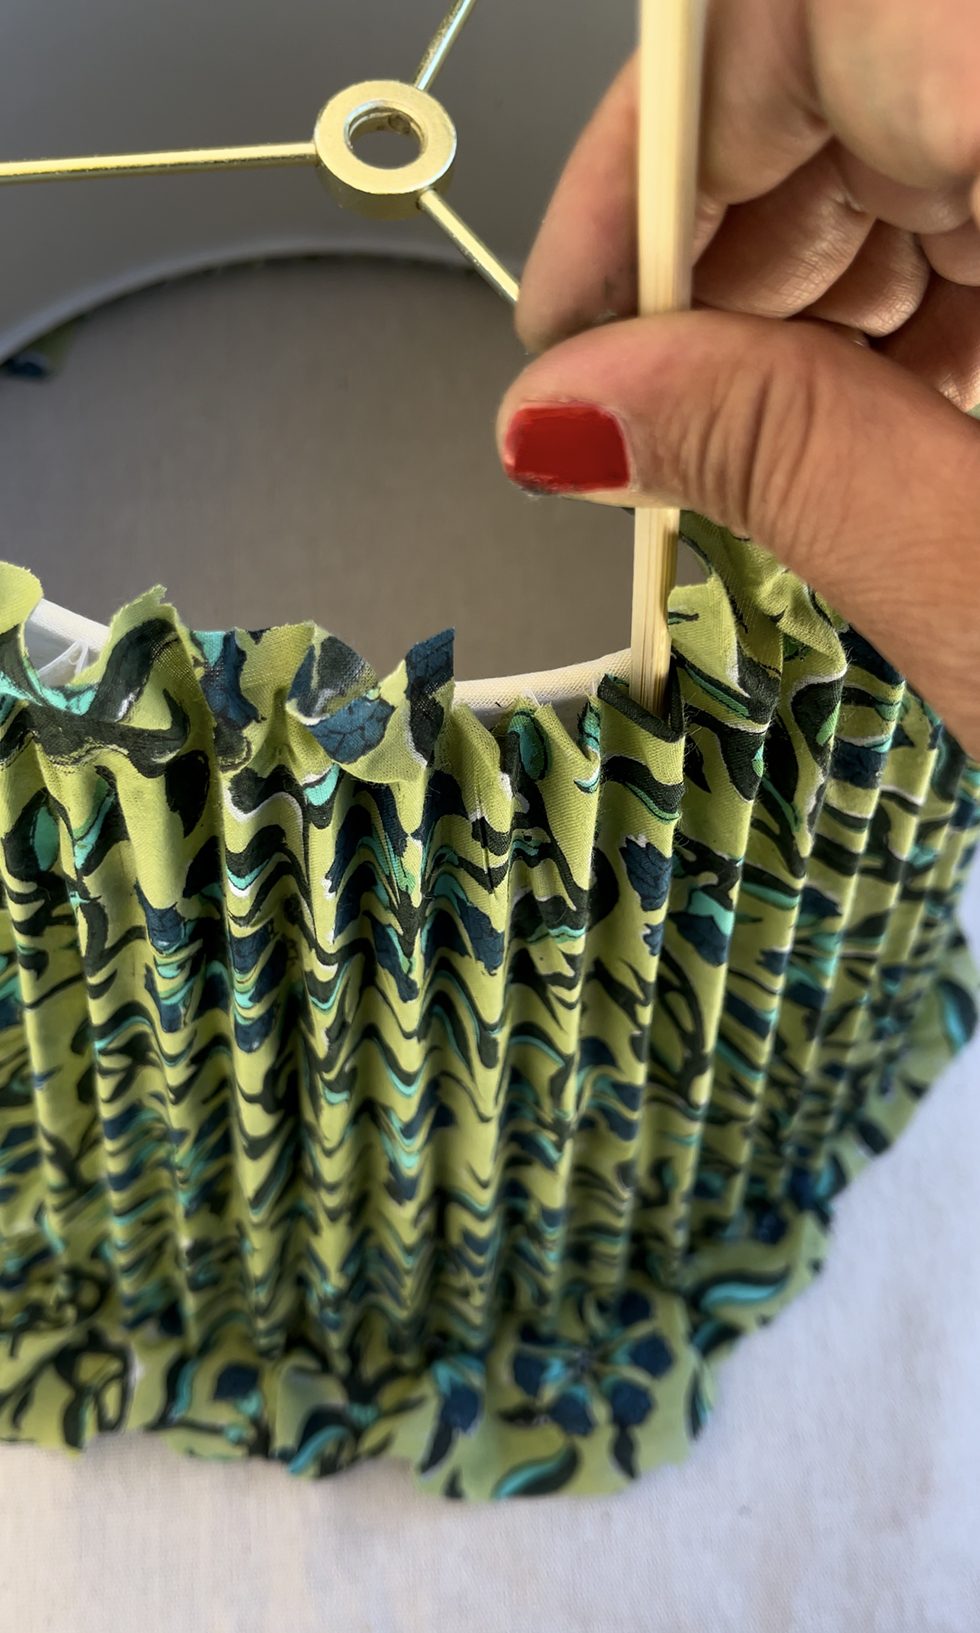
To finish the top and bottom, cut between each pleat to create little tabs. Run a thin strip of tacky glue along the inside edge of the shade.
Use the tip of a chopstick and guide the tab into each pleated section, pressing and pushing it until the fabric is flush against the shade.
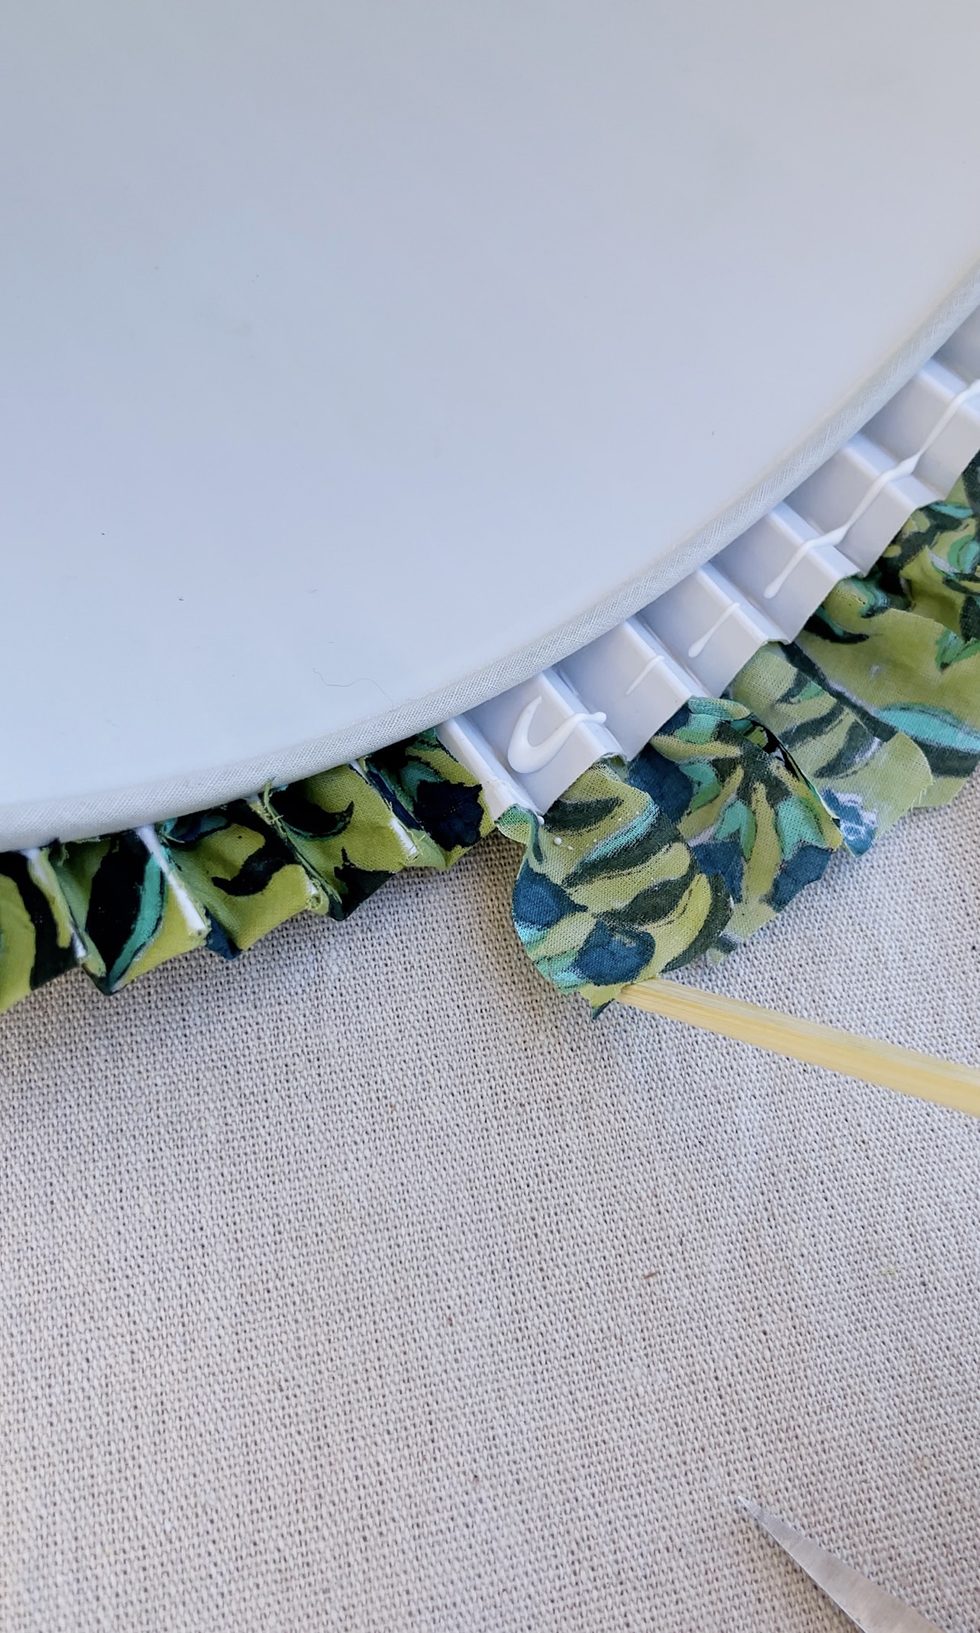
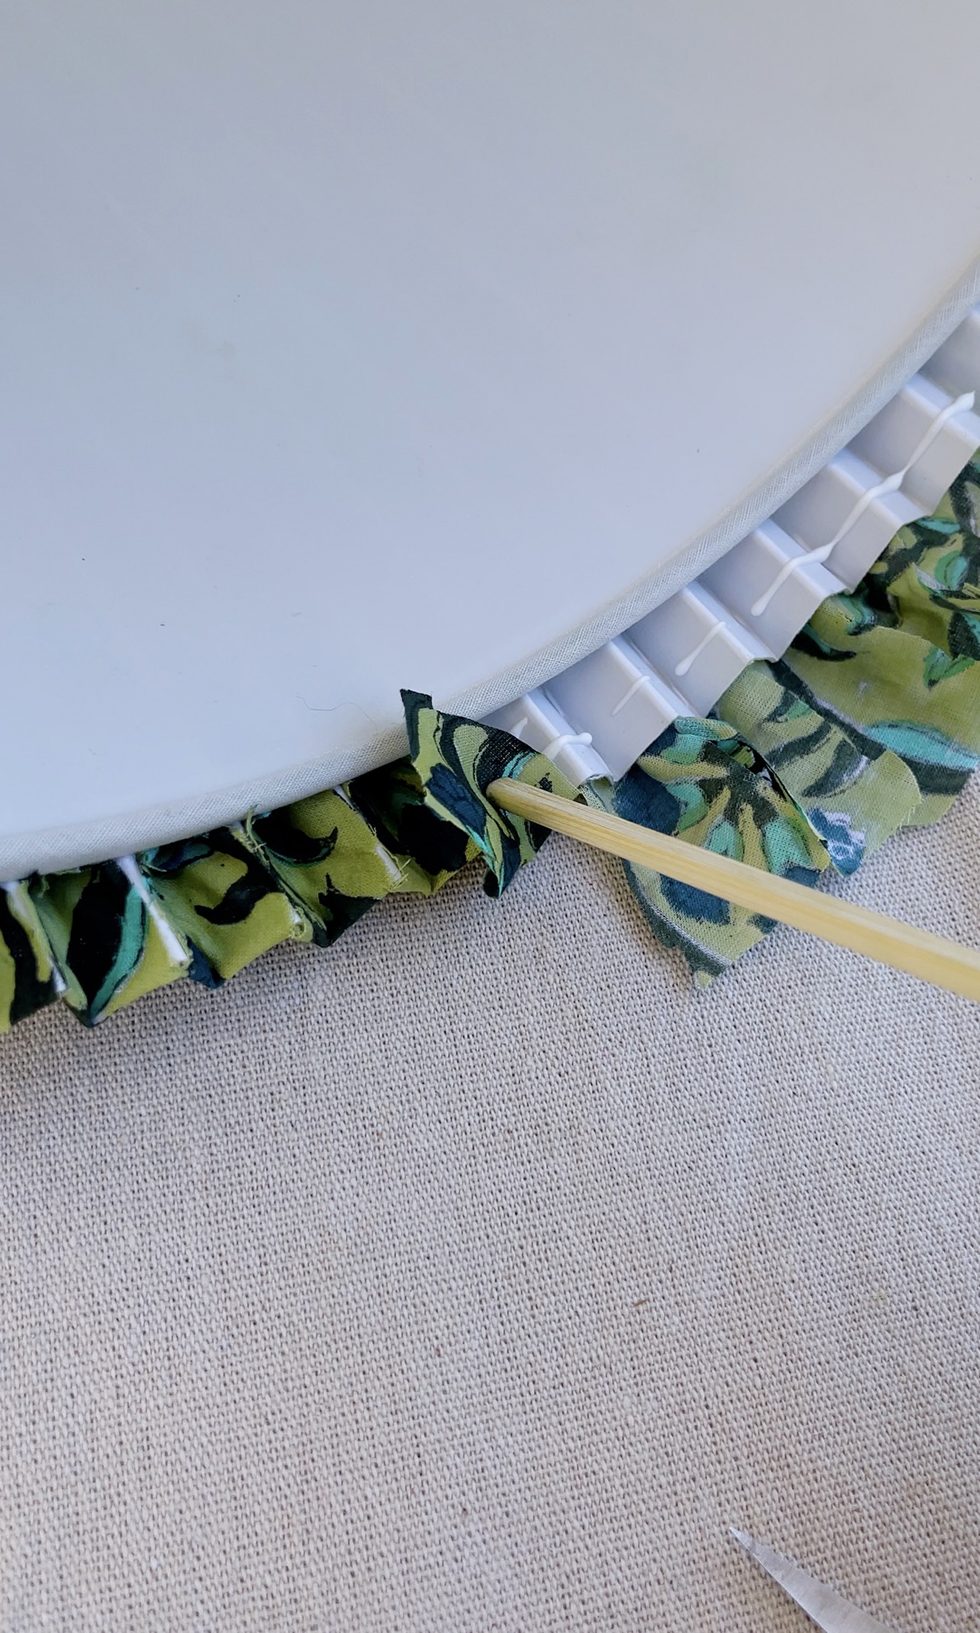
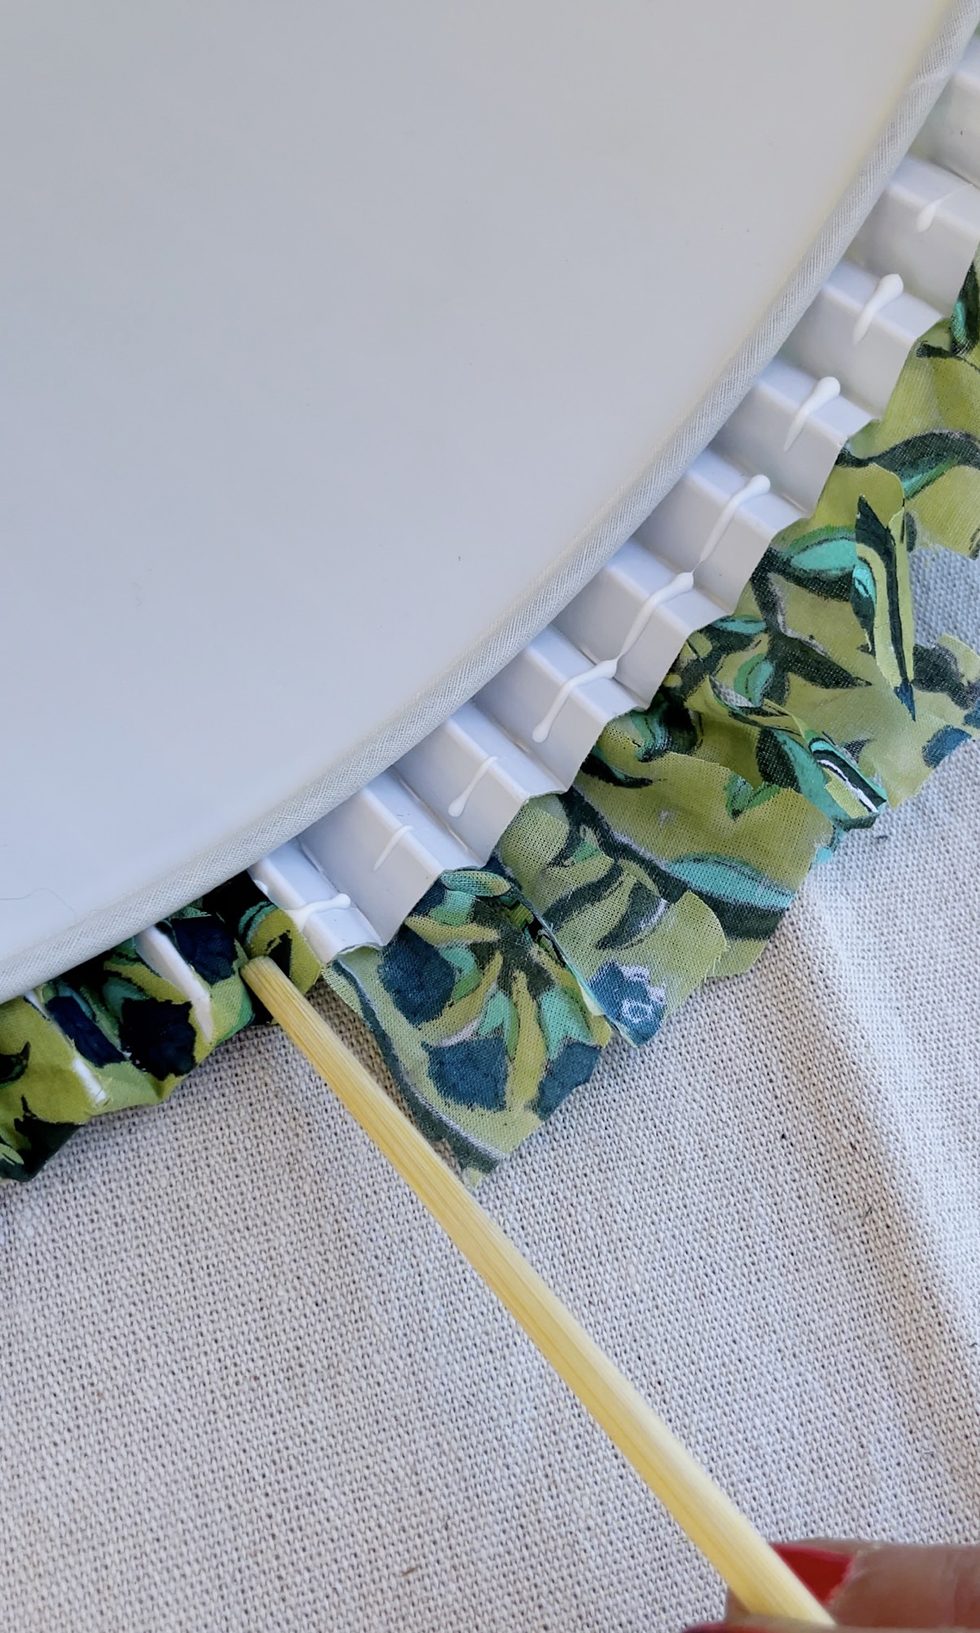
Repeat the step along the top. If the pleats don't extend past the frame, just put a dot of glue on the fabric tabs instead of the shade itself.
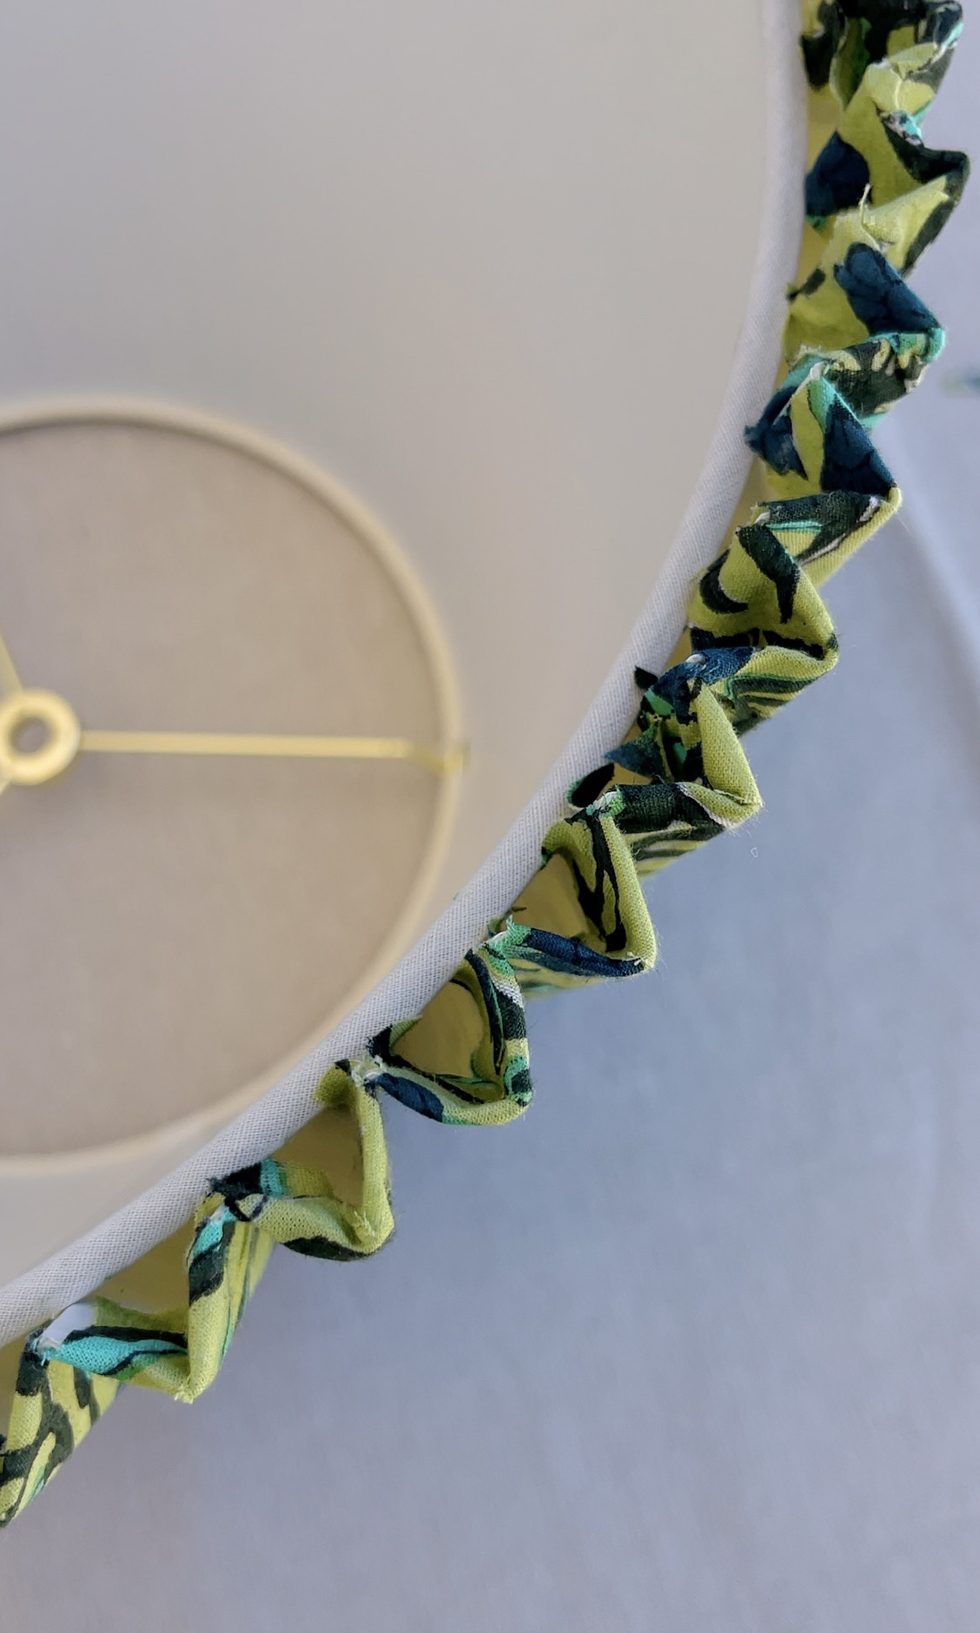
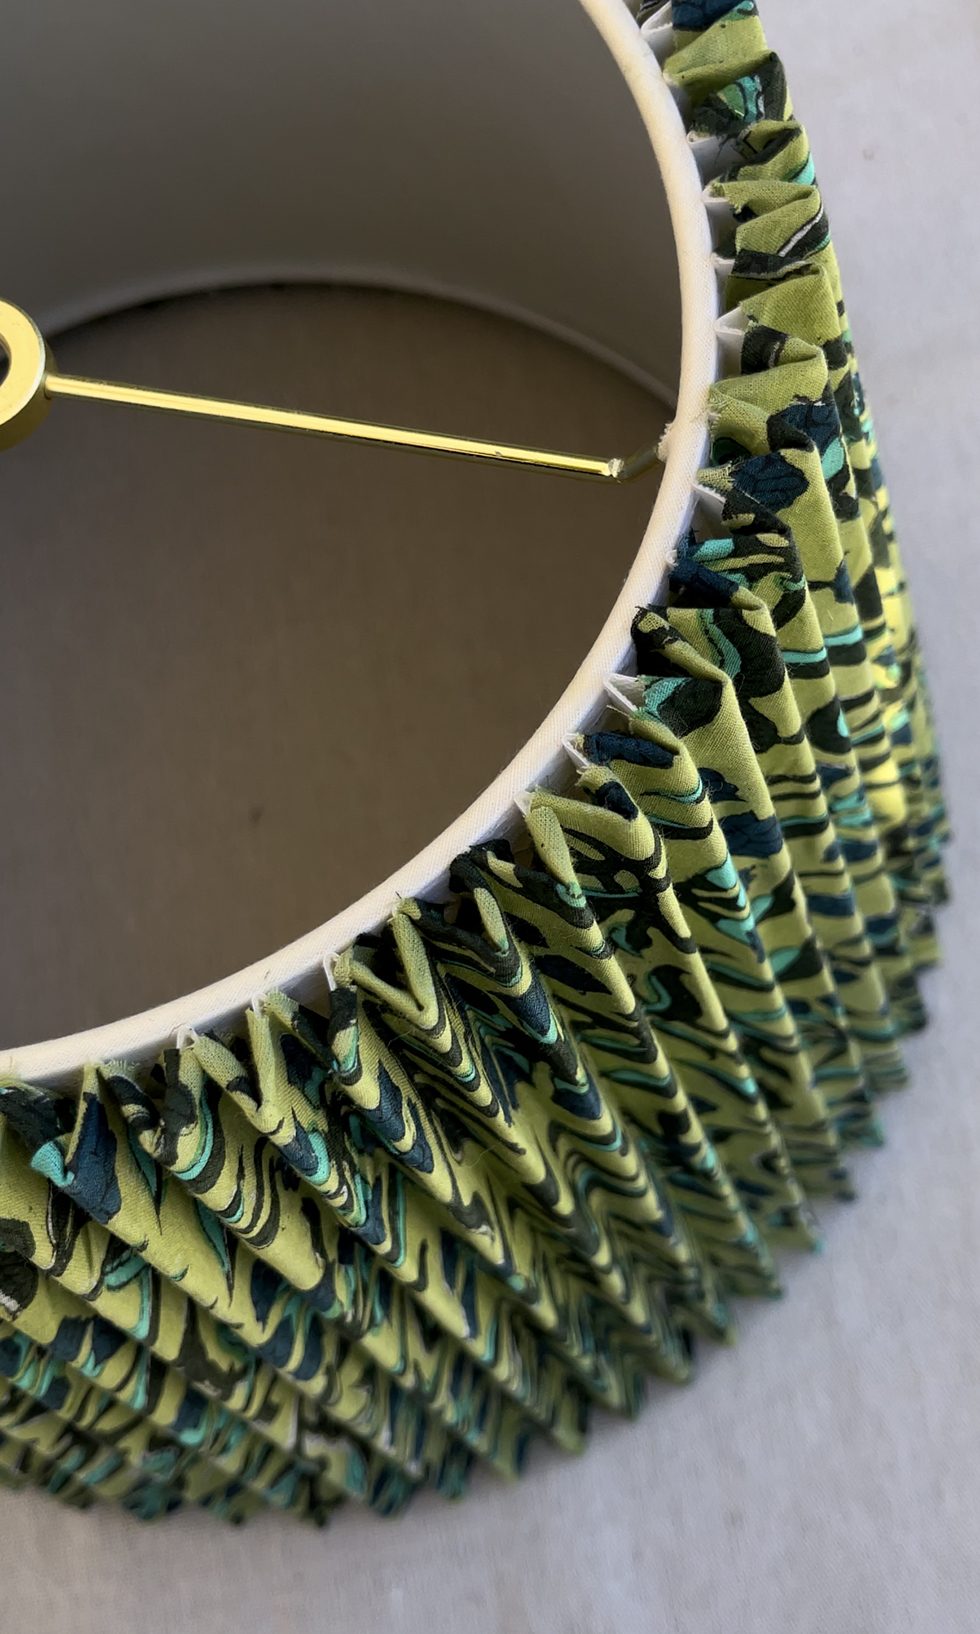
Voila, all done! Allow the shade to dry completely. I recommend airing the lampshade outdoors or in a well ventilated area, to get rid of the glue smell, before installing them.
Fine the pleated sconce tutorial here.
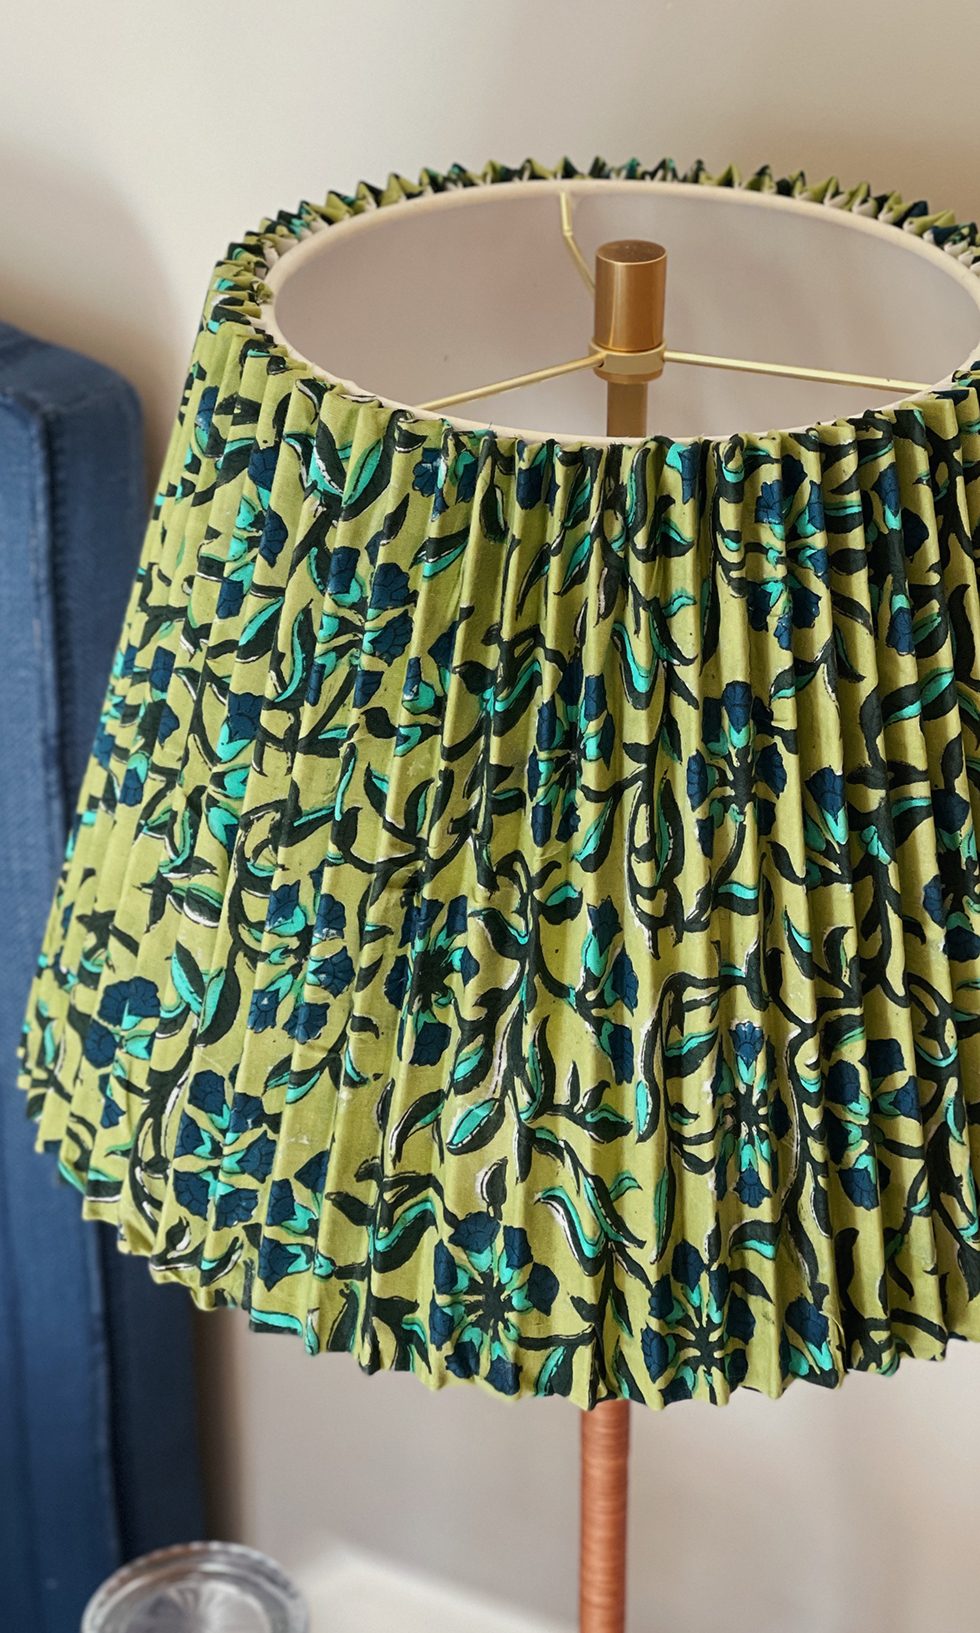
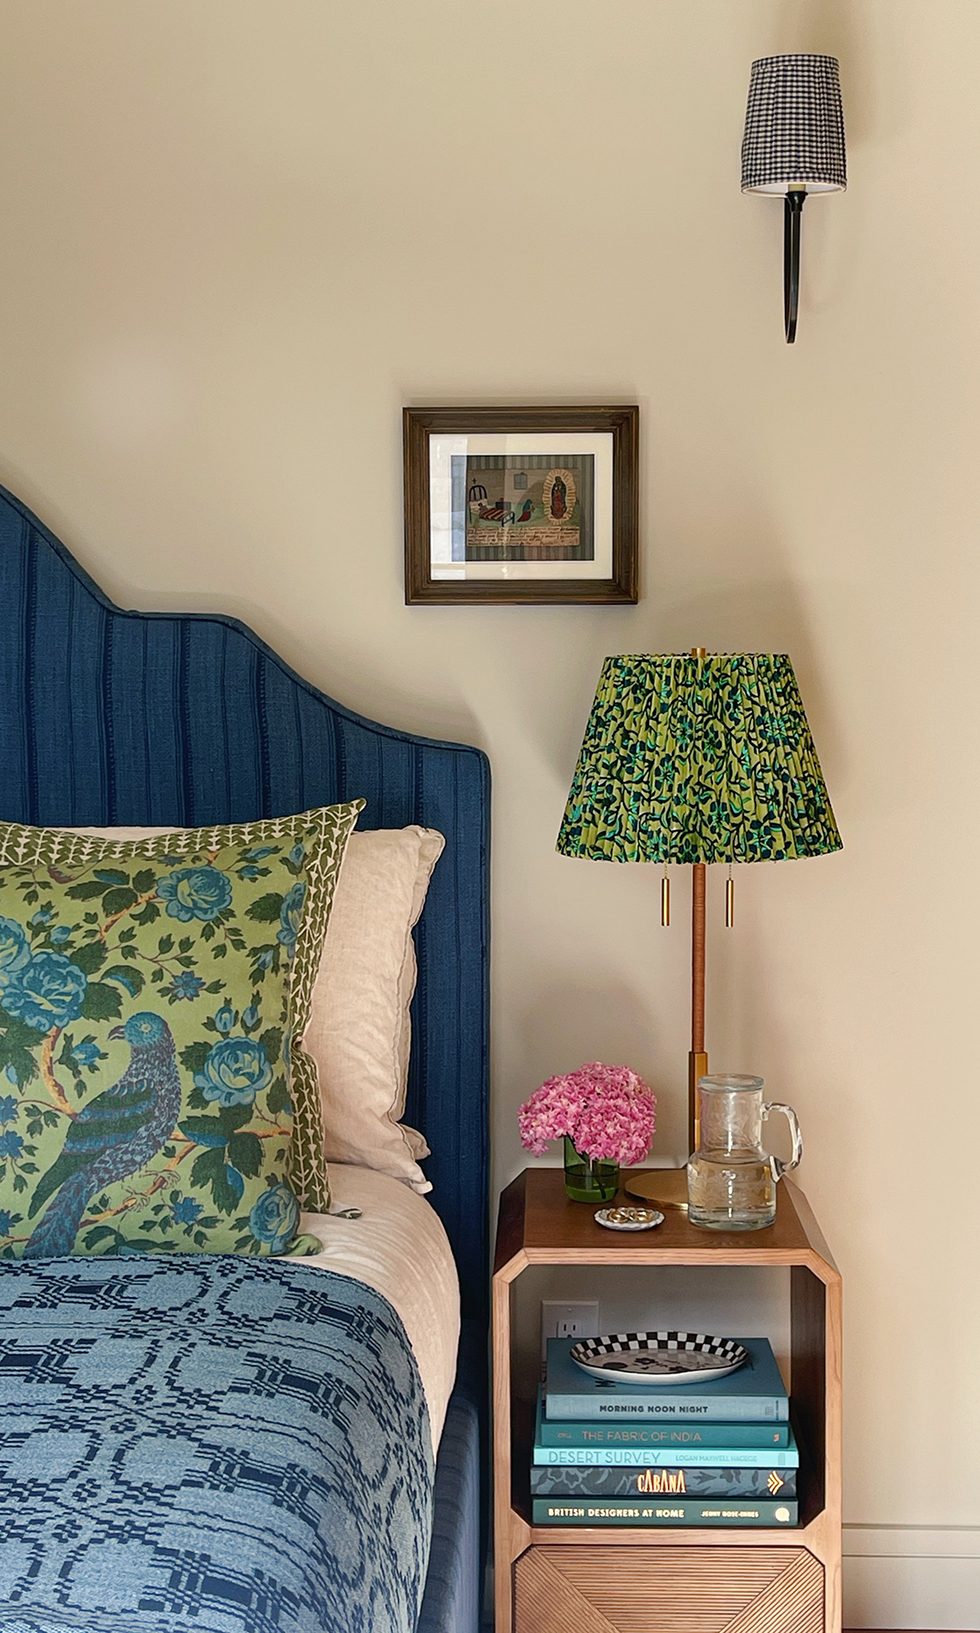
images and tutorial by HonestlyWTF
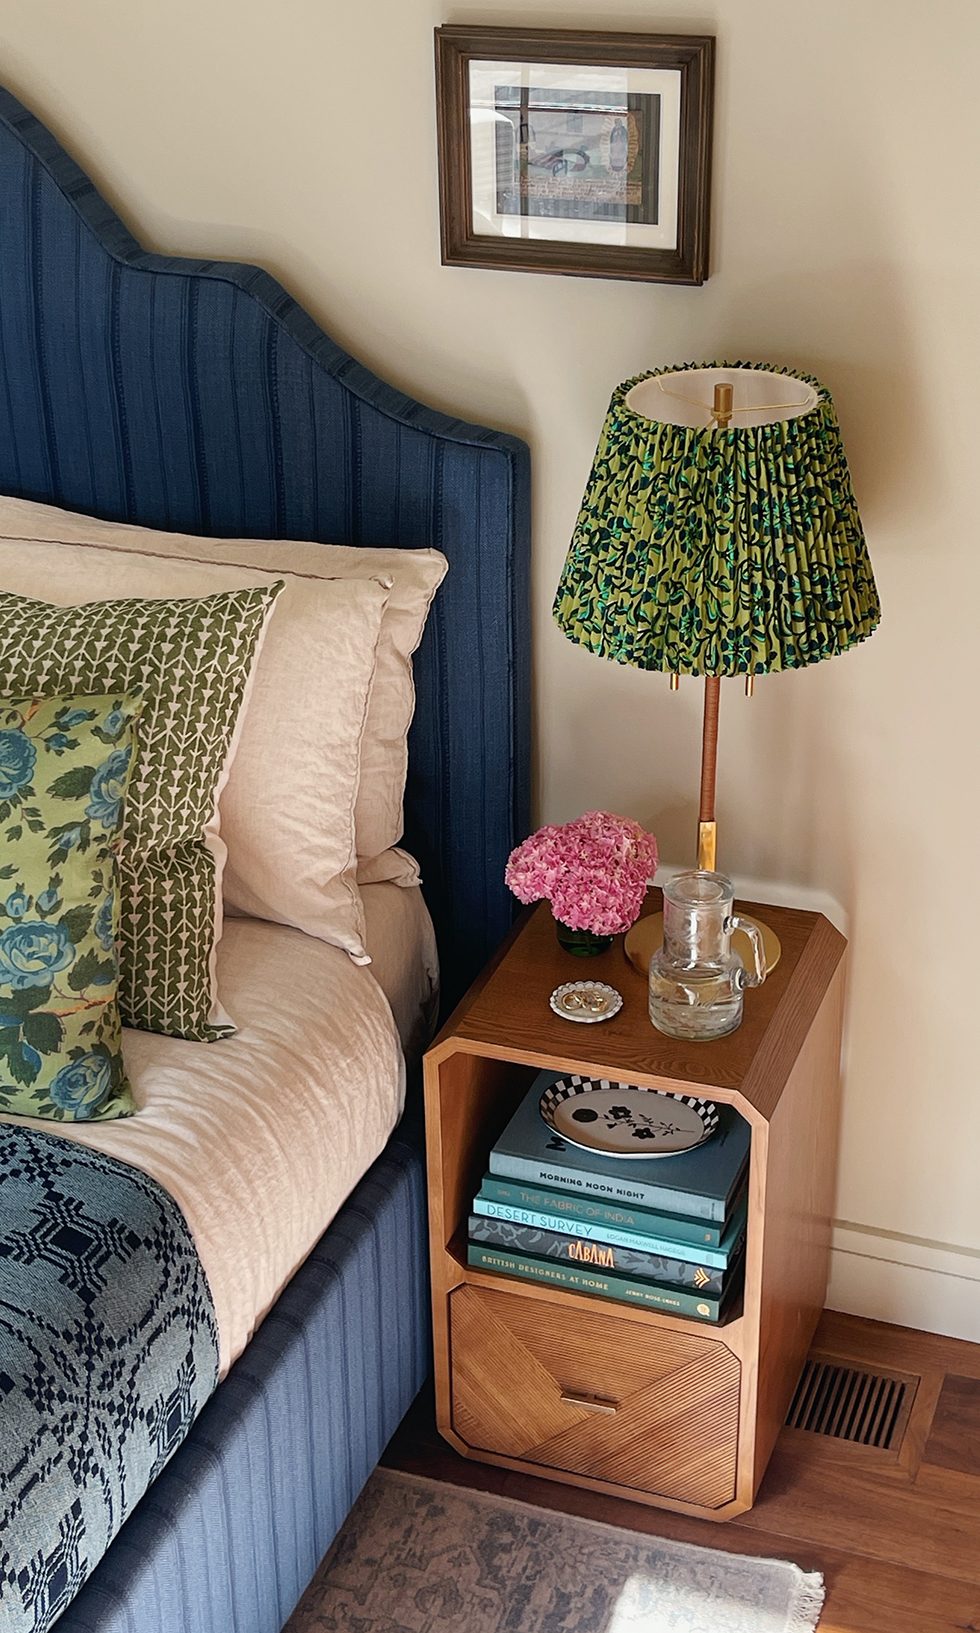

Adorable ! So chic ! I’m inspired , as always …
I LOVE your nightstand! Who makes it?
Thank you!
WOW!!!
Gorgeous!
Thank you for sharing this!
I was just about to order lampshades to replace the discolored pleated shades on some estate sale lamps…and then I saw this! Brilliant!
The insane excitement I felt when I saw a new post! I absolutely love this space you’ve created, and your incredible eye.
This upholstered lampshade DIY looks like a really cool way to make something unique for your room! The instructions seem easy to follow. I especially like the idea of picking a fabric that matches other stuff you have.