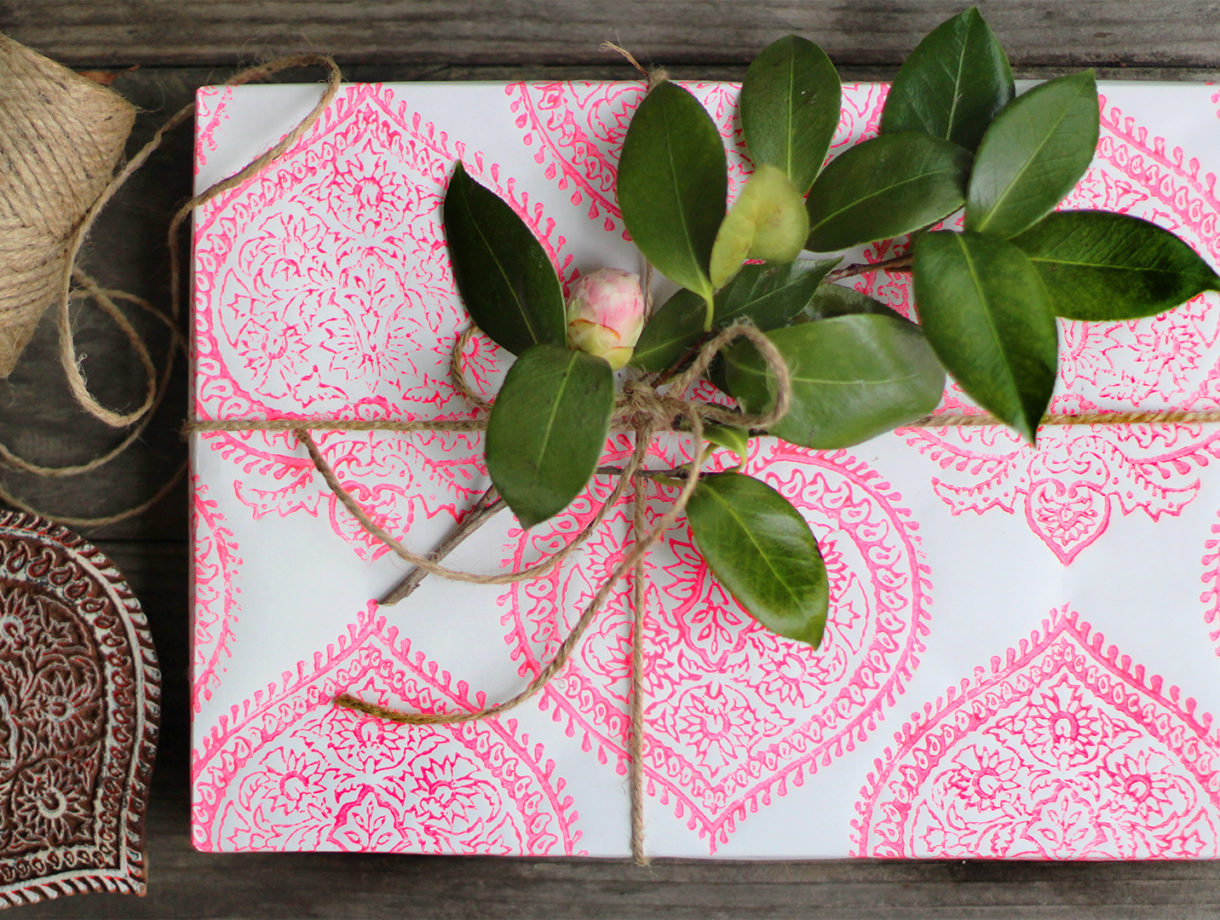
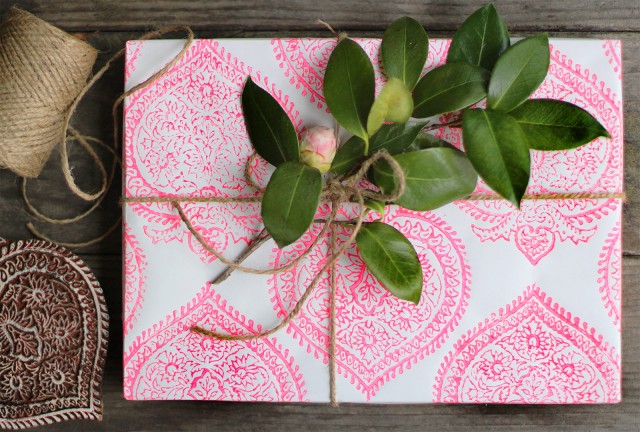
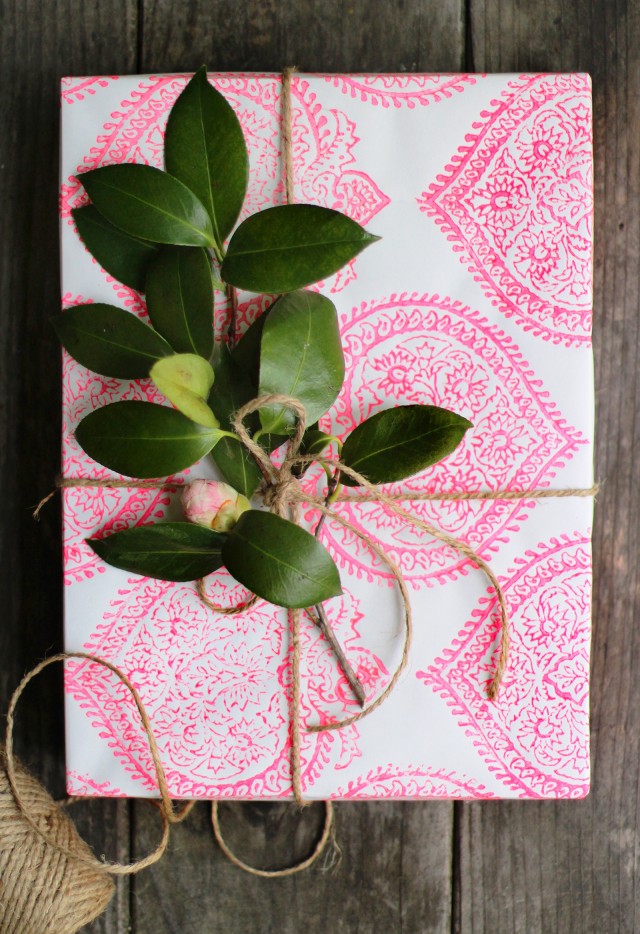
Kerry Cassill’s colorfully printed bedding is what first inspired by my love of Indian block printing so many moons ago. And then there was this film that so beautifully showed the true art that is block printing. The artisanship that goes into hand carving these woodblocks is raw and impressive – and it’s so refreshing to see that a craft that dates back centuries is still being practiced today. My fascination eventually grew into a collection of old woodblocks – some brought back from me from India and some purchased. But it wasn’t until recently that I finally tried my hand at block printing with them, specifically with a gorgeous heart-shaped block from one of my favorite boutiques Tail Of The Yak. It’ll never be comparable to the real thing, but I’m pretty darn happy with the results.
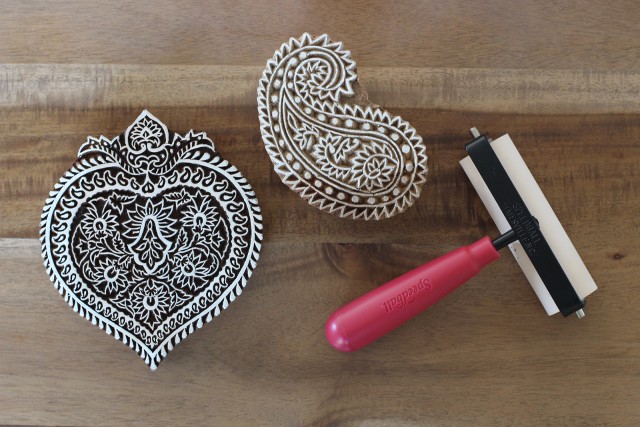
You’ll need:
- matte white wrapping paper
- carved wooden stamps (can be found here and here)
- screen printing ink
- rubber brayer
- ruler
- fabric
- pencil
- eraser
- tape
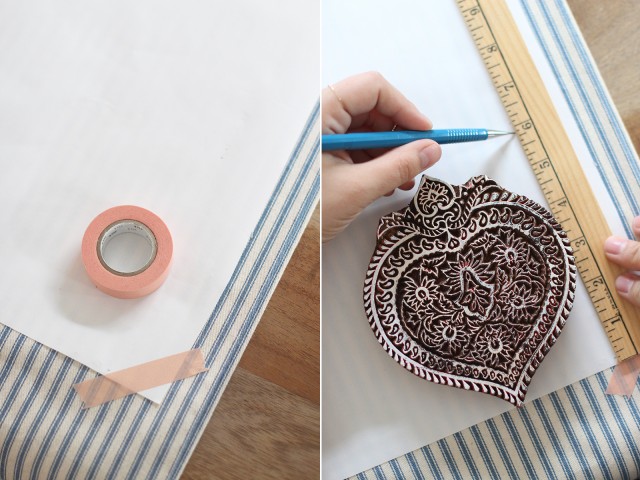
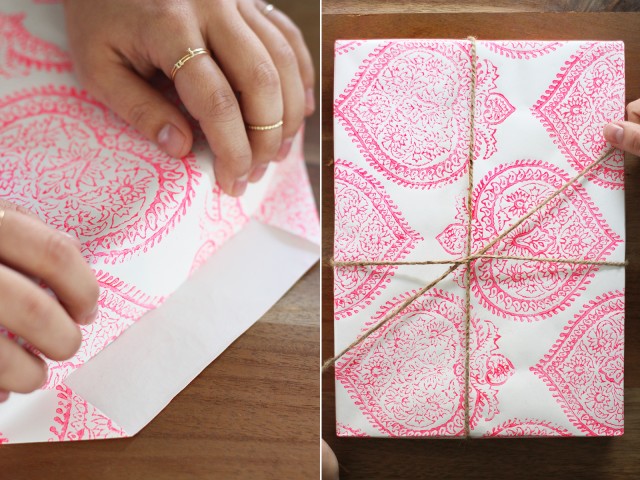
When block printing with wooden stamps, it’s important to work with a soft surface. This will ensure that all the tiny, little details from the woodblocks will make contact with your fabric or paper. Today, I’ll be showing you how to print on paper – however, you can easily use the same method using fabric. Start by laying down a thick piece of fabric. I’m using a striped fabric I just so happened to have in my craft closet. The stripes will help me serve as a guide when laying down my pattern. Don’t worry if you don’t have striped fabric – any thick fabric will do. Tape your paper to the fabric. Lay your woodblock in the lower right corner and measure it against the width of the paper. Space out the height of the block evenly along the width of the paper. Make little hash marks with your pencil.
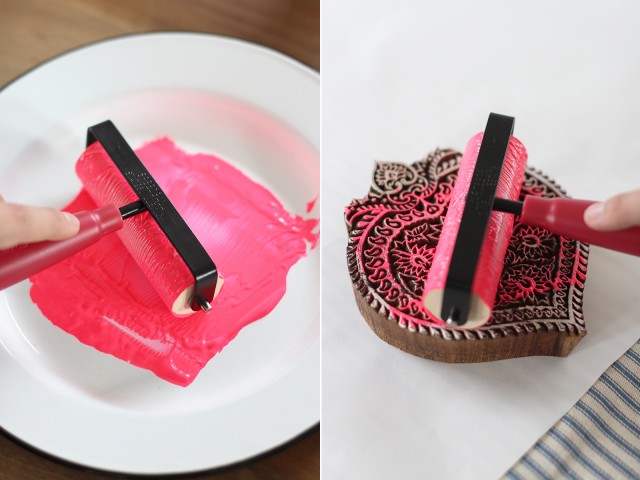
Pour a good amount of screen printing ink onto a plate. Roll the brayer into the ink and roll it onto the woodblock. Make sure you’re not depositing too much ink, plugging up the small crevices with globs of ink.
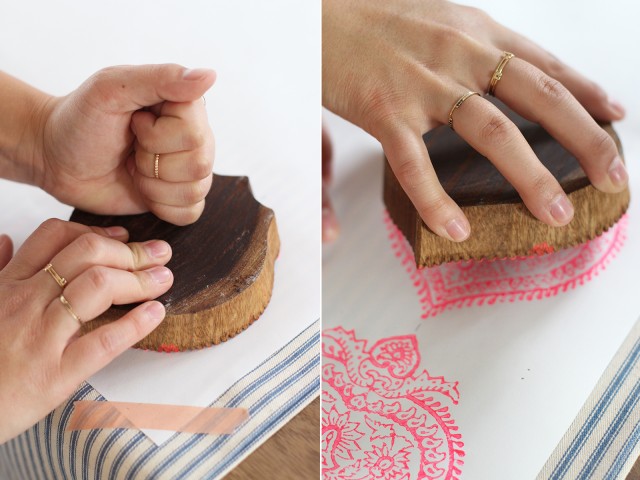
Carefully turn the block over and place it onto the paper. Pound every part of the back of the block with your fist – but keep the block in place with your other hand so it doesn’t slide or budge. Gently lift the block away from the paper.
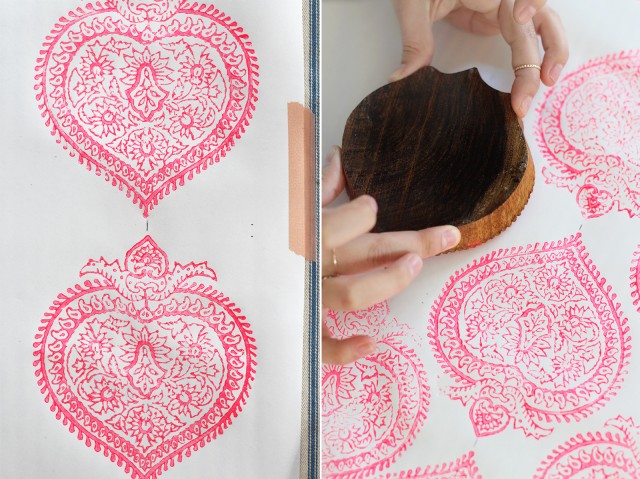
Keep working along the width of the paper, using your hash marks as a guide and re-inking the block before each application.
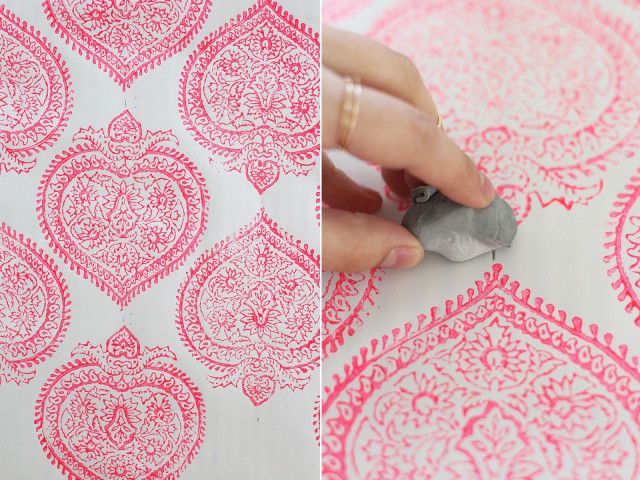
I wanted as little negative space as possible so I reversed the direction of the block on every other row. Once you’re done blocking, allow it to dry completely before erasing the hash marks.
Roll up your paper until you’re ready to use it to wrap a present or a book.
And there you have it! My next attempt will be to print on fabric – I’ll be sure to update you all on the process then. In the meantime, try this out and have fun!
(images by HonestlyWTF)


This wrapping paper looks stunning.
Great diy idea. It looks super cute 😀
xx Mira
http://www.glamdevils.com
Lovely wrapping paper! I really like the use of pink ink, very pretty and the prints are gorgeous!
Prudence
http://www.prudencepetitestyle.wordpress.com
That’s absolutely lovely! x http://www.justsavxnnah.com
Creativity has no border everything is possible!!!
xoxo
Yael Guetta
http://www.ftwwl.com
I love the prints- could this be used on a home wall, or would stencils be the way to go?
@Hope B, I’ve worked with stencils on a wall before I and I must say, block printing is easier. Stenciling is more of an exact process but they also tend to make the paint bleed. Blockprinting is more forgiving and the patterns are more intricate and interesting, in my opinion!
Perfect!
Check out my latest outfit post !
XoXo Venoma
Venoma Fashion Freak
Love this DIY! Amazing that Japanese artists could make entire landscapes from this technique!
xo
Michaela
http://michaelajeanblog.com
love that print!
http://wethinkthereforewecreate.blogspot.com
Such a great idea, it turned out beautifully!
http://www.mintnotion.com
Such a great idea!
http://www.FashionSnag.com
love those blocks with that bright pink! what a good idea!
http://www.waterlilyshop.com
@waterlilyshop
Great post. The pictures and end result are so beautfiul! I went to Northern India too and bought a handmade block printed blanket! The work they do is so amazing.
I love all your DIYs! They are so creative and have really inspired me. Thank you!
Pretty!
Very beautiful! That gave me a lot of inspiration!
http://www.nuevabarato.com
Perfect! Thank you for telling us how to make.
http://www.nuevarebaja.com
Really beautiful!I have to try!
http://www.modalujo.com
The wood stamp looks amazing!!!
http://thelittletreasures.blogspot.com/
So pretty, that stamp is really fab
Lauren
livinginaboxx
Lovely! A tip: block printing ink works even better. It has the right viscosity for printing woodblocks, and like screenprinting ink can be found at any art supply store.
I’ve used the same technique on fabric and turned out fine! The only difference is that the stamp was made from rubber!
This is gorgeous! 🙂 You’ve inspired me to do some paper DIYS for hapinesswherever.wordpress.com too 🙂
Los niños y pequeñas que participen en las colonias de MondragonLingua y Artium
van a poder desarrollar, aparte del hábito del uso del inglés, su faceta creativa y efectuarán proyectos de expresión plástica.
It’s an awesome post in favor of all the web users;
they will obtain advantage from it I am sure.
Thanks for the tutorial of printing with wooden stamps. I do have a question. What do you recommend using as resist printing, using the wooden stamps?
Some of it is also probably the idea of having passed through stricter gatekeepers. There are at least as many ebook publishers now as print publishers – though many, like Samhain, also put books into print – and the impression among some is that it’s much easier to get a contract from ebook publishers than from big print publishers. To a degree, this is true, and a great deal of that is likely to do with the low production and distribution costs of ebooks; a publisher can quite simply release a lot more of them, and so some publishers might be inclined to be less selective regarding the manuscripts they acquire. Being in print is more prestigious; it carries the implication that your book is somehow better for having successfully negotiated the transition from digital to physical.office copier leasing
hello plz help how buy block printing wood in pk