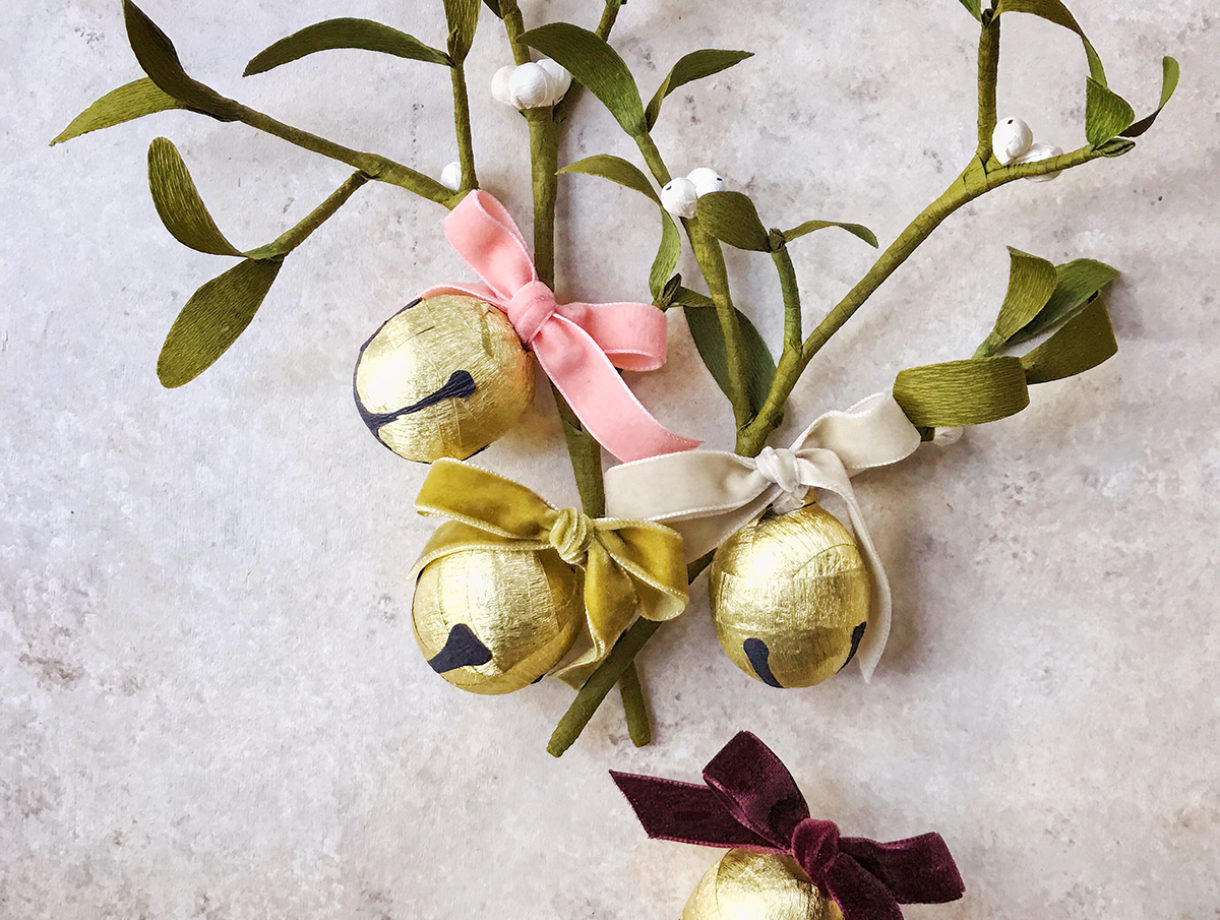
I’m a strong believer that gift presentation is as important as the gift itself. A thoughtfully wrapped gift can actually serve as two presents in one: the actual gift and the anticipation of discovery. So when eos challenged me with creating a DIY with their collection of Limited Edition holiday flavors, I was immediately inspired to make present toppers. My family loves eos lip balms and they’re something I’d normally stuff stockings with, but this year, I’m wrapping and disguising them as little gold sleigh bells as an extra surprise. With the help of crepe paper master Anandamayi Arnold, I’m pairing the lip balms with crepe paper mistletoes so that after the holidays, your friends and family can hang them up year after year. Pucker up!
You’ll need:
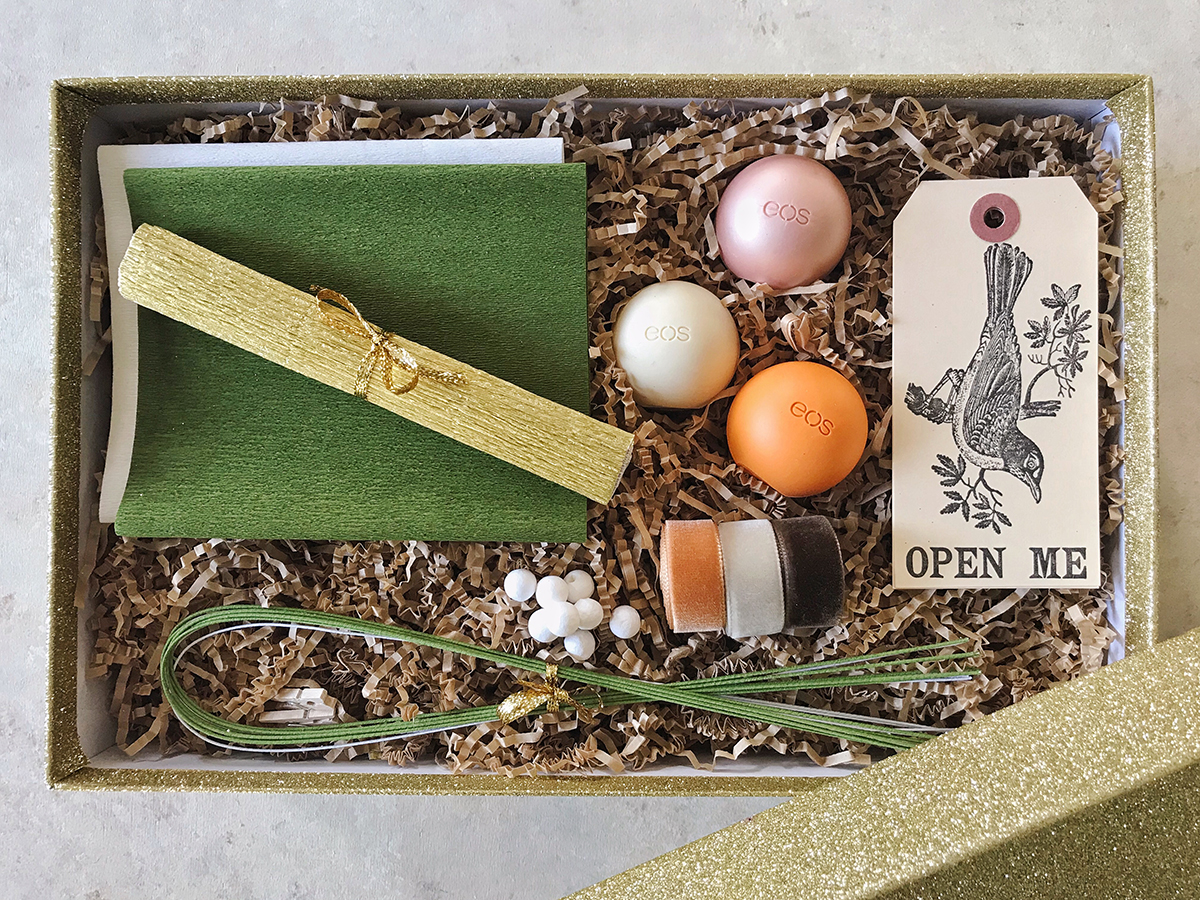
- eos Lip Balms
- doublette crepe paper olive green and off white
- metallic crepe paper in gold
- florist crepe paper in black
- 22 gauge green floral wire
- 26 gauge white floral wire
- 1 cm spun cotton balls
- velvet ribbon
- scissors
- tacky glue
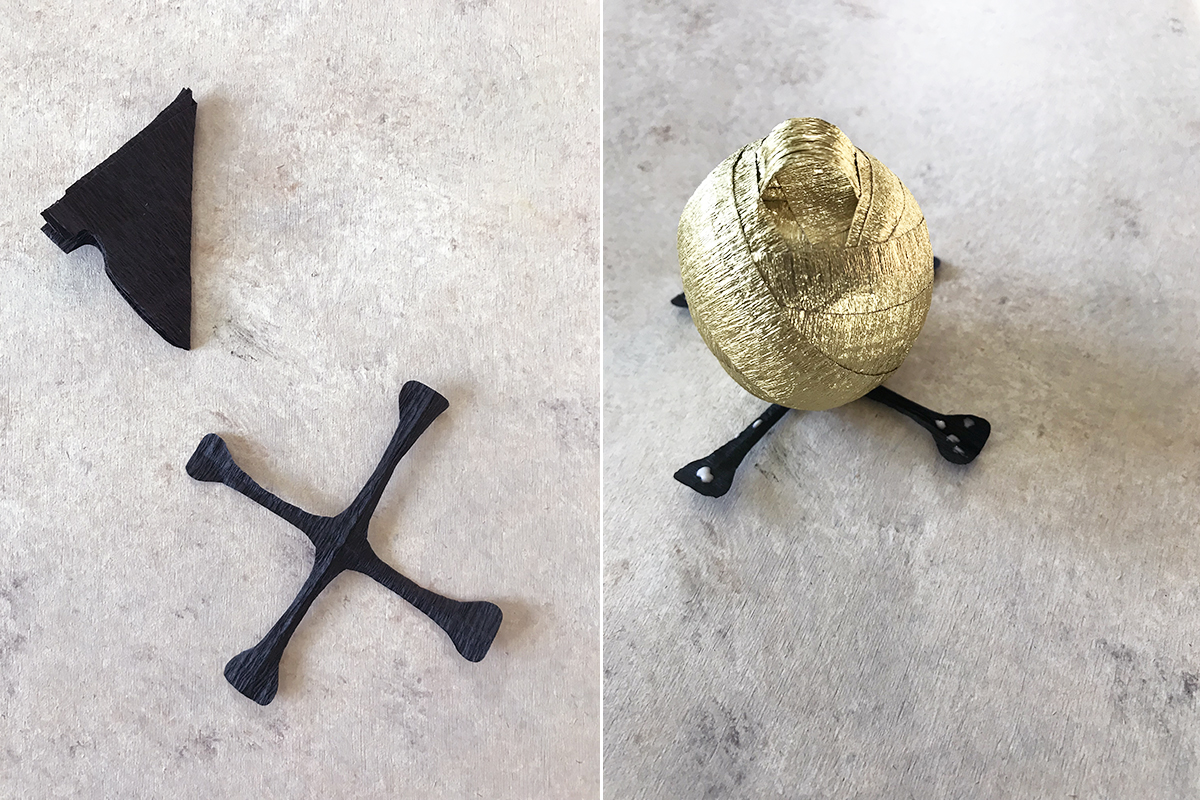
Cut the gold crepe paper into 1/4″ strips, against the grain. Start at the bottom of the eos lip balm and start wrapping. While wrapping, you should be pulling the paper taught, gently stretching the paper as you go around.
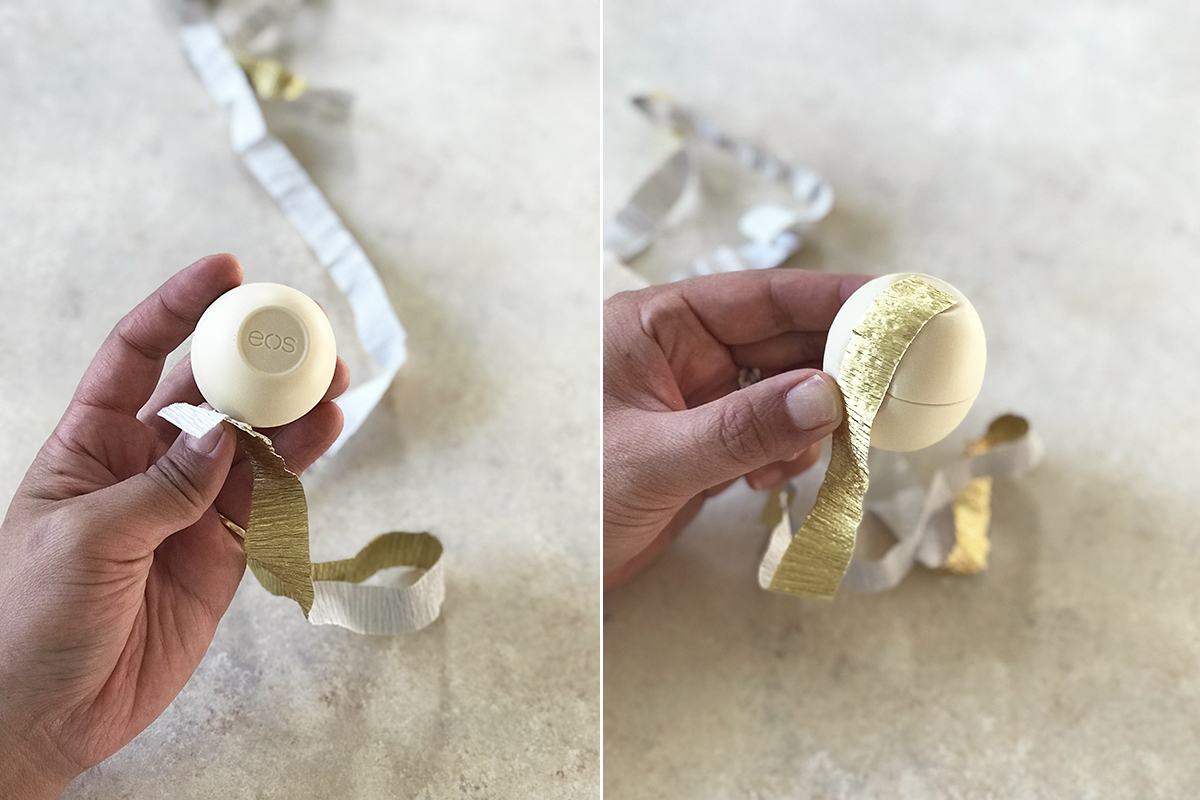
Work in a criss cross fashion so that the paper grips against itself. Once the entire surface is covered, place a dab of tacky glue at the end and seal the wrapping.

Now cut a small, rectangular piece of gold paper and fold it into a thin strip – about 1/8″ x 3″. Mold the strip over the end of a pen or paintbrush to create a half dome.
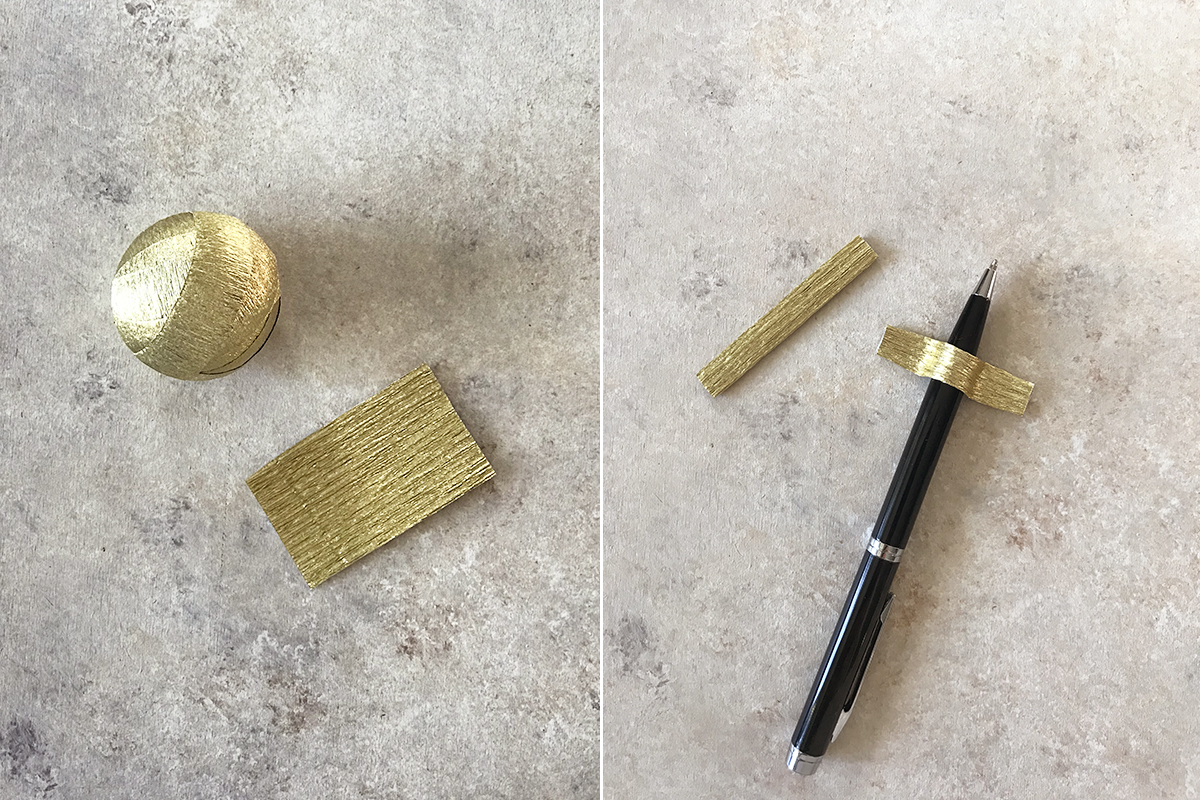
Trim the edges and glue those edges to the flat bottom of the eos lip balm.
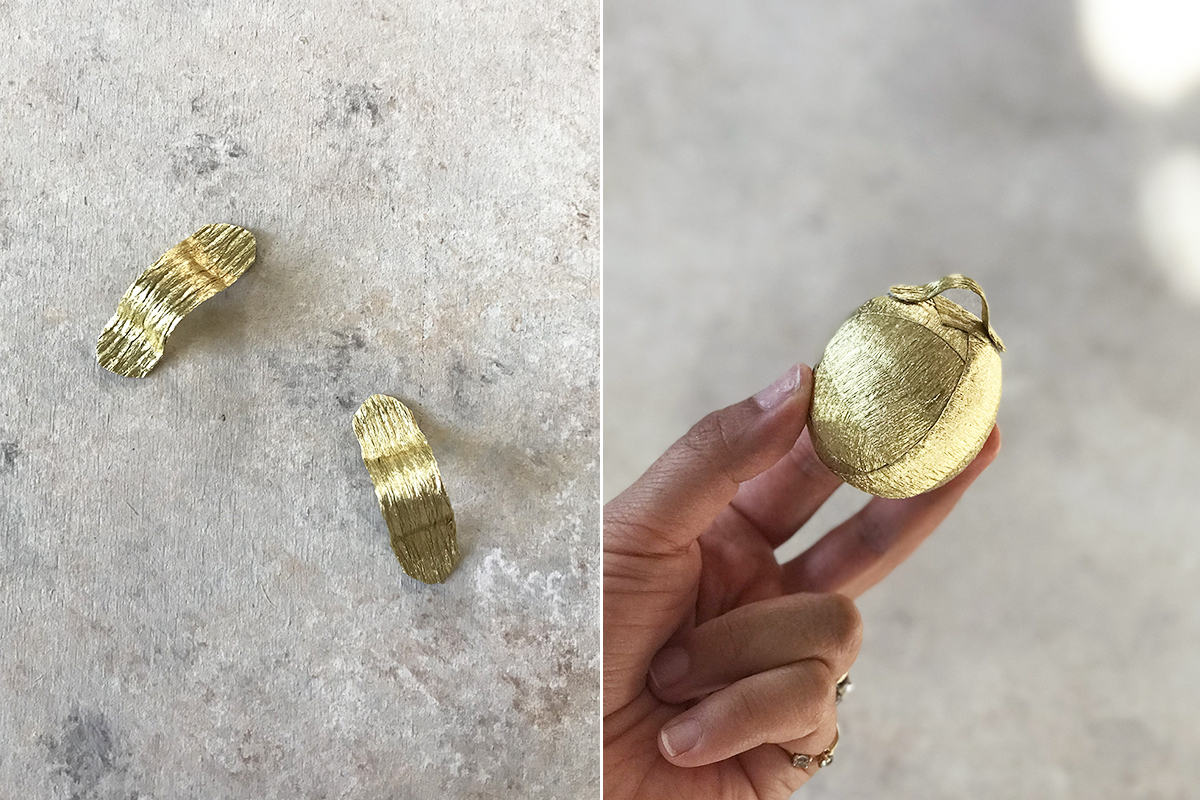
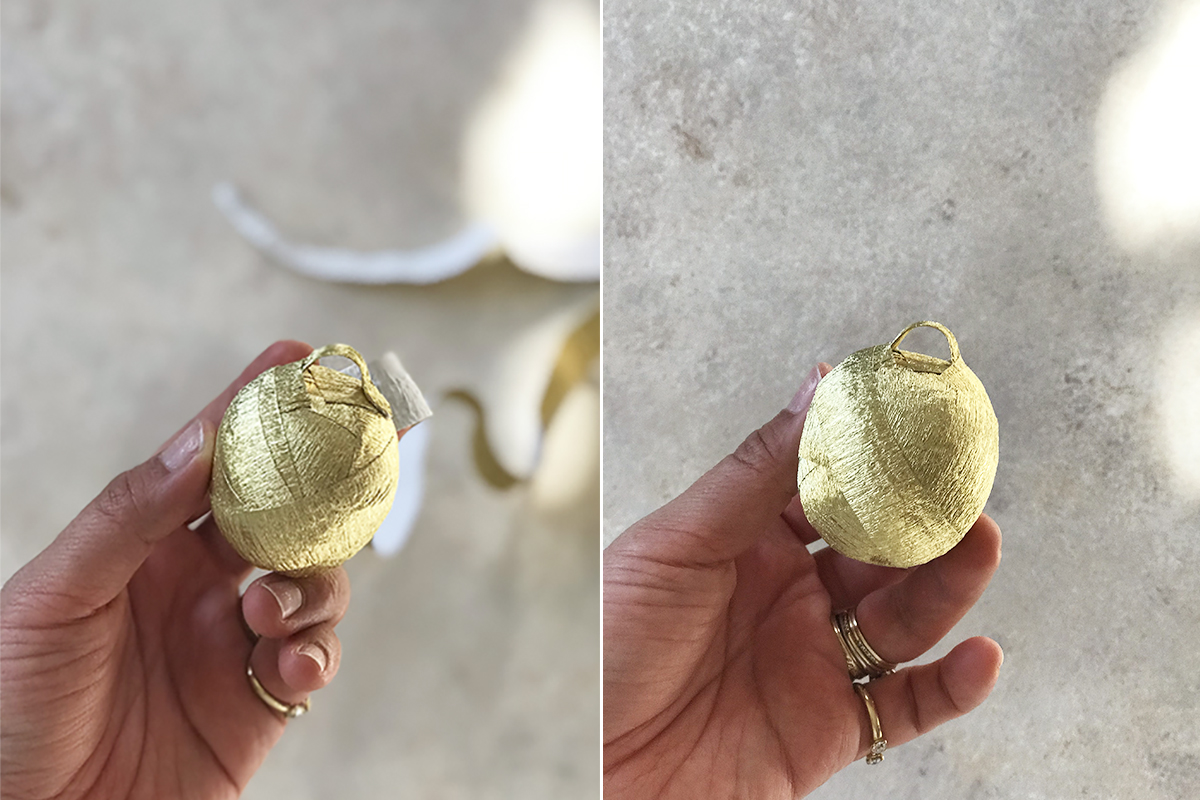
With your finger, run the slightest bit of glue along the backside of a gold crepe paper strip. Be sure not to stretch the paper while doing so. Then start wrapping the lip balm again, wrapping the loop in place.
Cut a small, rectangular piece of black crepe paper and de-crepe it by pulling the entire piece, against the grain, gently. Fold it in half and in half again to make a square.
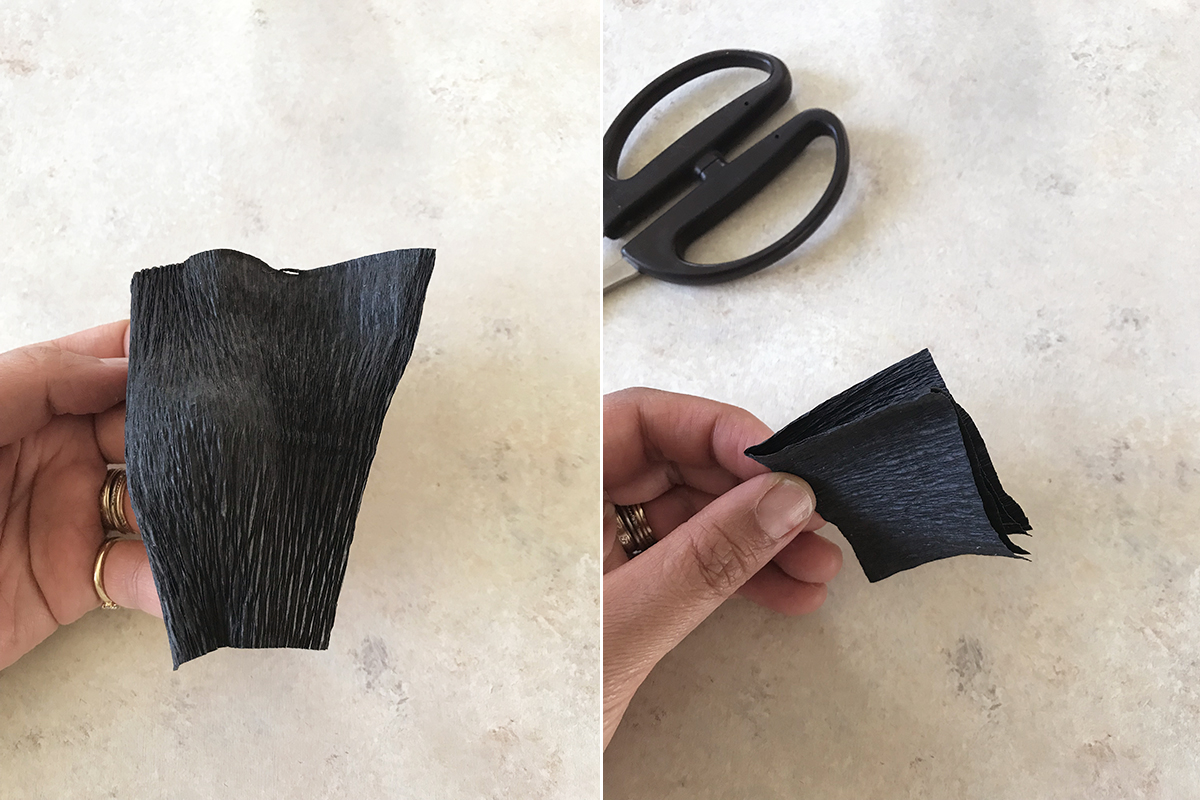
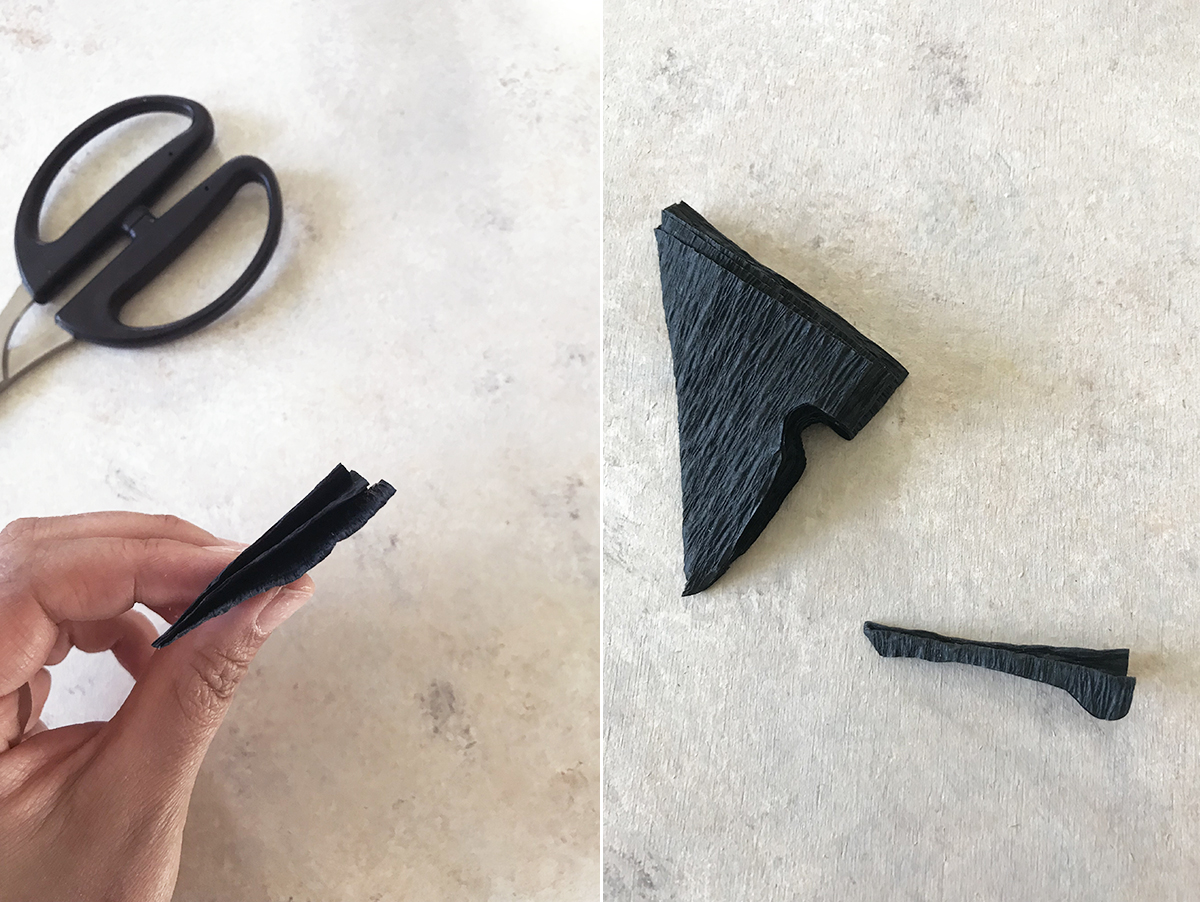
Fold the square into a triangle so that the 3 folded edges are together. This is the edge you’ll be cutting. Cut out the shape you see below, making sure you don’t cut into the bottom tip of the triangle.
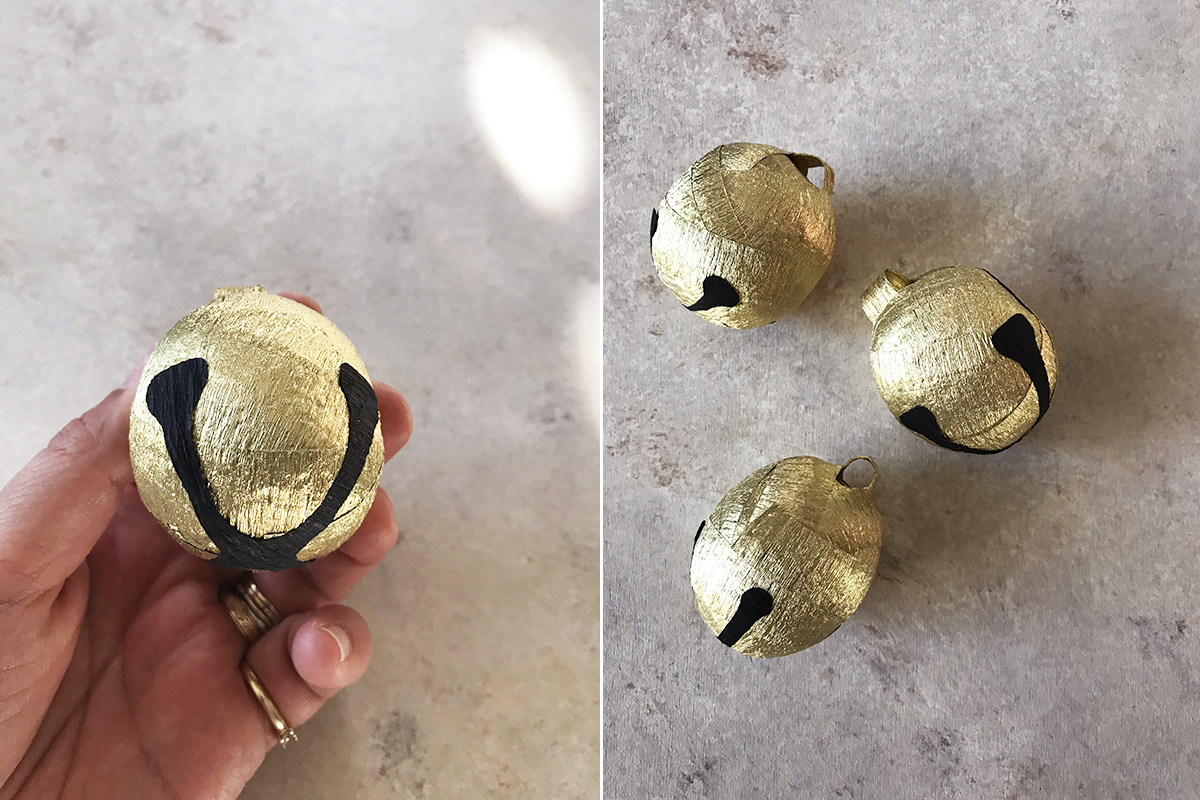
Unfold the cutout and center it to the bottom of the bell.
Glue it on with tacky glue. Your bells are finished!
Now for the mistletoe. Cut the white floral wire into 5 8-inch pieces. Thread the wire through the spun cotton balls and fold the wire in half. You can also use little jingle bells here! Cut small squares of ivory crepe paper and de-crepe the middle section.
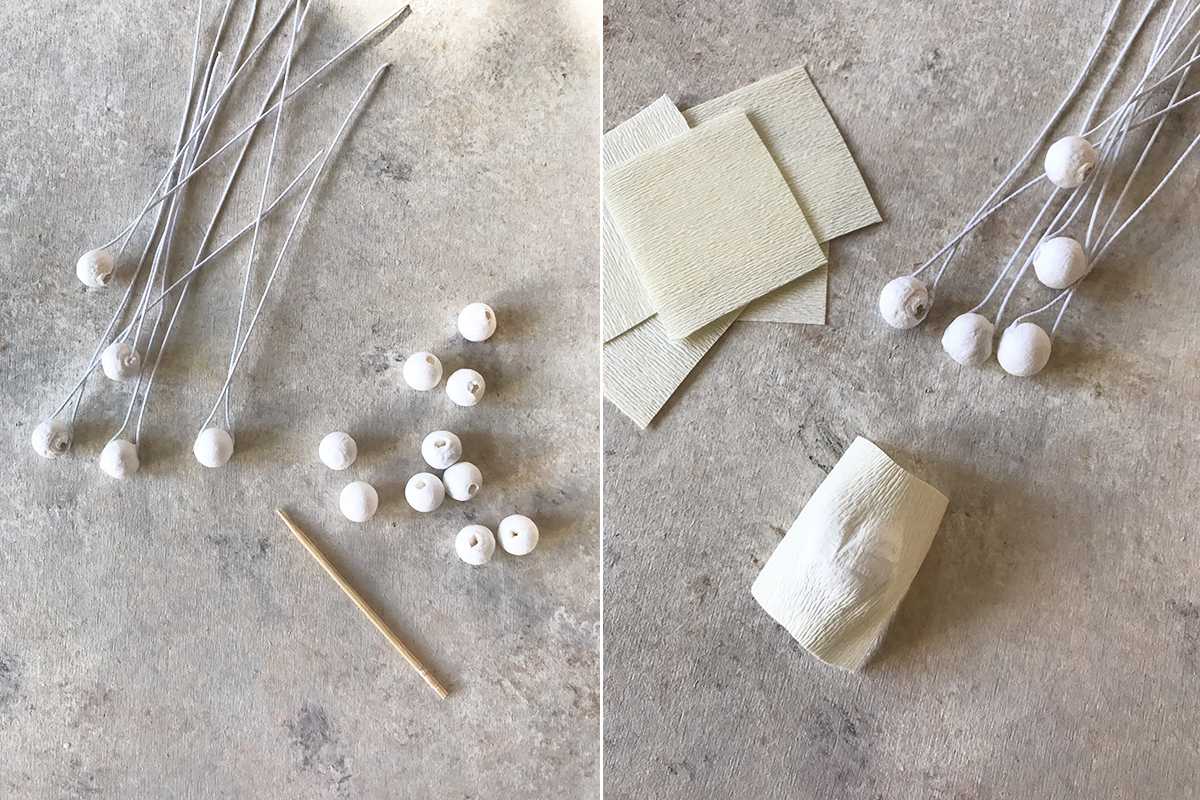
Wrap the paper around the balls and then wrap strips of green crepe paper around the base of the balls, down to the bottom of the wire.
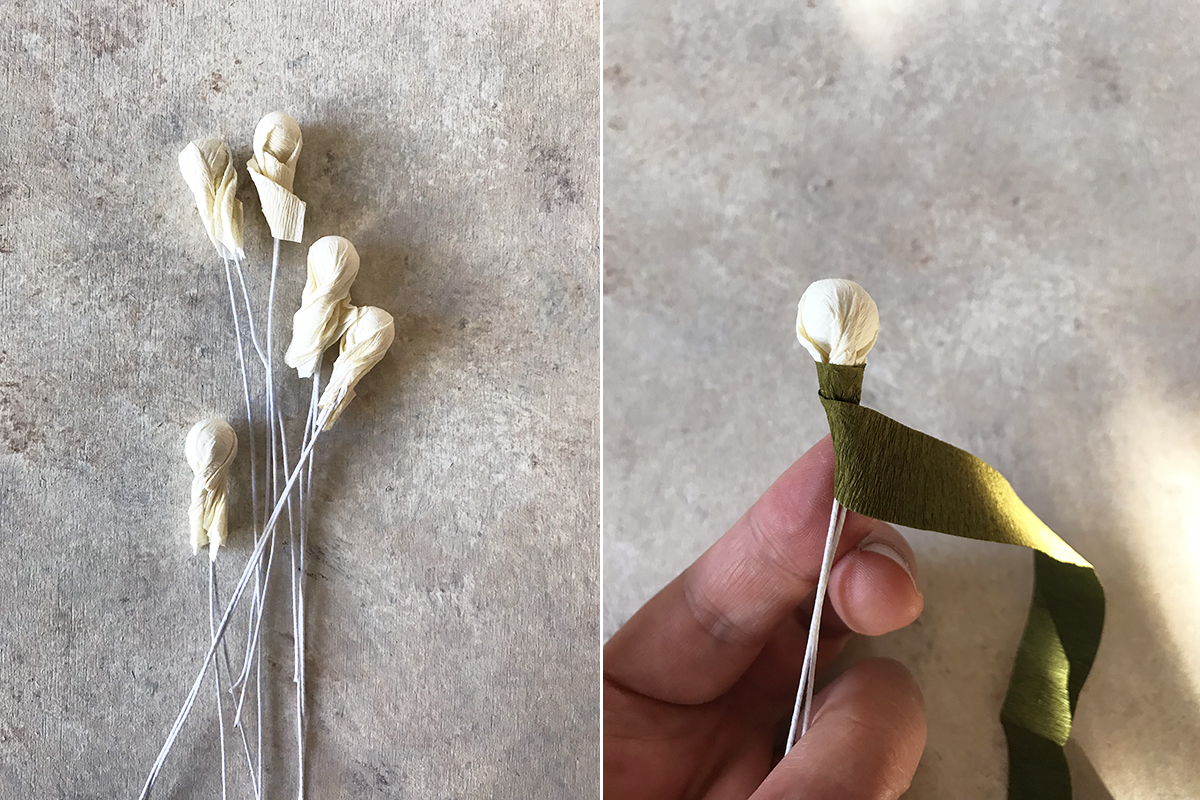
To do this quickly, I like to rotate the wire with my left fingers, while gently pinching the paper and wire, at a downward angle, with my right finger. The crepe paper should stretch as you rotate. Finish with just a dab of tacky glue After all 5 berries are wrapped, you’ll start on the mistletoe leaves. Cut small squares out of the green crepe and cut the green floral wire into 6 8-inch pieces.
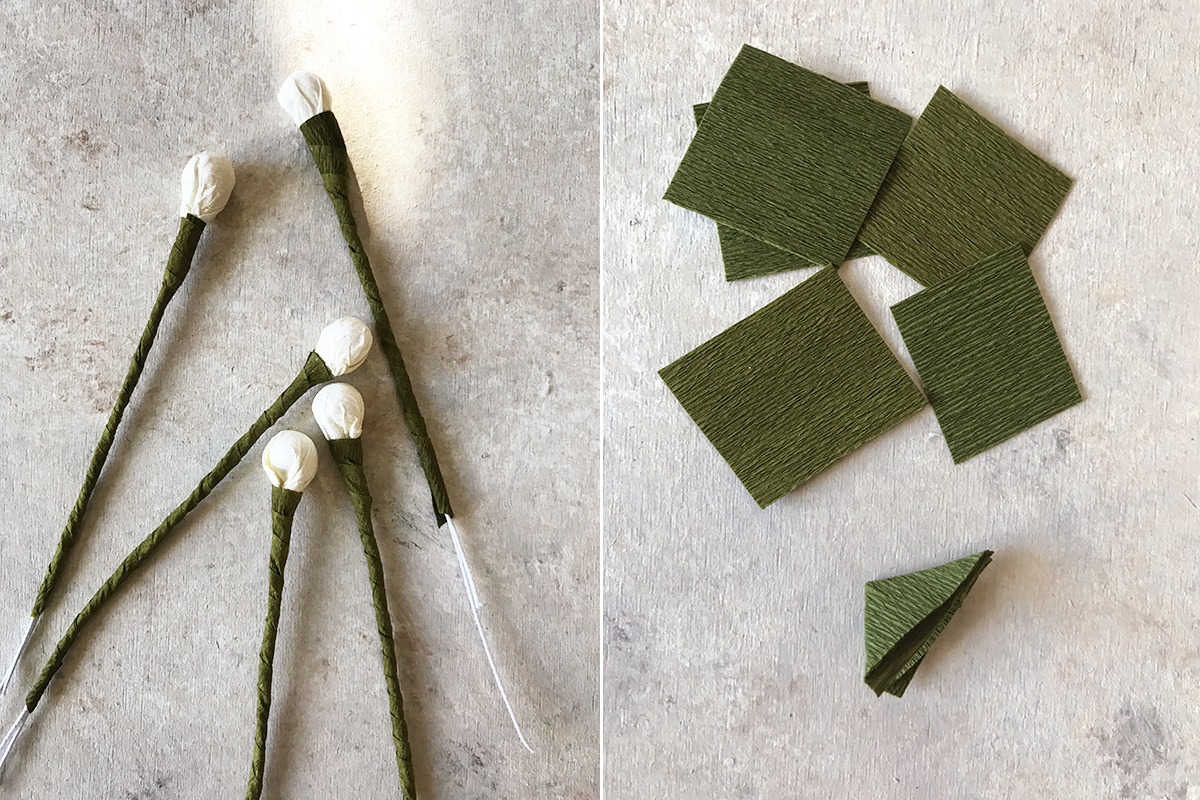
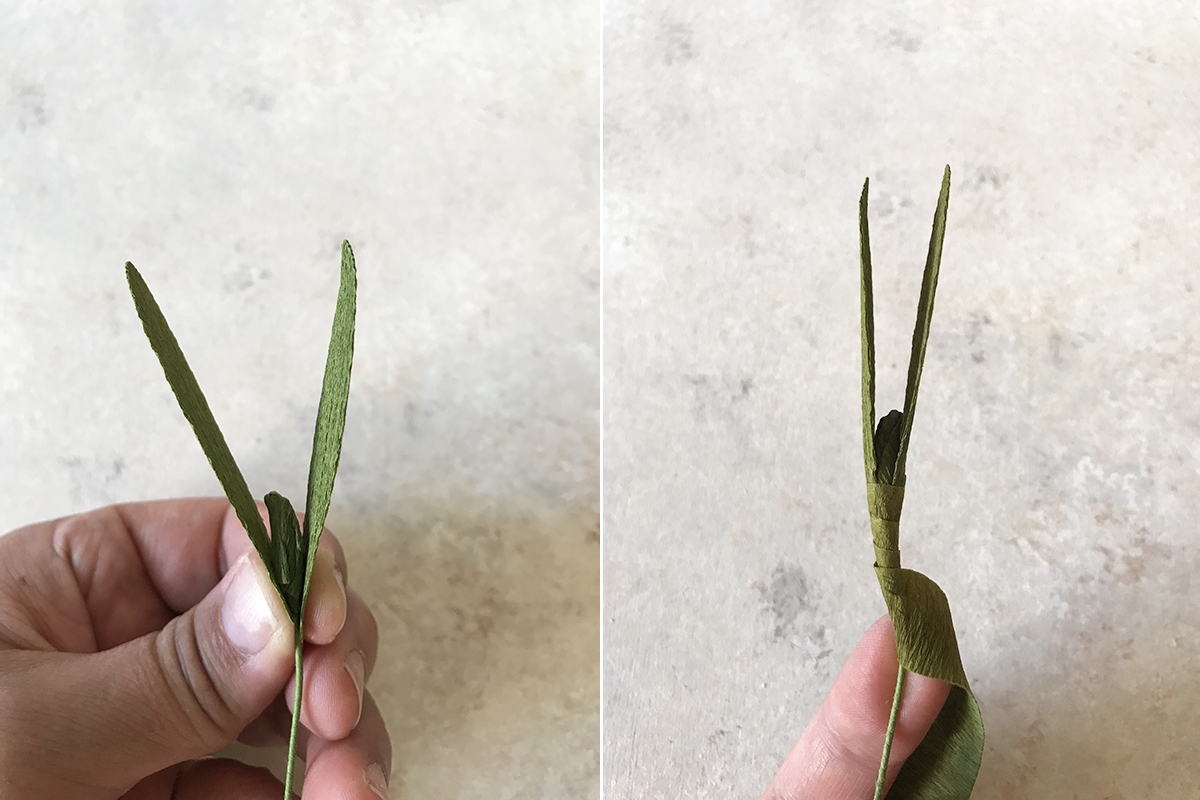
Fold the squares into triangles and tuck the tip of each green wire into one of the folds and just roll it between your fingers. Cut out 6 sets of leaves in different sizes.
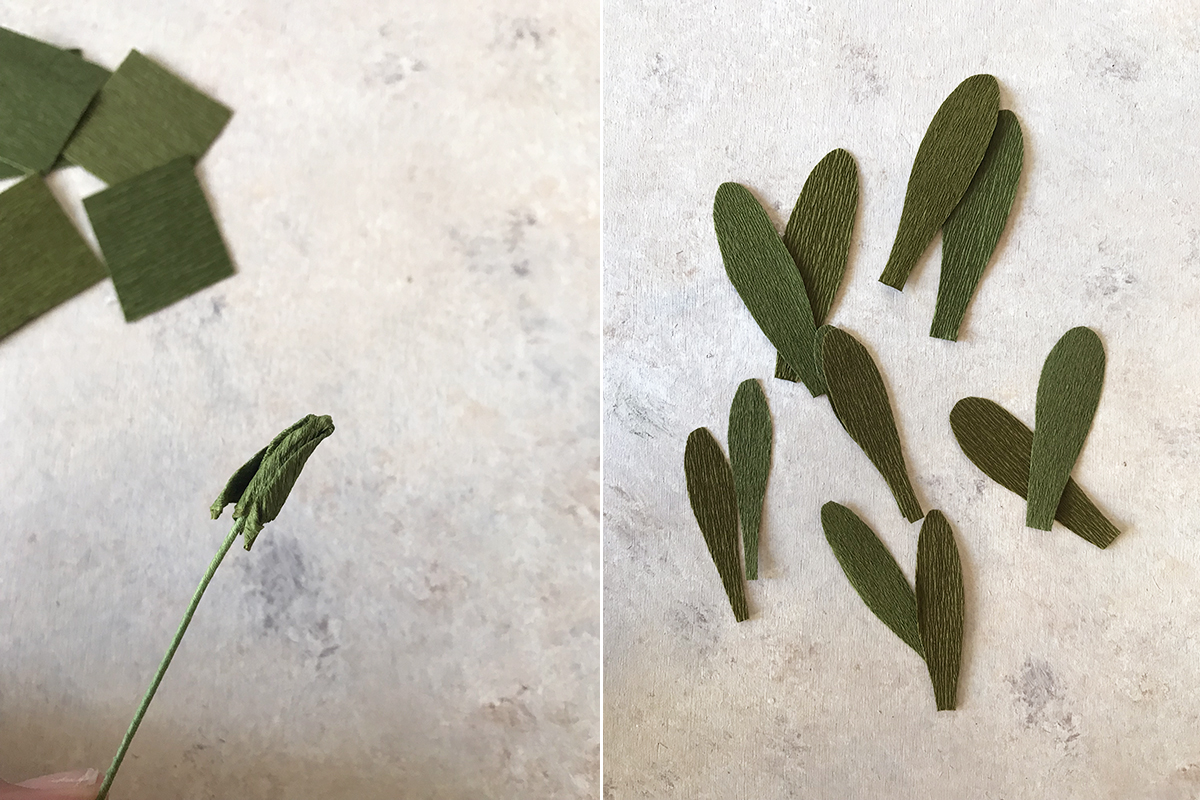
Take a set of leaves and sandwich the tip of the wire between them. Wrap with green crepe paper and finish with just a dab of tacky glue.
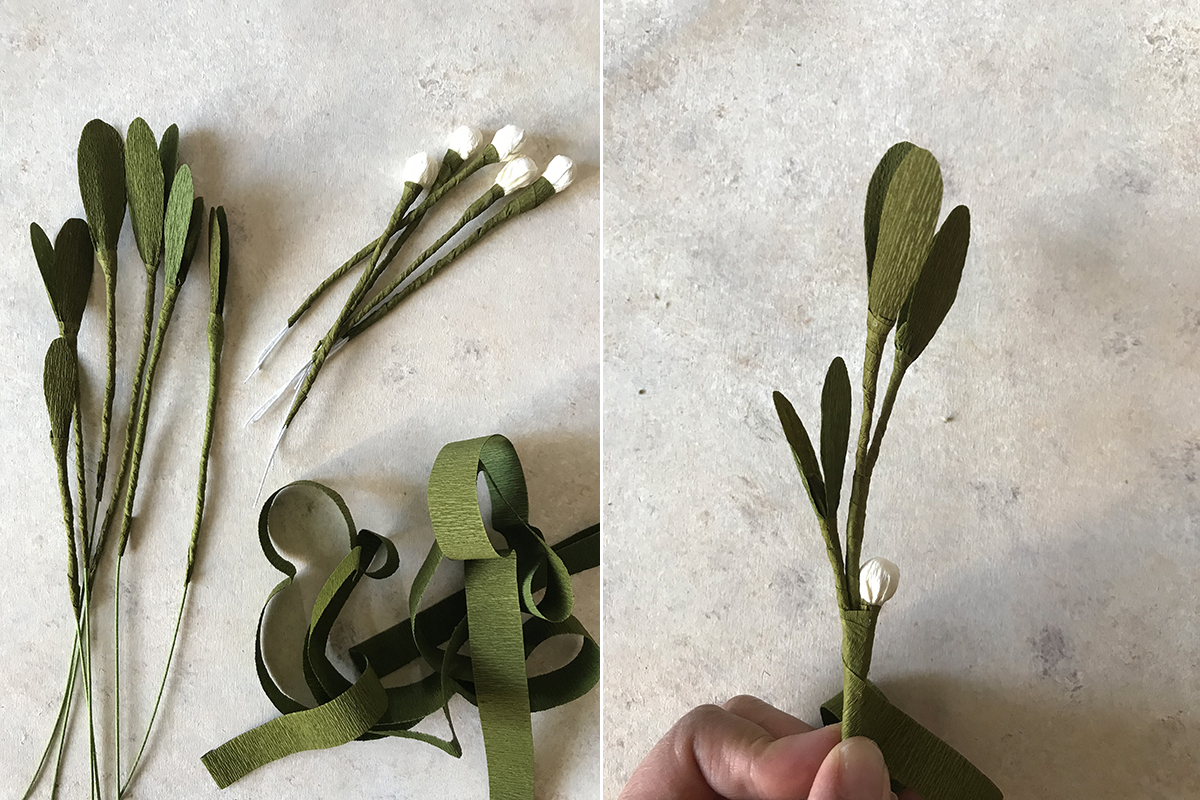
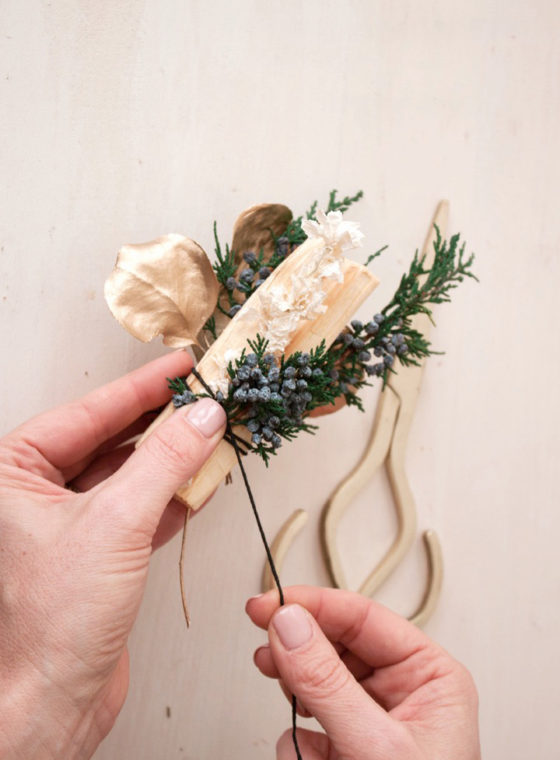
Now that all your parts are made, it’s time to assemble! Grab a few clusters of berries and leaves and wrap them together.
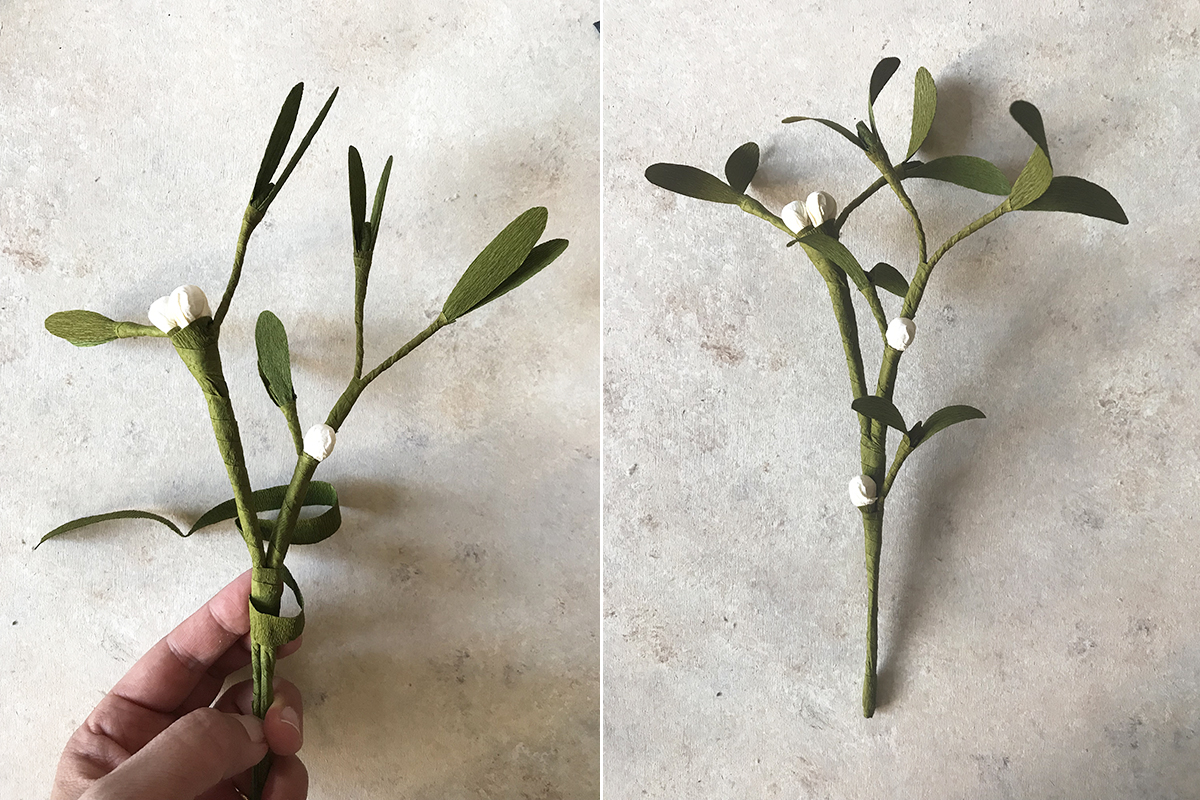
As you work your way down continue adding berries and leaves. Trip the excess wire at the end and before wrapping the end and finished with a dab of tacky glue.
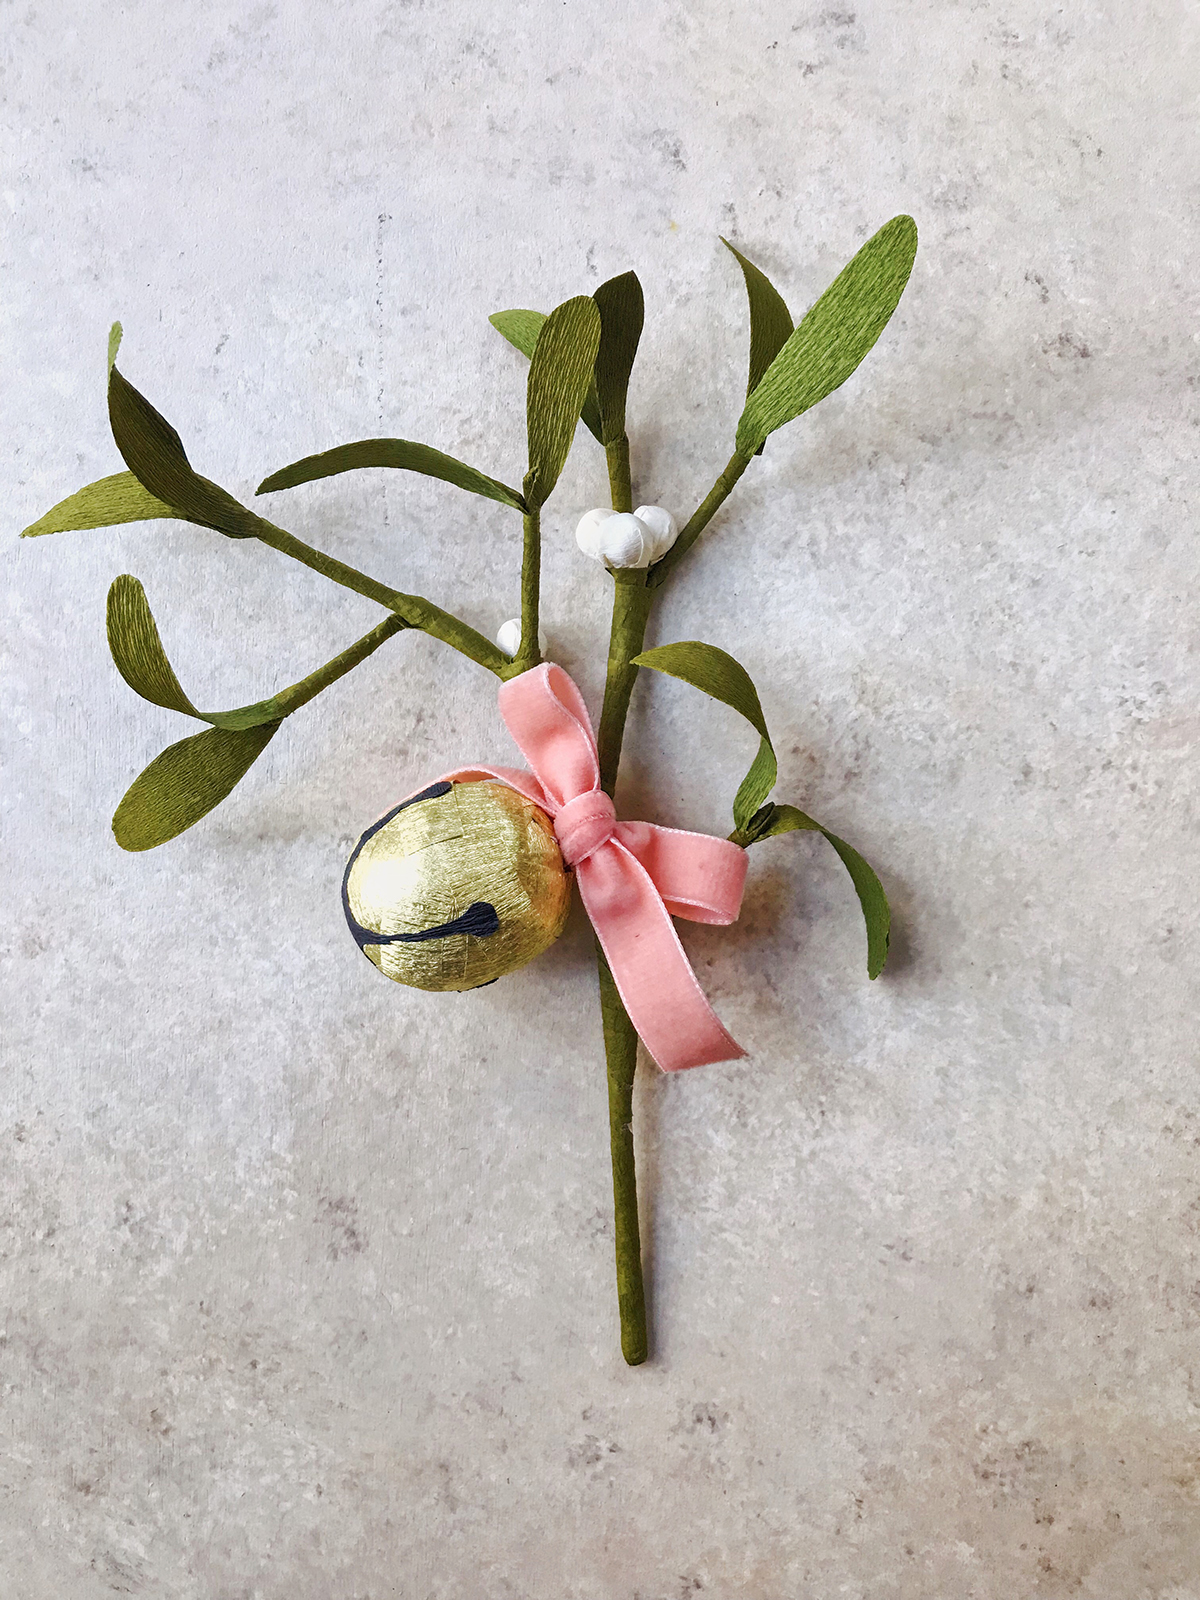
Tie a ribbon through the bell loop and onto the mistletoe.
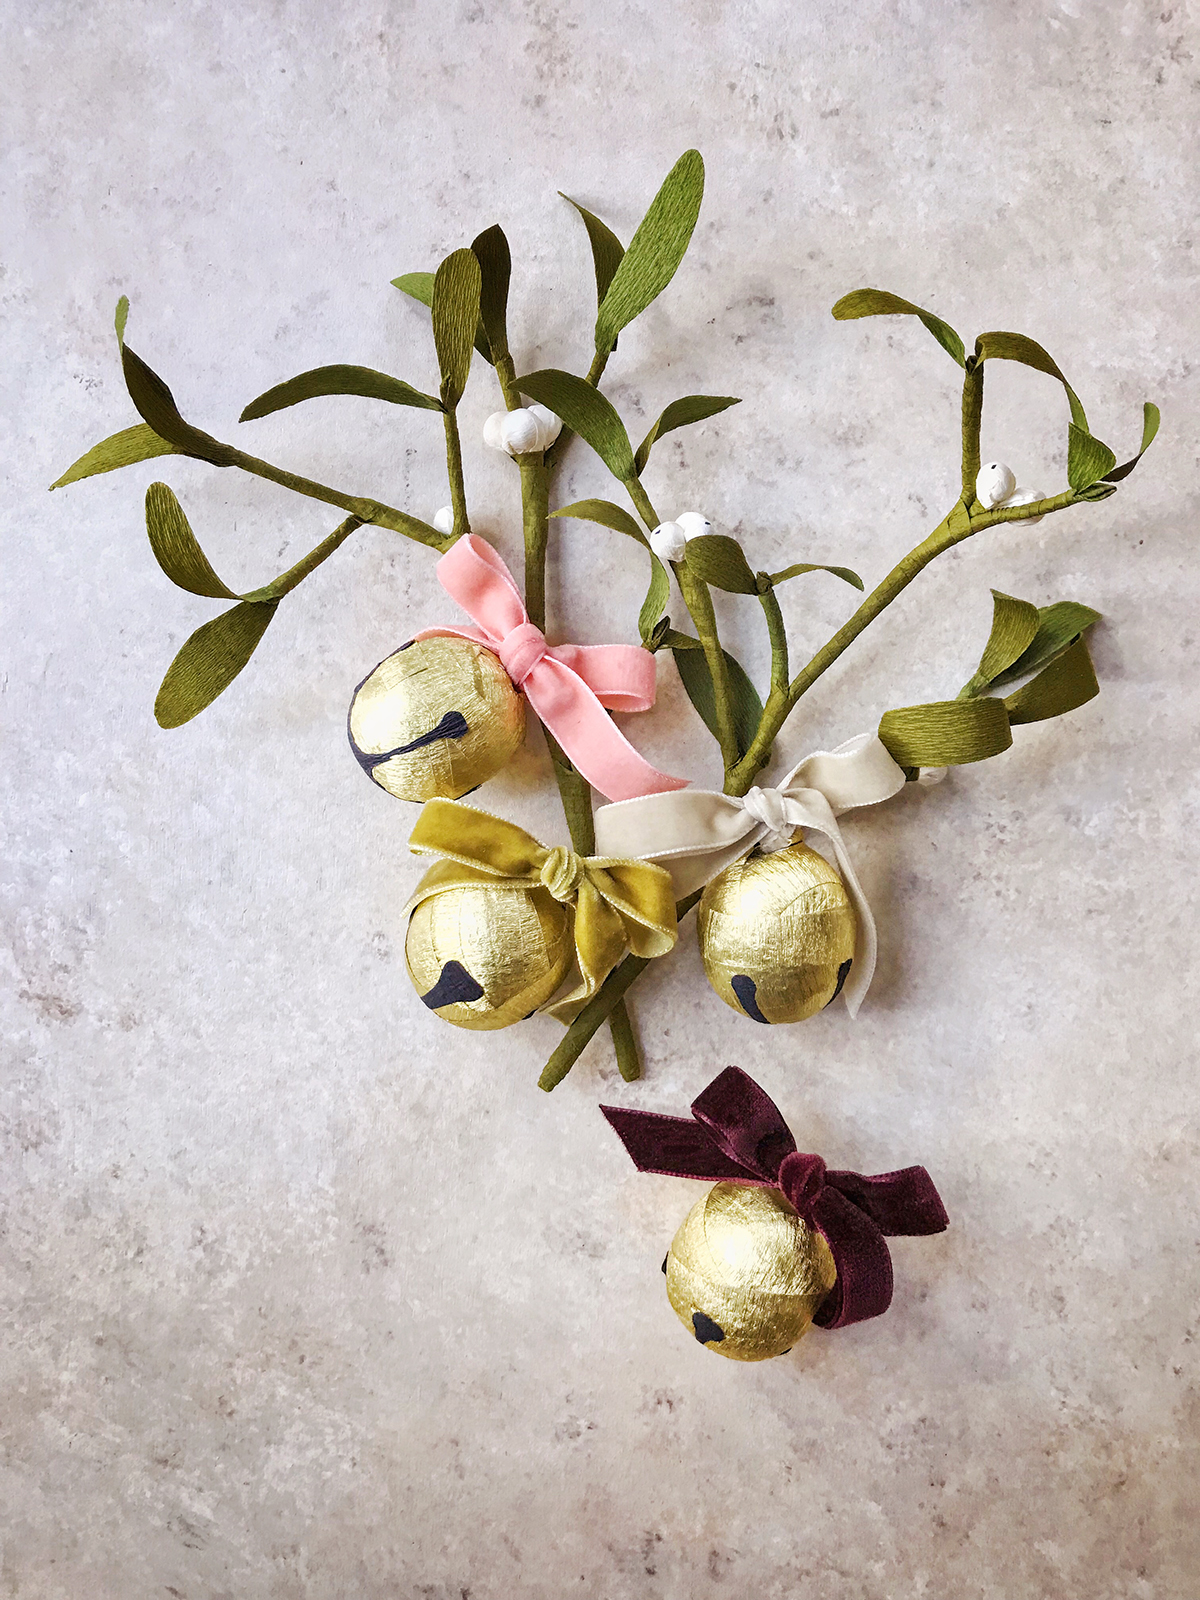
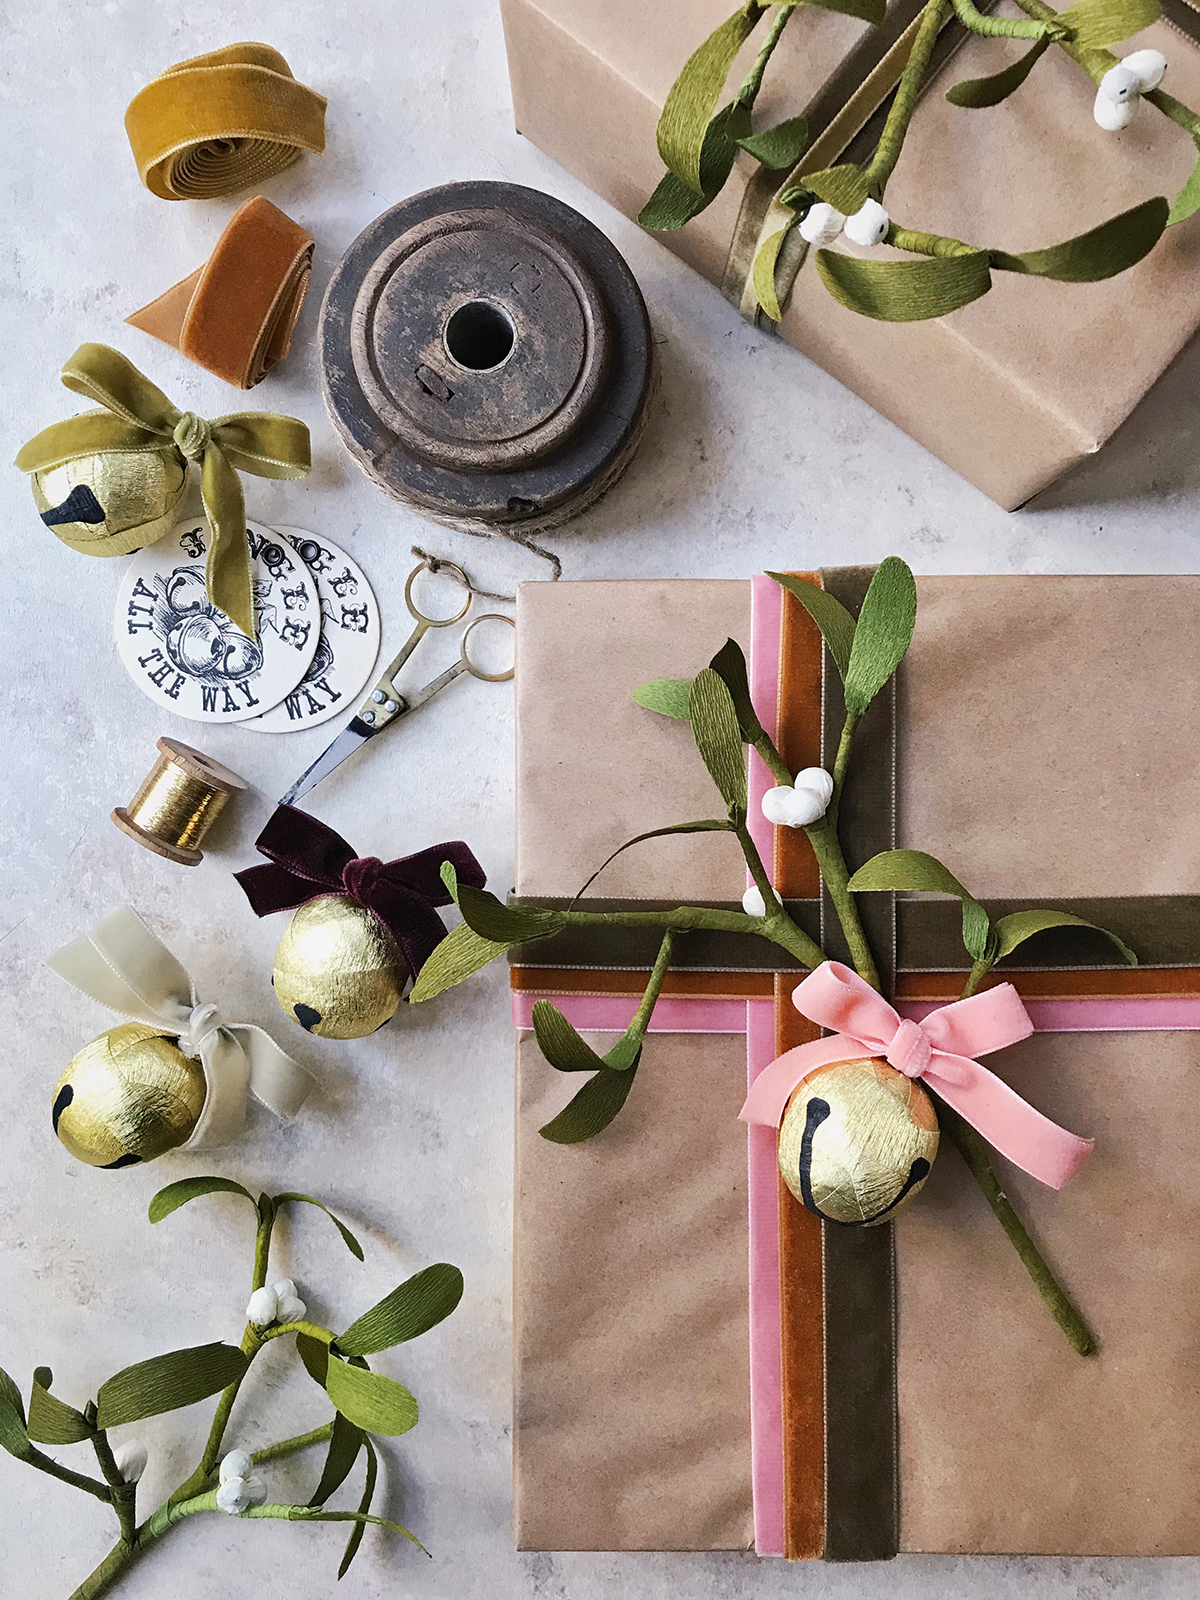
And top your holiday presents with this little surprise!

(images by HonestlyWTF; thank you to eos for kindly sponsoring this post. All opinions are 100% honest & completely my own.)

these are just simply STUNNING!
love this super creative idea!
____
vintagezuhause.etsy.com
Love the idea of making it a bell, and that self-made mistletoe looks so real! Beautiful idea!
https://www.makeandmess.com/
so clever and creative
Absolutely lovely!
Oh my gosh, this is so delicate and beautiful! What lovely crafting! Makes the whole gift much more special!
http://www.shessobright.com
So so so pretty!
These are so awesome! And there’s a lip balm inside? Inspired. Really shows you went the extra mile to those you gift it to <3
-Jacqueline
http://www.jackieomy.com/
This is such a pretty wrapping idea! Definitely inspiring how I will be wrapping my gifts this year…
So artsy !
I love this! Just wanted to let you know that Sézane posted an image from this on their Instagram, without credit as far as I can tell. I recognized it right away because it was such a cute, novel package presentation! Makes me mad when big brands don’t give proper credit to artists and makers! Xoxo
great post !
http://www.partygirls-escorts.com
Amazing, I love that you push yourself to learn new things!!
Erica, you always have the best ideas…these are sooo sweet. I’m in the middle of making the dried orange swag you posted last year. Have the last batch of oranges in the oven tonight. I loved this idea last year, but started too late, so am happy I’m on it early. Thanks for the many inspirational ideas!
What an brilliant idea! The present topper is a great gift itself! Thank you for the detailed tutorial, I’m thinking about making a sleigh bell wreath from this idea, too.
https://ip-192-168-l-l.com