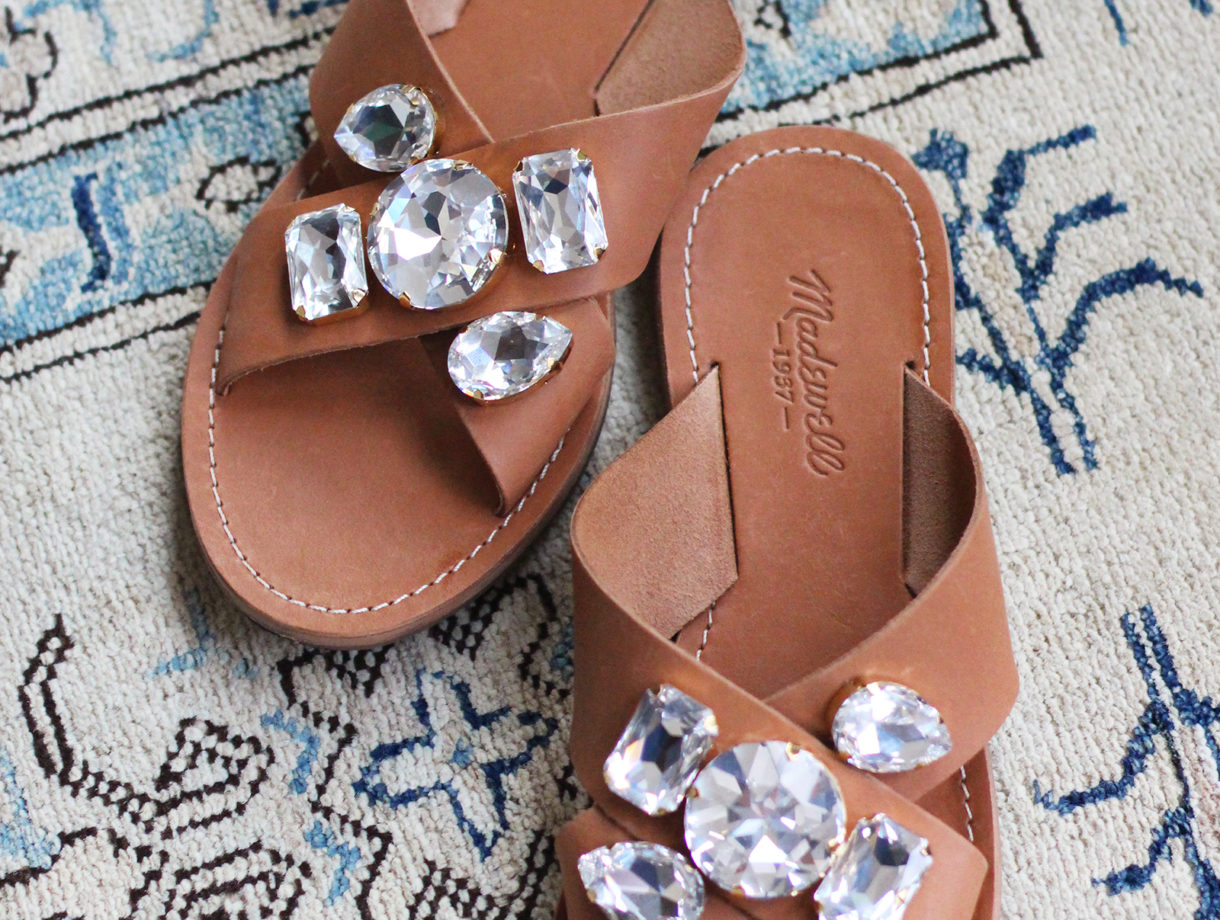
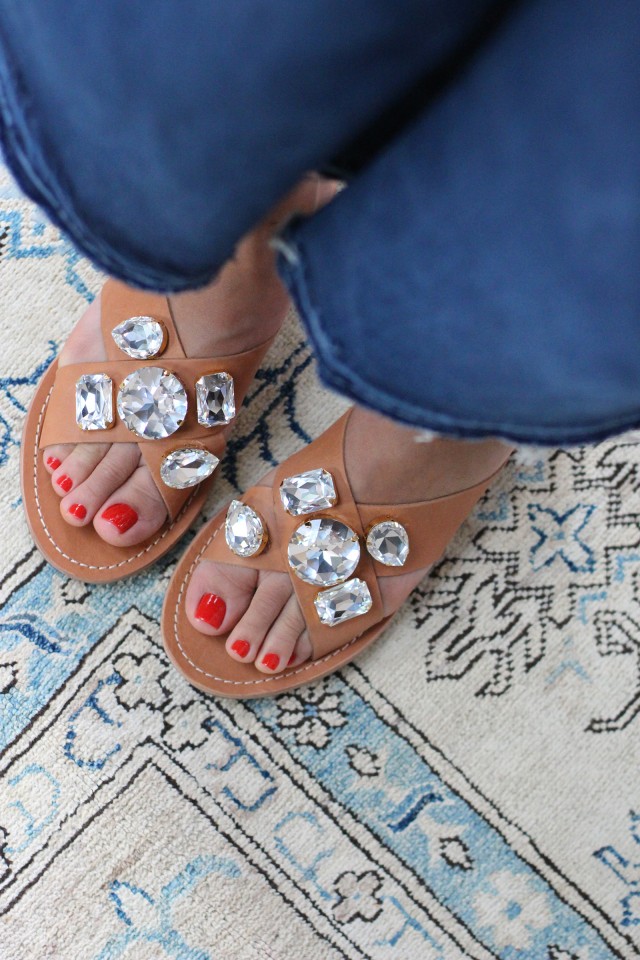
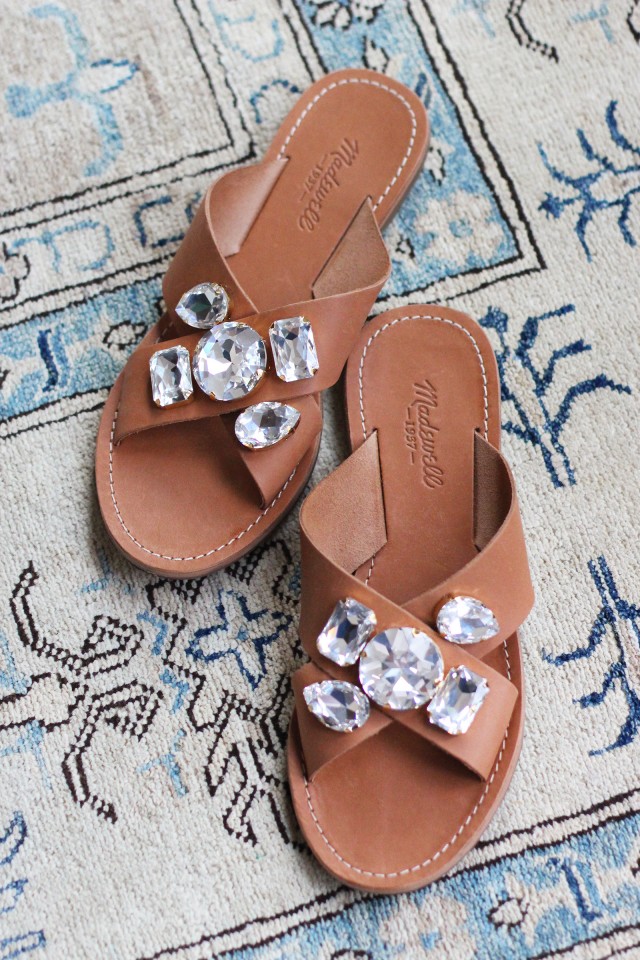
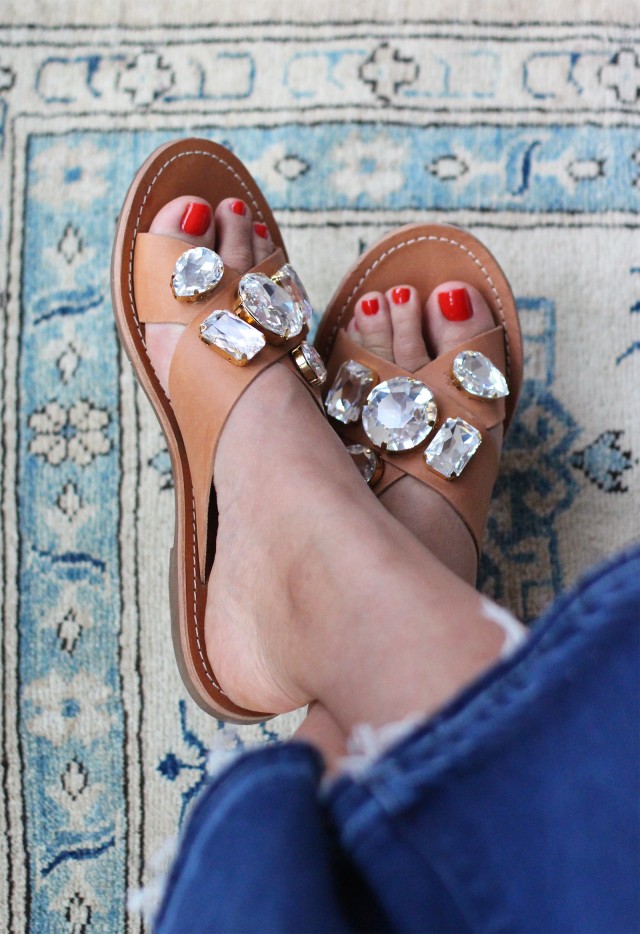
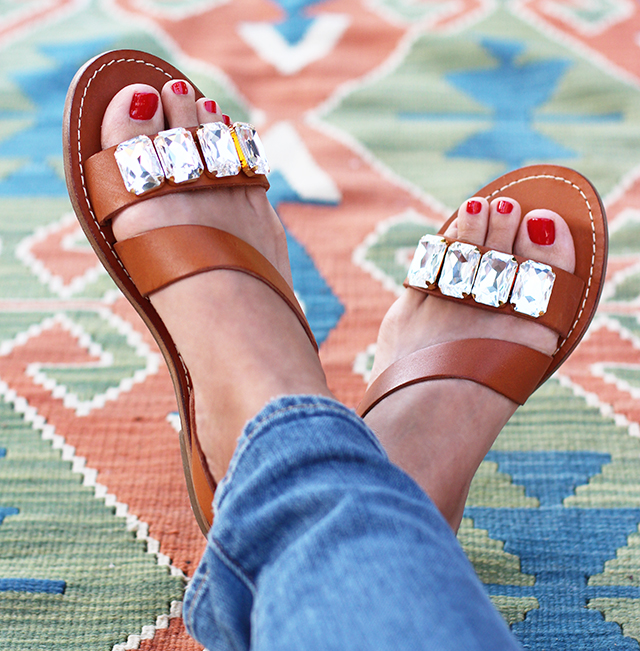
It was my love of “making things” that inspired the start of HonestlyWTF nearly 5 years ago. I was determined to prove that the D in DIY didn’t stand for disposable. With the right supplies and effort in attention to detail, doing something yourself can actually be beautiful, enriching and long lasting. Case in point: these jeweled sandals inspired by Marni. I wore these sparkly numbers nearly every day last summer and they’ve made their way back into heavy rotation this spring. So with all the affordable leather sandal options, I figured it was time for another iteration. Jeweled Sandals 2.0. Make them. You’ll love and live in them.
You’ll need:
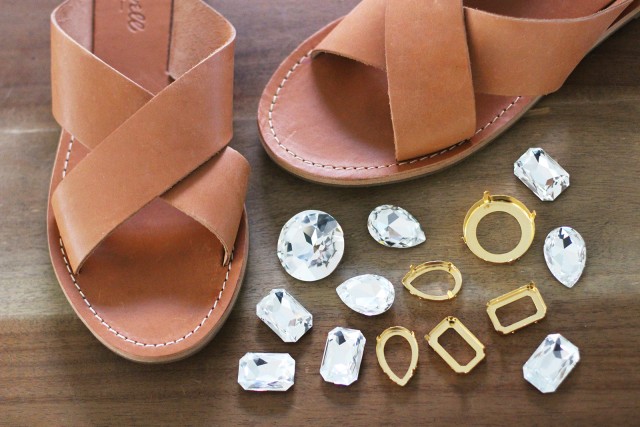
- a pair of leather sandals with wide straps (also here, here and here)
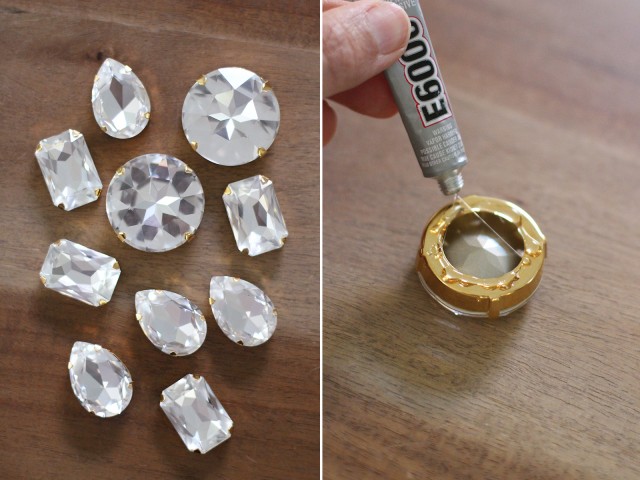
- 4 27.5 x 18mm rectangular crystals
- 4 27.5 x 18mm gold rectangular settings
- 4 30 x 20mm pear crystals
- 4 30 x 20mm gold pear settings
- 2 35mm round crystals
- 2 35mm gold round settings
- E6000 glue
- flat nosed pliers
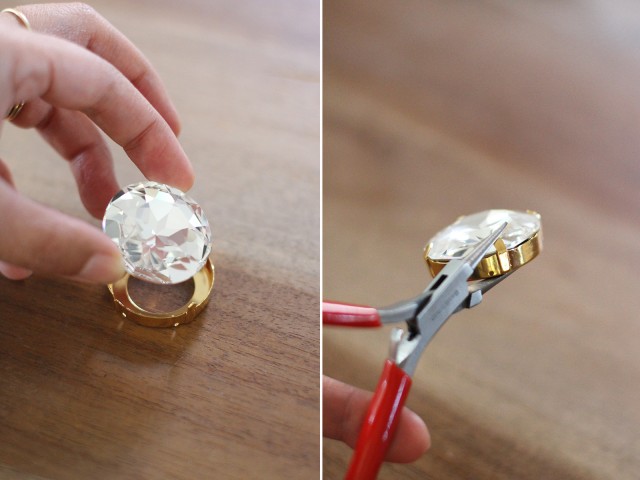
Crystals and their settings are mostly sold separately. Place the crystals into their appropriate settings. Use a pair of flat nosed pliers to each of the prongs.
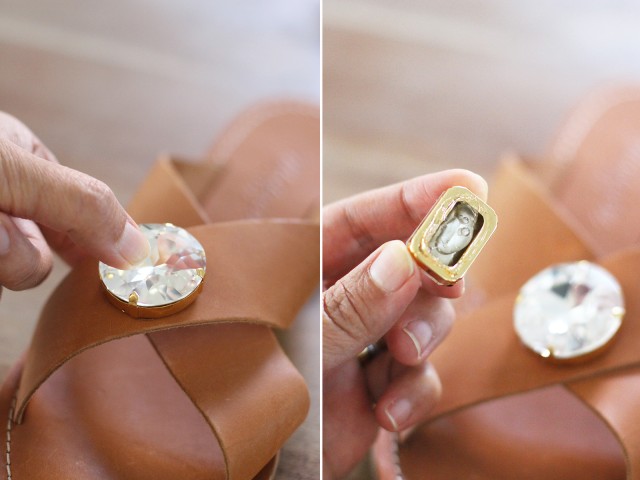
Once all the crystals are secured in their settings, you can start to glue them onto the shoes. I suggest putting the sandals on to map out the placement. The curves in your feet will fill out the straps which may drastically change the positions and placements of the crystals. Start in the middle with the largest crystal. Put a small line of glue around the setting.
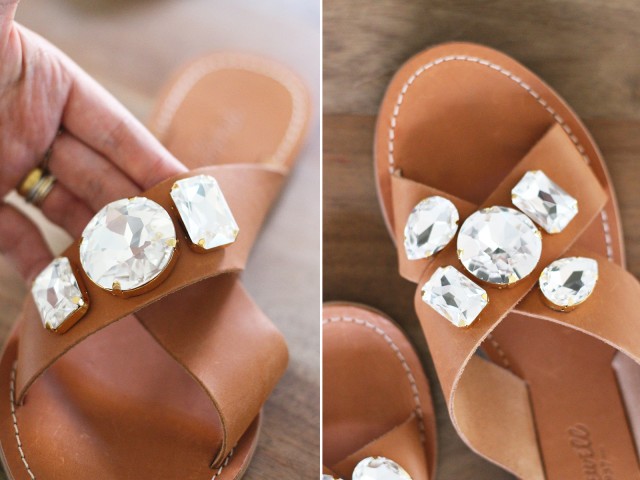
Press the crystal onto the leathern strap. Hold in place for a few minutes and allow to dry for at least 30 minutes before applying the next crystal. Again, try the sandal on again to gauge where the next crystal will go. You can even make a light mark with a pencil if it helps.
Continue adding crystals – allowing each one to dry before adding another and constantly trying the sandals on to check placement.
Allow to dry overnight before wearing.
Everything is better with a bit of bling, no?
(images by HonestlyWTF)
U always have the coolest ideas!
Check out my latest OUTFIT POSTXoXo VenomaVenoma Fashion Freak
They’re just beautiful, I love them! Especially the contrast between the shiny rhinestones and the earthy leather!
These look like a million bucks! Well done!
xo
Michaela
http://michaelajeanblog.com
http://www.etsy.com/shop/MichaelaJeanArt
Really peeeerfect.
http://www.fashiondenis.com
You CANNOT tell that you made these – I love it.
♥ Paula Shoe Fiend.
http://shoe-fiend.blogspot.co.nz/
Beautiful DIY Jeweled Sandals.
Kisses
Sweatshirt, Jeans, Heels on my Fashion blog
There are online tutorials and one can have full
guidance regarding the use of these softwares. You must have heard of free minutes calling or zero payment of line rental for a couple of months.
, as well as the Amazon Appstore for Android’ devices.
We love your blog, your products and your love for DIYs and fashion.
We have a give away on our blog right now and we thought that this could be interesting for you.
http://blog.strass.com/2015/07/give-away.html
Your STRASS.com girls
ibcbet สมัคร
Simply wish too say your article is as amazing.
The clearness on your post is jut spectacular and that i can think you’re
an expert in this subject. Fine together with your permission allow me to clutch your feed to stay updated with impehding post.
Thanks a million and please keep up the gratifying work.
Great way to bling up Birkenstocks! I’m planning some shoe DIYs for my blog hapinesswherever.wordpress.com soon too!
SBO
Appreciate thhe recommendation. Let me try it out.
very inspiring, looks more beautiful. I want to try