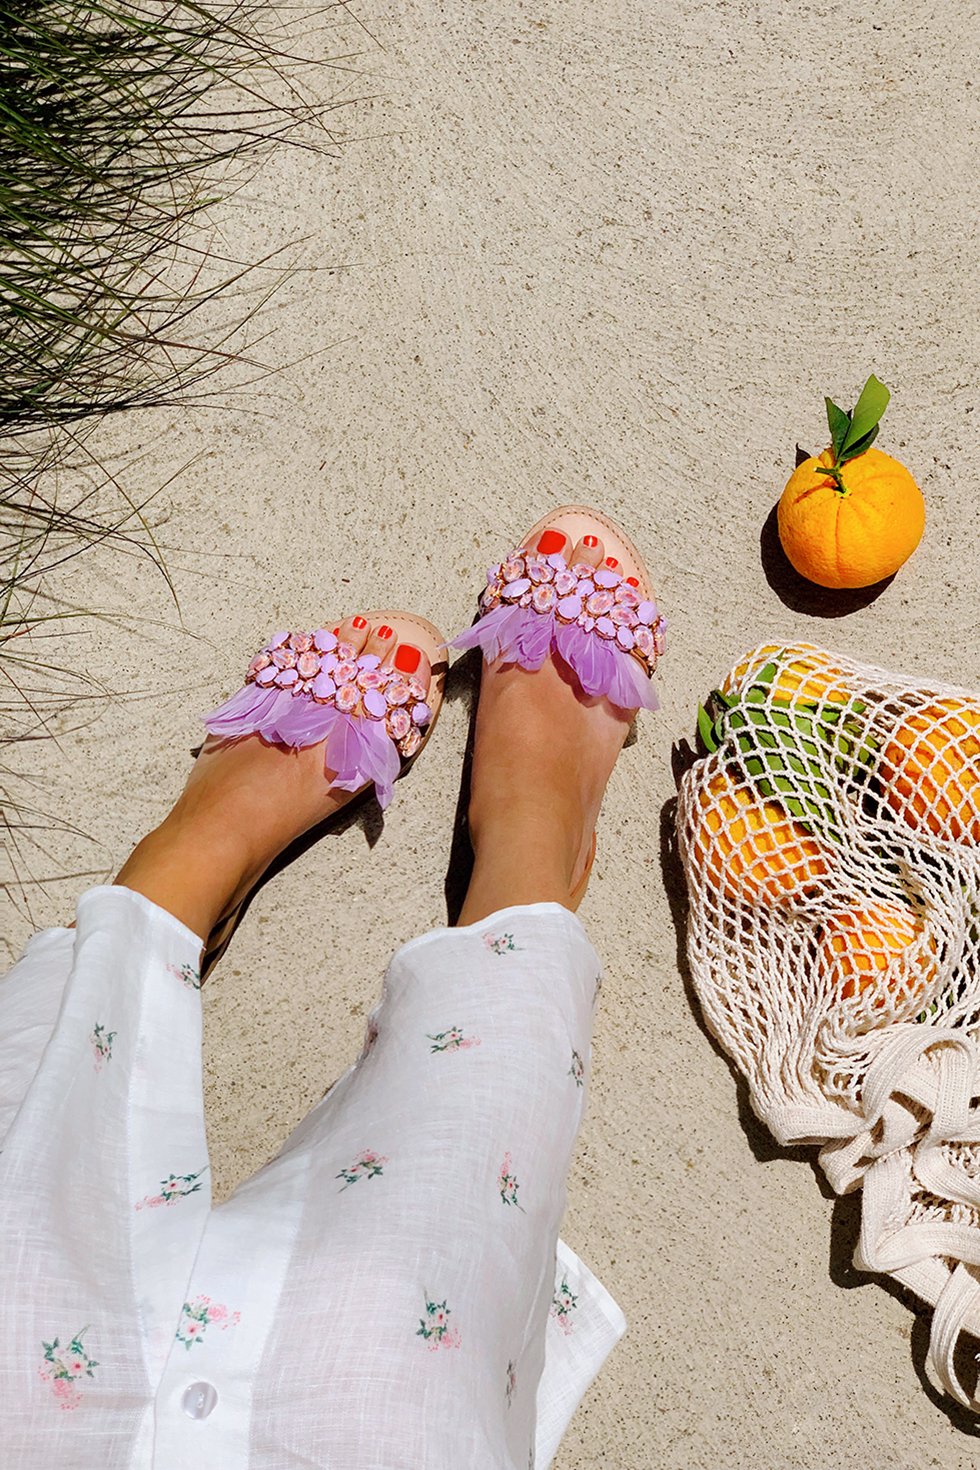
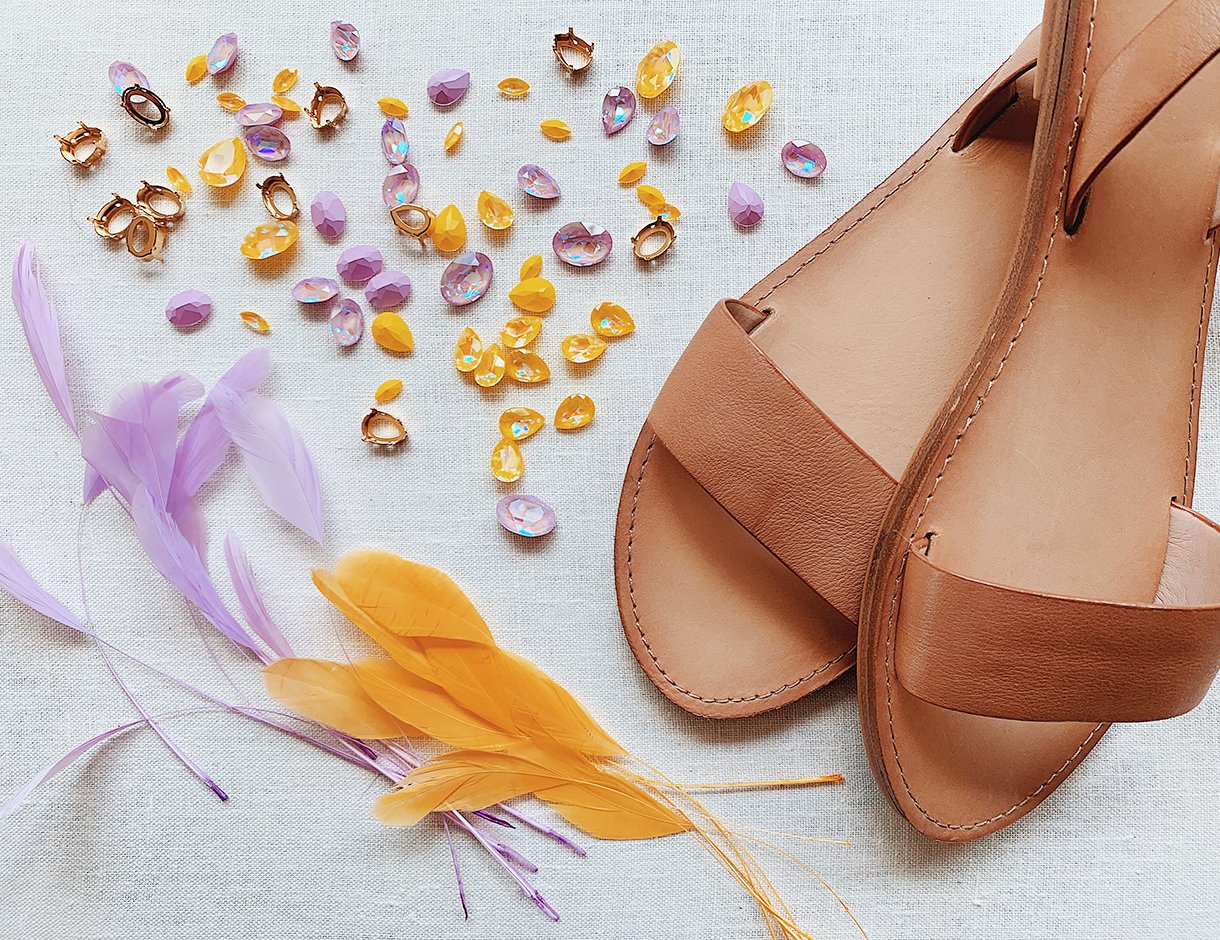
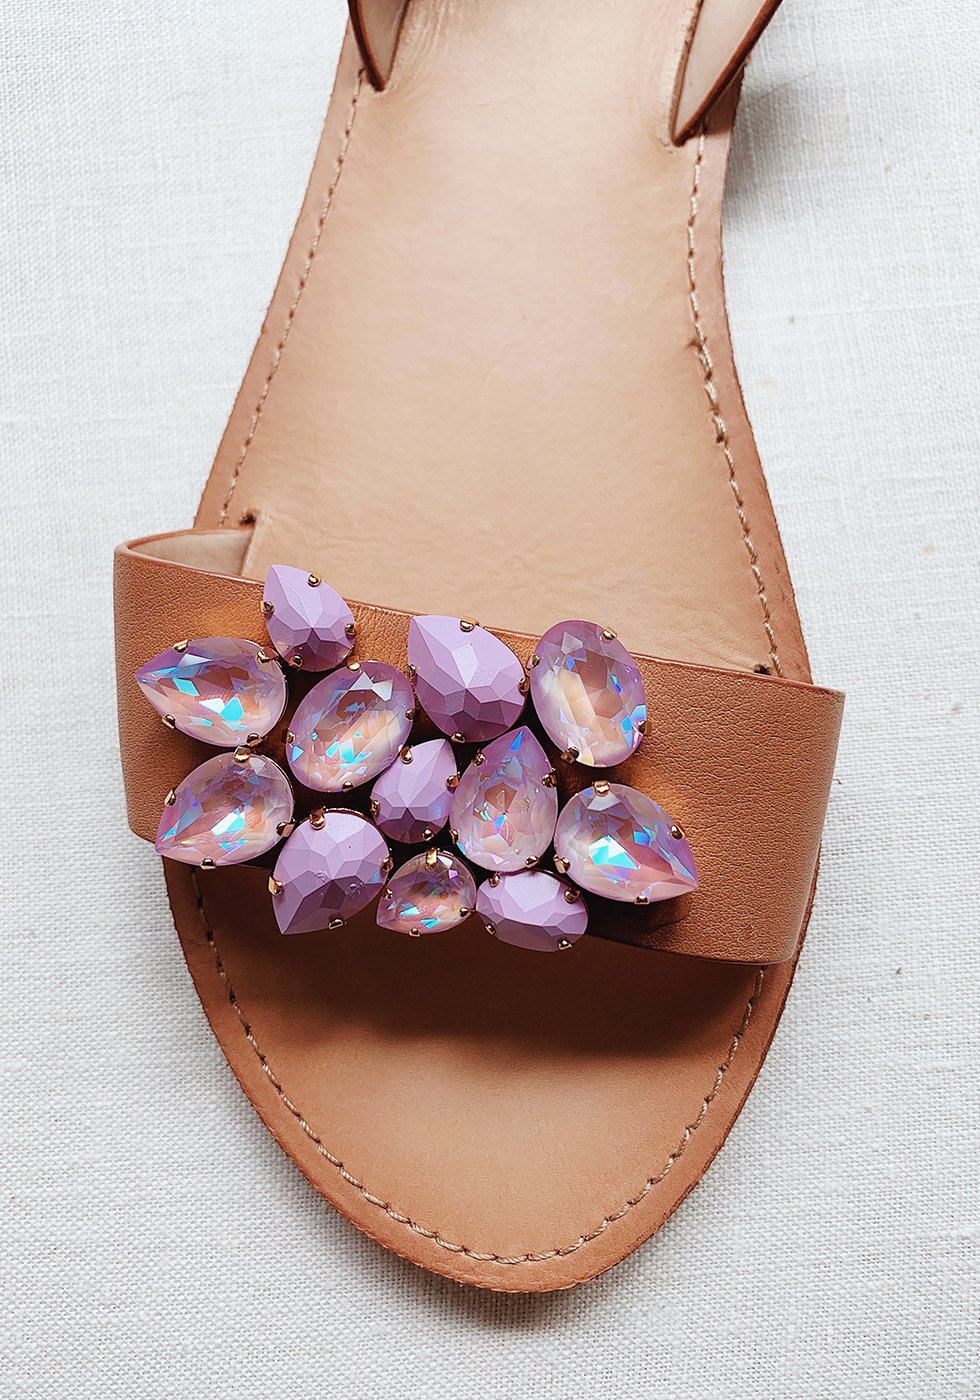
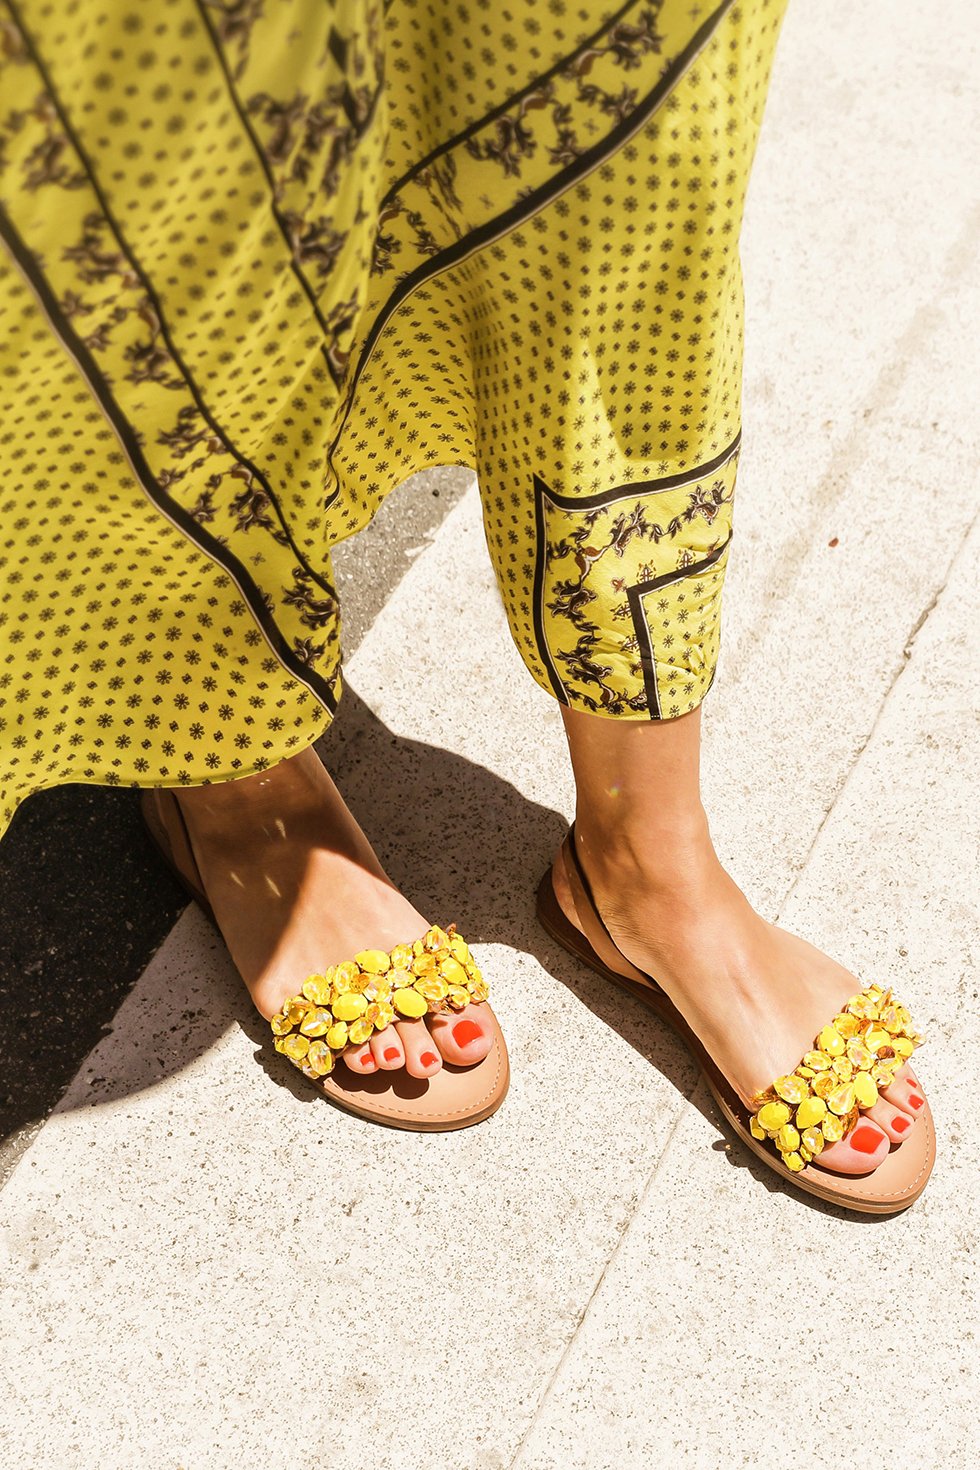
When summer rolls around, so do the embellished sandals. So when Swarovski challenged me to create something with their newly launched Crystal Lacquer DeLite Effects, the first thing that came to mind was jeweled sandals, naturally. These crystals are something special - the color actually emanates from their opaque lacquer bottoms, making the color wonderfully intense and sparkly. I fell in love with the new Lavender and Sunshine hues - two colors I'm majoring crushing on at the moment. I played around with flipping a few stones upside down for a bit more of a multi-dimensional effect and of course, just to be . . you, know, extra.
You'll Need:
- leather slingback sandals (I love these from Aldo)
- Swarovski Delite 4320 Pear 18 x 13mm in Lavender or Sunshine
- Swarovski Delite 4120 Oval 18 x 13mm in Lavender or Sunshine
- Swarovski Delite 4320 Pear 14 x 10mm in Lavender or Sunshine
- Swarovski Delite 4120 Oval 14 x 10mm in Lavender or Sunshine
- Swarovski Delite 4228 Navette 10 x 5mm in Lavender or Sunshine
- Gold 4320 Pearl 18 x 13mm setting
- Gold 4120 Oval 18x13mm setting
- Gold 4320 Pear 14 x 10mm setting
- Gold 4120 Oval 14 x 10mm setting
- Gold 4228 Navette 10 x 5mm setting
- coque feathers (in lilac or lemon gold)
- flat nose pliers
- E6000
- scissors
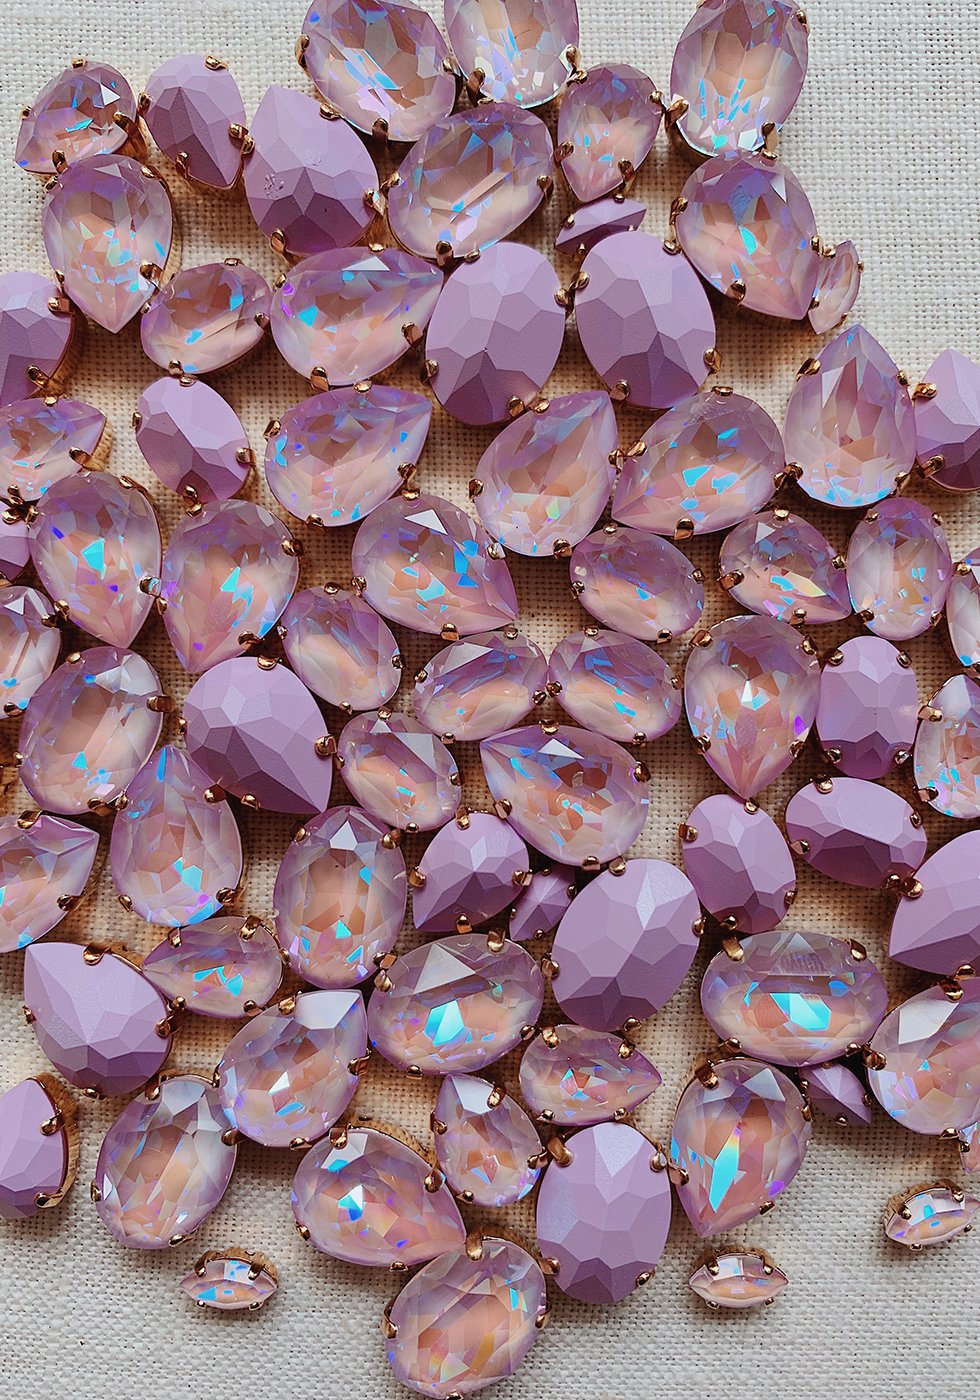
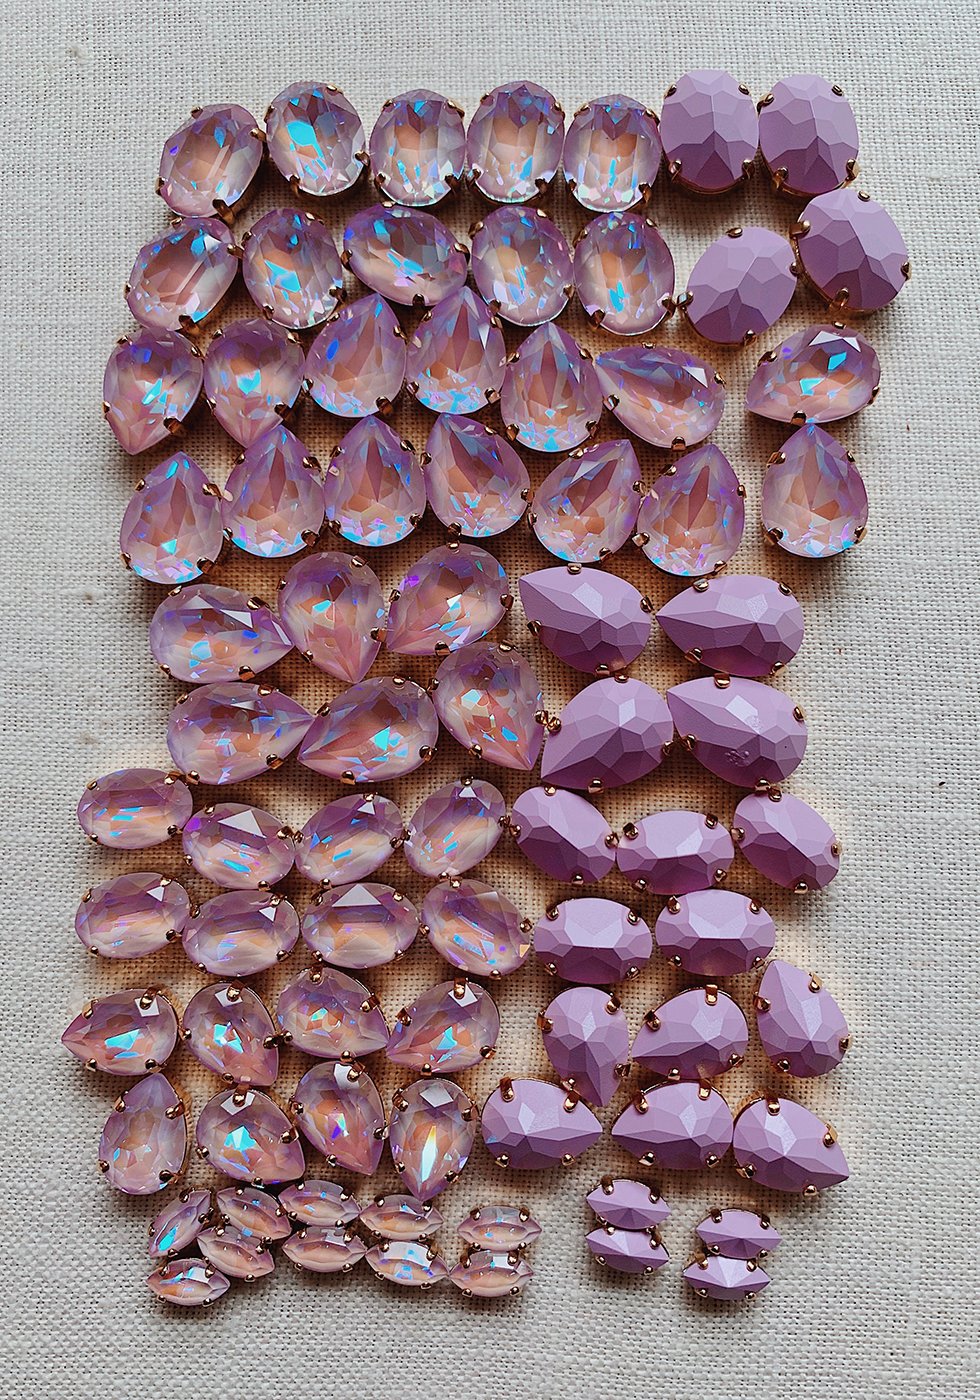
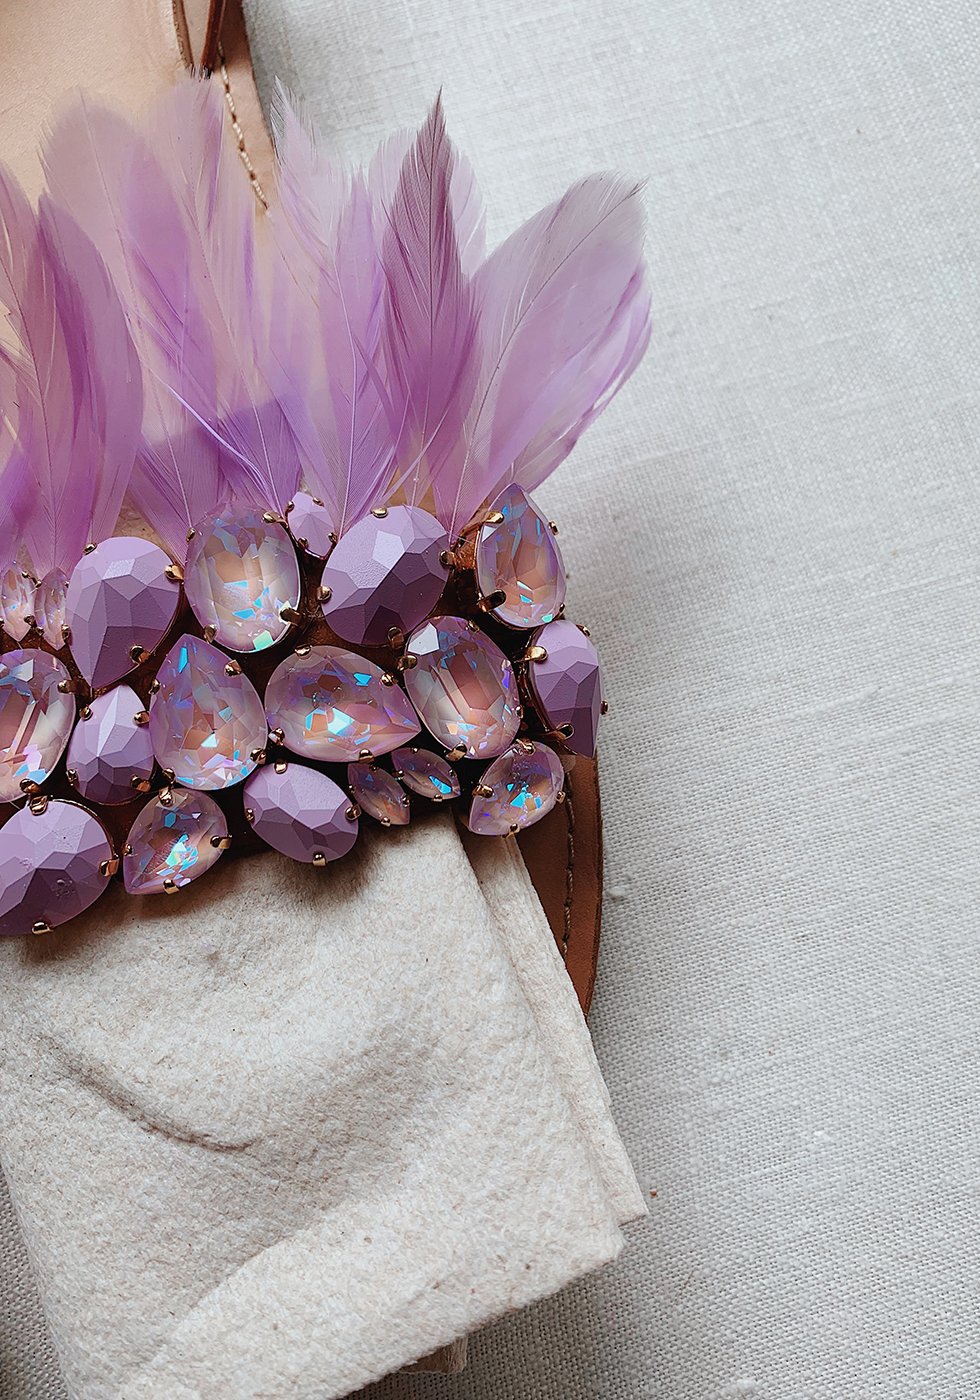
Start by placing the crystals into their appropriate settings and securing them with a pair of flat nosed pliers. To break up color tones, I turned some of the crystals upside down and set them with their opaque side facing up. After all the crystals are set, I like to sort them by size and then split them into half. This way, I can keep track of how many crystals I'm using for the 1st sandal and will be assured that I won't run out of a certain size or shape when it comes time to repeating the pattern on the 2nd sandal.
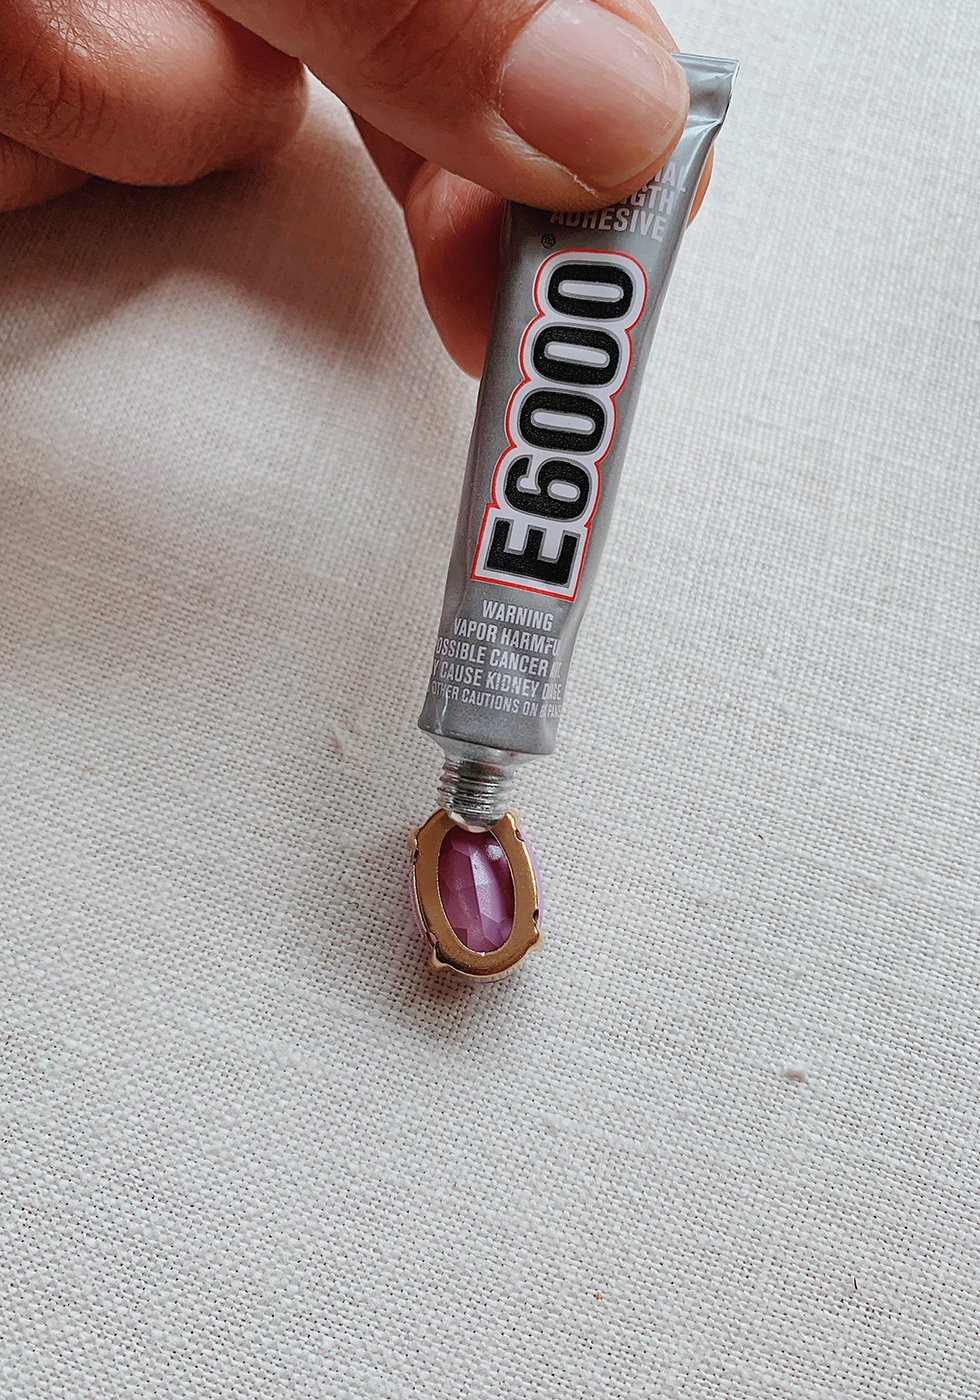
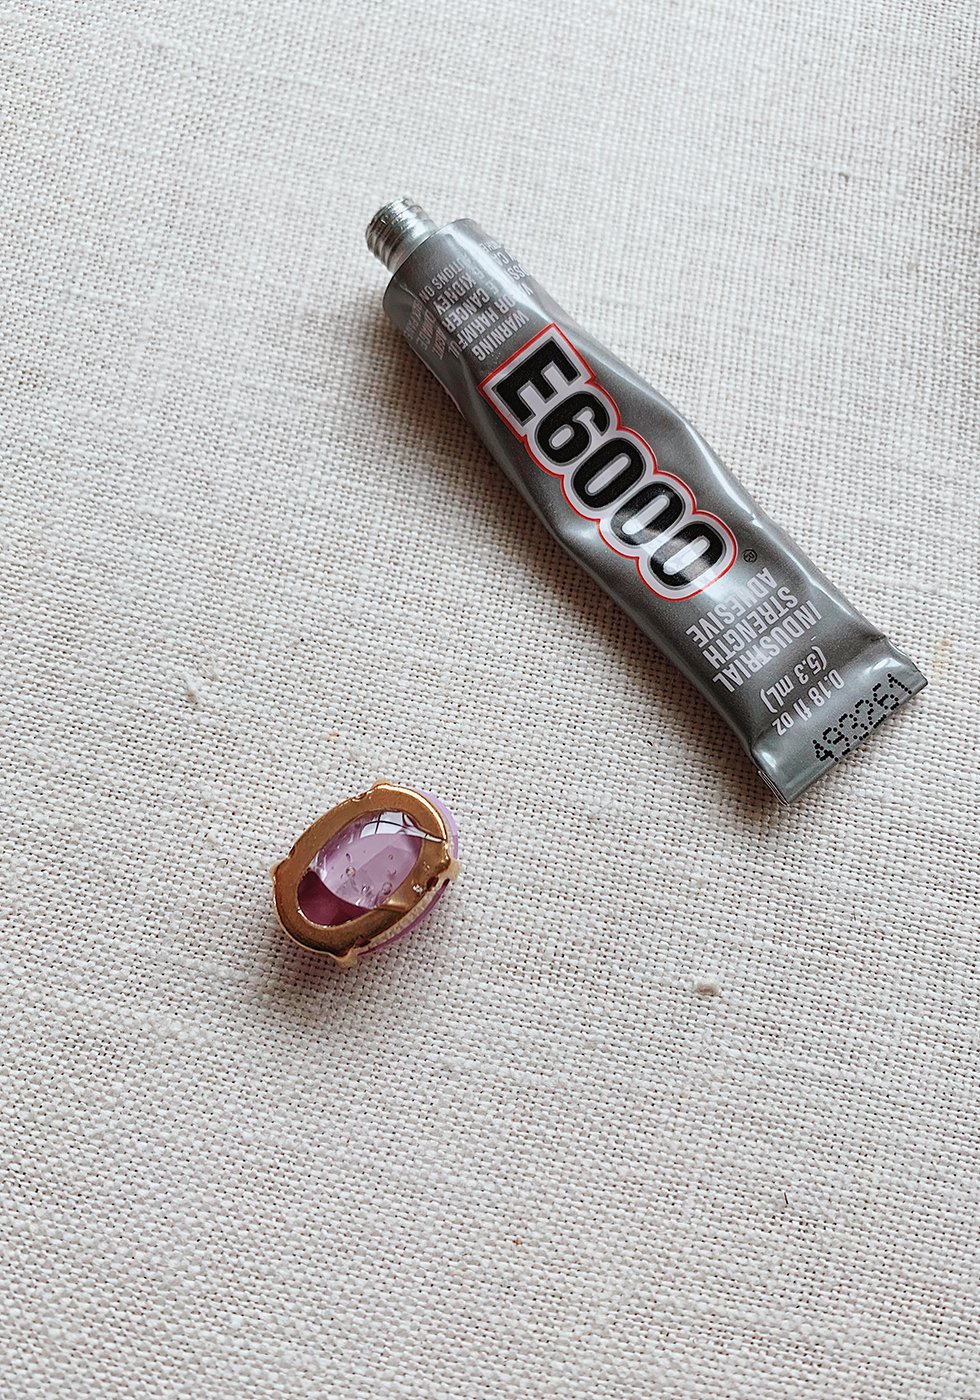
E6000 has always been my go-to glue when it comes to adhering crystals to leather. It so strong and will definitely keep the crystals in place throughout the lifetime of the sandals. The only downside is that it takes at least 24 hours to cure so you have to work with patience and care. Squeeze a small dollop of glue on the backside of one of the larger crystals.
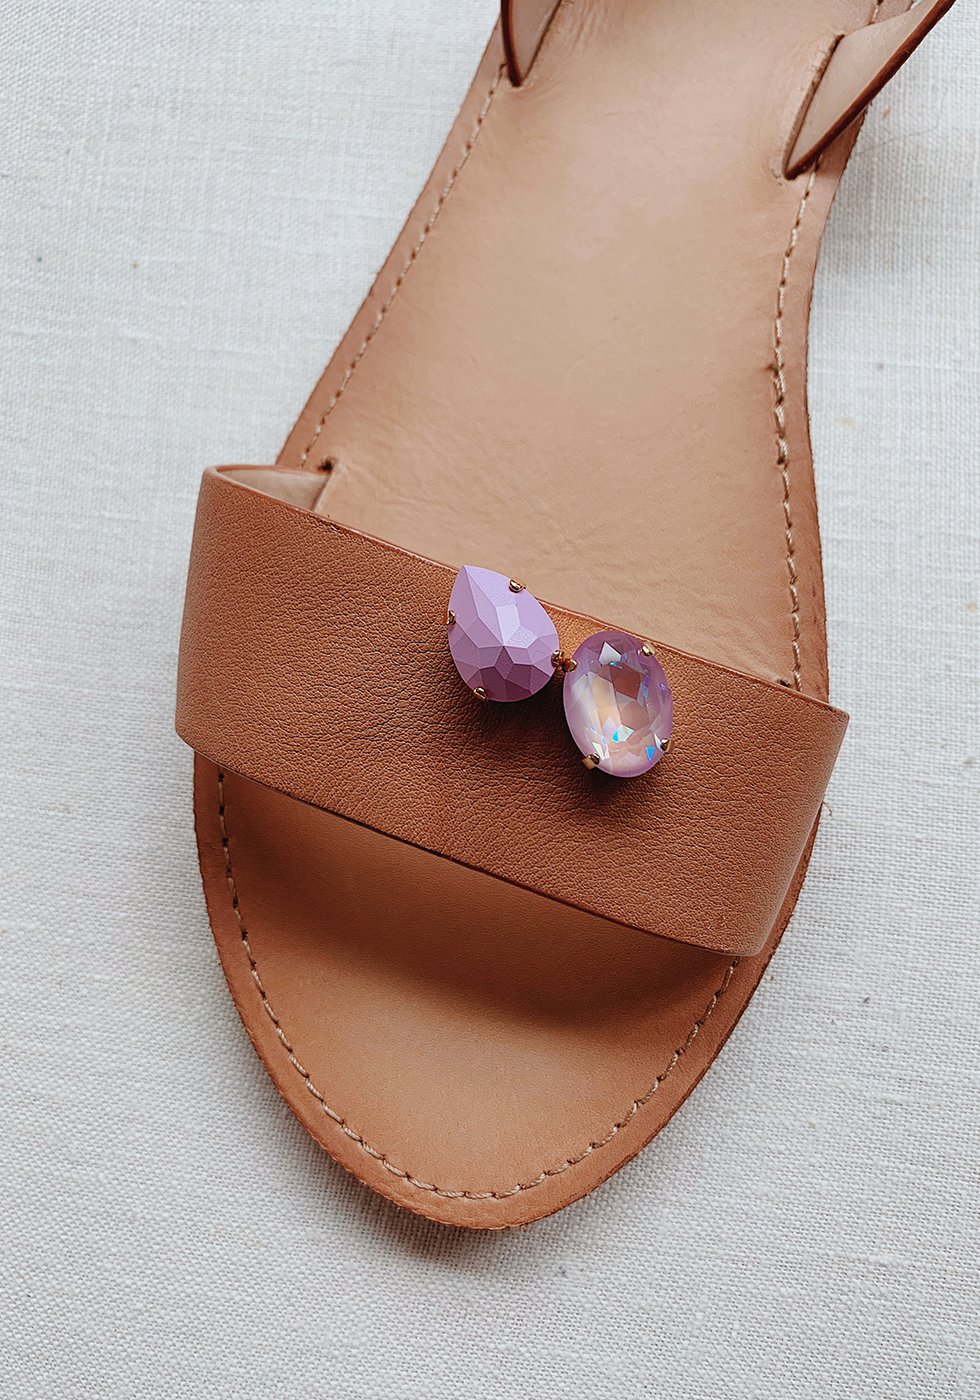
Place the crystal in the middle of the strap. I like to place the first crystal on the bottom or top edge so that I have room to strategically fit more crystals. If you work quickly, you have time to budge the crystal around if need be.
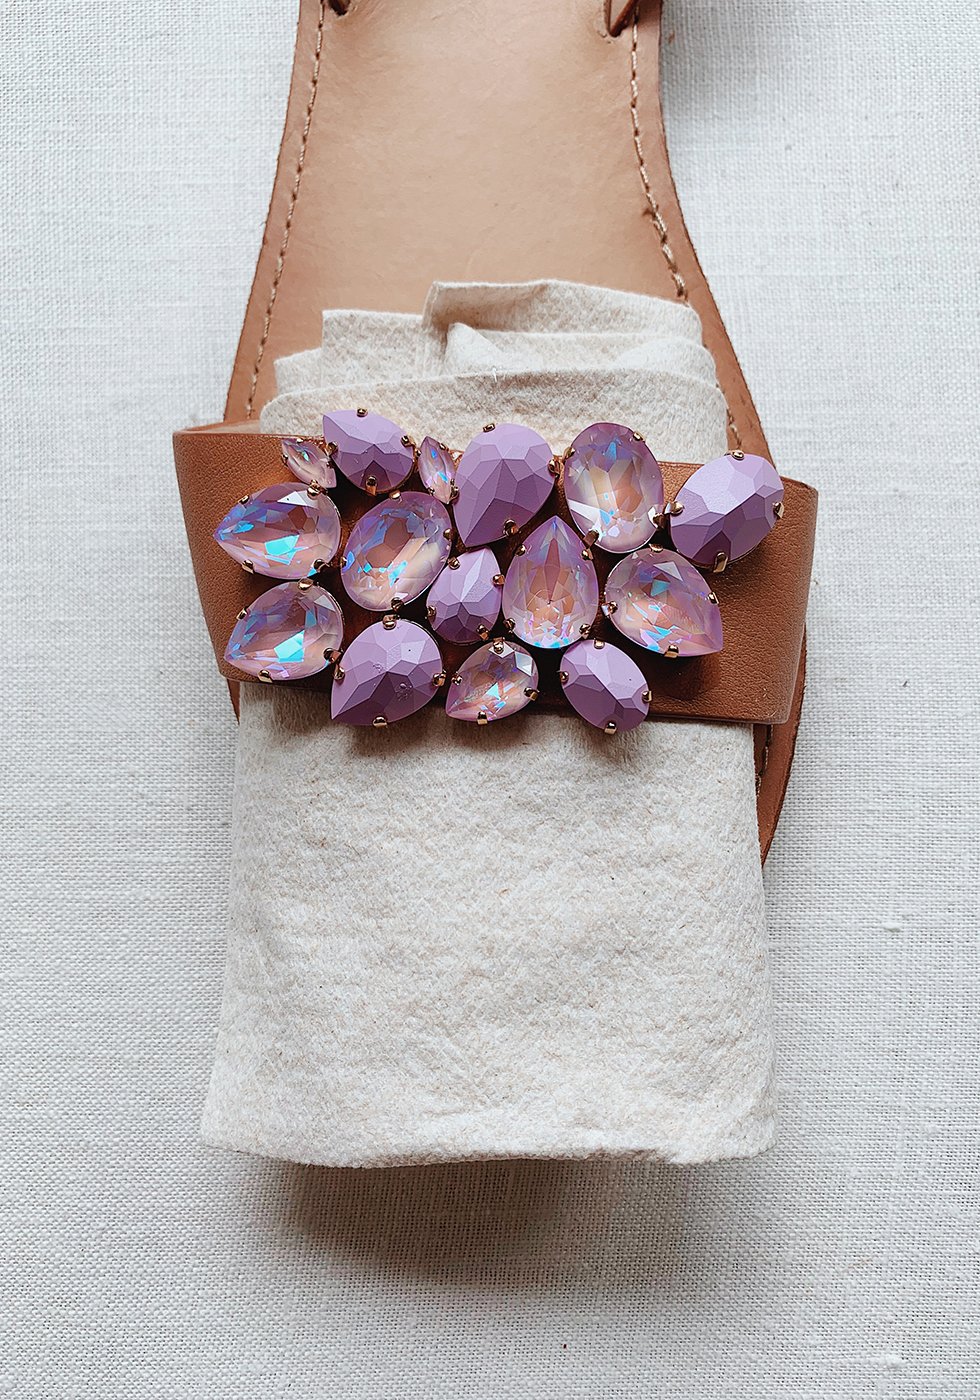
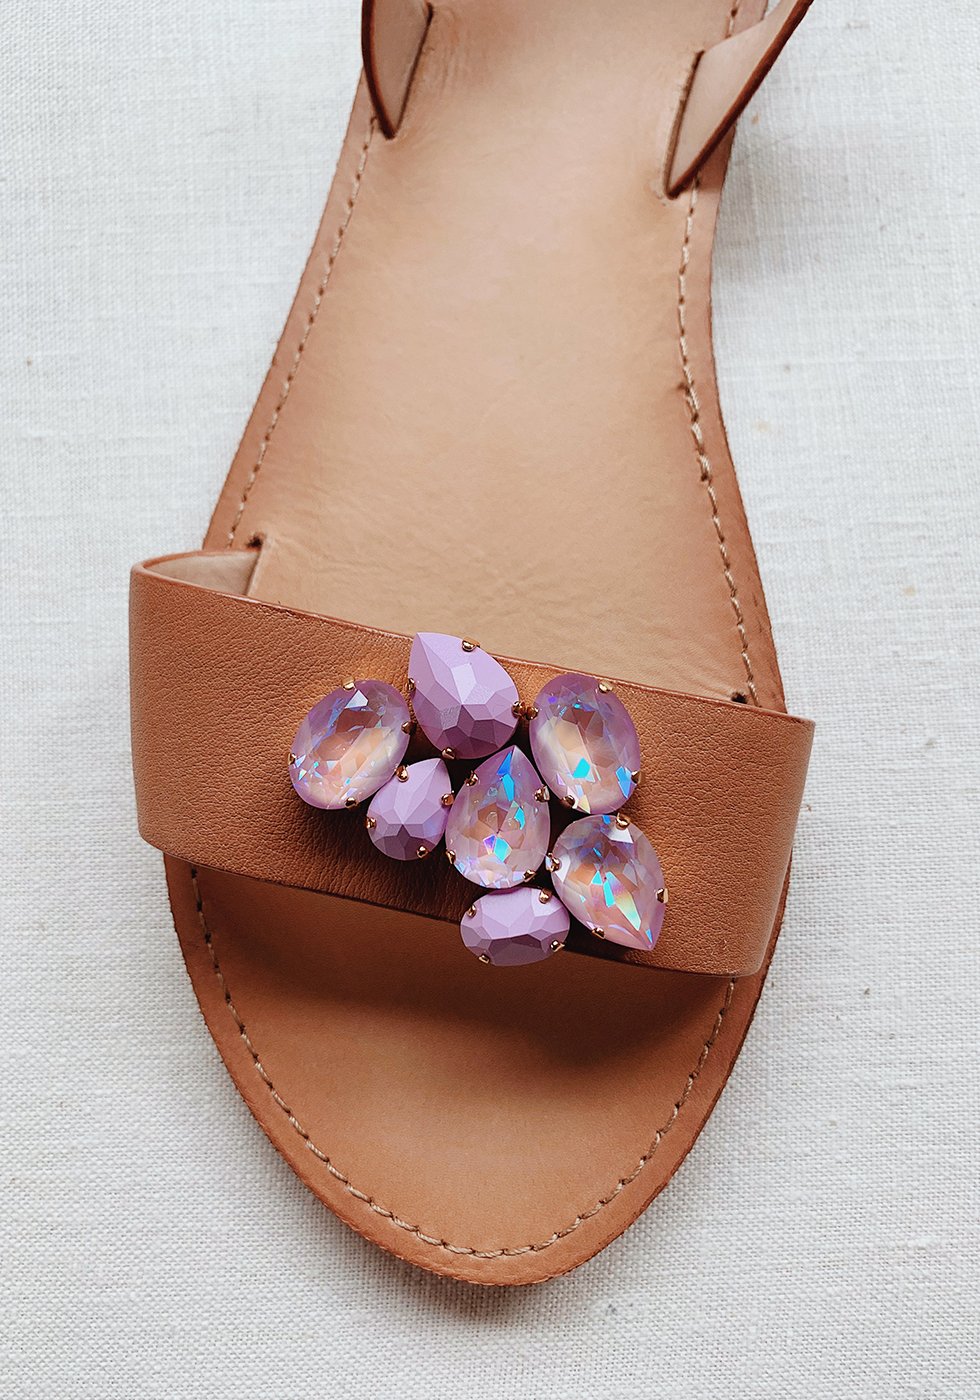
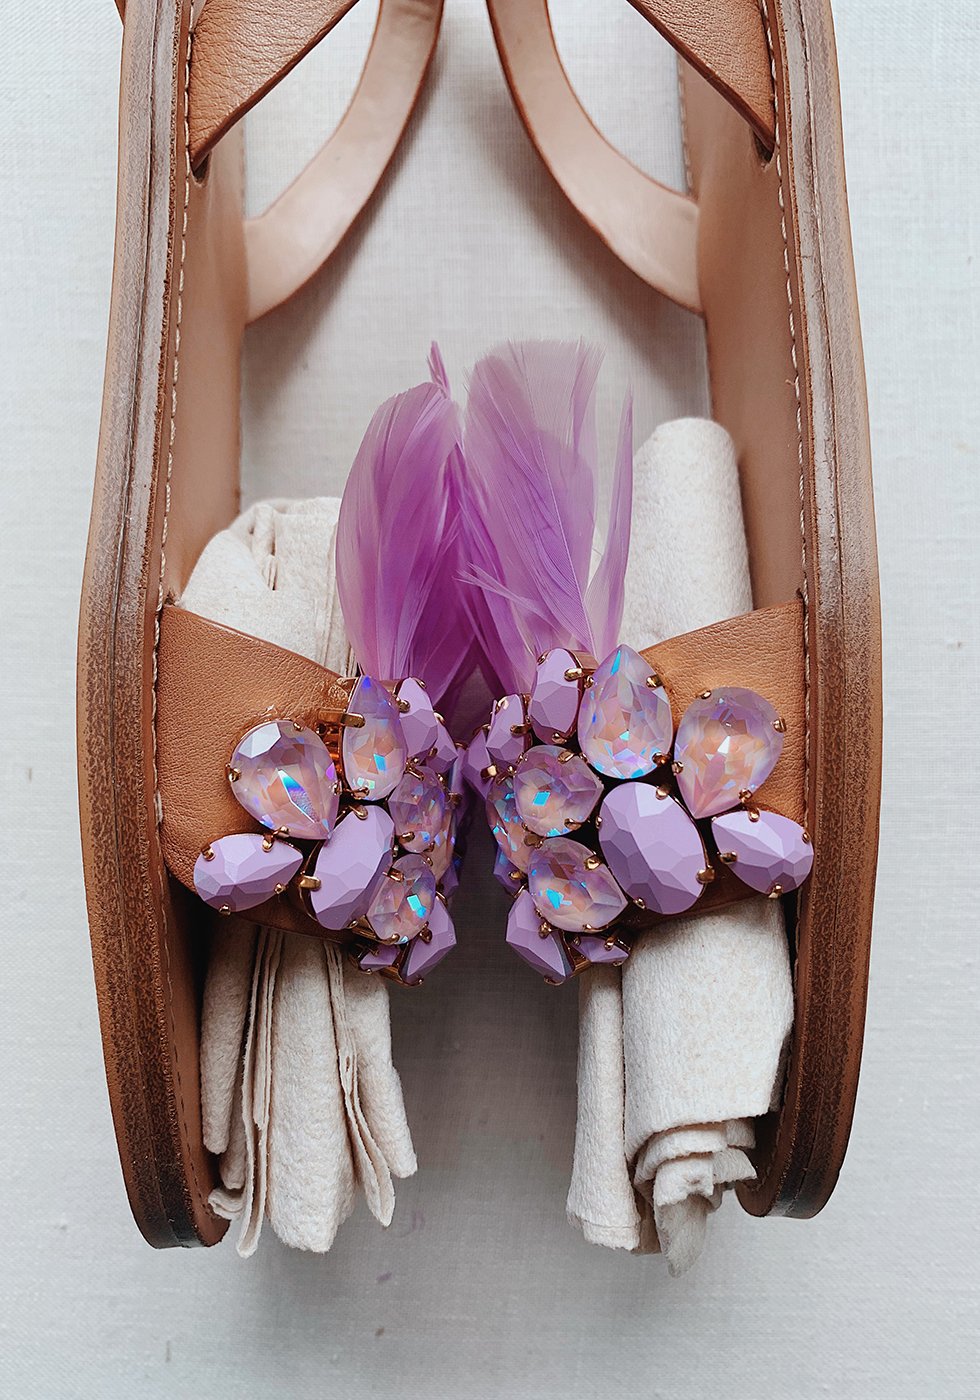
Continue working your way outwards, incorporating varying shapes in different directions and positions. I recommend stuffing the sandal with a roll of paper towels to prevent the weight of the crystals from dropping the strap. The paper towels will also help prevent any gaps between stones as it simulates your foot in the sandal.
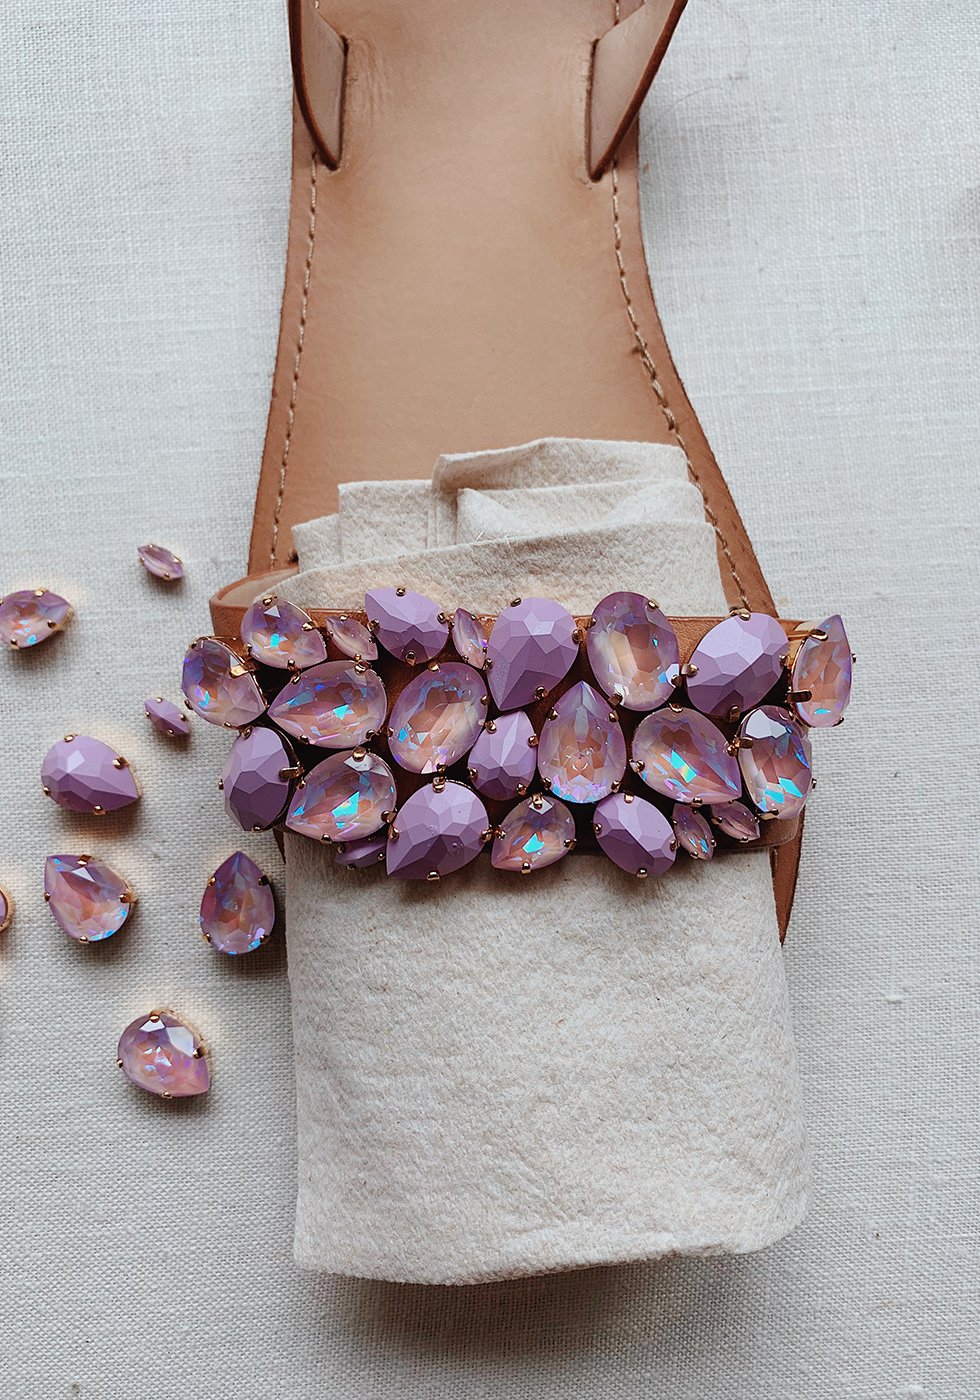
Continue adding until you get to the sides. You won't want to glue on the crystals to the sides as the glue takes a long time to dry and they'll just end up sliding off.
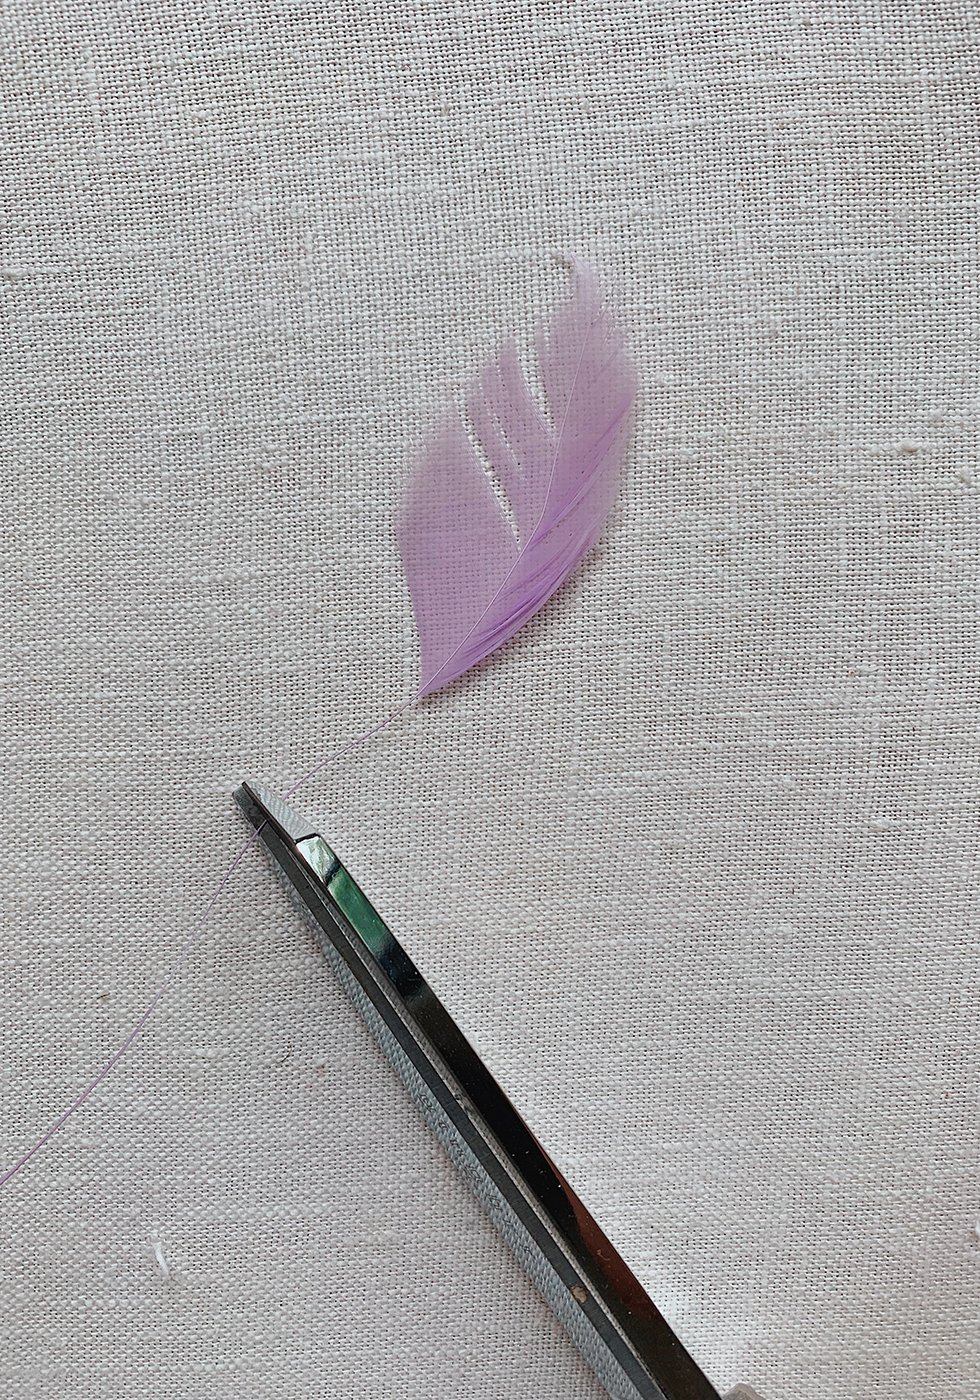
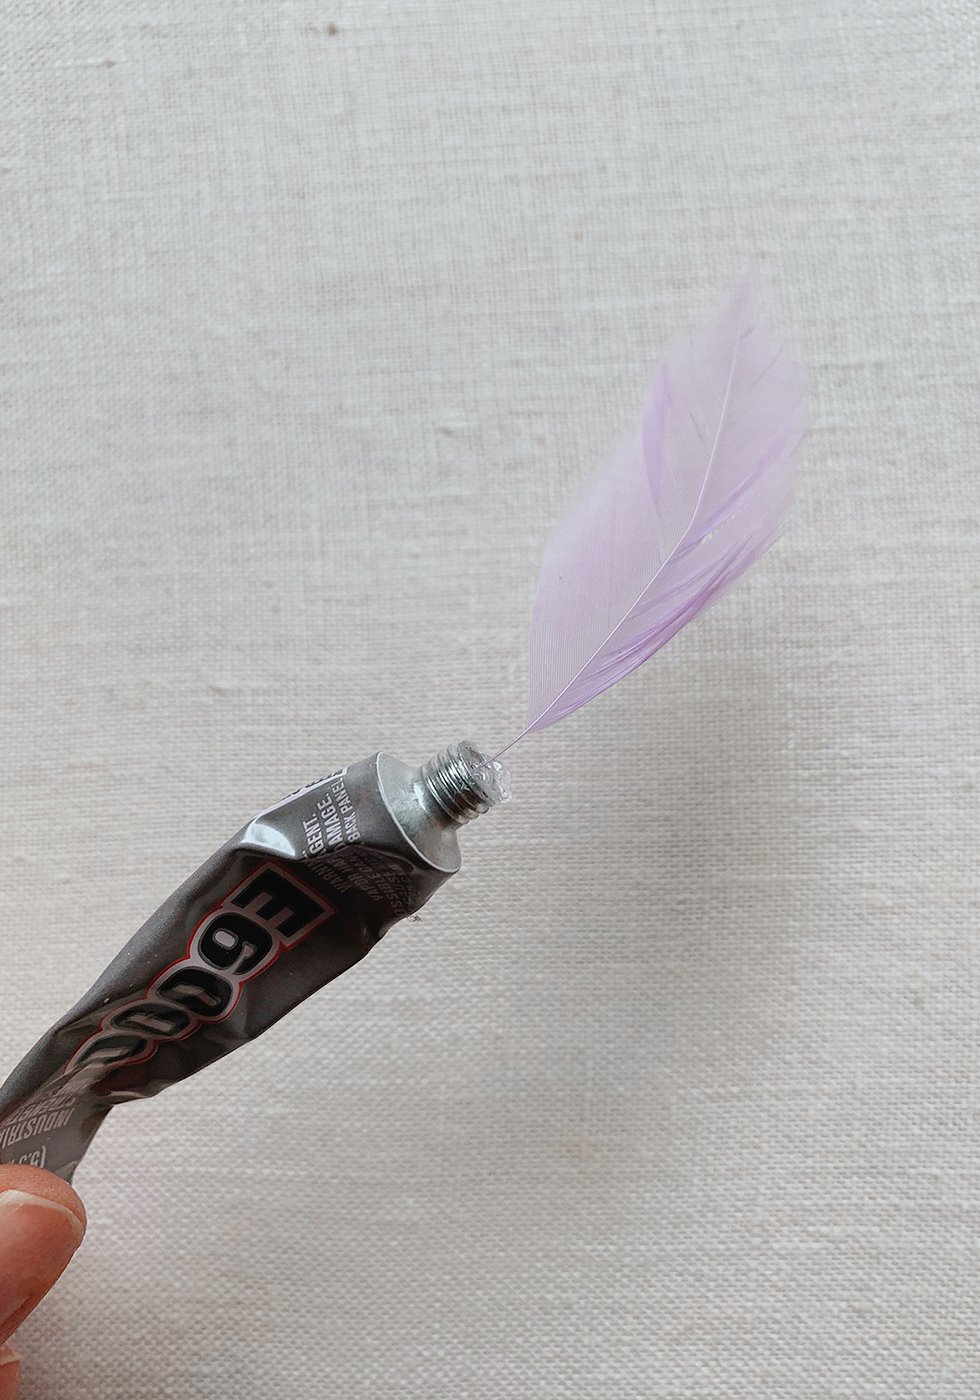
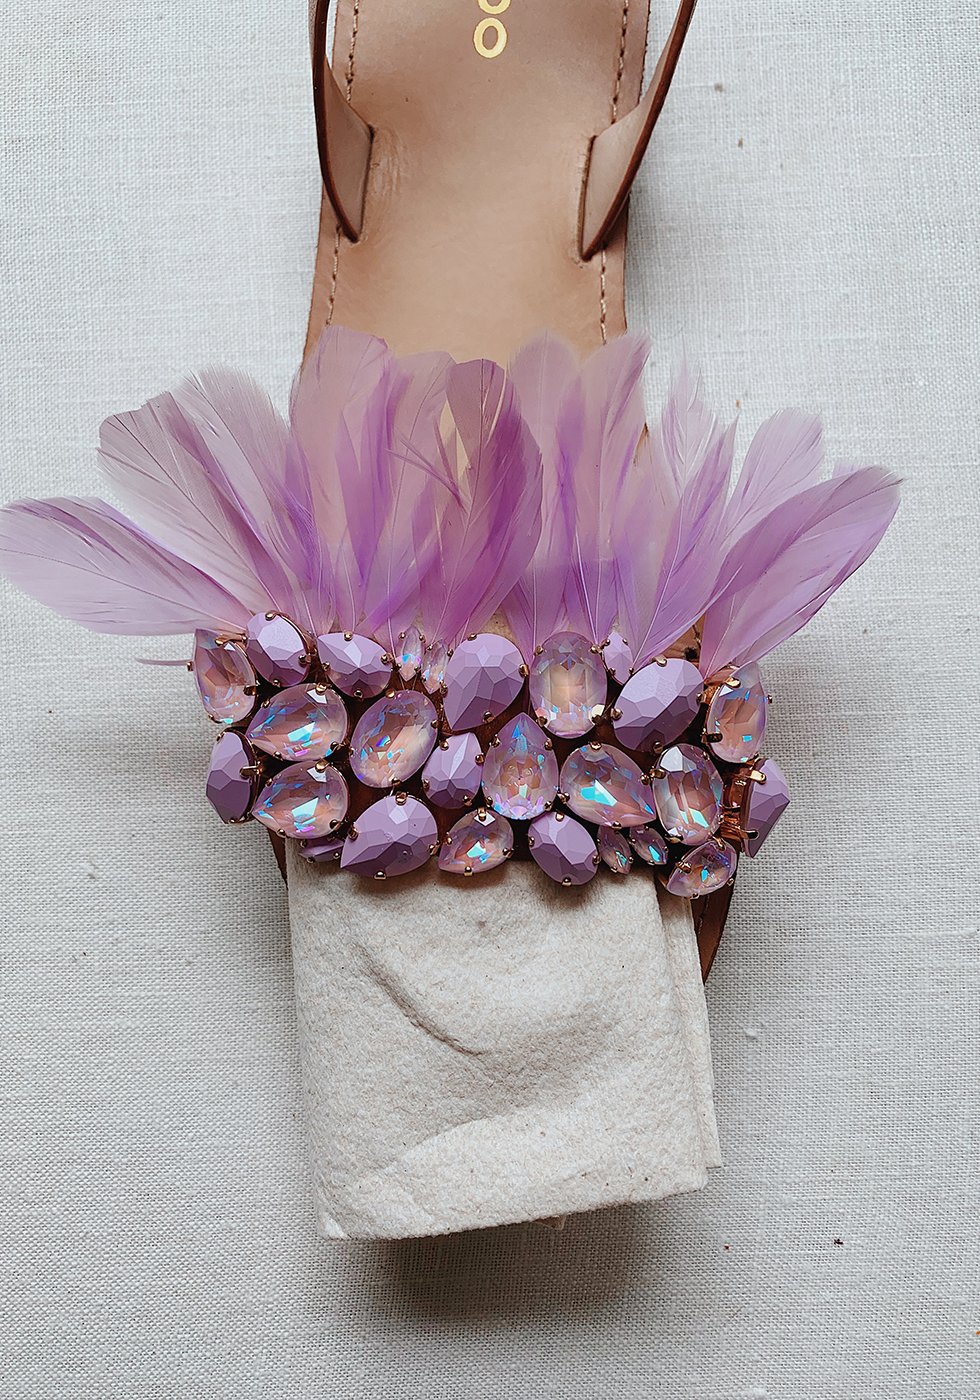
Optional: Add coque or rooster tail feathers! If you decide to add feathers, you must act quickly while the glue beneath the crystals is still wet. I recommend cutting the feathers down before you start glueing your crystals so they're ready to go. Leave about half an inch of the quill. Try to select the feathers that curve upwards. To attach them, insert the quill into the glue . . .
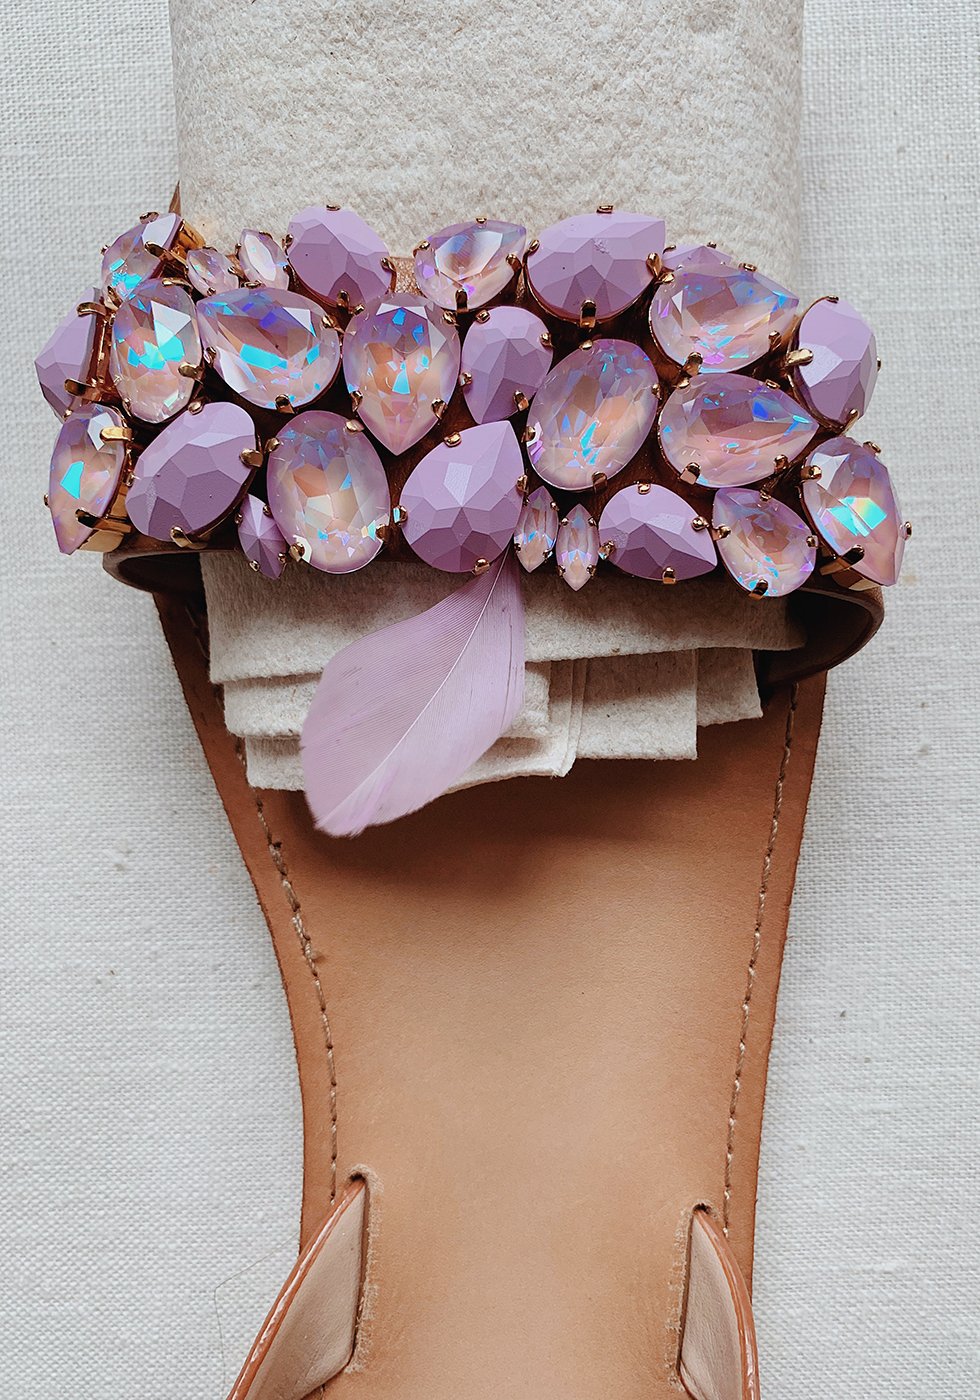
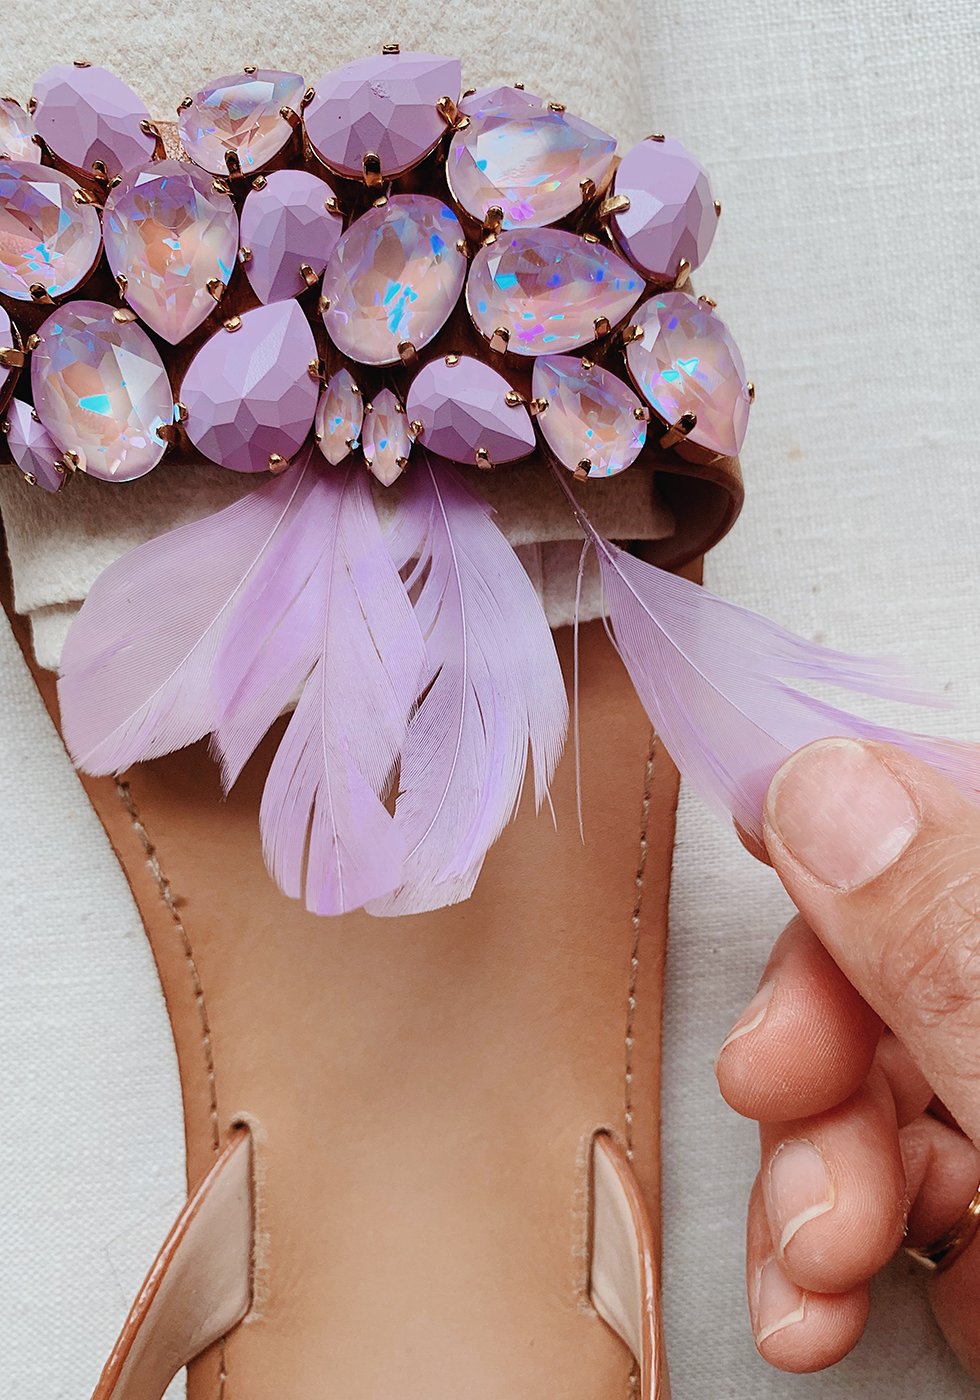
. . . slide the quill between the crystal and sandal. Continue adding feathers. If the glue is already too tacky to insert the feather, you can gently lift the crystal, squeeze a bit more glue and then sandwich the feather between the crystal and sandal.
Allow the crystals to dry overnight.

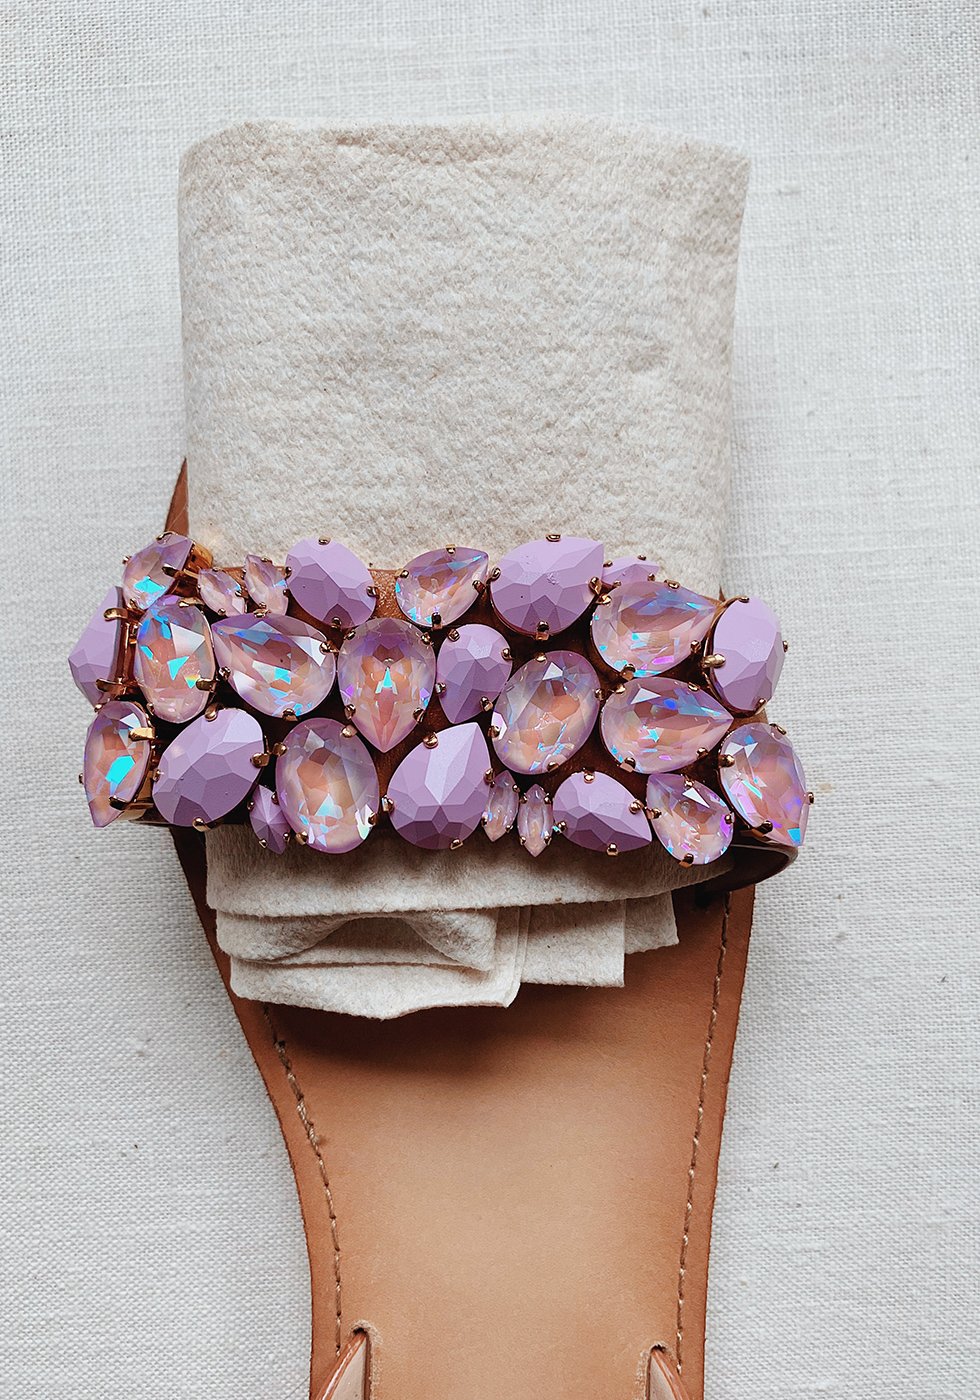
When the crystals have dried, turn the sandals on their side to finish the sides. Allow them to dry overnight and repeat on the other sides.
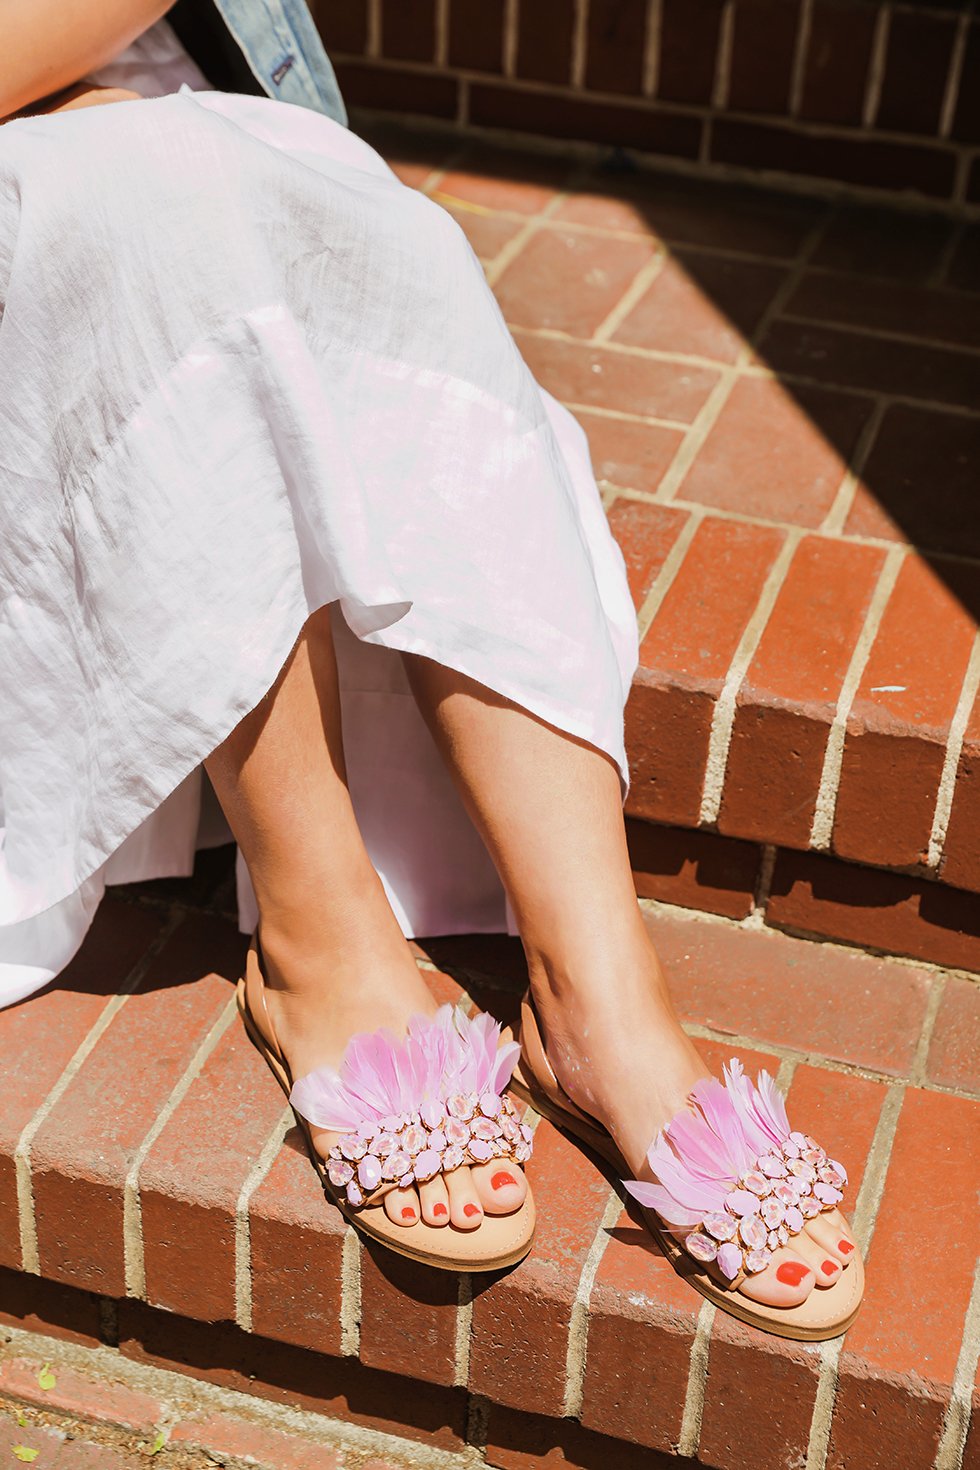
Voila! Your sandals are ready to wear! Be aware that the feathers are delicate so when you're not wearing your sandals, they should be stored carefully.

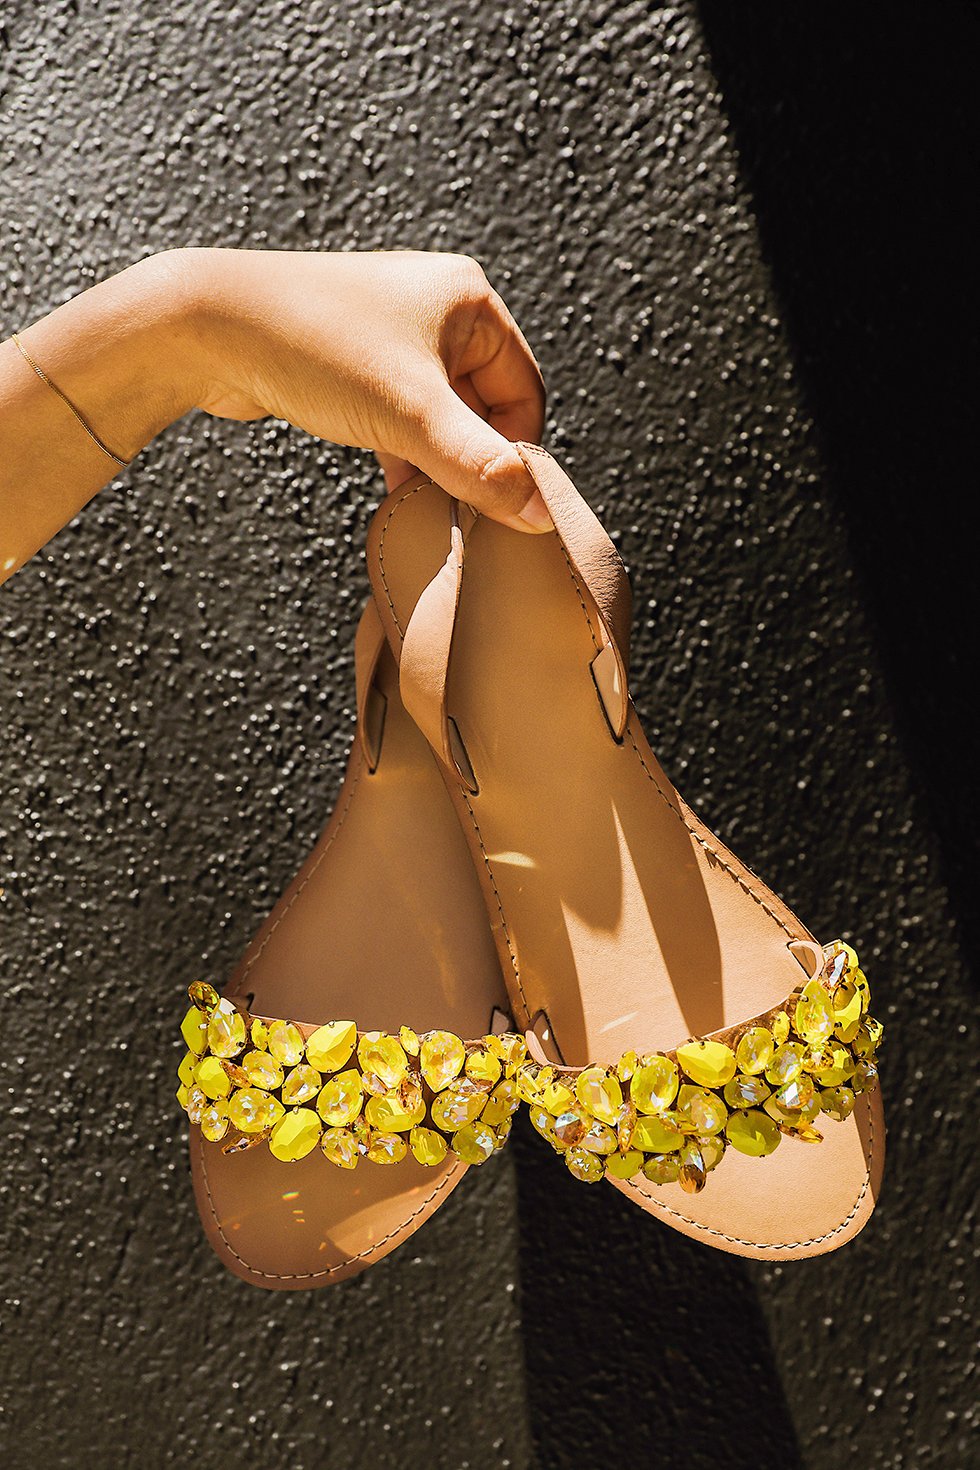
Or try them without feathers!
This post was created in partnership with Swarovski Create Your Style. Photos by HonestlyWTF & Andrea Posadas. Tutorial by HonestlyWTF.
These are too cute and such a great idea to spruce up a pair of boring sandals!!
xx The C Edit | http://www.thecedit.com
Thank you!!!
BRAVO!–well done you. These are adorable.
Thanks!
Bellissimi ,davvero una splendida idea .
Grazie
I just want to say thanks for your wonderful post, it images a lot of knowledge and information that I needed right now. DIY jeweled feather sandals Woowww… great idea. Thank for sharing with us this great post.
The very unique post I must say, I like your Image and your presentation on sandals. Thank for sharing this with us.
Those sandals are wonderful. It’s a great idea.
Thanks, Serena!
Da parma italia: bellissimi!!! Che idea!!
So dang cute…love them!!! Thanks for sharing. Oh yeah, what color is the polish you’re wearing?
Thank you! The polish is Essie’s Meet Me At Sunset!
So beautiful and original!! How much was this diy all together?
estimated cost (- sandals) ?
This blog was recommended to me by my friend. On this blog I will definitely spend a lot of my private time.
These are BEAUTIFUL. the idea is so original.
So cute
Amazing post ! And ps your toes look great might you also be able to share which colour you have on them 🙂
They are gorgeous! You are so, so talented and inspirational, love the diy that you are sharing I would love to make these, but can you please hive an estimate of how many of each of the crystals you used, AS they are that expencive that I don’t want to purchase more than I need. Hope to hear from you soon
Olá, onde posso comprar dessas pedrarias, por favor? Obrigada!
Love this idea! I hate plain sandals. perfect DIY project for thrift store shoppers!
nice post
Hi – I’ve just discovered your site. It appears the sandals are no longer made. Do you have suggestions on how to find another sandal that would work for this DIY? Thank you!
Madewell has some good sandal options right now!
Such a great idea!