One night late last summer, my friend Ariel of Ariel Gordon Jewelry and I were commiserating over the phone about the pandemic, parenting, the election . . . the overall state of the world, to be honest. By the end of the conversation, and perhaps after a couple glasses of wine, we decided to join forces on DIY jewelry kits. Desperate for collaboration, pure delight and something to do with idle hands, we started brainstorming and meeting (masked) in each other's backyards over the course of a few months to design three happy-inducing DIY kits. As Spring finally approaches, the timing couldn't feel more right to launch our kits. We had so much fun creating them, Ariel and I hope you feel the same when making them.
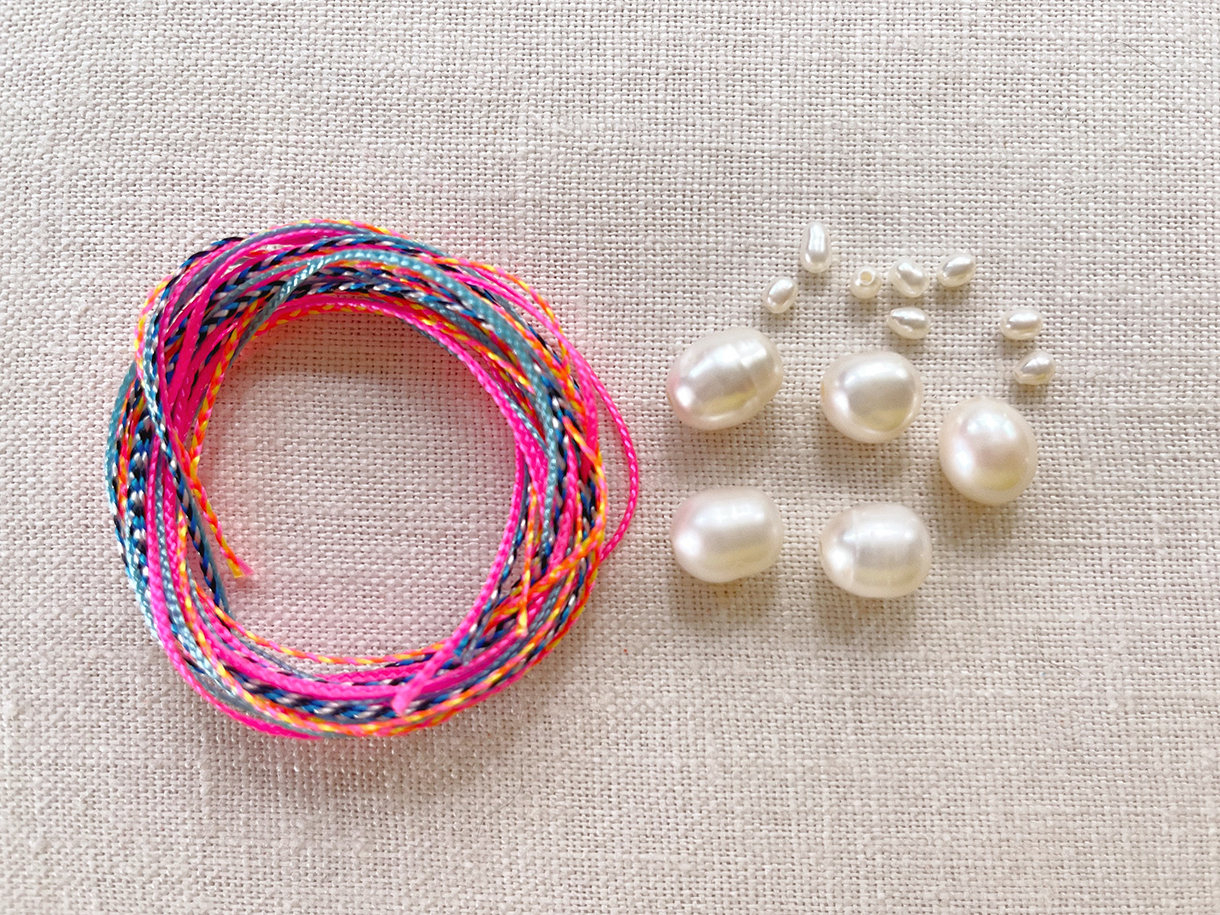
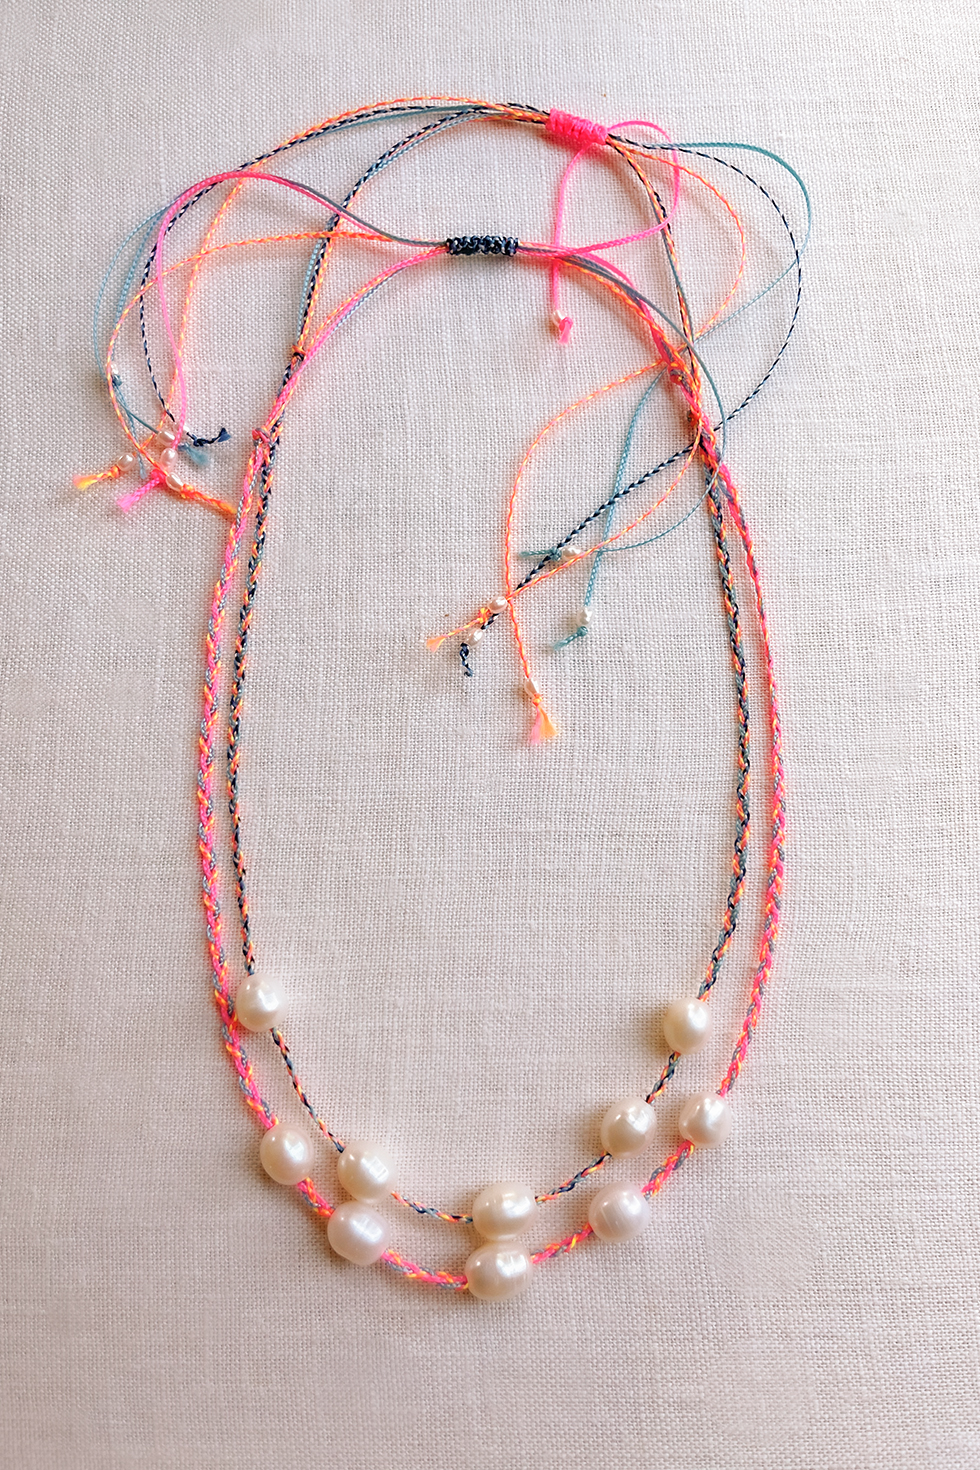
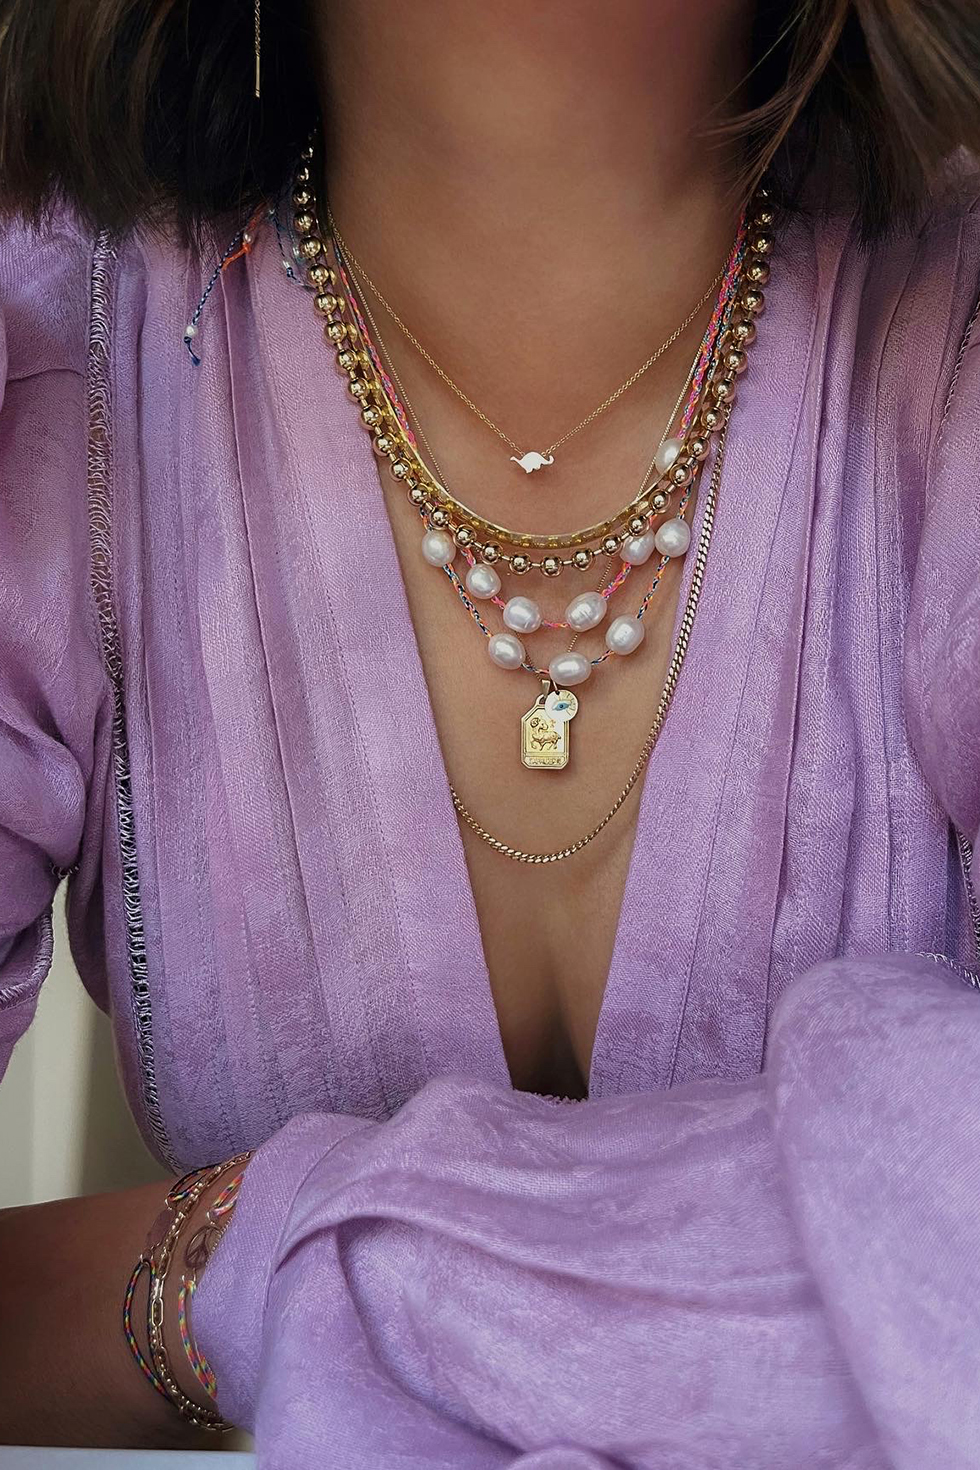
The second of the three kits features several baroque pearls, tiny freshwater pearls and a set of neon pink, neon orange and blue cords. With each kit, you can make one necklace or even a couple of wrap bracelets - it's up to you! I braided 3 cords, strung on the pearls and finished it with a macramé closure. But the world is your oyster and we welcome you to get creative! Regardless, it's perfect for layering or even doubled up . . . and even better paired with that soon-to-be summer glow.
You'll Need:
AGJ x HWTF DIY Pearl Necklace Kit (includes:)
- 4 cords
- 5 large freshwater pearls
- 8 micro freshwater pearls
- beading needle
- Going For Baroque DIY Pearl Kit
Additional Supplies Needed:
- scissors
- lighter
- needle (optional)
- pliers (optional)
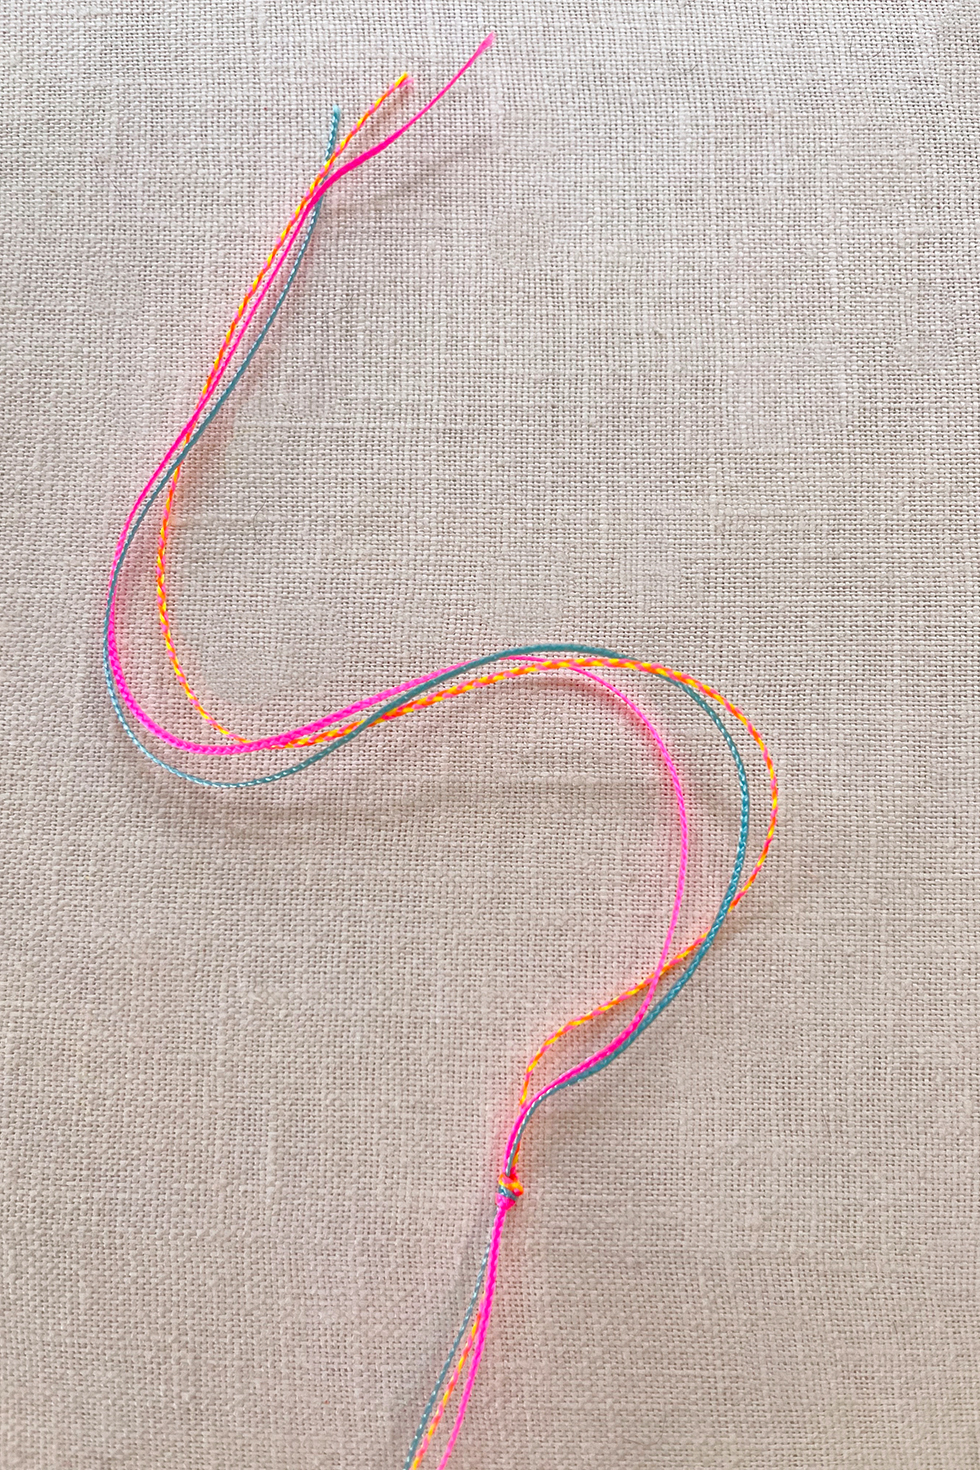
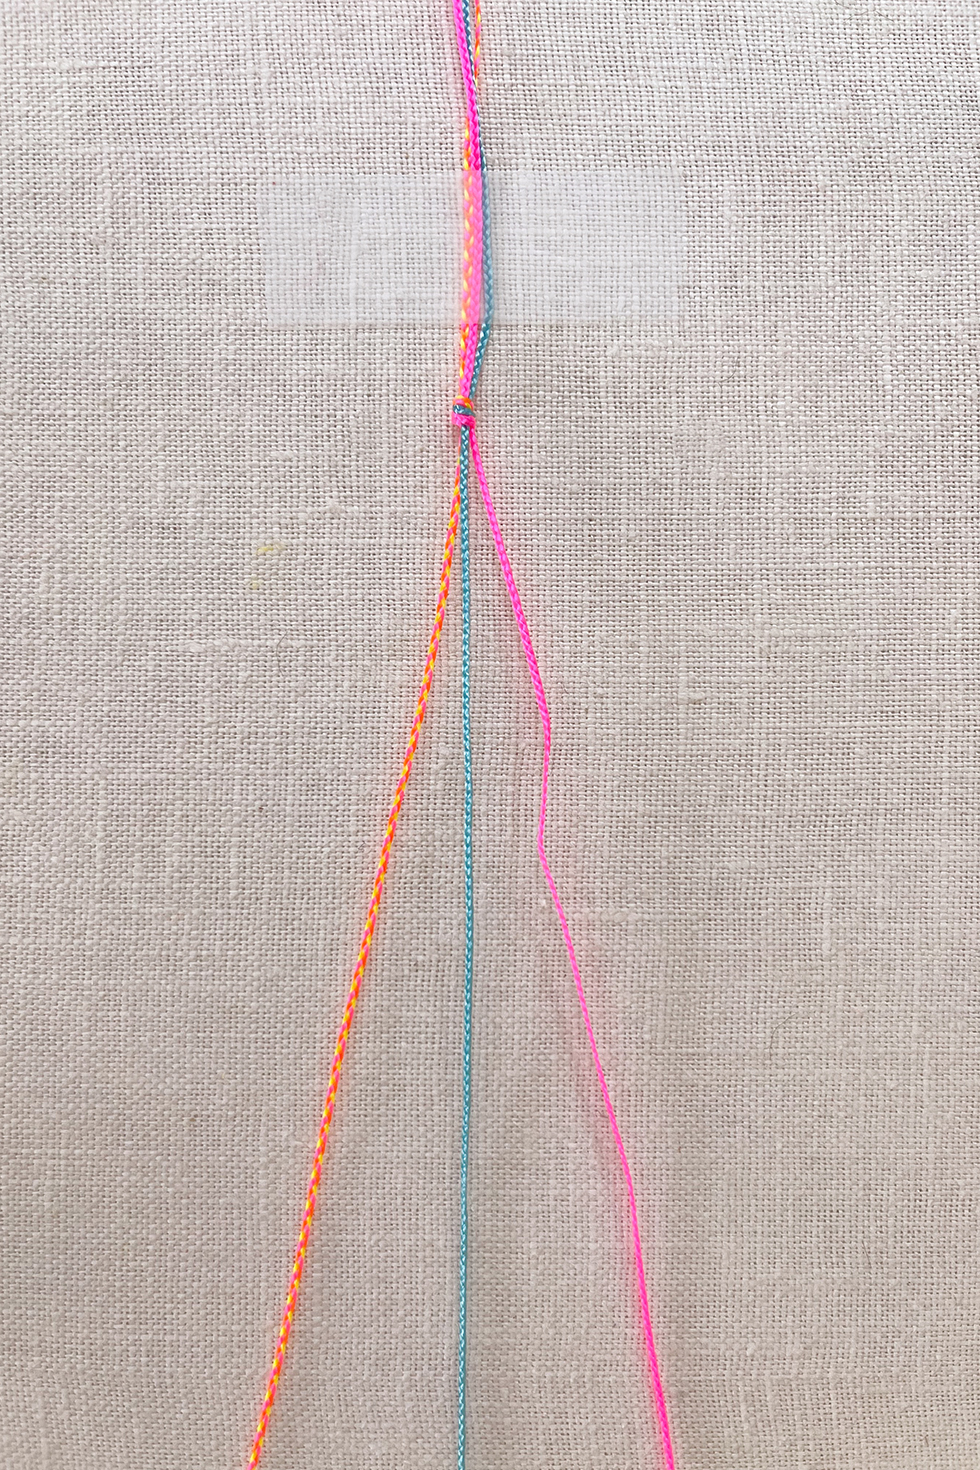
Choose 3 of the 4 cords and align the strands together. Tie a knot with about 7-8 inches of slack at the end. Tape that end to a flat surface.
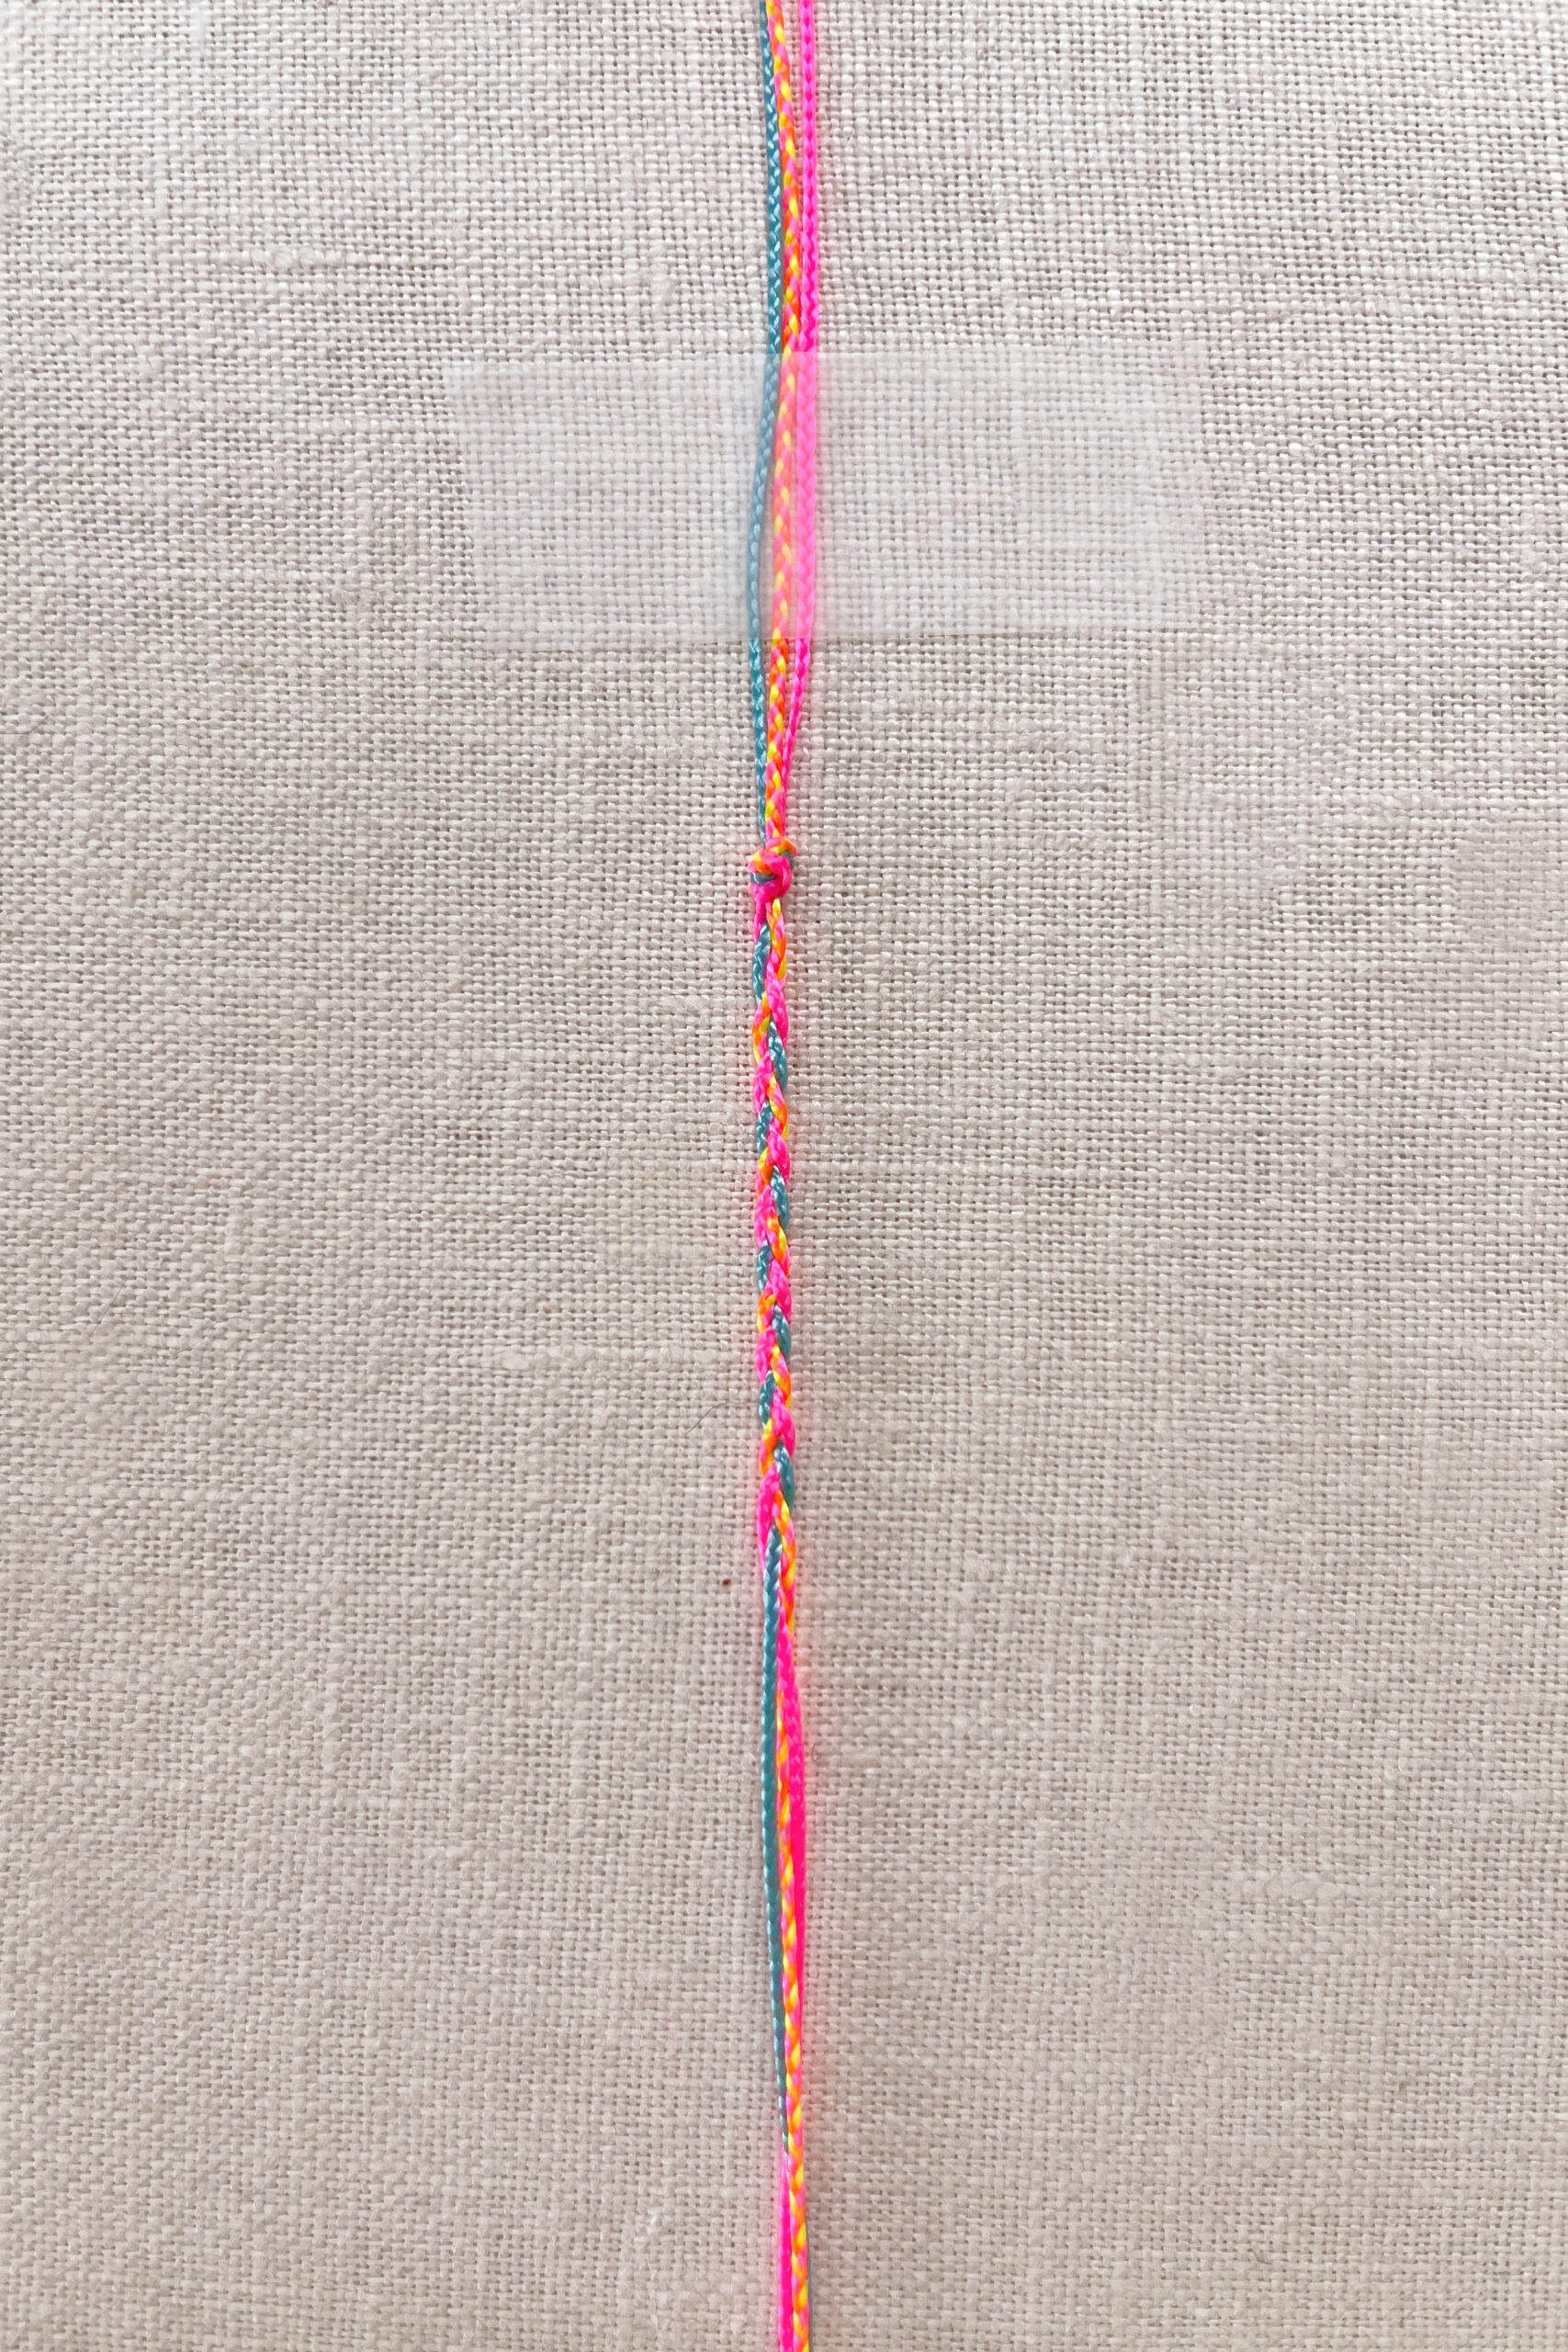
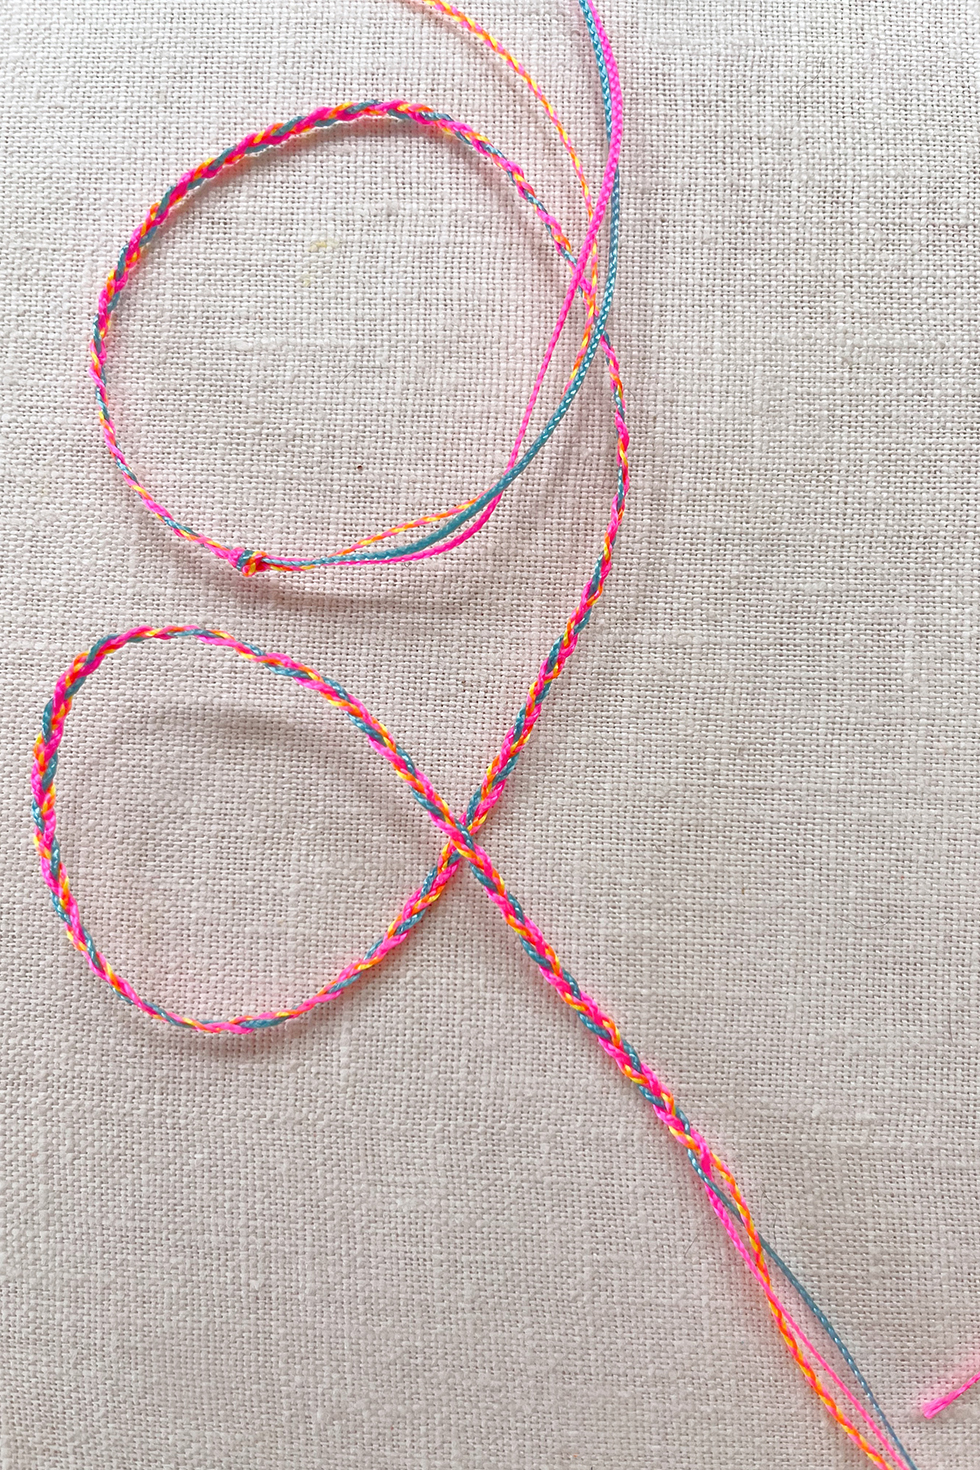
Start braiding the three strands until you have about 7-9 inches of slack on the opposite end.
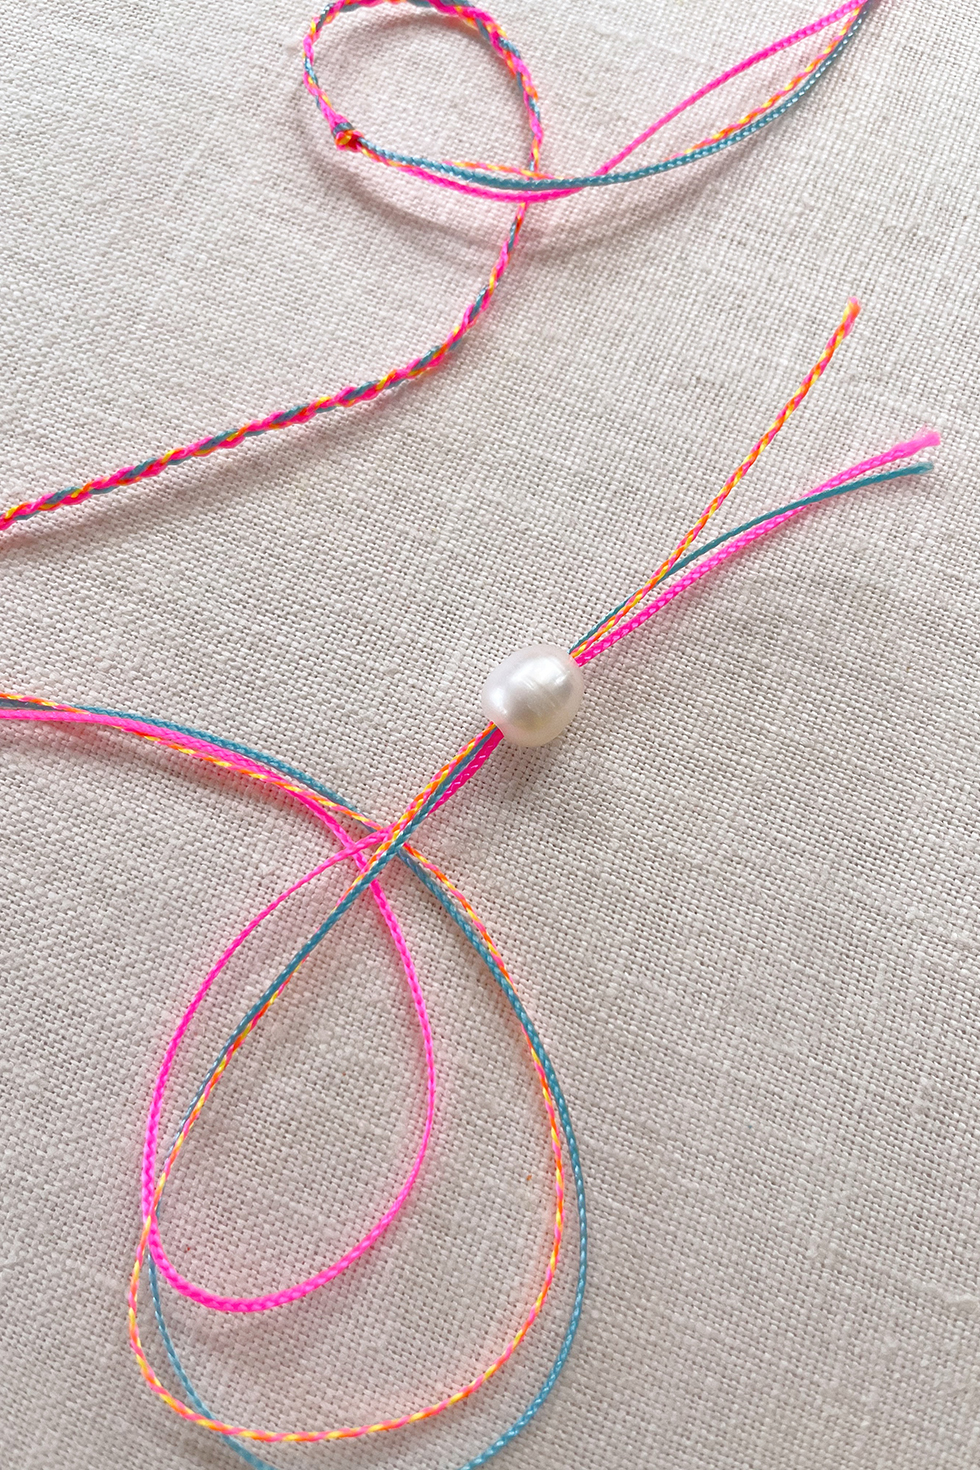
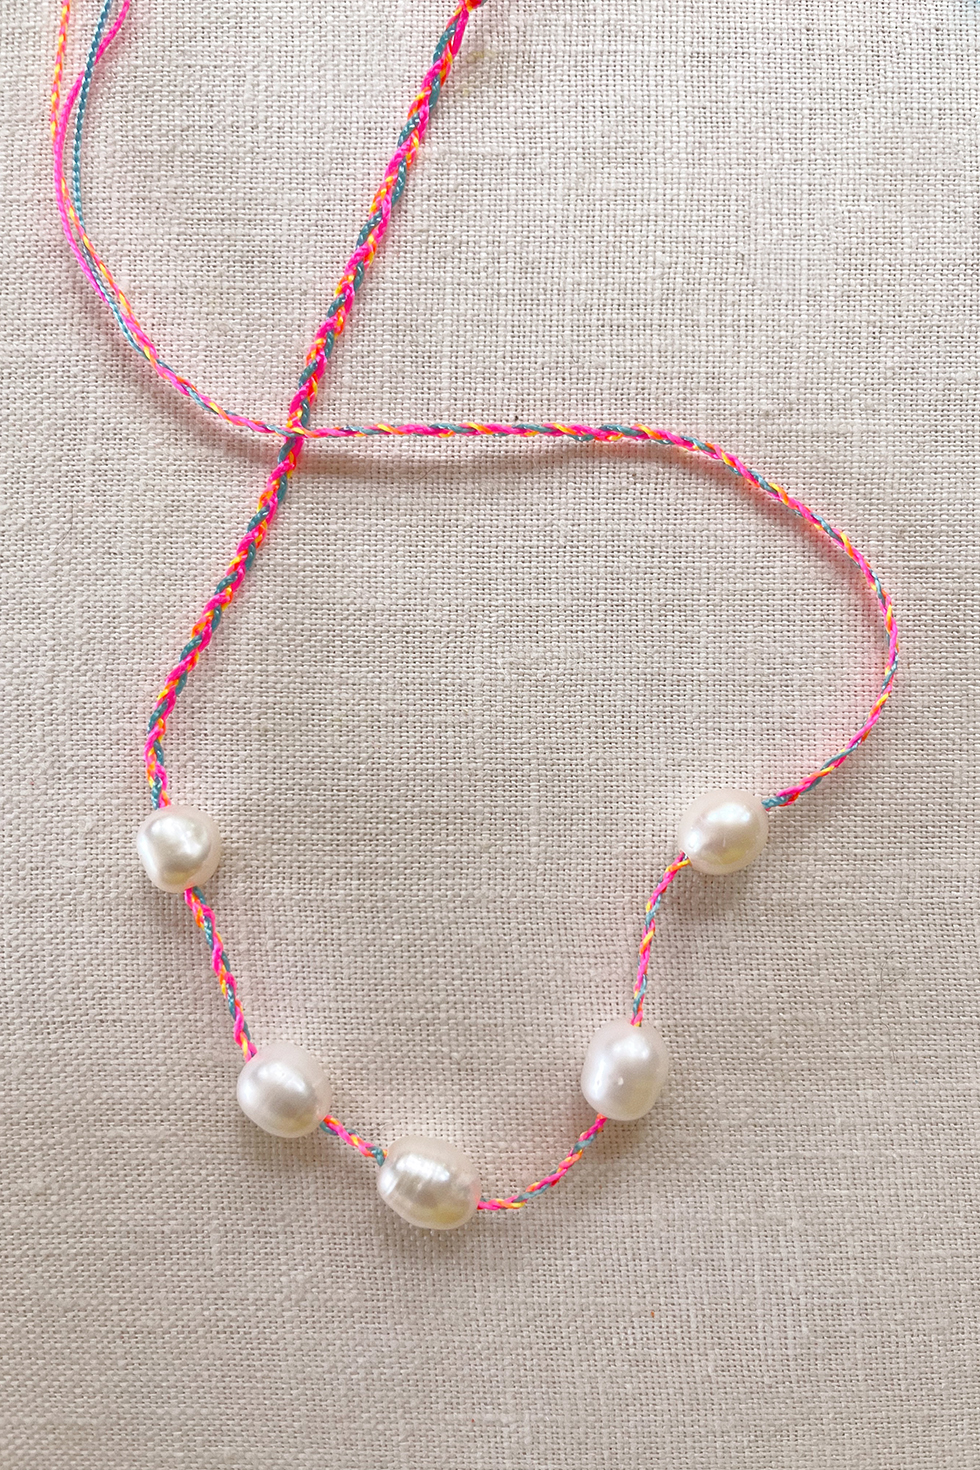
Then thread the pearls, one by one, onto the braid.
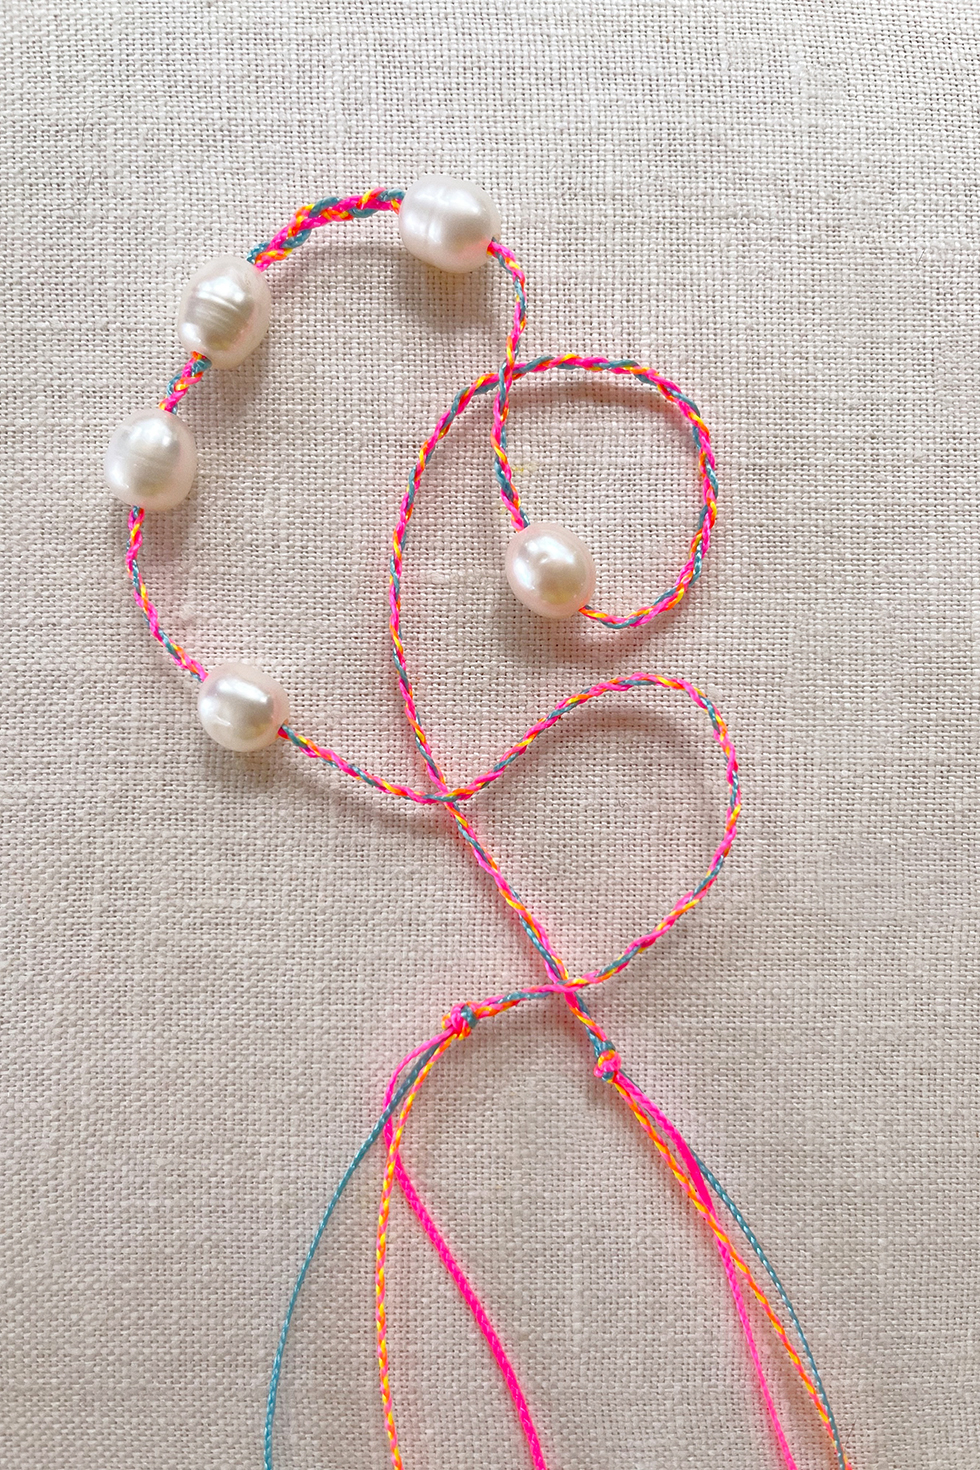
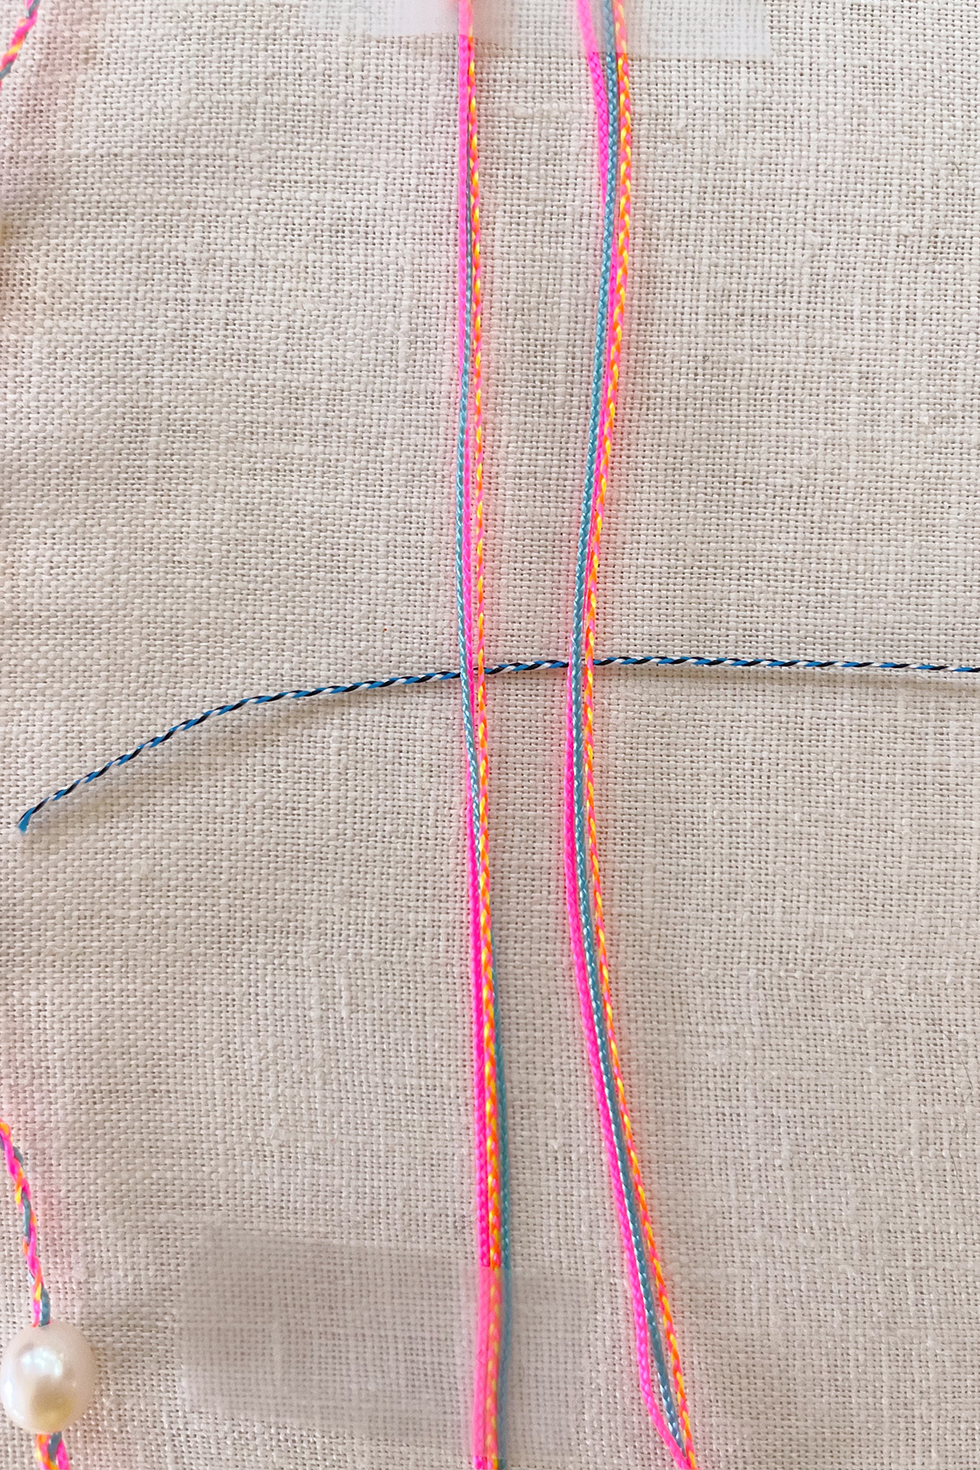
Tie the end of the braided section in a knot. Lay the ends of the necklace parallel and opposite of each other. You can use take to hold them down if it helps. Cut your extra 4th strand in half. This is your closure cord. Center the closure cord under your necklace ends.
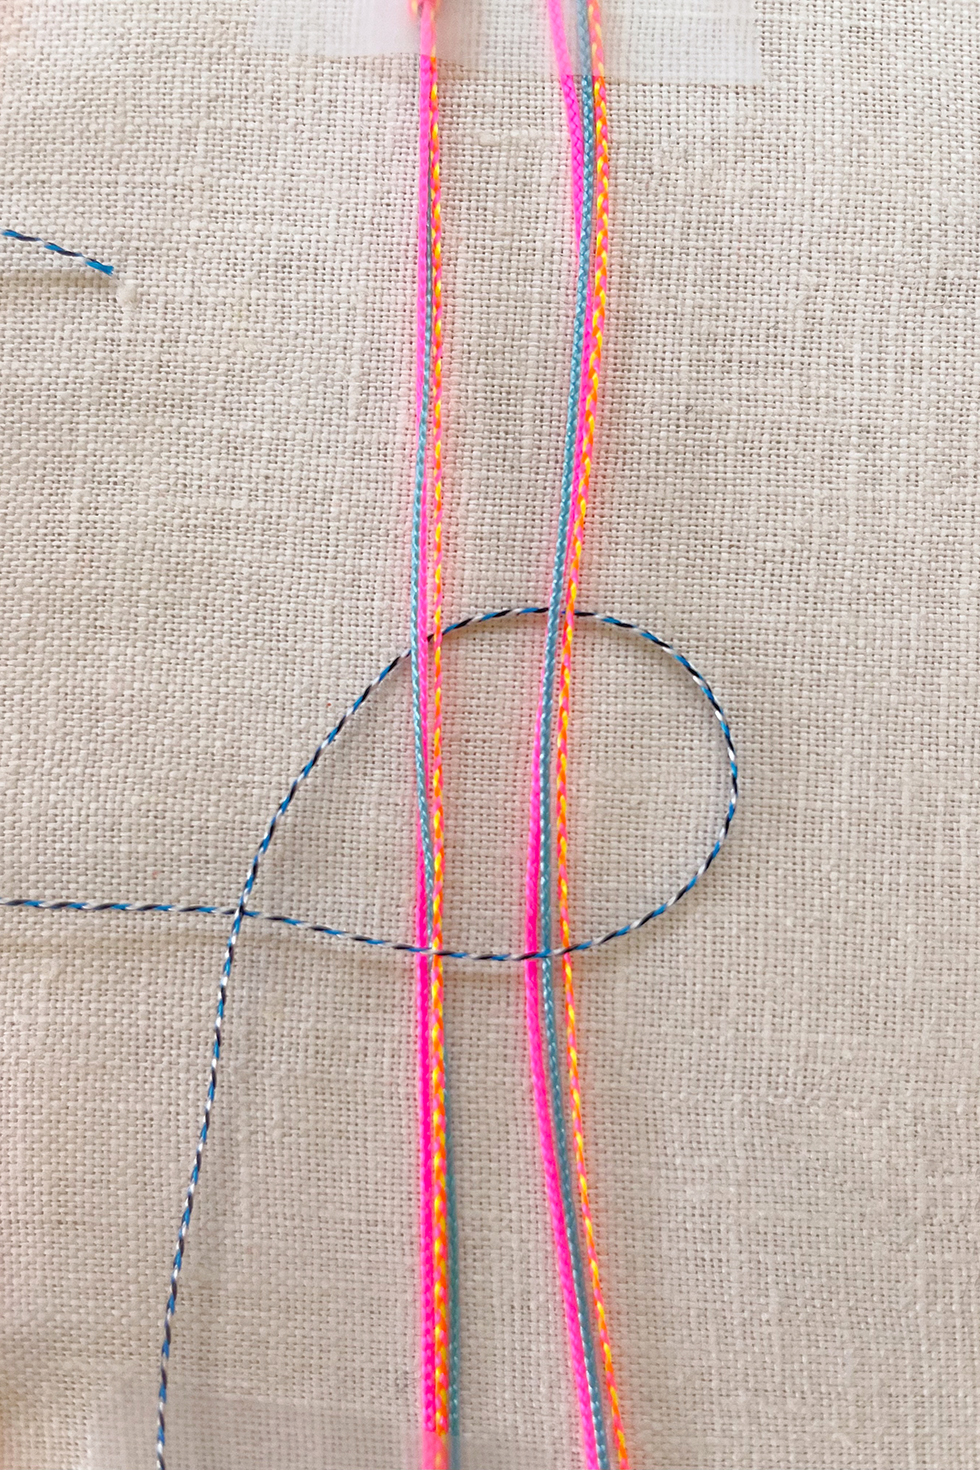
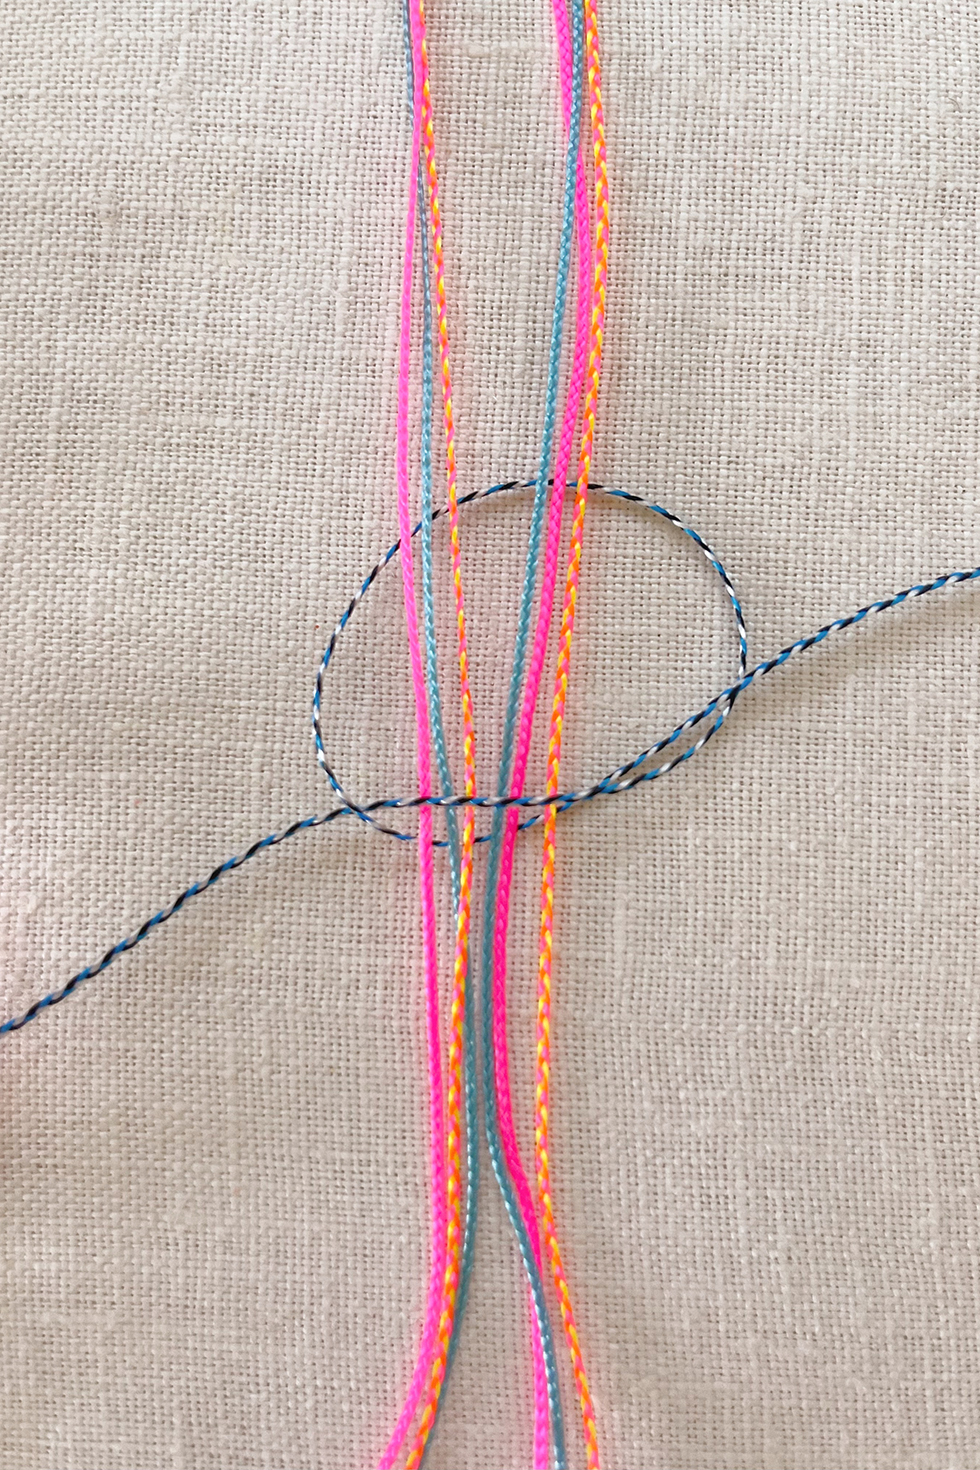
Fold the right cord across the strands and then fold the left cord over the right cord, pointing down. Pull the left cord under the right and middle strands and then through the loop on the right side.
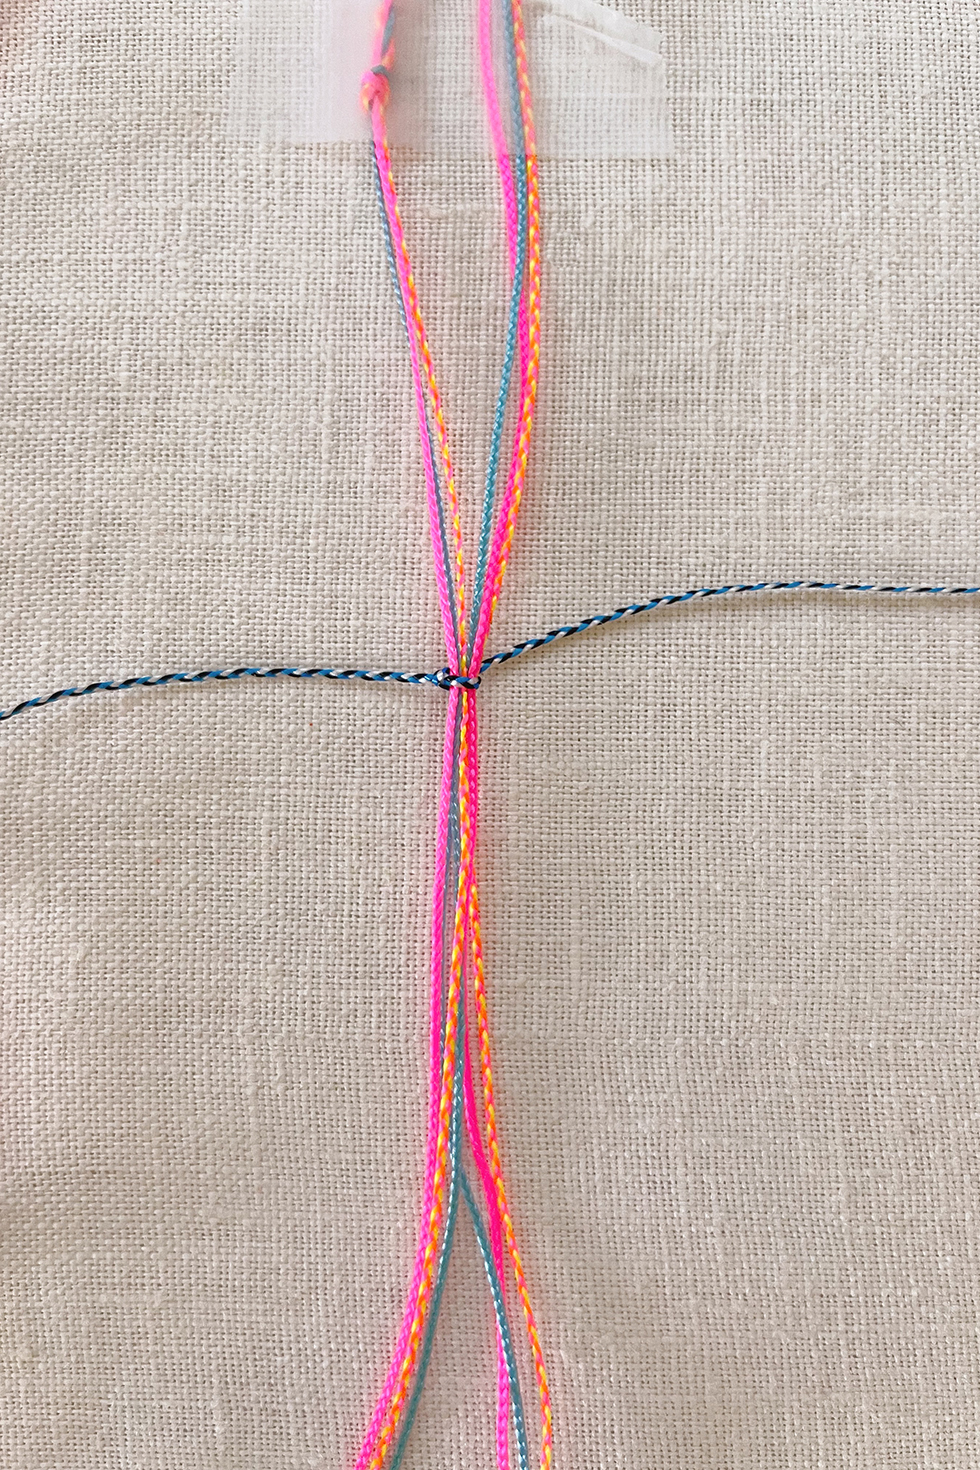
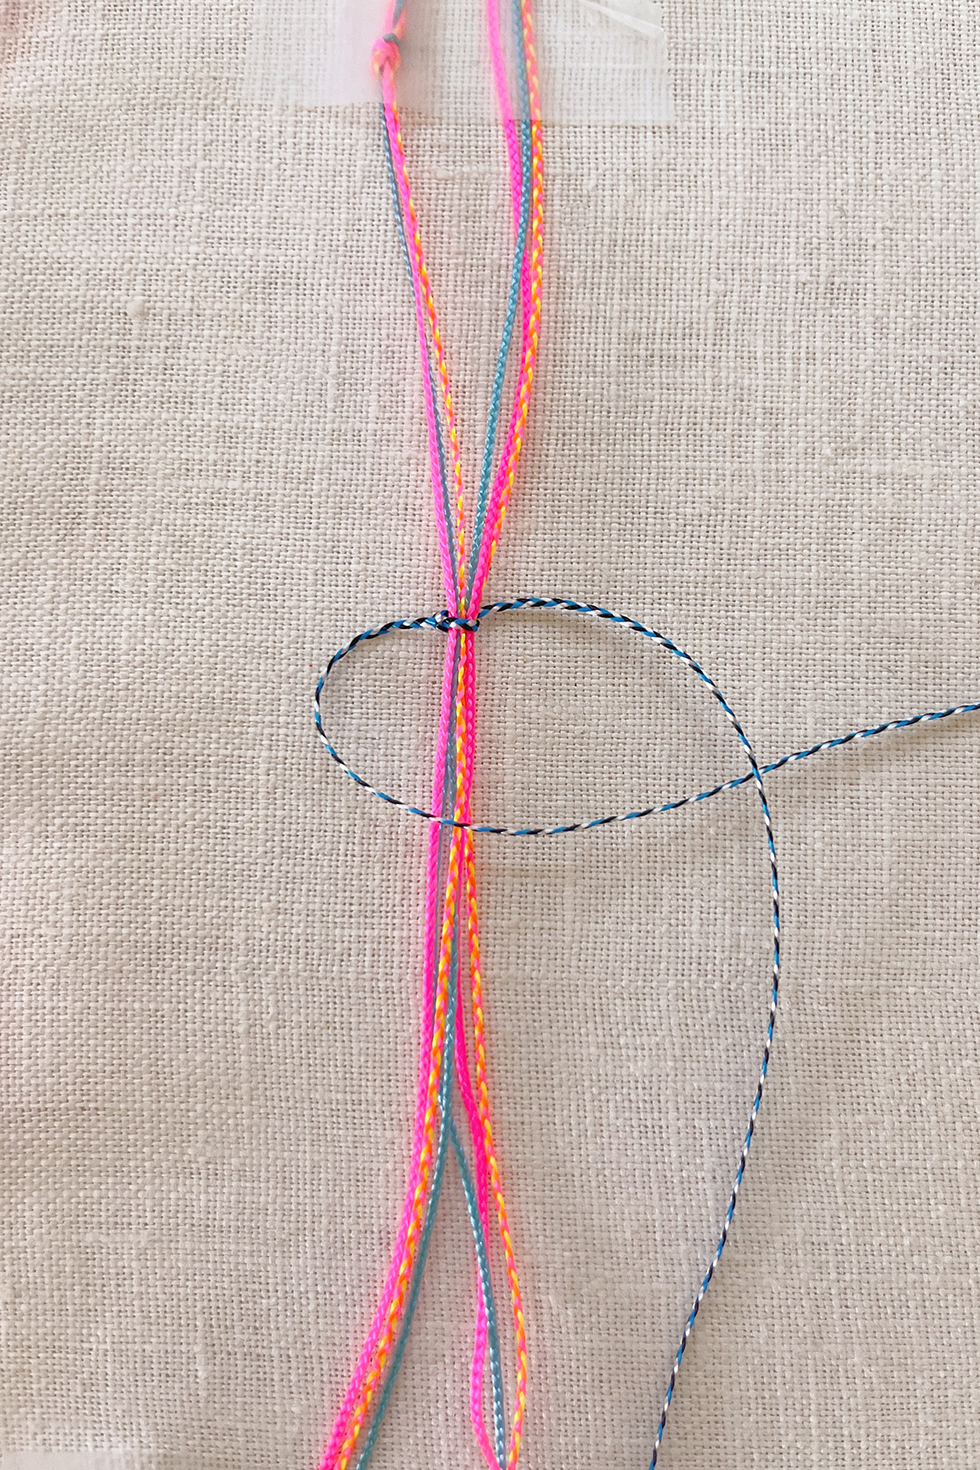
Pull tightly - this is one half of a square knot! Finish the 2nd half of the square knot by folding the left cord over the middle strands and under the right cord. Pull the right cord under the left and middle strands and through the loop on the left side.
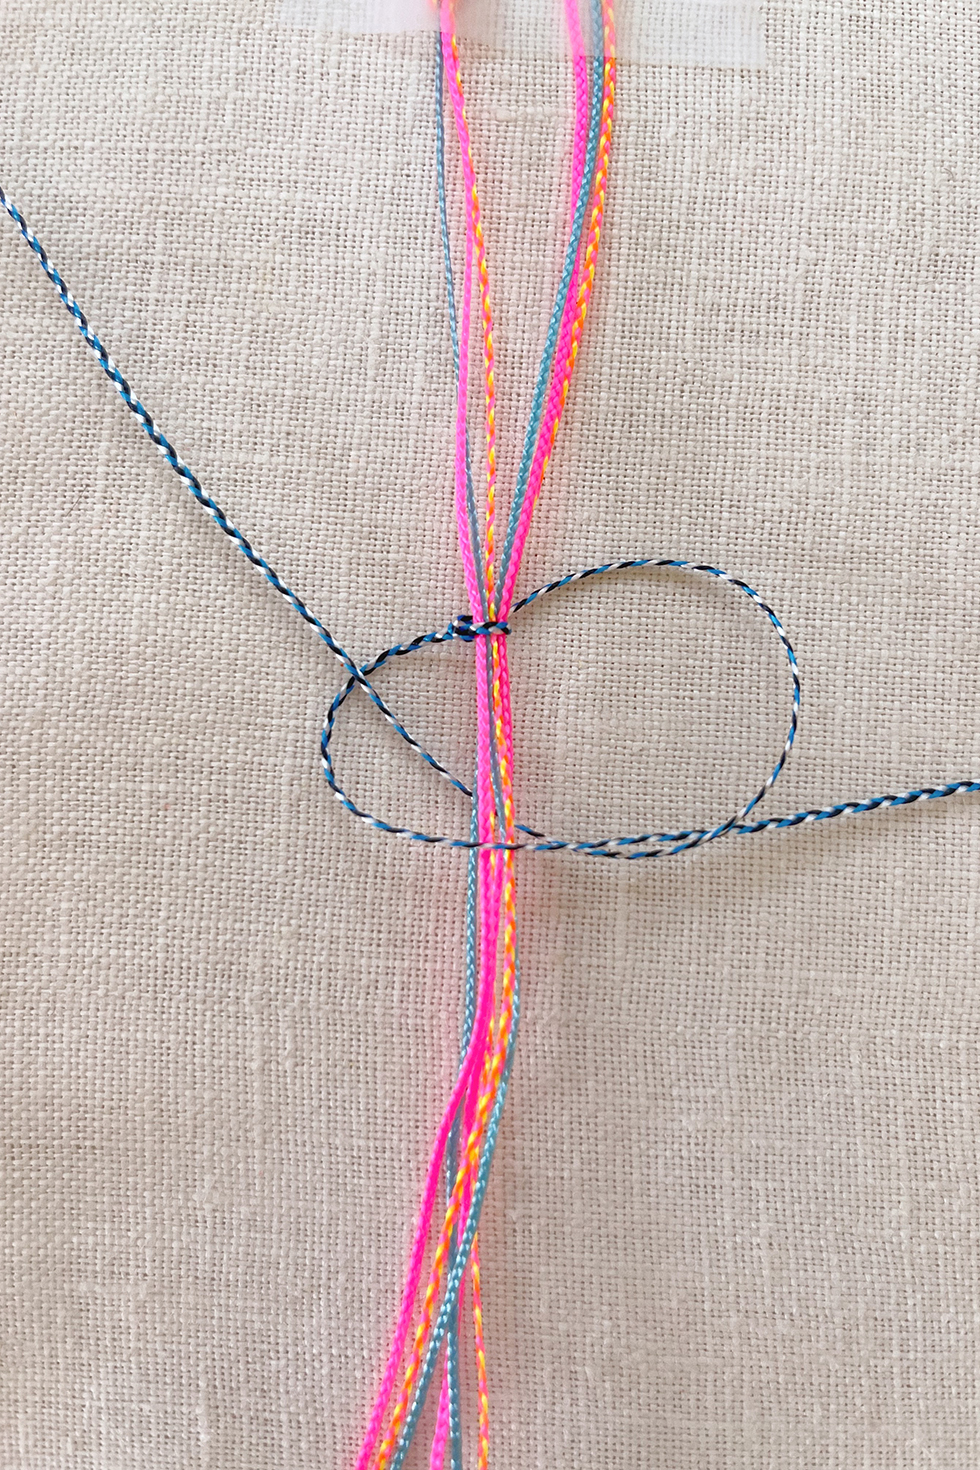
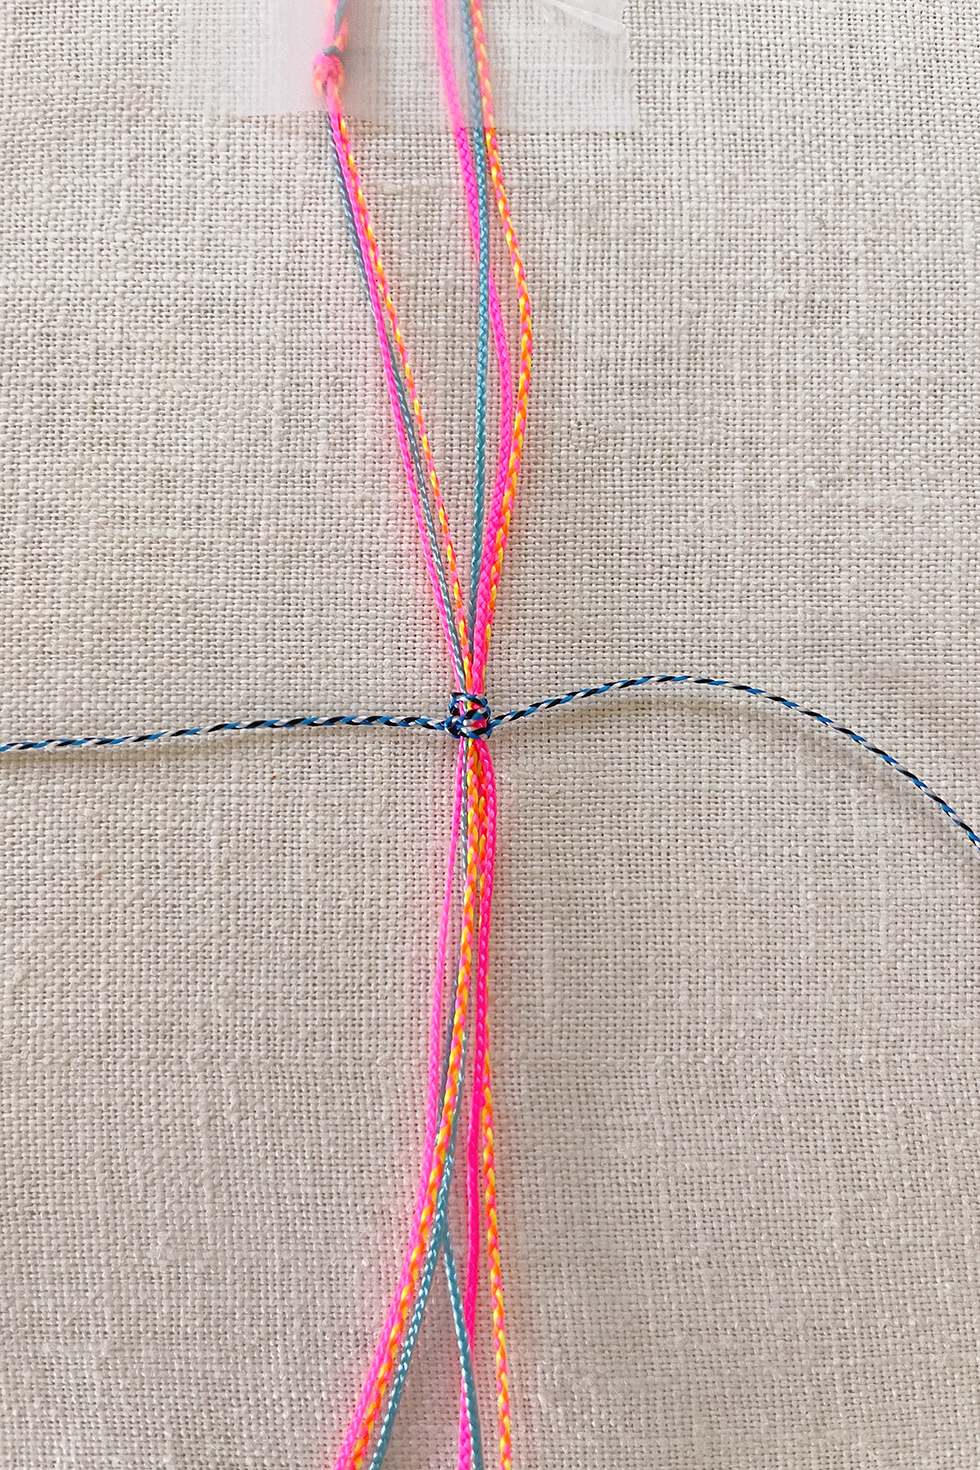
Pull the right cord under the left and middle strands and through the loop on the left side. Pull tight.
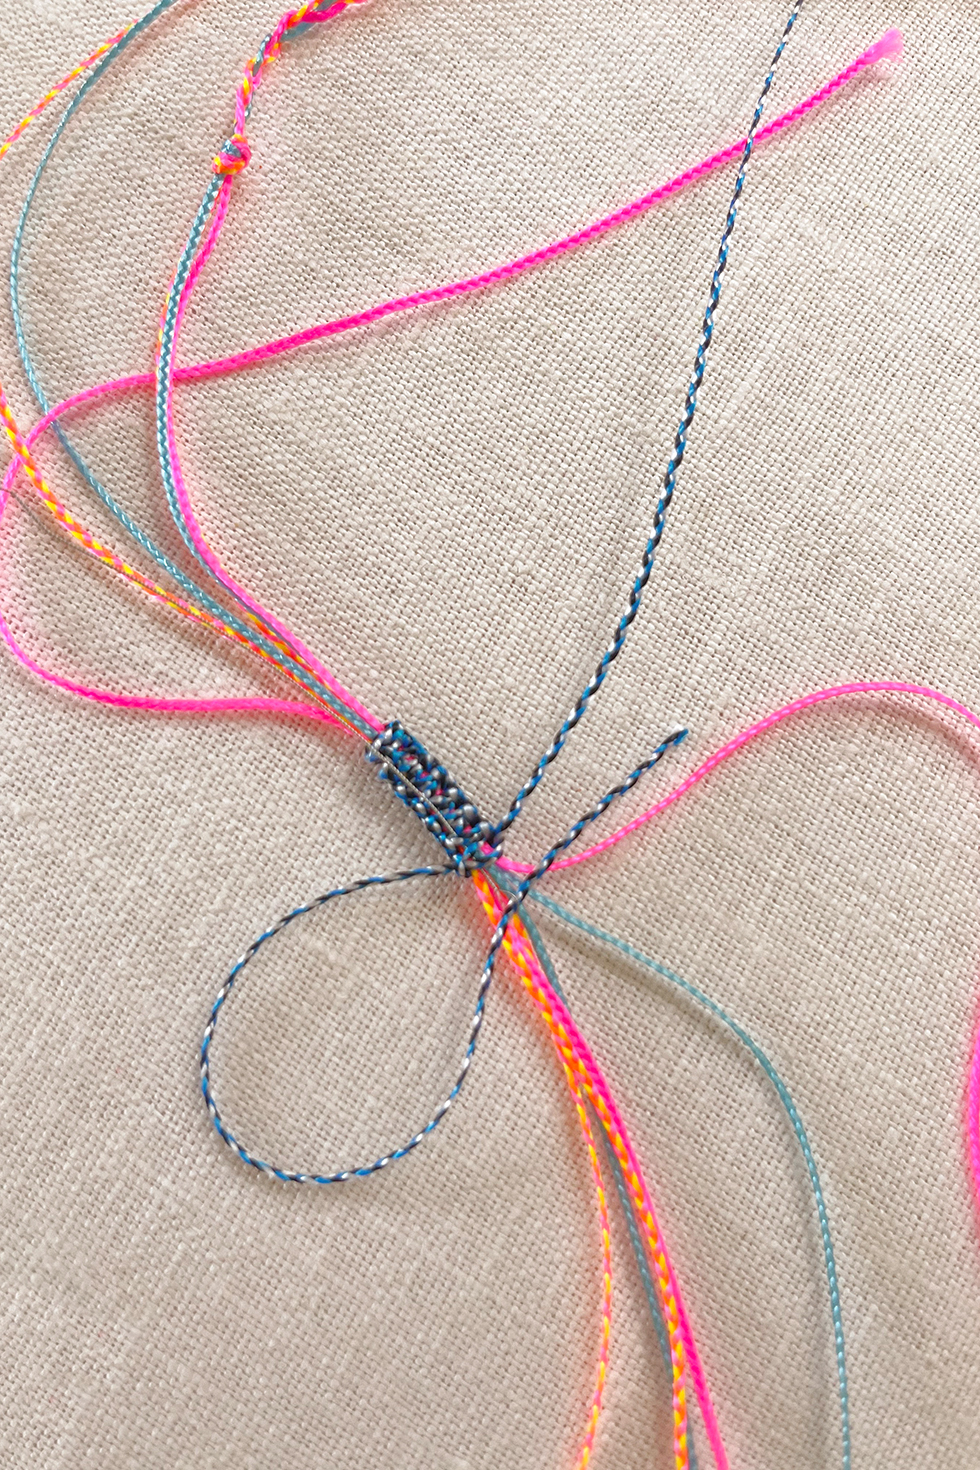
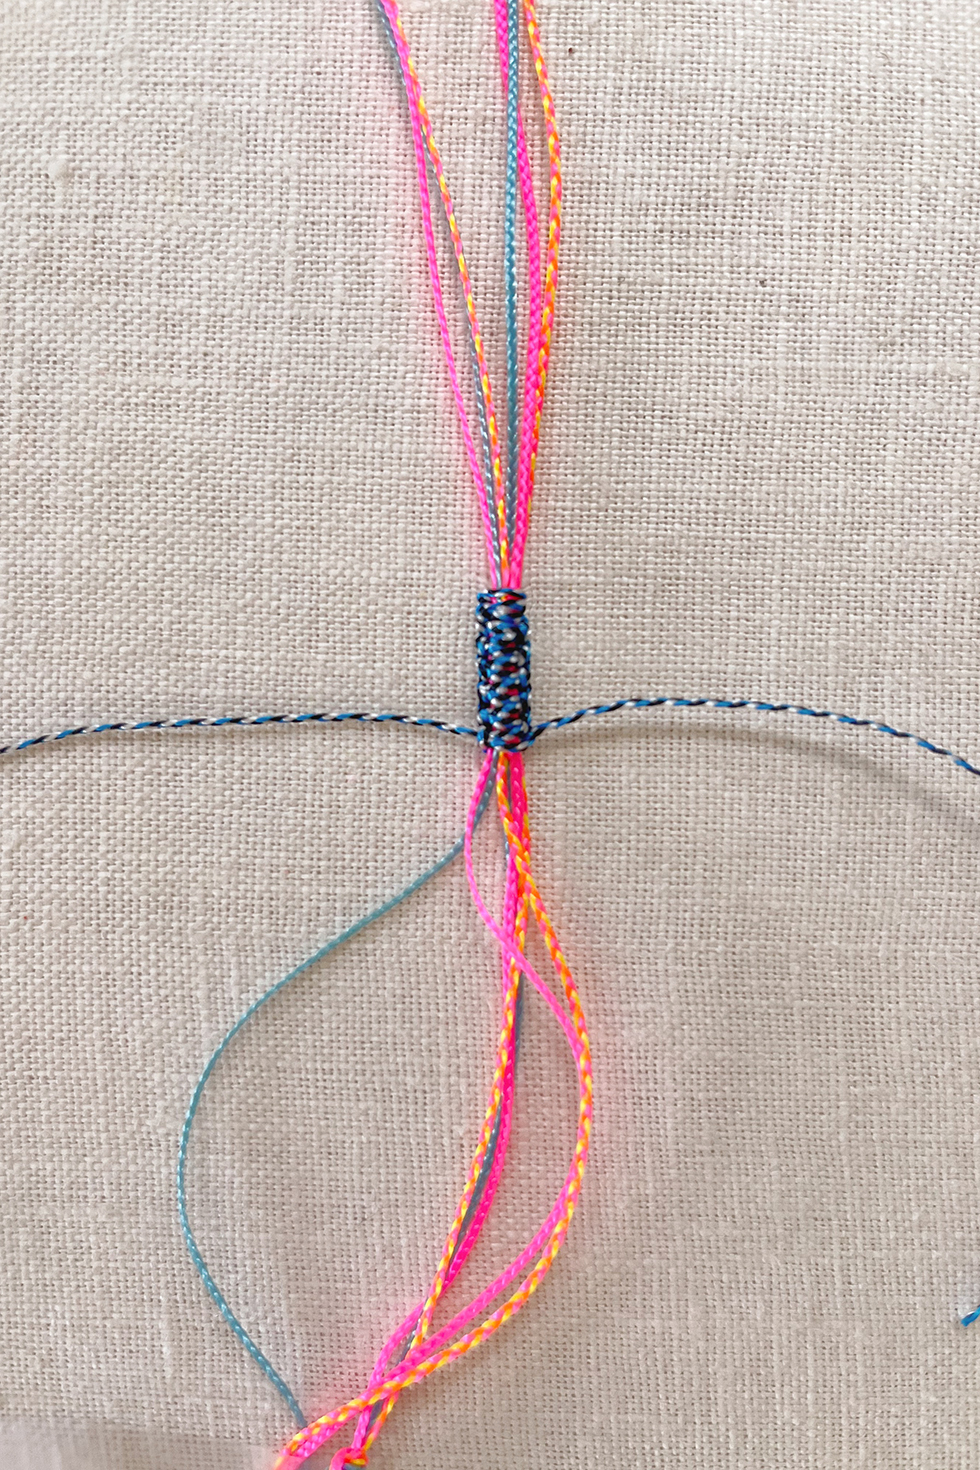
Continue working your way down until you have about 6-7 knots. Remember to pull tightly each time as the cord is slippery.
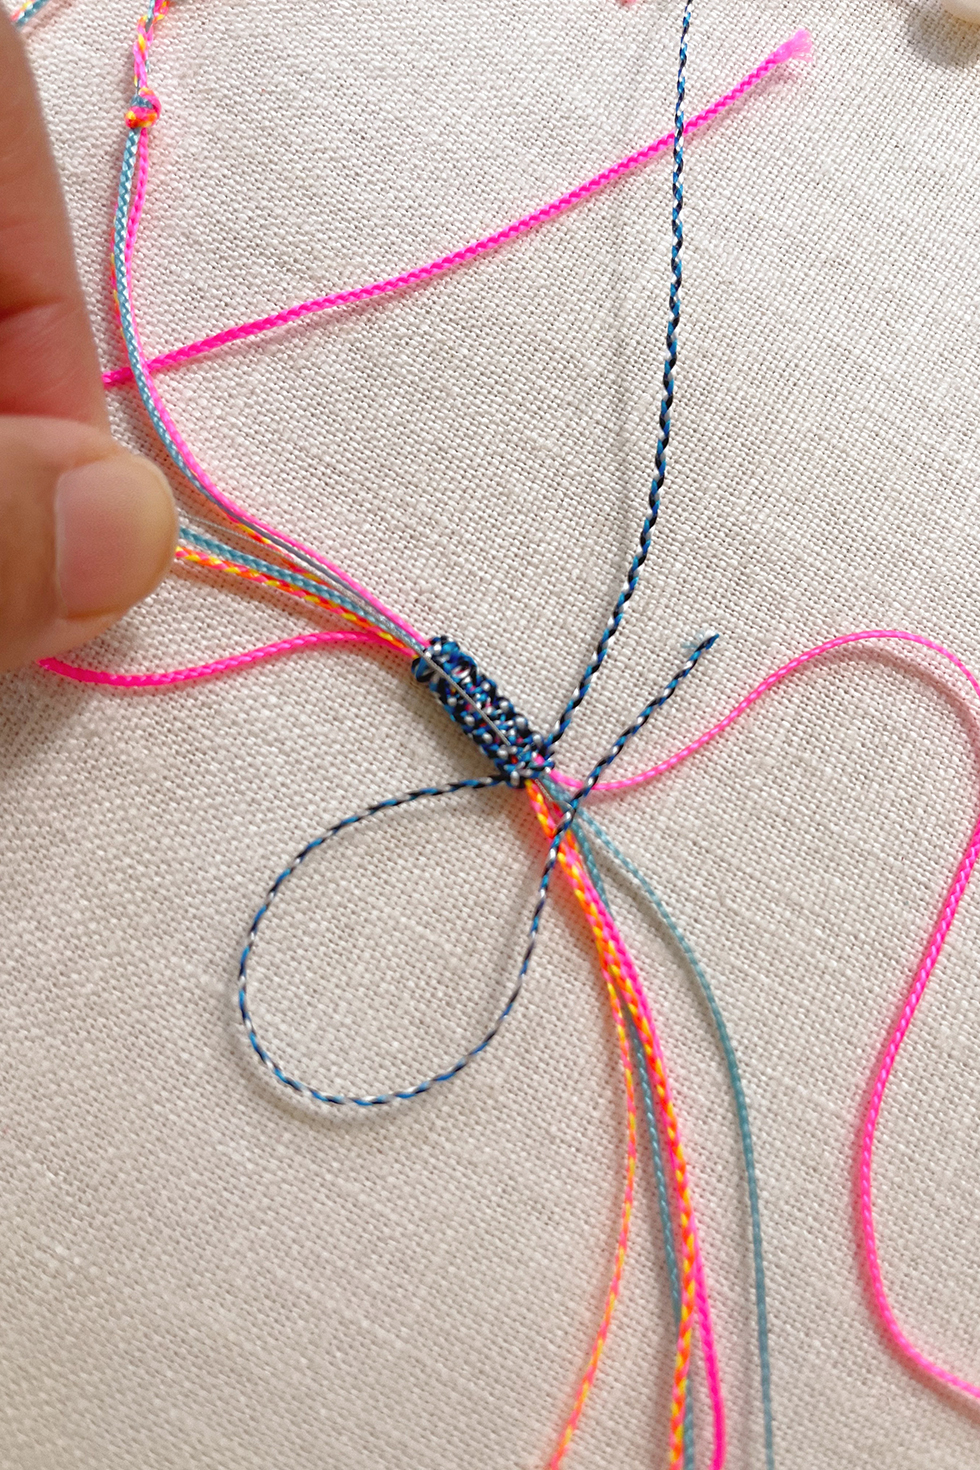
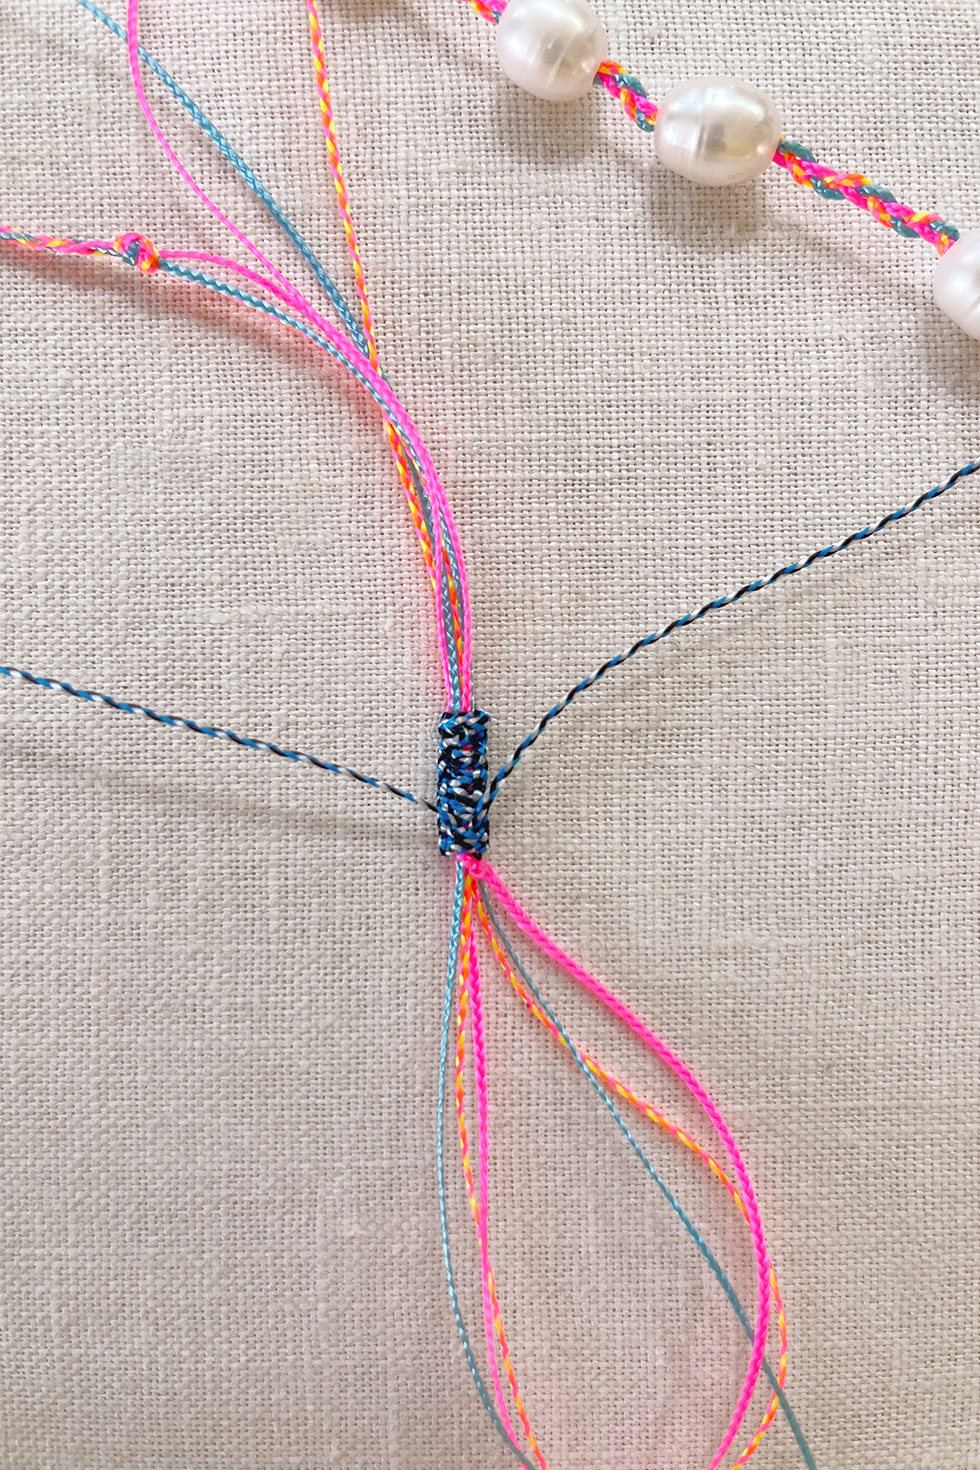
To finish the closure, thread one of the cords onto the provided needle, or your own sewing needle, and sew up the center of 2-3 knots along the backside. Pliers will help pull the needle through the tight knots. Pull the second end through as well.
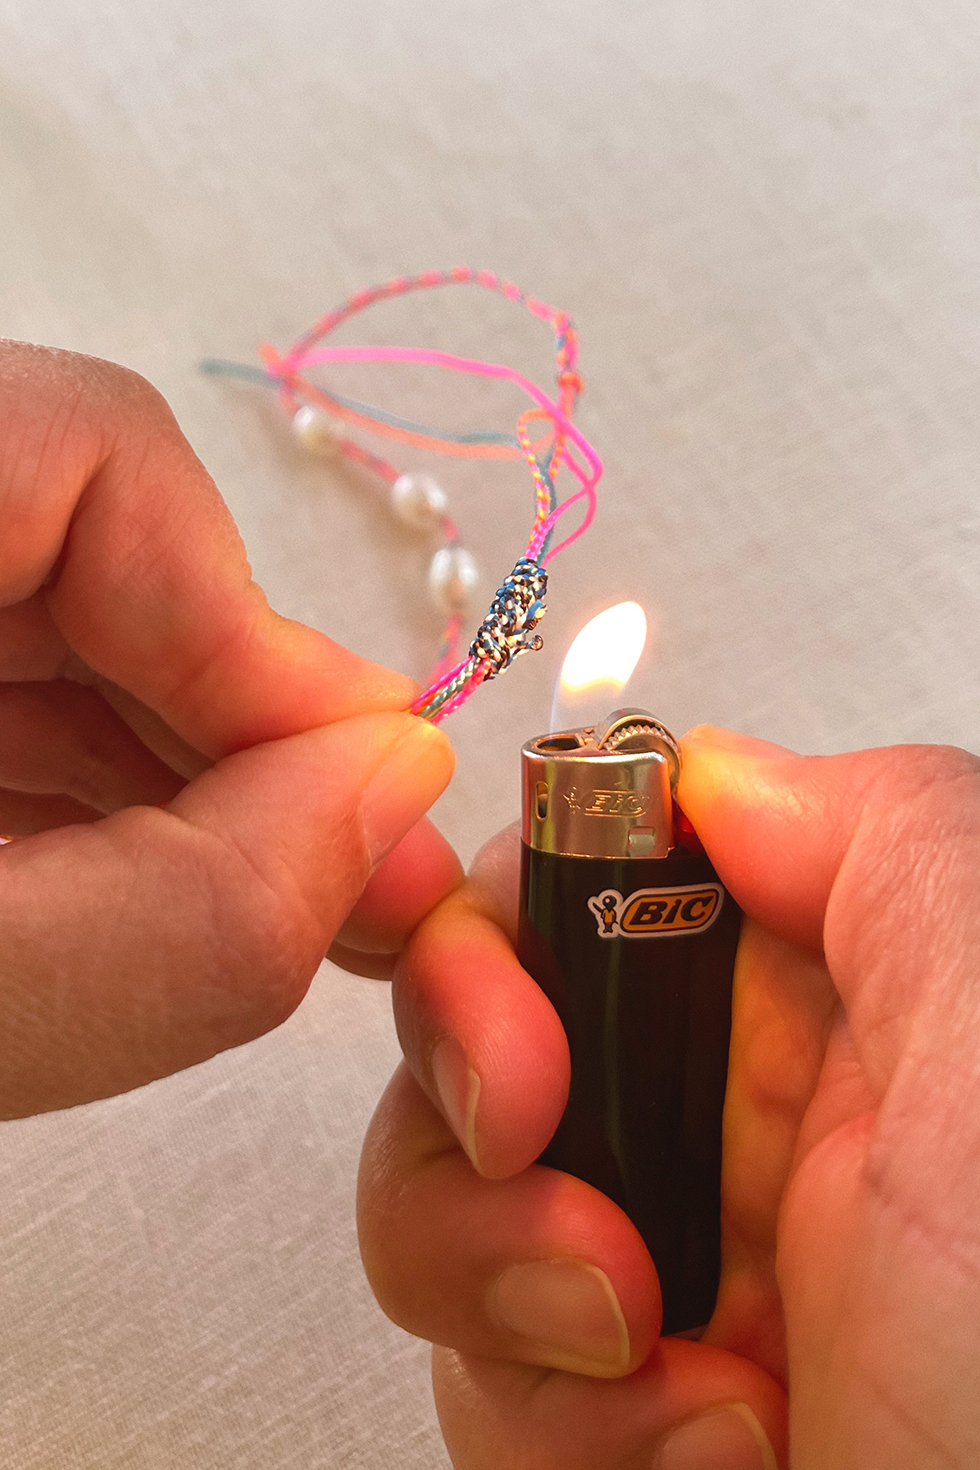
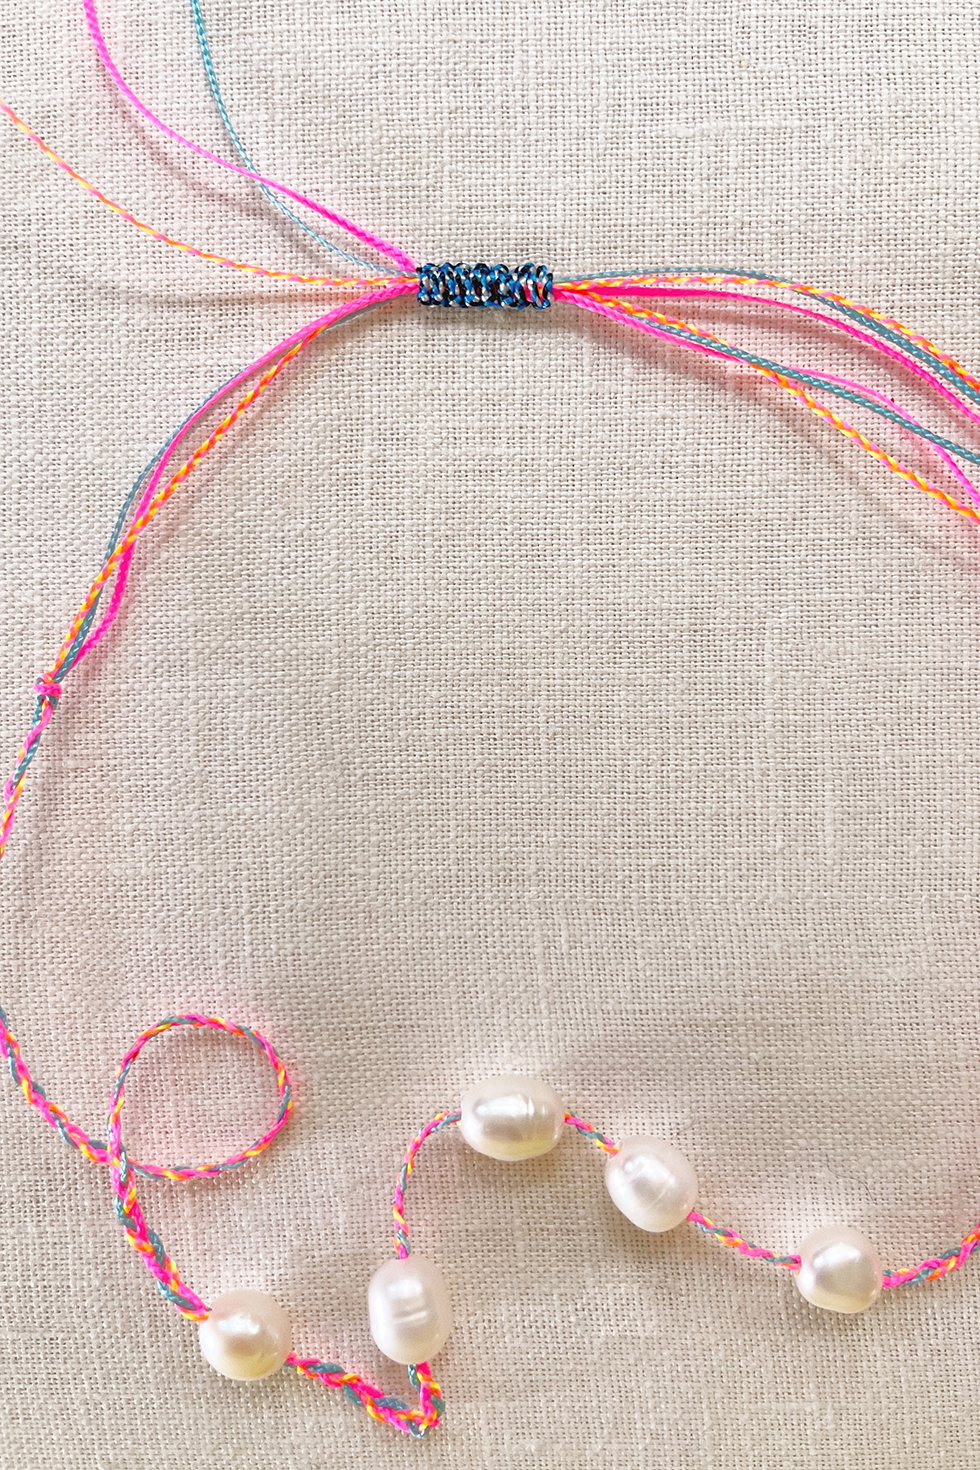
Then trim both ends as close to the knots as possible. Burn to melt the ends and use the bottom of the lighter to press the melted cord into the back of the closure. This will prevent the cords from slipping out. Now, your necklace can tighten by pulling ends or loosen by pulling the necklace ends apart.
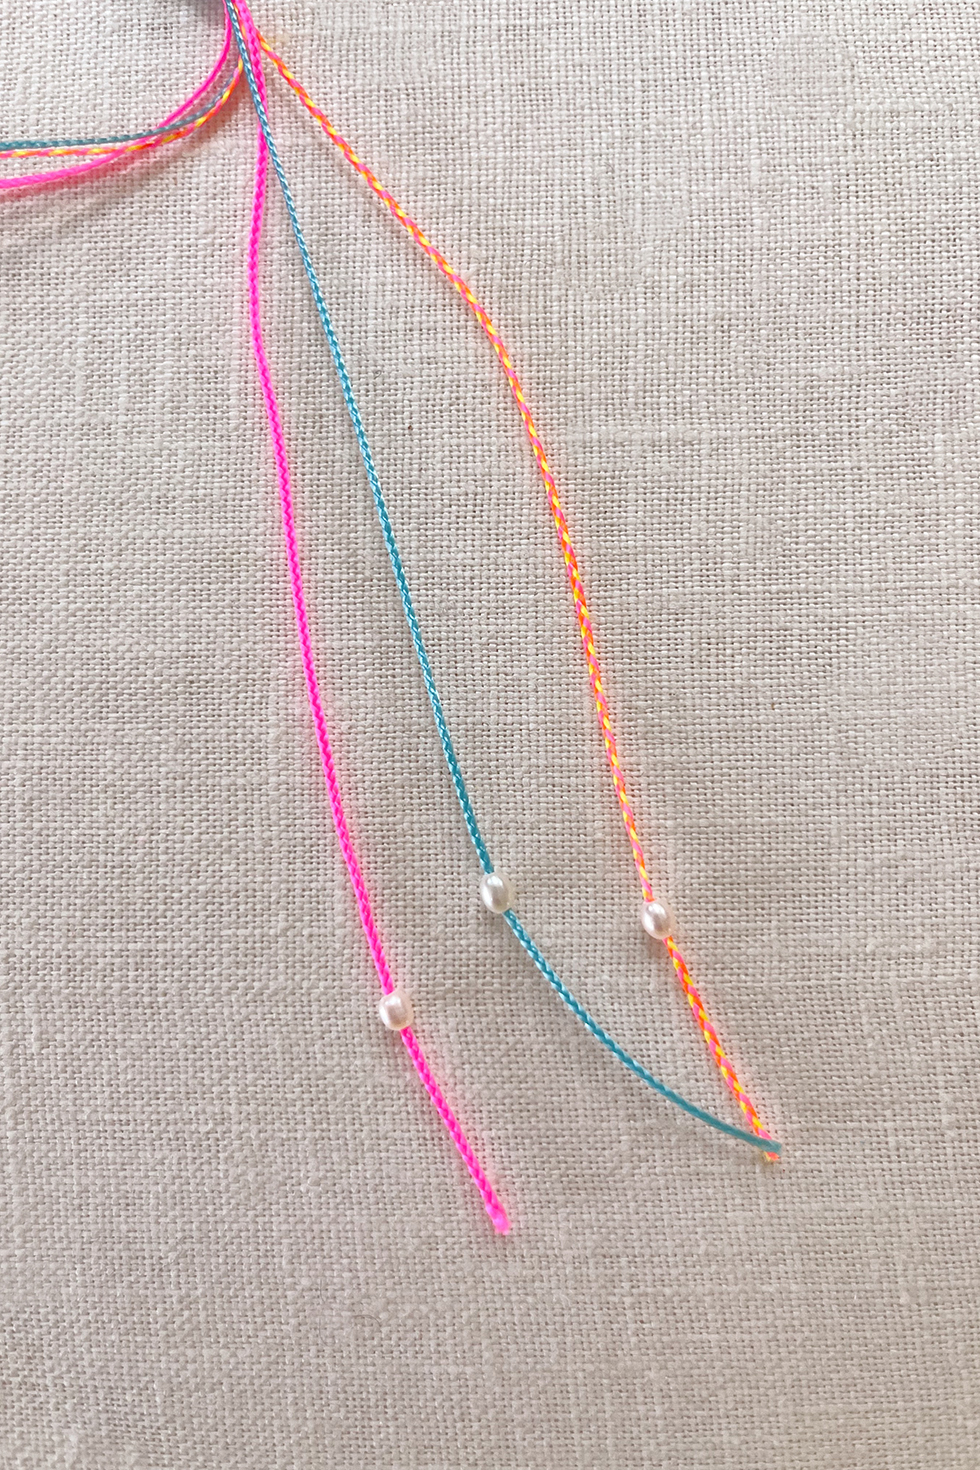
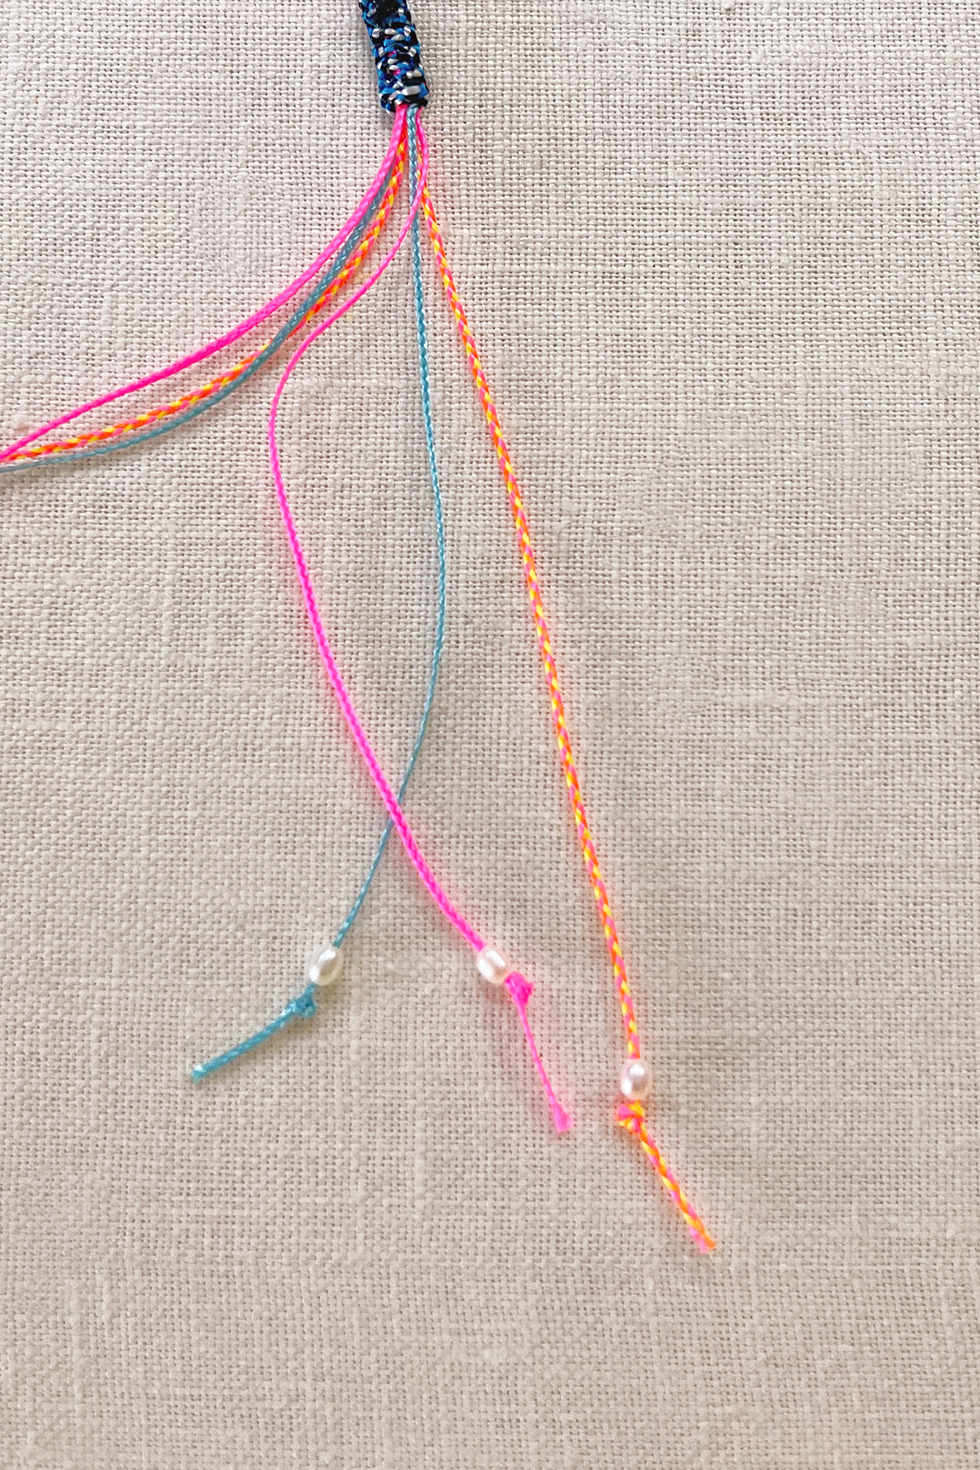
Use the provided threading needle and thread a tiny pearl to each end of the cords. Tie each end into a double knot.
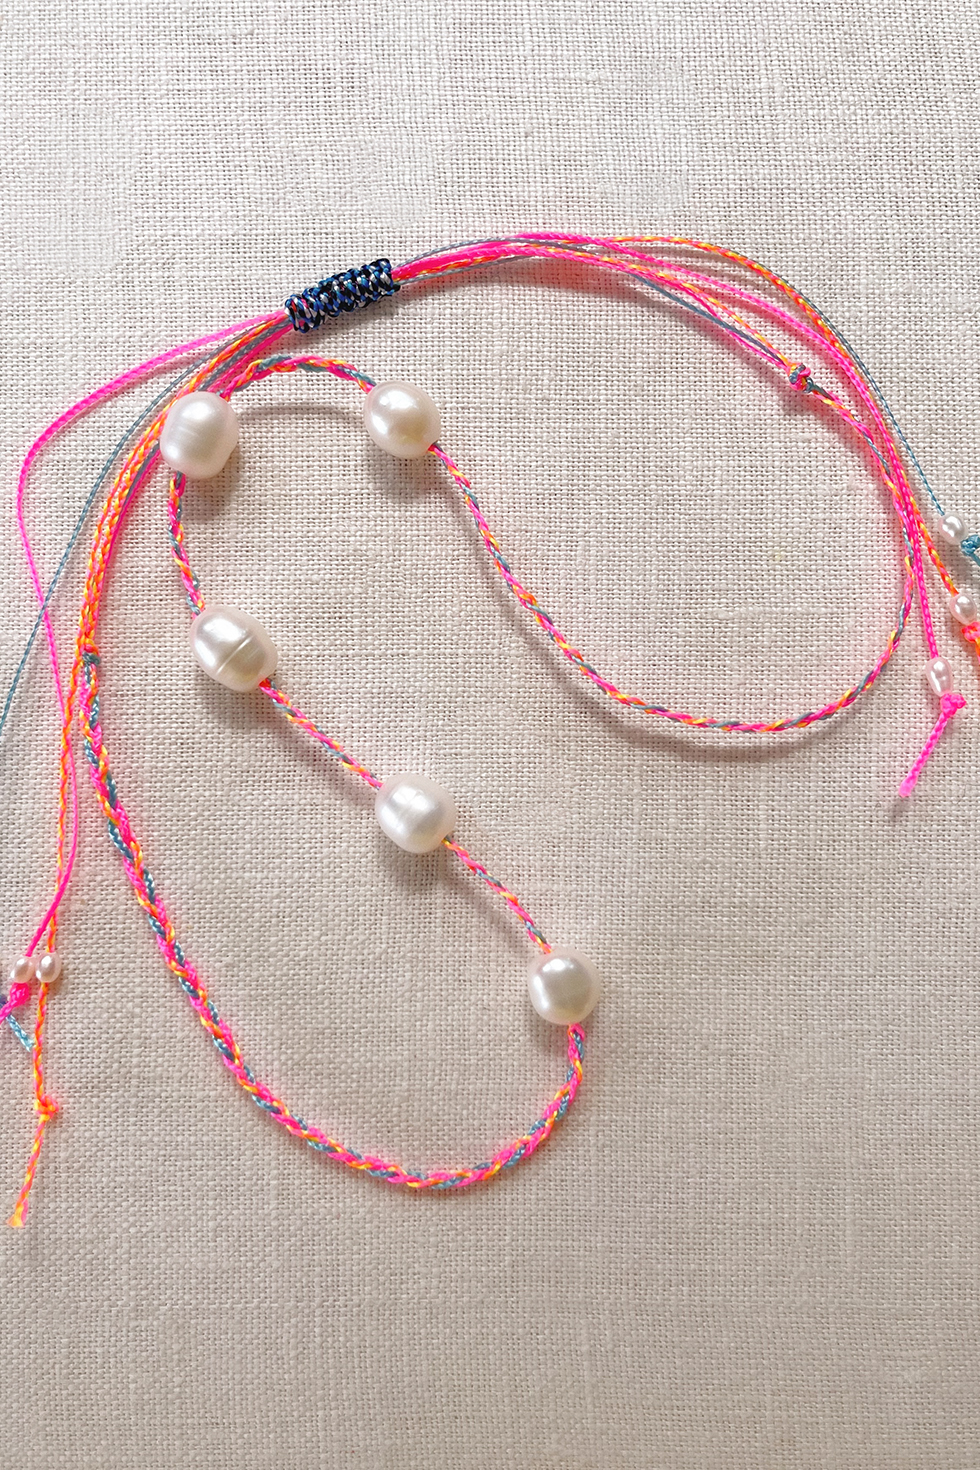
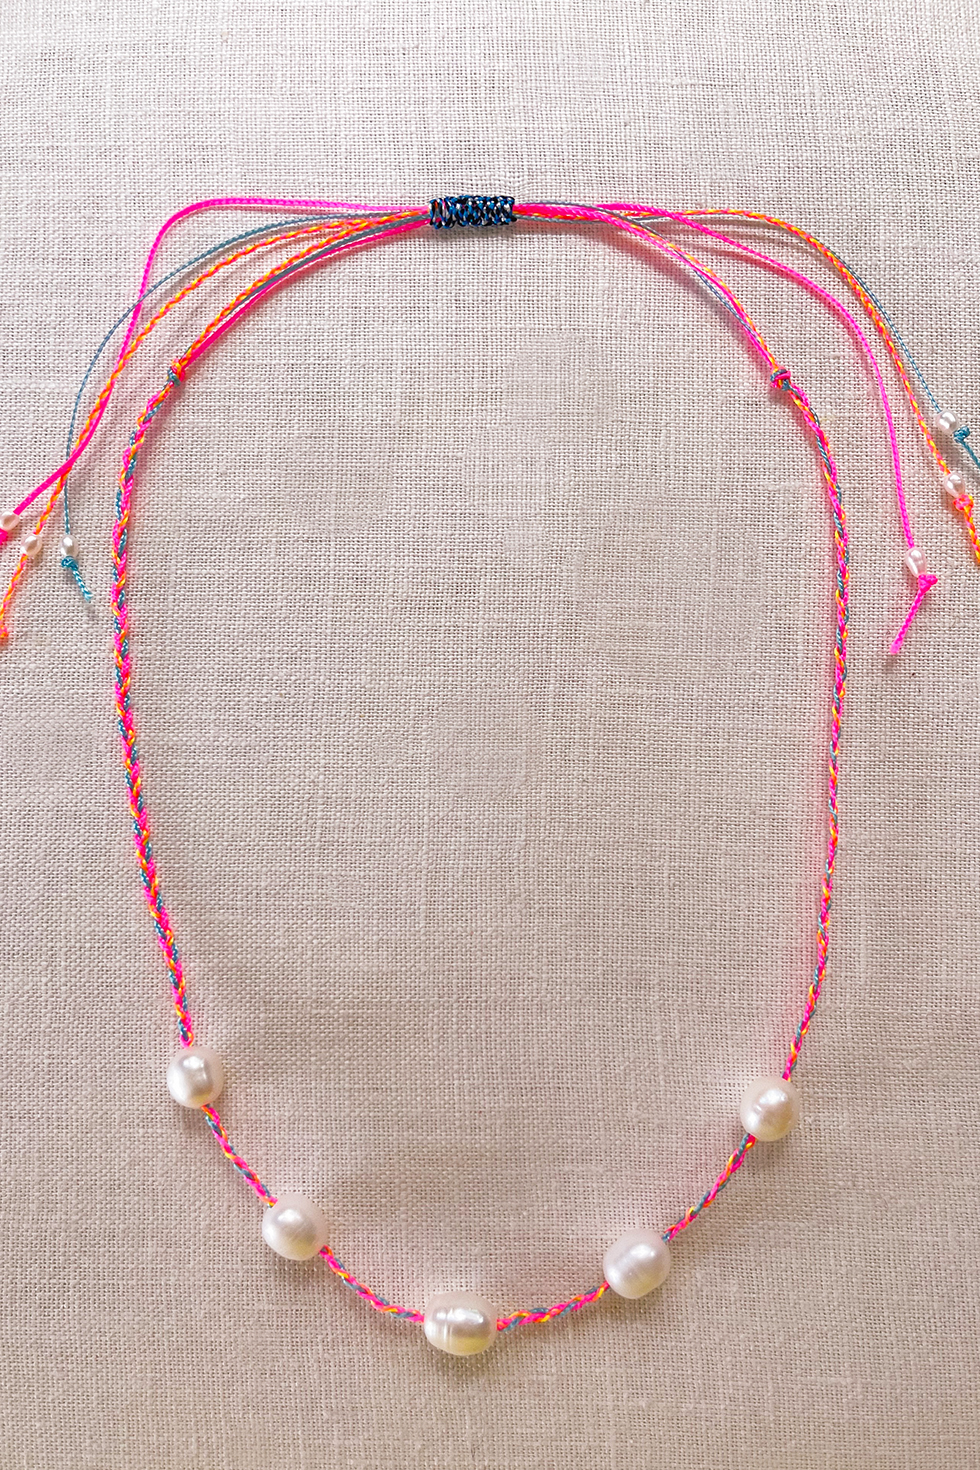
Your necklace is ready to wear!
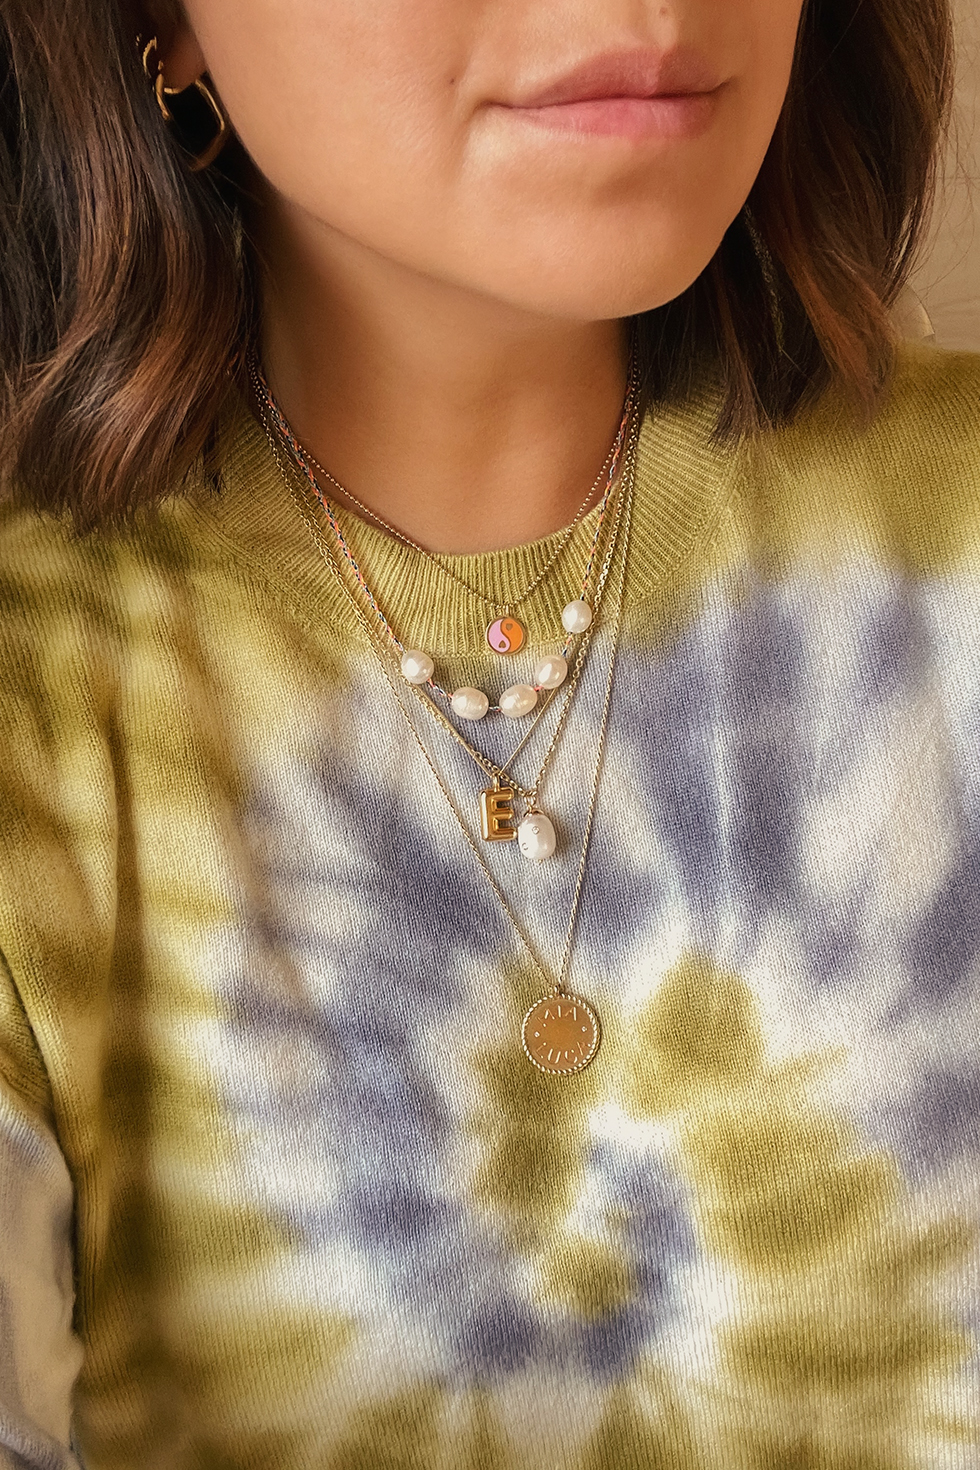



Are you serious?!? I’m so excited about these kits!
yay!!! me too! 🙂
Hi! The kit looks great and I want to make this necklace, but I am very very curious where your puffy E pendant came from! Please share? 🙂 Thank you!
@Jenny, it’s from Ariel Gordon’s new collection launching in April!
Glad I’ve stumbled upon your site! Love the kit concept & your purple dress too – who’s it by?
Thnx 🙂
where can I find “only” the thread?/cord? I have the rest in my personal supplies!
It’s a special cord we specifically sourced for this kit!
What size cord (thickness in mm) is used for the DIY Going For Baroque Pearl Necklace? And was nylon cord used? Or silk?
What size pearls in mm are used for the DIY Going For Baroque Pearl Necklace?
I ordered the kit and just spent the last hour trying to braid the cord. Is there any secret to braiding that makes this easier? My braid isn’t tight enough and the braid keeps coming undone. Please help!
I read you blog really you have a great experience
Where can I order these kits?
Here is the link: https://www.arielgordonjewelry.com/collections/agj-x-honestlywtf
Hello! Saw this pretty cord and am looking to make little bracelets for a little girls bday party. Can you share what type of cord it is and where I could possibly purchase?