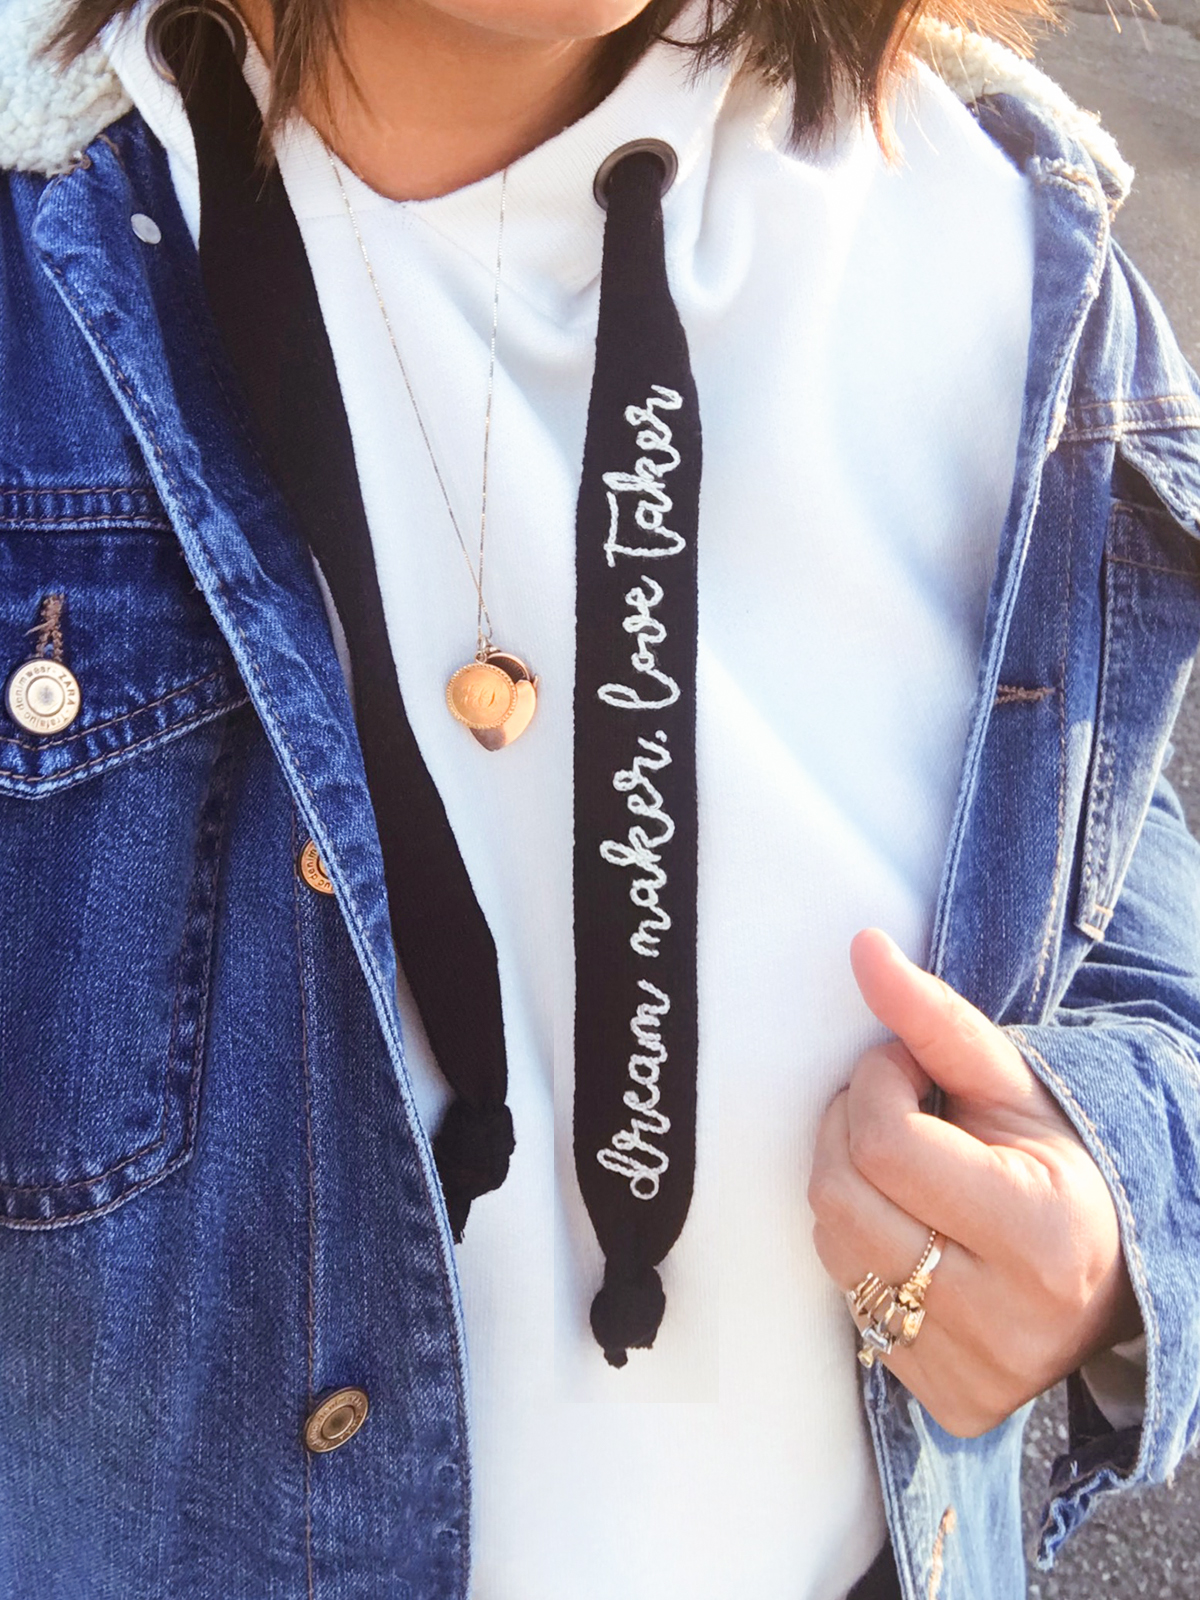
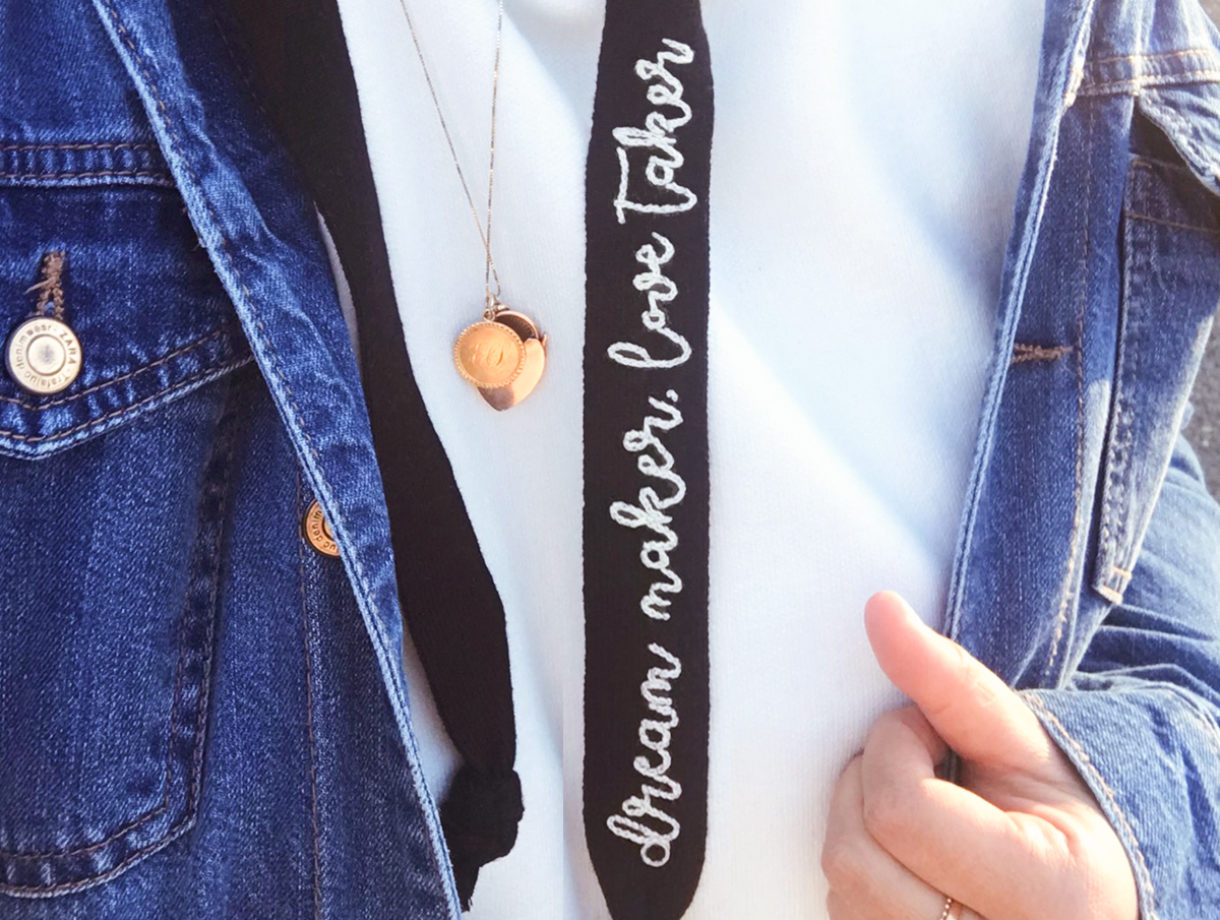
Just when you thought I couldn’t possibly find another medium to embroider, I’ve developed a recent obsession with hooded sweatshirts – thus, an equally consuming fixation on embellishing them. I think it’s such a great way to give an otherwise mundane article of clothing some much needed life. The extra wide ties on Zara‘s oversized hoodies inspired me to take my embroidery to new, vertical heights. The split stitch is my embroidery stitch of choice here. It’s great for small designs and lettering with tight curves. Plus, it’s quick and super easy. If you’re looking to DIY your holiday gifts this year, this is a great option!
You’ll need:
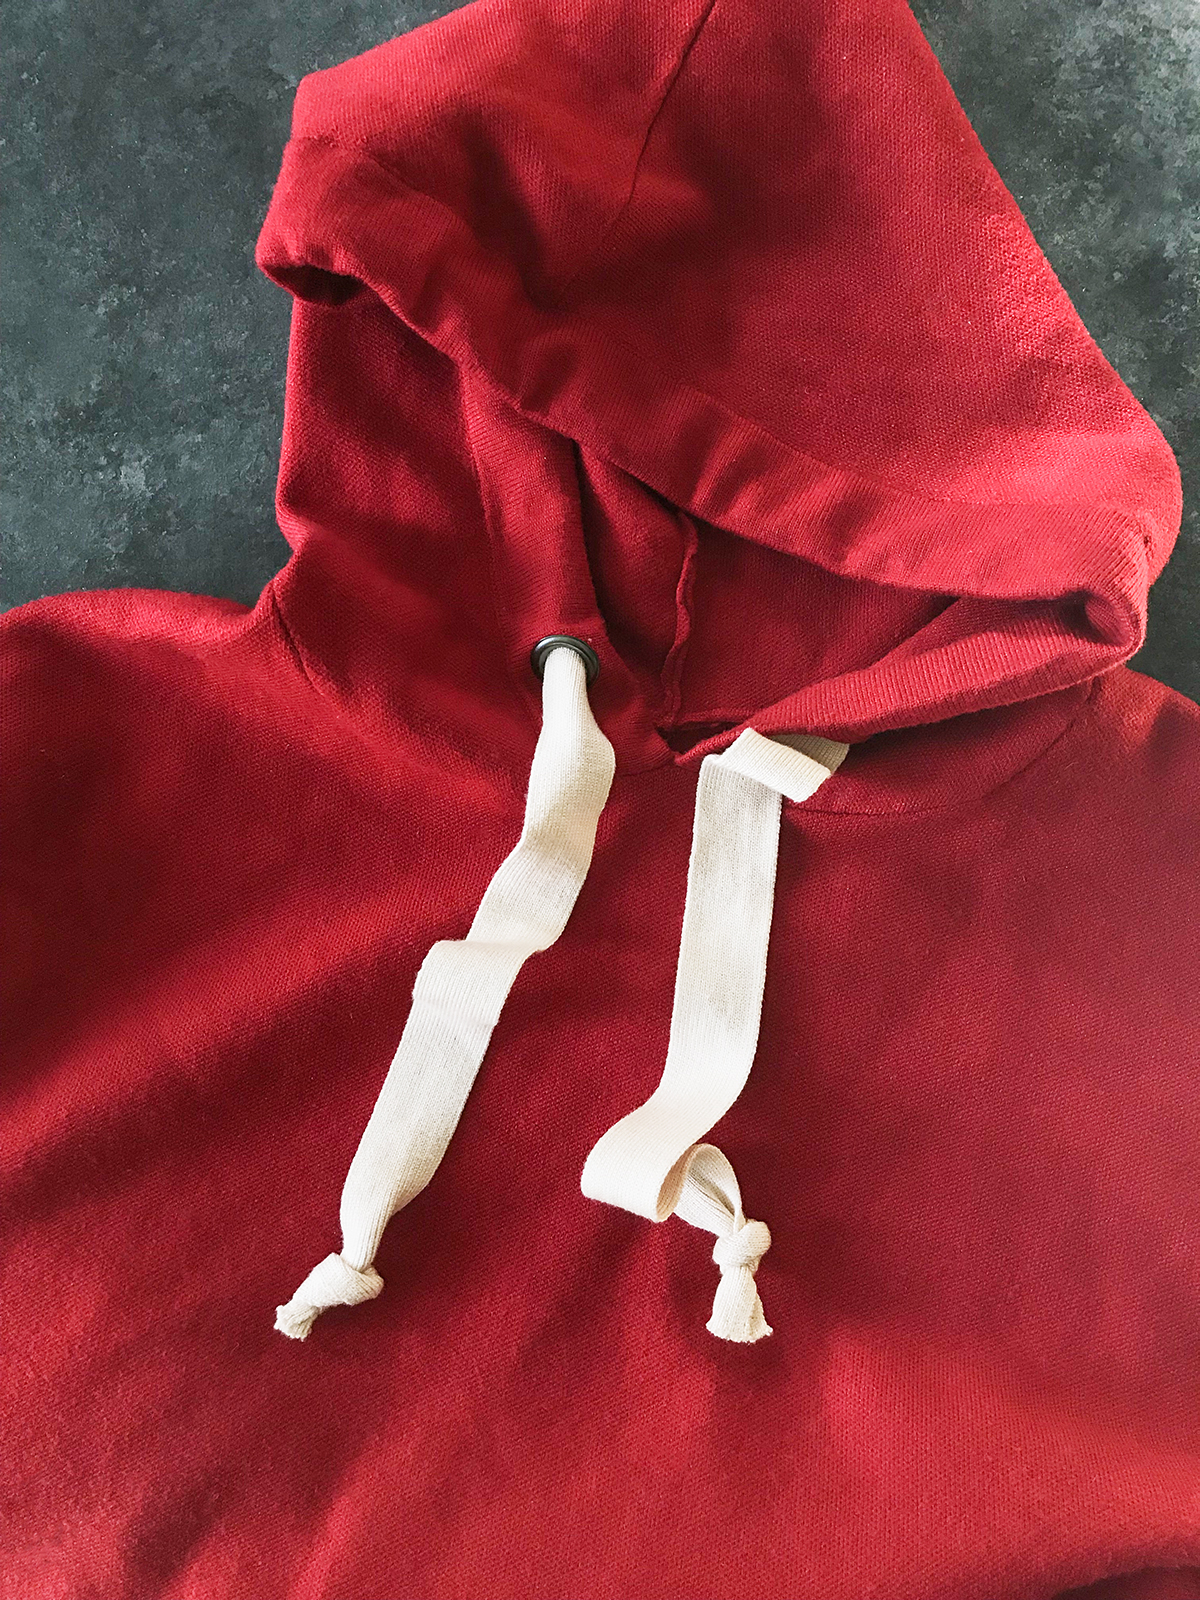
- a hooded sweatshirt (I got mine from Zara but you can find similar ones at Bandier)
- embroidery floss
- embroidery needle
- Sulky Paper Solvy Water Soluble Sticky Fabric Stabilizer
- scissors
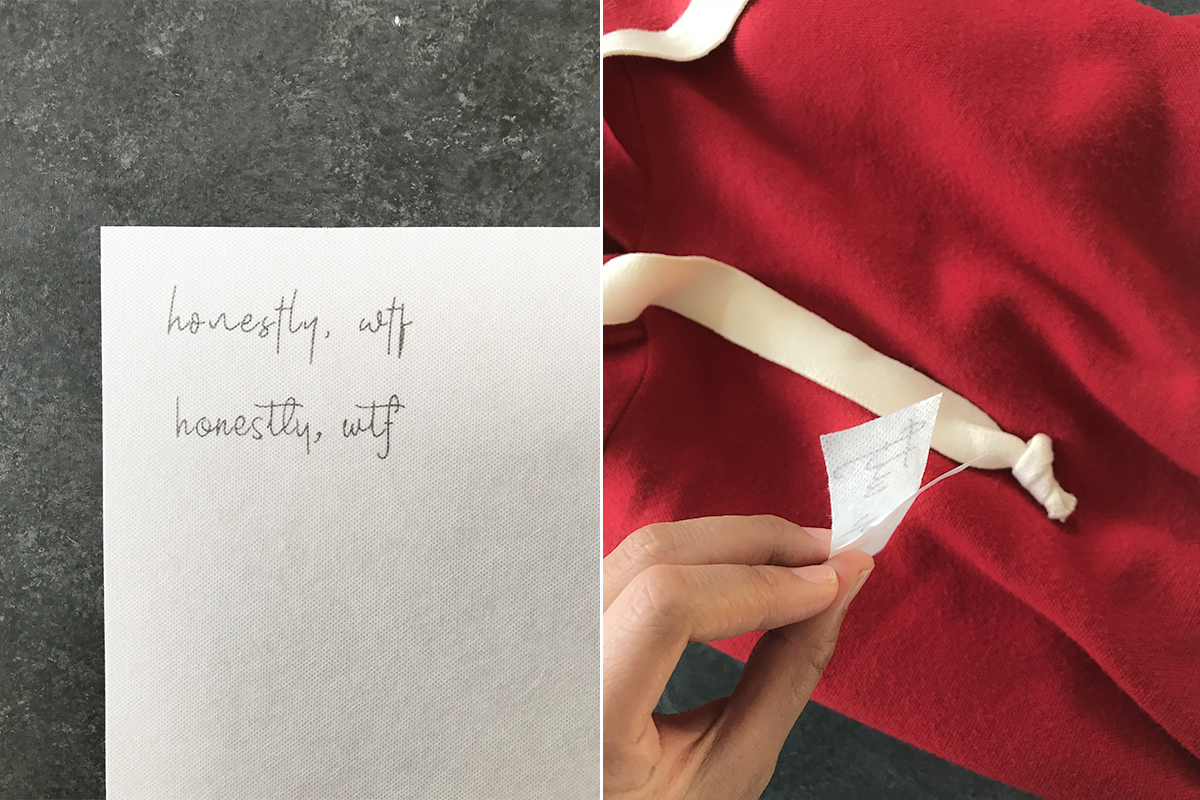
Start by printing your design or phrase onto a sheet of stabilizer. I love Sulky’s Paper Solvy Water Soluble Sticky Fabric Stabilizer. It’s great for small designs and lettering since the material sticks onto the fabric and dissolves under water.
Once your design is printed and cut to size, stick it onto your fabric. Thread an embroidery needle with embroidery floss and double knot the end. Push it through under the start of the first letter.
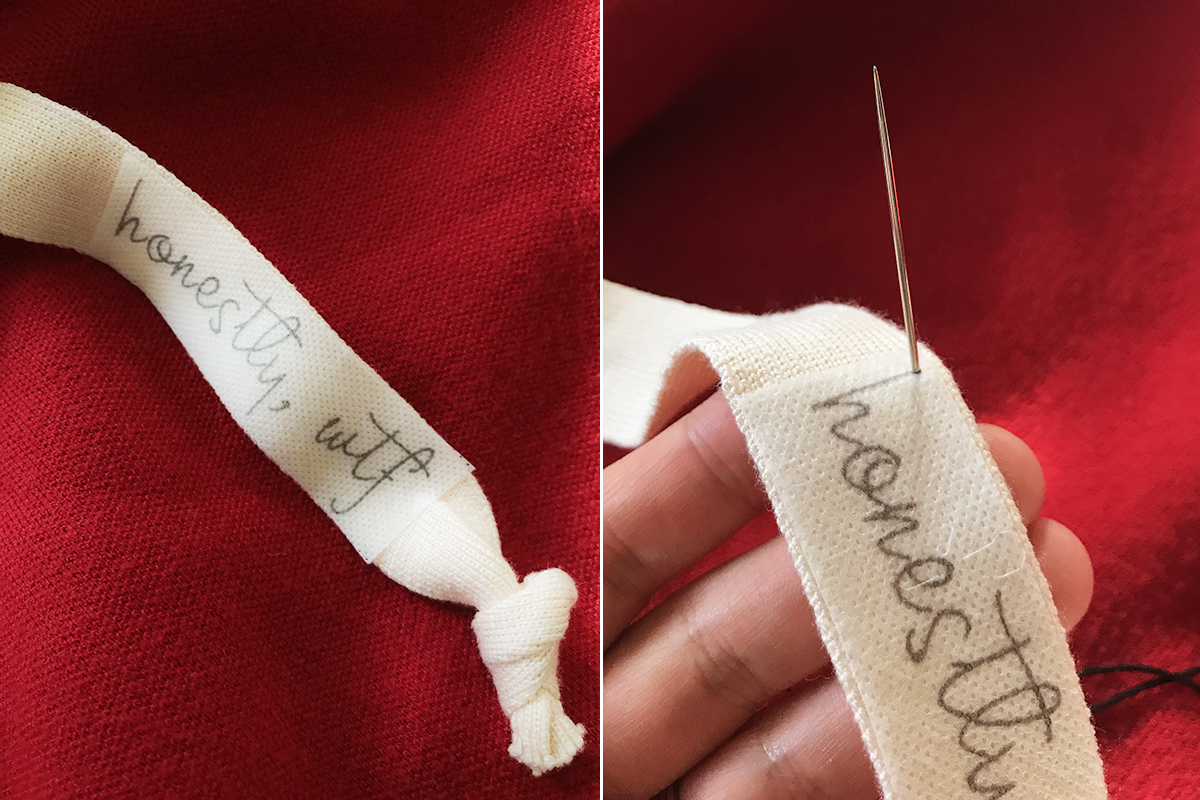
Bring it back down just a couple of millimeters away from the first hole. This is your first stitch. Bring the needle back up, leaving the same distance away from the end of the first stitch.
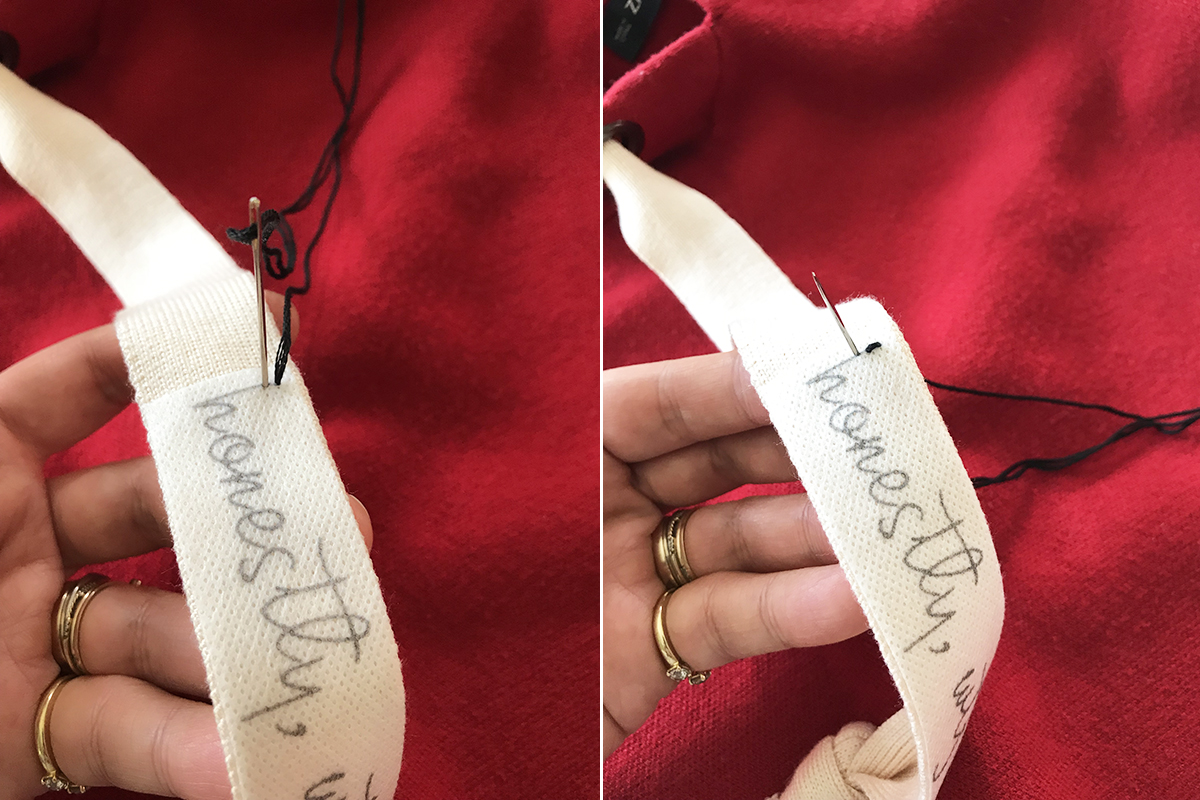
Stick the needle back into the middle of the first stitch, splitting the stitch. This is called a split stitch! It’s great for small designs with tight curves since the lines are pretty narrow.
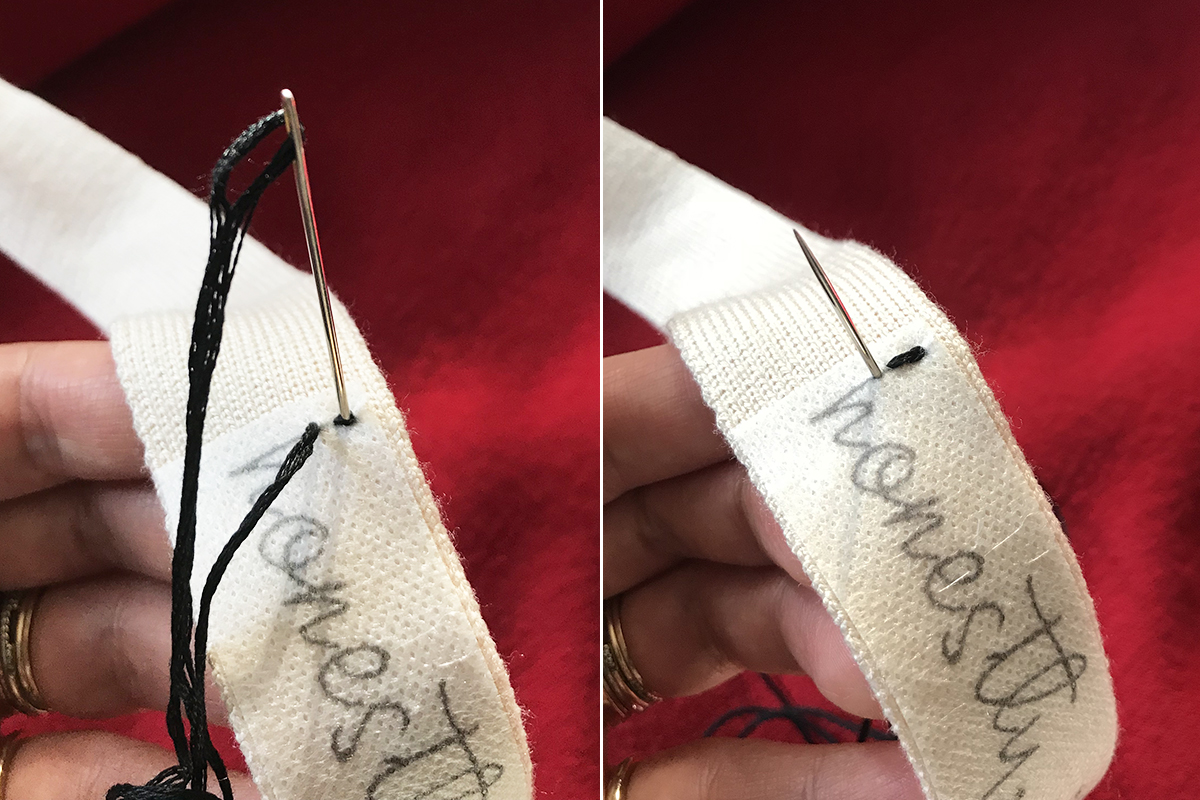
Repeat the process. When you come across a section where you’ll have to break up the flow, simply start again as if you’re beginning the split stitch for the first time.
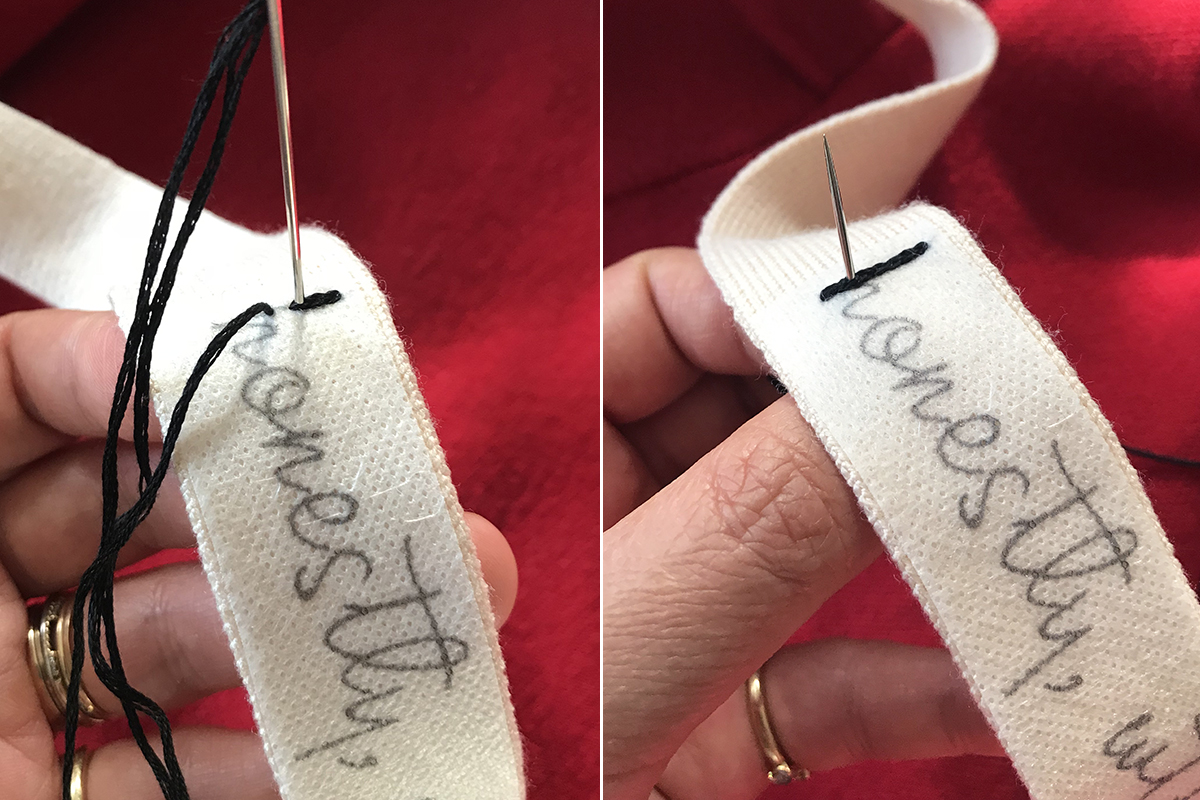
If your floss runs out, simply double knot it on the backside of the denim and start a new piece by coming up to start a new stitch.

Once you’re finished, use a small pair of scissors to cut away any excess stabilizer. Then run it under cold water until it dissolves completely. Nearly all DMC embroidery floss is colorfast so no worries about colors bleeding!
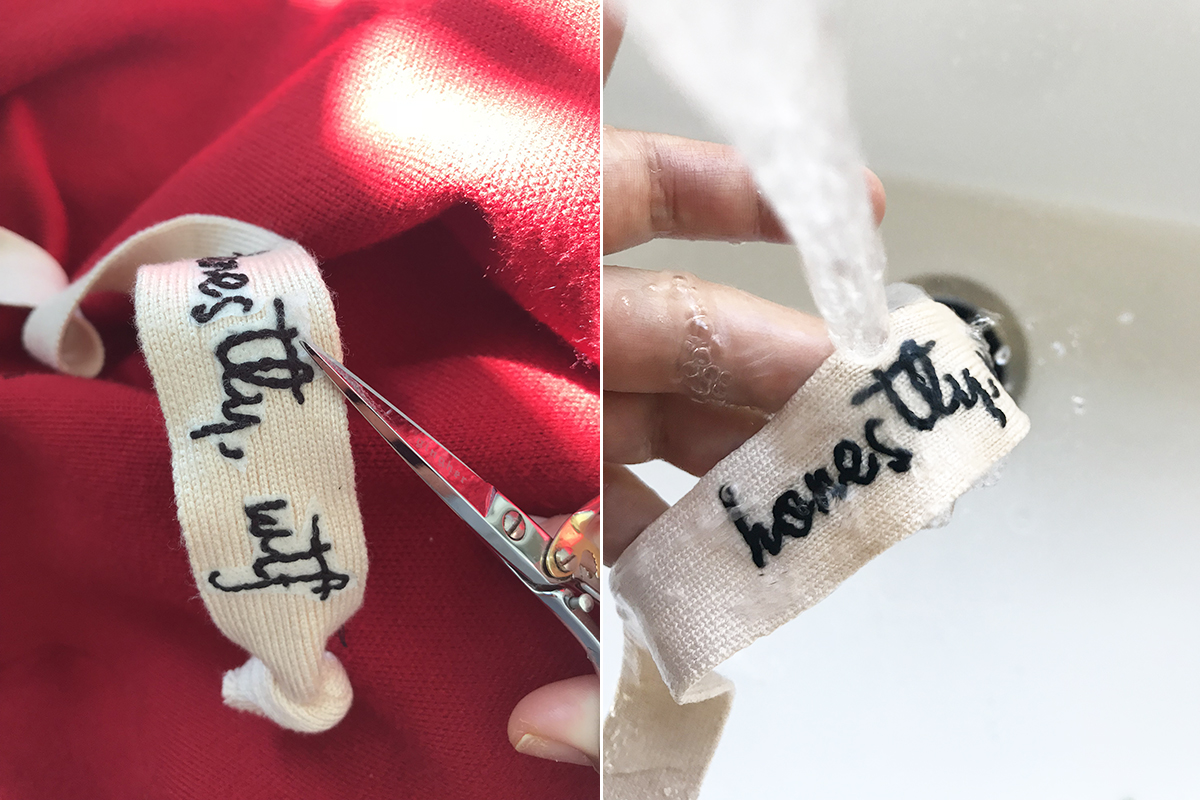
Let it dry and voila!
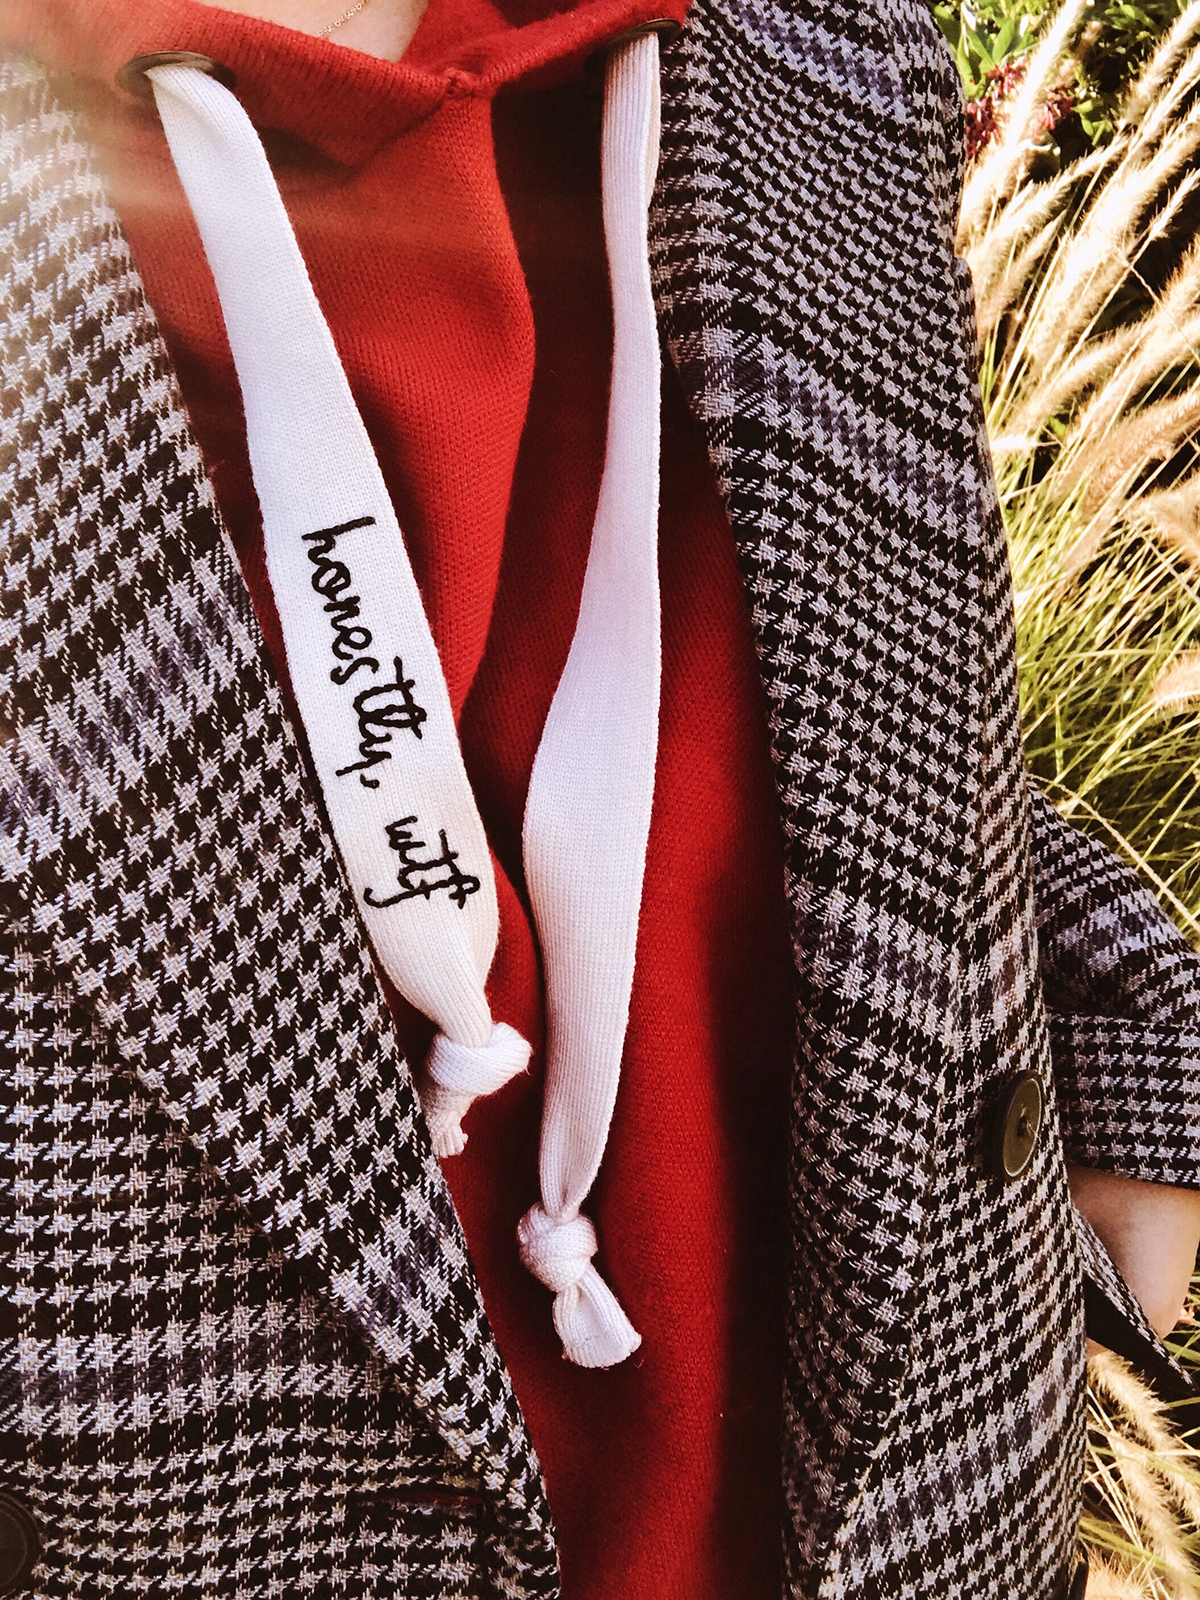
(images by HonestlyWTF)

What an amazing idea, that looks so cool!
https://www.makeandmess.com/
This idea is absolutely super great – I must immediately pimp at least one of my hoodies 🙂
xx from Bavaria/Germany, Rena
http://www.dressedwithsoul.com
This is such a cool DIY!
-Kim
http://prettyslickchick.com/
What a great idea!
This is super Cool..!!
Great
Good post about style and clothing Cartoons Embroidery Designs . I simply love your post. Thanks.
Your work is amazing. Thumps up.bravooooo.bless up
This is such a cool DIY! I love how you really walked through each step on how to embroider. So often tutorials leave me hanging!
Great idea! I will definitely try it 🙂 I love the idea of putting a motivating phrase it is an excellent idea for a gift as well… I like your decision to put it on the hoodie ties…and I love how you always surprise me with simple ideas 🙂 Thanks for sharing I will use your social media share link to share it further.
Wow! Such a great idea, your hoodie is so cute darling xx, Thanks a lot for sharing this amazing tip Honestlywtf