
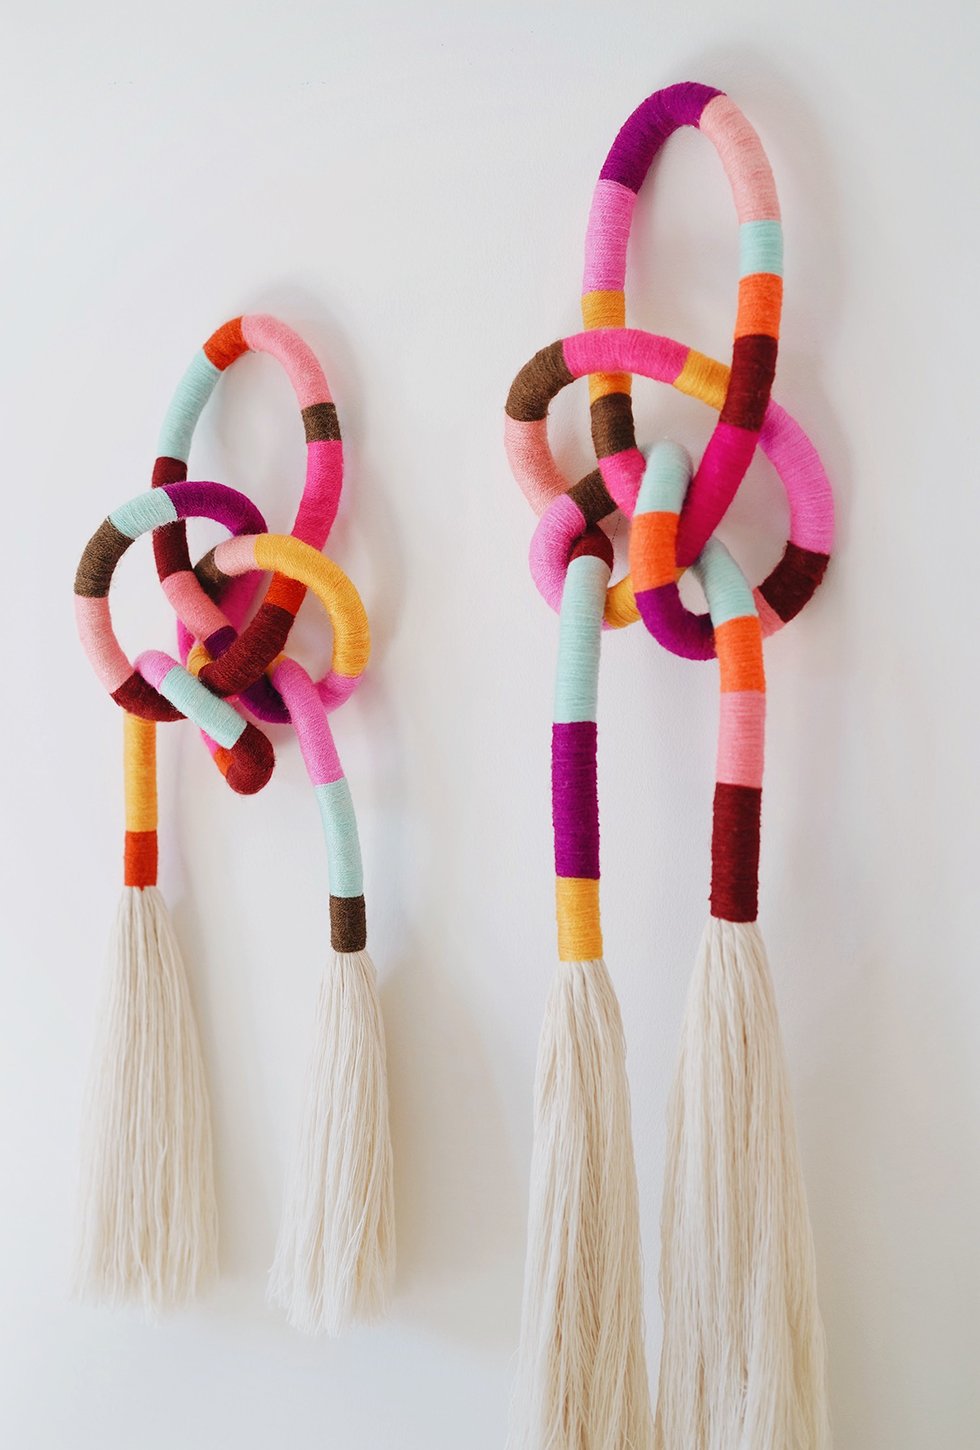
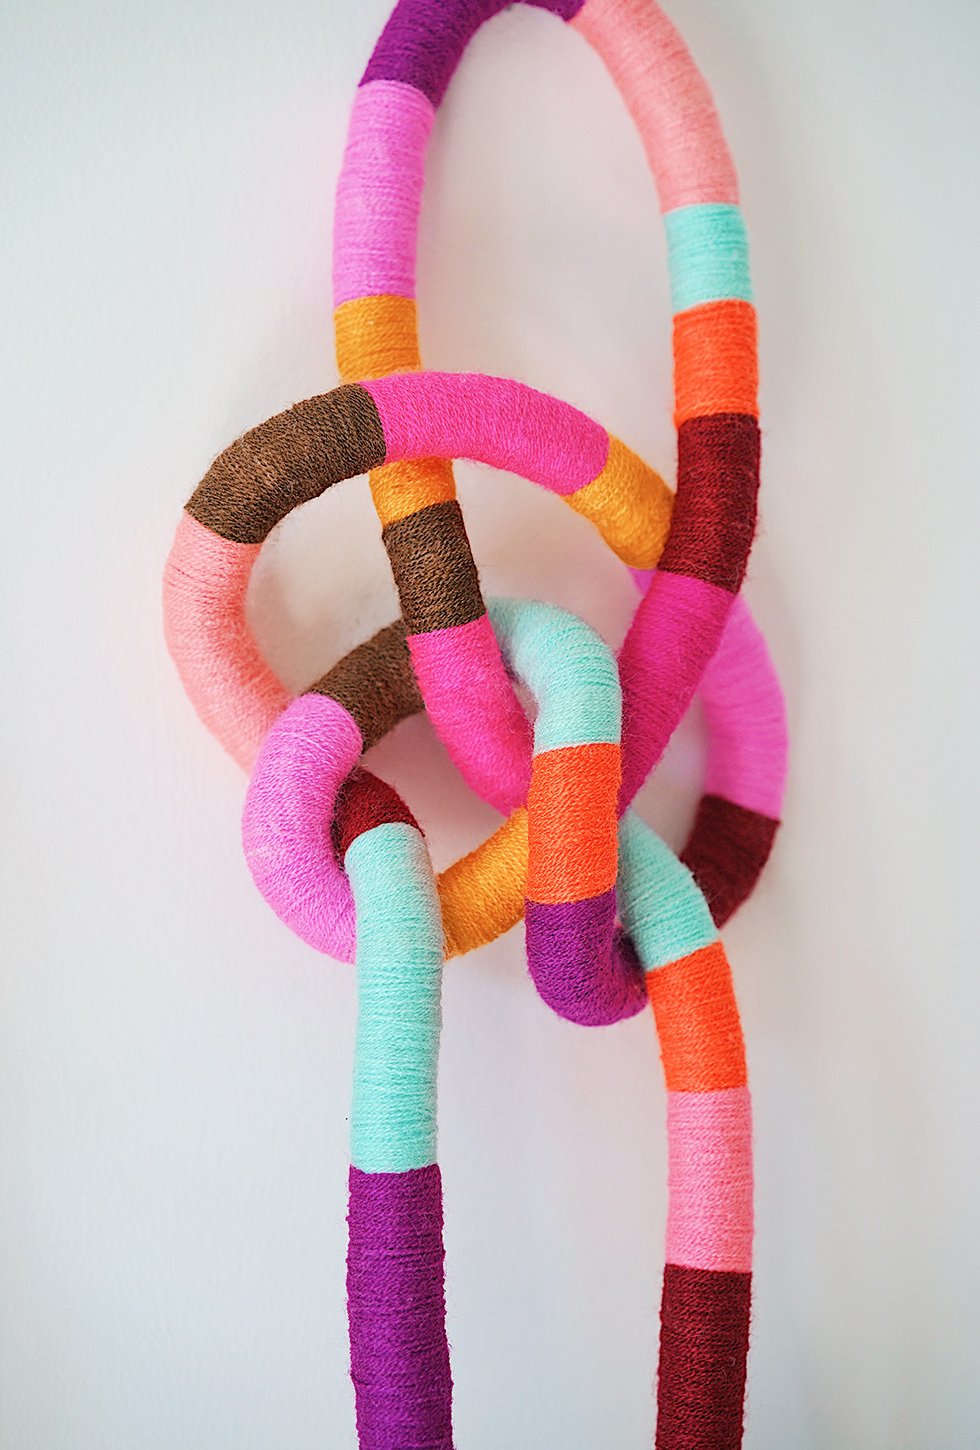
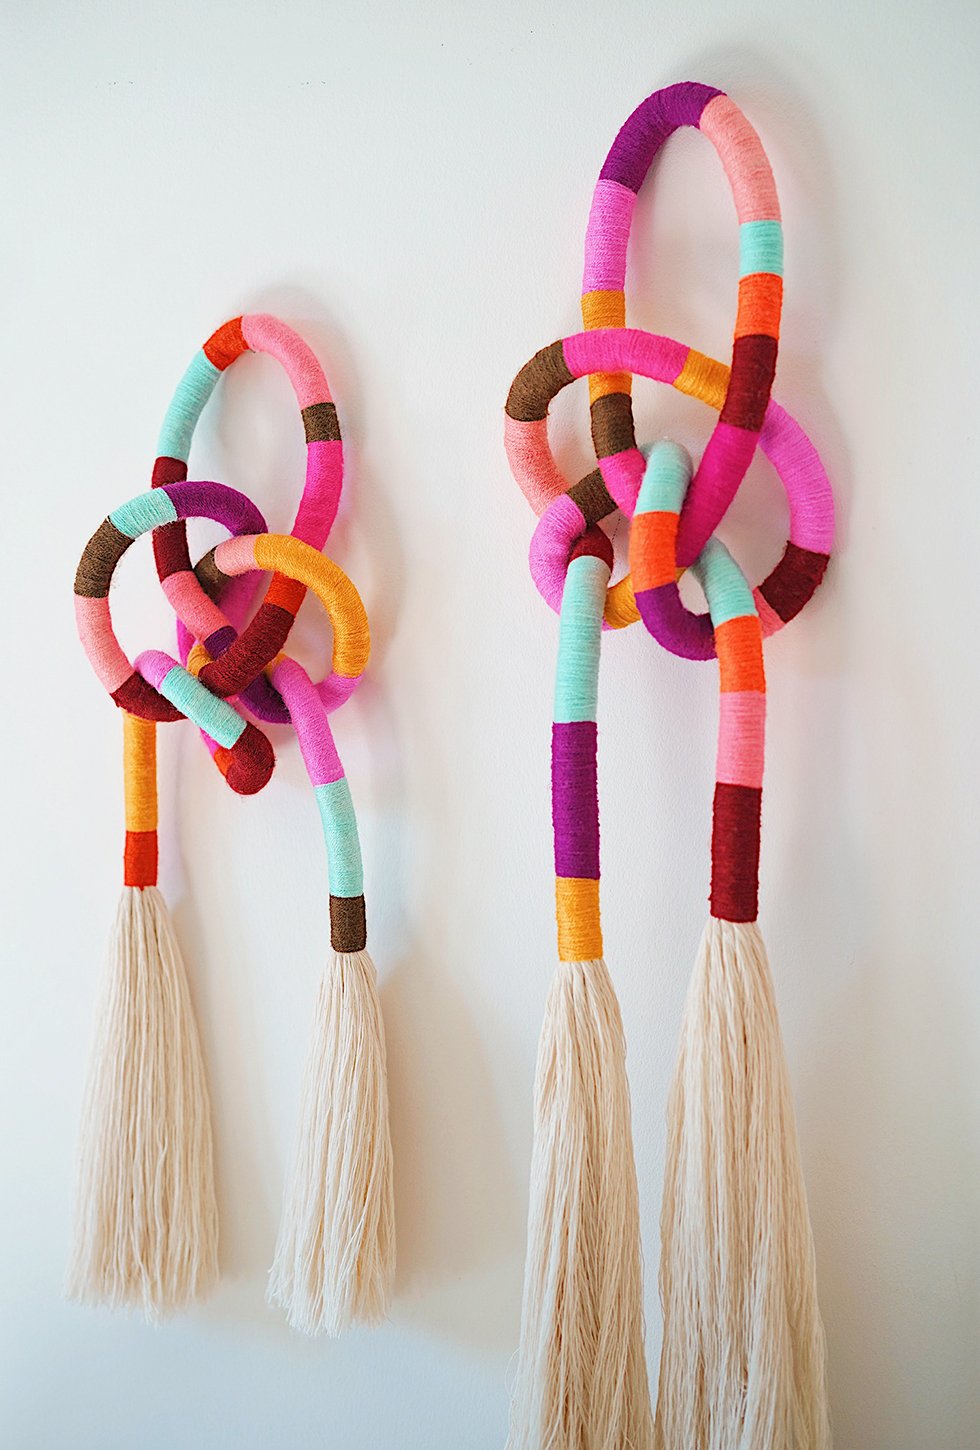
Remember the tassel wall hanging tutorial I posted earlier this year? Many of you made it. And oh so beautifully, might I add! Many of you agreed it was very time consuming and tedious . . . but so worth it, obviously. The project got me thinking about creating a new and easier version inspired by "doodle" wall hangings by fiber artists like Ellen Bruxvoort and Elsie Goodwin - and of course, the one and only Sheila Hicks. The idea is to wrap a cluster of that wonderful macrame cotton string, just as we did for the tassel wall hanging, but then knot and contort it into a vibrant wall hanging. My favorite part about this project is that it's ever changing. You can form it however you desire and then change it up from time to time!
You'll Need:
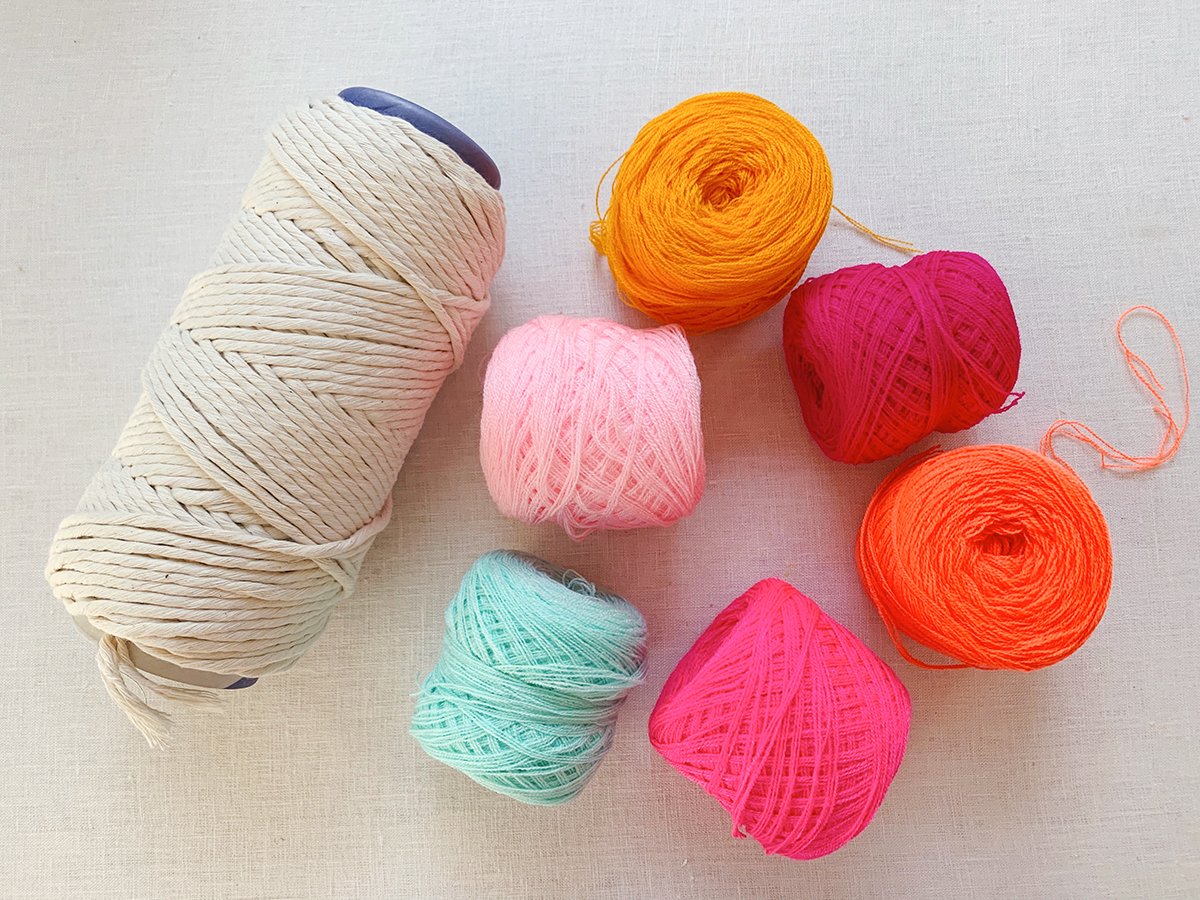
- 5mm single twist cotton string (mine is "natural")
- Omegacryl yarn (thin. colors used are Mocha, Mustard, Mexican Pink, Terracotta, Orange, Strong Pink, Mint, Cherry Red, Rose, Coral, Light Pink, Light Salmon, Purple, Burgundy, & Bougainvillea) or wool yarn (thick)
- sharp fabric shears
- self healing cutting mat
- cat brush
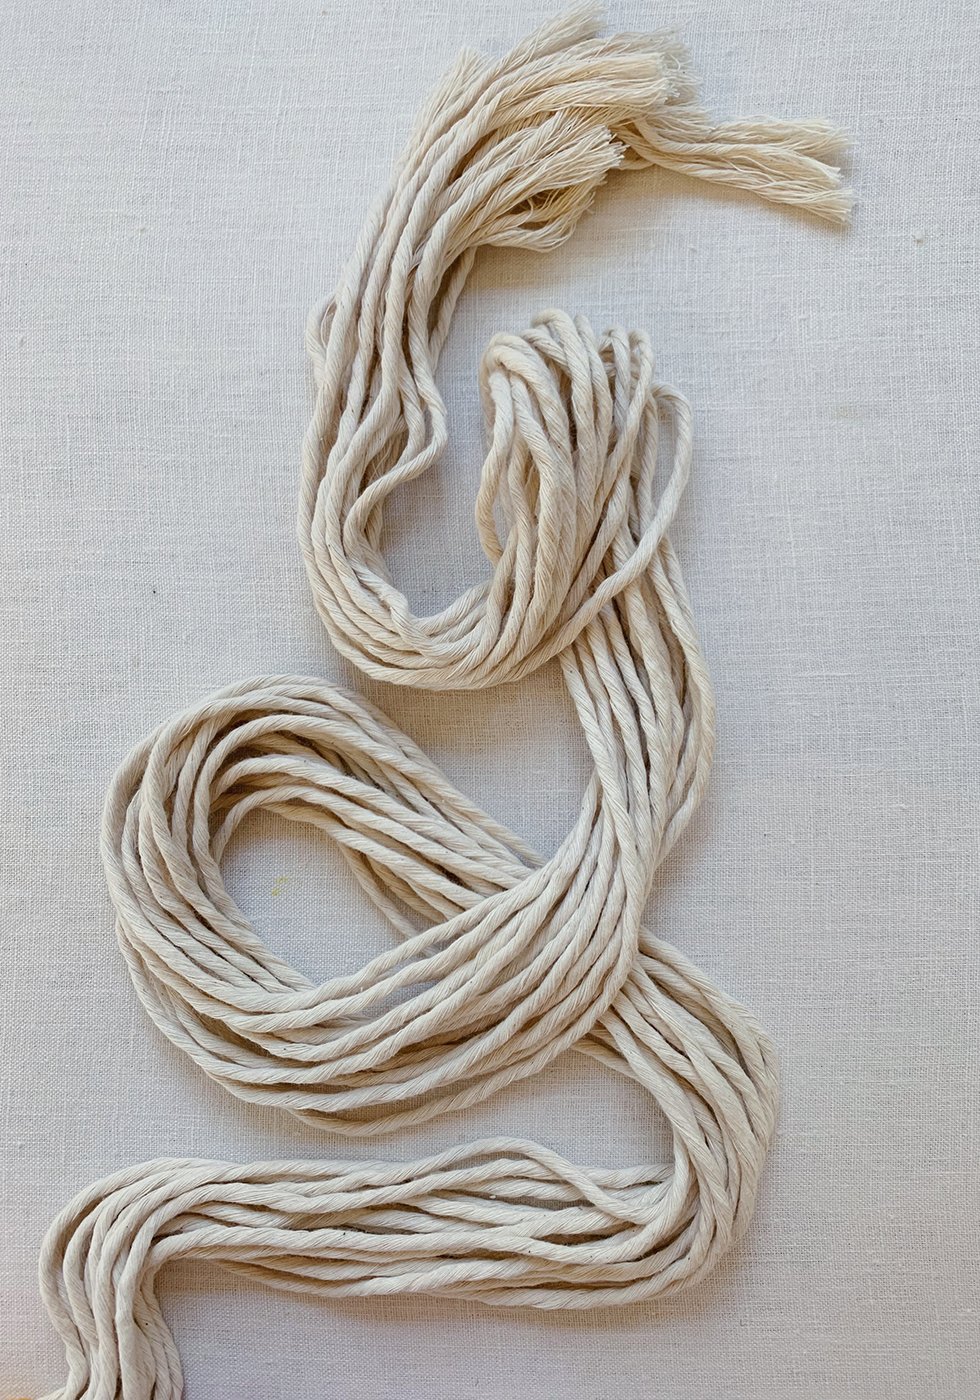
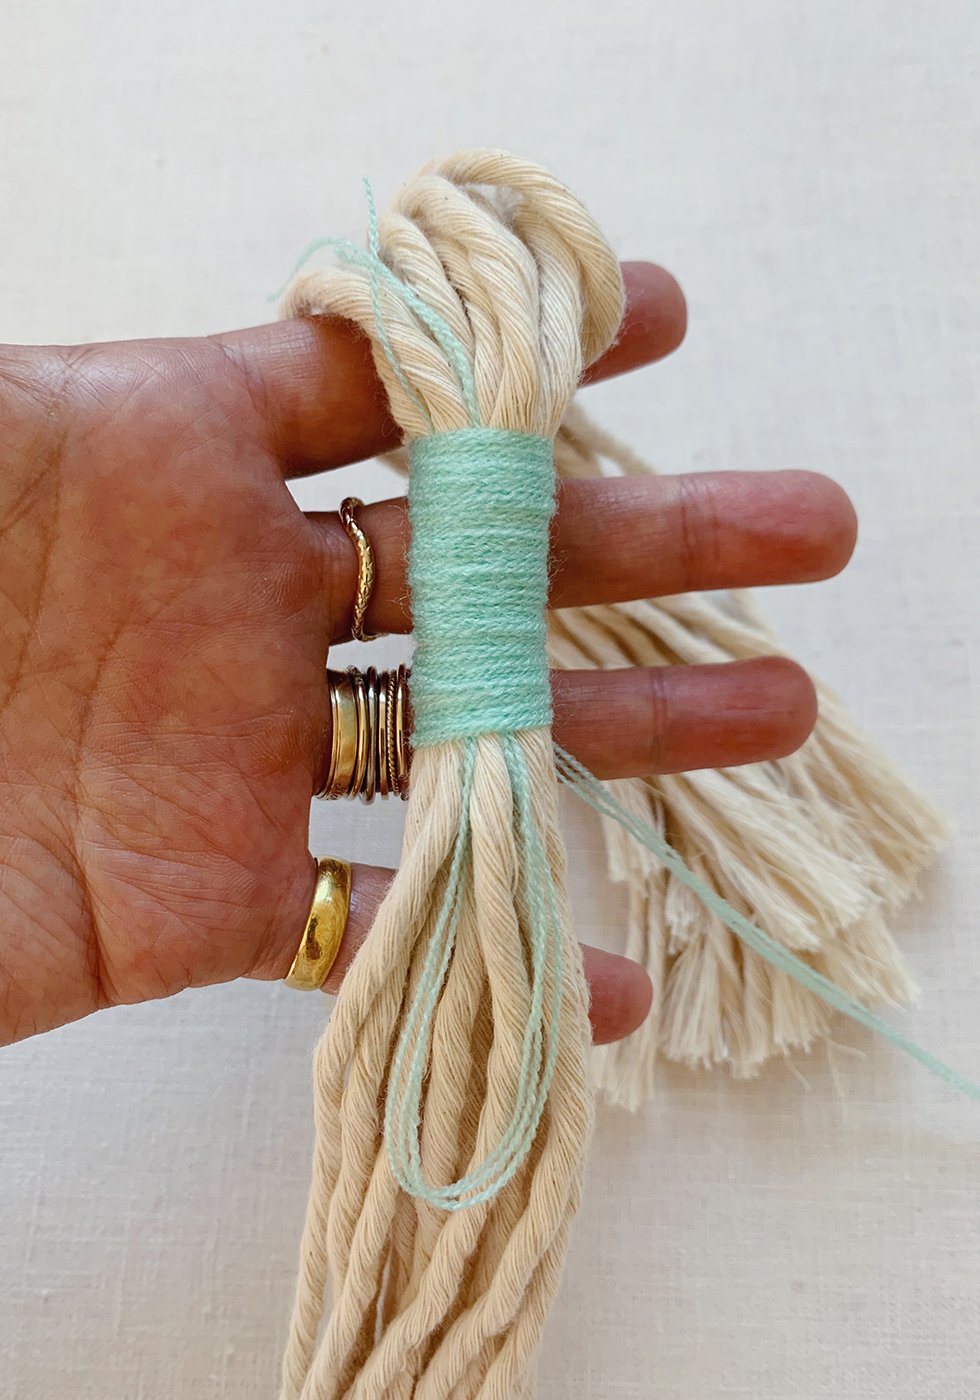
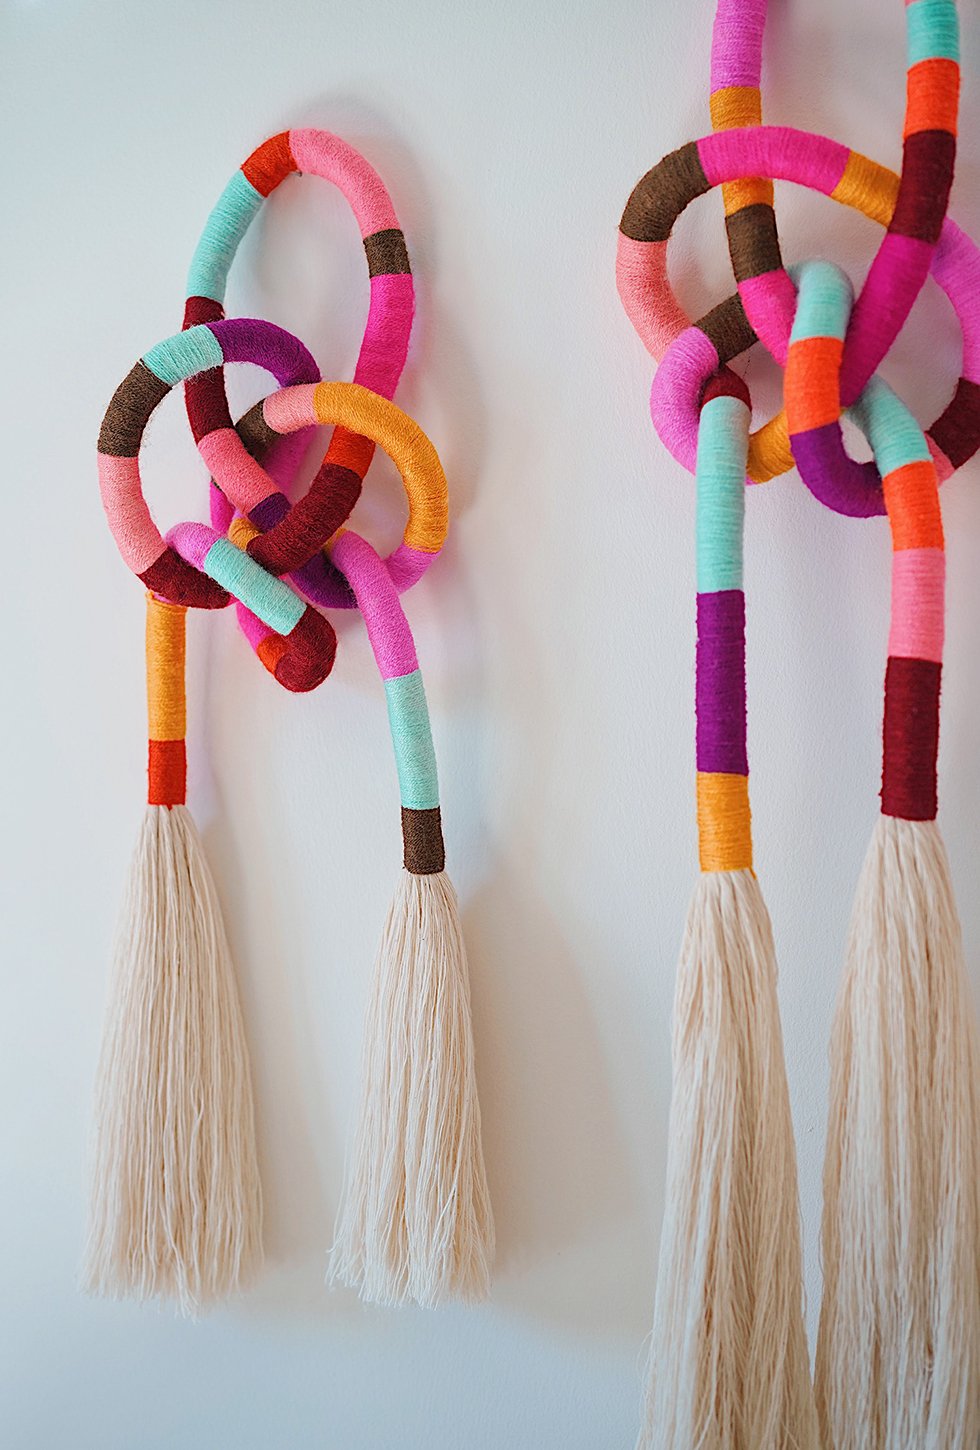
Start by cutting 13-15 strands of 5mm twisted cotton string. You can go as short at 36 inches in length or as long as you want (the ones shown here range from 6-8 feet)! Align the strands and leave about 8-12 inches of string before starting to wrap.
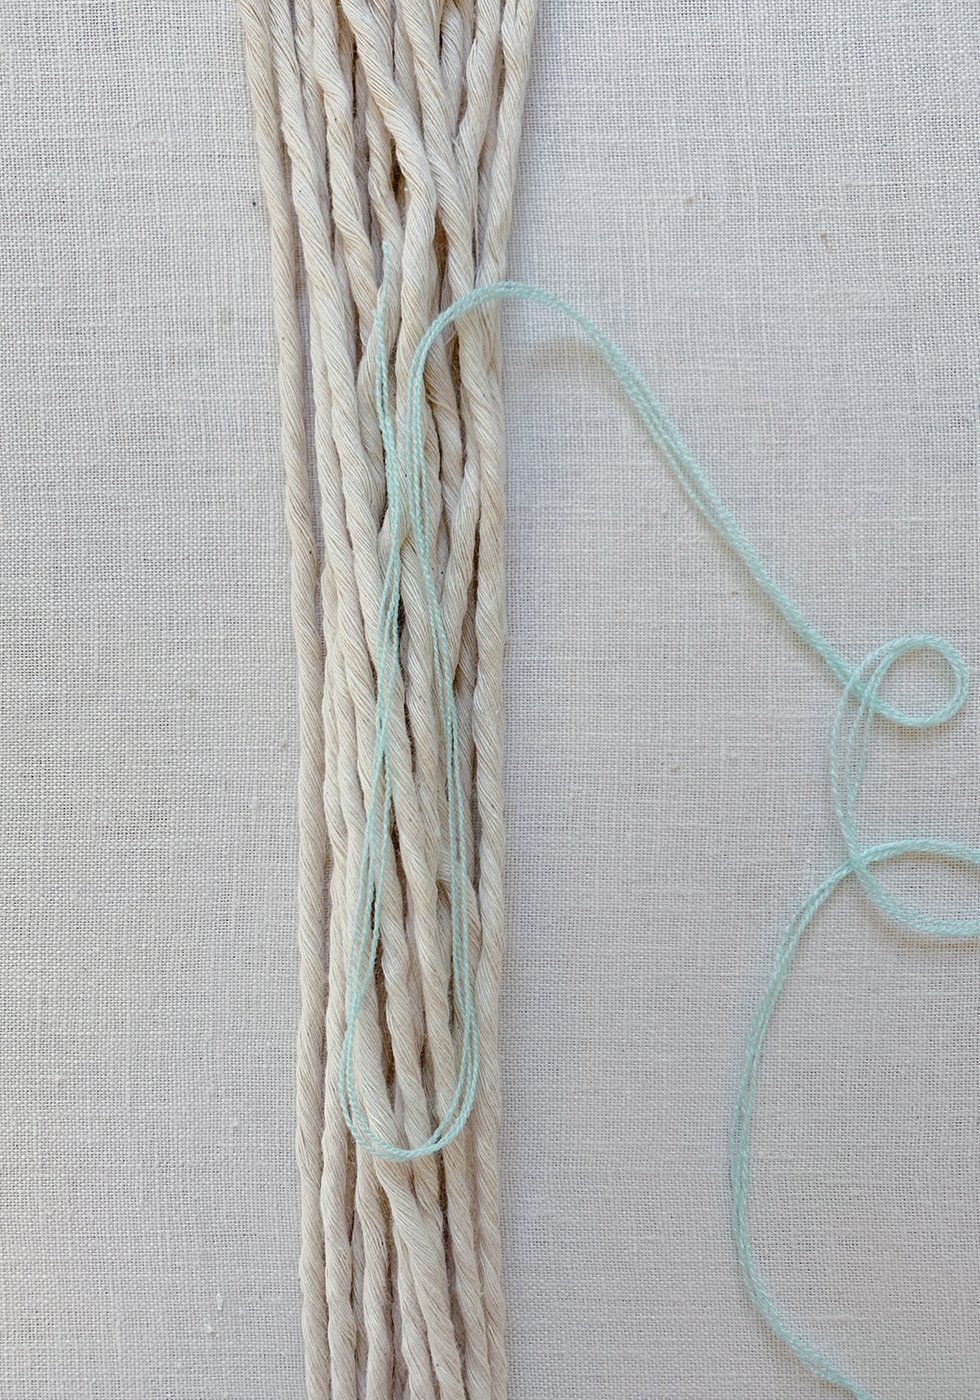
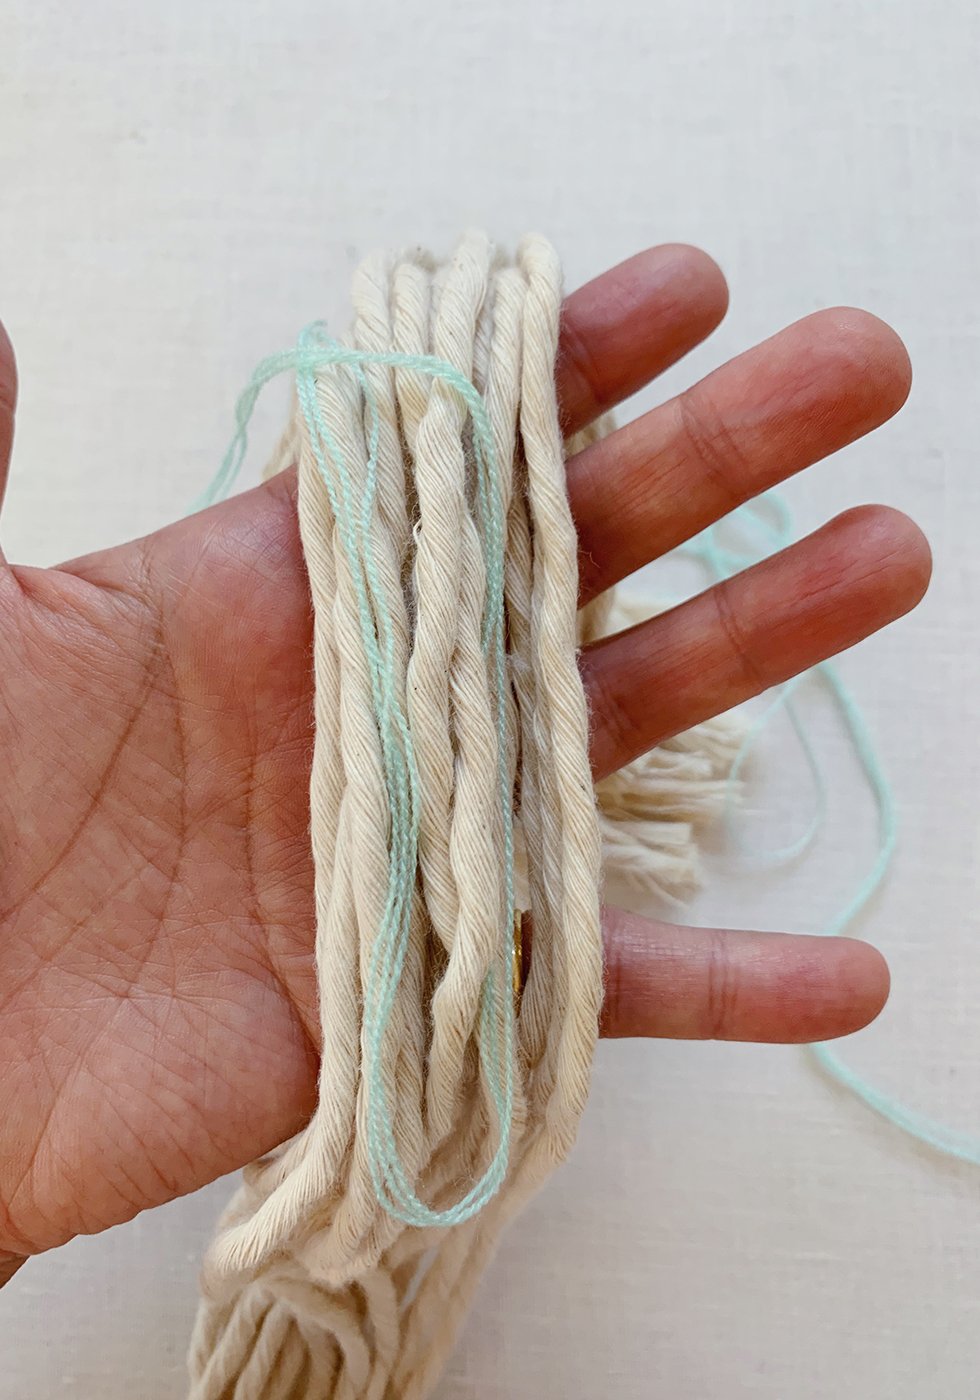
I'm using Omegacryl here because I love the bright colors but you can definitely use wool yarn as well. You should also note that Omegacryl is much finer than wool yarn - so if you use yarn, your wrapped rope will be much thicker. Start by taking one end of yarn and fold the end in half to the desired length of the wrapped section. Align the ends to the the starting point of your cotton strings.
Note: Omegacryl comes wrapped in strands of three.
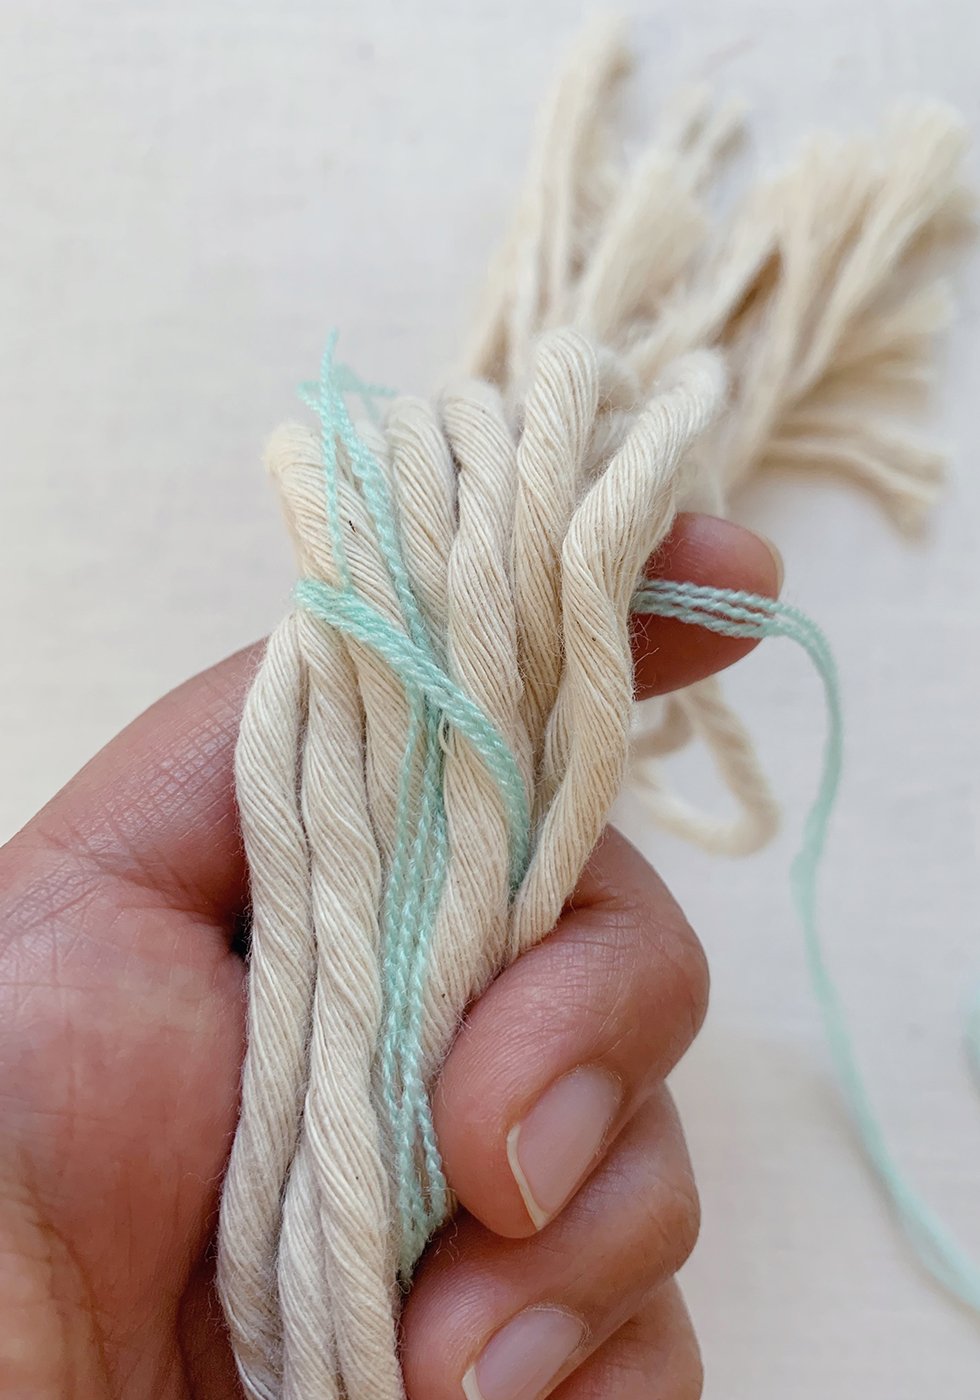
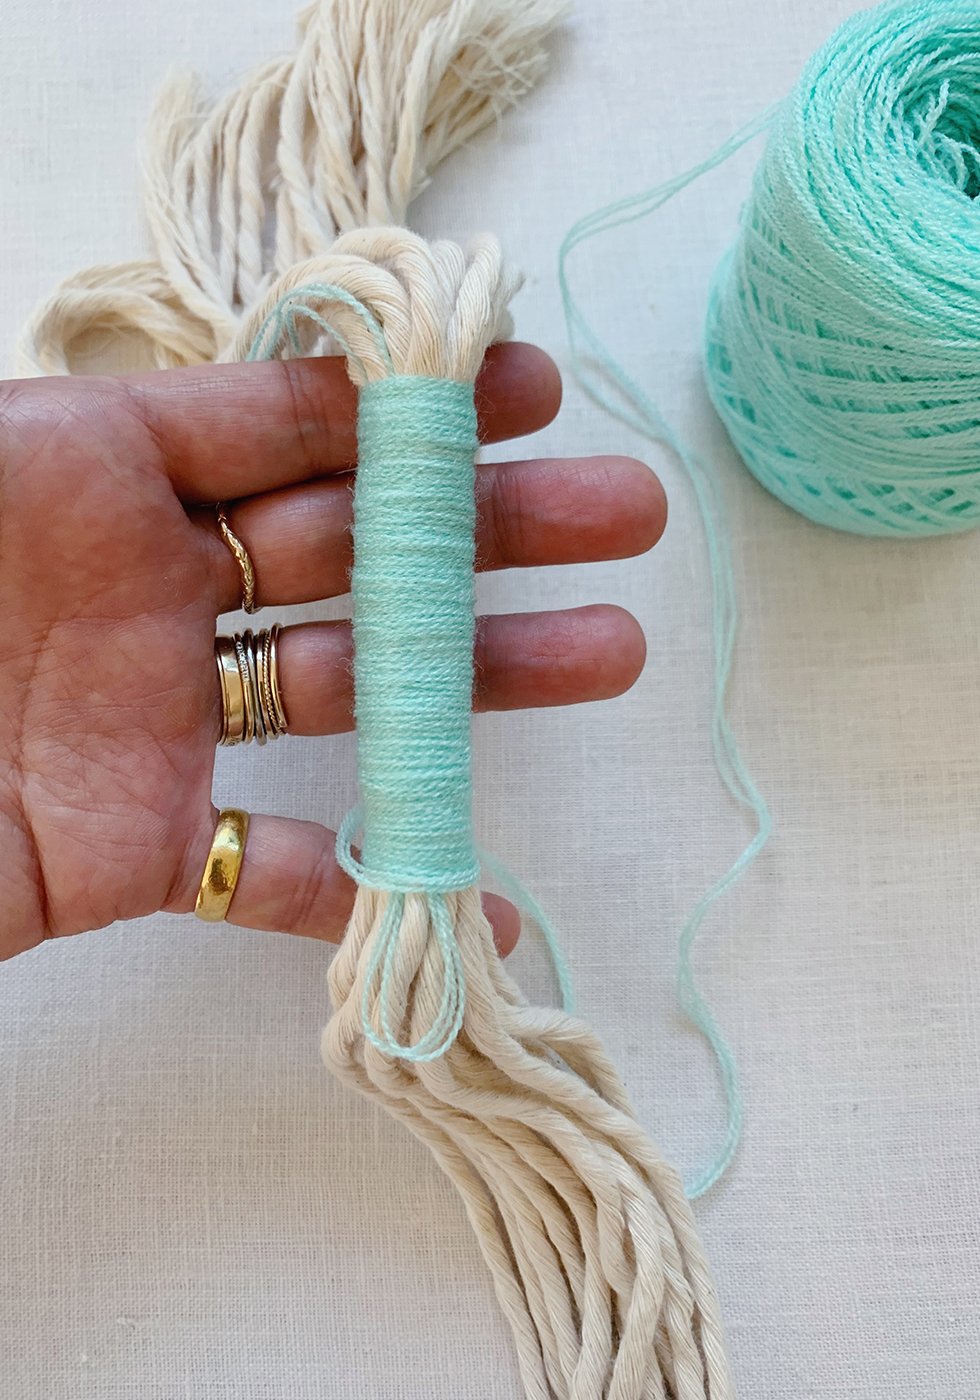
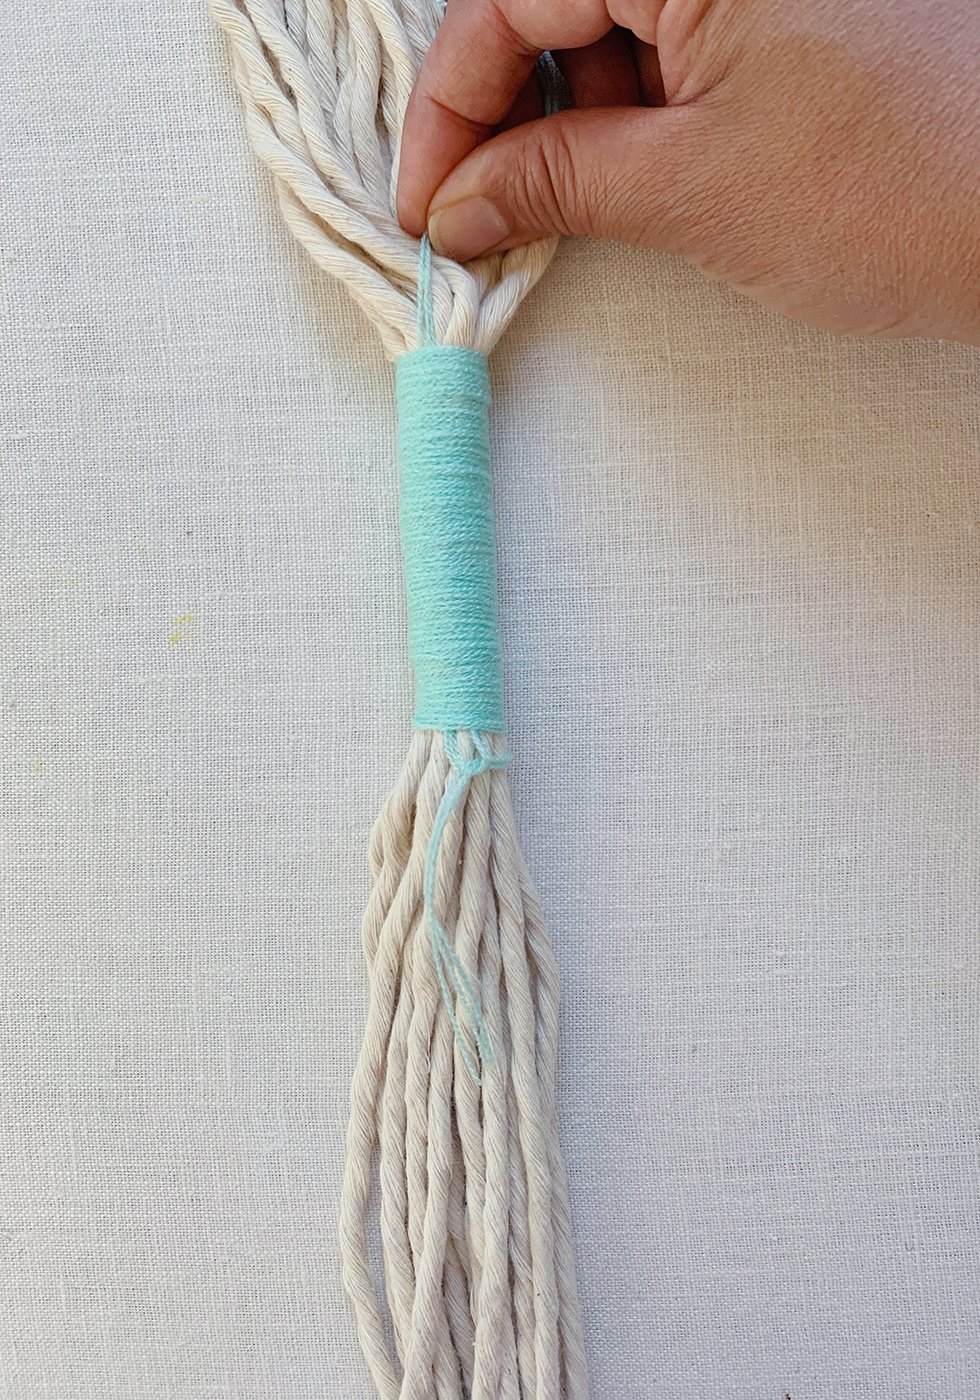
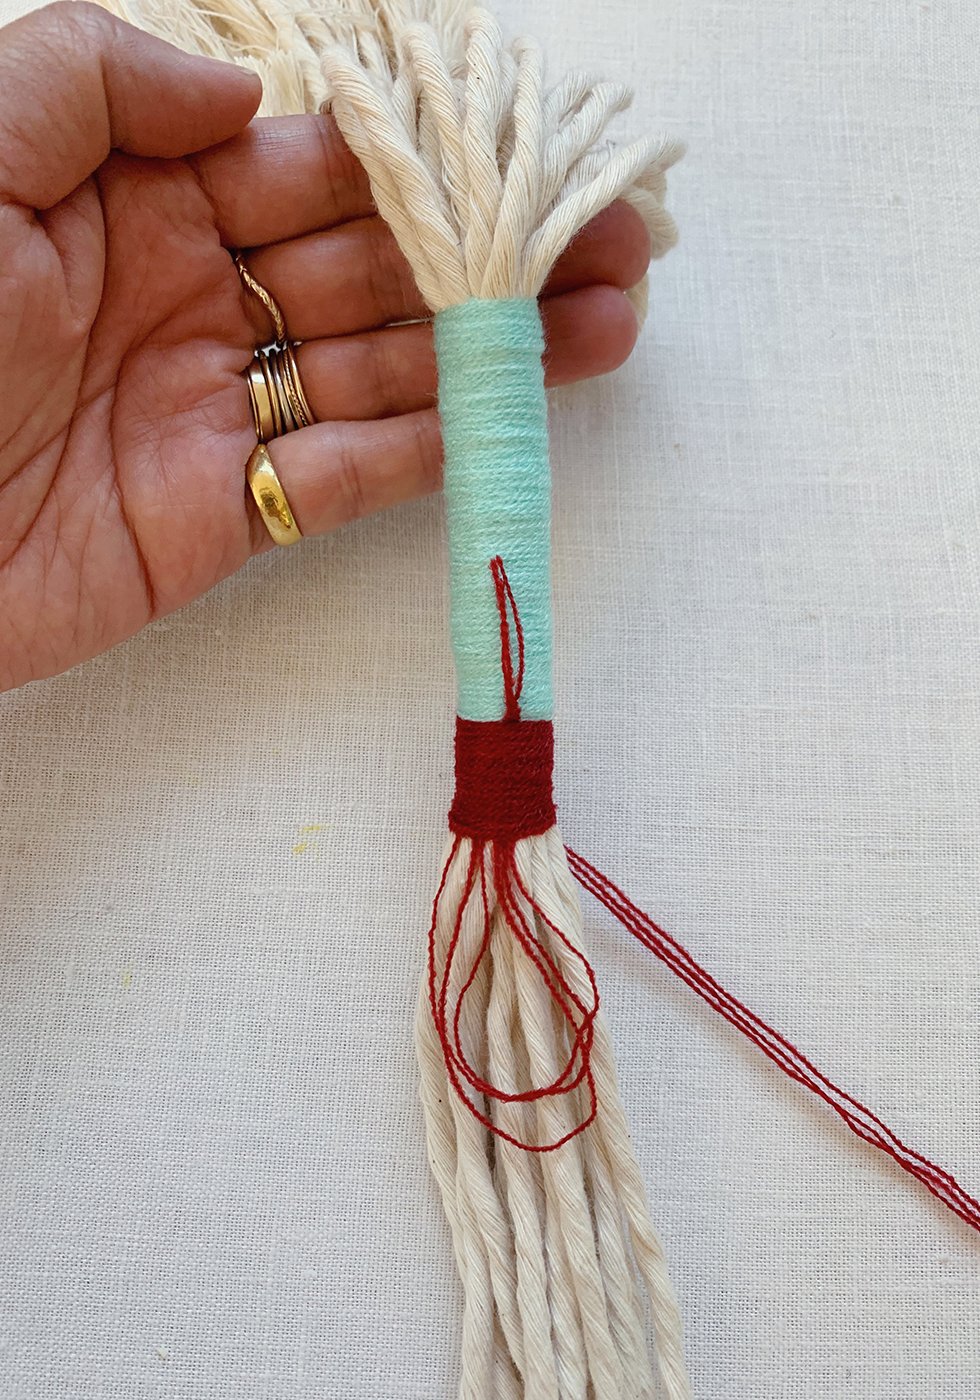
Hold the cotton strings and yarn in place with your hand, and wrap the working yard around the cotton strings. Be sure to leave the tail end sticking out. You'll need that later. Continue wrapping. Don't be too precise here. It's okay to have the yarn overlap. It actually is beneficial to have the yarn overlap while wrapping as eventually, you'll be knotting and twisting the wrapped rope and you don't want the movement to create any gaps in the yarn. Basically, the more dense the yarn wrapping, the better.

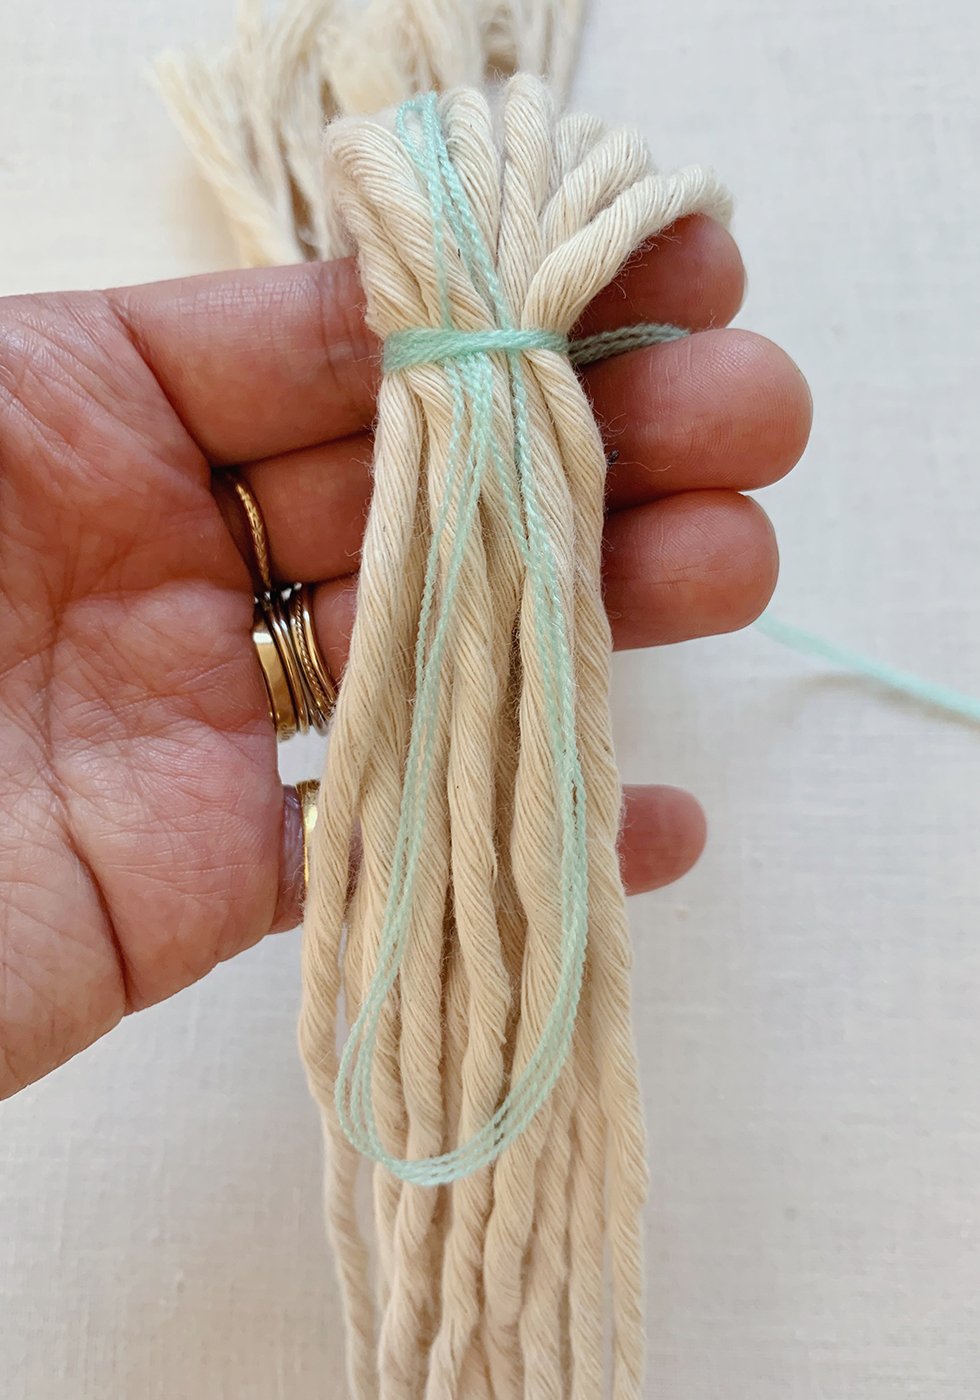
Continue wrapping!
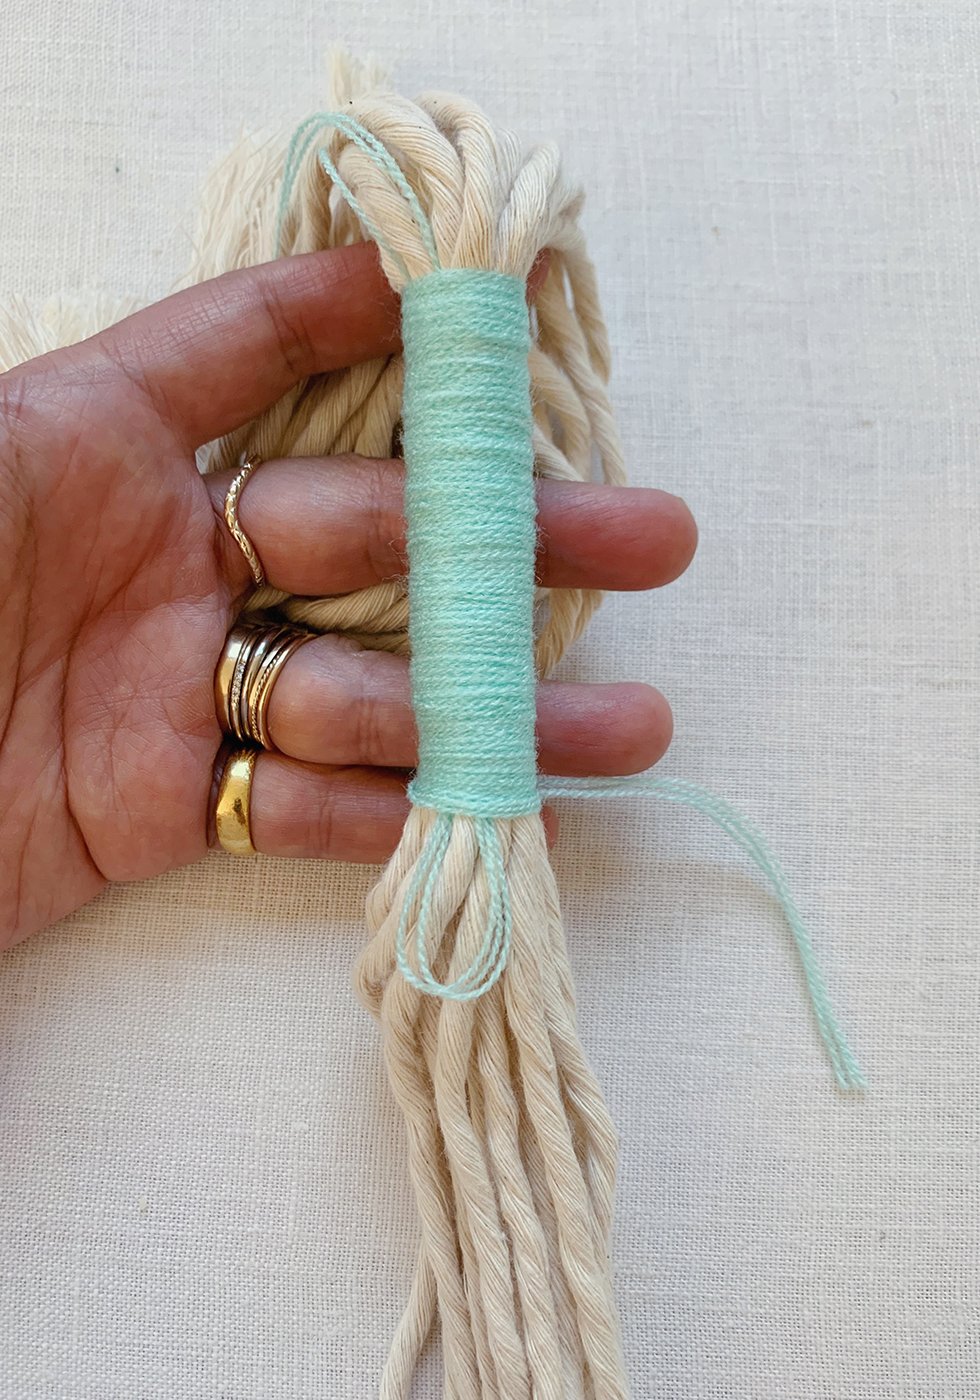
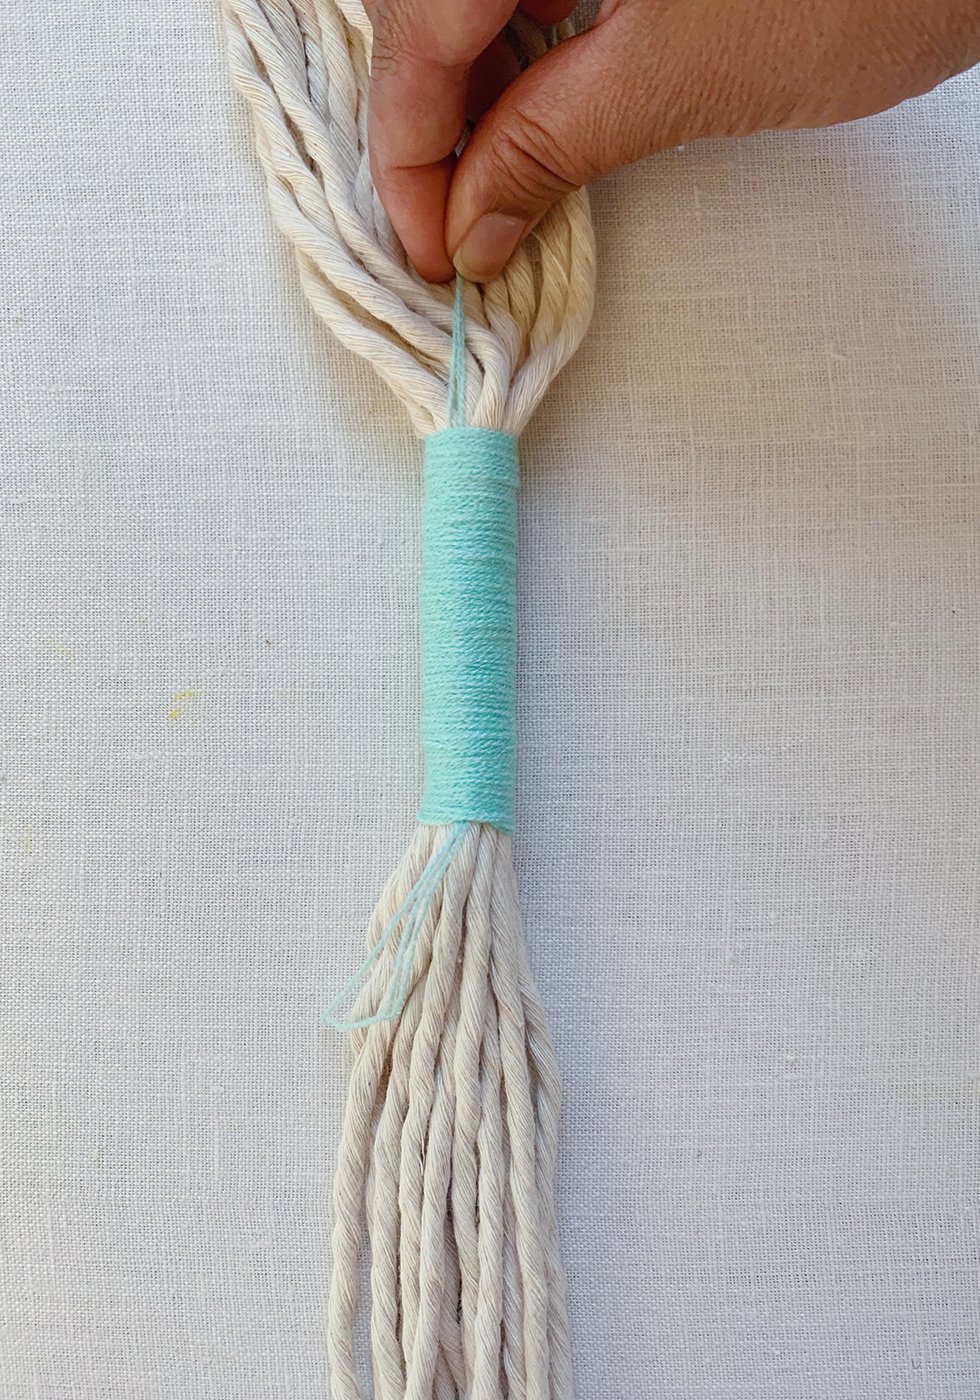
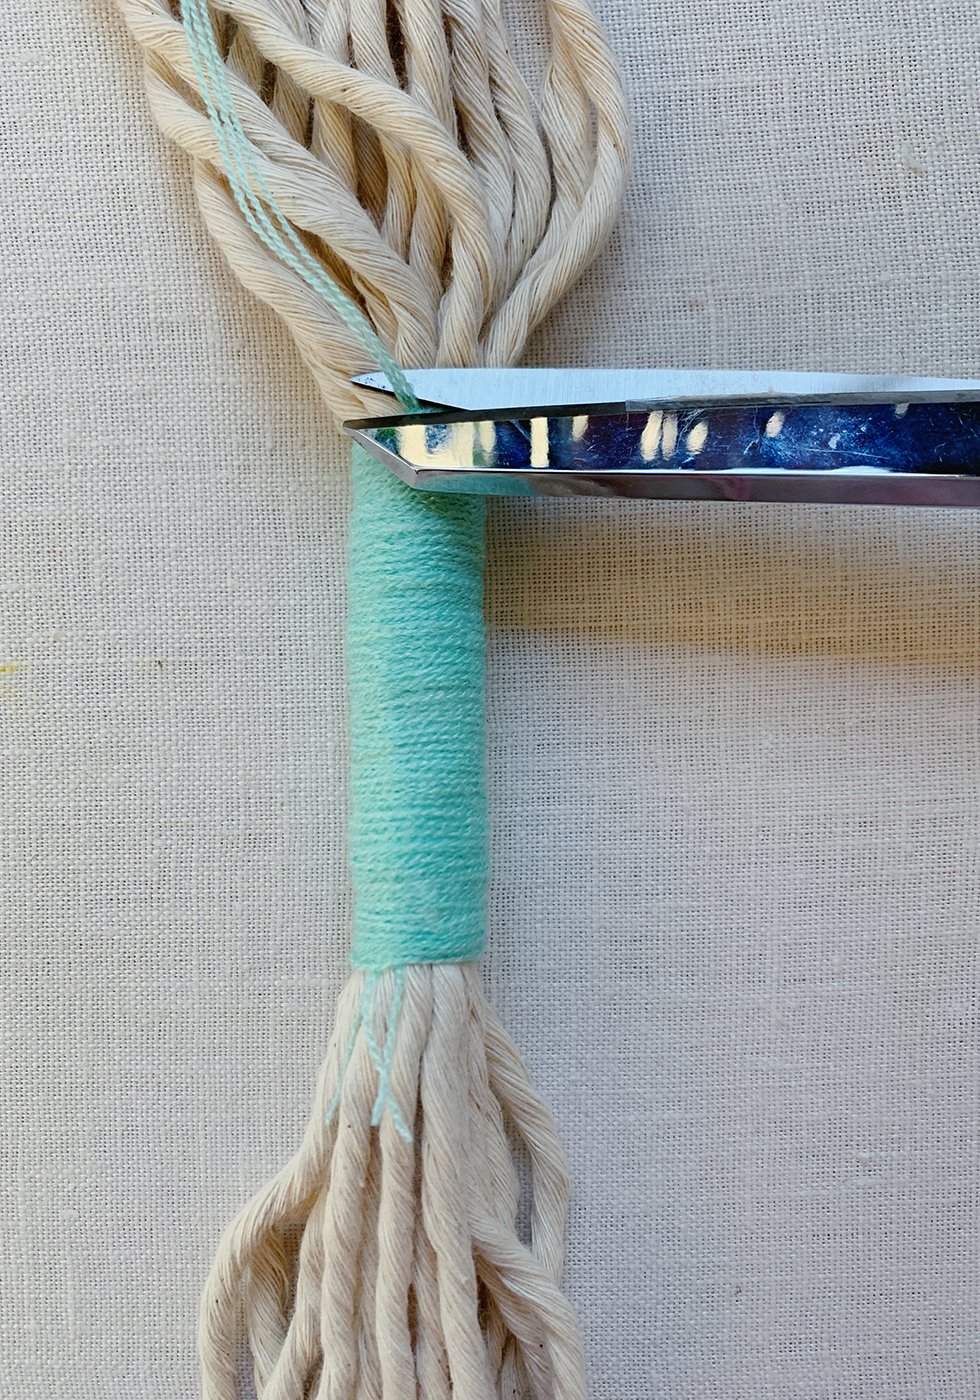
Once you've reached your desired length, without going past the bottom yarn loop, trim the working yarn, leaving about an inch.
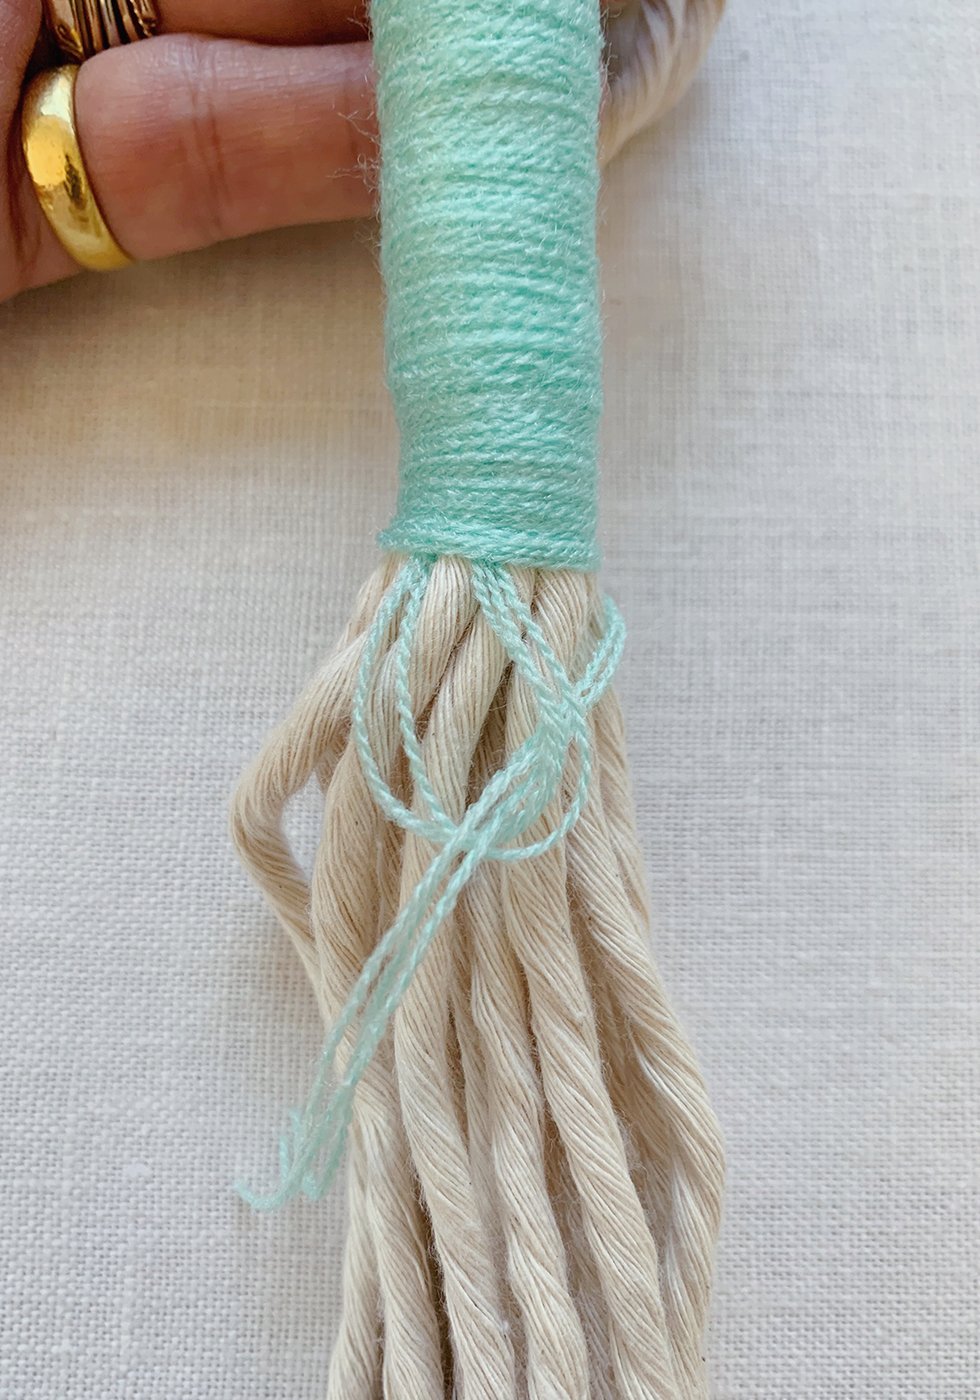
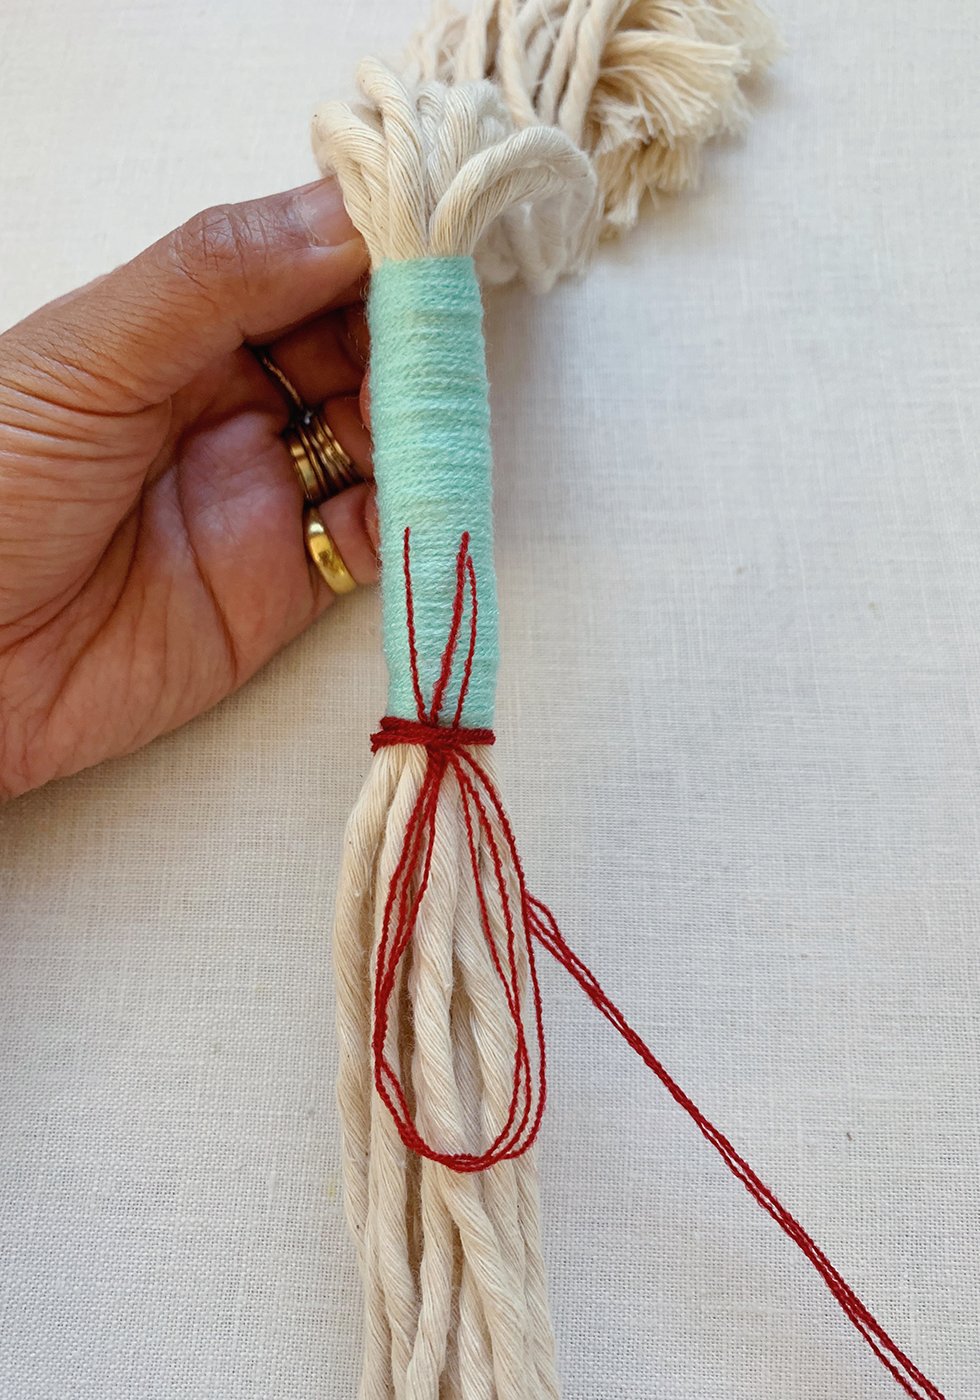
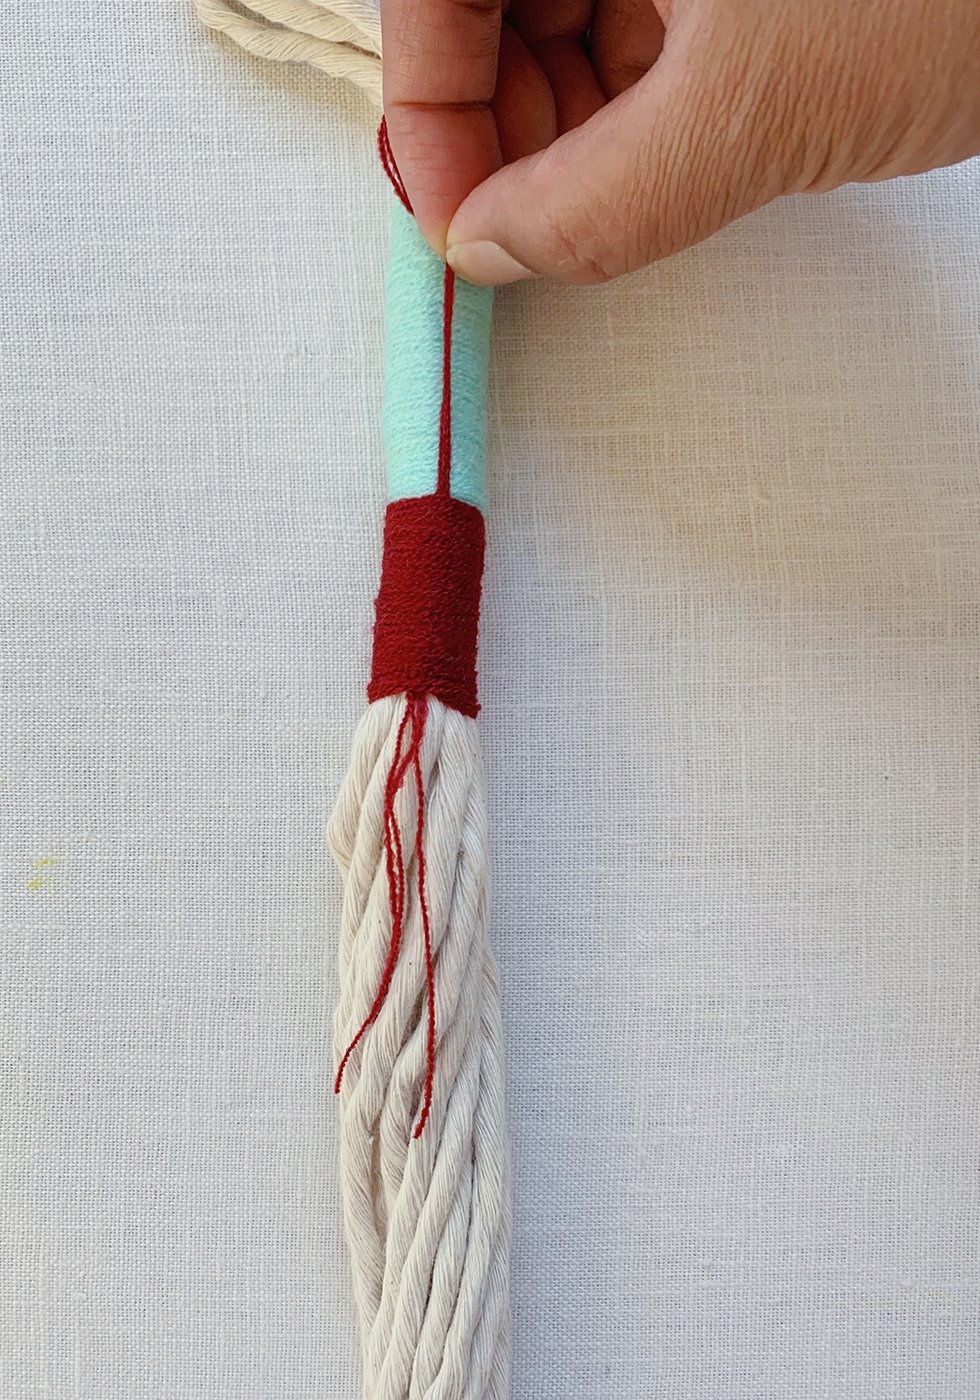
Stick that tail end through the loop. Take the end of the yarn at the top of the tassel and start to pull. The loop at the bottom should start to move, along with the other end of the yarn.
Continue pulling until the loop disappears into the wrapped section. Trim any excess yarn.
Repeat the same steps as you continue to add colors.

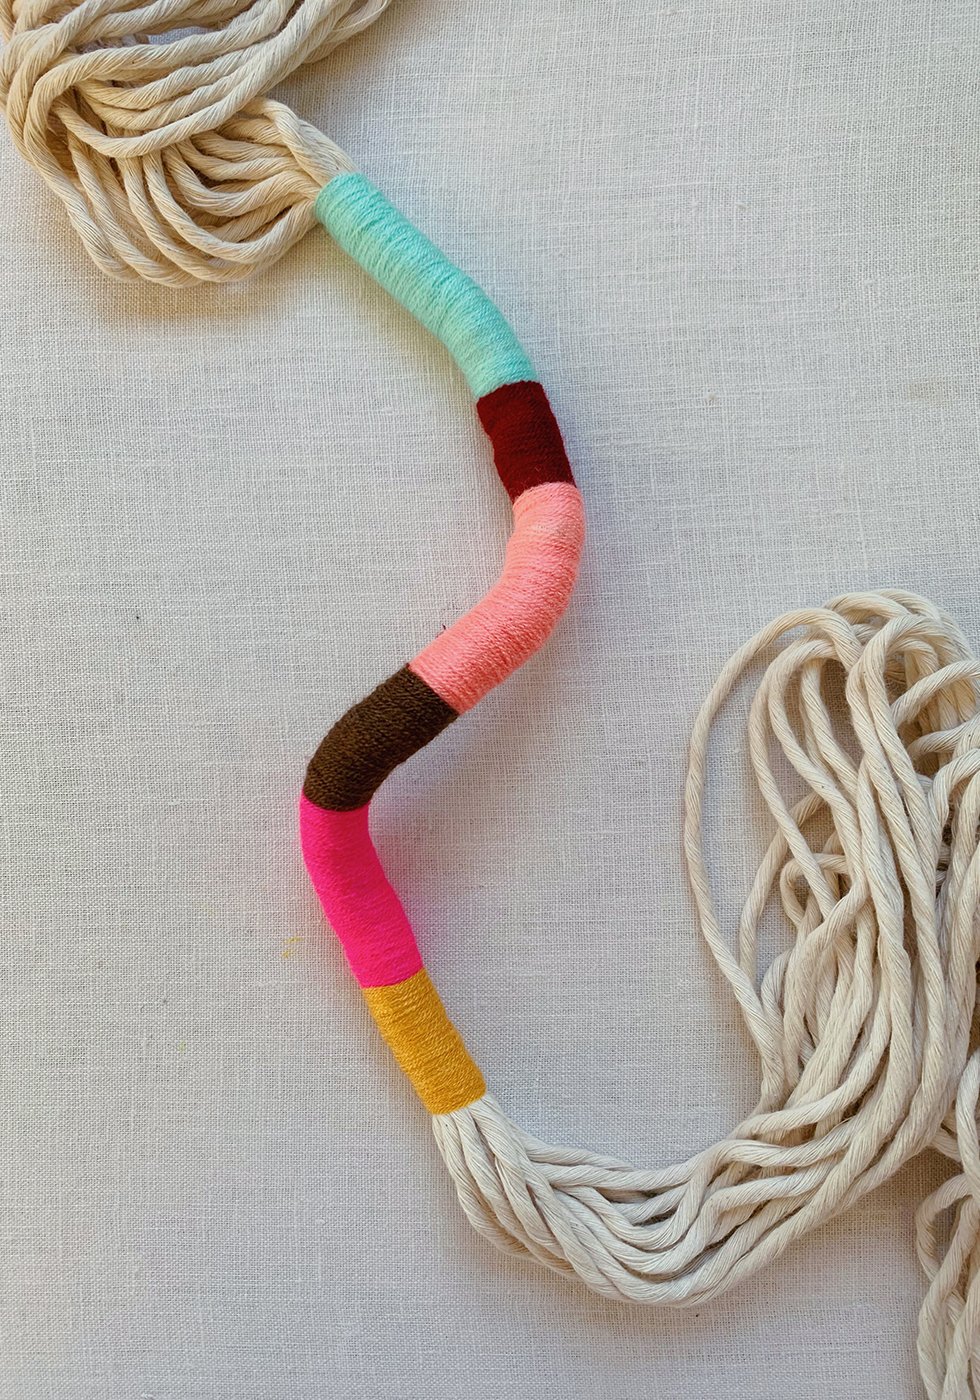
Try playing with varying lengths and contrasting colors.
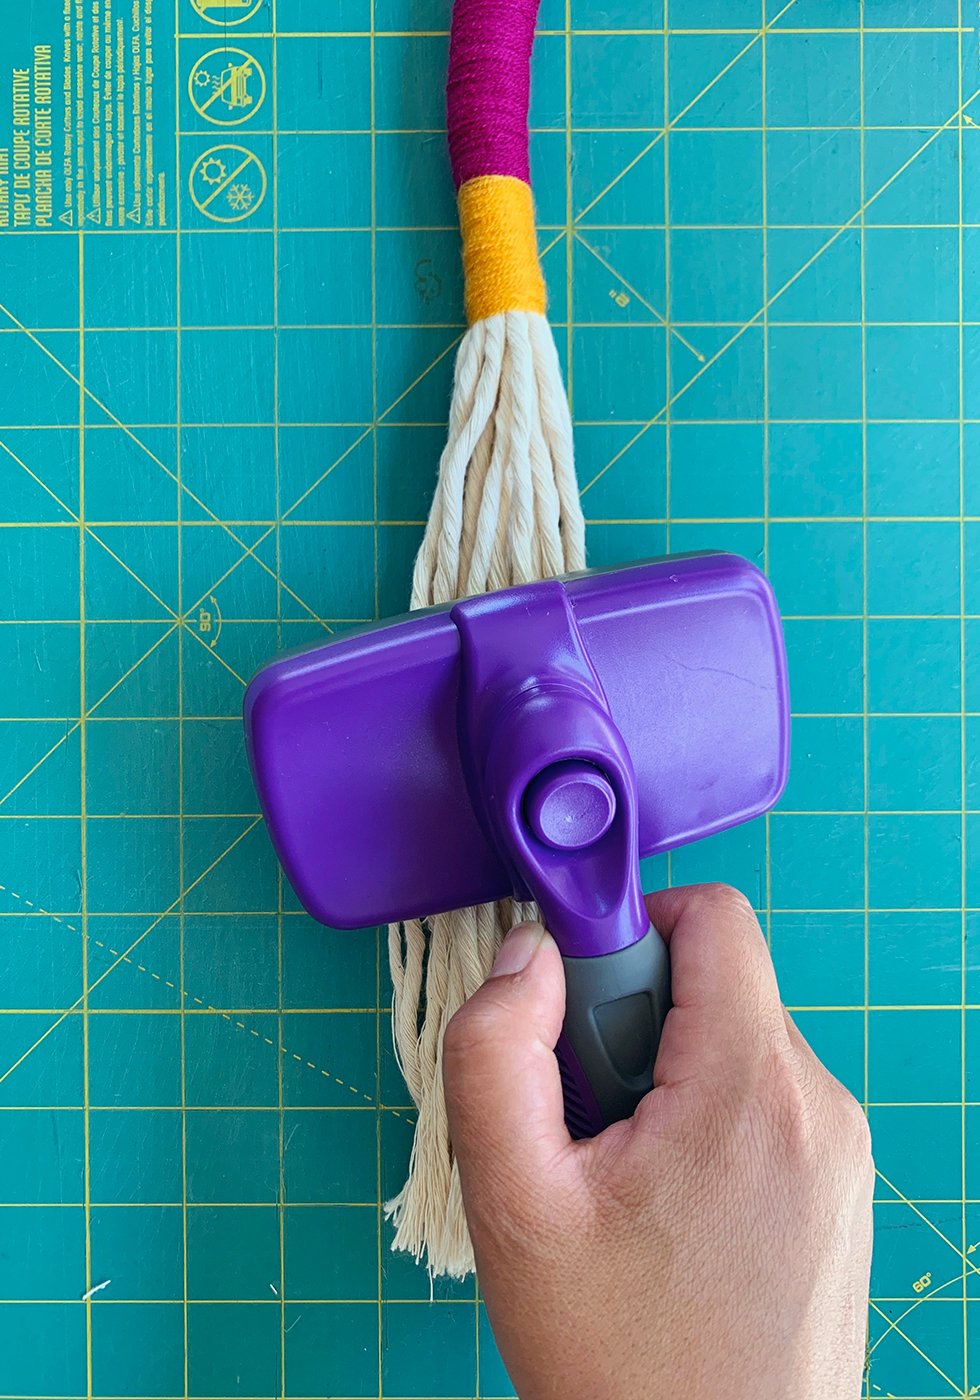
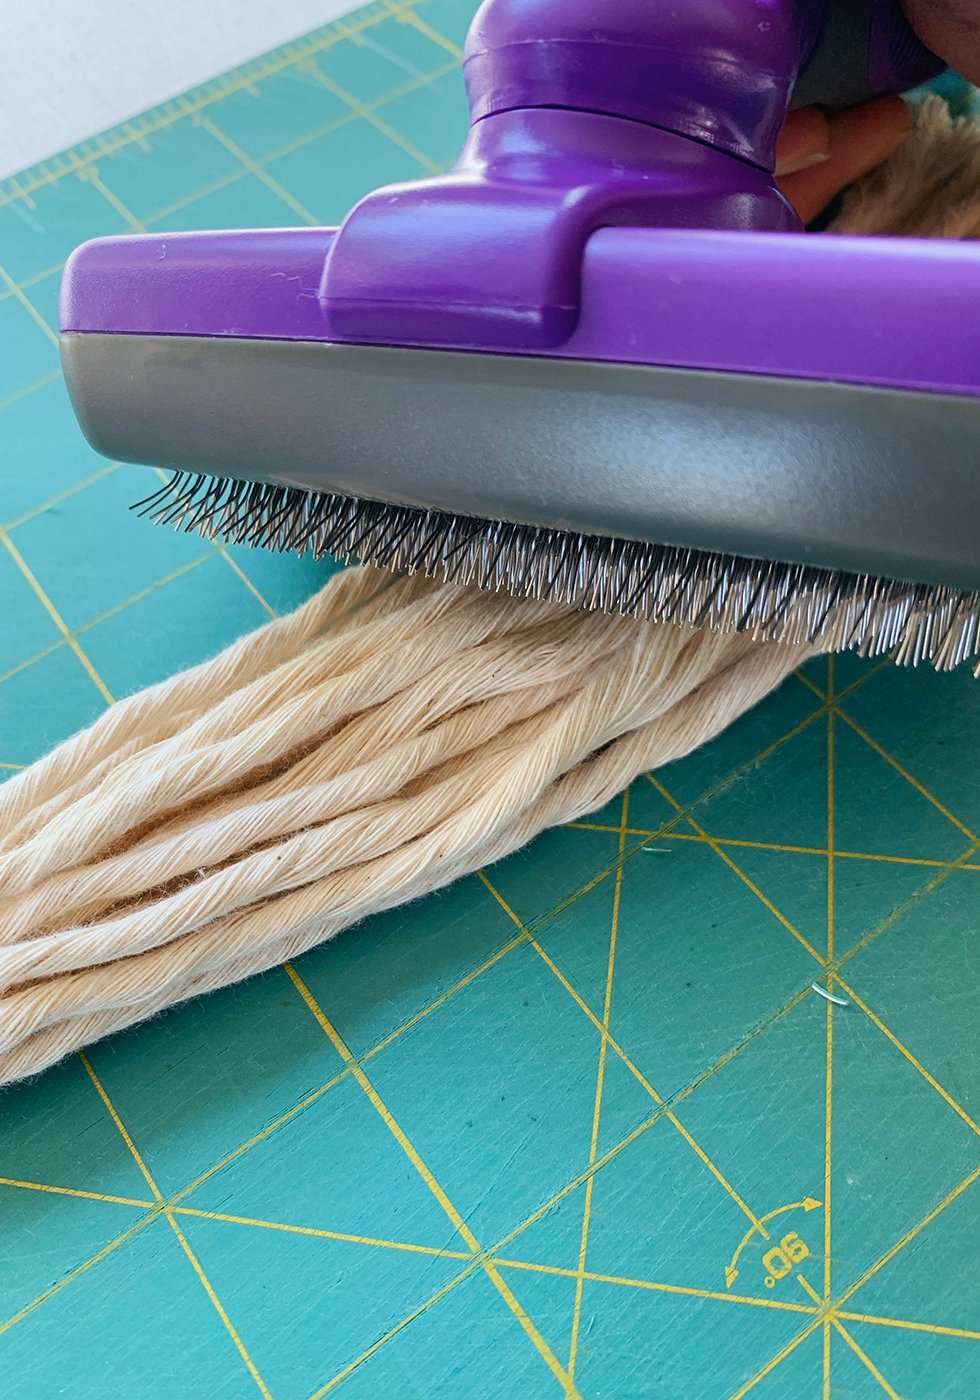
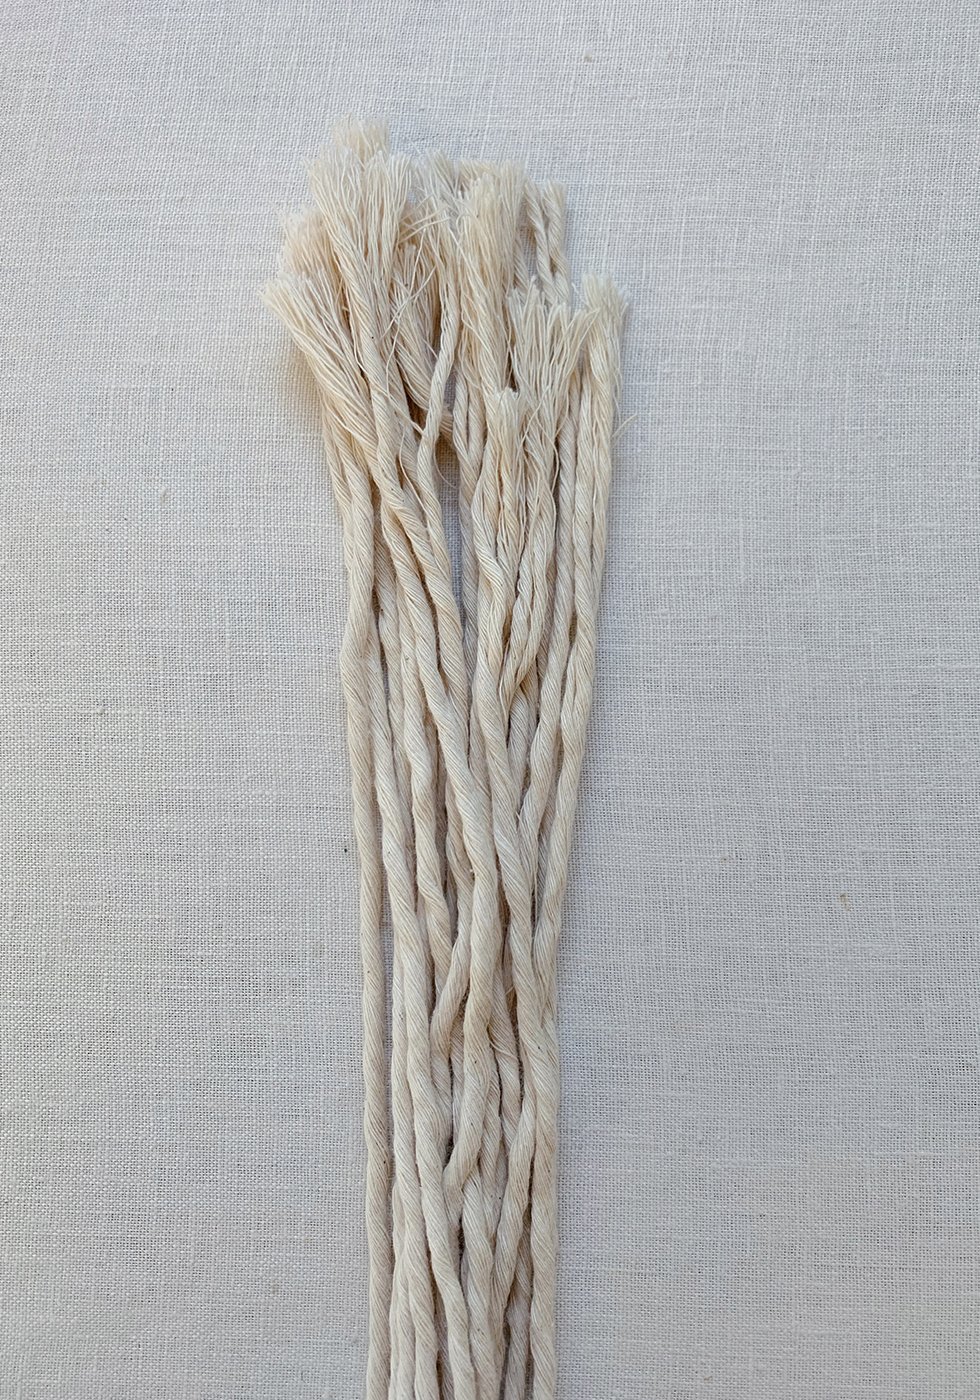
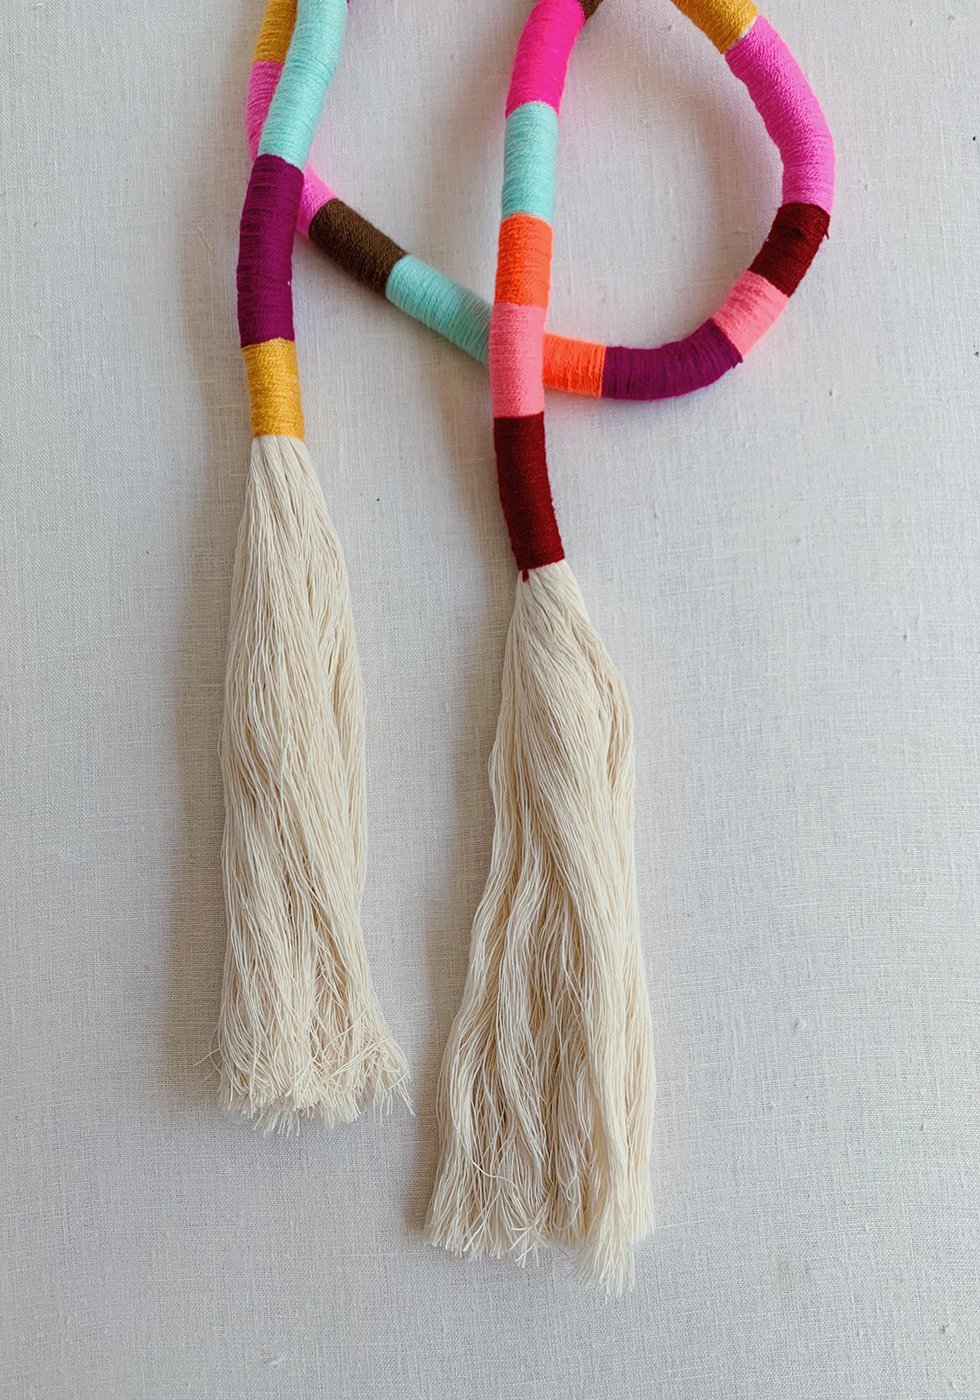
Once all your tassels have been made, you'll need to brush them out with a cat brush. Remember to put the cat brush on a durable surface like a self healing cutting mat - otherwise, the cat brush will scratch any other surface. Start at the top and push hard into the cotton strings when brushing.


When brushing, it's helpful to clean the brush of lint before continuing to brush again. Retractable cat brushes are especially helpful for this! Continue brushing until you get that beautiful soft fringe. It'll take several hard strokes so put your back into it!
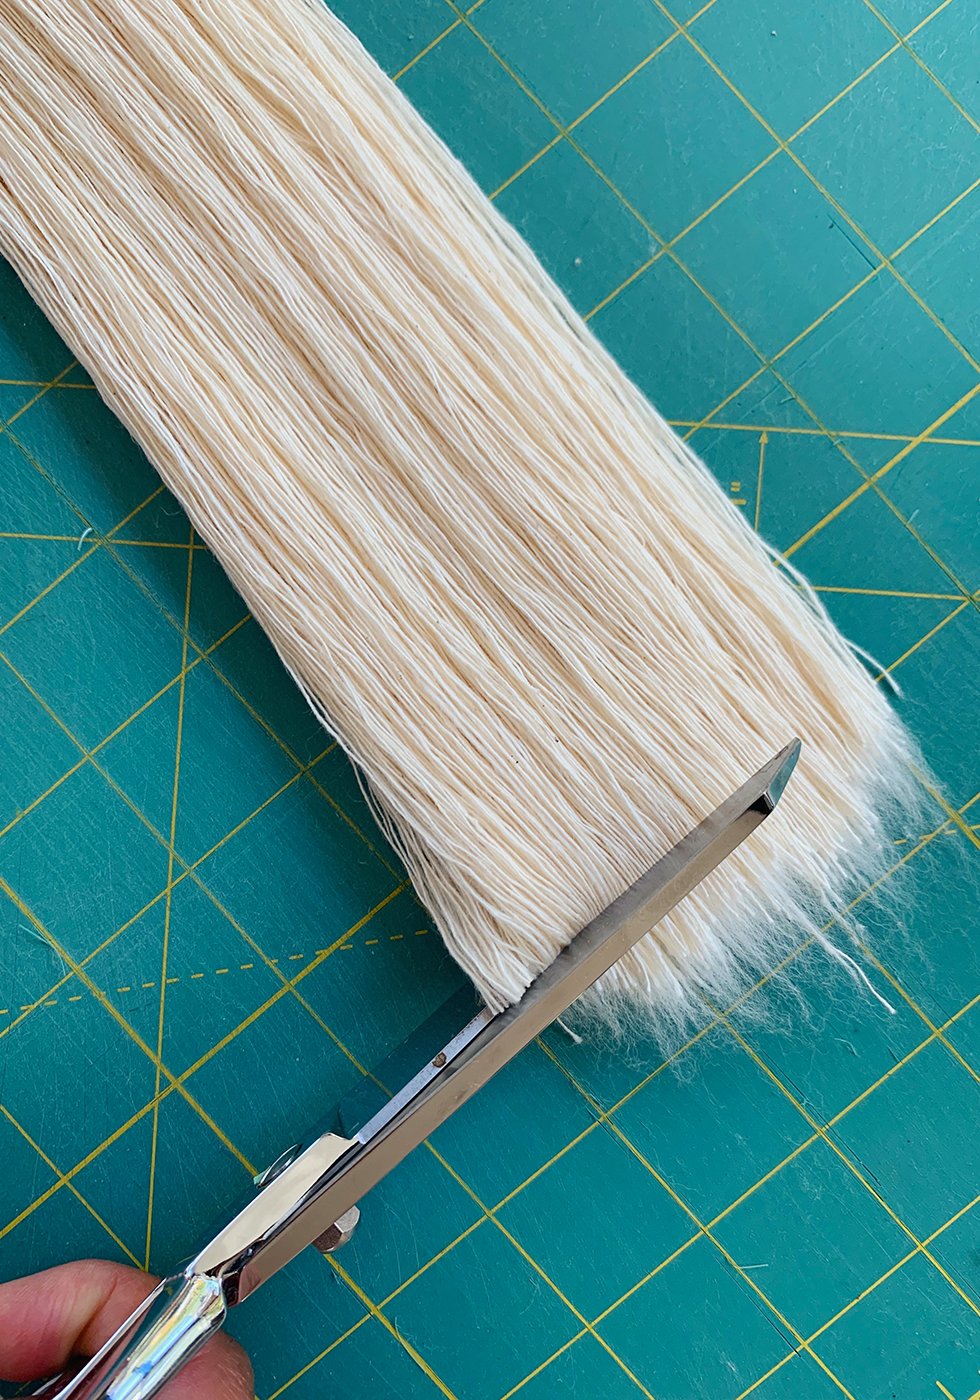
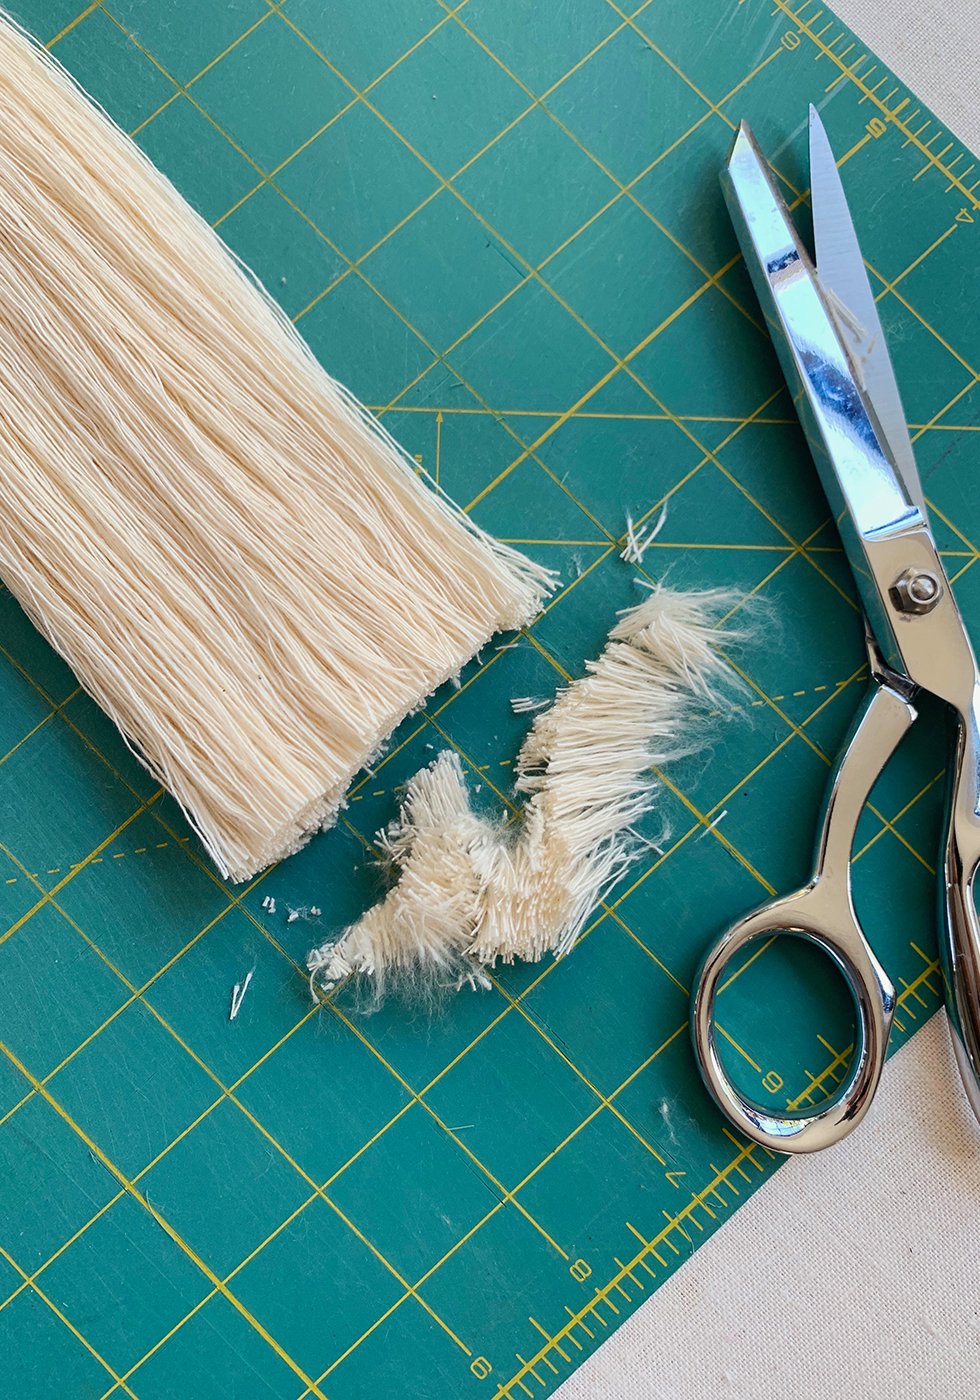
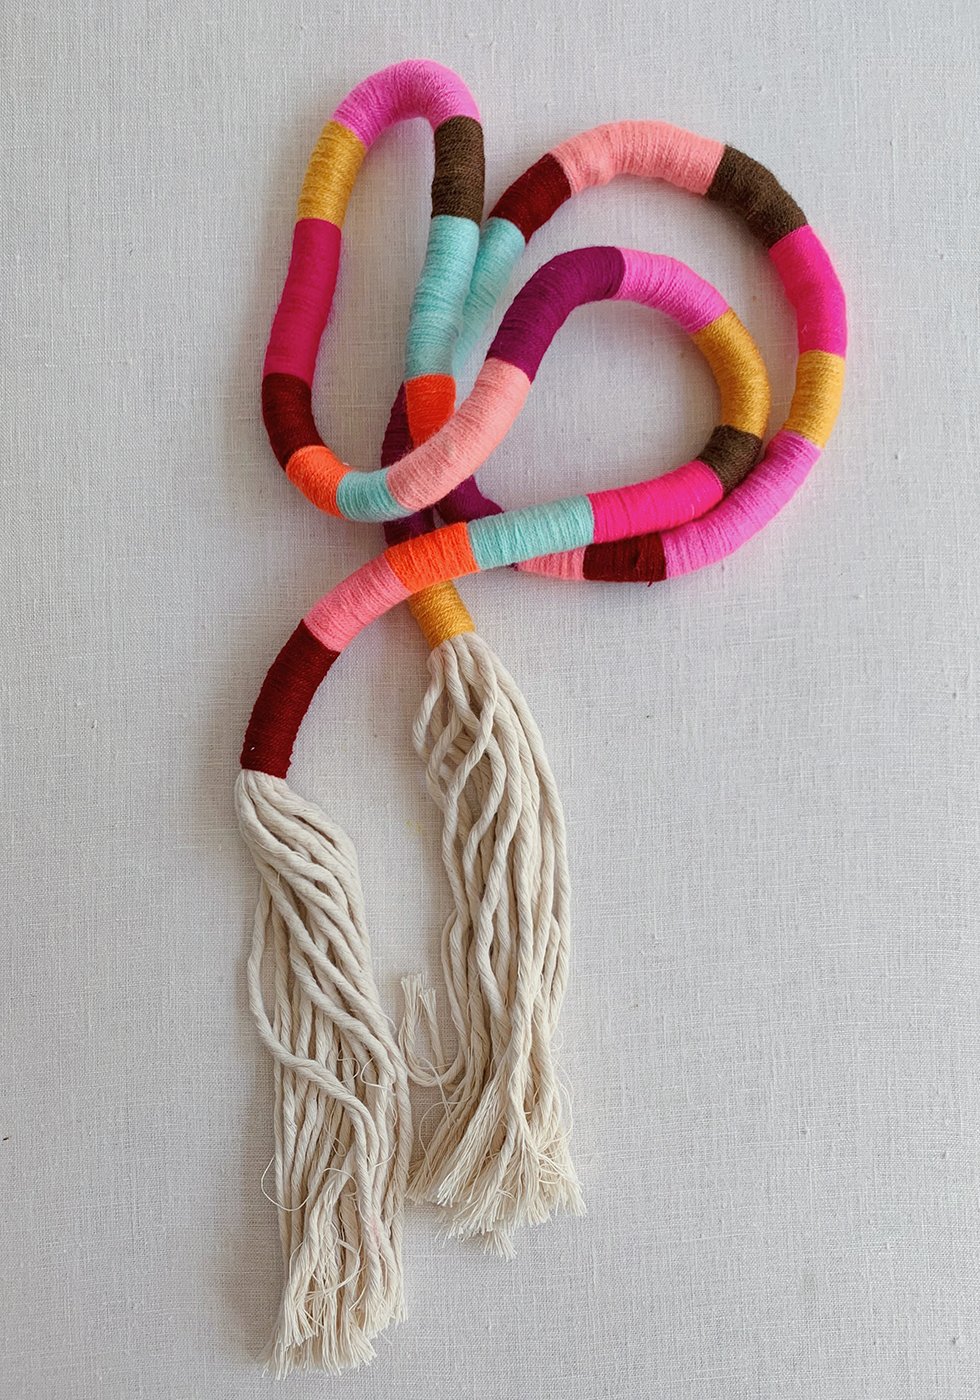
Give the ends a good, blunt trim.
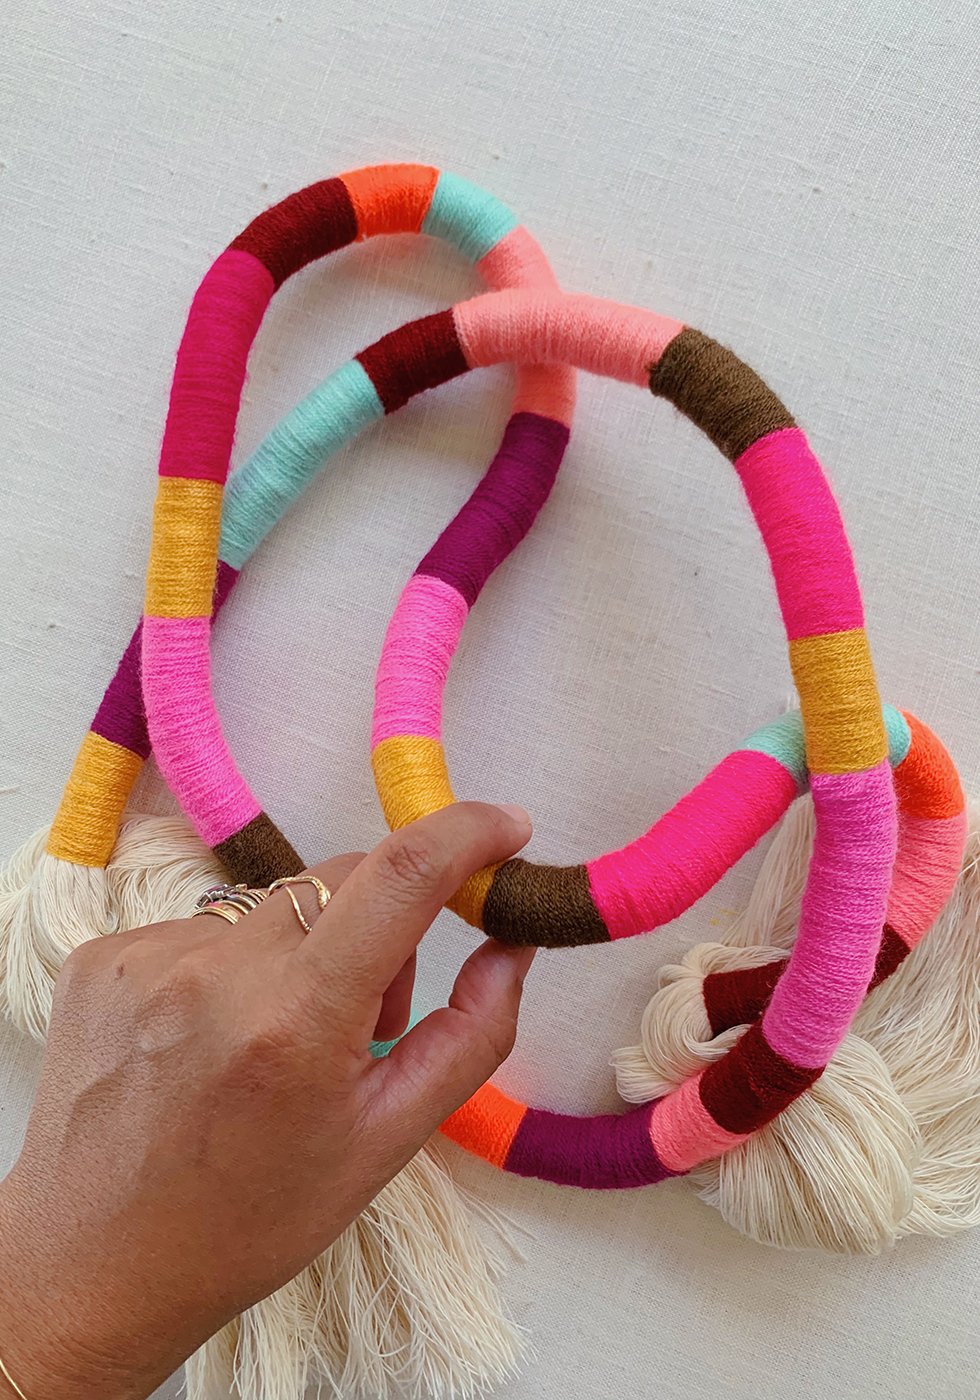
Repeat on the other side and the best part remains: knotting and forming your wall hanging! Have fun with this. There's no right or wrong way to do this. Just play around with it until you're happy with the way it looks!

tutorial by HonestlyWTF
Omg. With flexible wire inside you could make words!
YES! Great idea!
So simple yet so beautiful. I’m making this. Thank you!
Yay! Good luck with it!!
These are delightful! I can’t wait to make one or 10. Ohhh now I’m thinking Christmas gifts. Thank you for this detailed tutorial.
What lengths did you use for the three you made here? Id like to make this and am trying to gauge sizes
Sooo absolutely gorgeous! Do you have a cheaper similar option to the super soft 5mm string? That’s a lot of it lol . Thanks
approximately how many yards of the single twist cotton do you need to make one of the wrapped knotted wall hangings similar to yours. SUPER CUTE!
They range from 6-8 feet.
Hello! The 5mm single twist cotton string that you linked is currently sold out. Do you have any good alternatives you would recommend. Hoping to make this during quarantine! It is a fantastic project!
I would try Etsy (here and here)
Thank you so much! I got all of the supplies in, and etsy was the perfect place to get the cotton string from.
One more question: What lengths did you use for each of the knots?
How tight do you wrap the yarn? and do you wrap it as your picture shows so the underlying cotton roping is straight?
Yes, you want to wrap as tightly as possible while keeping tension even. The cotton roping should stay relatively straight.
DON’T USE 3 FT LENGTH!! You will not be able to tie in a knot. I would guess these shown are a min of 5-6 feet or longer to start. I already cut my cotton rope to 3 ft and now I’ll just have a colored rope…GO LONGER if you want to be able to tie it in a knot!!!!
I was able to tie my 36″ in 1 knot. I did not leave as much room on the ends as she suggested though. I agree- measurements for the ones shown would be nice.
I loved it so much that I want to do it here for my home!
Love this project.I want to do this one.how long was the longest one you made?
I made this beautiful knot it is6 feet long and it seems so small compared to yours in picture. Is the pictured enlarged ? How long should I go to have the effect like yours? Please help with the right length. Yours is outstanding and makes a great statement.
mine is also 6ft
Excellent post. Thank you!
Honestly wtf about not answering the numerous questions regarding the length?? Why go to all the trouble with the tutorial if you’re not willing to answer that simple question? This is beautiful, but it seems weird to not answer.
if you ever need an immediate response, you are welcome to email directly at erica@honestlywtf.com.
This is uh-mazing. Would cotton embroidery floss work just as well?
I have a big supply of embroidery floss so I’m going to try it. I also ordered some mandala multi coloured yarn to try.
Lindo ❤️ vou tentar fazer
Did you overlap different colored yarn when changing colors? When I start a new color right next to the preceding one, my rope peeks through when I bend it. But if I overlap different colors, the overlapped sections look thicker.
How long would it take to complete a 6′ section? This looks amazing!
Just love. Thank you!
le tuto ne peux pas être meilleur. Merci
I came across “embarrilados” and just fell in love with the texture and freedom to. combine colors, but I couldn’t find a tutorial, then I came across yours! I wanted away thank you for sharing.
Amazing! How long did this take you?
I loved the visual of these wall hangings, Ordered all the exact materials suggested and it came out looking very thin and not chunky… Also cannot get the comb to brush through the bottom…. Sad day