By now, you should know that the fashion industry is the second largest polluter on the planet. I've talked about it in great lengths here and have tried to support as many sustainable or environmentally conscious labels as I can. One of my favorite brands, who not only manufactures ethically but also does its part to reduce waste and empower women, is ace&jig. Designers Cary Vaughan and Jenna Wilson have never been about trends, but rather, it's always been about quality, craftsmanship and longevity. They've dedicated their design ethos to the slow and deliberate process of textile making, working closely with female weavers in India. And their natural, no-waste approach to manufacturing means every gorgeous last scrap left on the cutting room floor is saved, bundled into Patch Kits and sold twice a year to the label's loyal fans and DIY coomunity. It's become an annual tradition and a way for the duo to give back to charities and organizations close to their hearts.
I think now, more than ever, we're all starting to think even deeper about sustainability and waste and what it means in our day to day lives. With Earth Day just around the corner, I thought it the timing would right to collaborate with ace&jig and Freda Salvador to not only share a patchwork and denim mending project, but also bring the community together to share and learn. Starting today, Freda Salvador will be selling ace&jig's limited quantity Patch Kits, where 100% of the proceeds will be donated to Meals on Wheels. Be creative - do you what you want with them! And if you're interested in joining us, we invite you to join on live webinar on April 22nd, Earth Day, so that you can upcycle a piece of clothing alongside me, Freda Salvador, ace&jig and the rest of the crafting community! Scroll down for information and enjoy today's tutorial, where I'll teach you how to make a simple, four patch block. Don't be intimidated by this - if you can sew a straight line, you can make this!!
You'll Need
- fabric scraps (ace&jig patch kits available here)
- fusible webbing
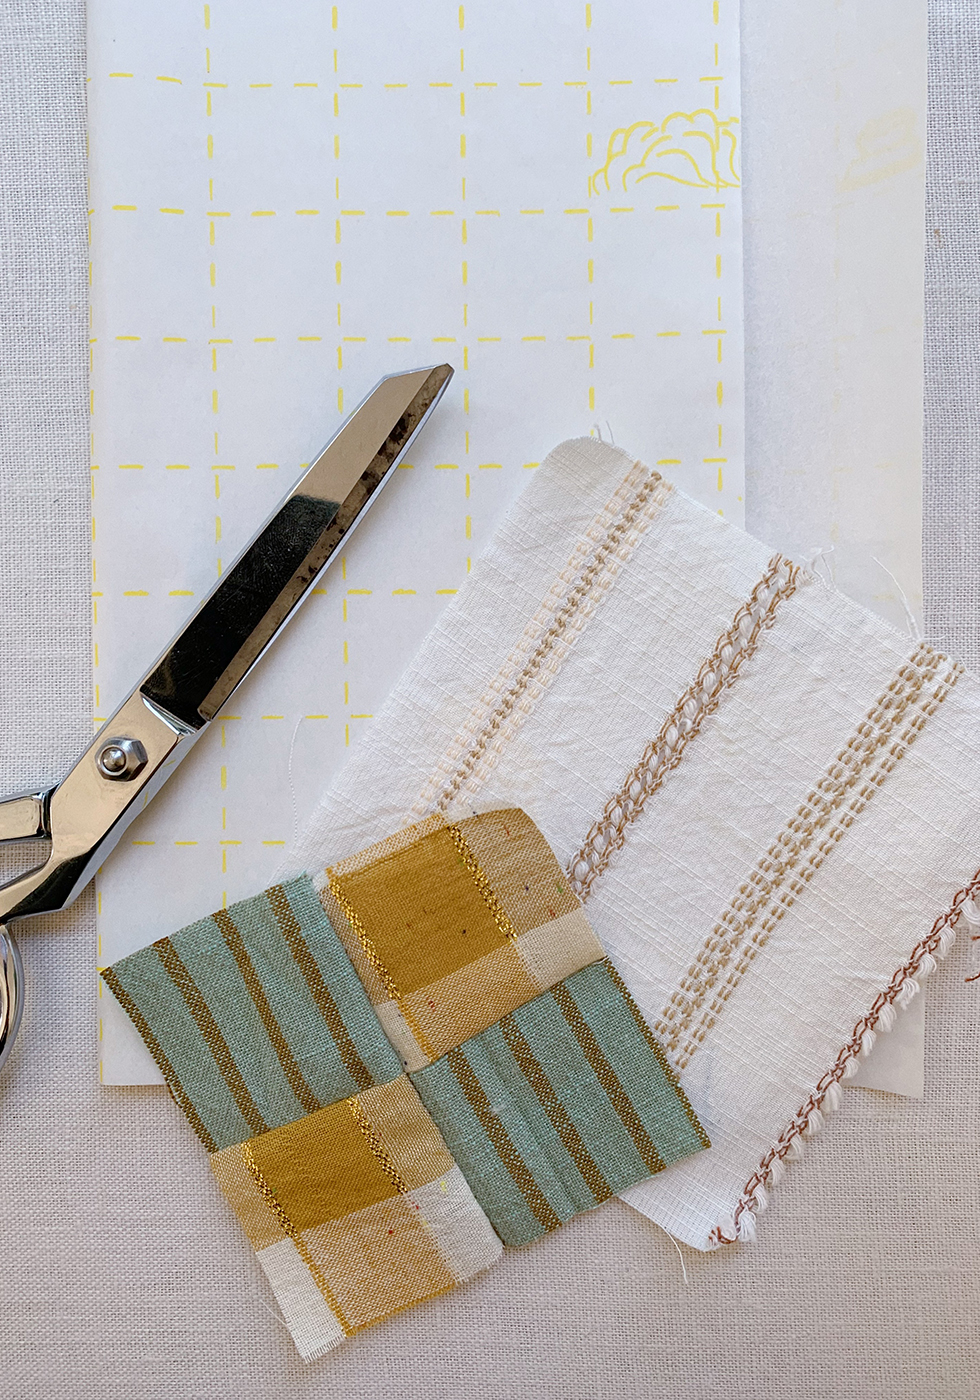
- rotary cutter & matt
- sewing machine (optional)
- thread
- needle
- iron

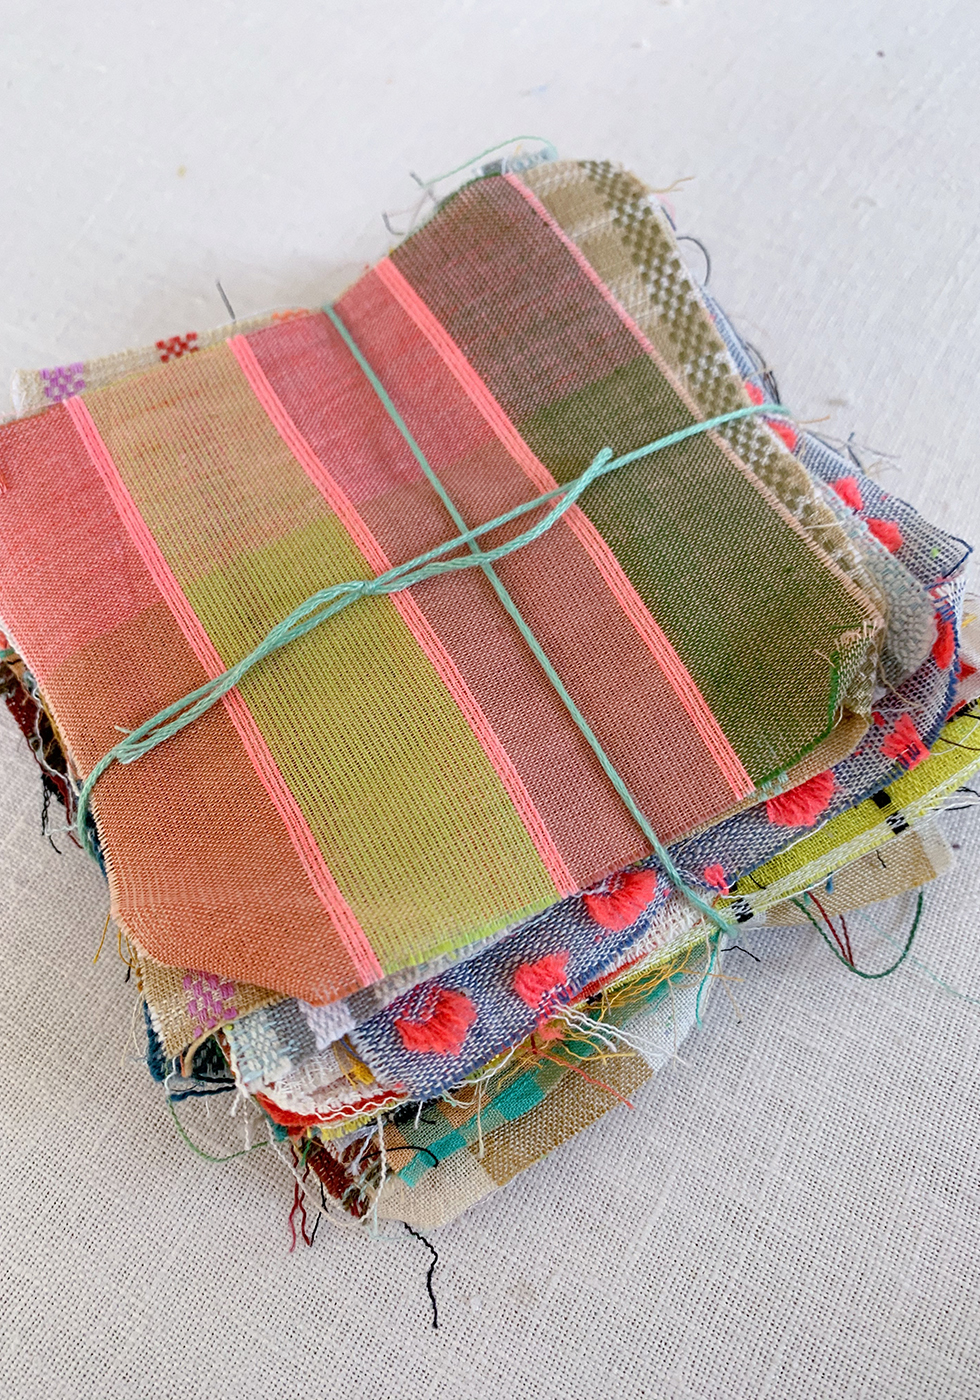
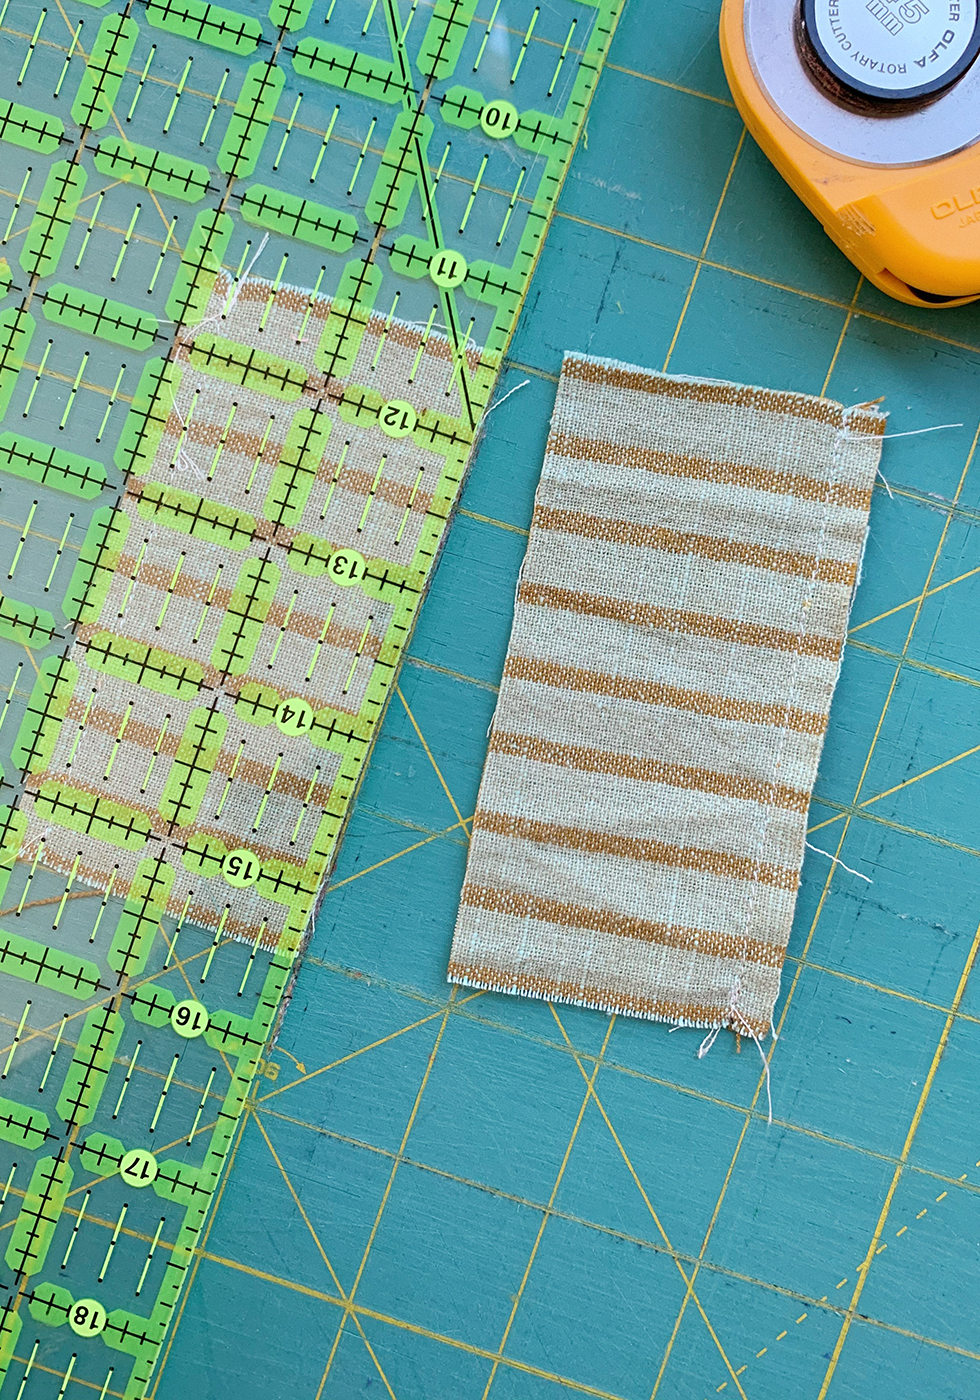
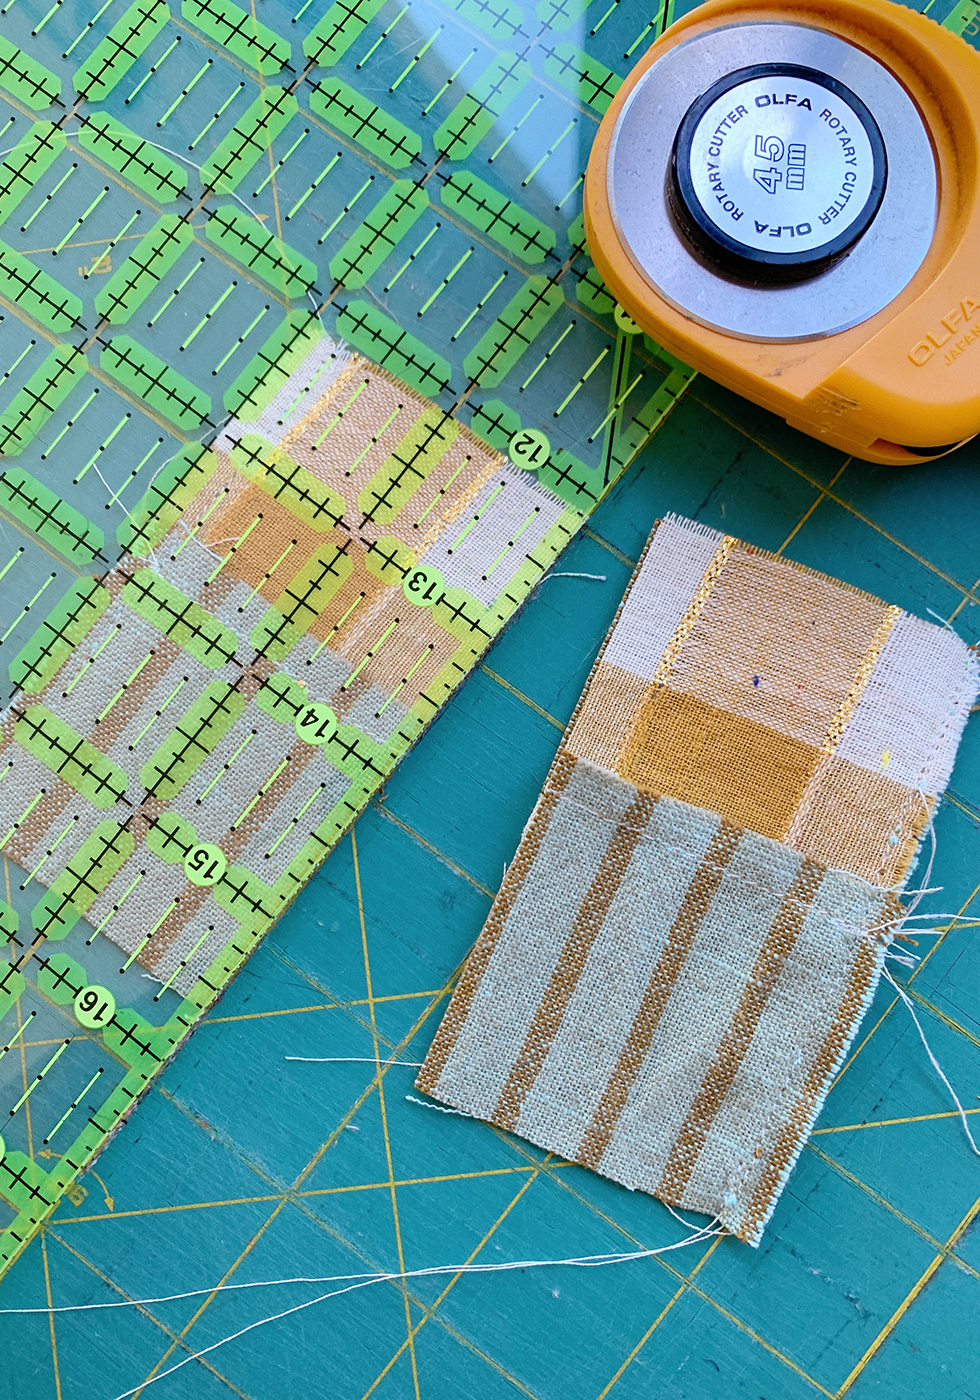
If you aren't able to score one of ace&jig's patch kits, not to worry. I highly recommend that you just start saving scraps now! If you have unsalvageable or damaged clothing that is headed to the trash, cut squares from them and save them until you accumulate enough to do this project. You may even want to visit your local fabric store and sift through their remnants bin. I always find great options there! Once you have all your scraps, cut them into squares. I've trimmed mine down to 4x4" squares. You'll want this to be as exact as possible and a rotary cutter and cutting mat helps greatly with precision.
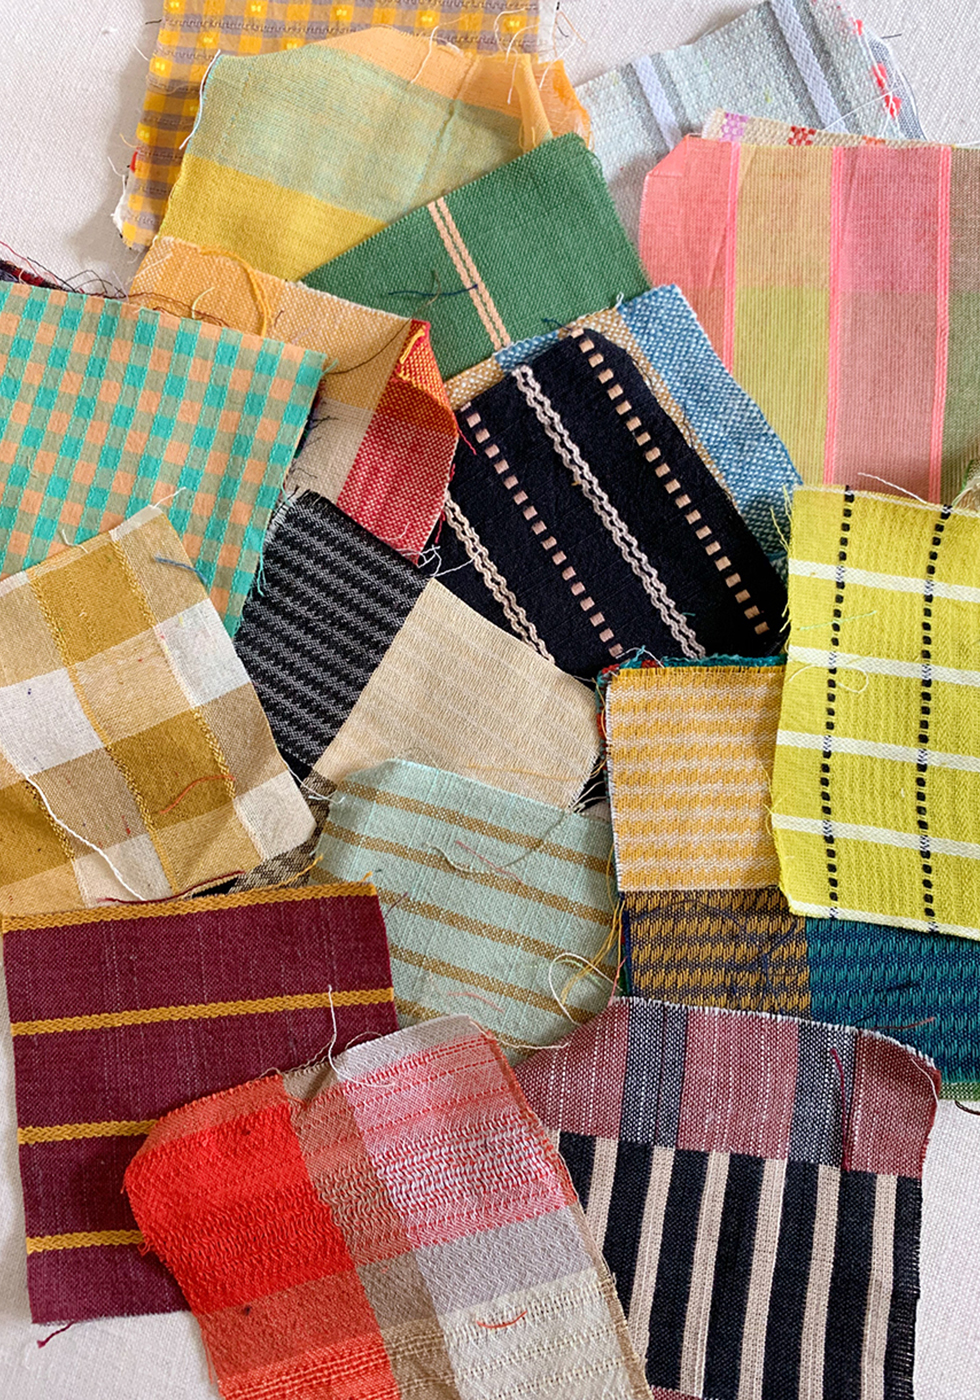
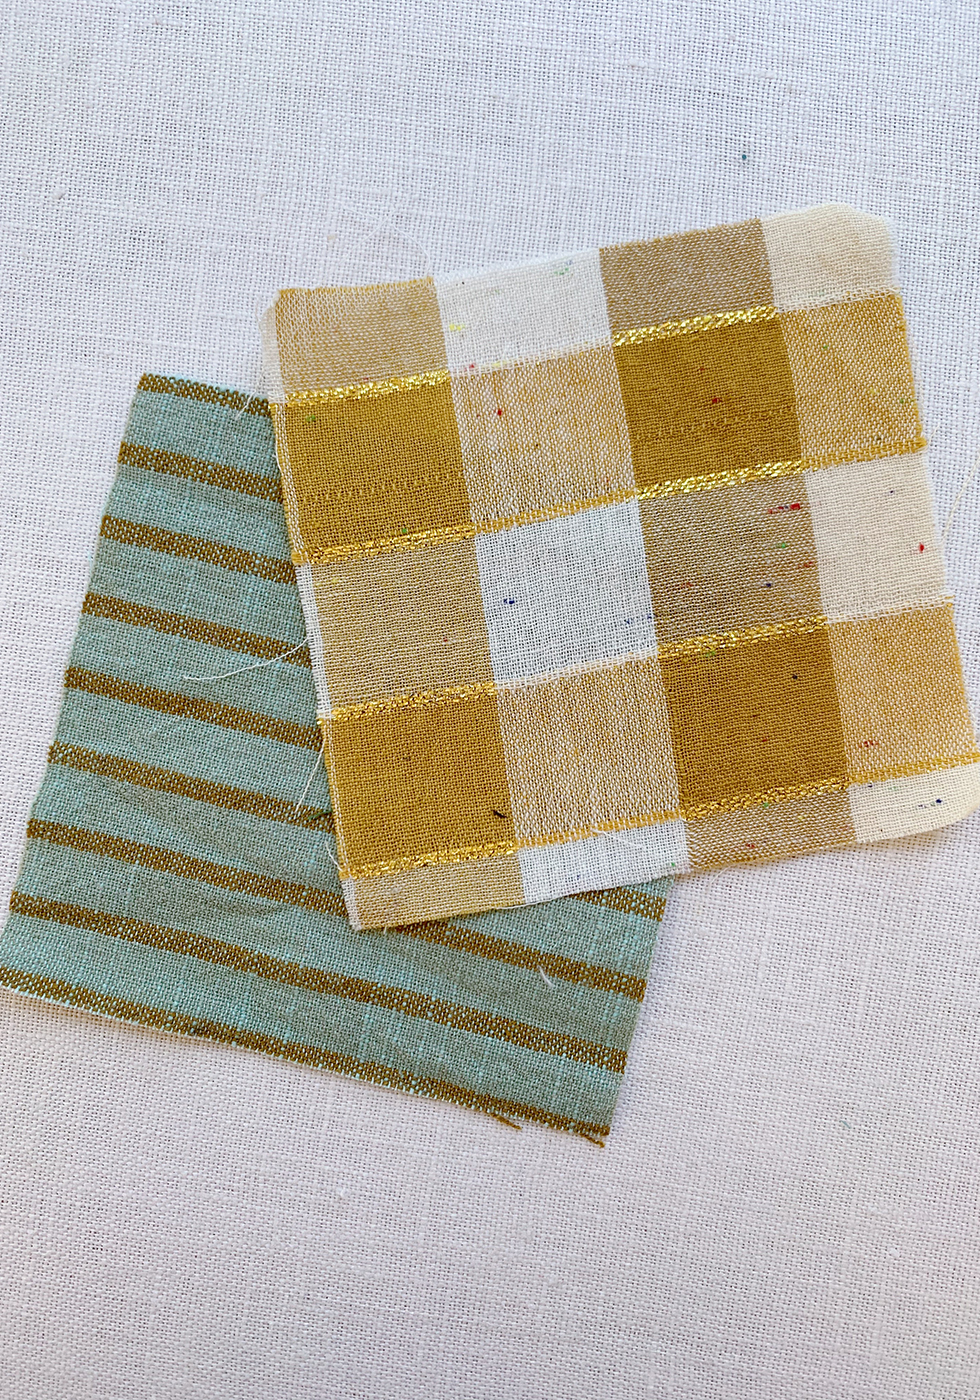
After your scraps are trimmed into squares, start picking your fabric combinations.
** Note: If you don't have a sewing machine, you can skip the quilting part of this tutorial and jump straight to adding your scraps to your denim. And if you don't have a rotary cutter and mat, you can use scissors and a ruler. But I highly recommend getting a rotary cutter and mat - they come in handy for any sewing project!!
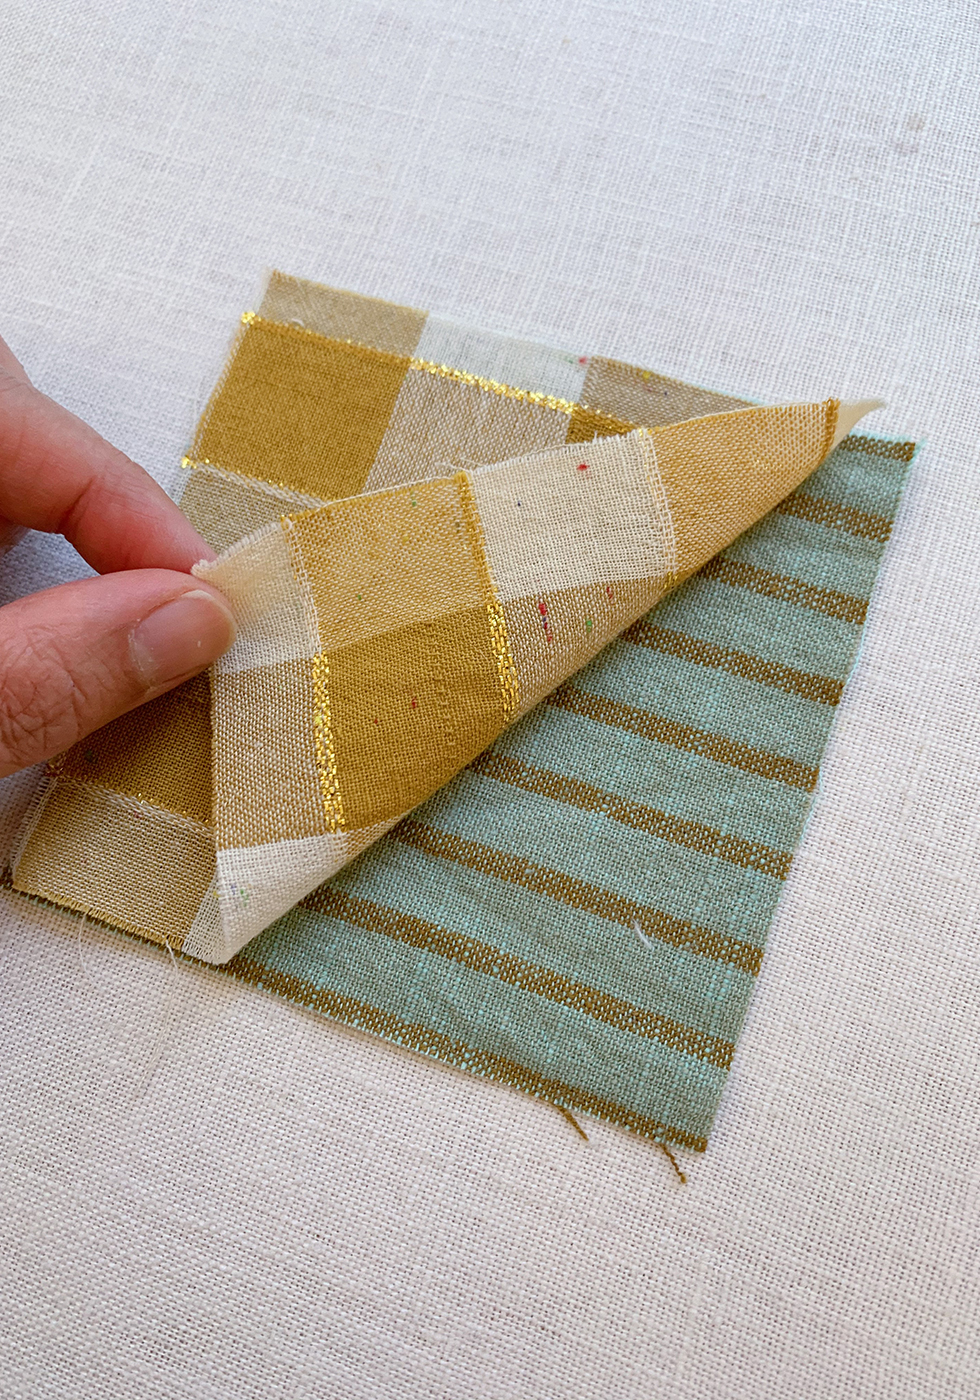
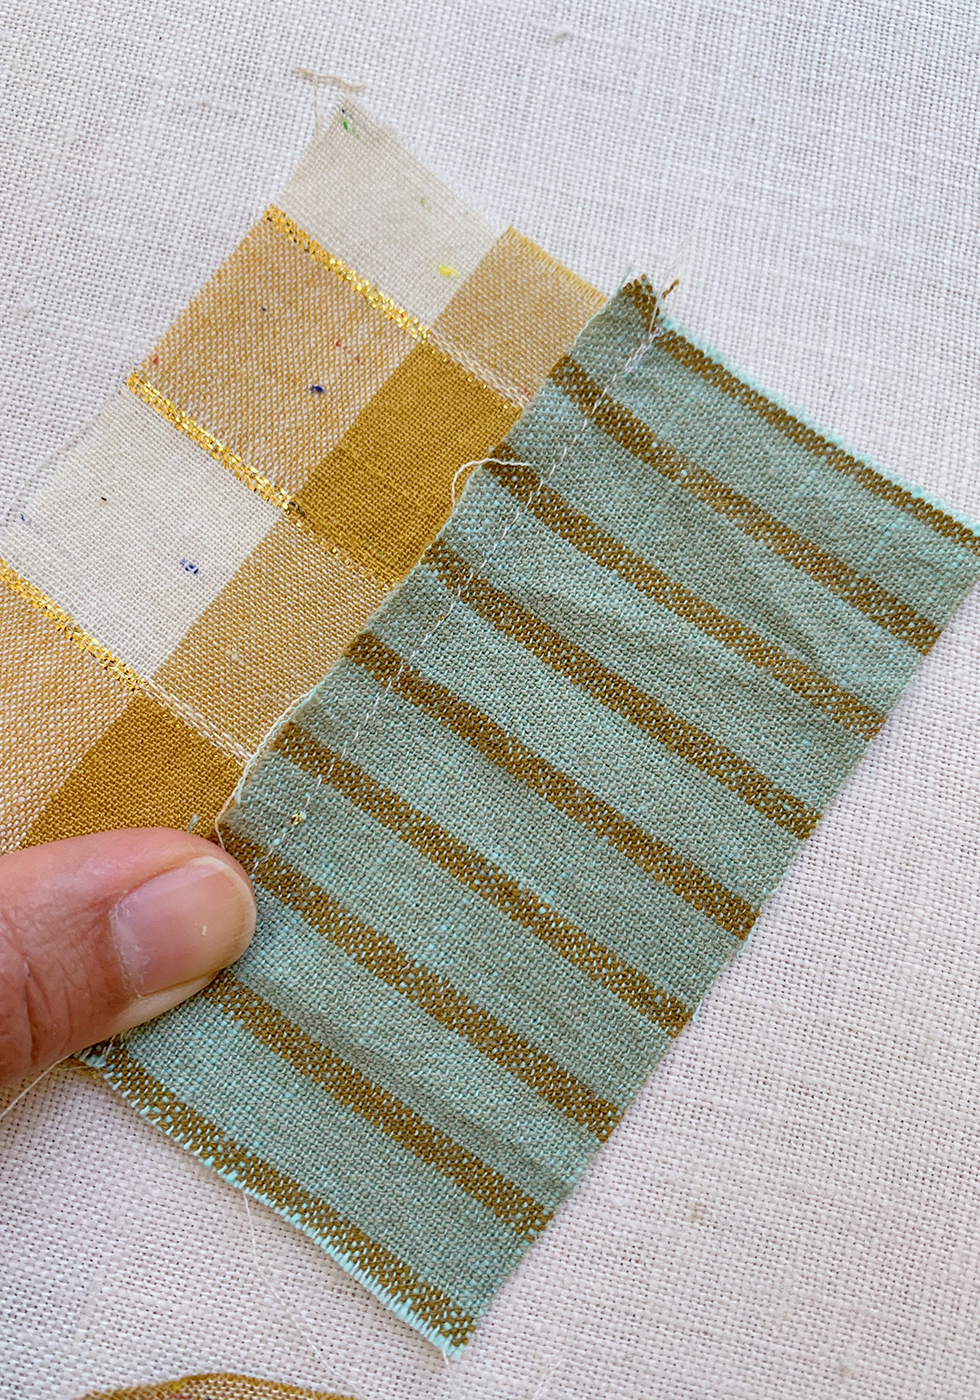
When you find two you like together, place the two squares, right sides together, with all the edges aligned.

Using a 1/4″ seam allowance, stitch on both sides of the square. Using the rotary cutter and mat, cut along the center between the two stitched lines. So if my square is 4x4" then cut in half so that you have two 2" pieces.
**Note: If you’re using scissors, mark a center line between the two stitched lines and cut.

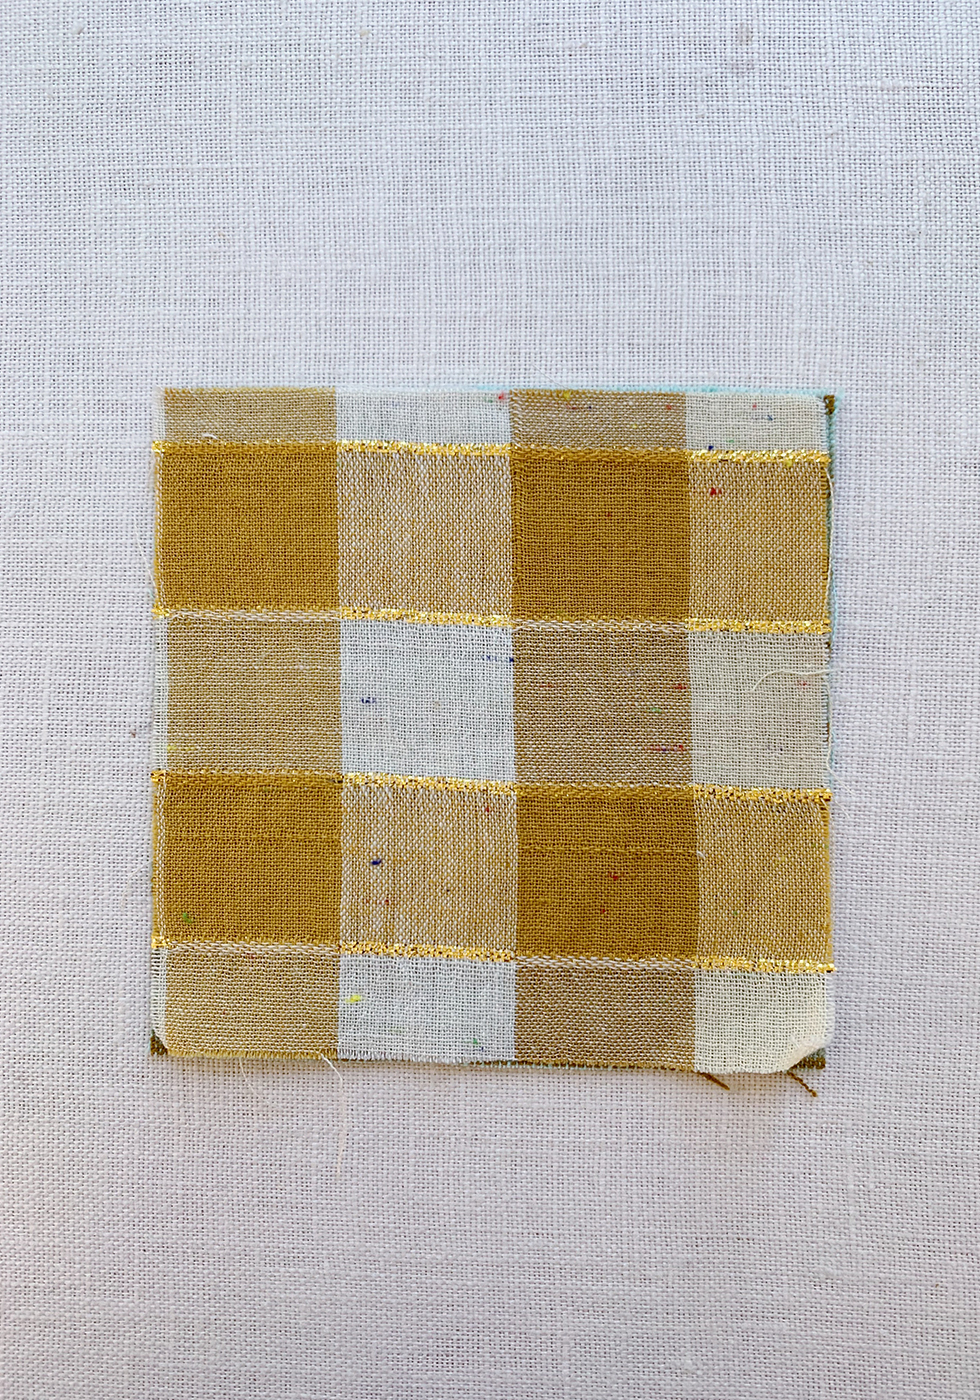
Open the pieces up, lay them face-down and press the seam allowance to the same side on both pieces Use your thumb to help crease from behind. If you use an iron to press the seam allowance, be sure to PRESS and not glide as gliding the iron back and forth will distort the fabric.
** Note: you can even stop here if you wanted to and just patch this directly onto your denim. If you want to continue and make a 4-grid patch, read on . . .
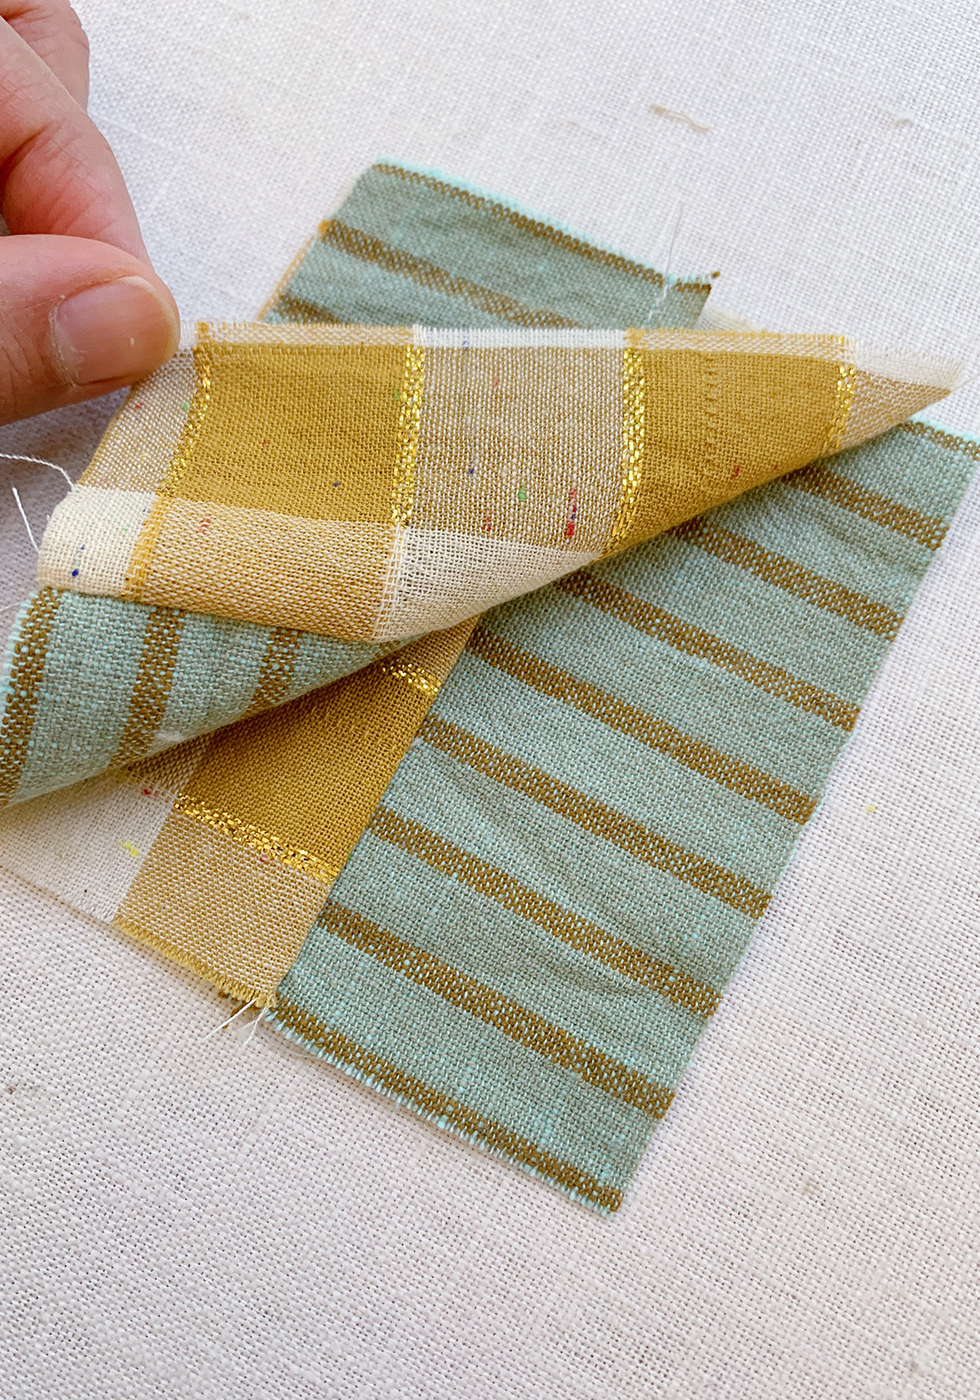
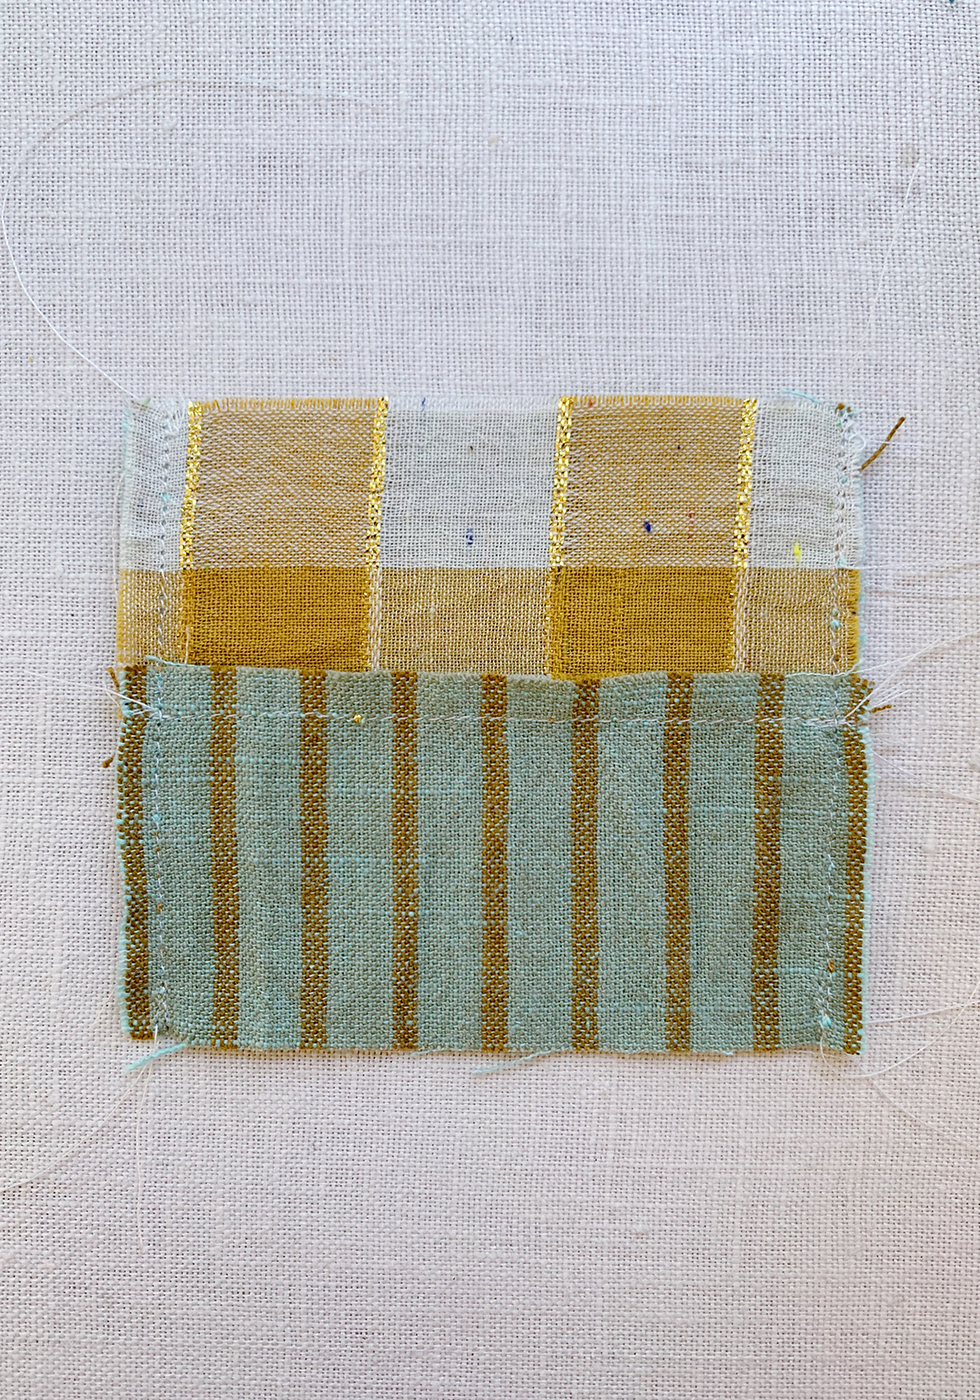
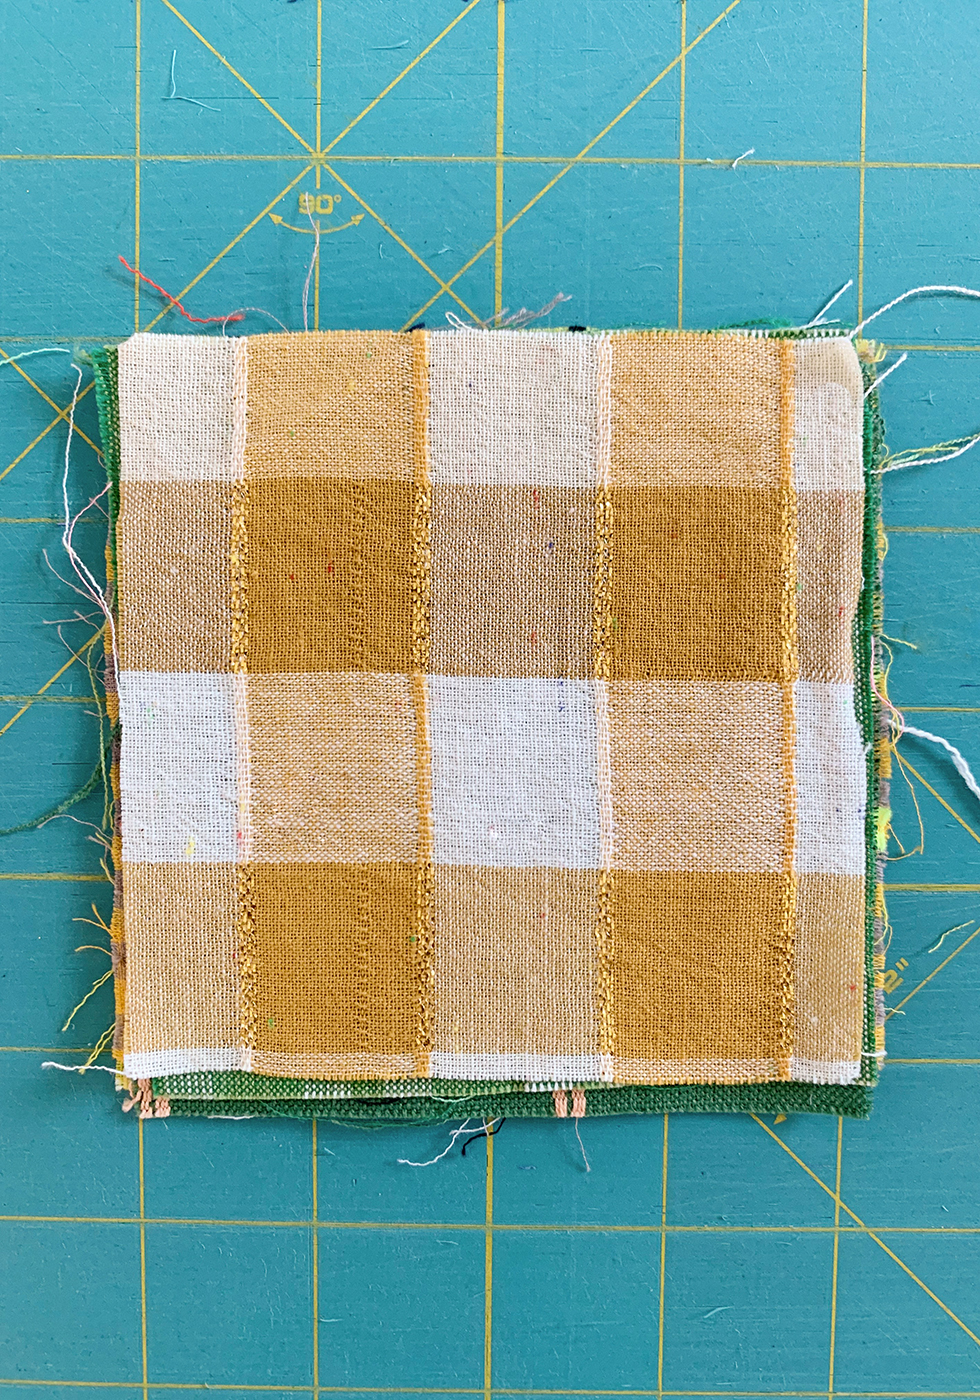
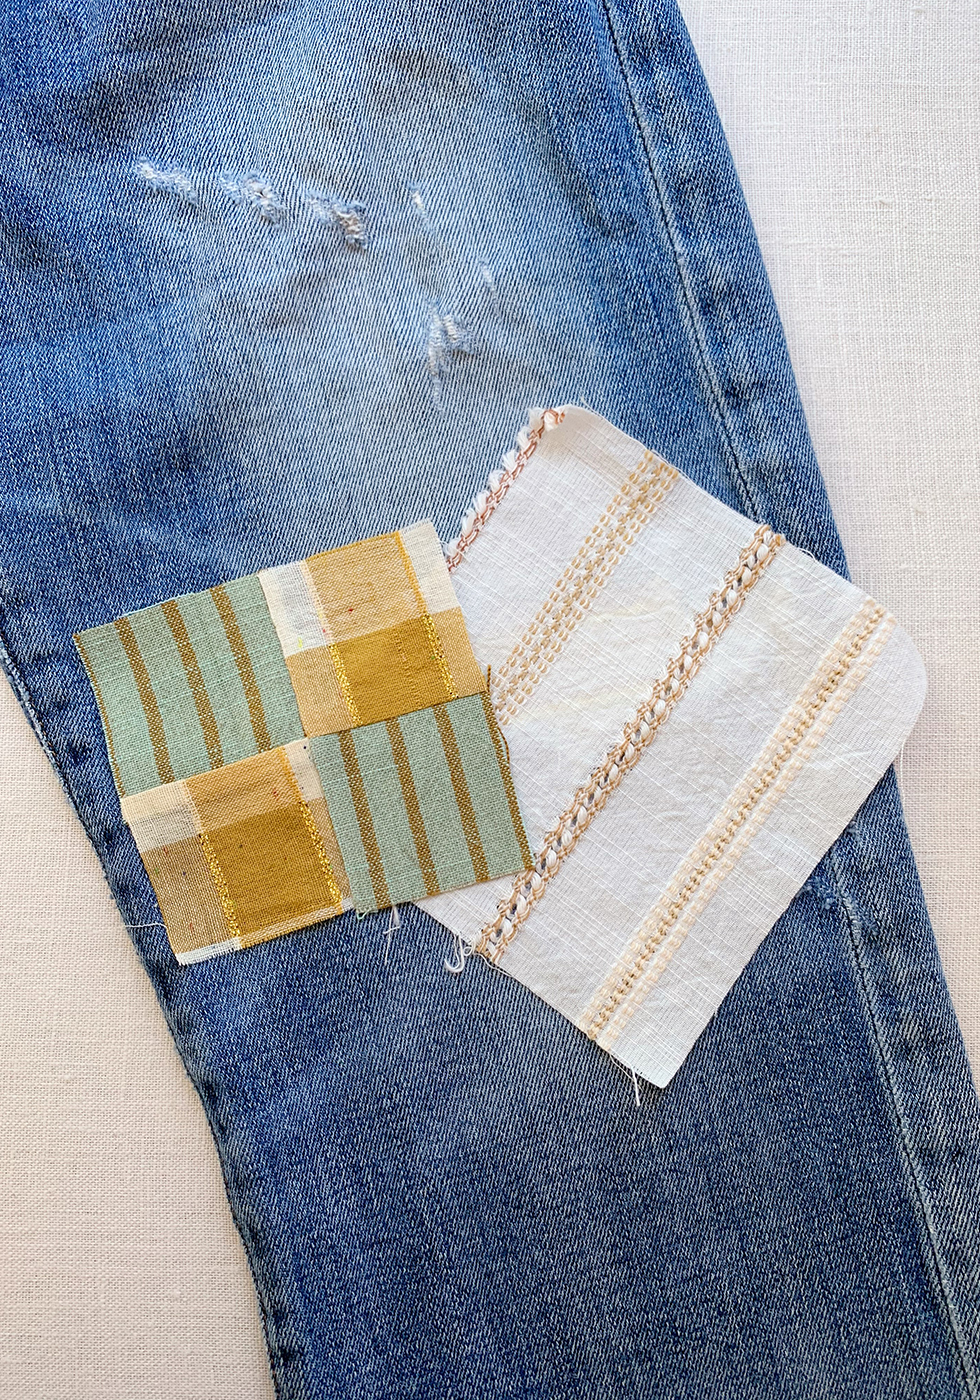
Stack the two pieces, right sides together again. Make sure the same prints are NOT facing each other but rather opposing each other. Make sure the middle seams are aligned. Stitch using a 1/4" seam allowance on each side of the piece - this time perpendicular to the existing seam.
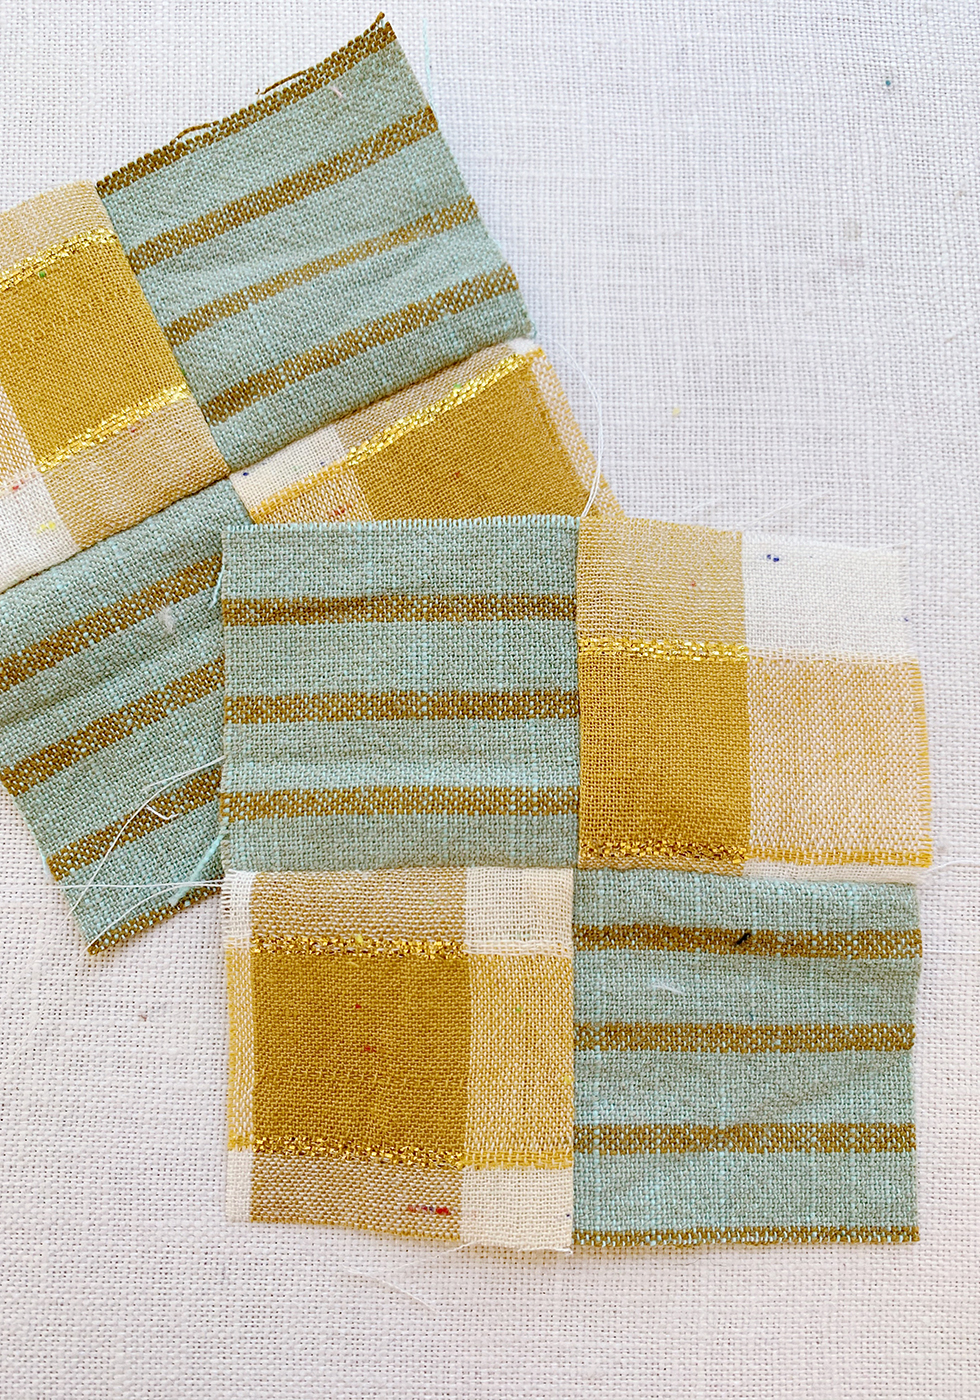
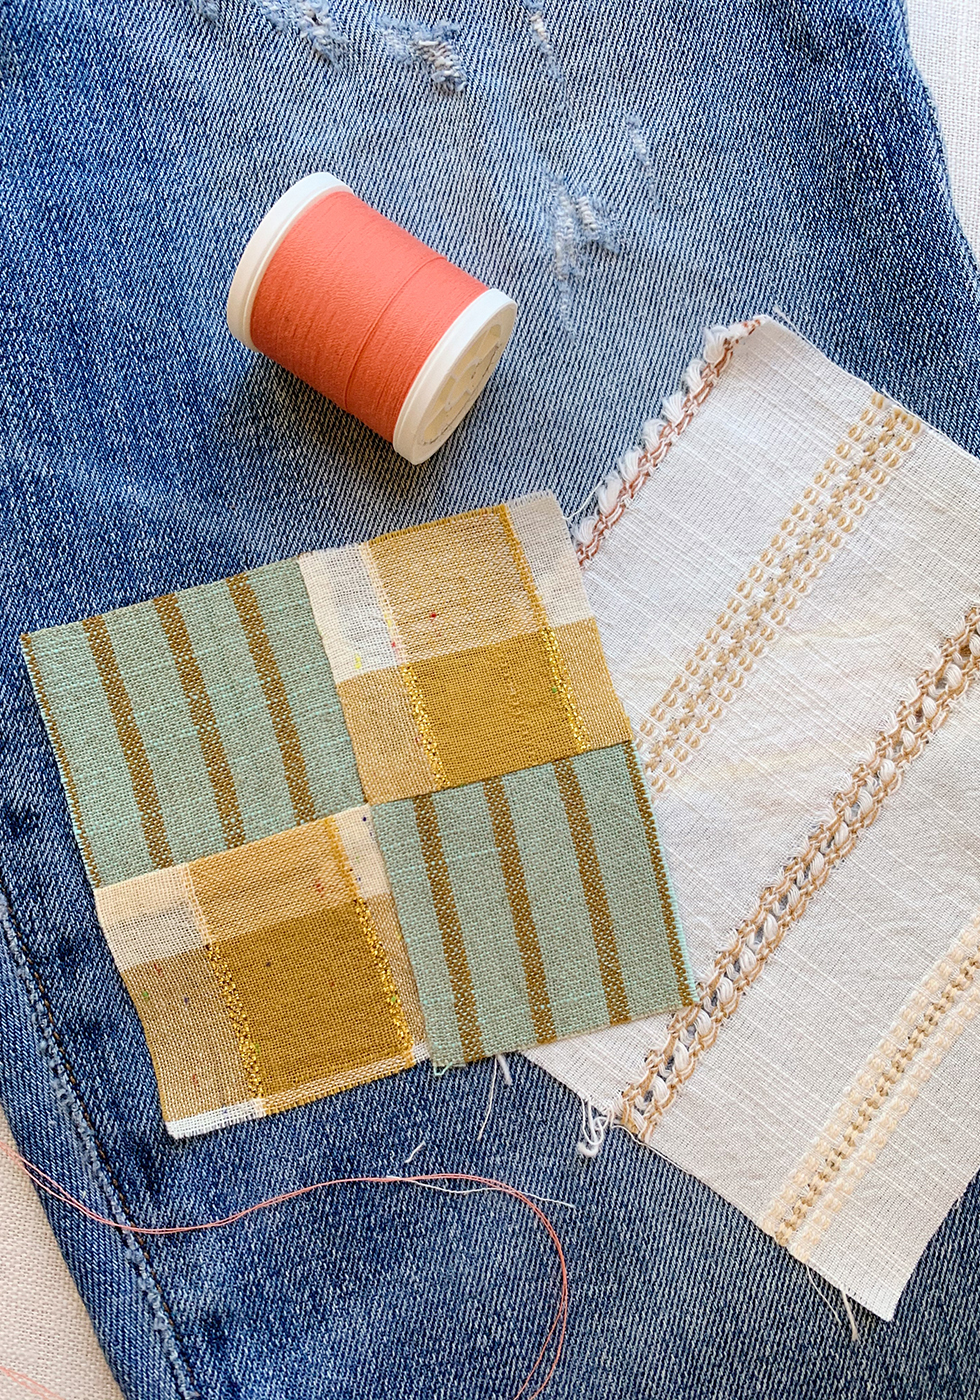
Cut again at the center between the two new stitching rows. Then open them up, lay face-down and press (do not glide!). Continue making and experimenting with different combinations of patches and set aside.
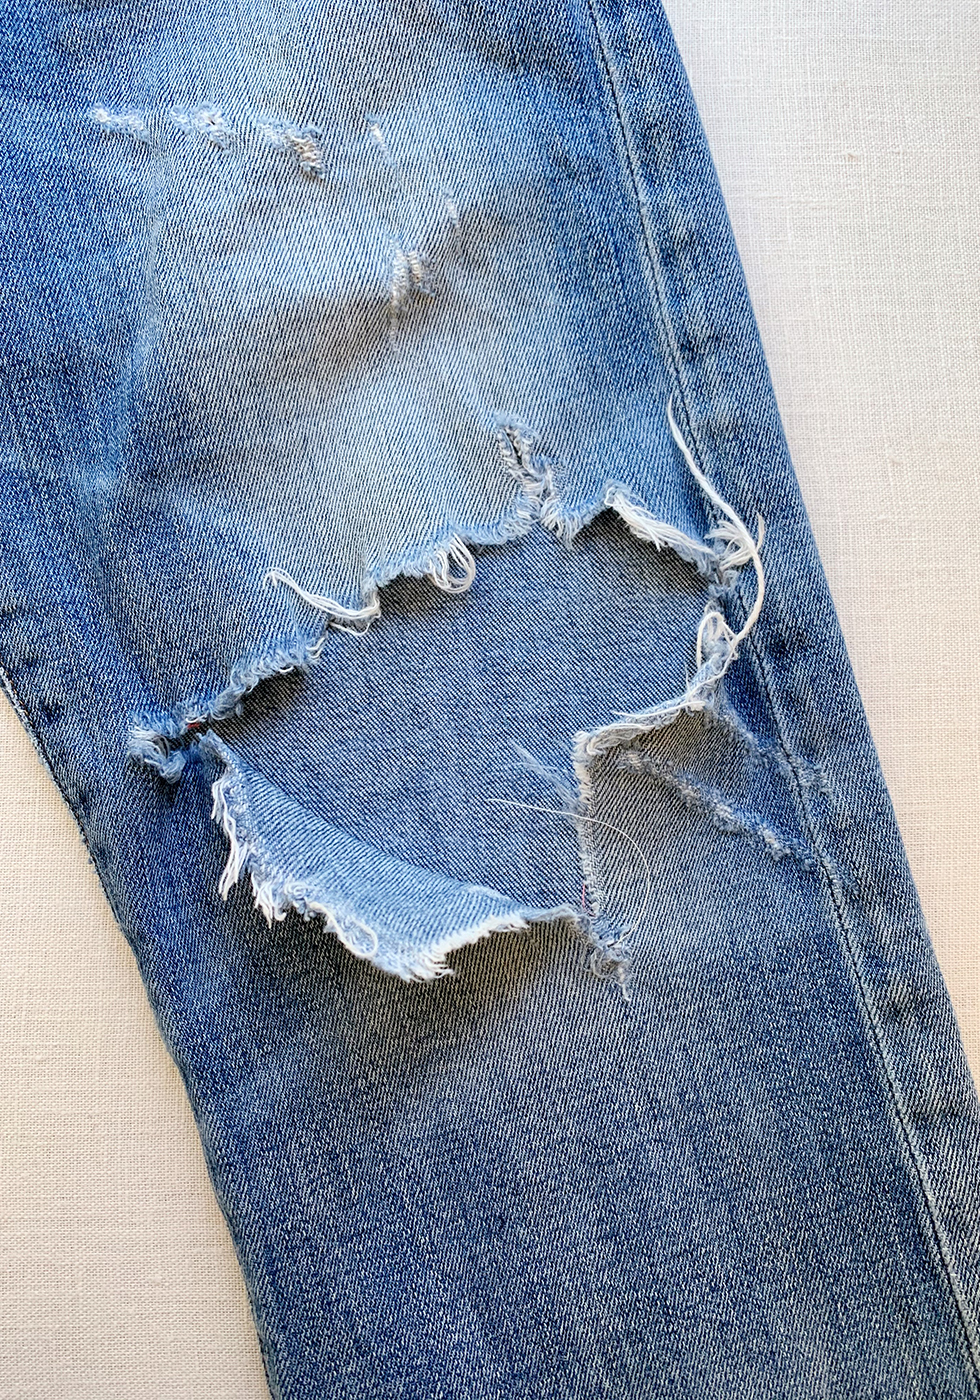
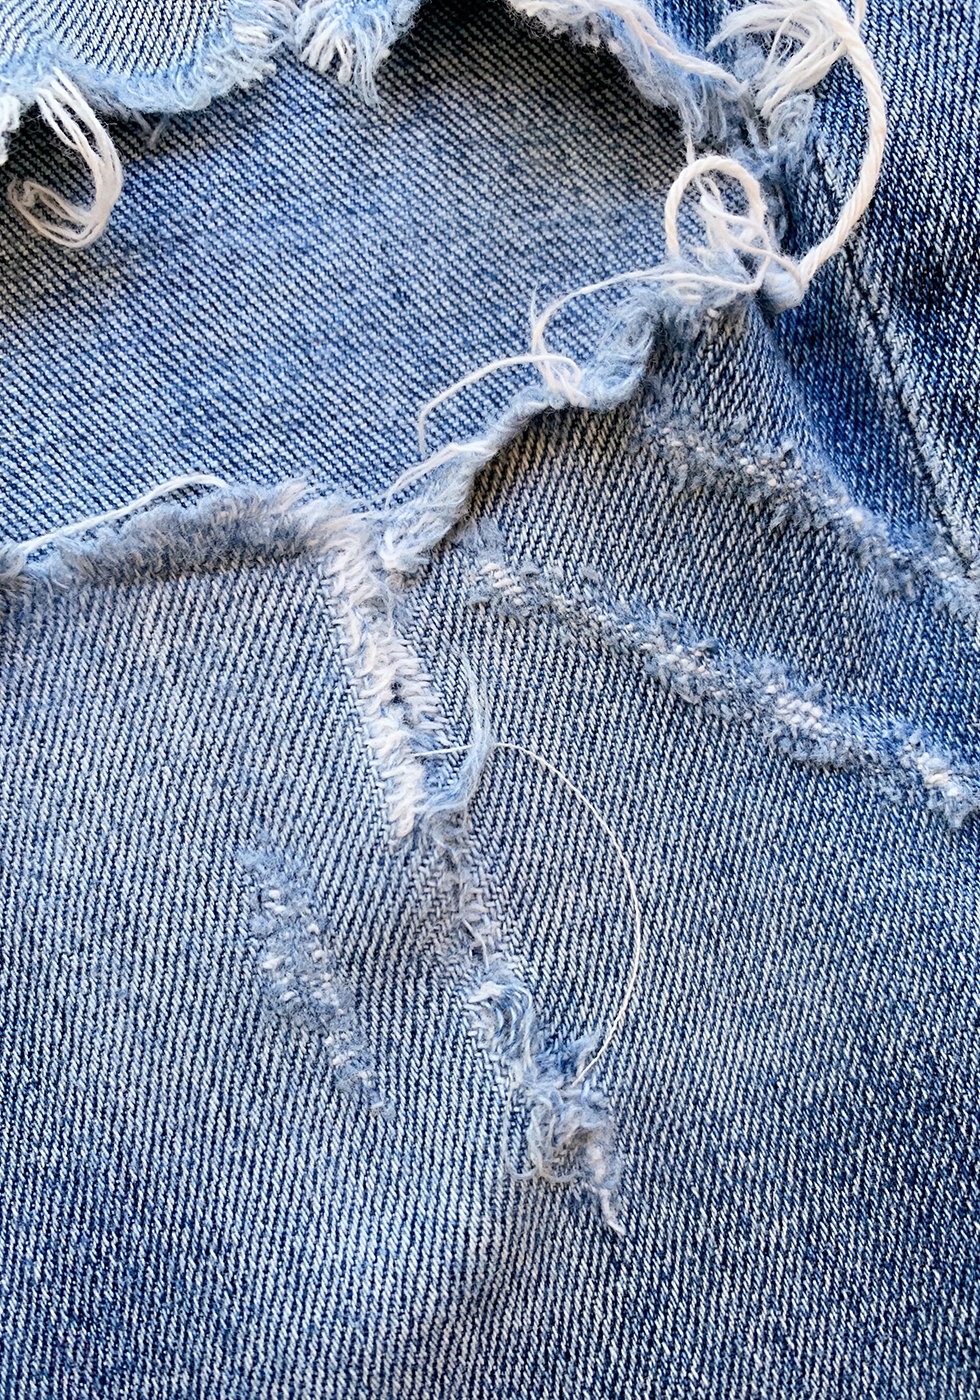
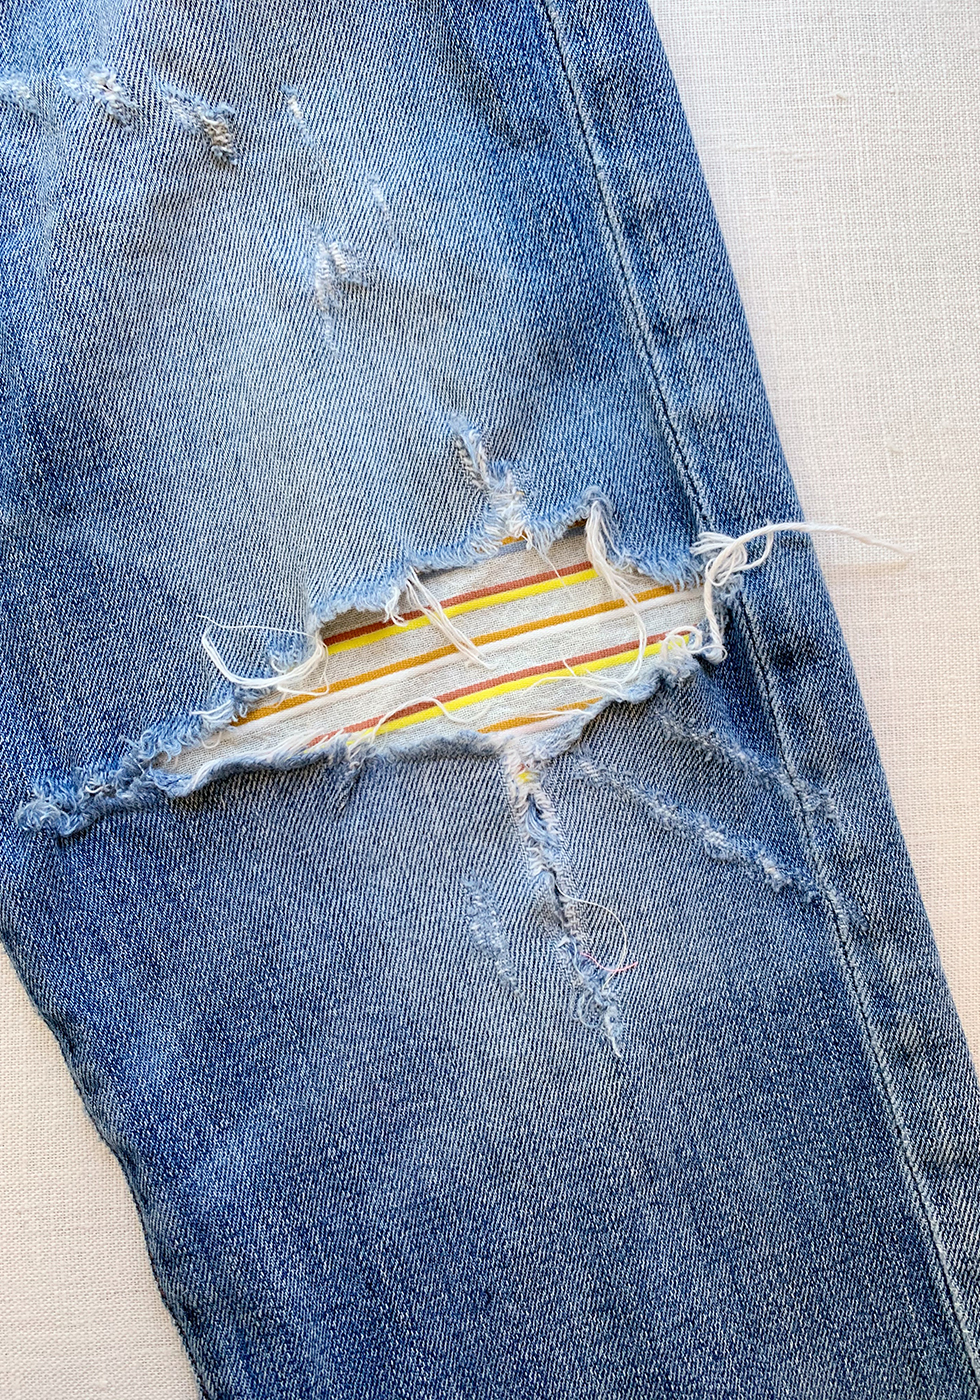
Now for the denim. If your denim is as destroyed as mine, listen up. If not, you can skip this part! So these jeans came with a tear in the knee. I'm not going to want to fuse this together before adding my patch. But I will want to add a patch underneath this hole to help reinforce it. As for the additional tear that wasn't originally part of the design of the jeans, just align it as best you can.
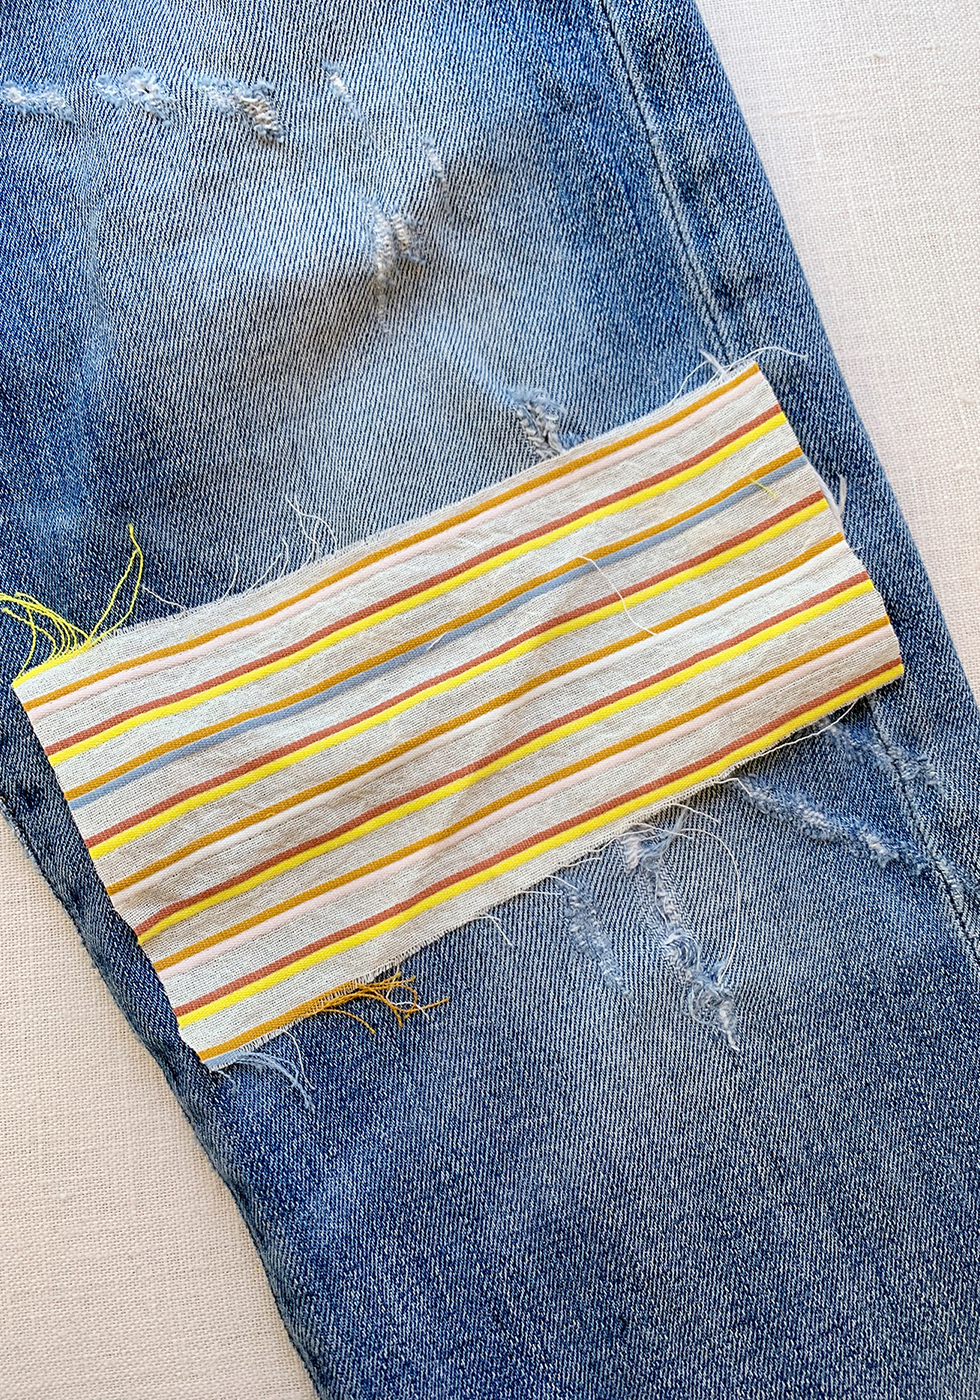

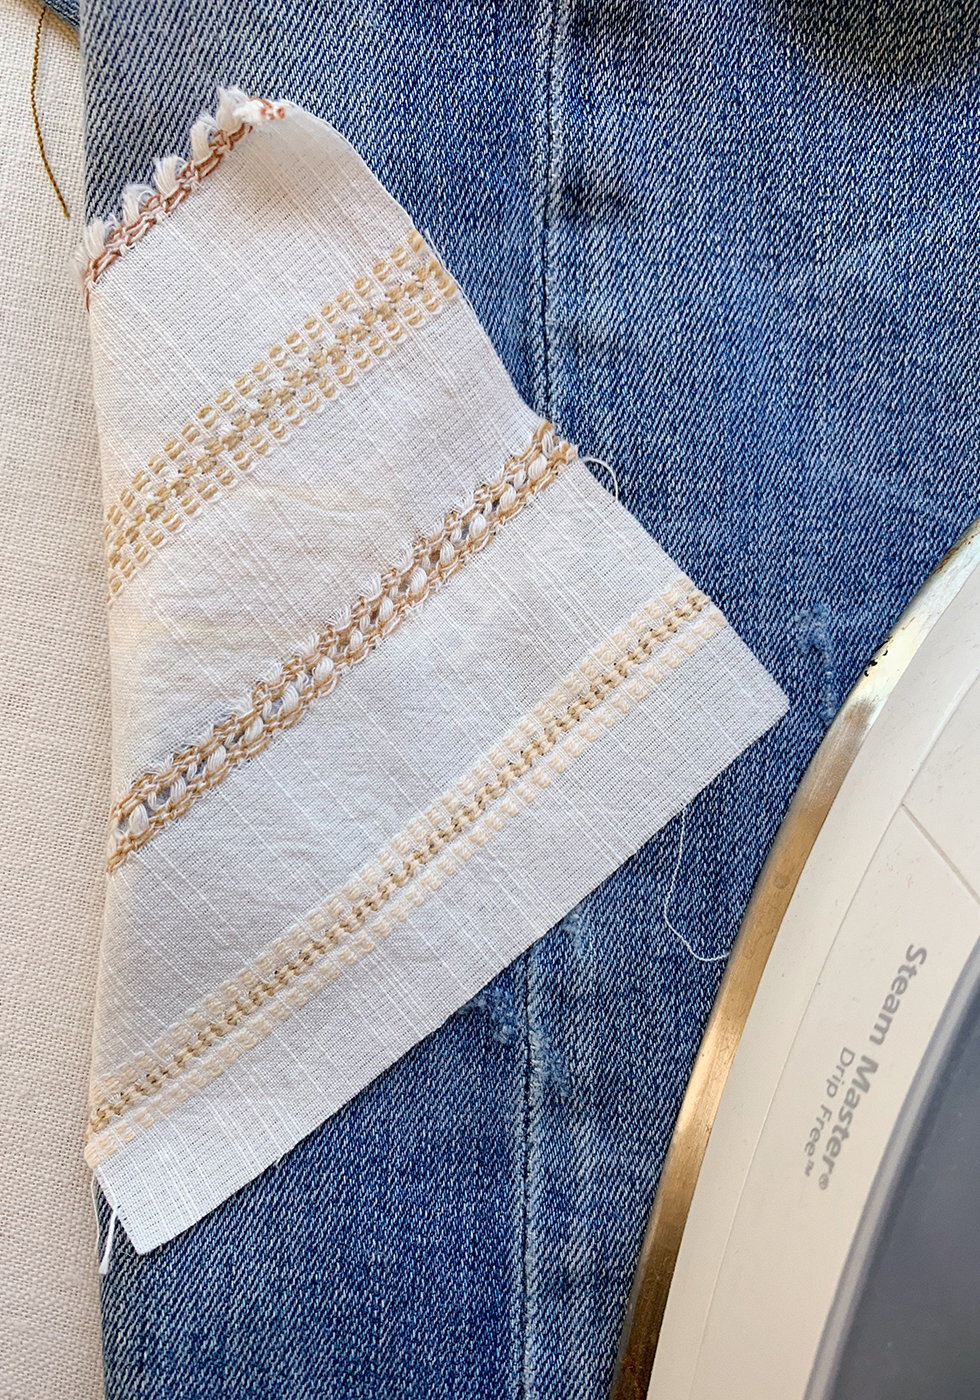
Cut a piece of scrap fabric to fit over your hole. Slip it into the jeans, underneath the hole.
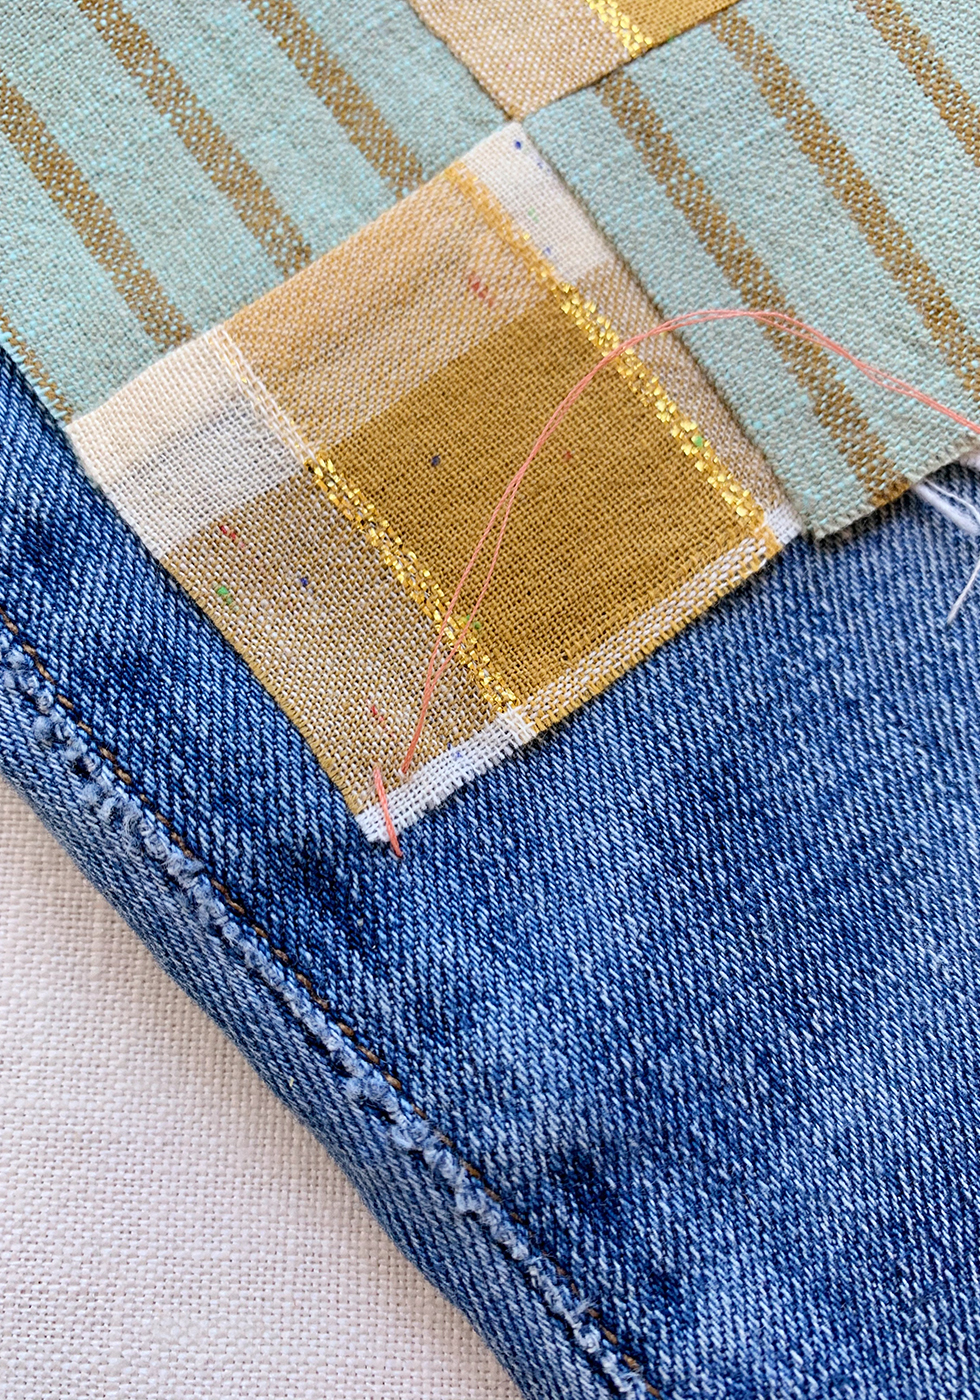
Pull the denim as close together as possible, flat and without any puckering. Lay your patches over it to ensure fit.
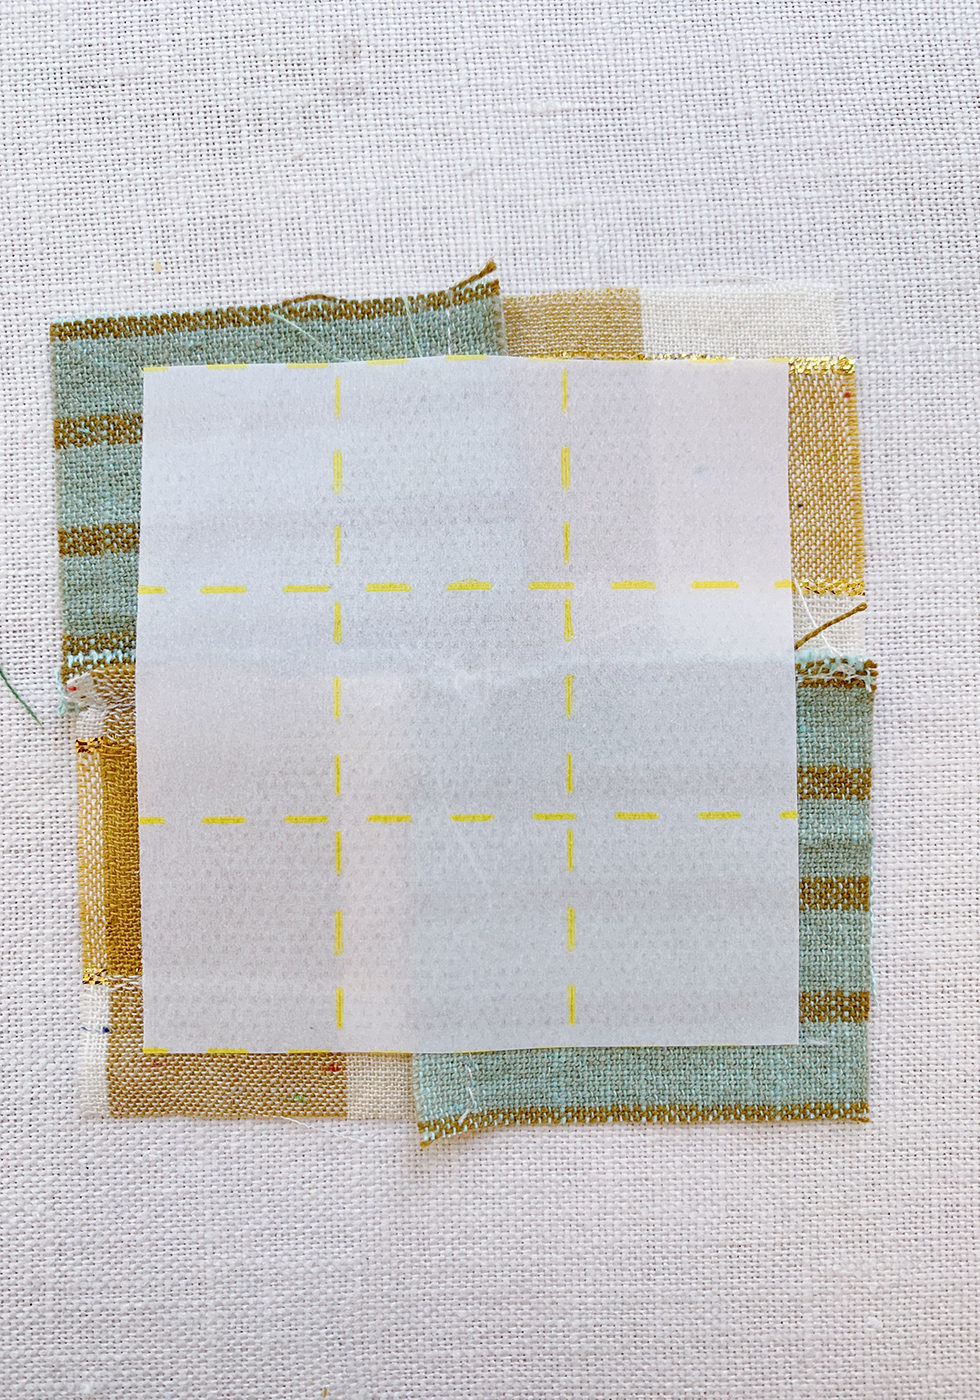
At this point, I like to add fusible webbing for two reasons. It helps attach the bottom patch to the top patch. It also makes stitching your patch onto the denim so much easier. This way, you don't need to baste it or add pins to keep the patch in place, which can sometimes cause the patch to shift. Cut a piece of fusible webbing to match your patch but about 1/4" - 1/3" less on each side. The webbing is sticky once ironed so you want to avoid sewing through it with your needle. Peel one of the paper backings off the webbing and place the sticky side down, onto the back of your patch. Press with an iron for a few seconds until it adheres.
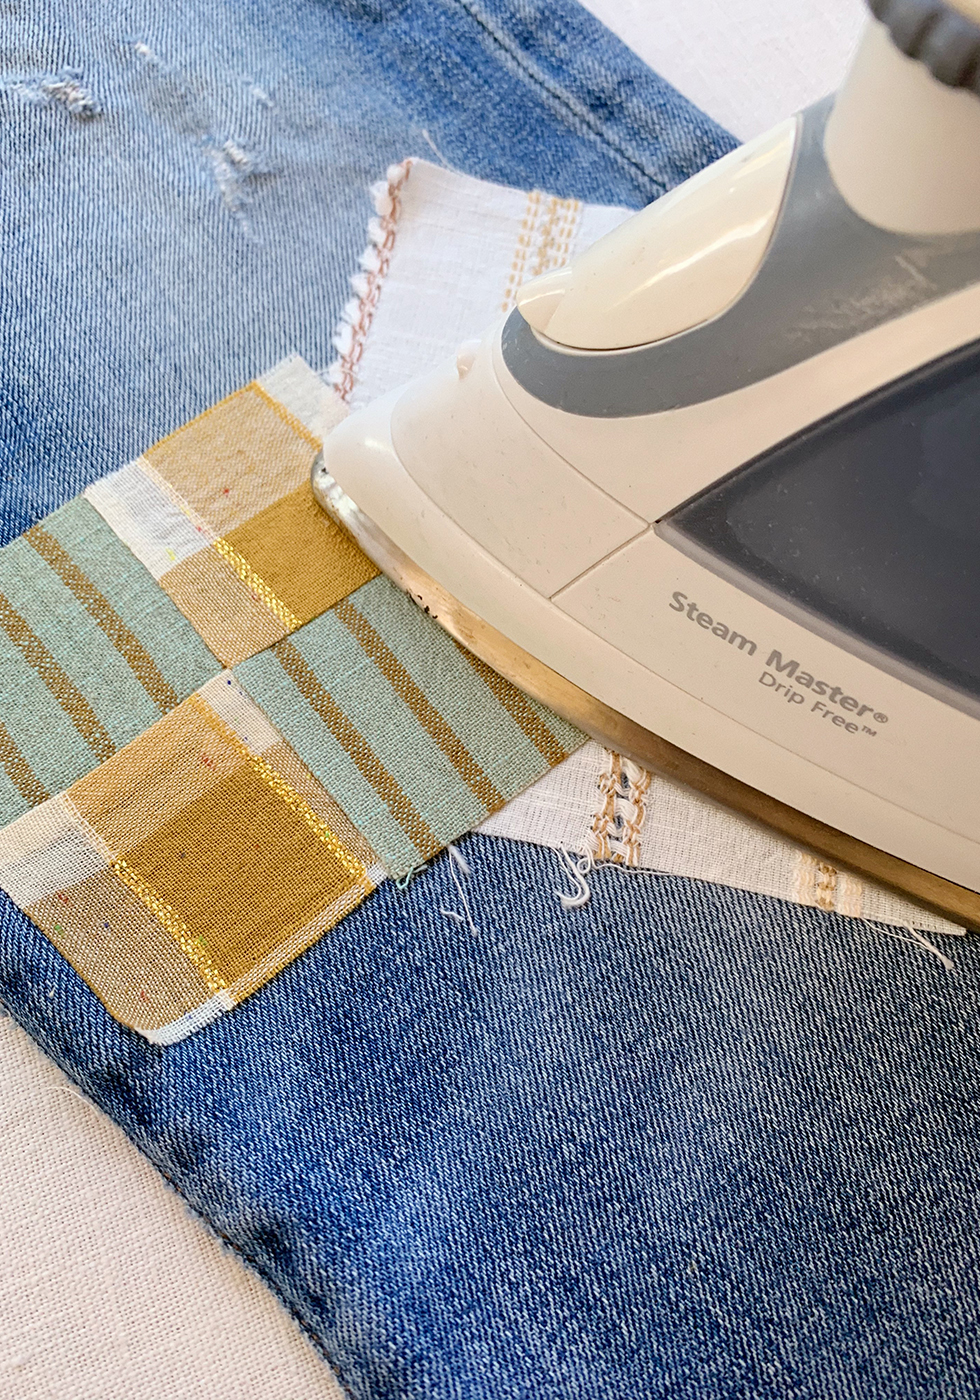
Once it's cooled, remove the 2nd paper backing from the back of your patches and place them on the denim. Iron until they're adhered.
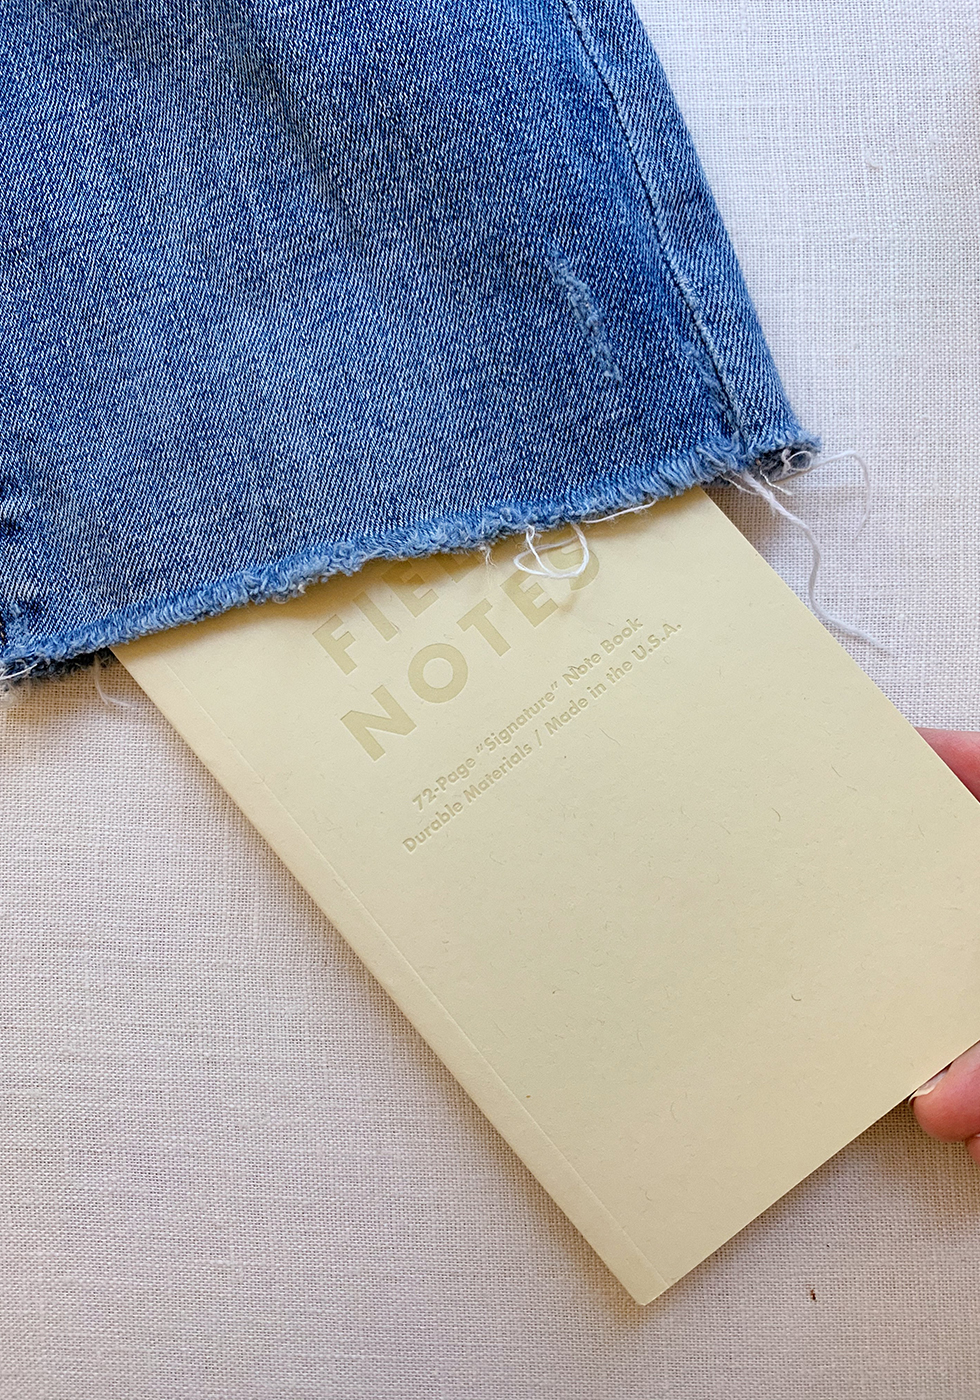
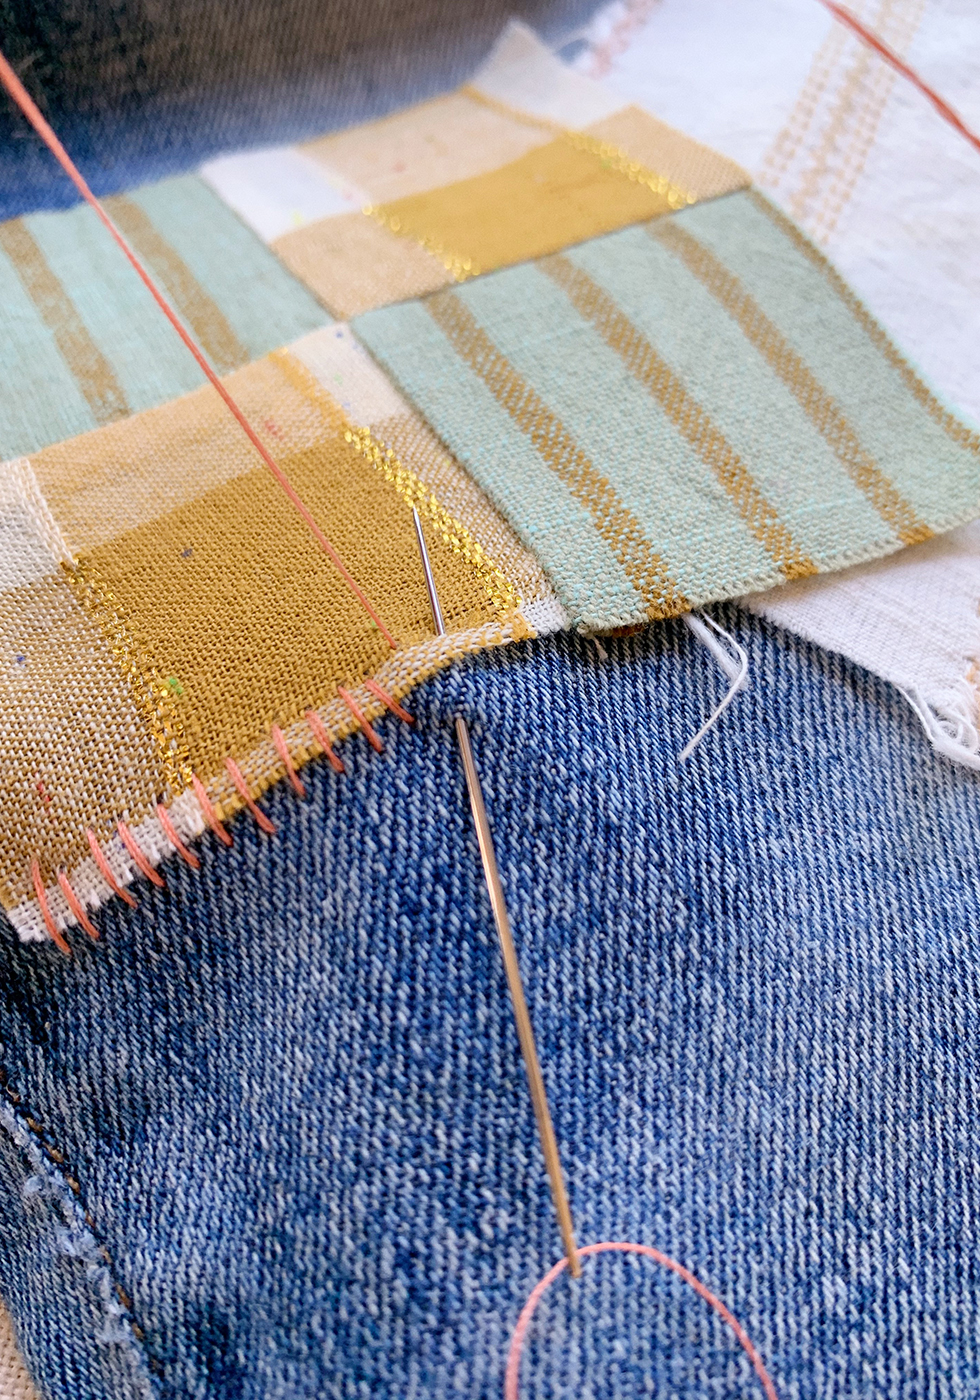
Now you'll stitch the patches on. I like to slip something hard into the leg of the denim...this will help with the stitching.
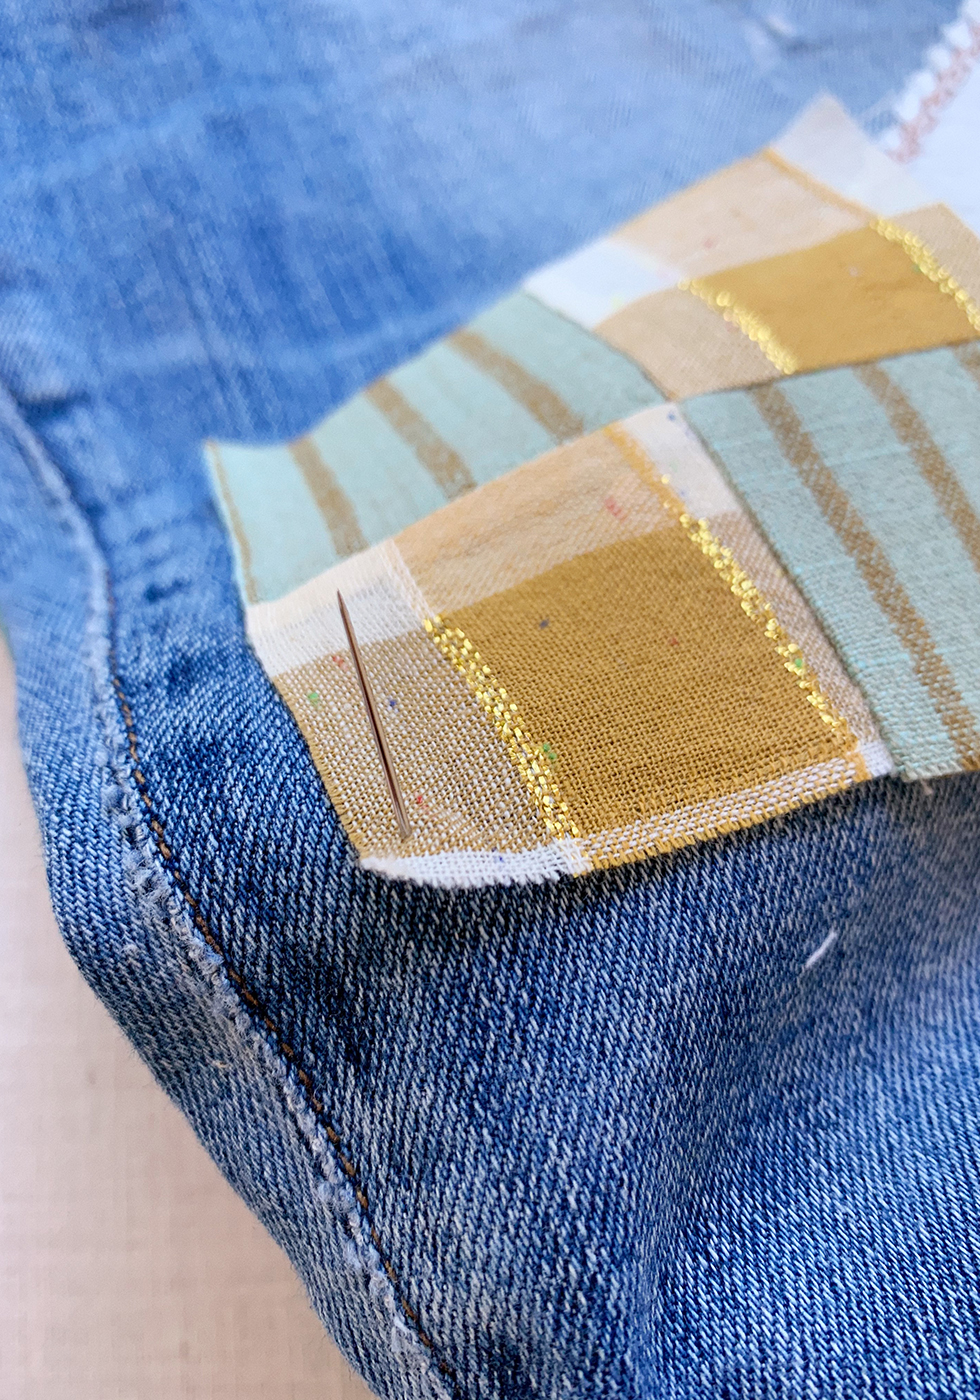
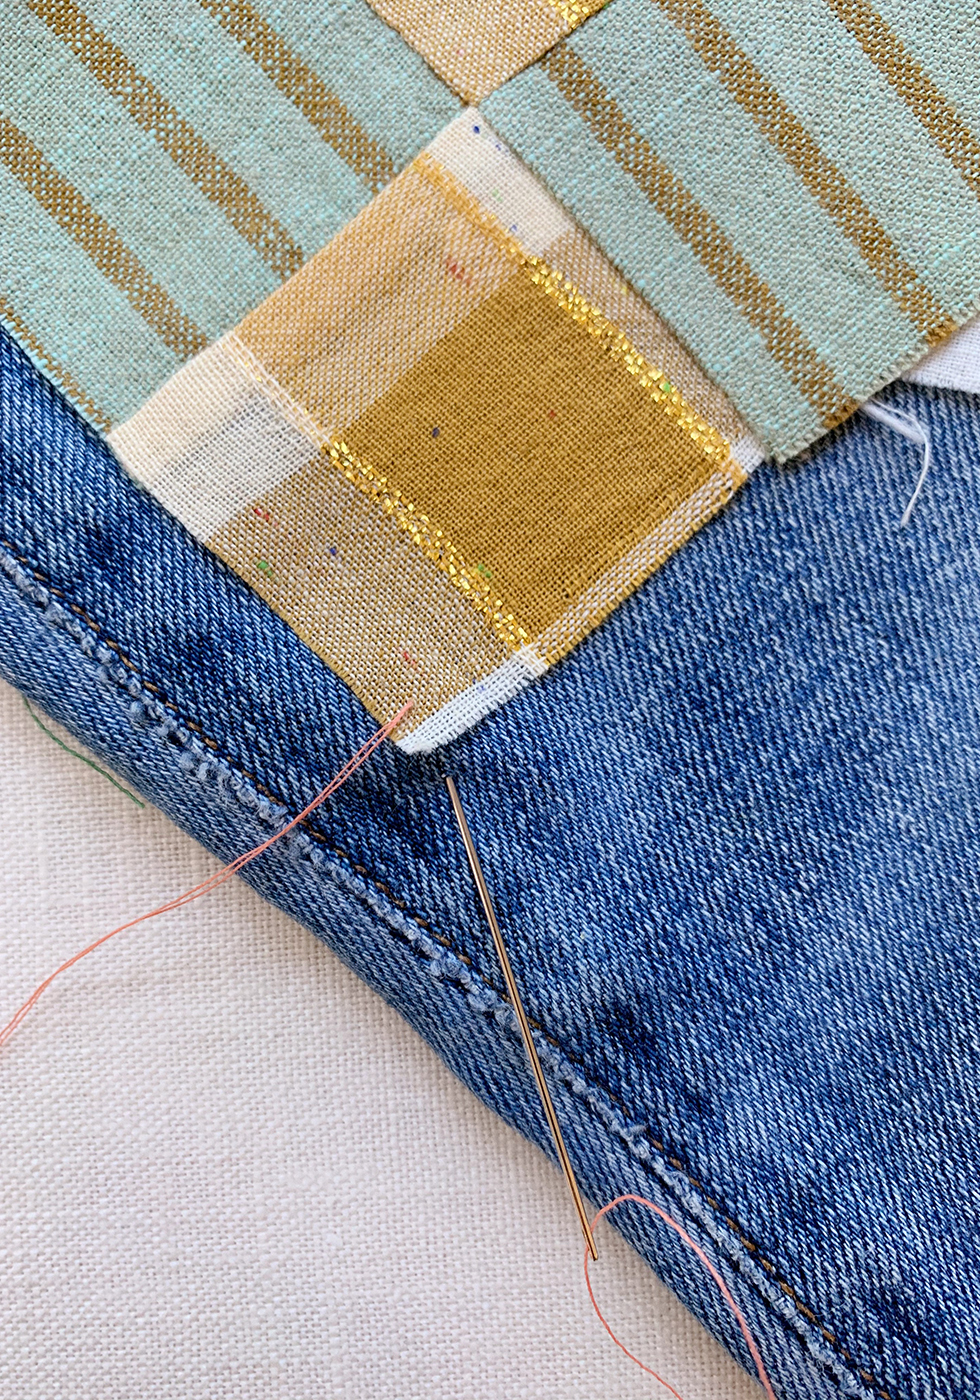
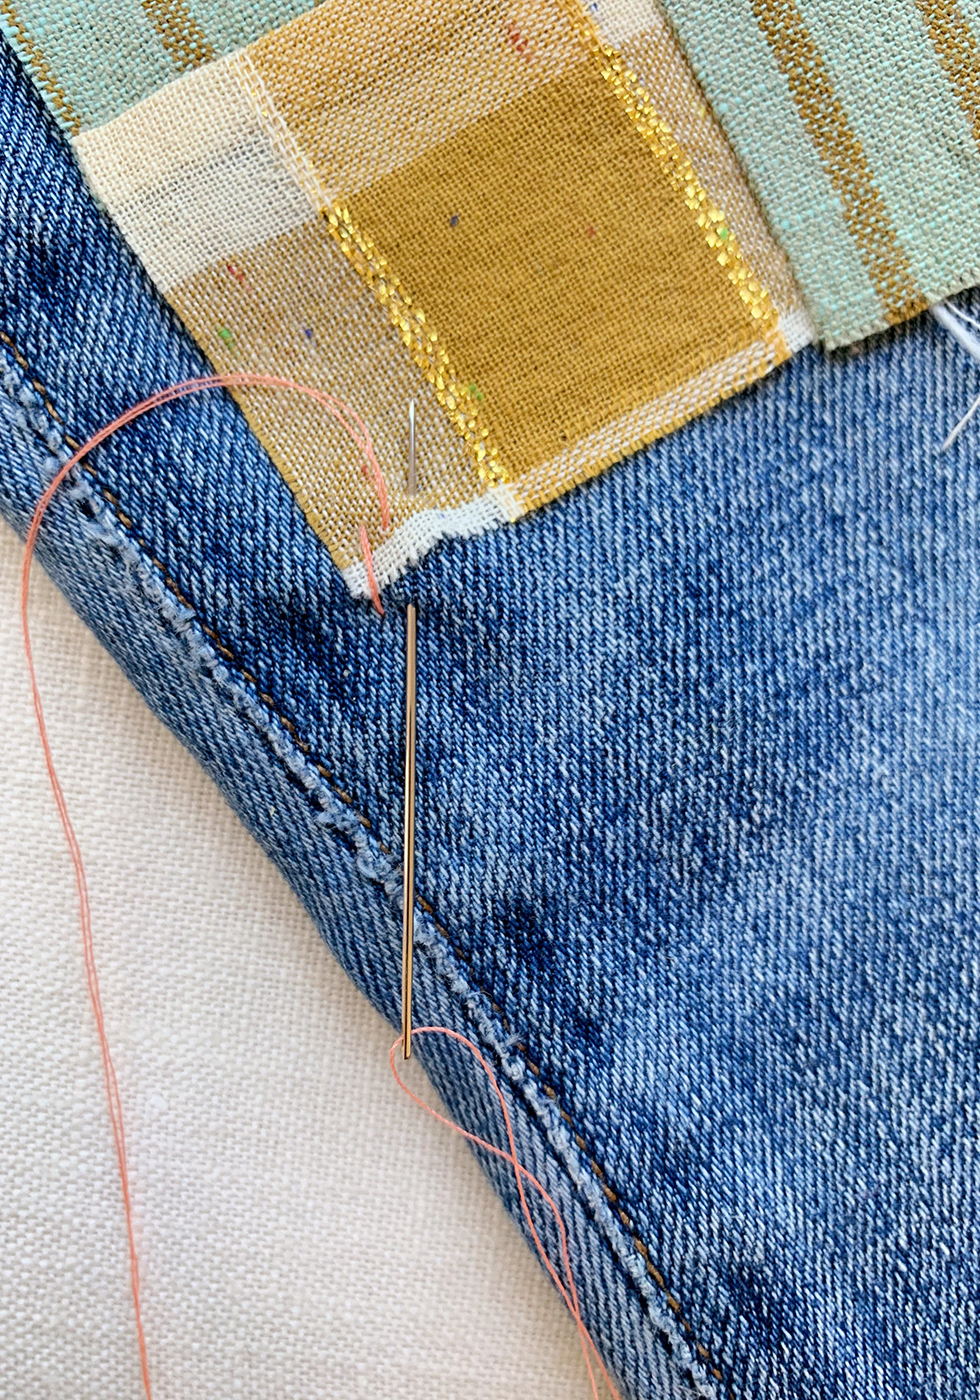
Thread the needle and double knot at the end. Push the needle through the denim and patch. Pull the thread all the way through. Now, push the point of the needle directly underneath that first entry point, about 1/8-1/4" from the edge of the patch, into the denim.
Without pulling the needle all the way through, through the inside of the denim (which would take forever), immediately push the tip of the needle through the patch at a diagonal and next to your entry point. Pull the thread all the way through. This is where having something hard inside the denim leg helps - it's so your needle doesn't catch on the denim each time.
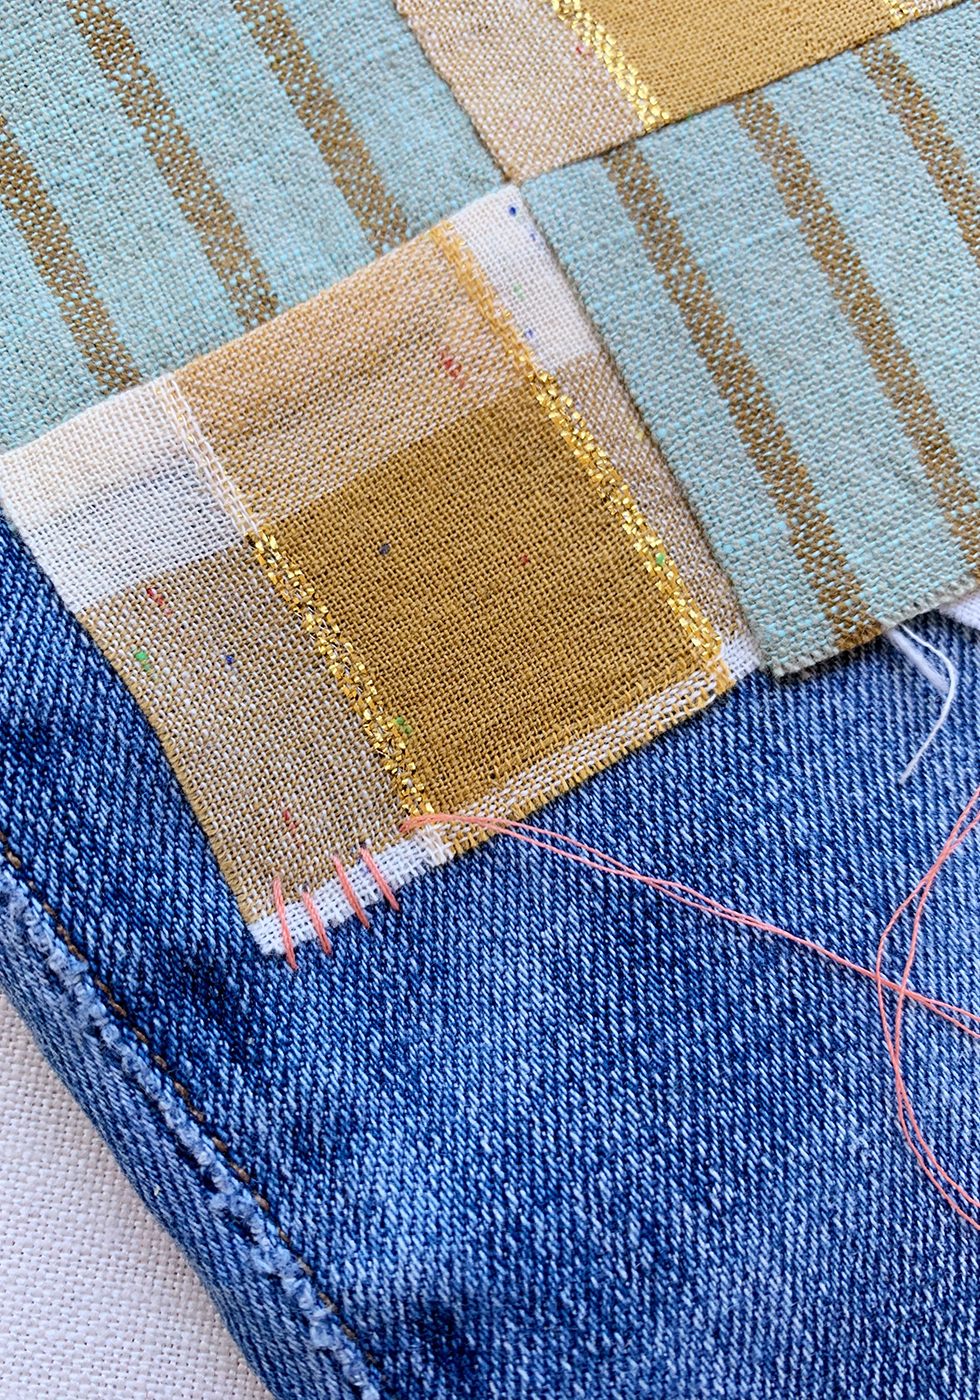
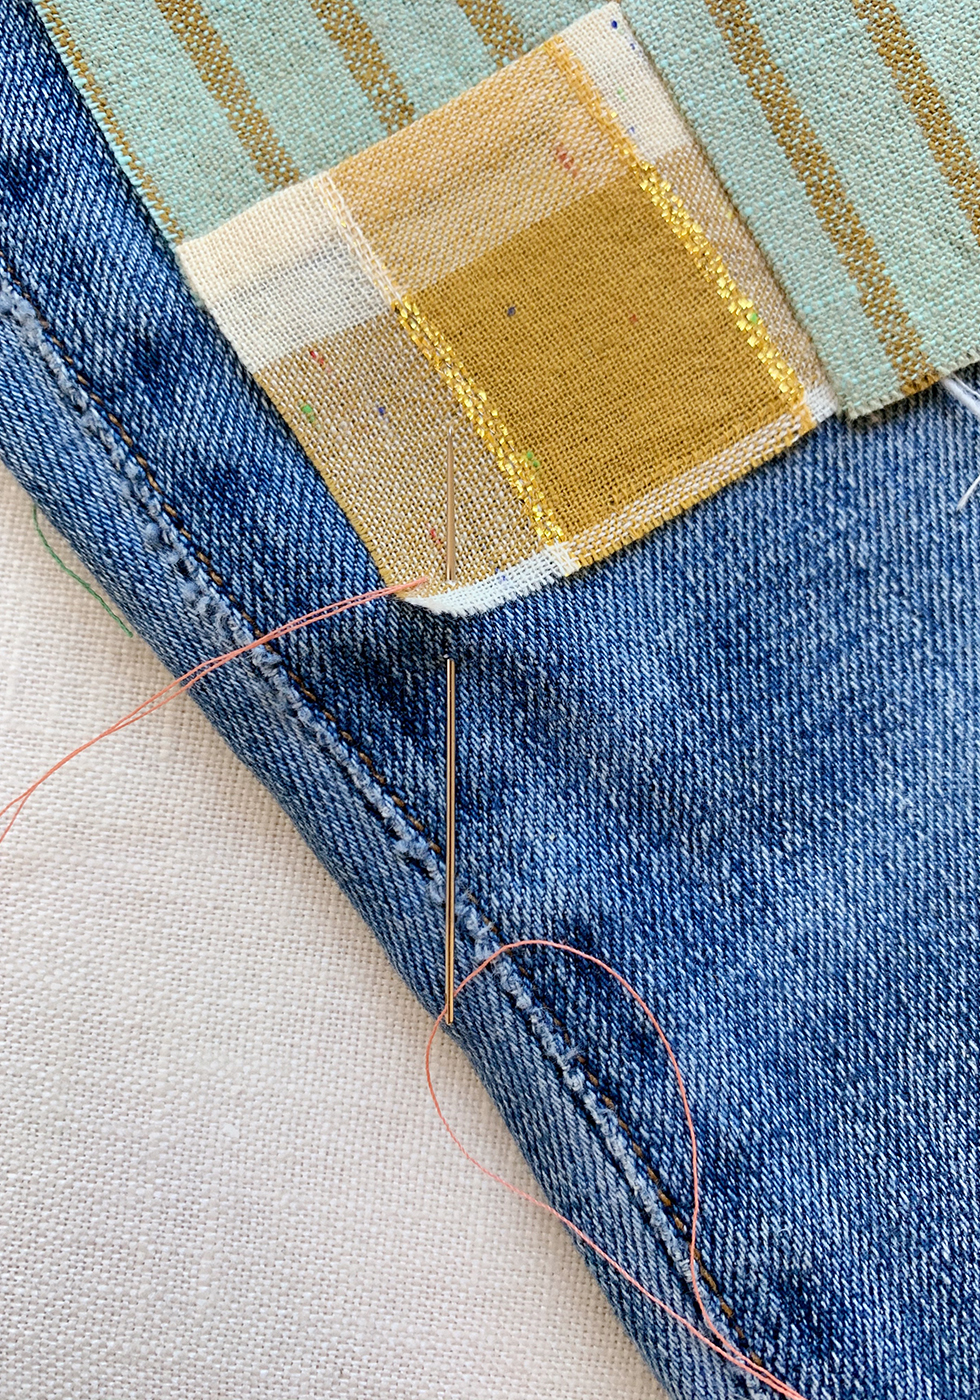
Repeat the steps. Poke the tip of the needle directly below the entry point and then out again at a diagonal, next to the previous stitch.
A trick I picked up while doing this is to pull the denim up by the thread. It makes that diagonal push through a lot easier . . . and faster.
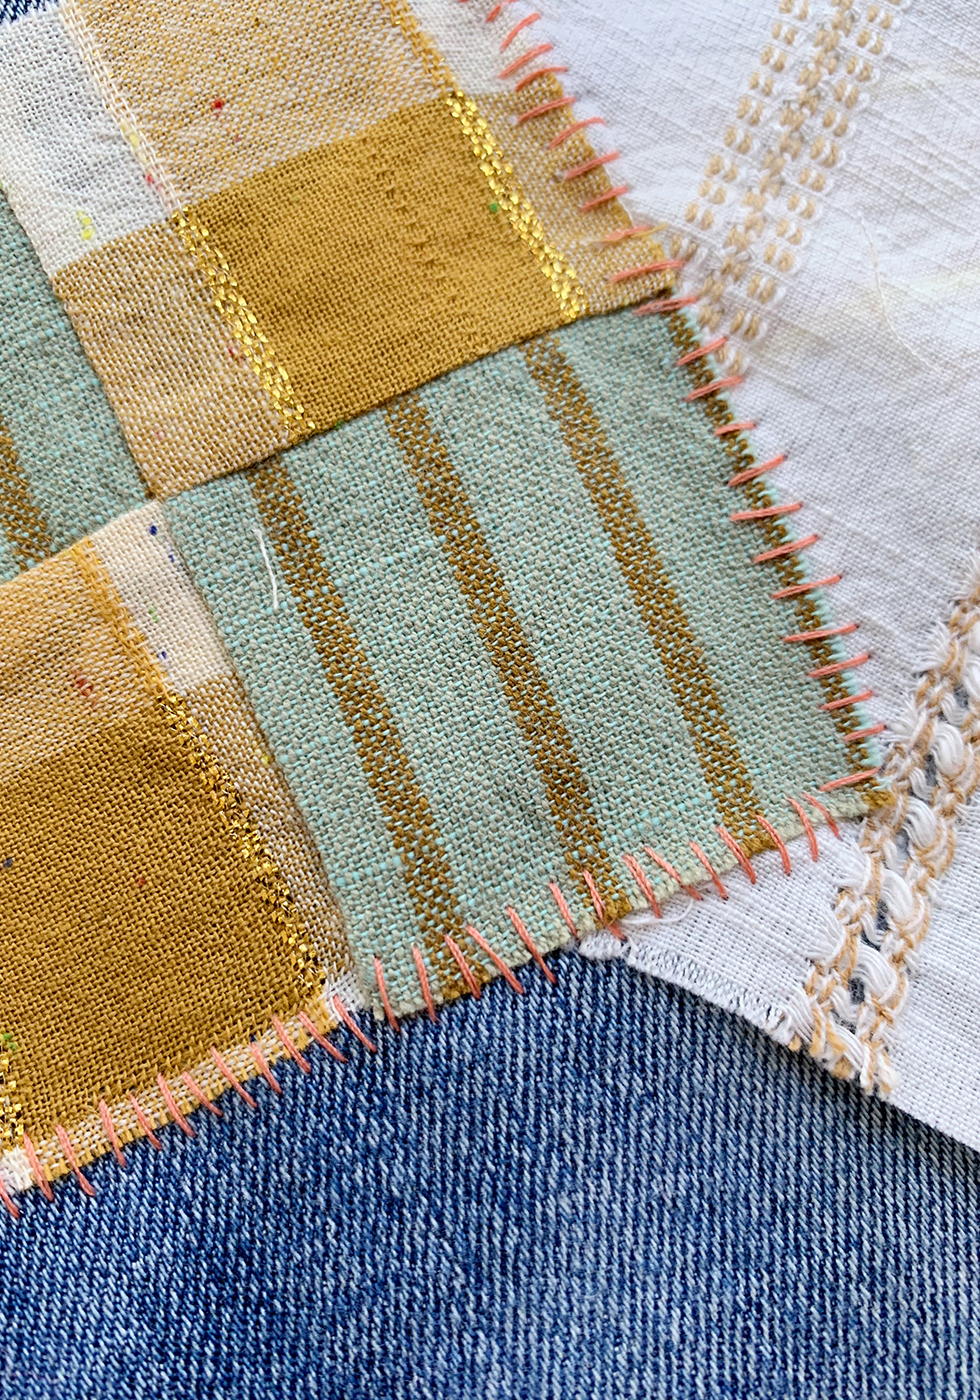
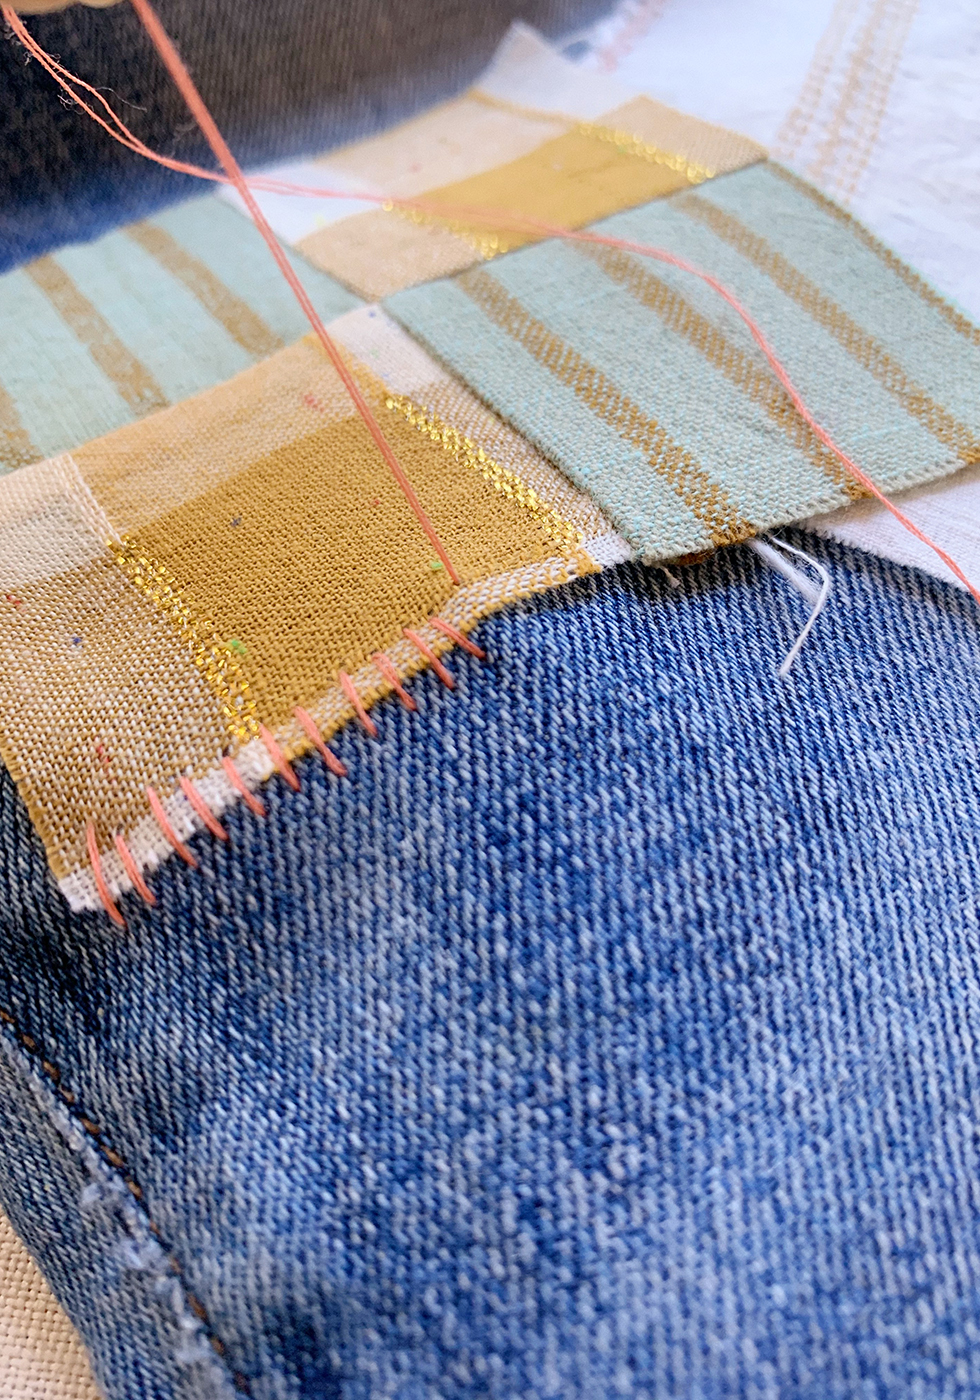
Continue stitching all around each patch.
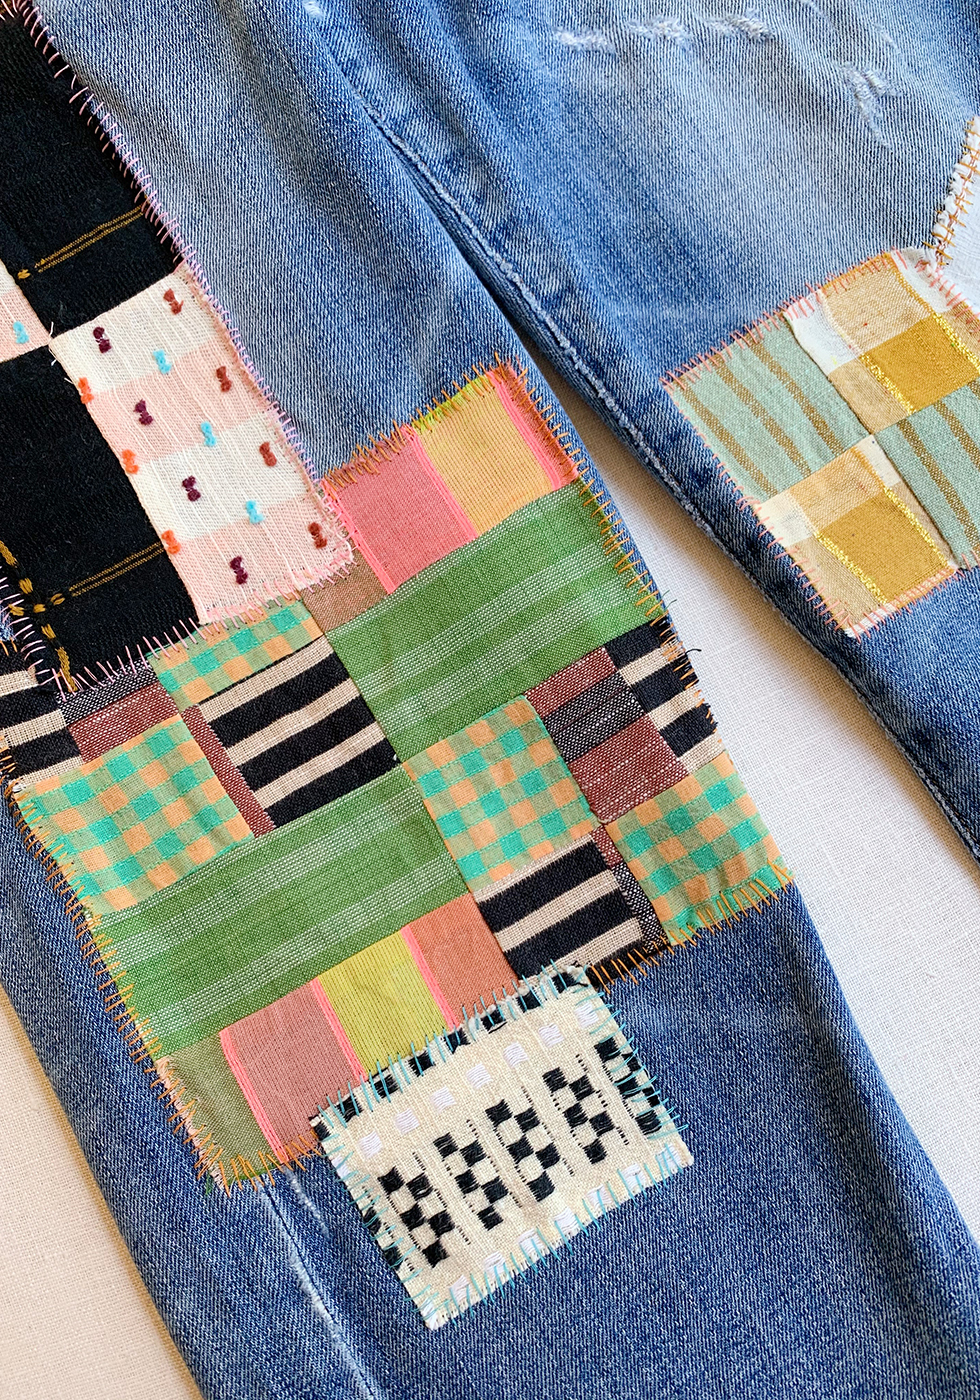
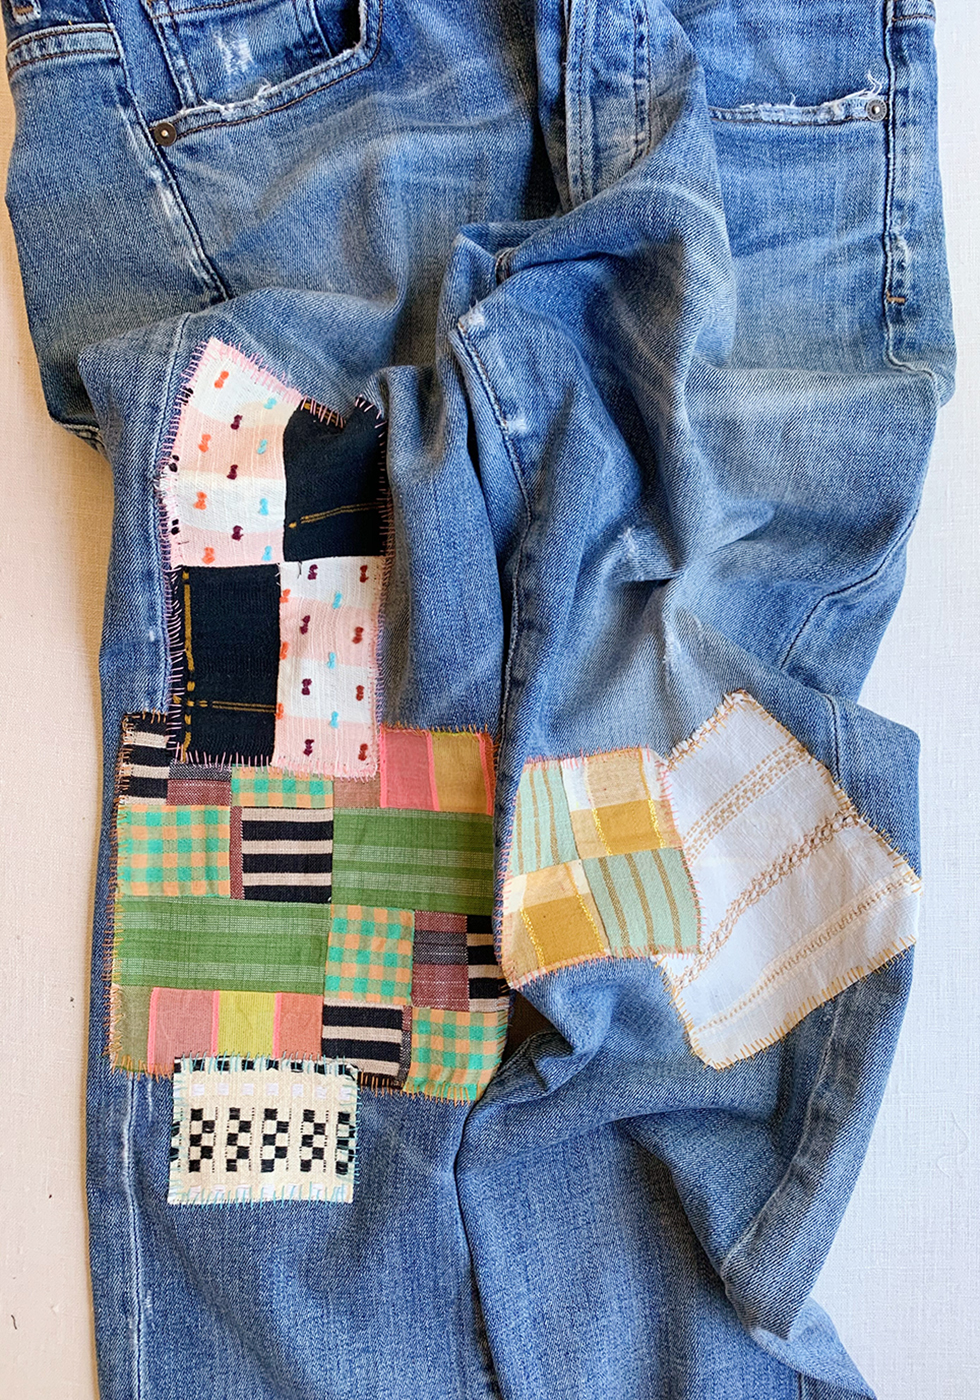
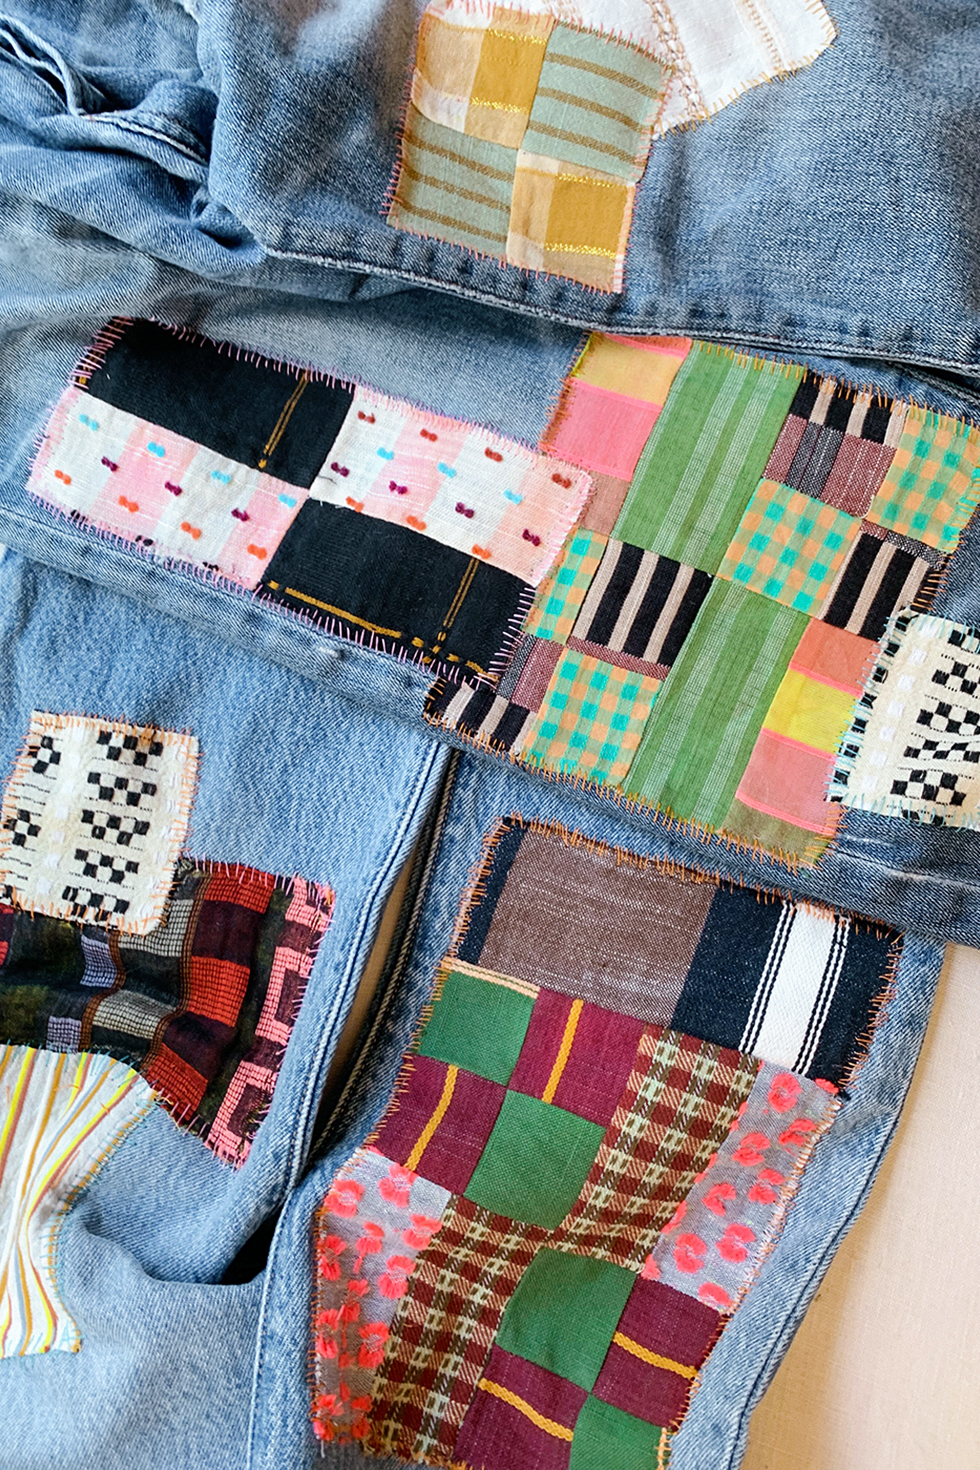
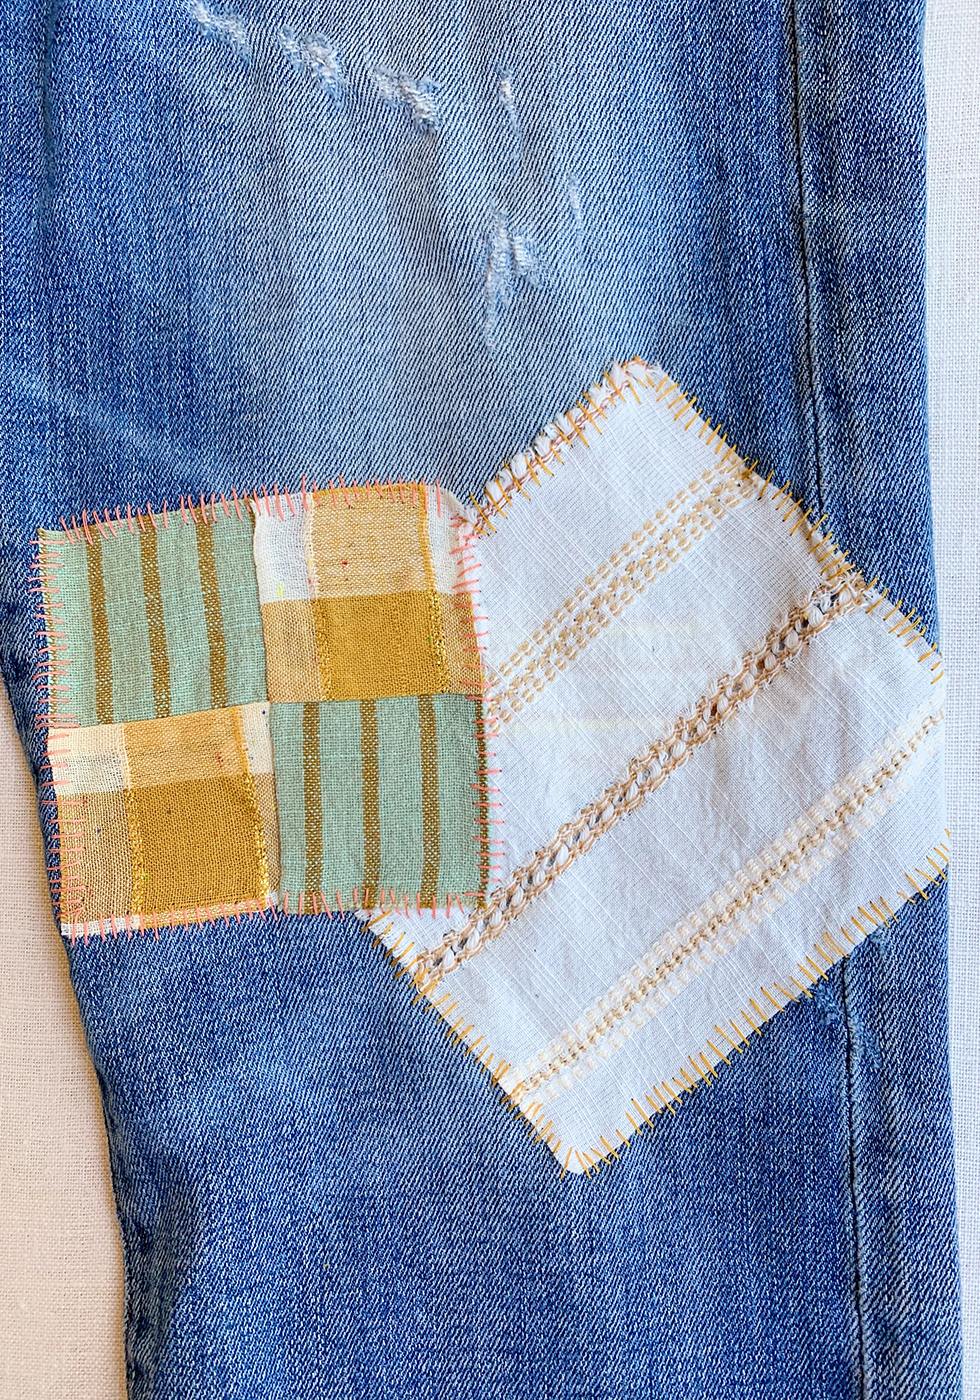
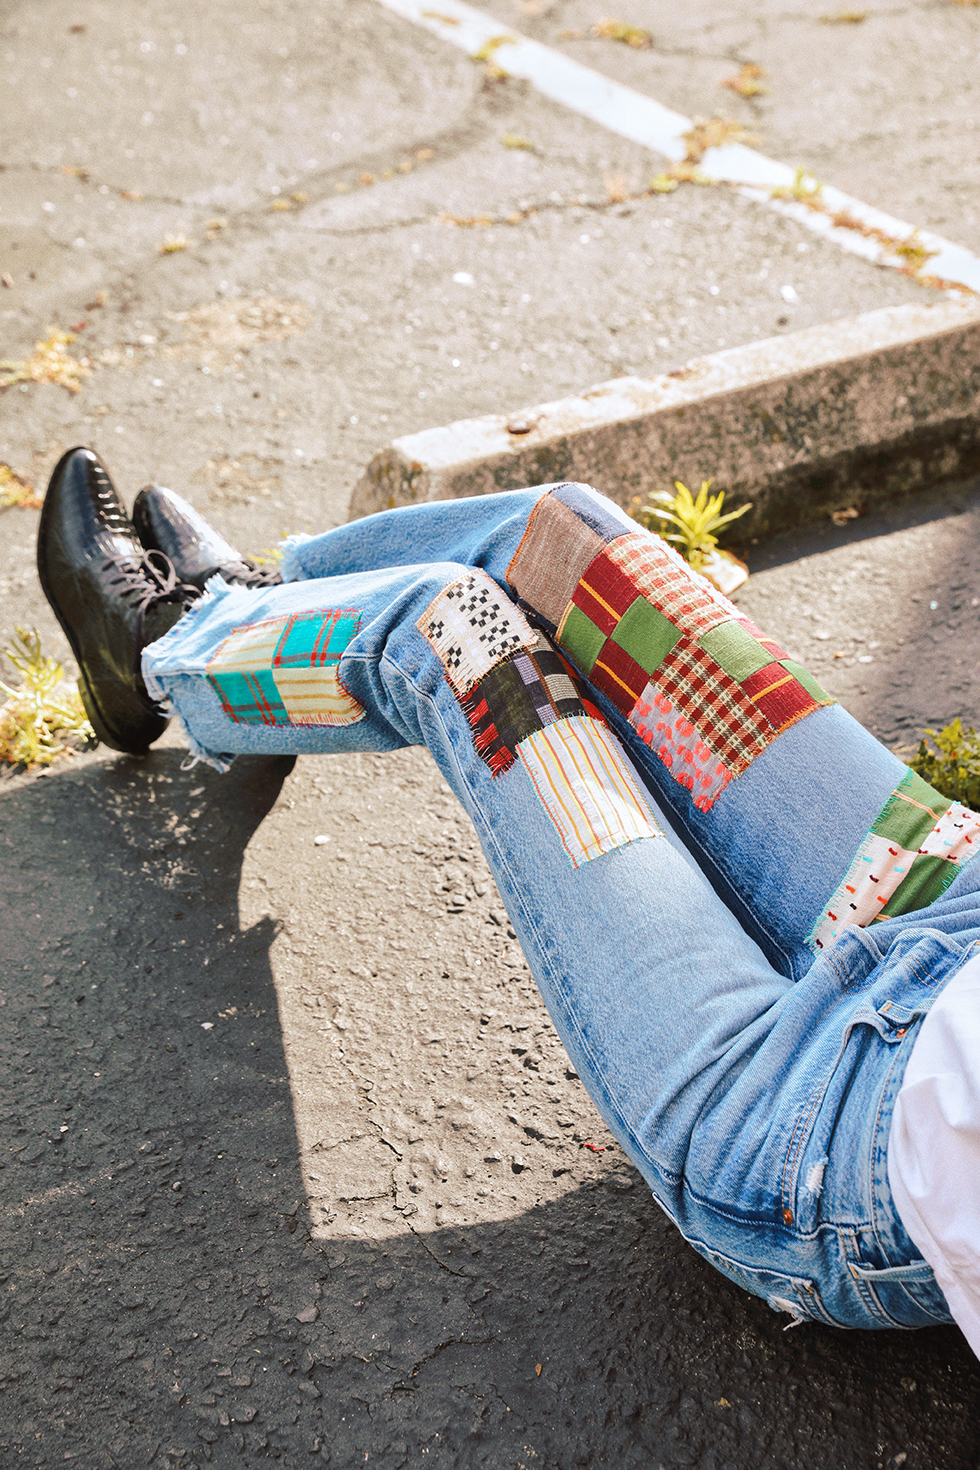
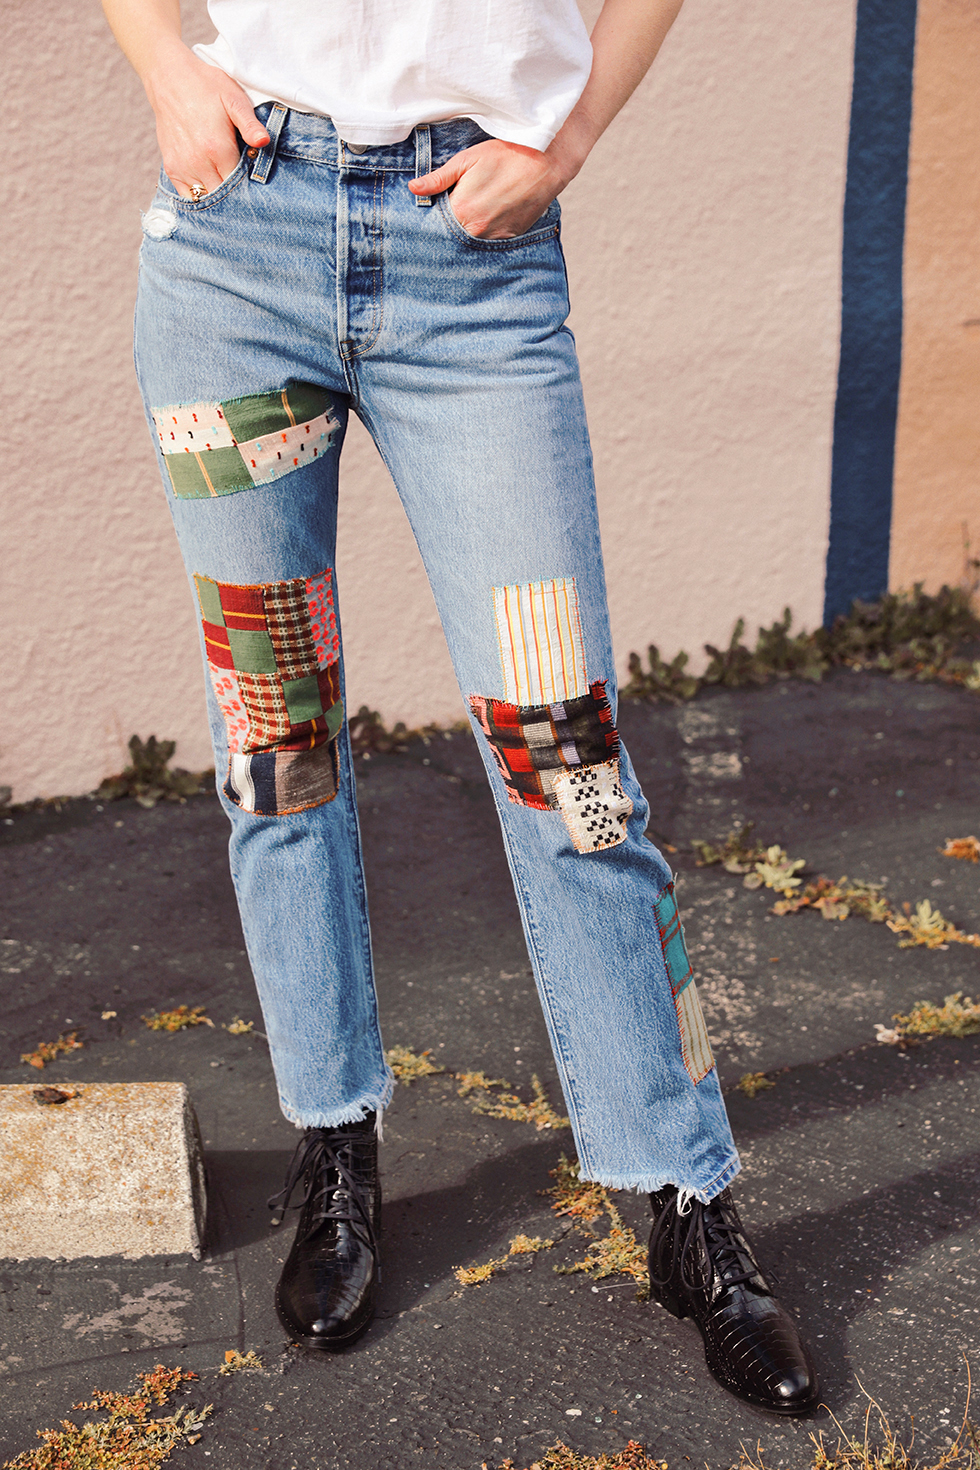
Experiment with overlapping and combining patches!
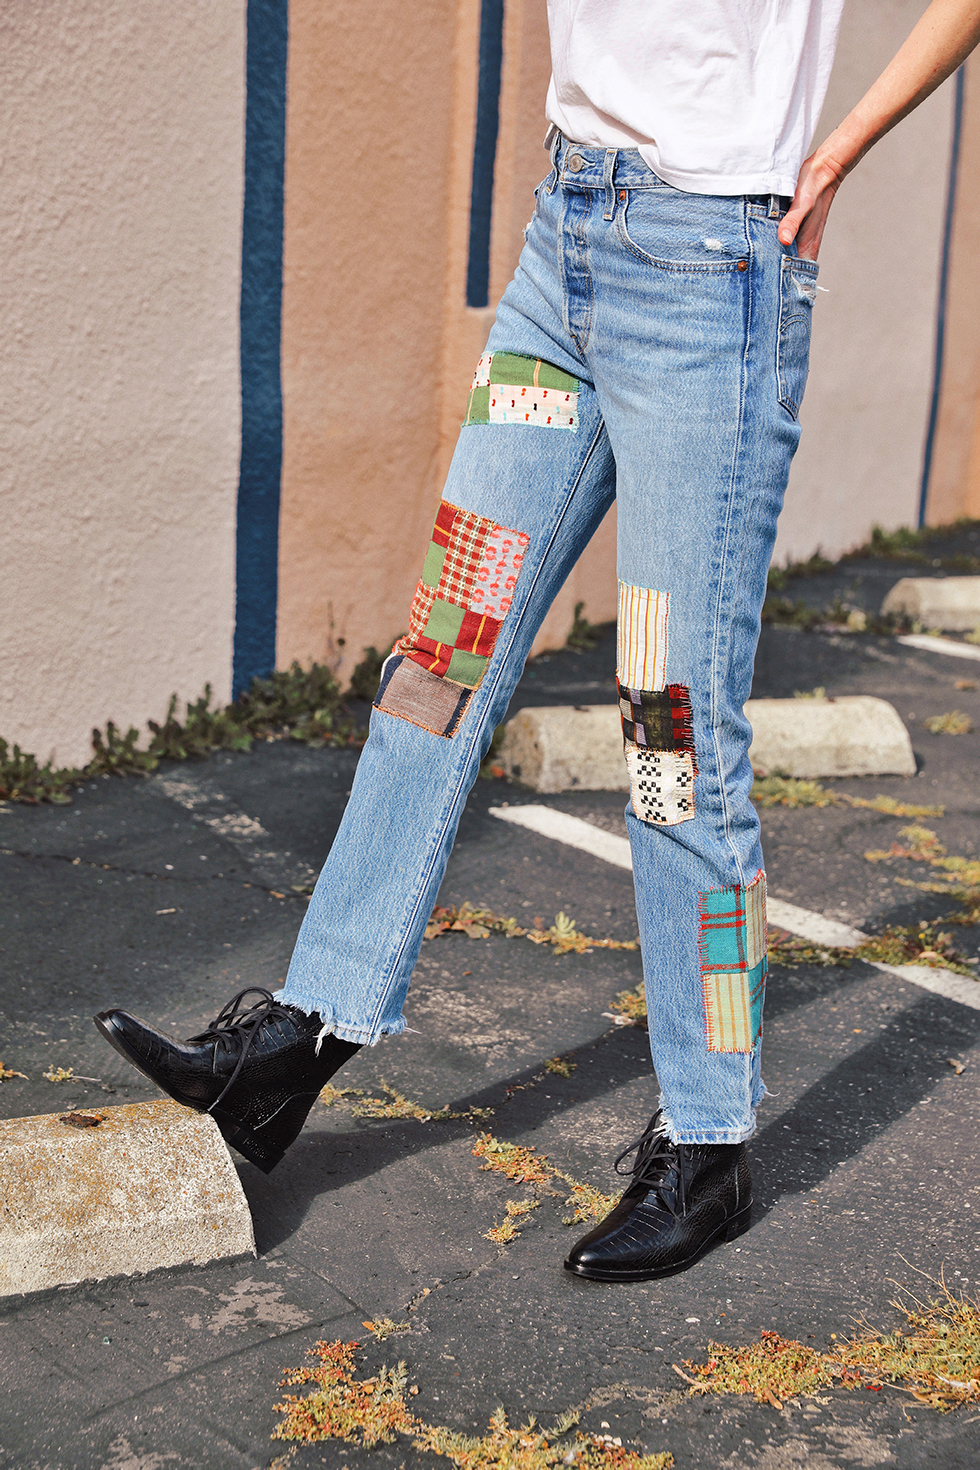
Voila! Mended and upcycled denim. Again, ace&jig patch kits are available for a limited time via Freda Salvador. With a purchase, you will be given access to a live mending webinar on April 22nd, co-hosted by me, FREDA Salvdaor, and ace&jig. Gather your supplies and join us!
images by HonestlyWTF & Andrea Posadas
Its funny
Wow. I love the way they turned out. I have one too many ripped jeans to patch up but what if you don’t have a sewing machine?
Try This:
https://honestlywtf.com/?s=sashiko&submit=
Thank you for this! It’s exactly what I needed right now.
Can you buy the patchwork jeans?
How do you know that the patches won’t fray? Is the handstitching a good enough preventer?
Thank you for this tutorial. Inspired me to rework a pair of thrifted jeans. I am enjoying the process and loving the look.
This was such a fun and inspiring DIY project! I love how patchwork denim gives old jeans a completely fresh look while encouraging a more sustainable approach to fashion. The step-by-step process makes it feel approachable even for someone trying this technique for the first time. It’s interesting how personalized clothing and beauty often go hand in hand when creating a unique style. For special occasions or creative photoshoots, many people also rely on Onsite Makeup services to complete their overall look without the hassle of traveling. I’ve noticed Glam To Be reflects this same focus on convenience and personal style. Thanks for sharing such a creative and practical tutorial!