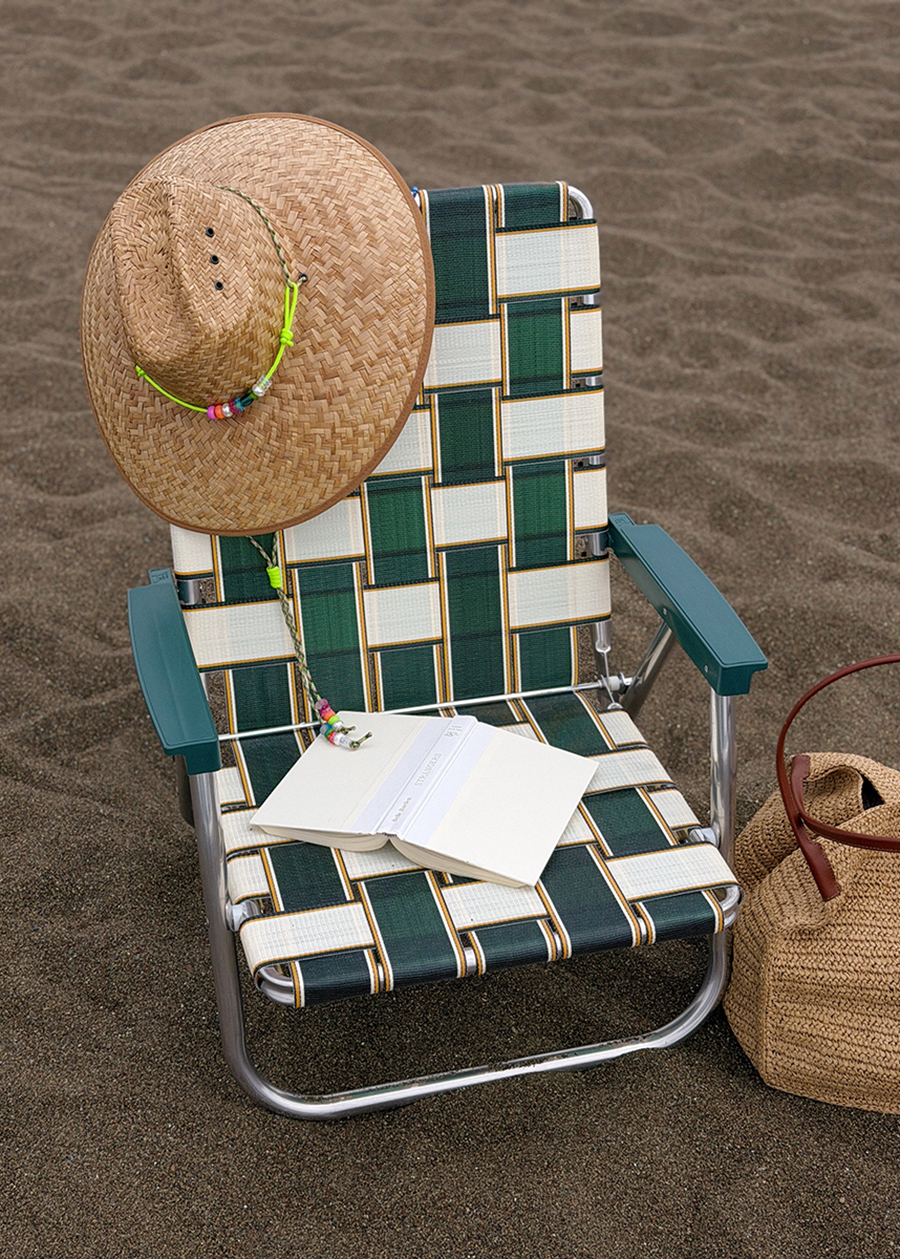
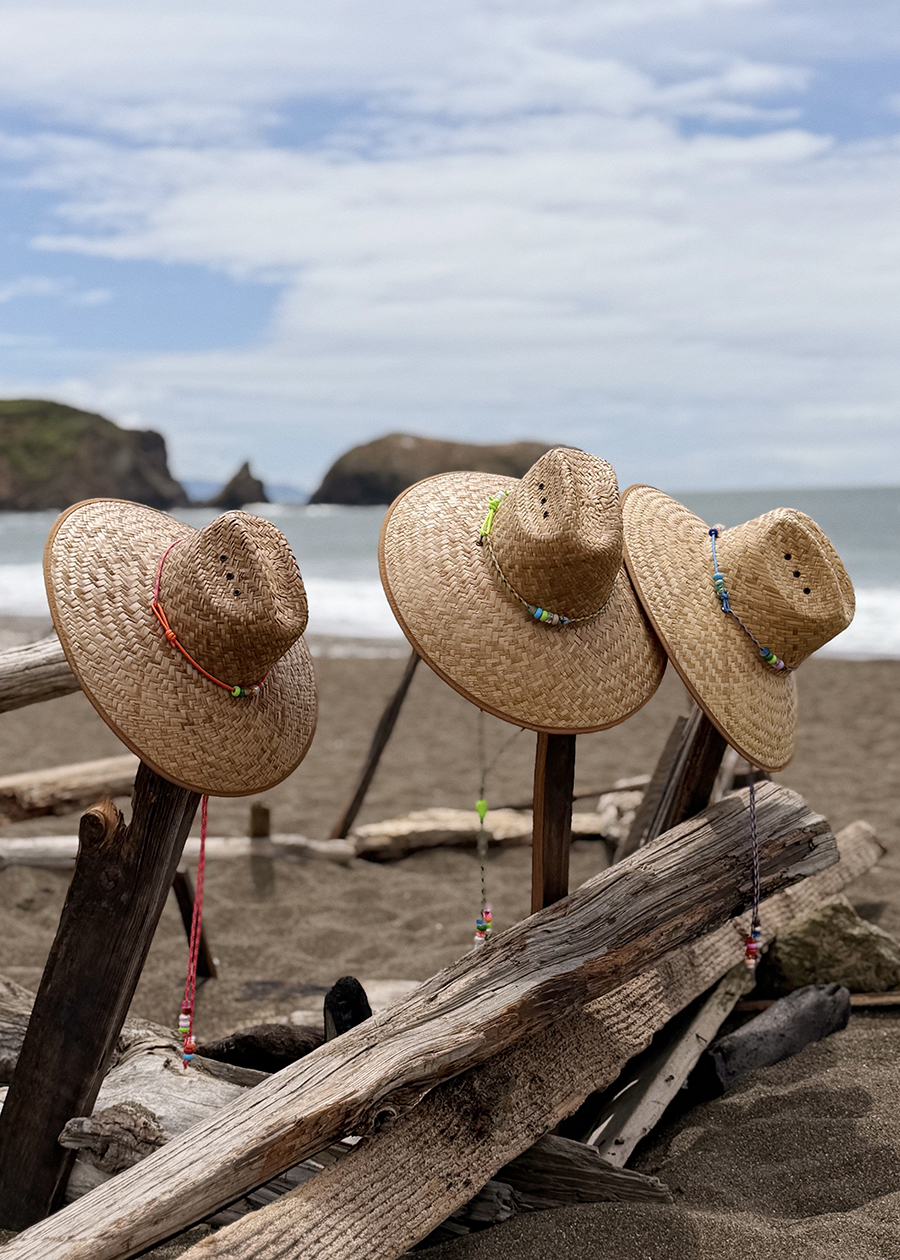
If there’s one thing we’ve learned after decades of beach days, pool hangs, long walks, and generally overestimating how much sun our skin can handle, it’s this: shade is chic. That realization inspired my latest collaboration with Ariel of Ariel Gordon Jewelry: the DIY Knotty Lifeguard Hat Kit.
Part nostalgic throwback, part wearable craft project, and part very practical solution to our increasingly complicated relationship with the sun, the latest kit transforms a classic (and very comfortable) lifeguard hat into a fully customizable summer accessory. Each kit includes a natural straw lifeguard hat along with a curated assortment of colorful rope and decorative components that allow you to tie, knot, and personalize your hat however you like. No two creations will look exactly alike, and that’s exactly the point.
Available in three colorways - Blue Steel, Lime Light, and Tangerine Dream - each kit is designed to bring a little personality (and a lot more shade) to all your summer adventures.
You'll Need:
-
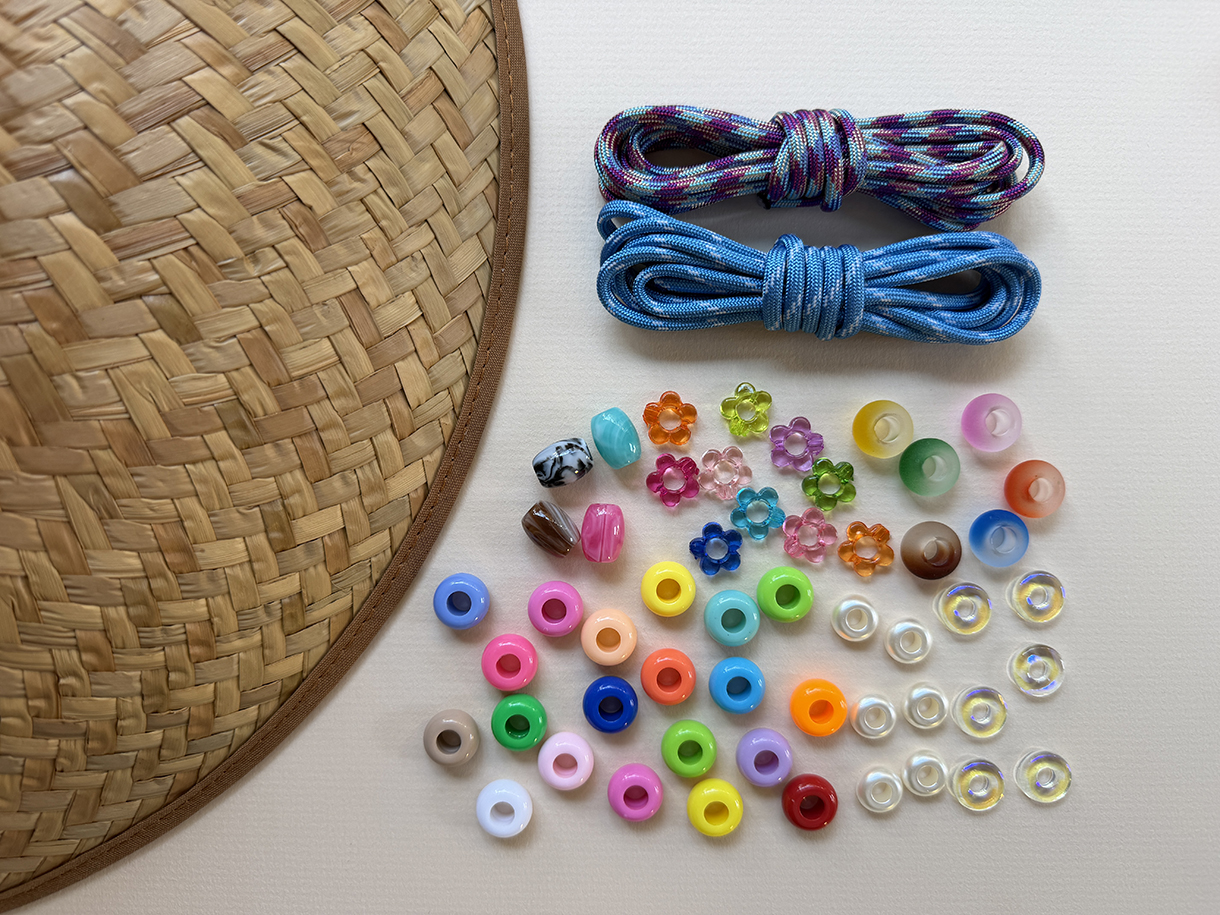
DIY Knotty Lifeguard Hat Kit includes:
shown here in Blue Steel
- thick rope in 2 colors (6 ft each)
- ombré beads x 6
- pearl beads x 6
- tube beads x 4
- iridescent beads x 5
- daisy beads x 10
- acrylic beads x 20
- lighter
ADDITIONAL SUPPLIES NEEDED:
- scissors
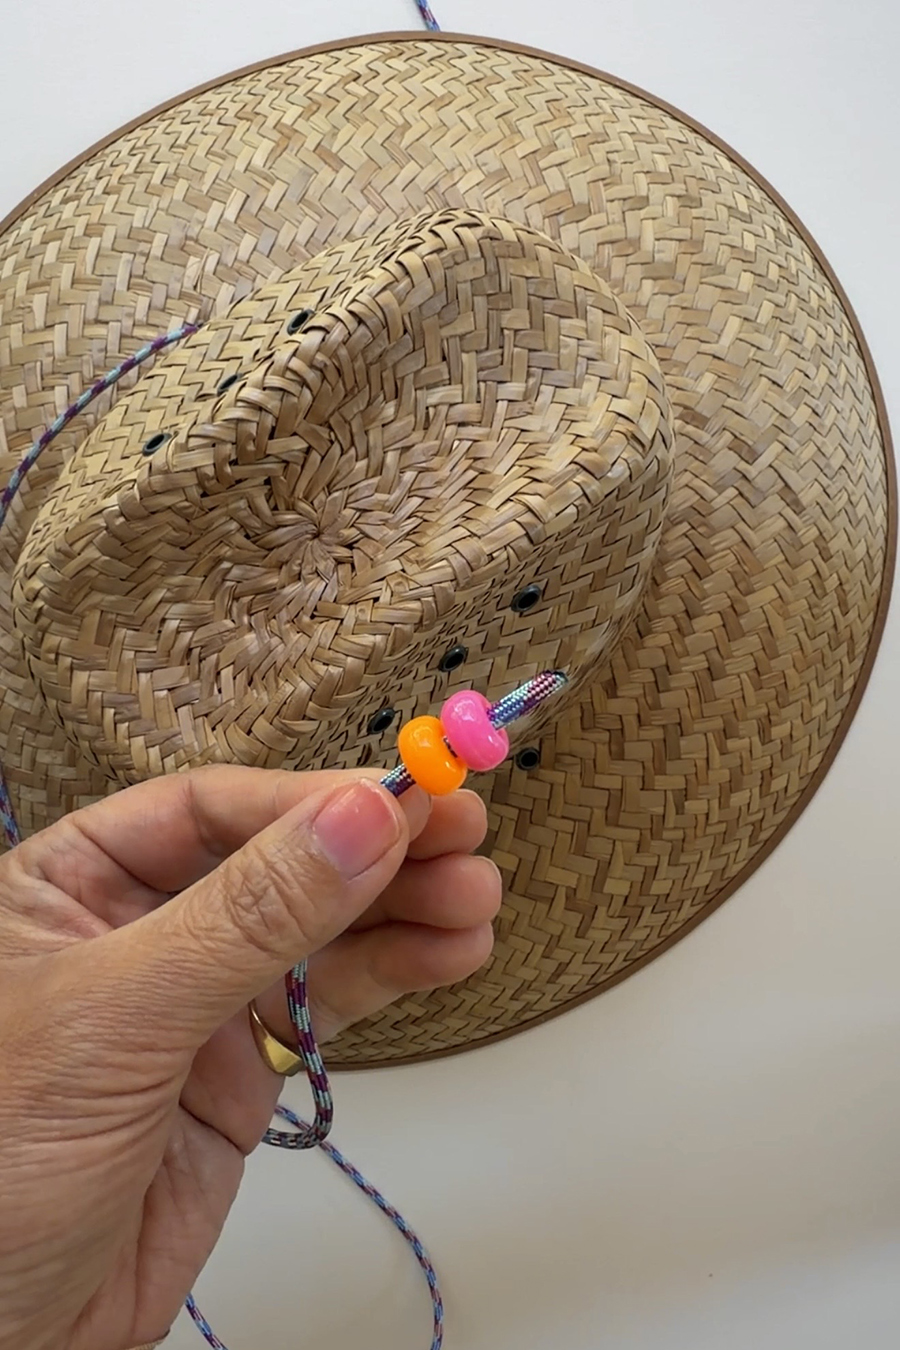
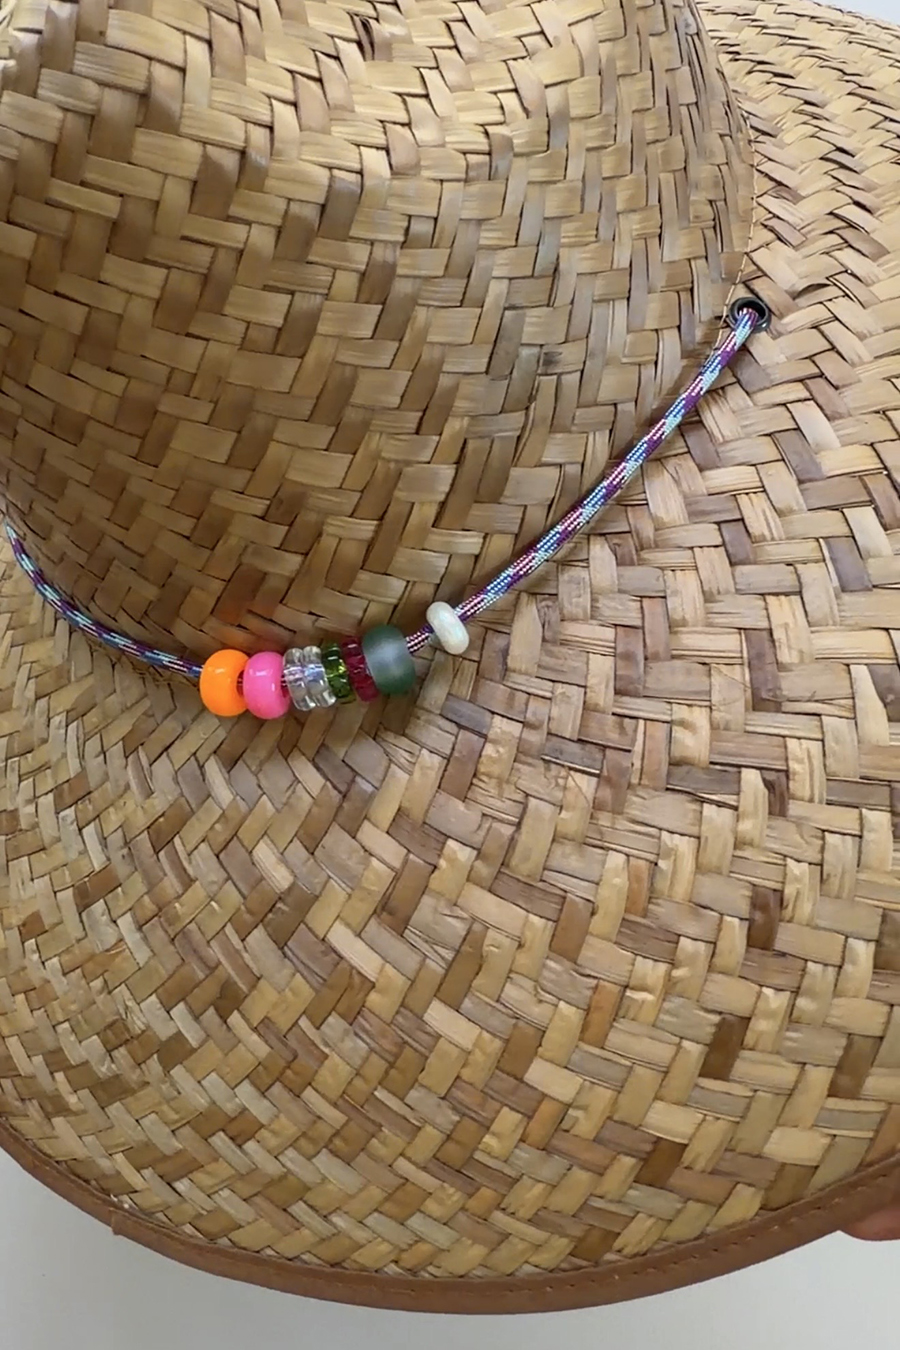
Start by cutting a 60" length of rope. Use the lighter to gently burn the ends to prevent fraying. Thread one end of the rope through the one of the grommets through the top of the brim of the hat. Thread on a grouping of beads and then bring the other end of that rope through the opposite grommet. This is your adjustable cord that will sit beneath the chin.
You can skip to the end, where we walk through the adjustable knot. If you want to add more embellishment, keep reading . . .
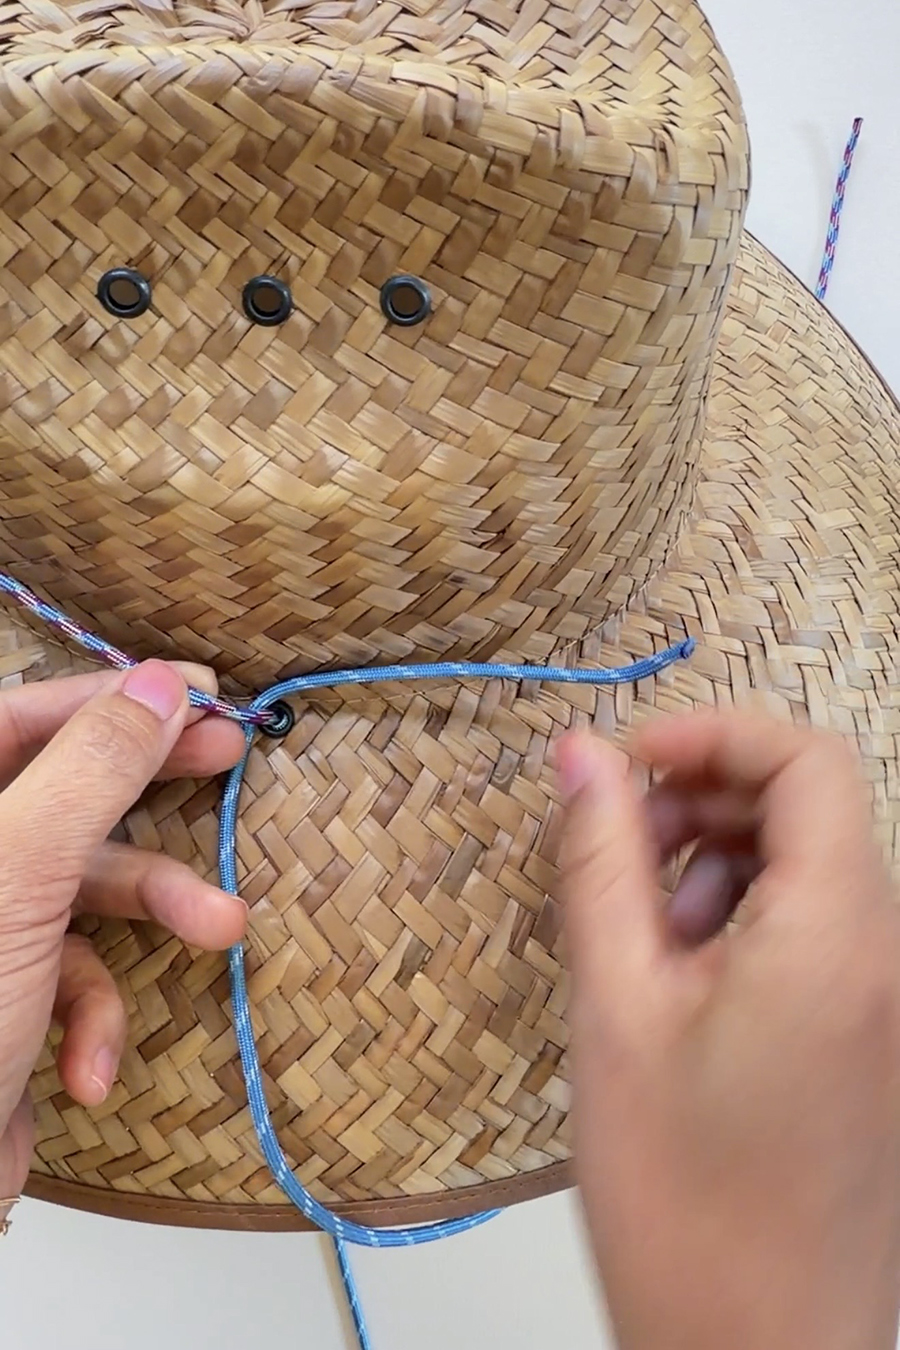
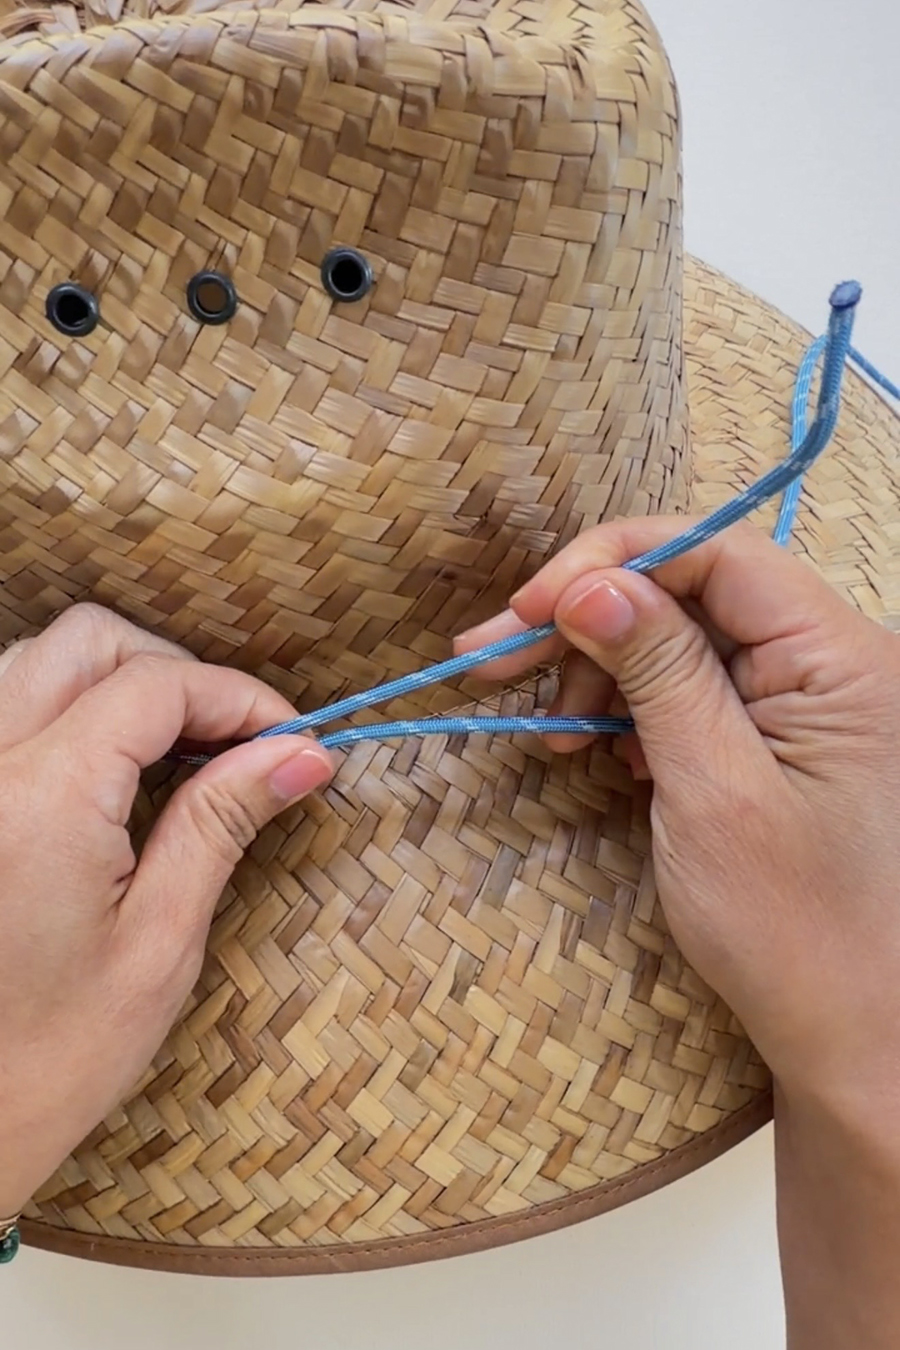
Next, cut a 30" from the secondary rope. Thread it between the long cord and the hat. Fold about 12" over the rope.
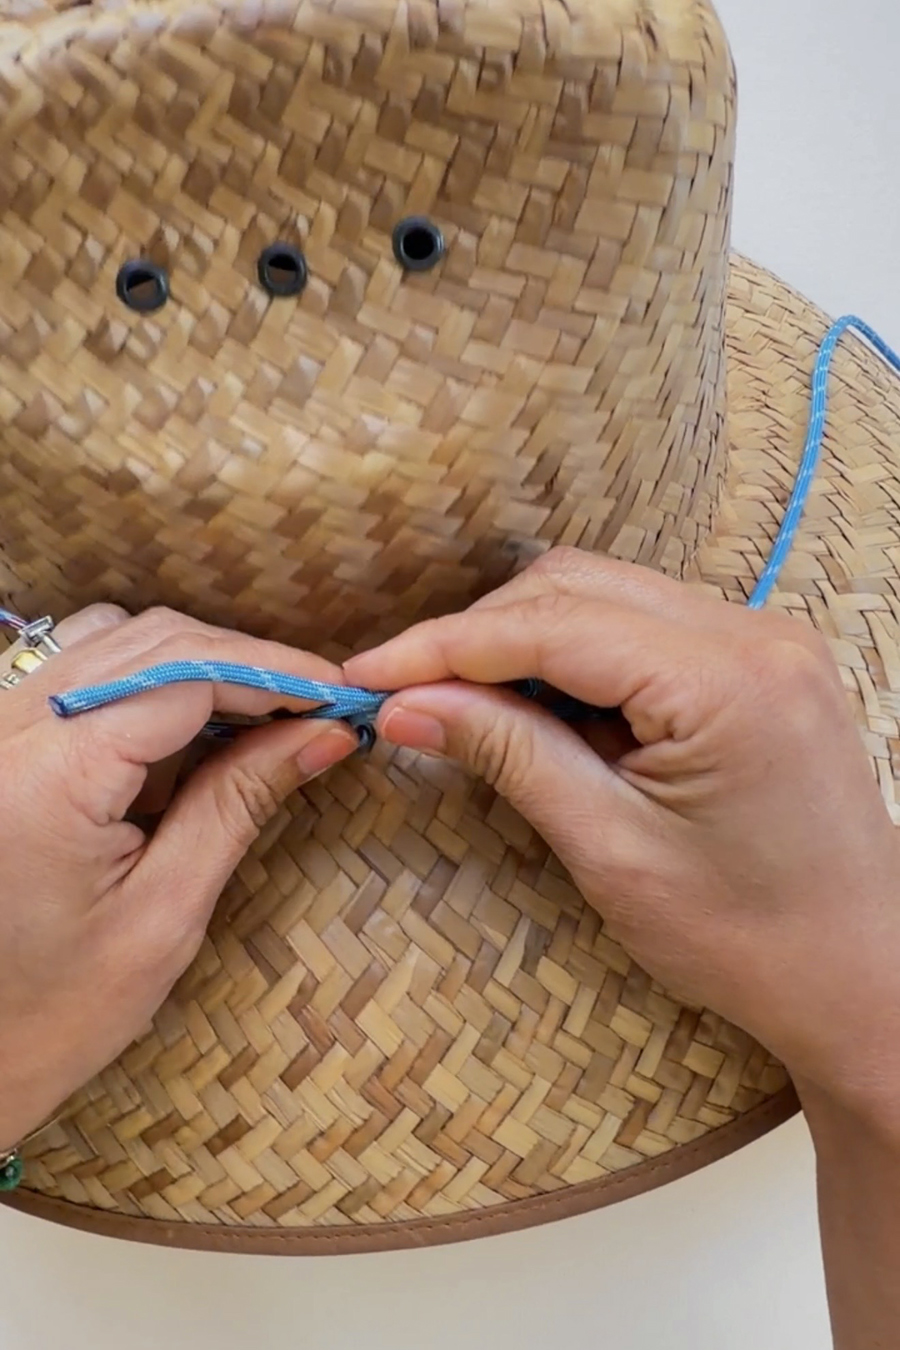
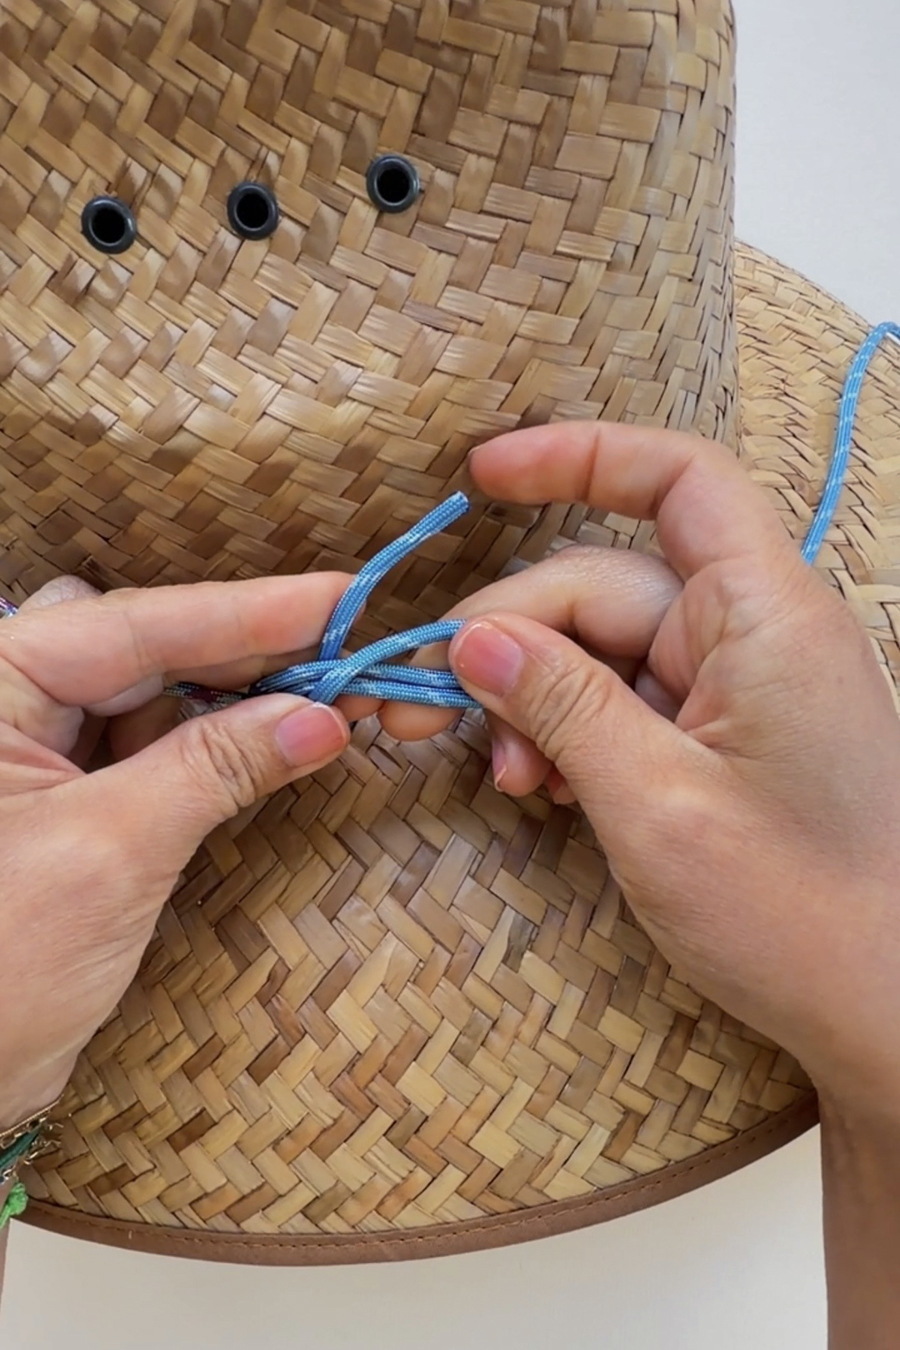
Then fold about 6" back on itself, creating a 6" zig zag. Fold 3" of the cord in front, over the overlapping ropes. Let's call this the "tail".
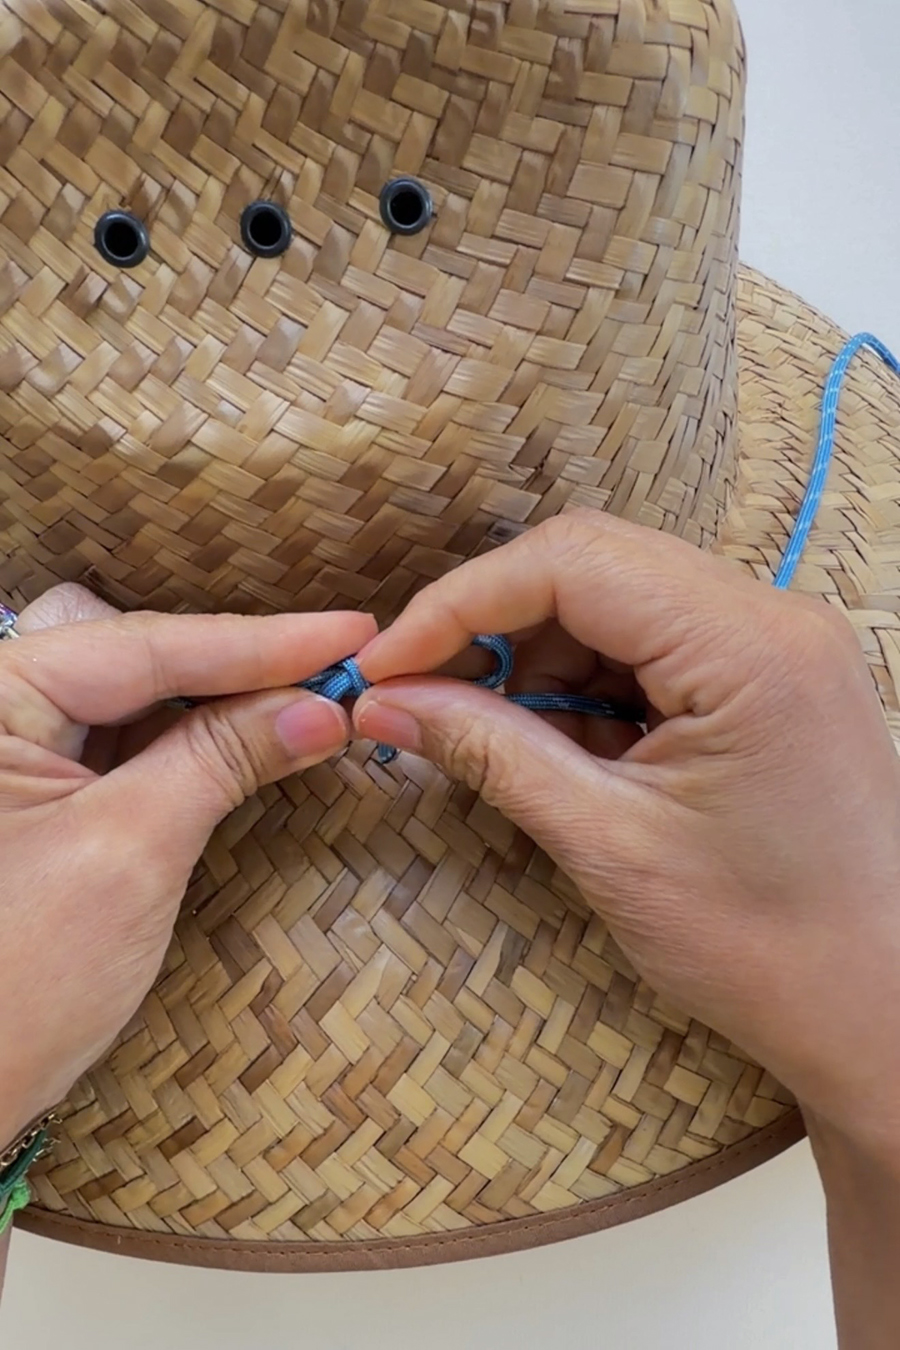
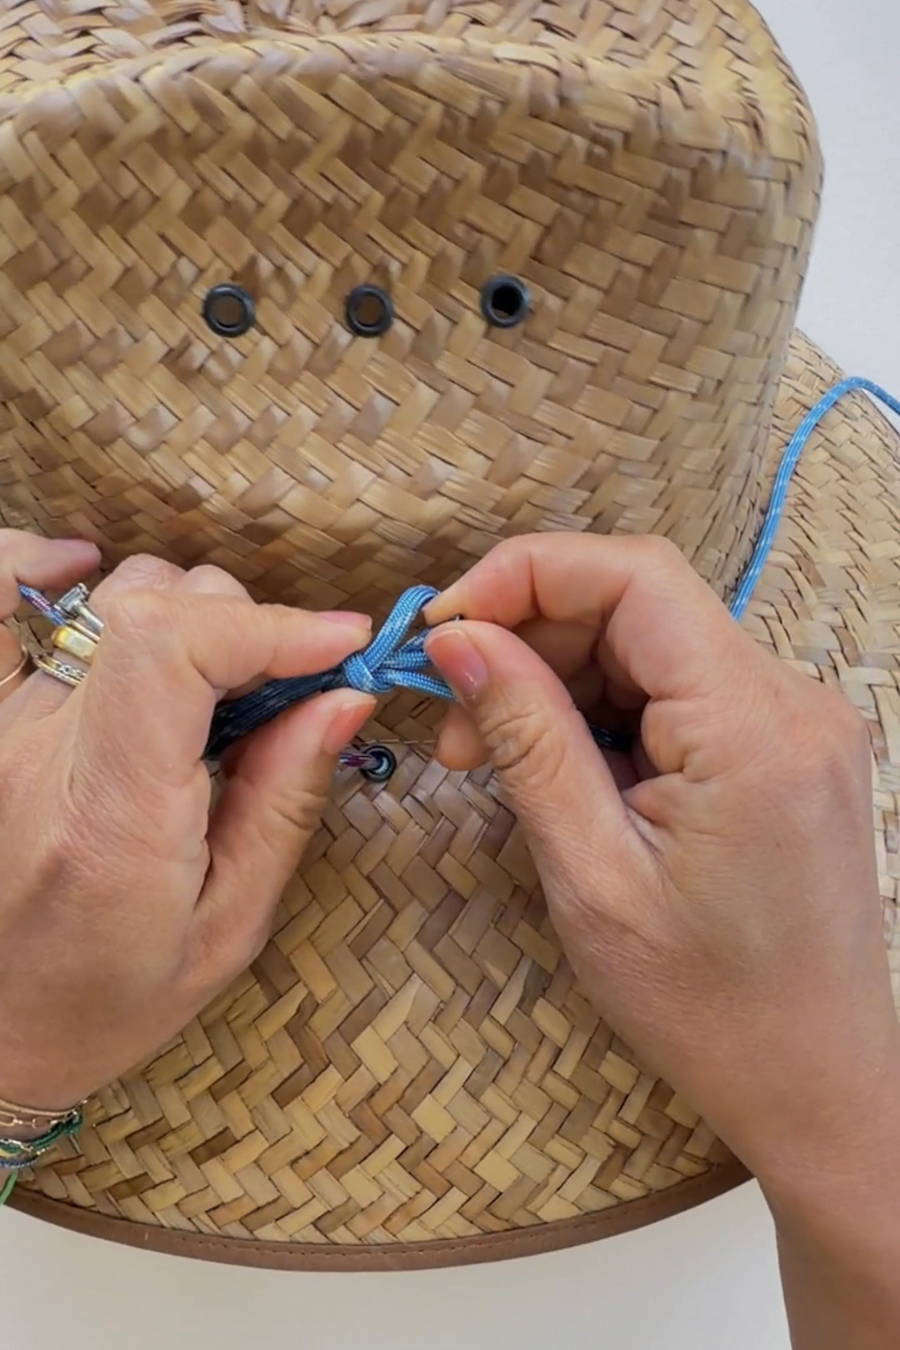
Tightly coil the tail around the parallel ropes once. After one full rotation, take the tail's end and thread it through the open loop from behind.
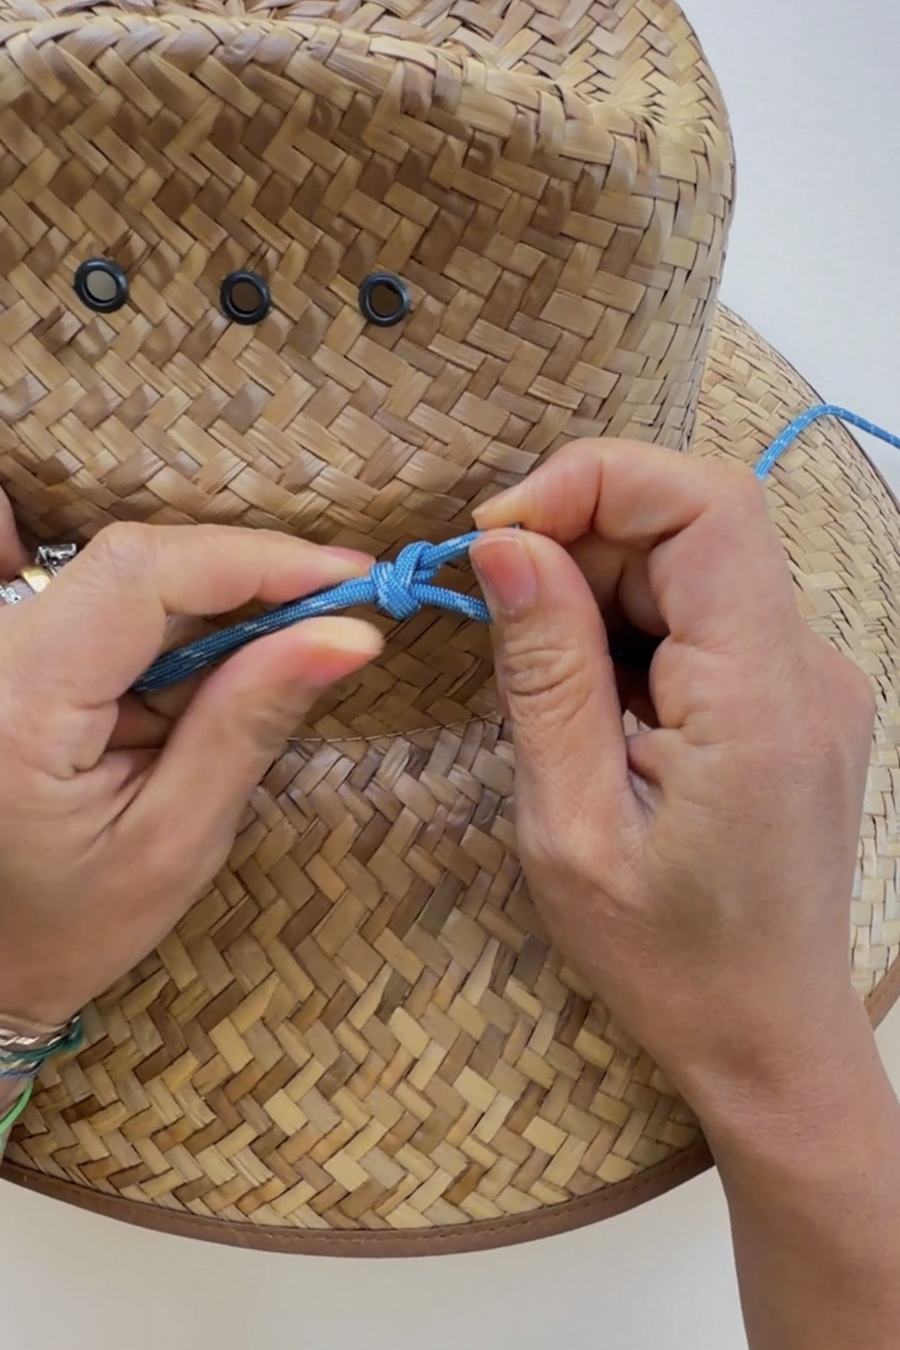
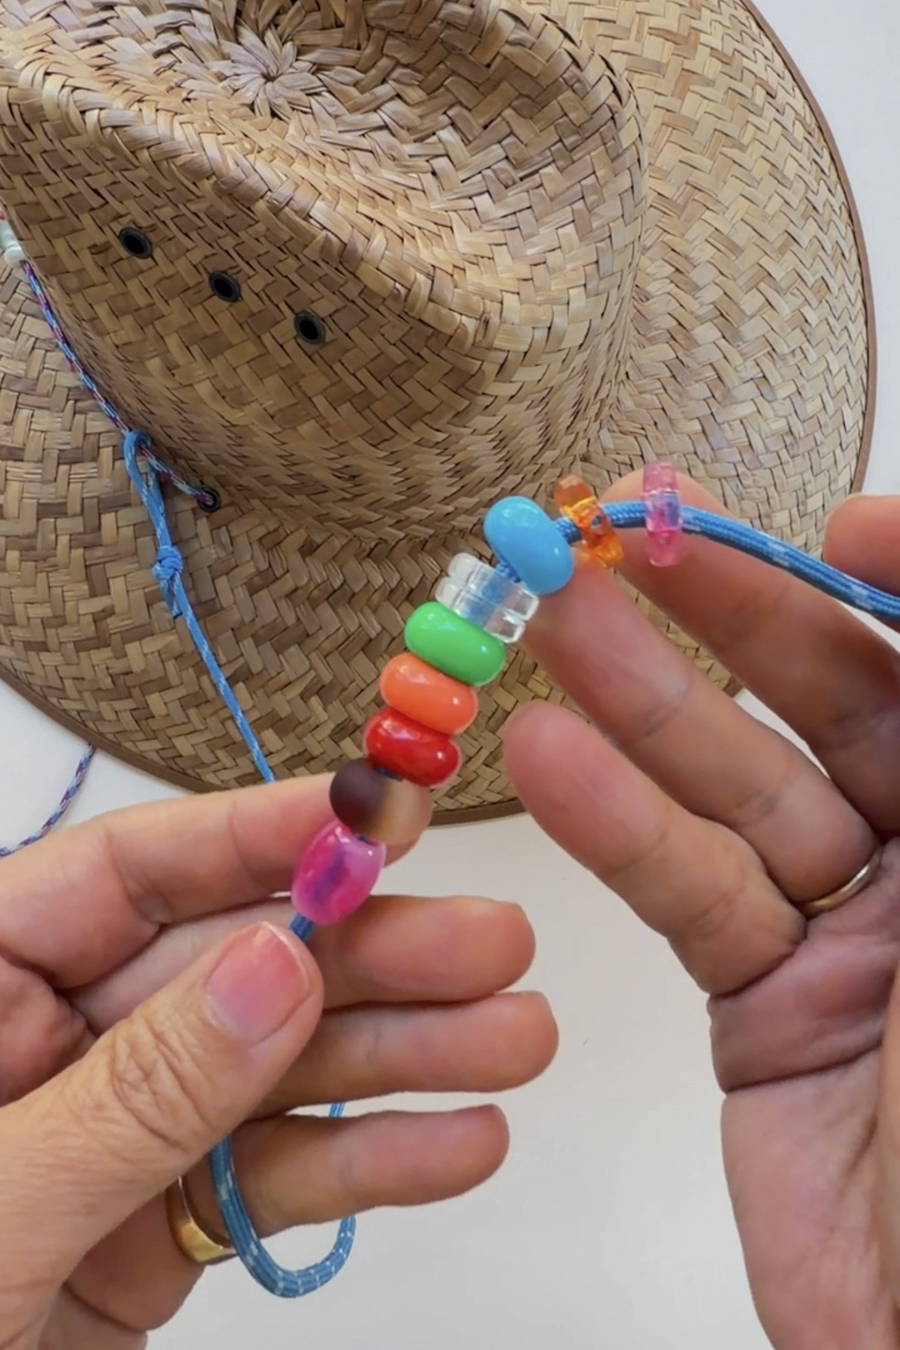
Grab onto the tail end with your right hand and use your left hand to push the knot to the right - towards the tail end.
Then, thread on more beads.
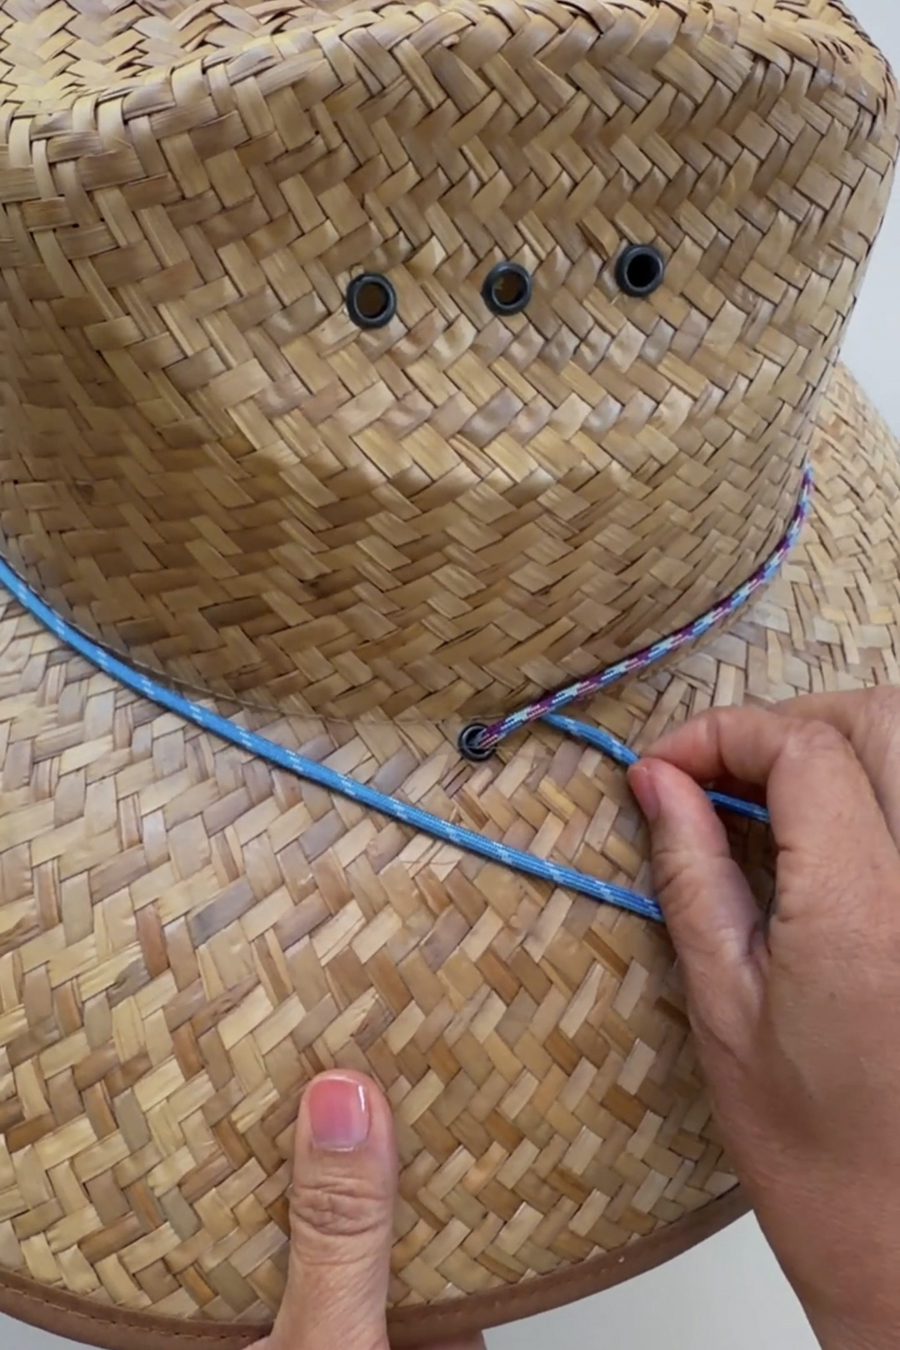
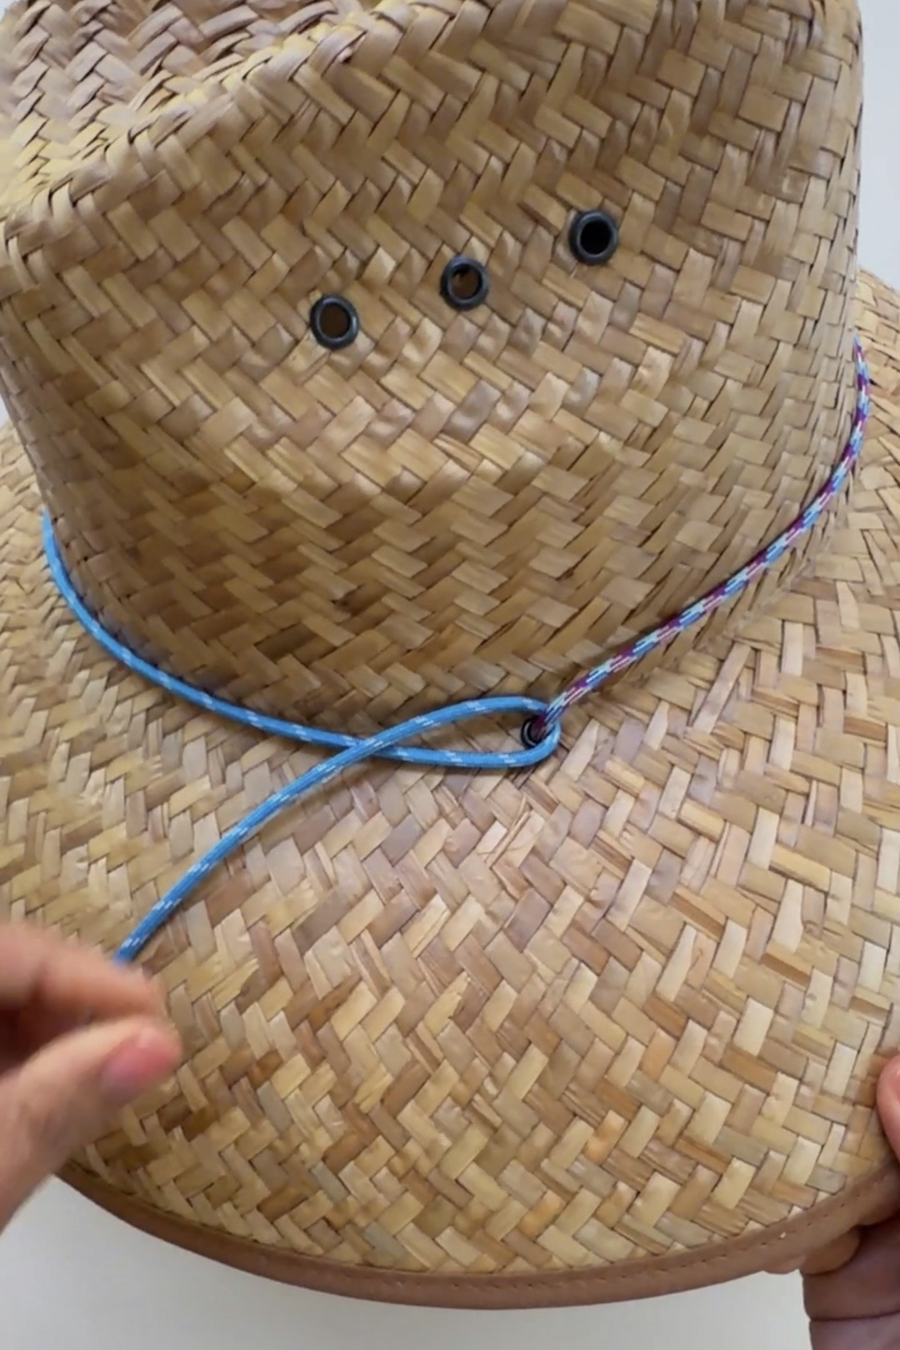
Wrap the rope around the other side of the hat.
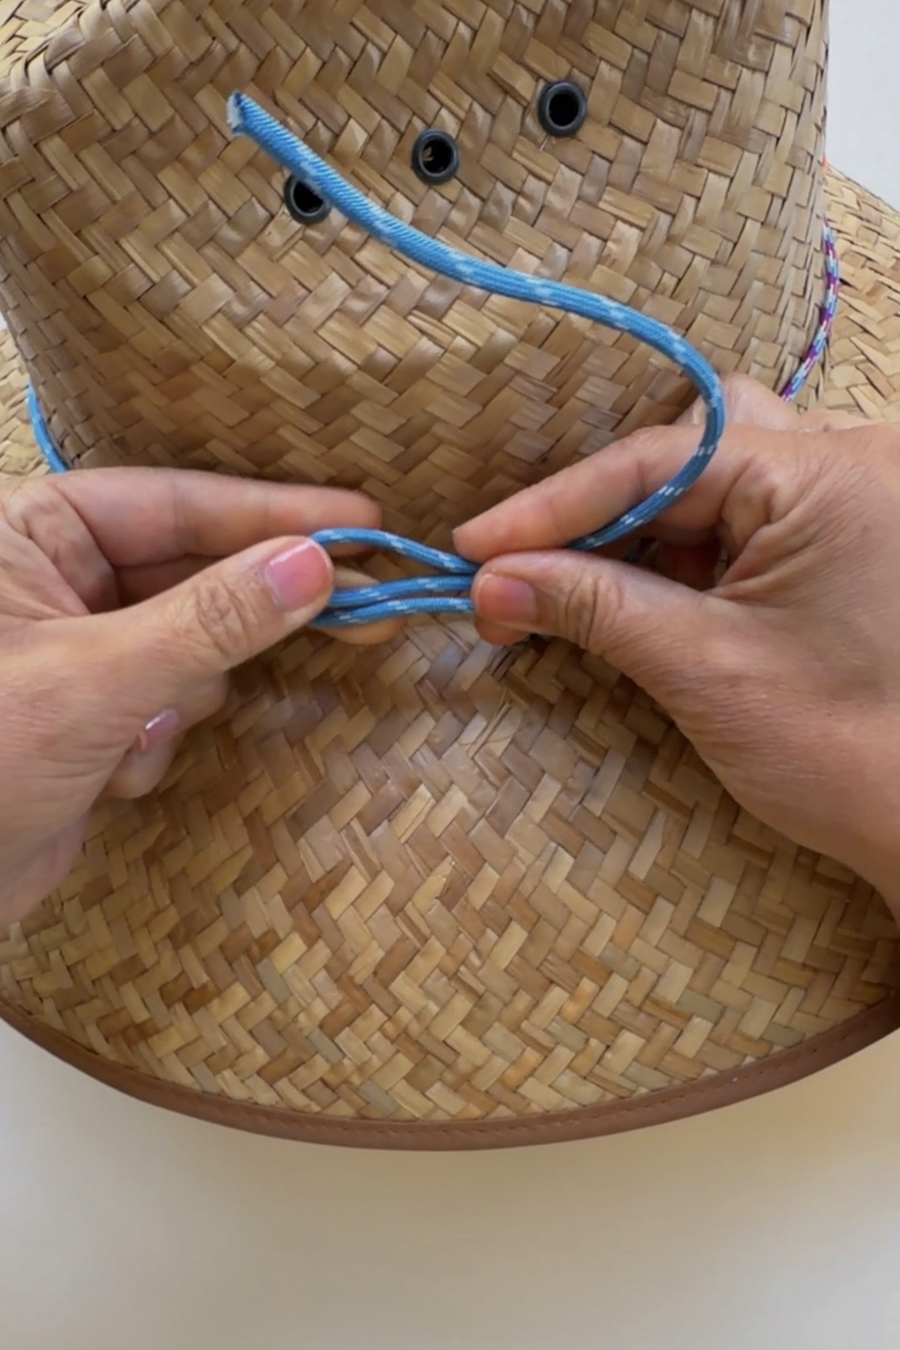
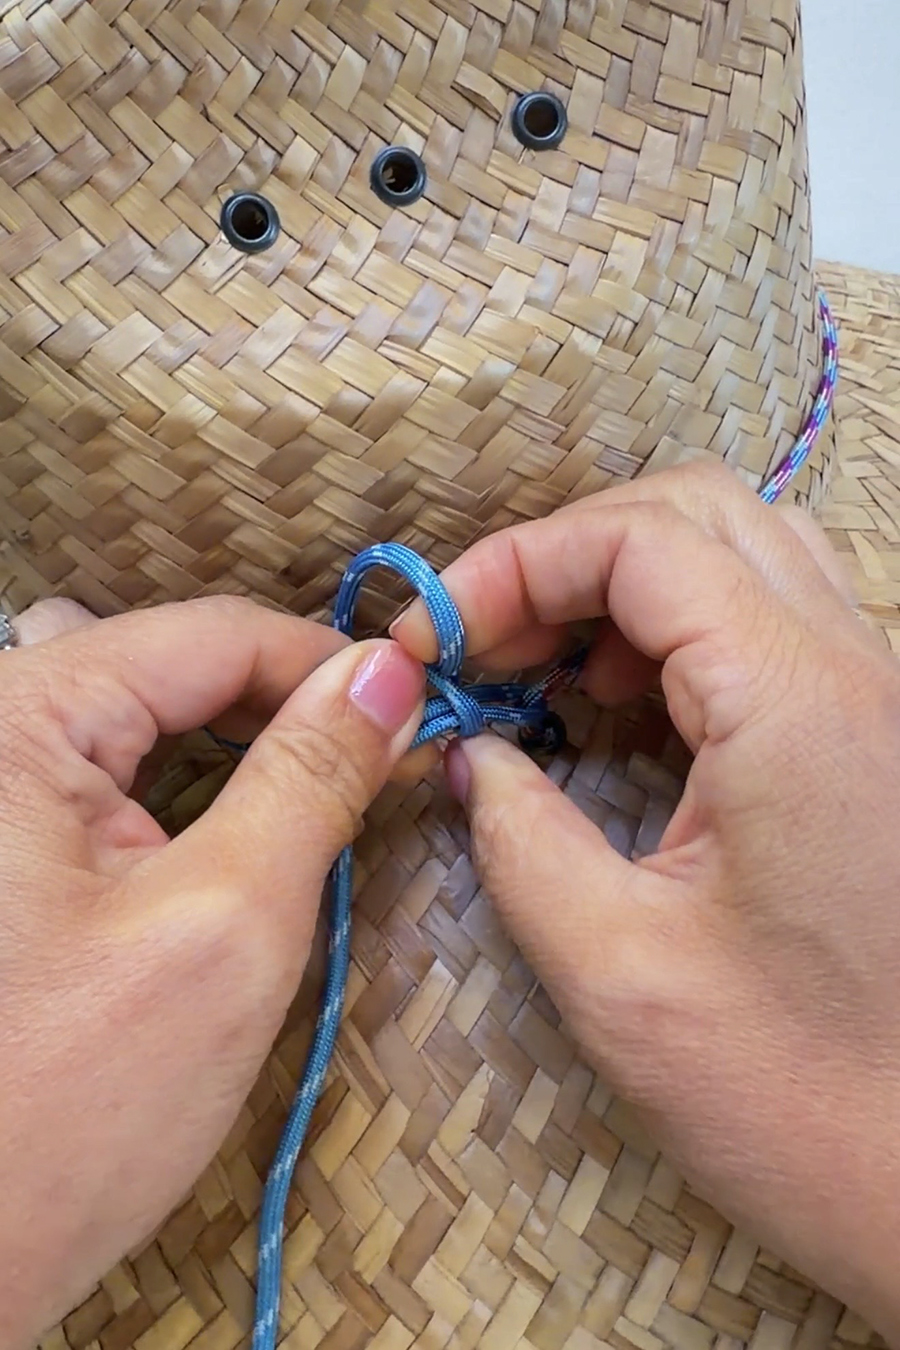
Repeat the sliding knot on the opposite side.
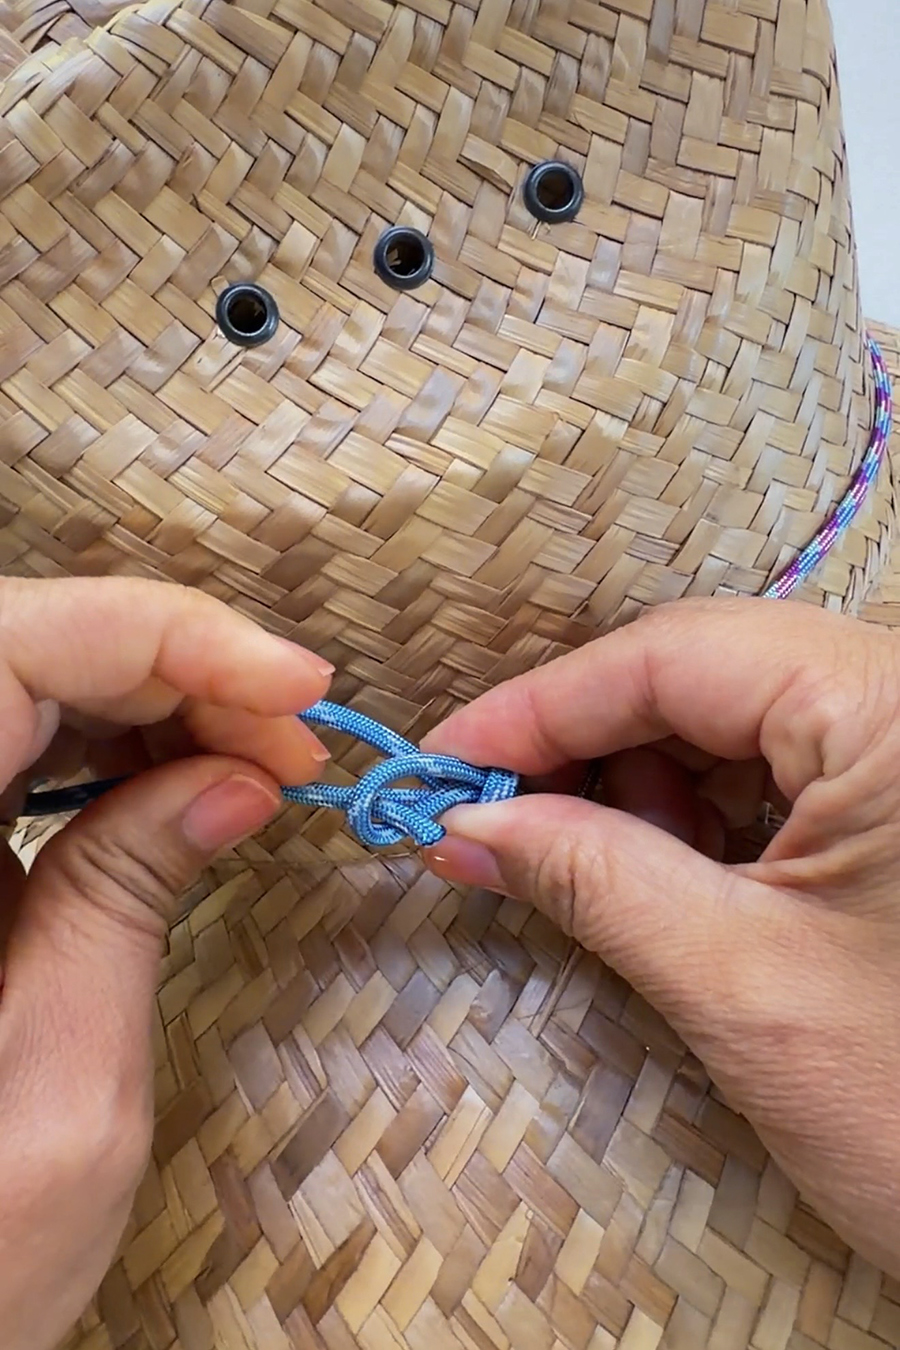
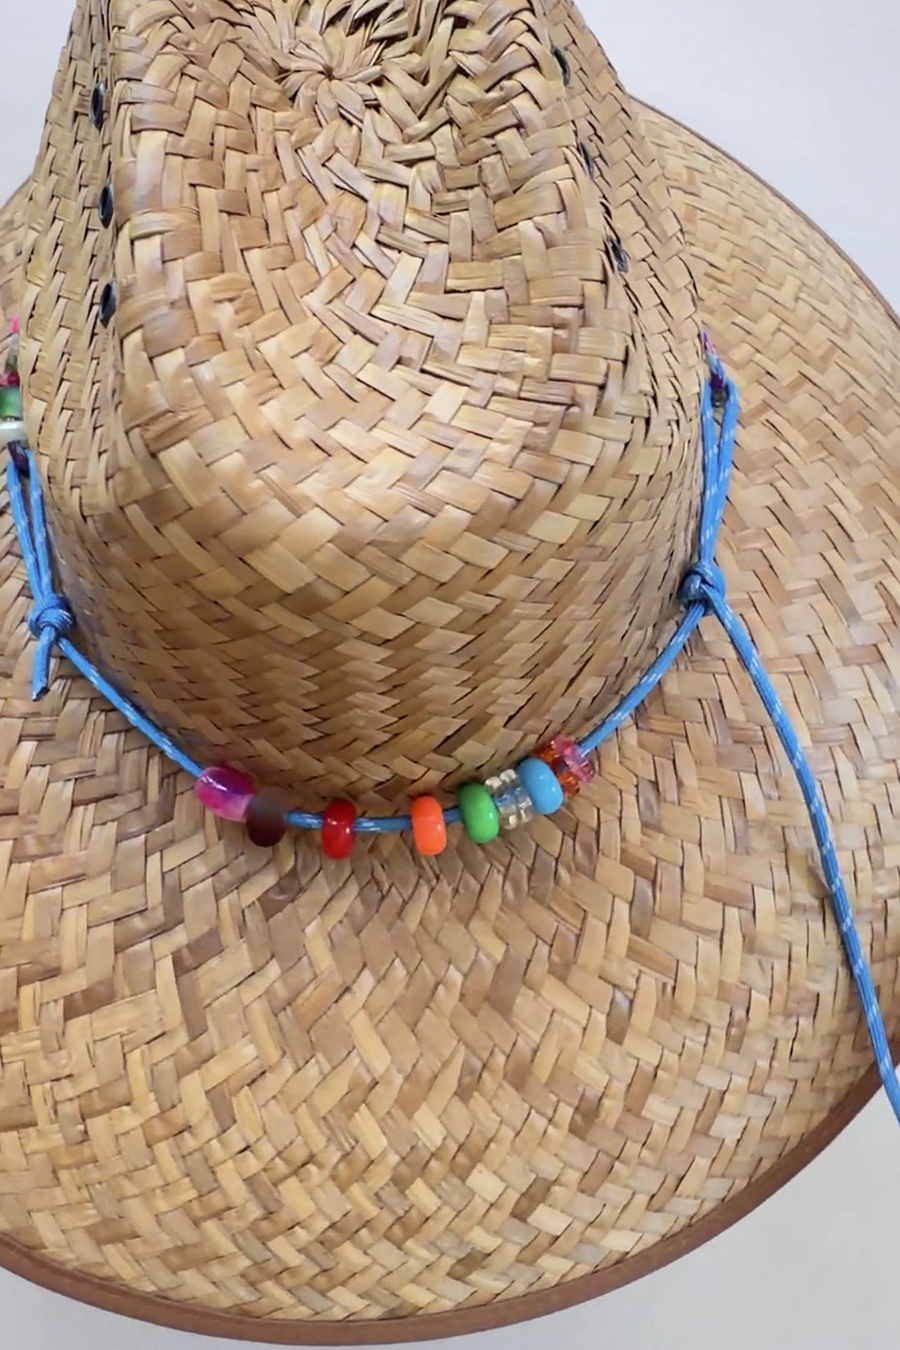
Adjust each sliding knot to even out each side.
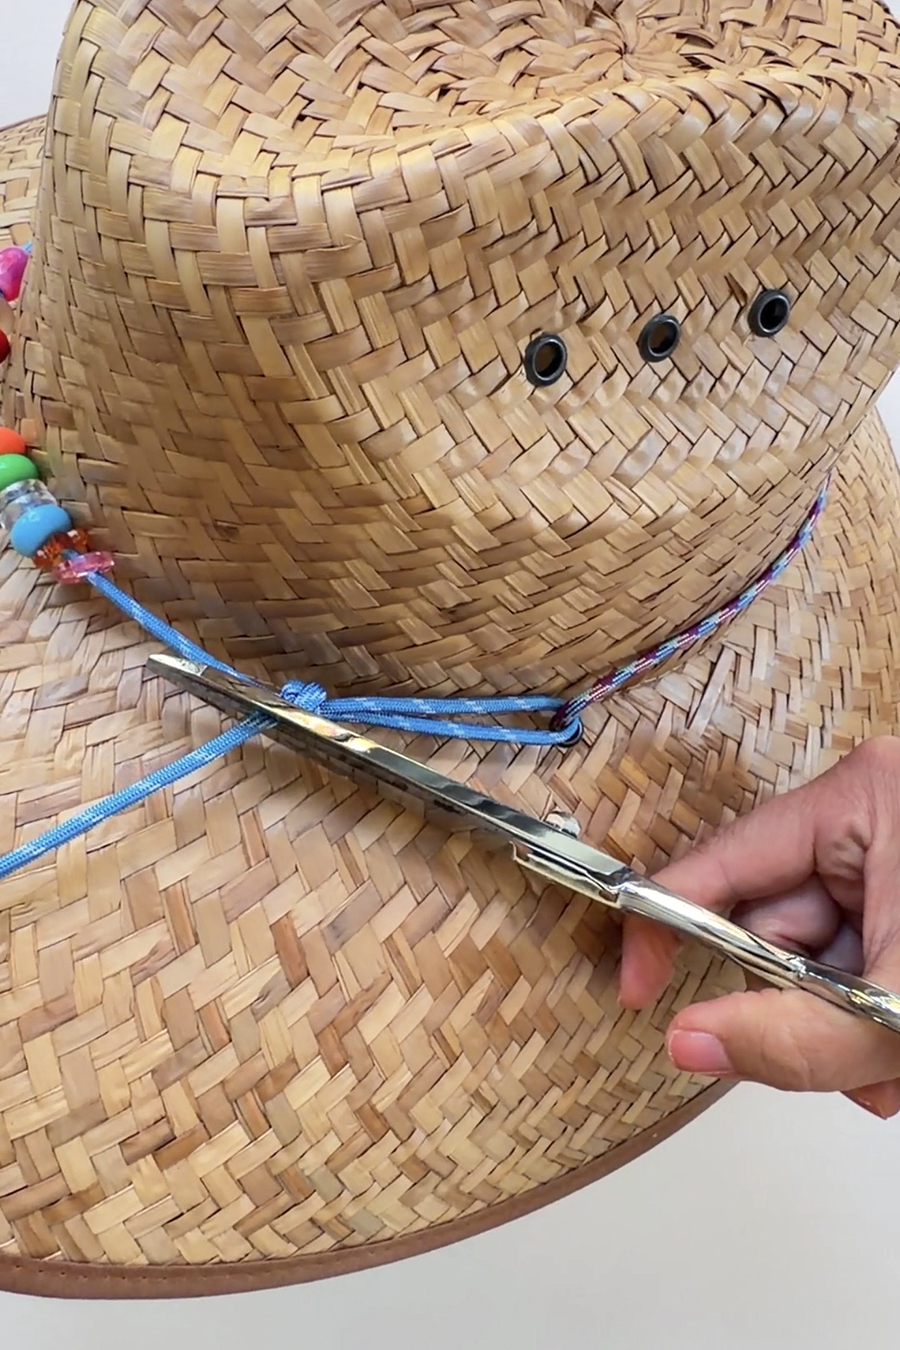
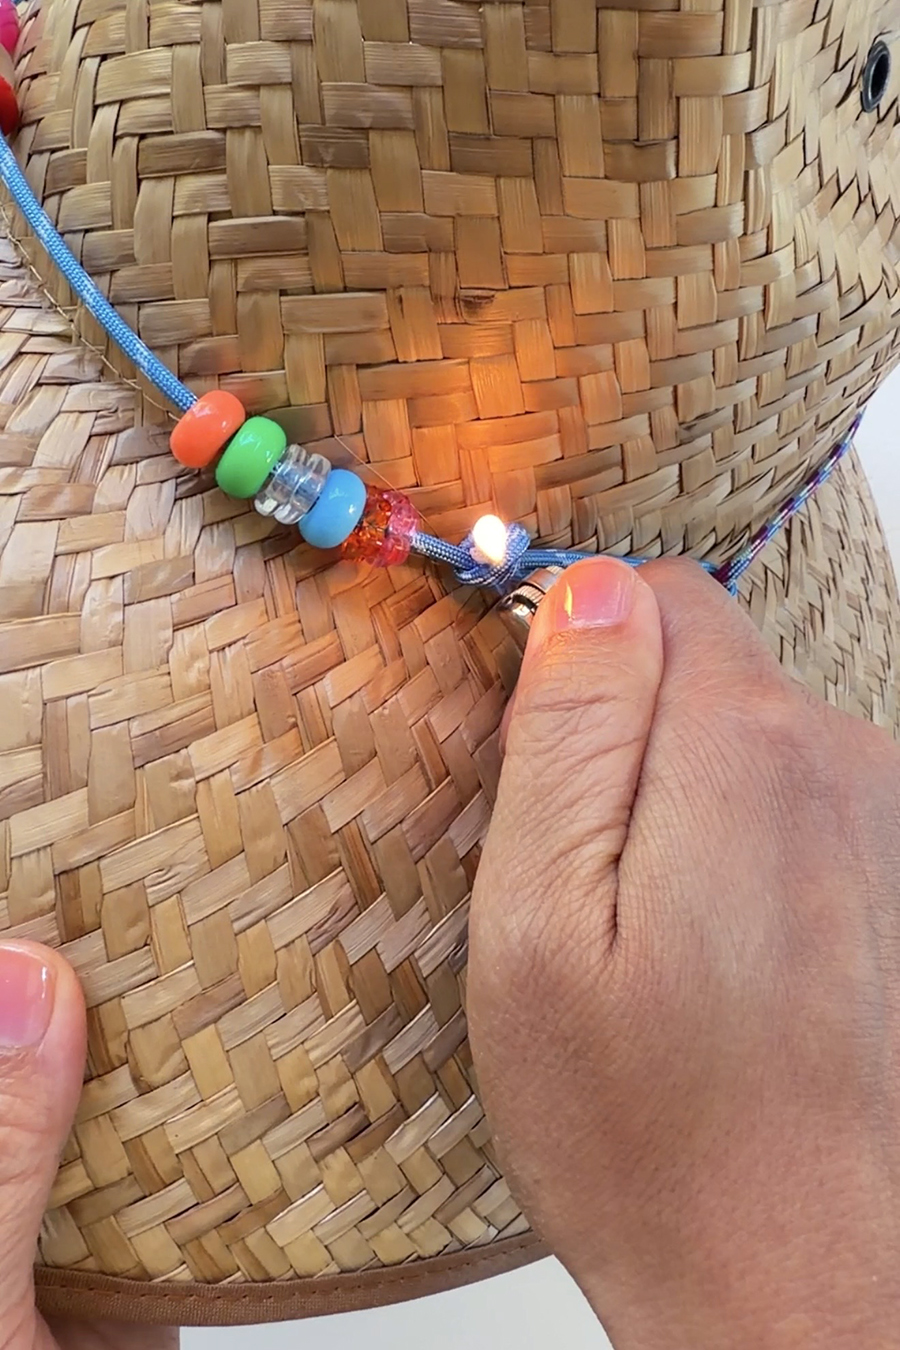
Trim away any excess and carefully burn the ends. Now your hat band is done!
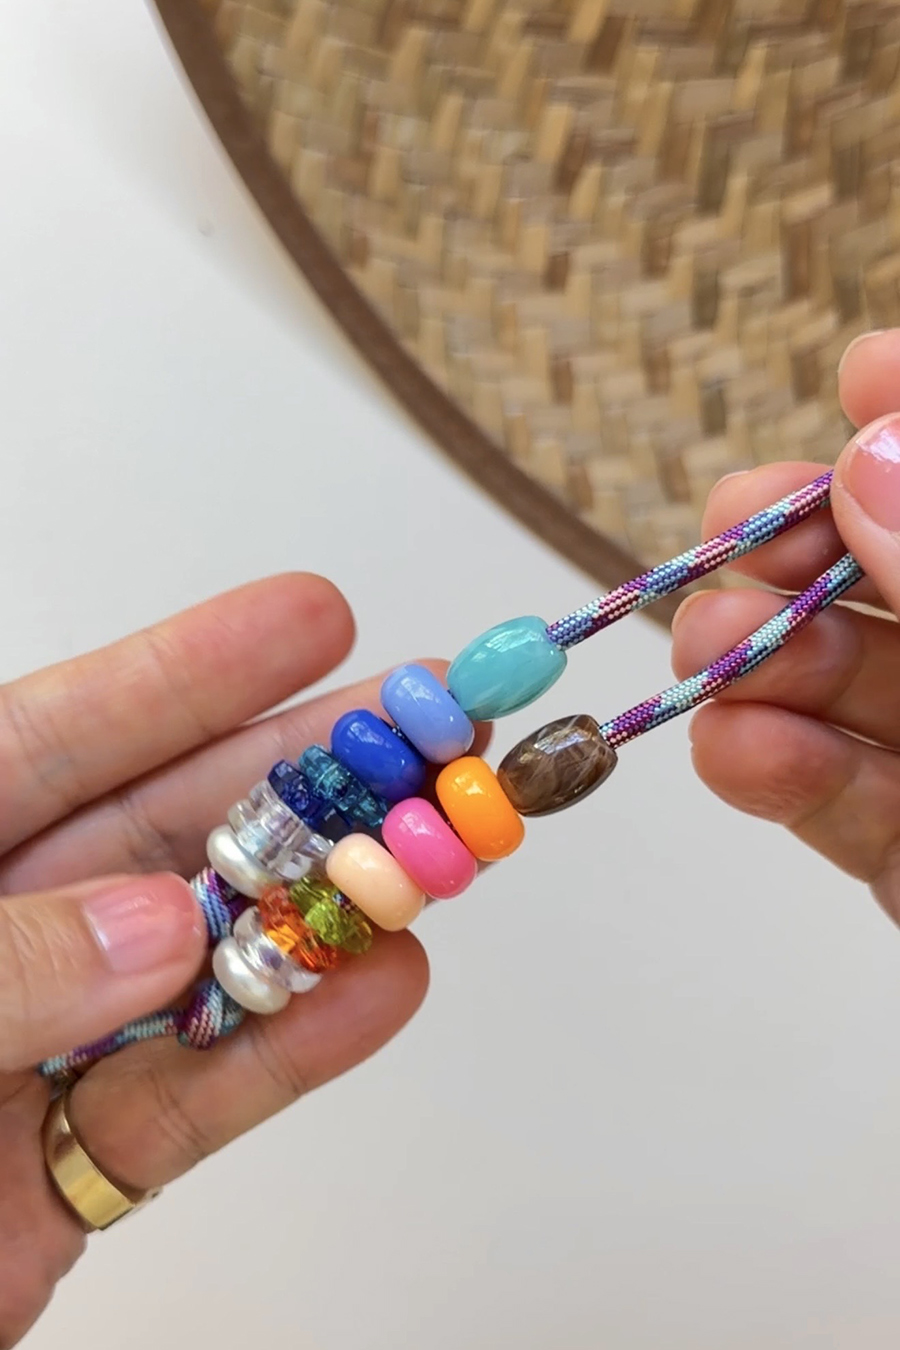
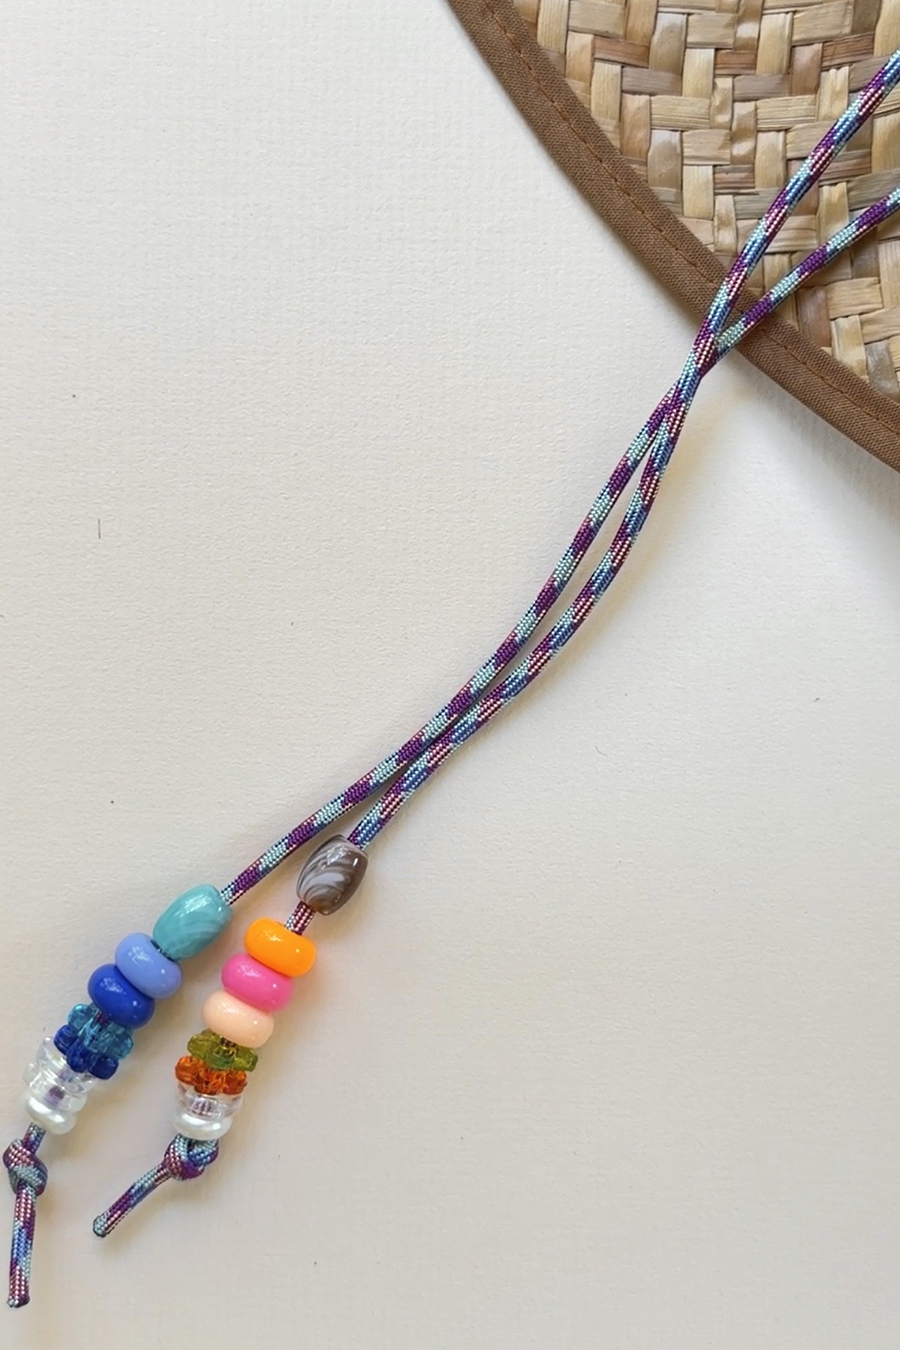
Add series of beads to the ends of the longer ropes.
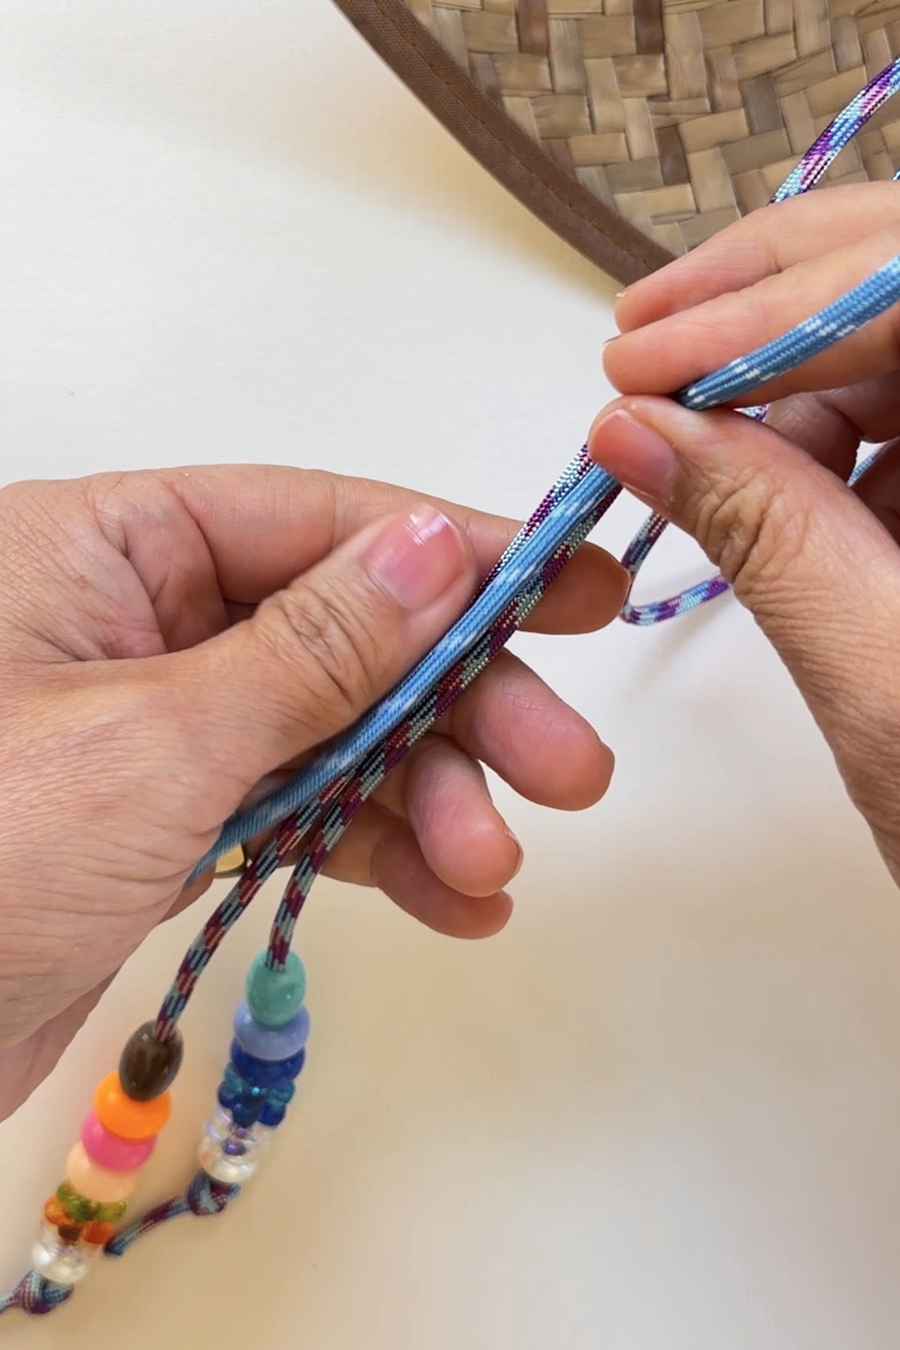
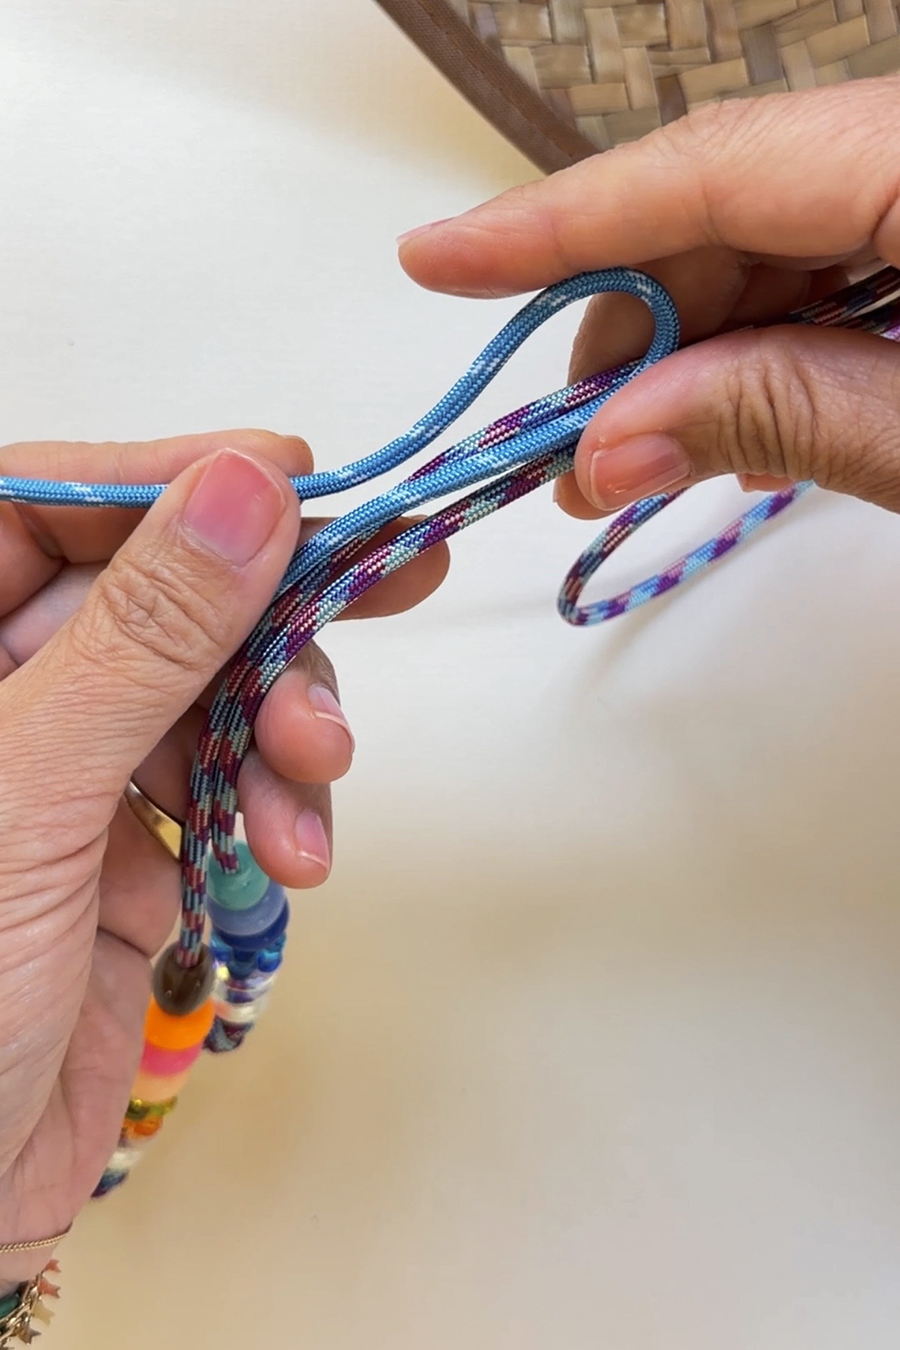
I like to use a barrel knot to create the adjustable knot. Cut about 12" of rope. Lay 3" of rope parallel to 2 longer rope ends.
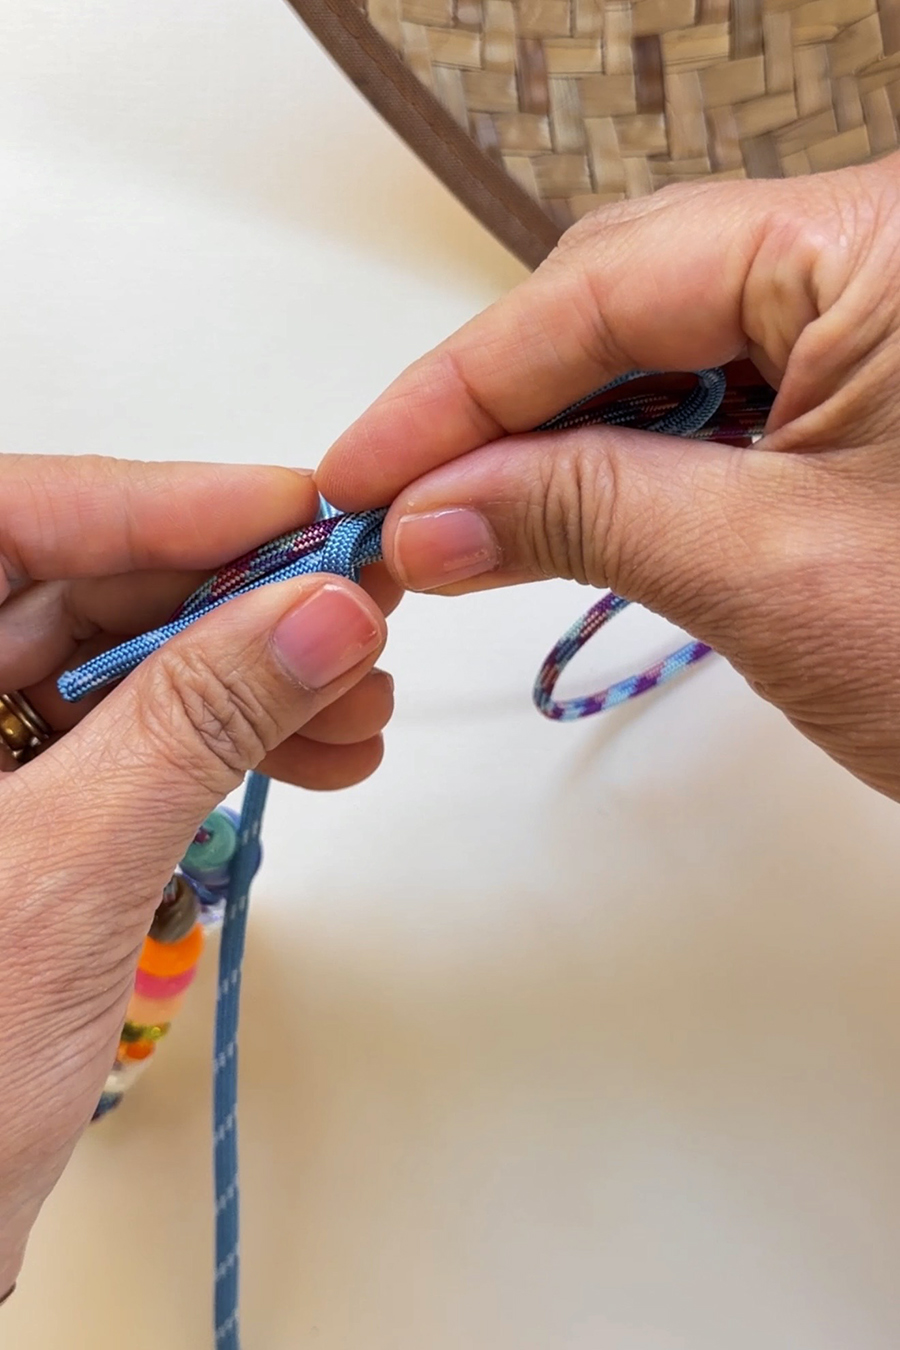
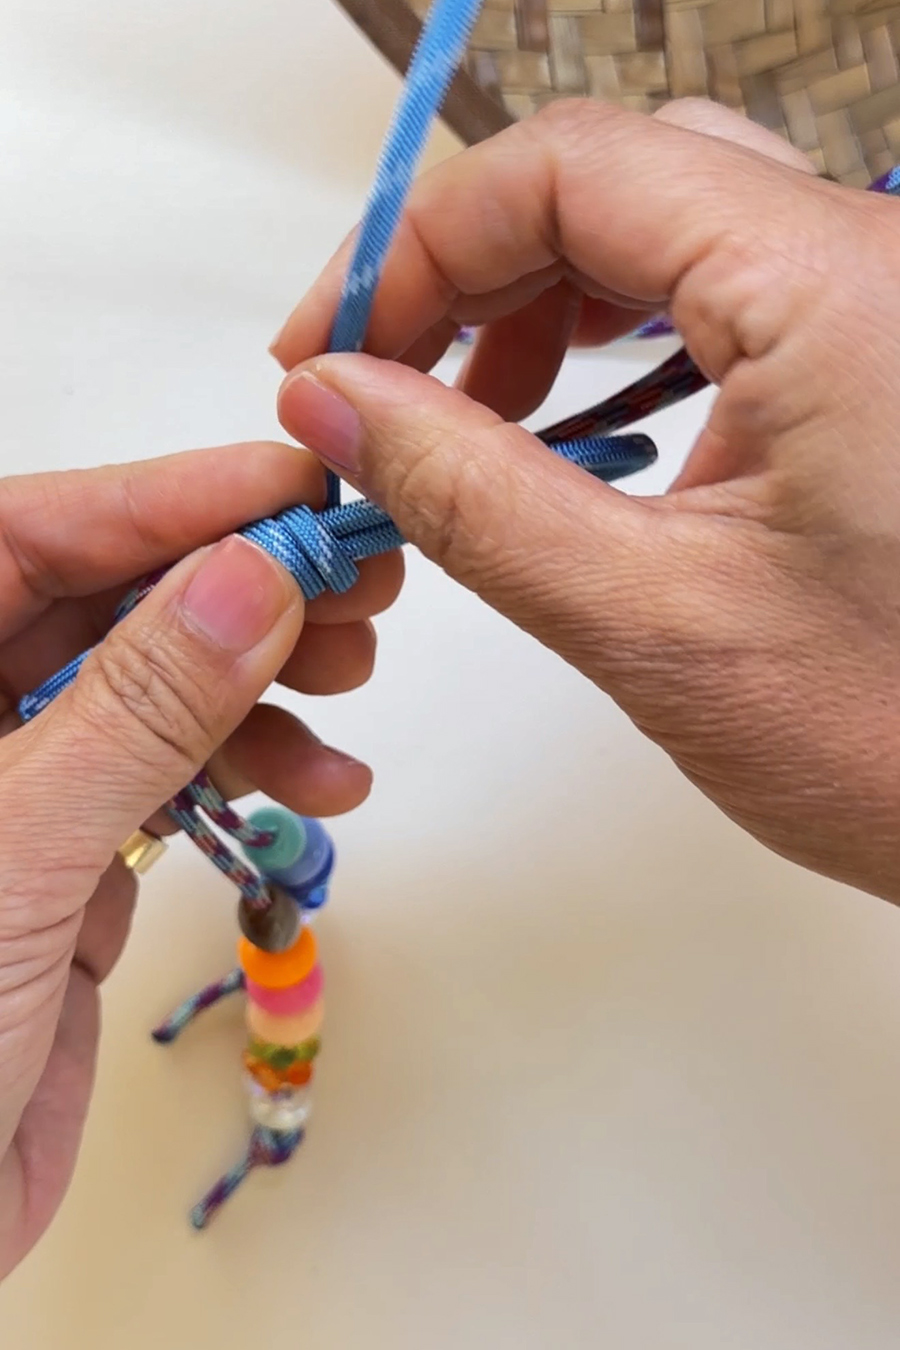
Then fold the rope back over itself. Leaving a 1" tail, start coiling the rope. Make sure to make the coil as tight as possible. Use your left fingers to help keep it in place.
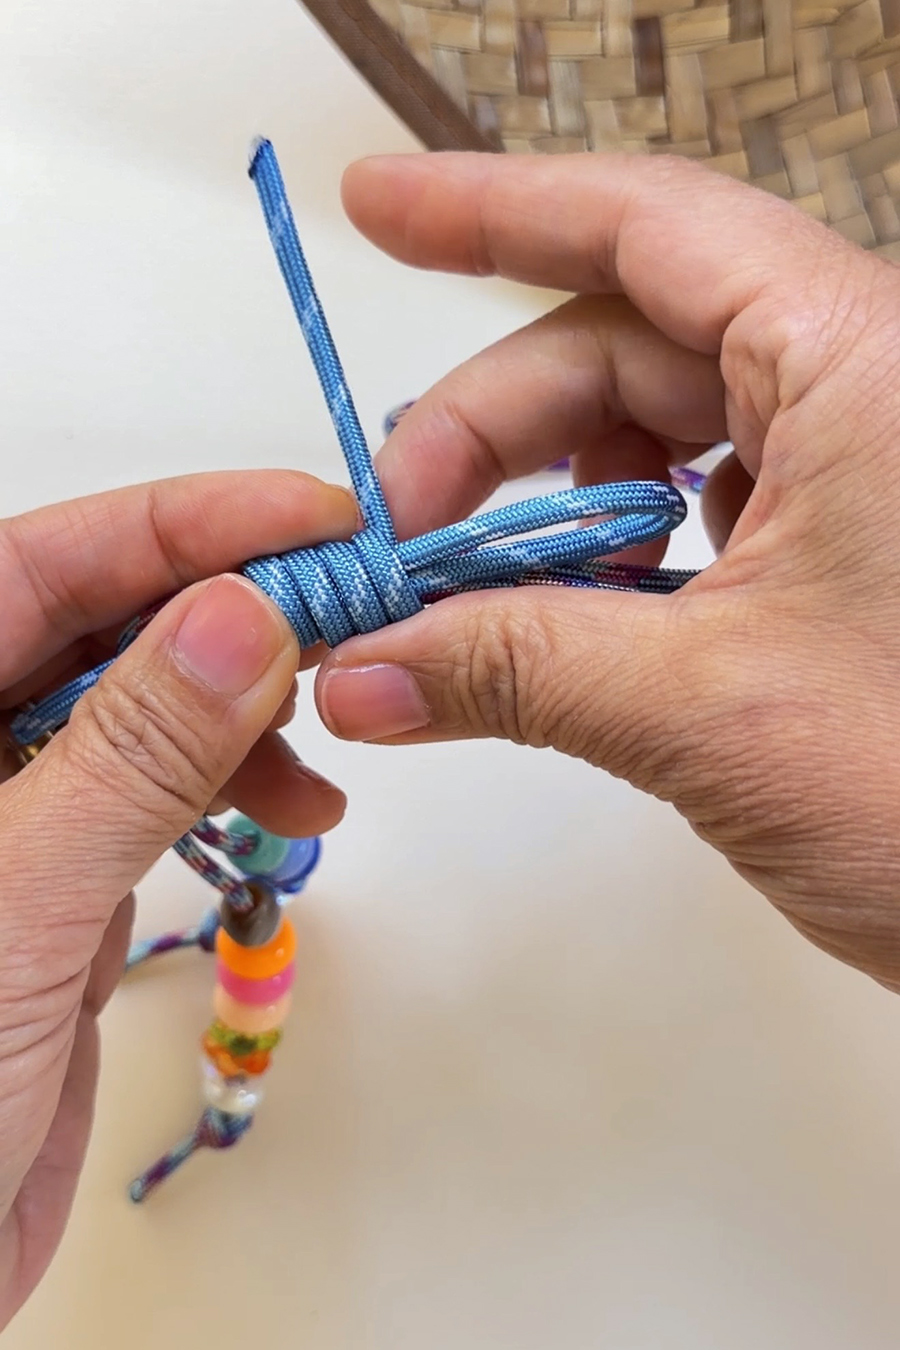
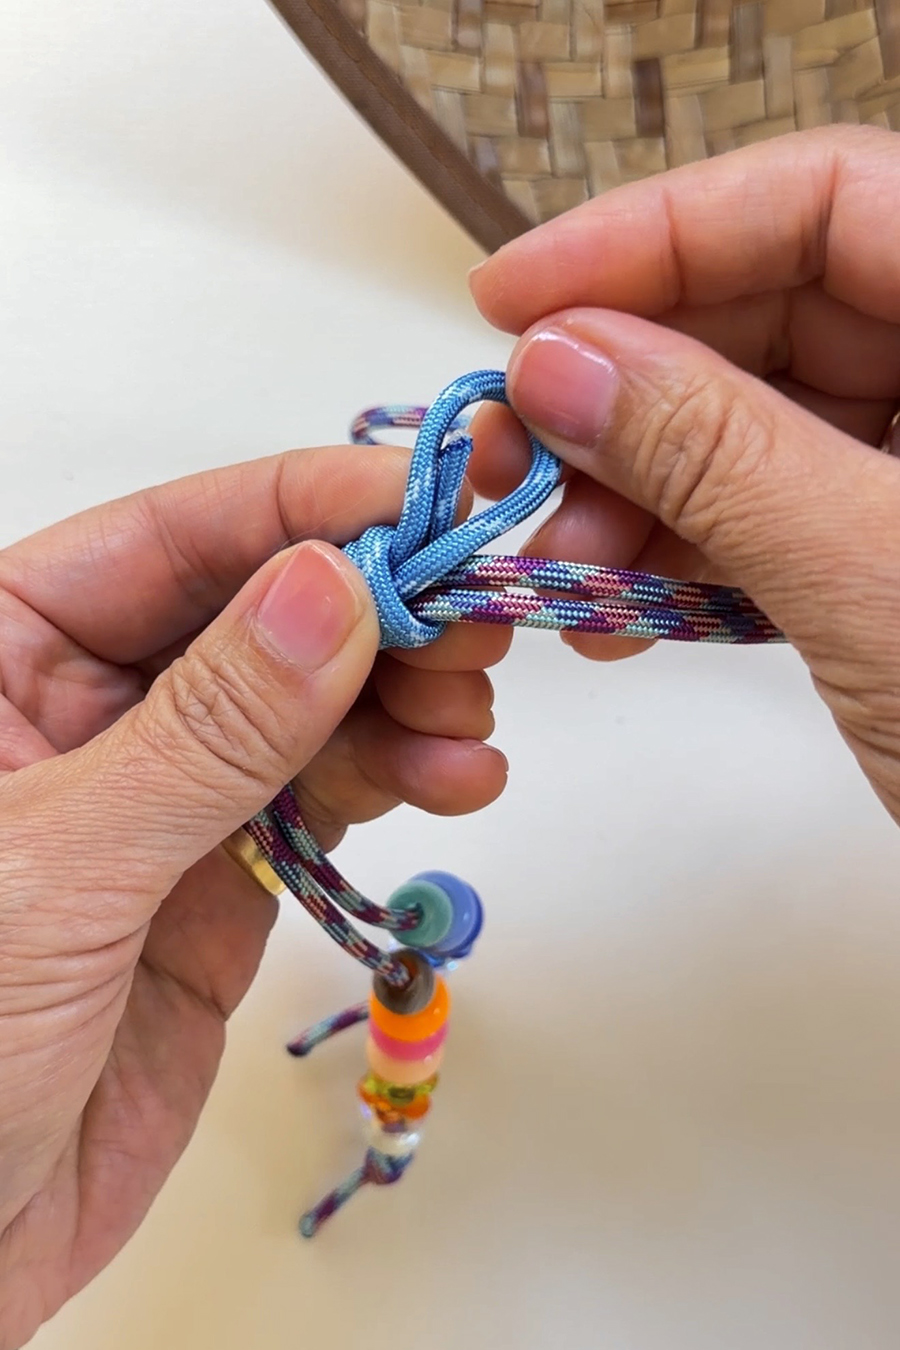
Once you've reached the desired length, pull the end of the rope through the open loop from behind.
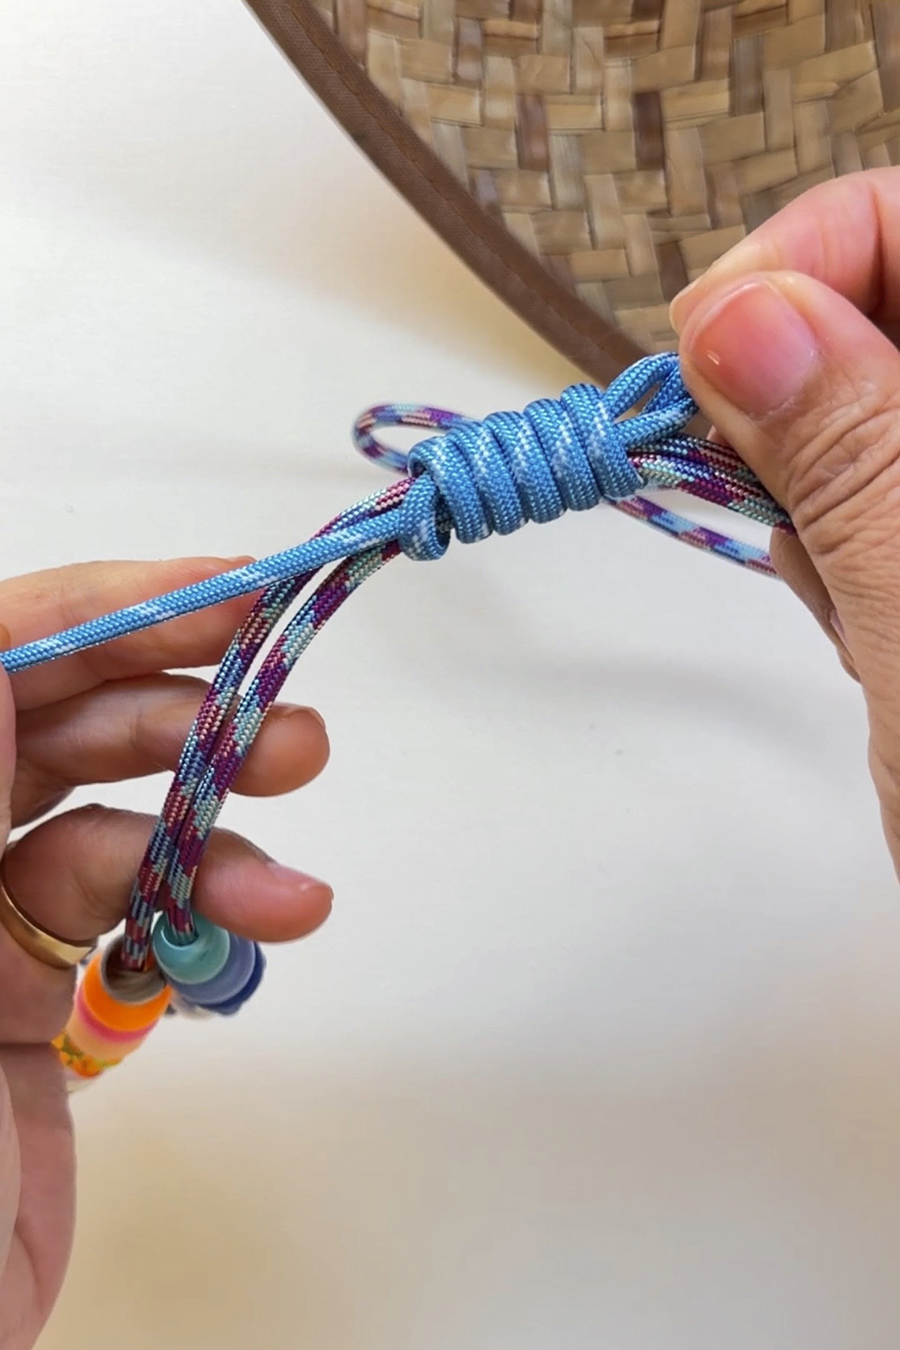
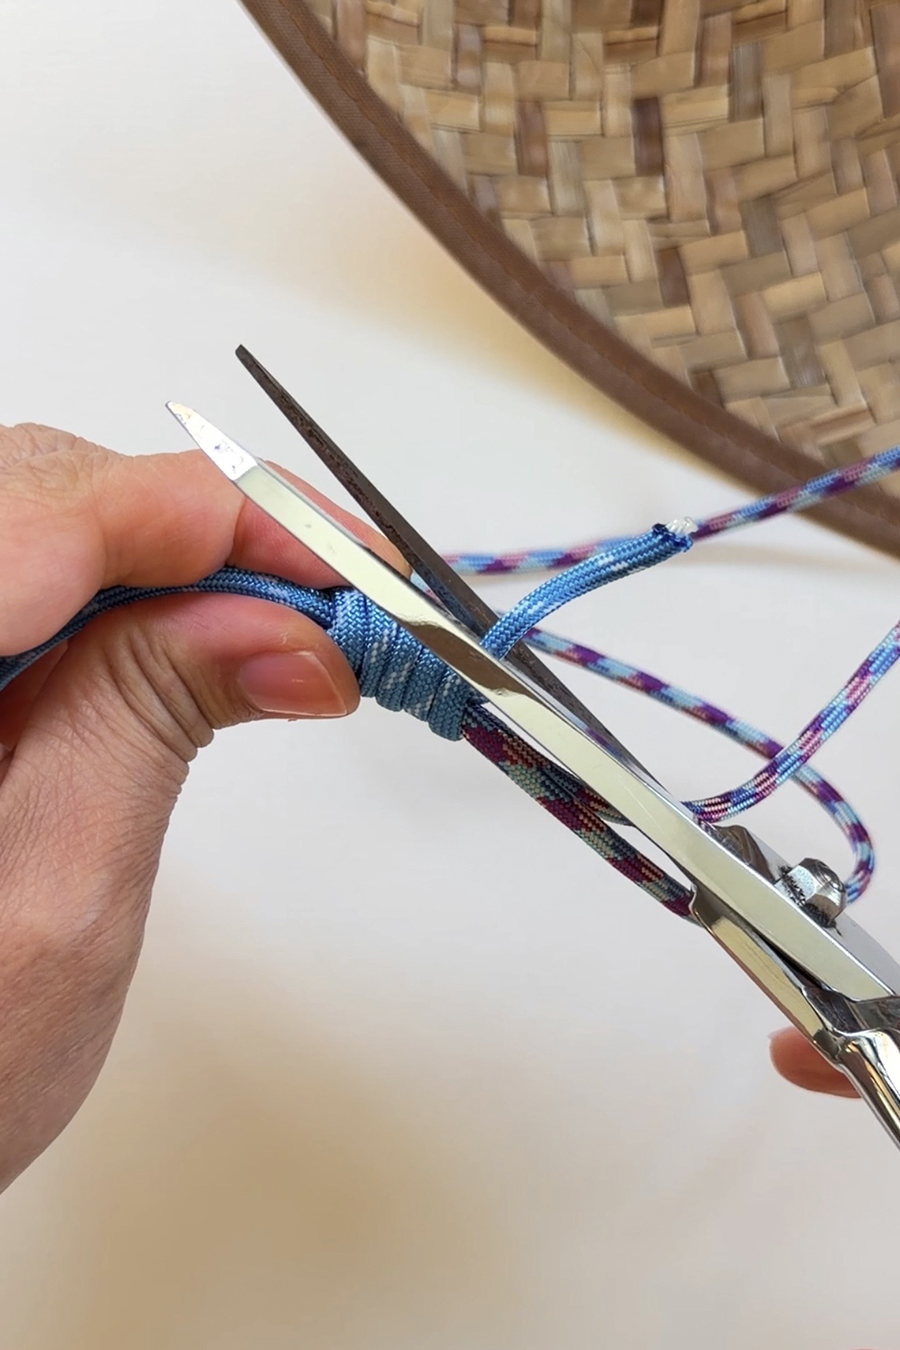
Pull both ends until tight. Trim the ends.
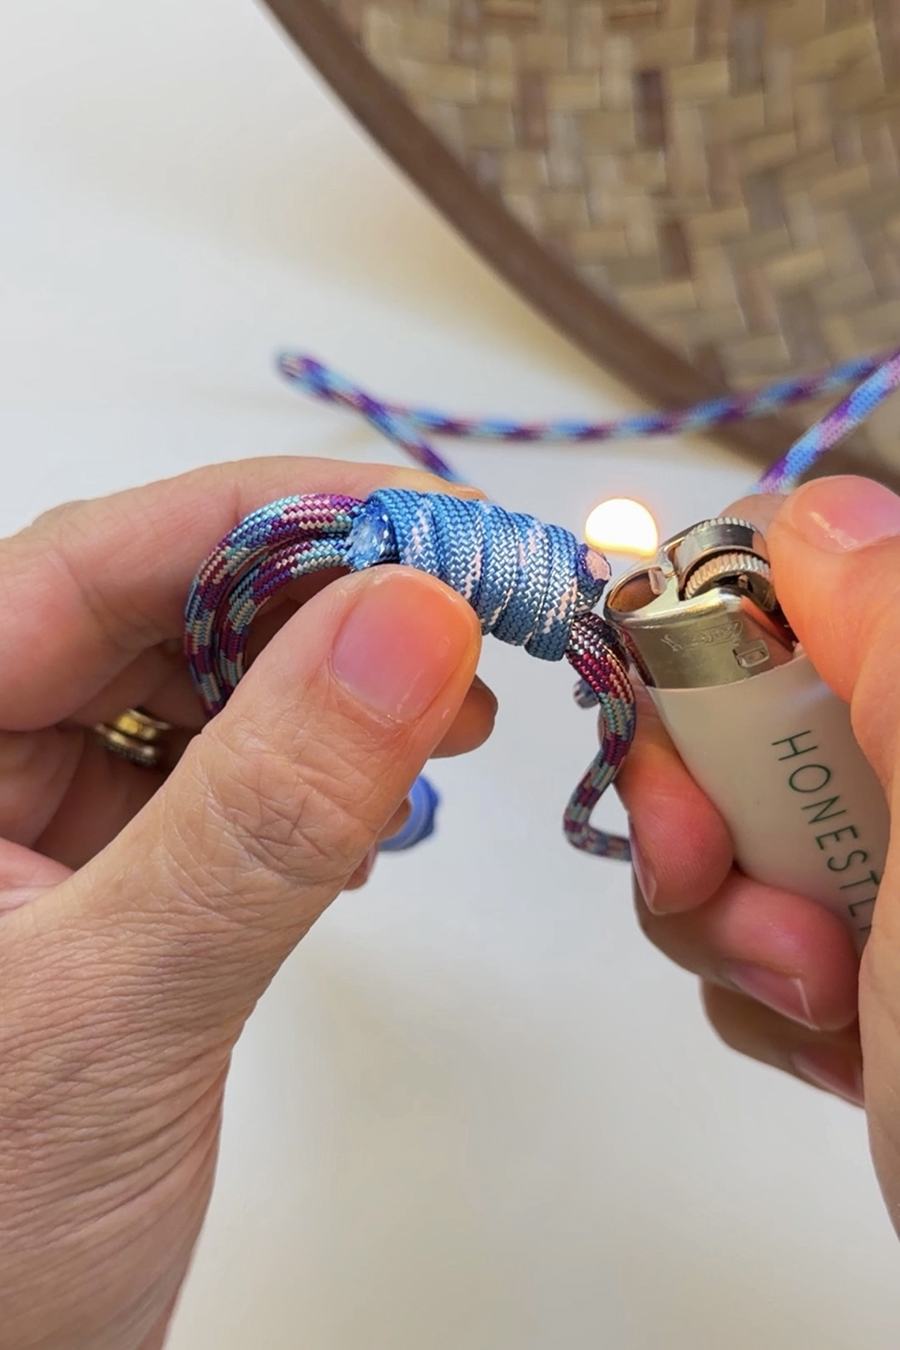
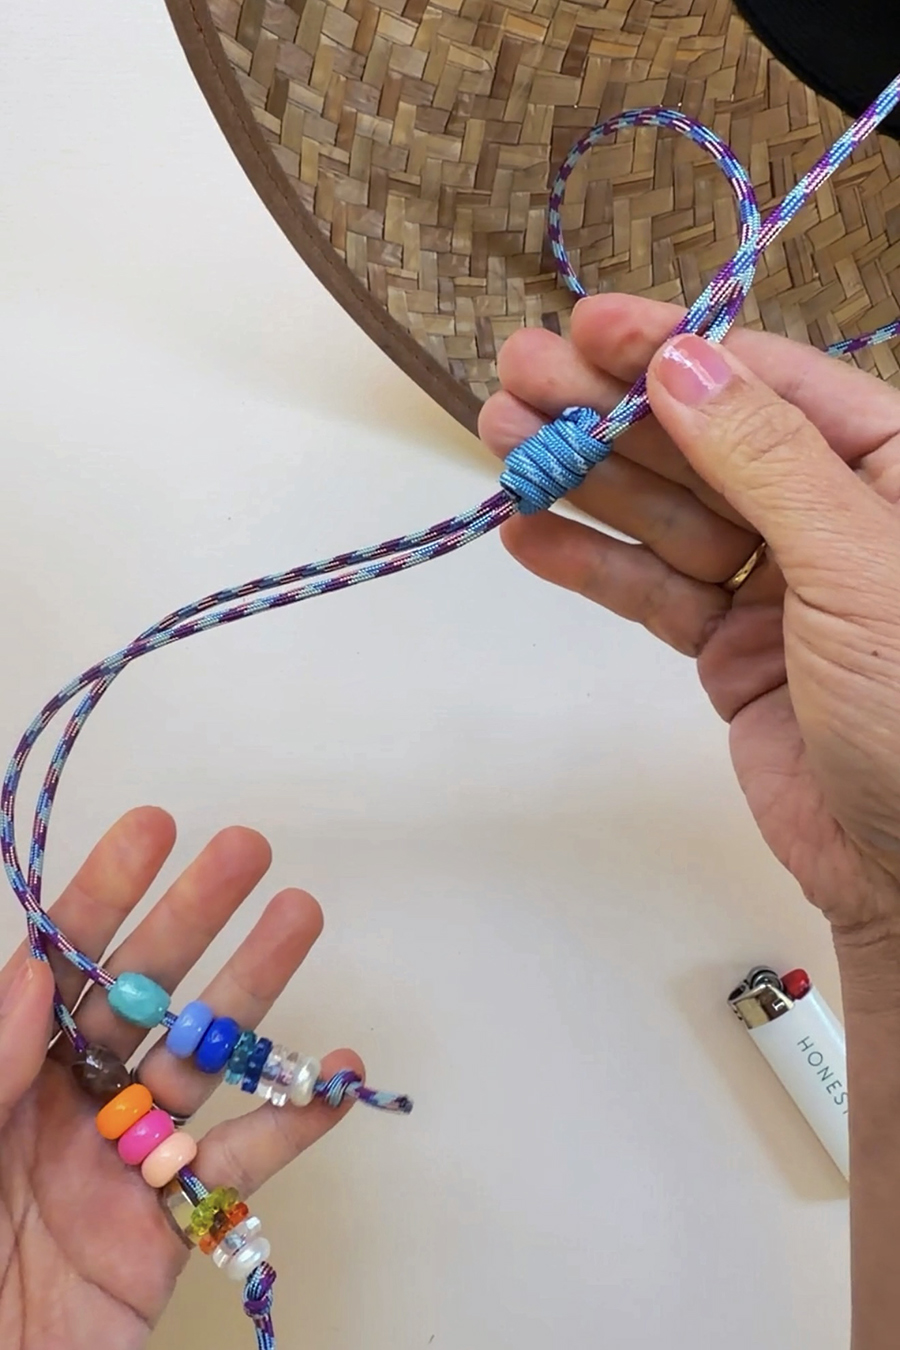
Burn the ends until they begin to melt. Immediately use the back of the lighter and press the ends down onto the knot. This keeps the barrel knot in place. Now you can slide the barrel knot along your rope ends to make the hat tighter or looser.
And that's it! Stay shady!!
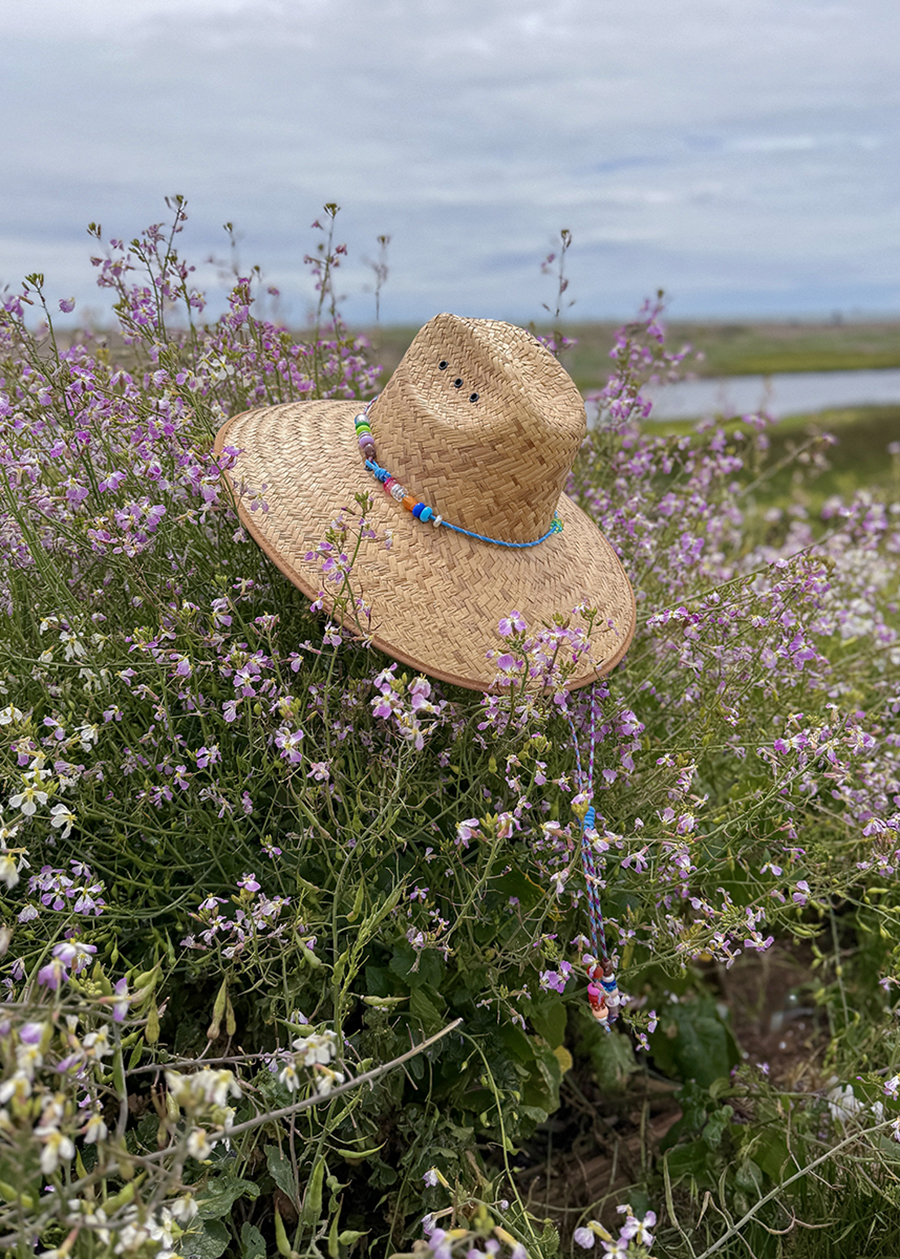

tutorial & images by HonestlyWTF. DIY Knotty Lifeguard DIY kits available here.
Can you share the link for the hat used here?! Thanks! : )
It’s refreshing to see a craft kit that celebrates individuality by letting each person’s knotting style shine through. For anyone assembling similar DIY kits to sell, using a free barcode generator like https://www.bulkbarcodegenerator.pro makes inventory management a breeze.
The idea of customizing a lifeguard hat with knots is brilliant – it turns a simple sun hat into a personal craft project while keeping the shade practical. For relaxing beachside crafting sessions, I like to listen to background sounds from free asmr (https://freeasmr.net) to stay calm and focused.
The DIY Knotty Lifeguard Hat Kit celebrates personalization with its mix-and-match ropes and colors, a concept that applies equally to navigating the crowded AI landscape—I’ve found that a hand-verified directory like https://www.freeailist.org helps cut through the noise and actually find what works.
The idea that shade is chic really resonates — I’ve been experimenting with similar DIY accessories this summer. For a different kind of customization, I’ve been using the guides at https://taskbarherobuild.com to personalize my gaming setup.
The sliding knot technique for the adjustable chin cord is such a smart detail — it keeps the hat functional without looking overly fussy. One thing I’d add for anyone working with synthetic rope: if the lighter trick isn’t sealing the ends cleanly, briefly rolling the melted tip against a metal surface (like the side of scissors) right after heating gives a much smoother finish and prevents those little sharp nubs that can snag on beads later. Love the Blue Steel colorway.
Love the sliding knot technique for the adjustable chin cord — that’s such a smart detail for a hat you’ll actually wear in the wind. The barrel knot walkthrough was really clear too; I’ve struggled with those staying tight on synthetic rope before, and the tip about melting the ends with the lighter and pressing them down with the back of it is one of those small things that makes a big difference. Curious whether you’ve tried this with a wider-brim straw hat or if the grommets are specific to the lifeguard style?
Love how detailed the sliding knot instructions are — that’s usually the trickiest part of any rope-based DIY and you broke it down really clearly. The tip about using the back of the lighter to press the melted ends into the barrel knot is a great detail I haven’t seen mentioned in other tutorials. Definitely going to try the Blue Steel colorway for a trip next month.