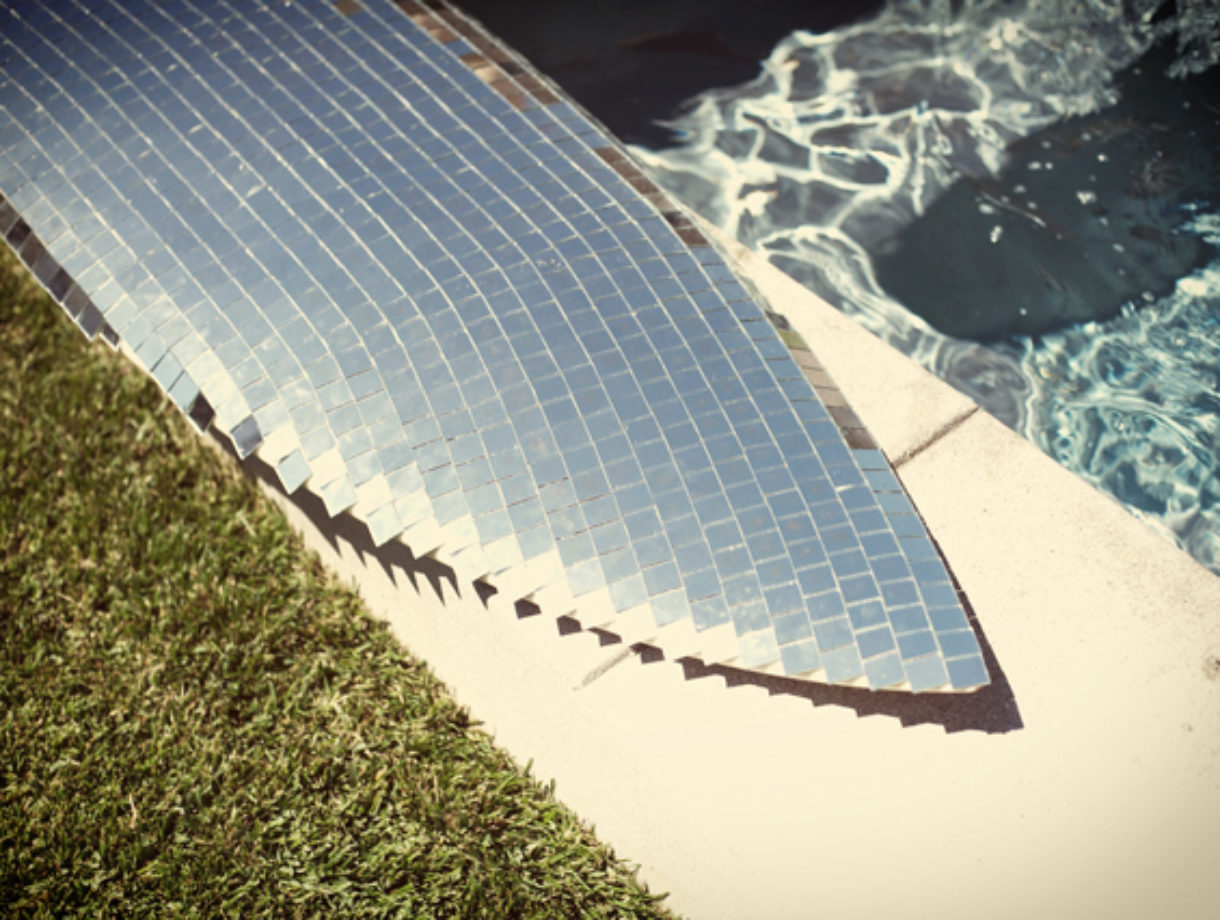
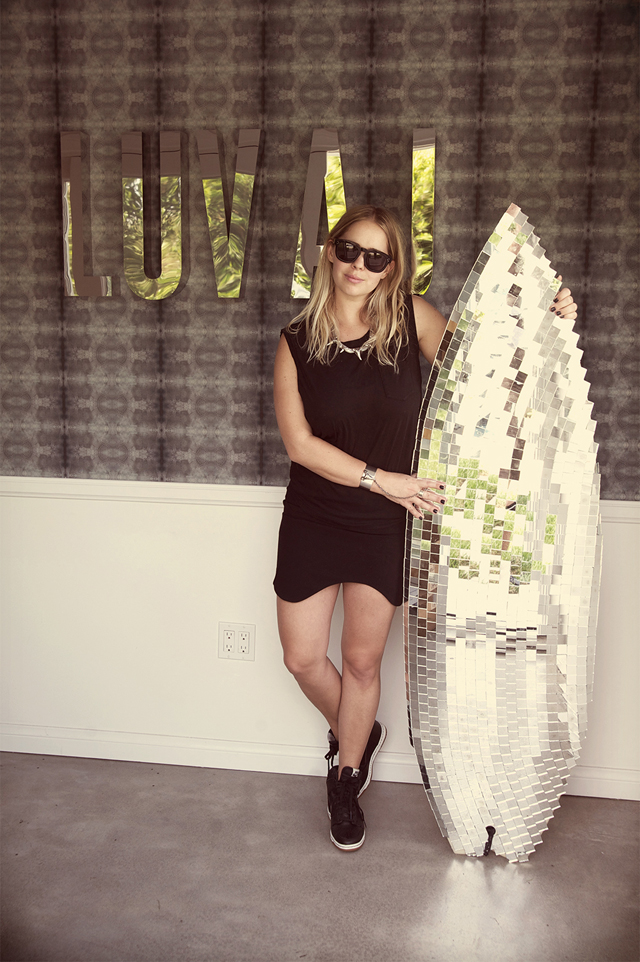
Raise your hand if you, too, were blown away by the sick mirrored surfboard featured alongside the dangerously cool collection of shark tooth jewelry in Luv AJ‘s latest lookbook. It makes for the perfect objet d’art for us California-bred beach lovers, which had us seriously jonesing for our own. Lucky for us, designer Amanda Thomas is giving us the exclusive step by step tutorial, showing how we can create the same disco surfboard. And all for under $150.
You’ll need:
- a surfboard
- a surfboard wax scraper
- pickle wax remover
- Weldbond adhesive
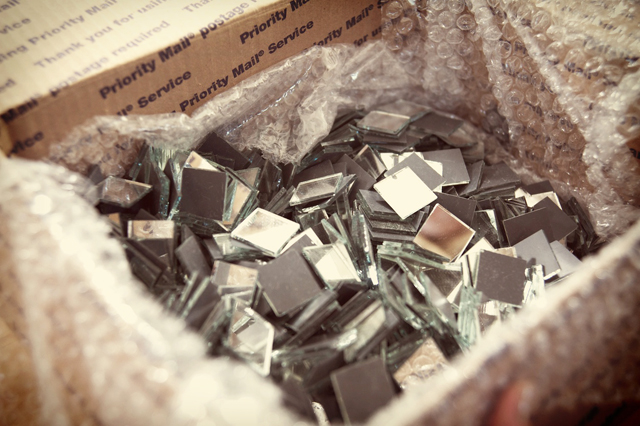
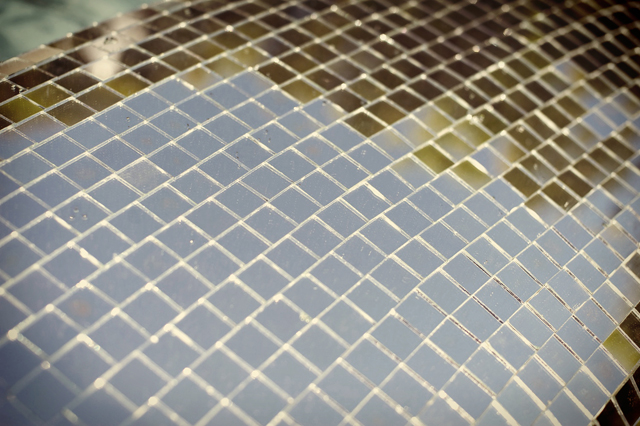
- 1200 1″ x 1″ square mirror tiles
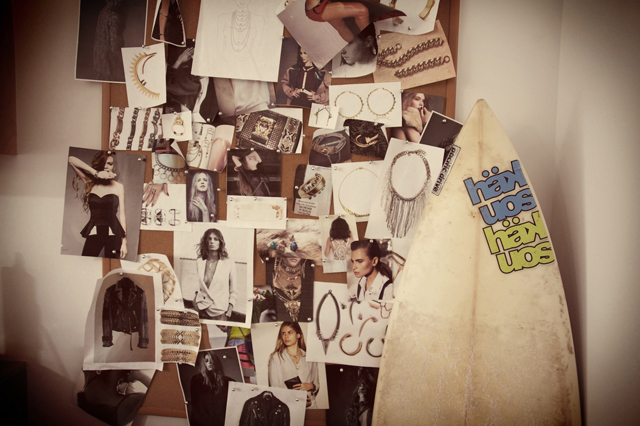
The first step is to track down an old surfboard. Try looking on Craiglist or post your search on Facebook – you’d be surprised at how many people have old boards they aren’t using and will give away for free. Any old board will work, no matter how worn and torn because we are going to be covering that baby with tiles so no one will see any of it’s blemishes. I also suggest getting a short board because they are much smaller and easier to tile.
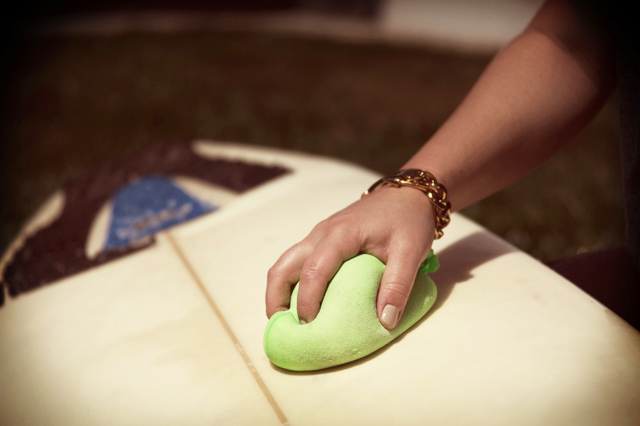
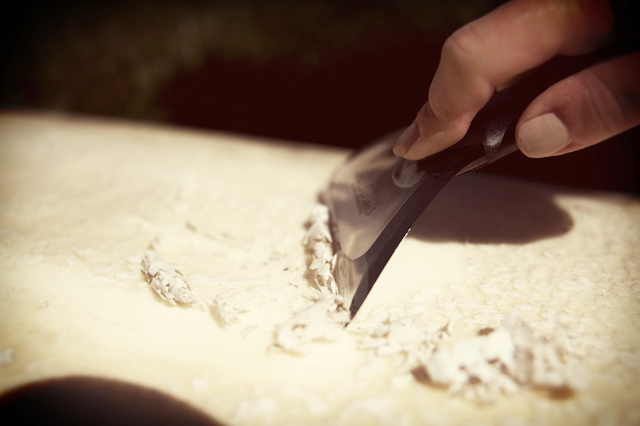
The next step is to clean the board. A surfboard wax scraper will usually do the trick. The board needs to be completely bare, so removing any and all wax, stickers, or traction pads is key. It takes a bit of elbow grease to get the surfboard completely clean but the scraper is pretty effective. I also used a Pickle Wax Remover at the very end to get off any excess wax that I had missed. A clean board is crucial!
Now it’s time for the fun part. Grab the box of mirror tiles and the glue and get comfy – this step will takes about 2-3 hours.
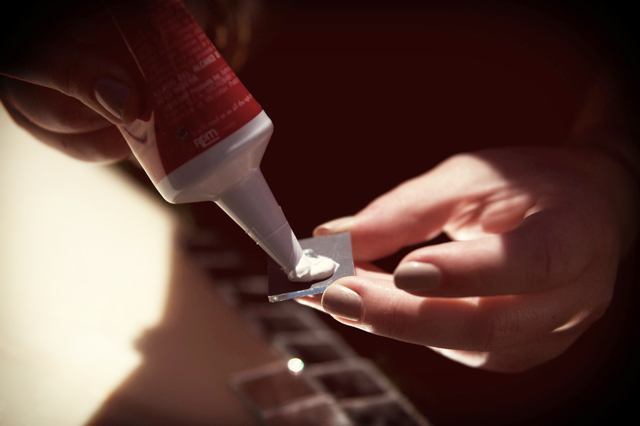
Lay down cardboard underneath the board to protect the surface you’re working on. Start laying tiles down the left edge of the board. The edge is curved so you just need to follow that edge from top to bottom. Start at the very tip top of the board and make sure the tiles stick out about 1/8″ so that you can’t see the the surfboard underneath. In terms of glue, only put about a penny sized dollop on each tile. You don’t want the glue to squeeze over the edges of the tiles because it will dry and effect the final look of the disco tiles.
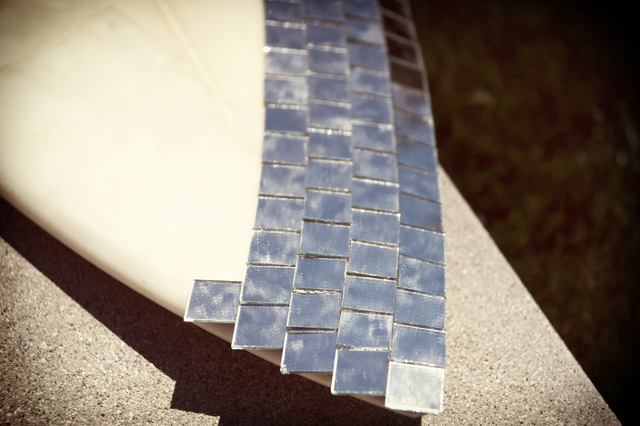
Start on the first edge, and once you hit the bottom, then go back to the top and start the second row. Keep making rows after rows and push the tiles as close to each other as possible. It may seem strange that the lines are curved, but they will come to a perfect point at the end. Use your discretion in tilting tiles a bit to fit areas if they do not sit side by side perfectly.
Keep gluing the tiles row by row and then you will come to the end. Let the glue set overnight and wipe clean with glass cleaner.
You’ve made a disco surfboard!
(images & tutorial courtesy of Amanda Thomas of Luv AJ)

I loved it!!!
I’m posting looks from Los Angeles and accessories:
http://www.thegavlaks.com
Not that I need one but this is definitely the coolest surfboard I have ever seen 😀
xx Mira
http://www.glamdevils.com
Omg this surfboard is so cool! I want one!!!
XO CHAMAFASHION
http://www.chamafashion.com/
It’s perfect, such a cool home decoration! 🙂
xoxo
Fashion Agony blog
Very nice inspiration. Great day.
http://www.fashiondenis.com/
this is the coolest surfboard I have ever seen and it’s a nice home decor!!
http://www.thestelstyle.com
wow that’s awesome.
Wow amazing ! Love it !
Giveaway on my blog:
http://www.thestilettoholic.com/2013/08/10/romwe-international-giveaway/
it’s amazing, prefect home decoration! xx
Martyna | NEON MIZZLE
Ahhh this is so cool!
That is absolutely amazing!! It may look a little out of place in my home in chicago, though. I wonder what else i can turn “disco”. ?
xxx Sydney
http://www.wethinkthereforewecreate.blogspot.com
http://www.wethinkthereforewesparkle.blogspot.com
That’s awesome. I kind of want this handing in my living room.
xoxo
http://www.thewrittenrunway.com
I think it’s a creative idea. Belongs in a modern art gallery or something.
OMG that is soooo awesome!!!
Wow! That really is amazing! Great home decor accessory.
http://www.crocodileandturquoise.com
love it! xx
http://www.vicariousLA.com
Wow, that is so different! Love it!
Wooow amazing DIY!
http://inatrendytown.blogspot.com.es/
Cool!
http://beautyfollower.blogspot.gr/
Oh, it’s really cool:)
http://ccchinachic.com/products/electronics/computer-accessories/headphones/simple-design-reborn-35-mm-plug-ccaw-drive-neodymium-bass-stereo-in-ear-headphone-headset-with-delta-flow-cable-4723.html
How the fuck do you surf on that now??
Great. My girlfriend came across this and thinks it would be cool do this with one of my boards. Maybe I’ll ask her if she’d want to try it on her yoga mat or a favorite dress instead…
i’d probably end up propping it up somewhere and admiring myself in it lol 🙂
http://cafecraftea.blogspot.com
This post is actually a nice one it helps new the web viewers, who are
wishing in favor of blogging.
Also visit my blog post … Bude Surf Shop (http://www.geckodecks.com)
Wow …So brilliantly have made this surfboard. It is really looking very cool and beautiful . This can also be used as a part of home decoration as I do. It will really give a awesome look.
Awesome, got ideas on another shining DIY.
This post was featured on my latest Massive List of Links!
♥Emma, of It’s Emma Elise
cooooooooooooooooooooool
http://www.IdeaAndCreativity.Com
http://www.Ideativity.Net
Interesting DIY, guessing it’s more for decor than actually surfing?
that’s bright and awesome wow 🙂
Great look but this board have a sharp edges.
I wanted to express my gratitude for this article. It’s clear that a lot of research and thought went into it, and I appreciate the effort that you put into sharing your knowledge with readers.
Awakesurfcollective