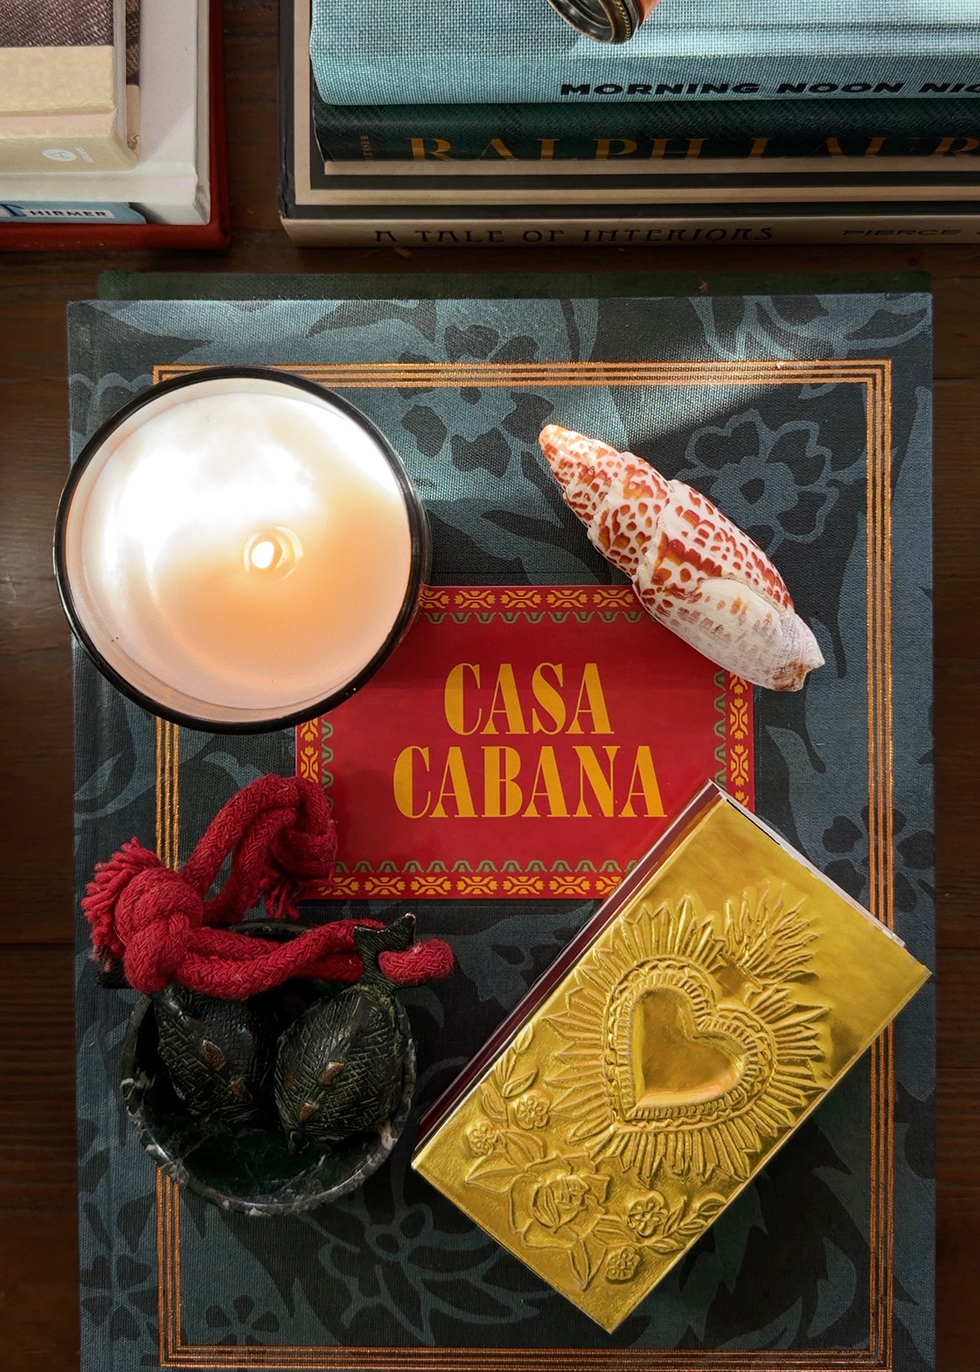

I’ve gone down the rabbit hole of tin embossing - it's the kind of craft that’s equal parts meditative and wildly satisfying. Inspired by those beautiful embossed tin ornaments you’ve probably seen everywhere, I started wondering: what else could get the tin treatment? Enter: matchboxes.
By wrapping simple metal tooling foil around everyday matchboxes and embossing them by hand, these once-humble little objects suddenly feel special, textural, and honestly, kind of luxe. They’re the type of detail that instantly elevates a coffee table or dinner party! They’re surprisingly approachable, endlessly customizable, and make the perfect small but thoughtful gift - because nothing says “I put thought into this” like a beautiful object hiding in plain sight.
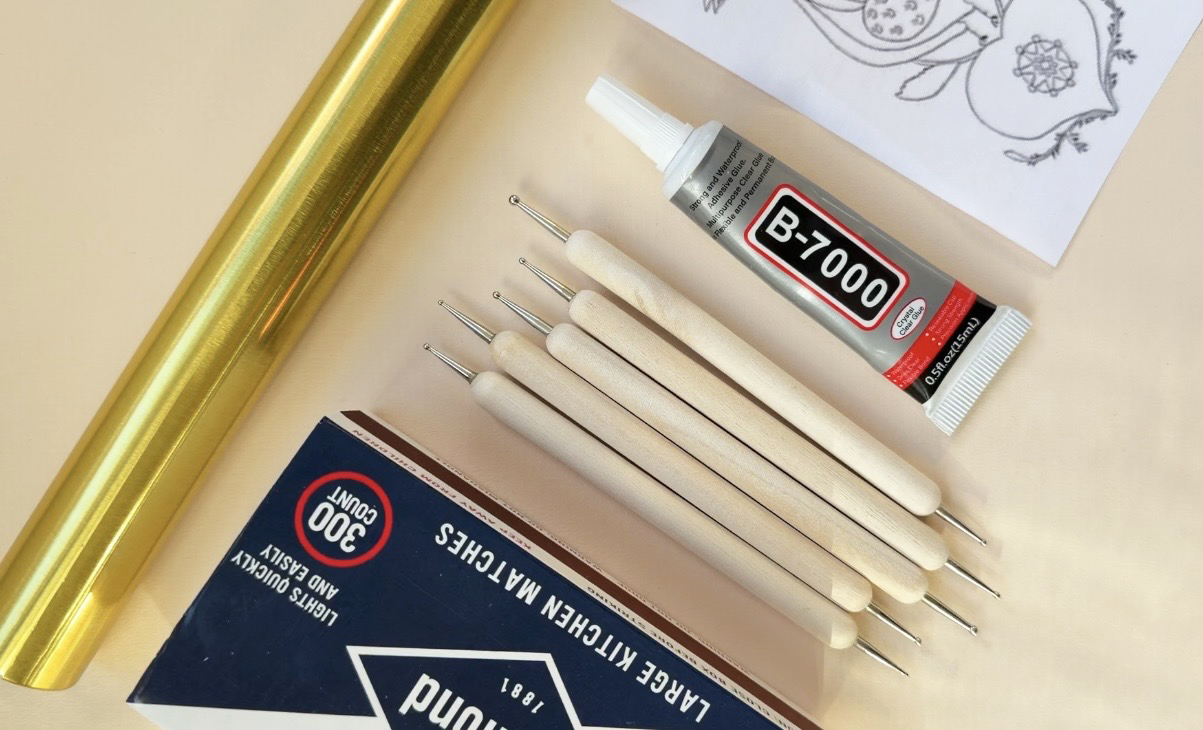
You'll Need:
- gold metallic crafting foil 36 gauge (0.004" thick)
- Diamond Strike Anywhere matchbox
- B-7000 glue
- embossing tools
- scissors
- tape
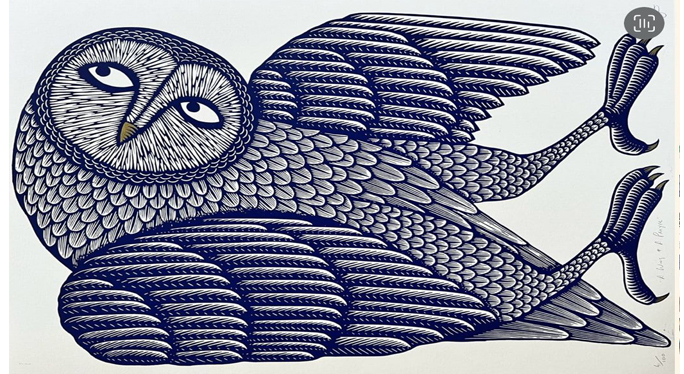
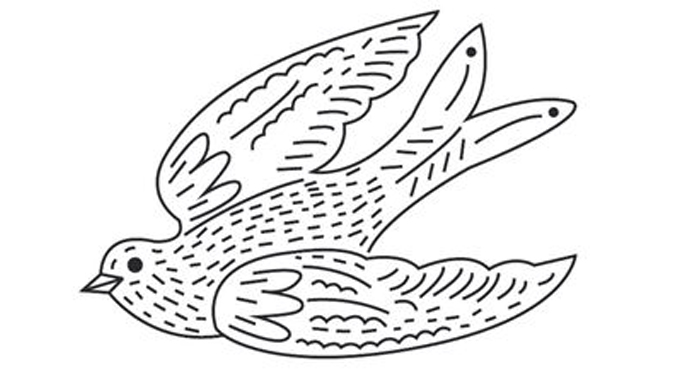
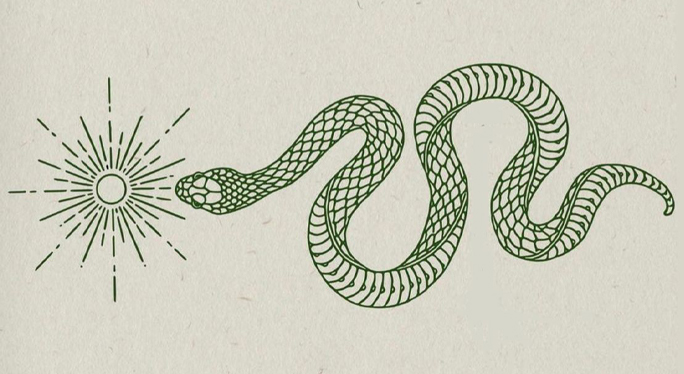
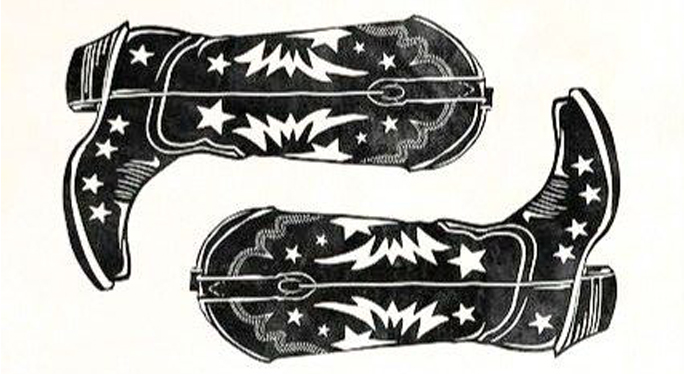
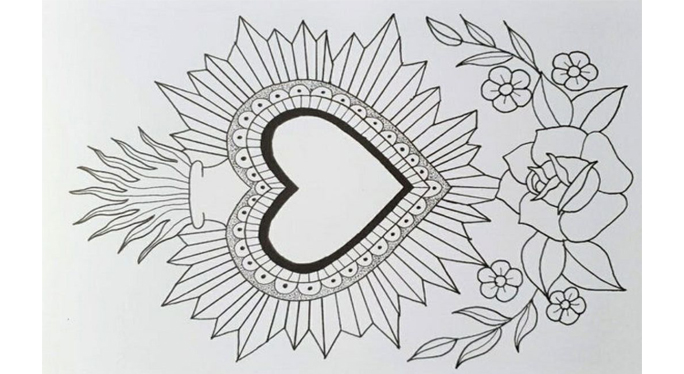
- printed designs 4.75 x 2.6 (Pinterest is a great place to find "embossing motifs" or "tattoo designs", printable images here: owl, dove, snake, cowboy boots, sacred heart)
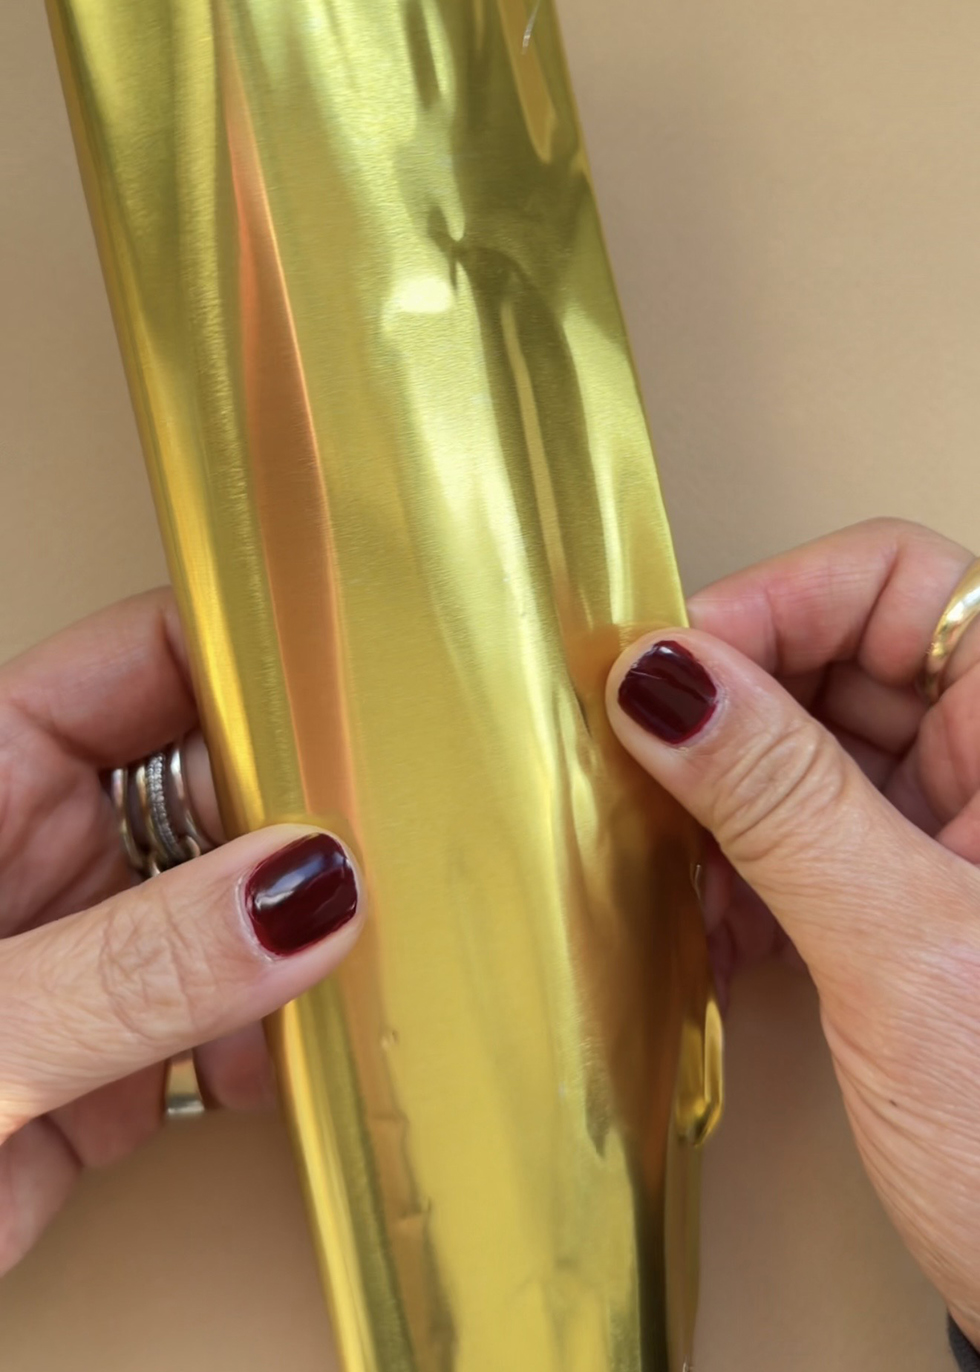
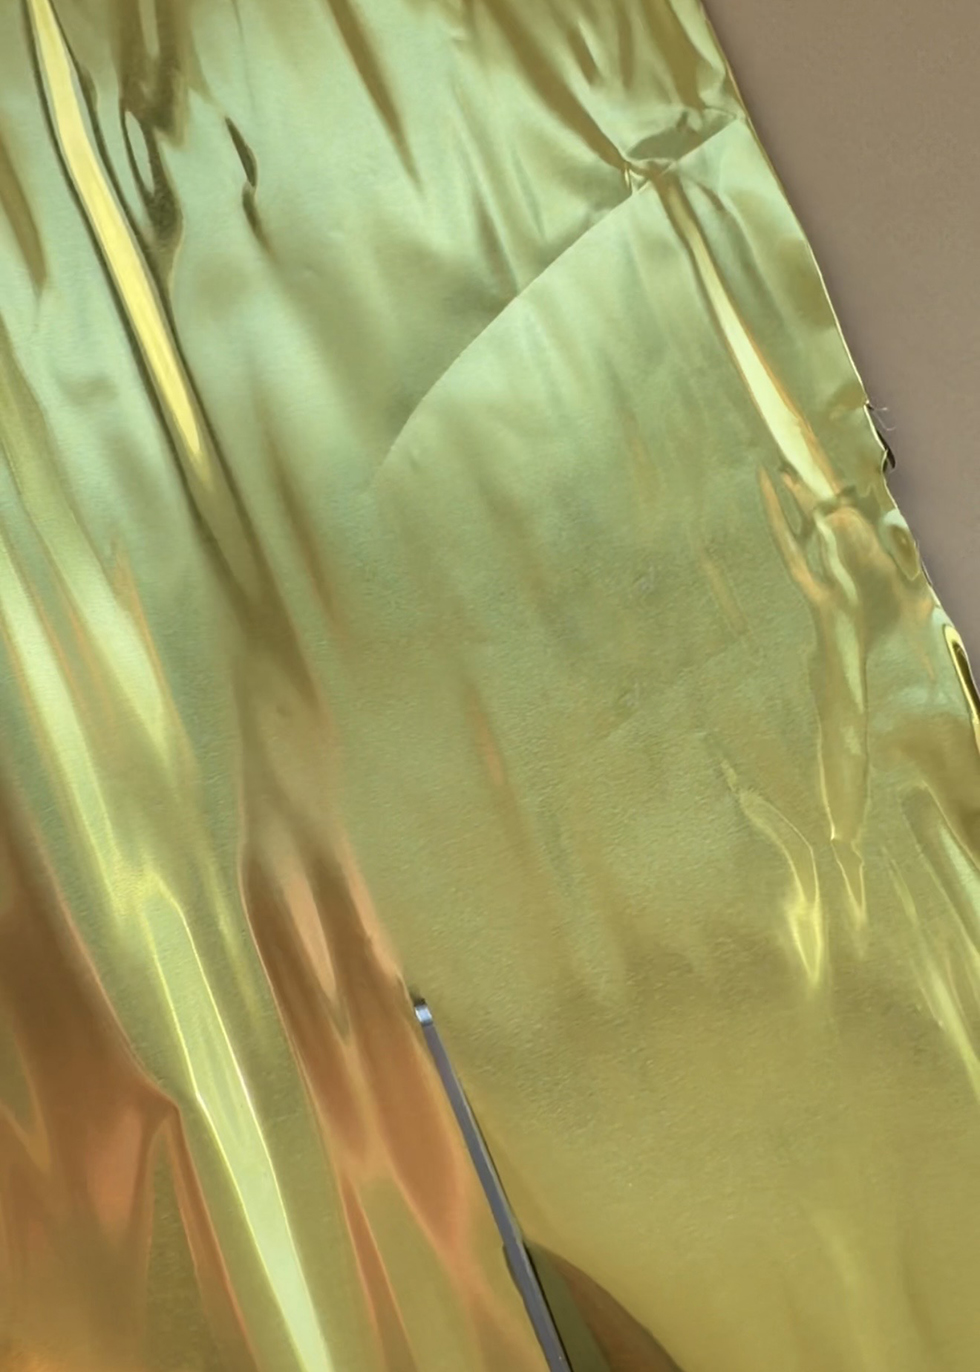
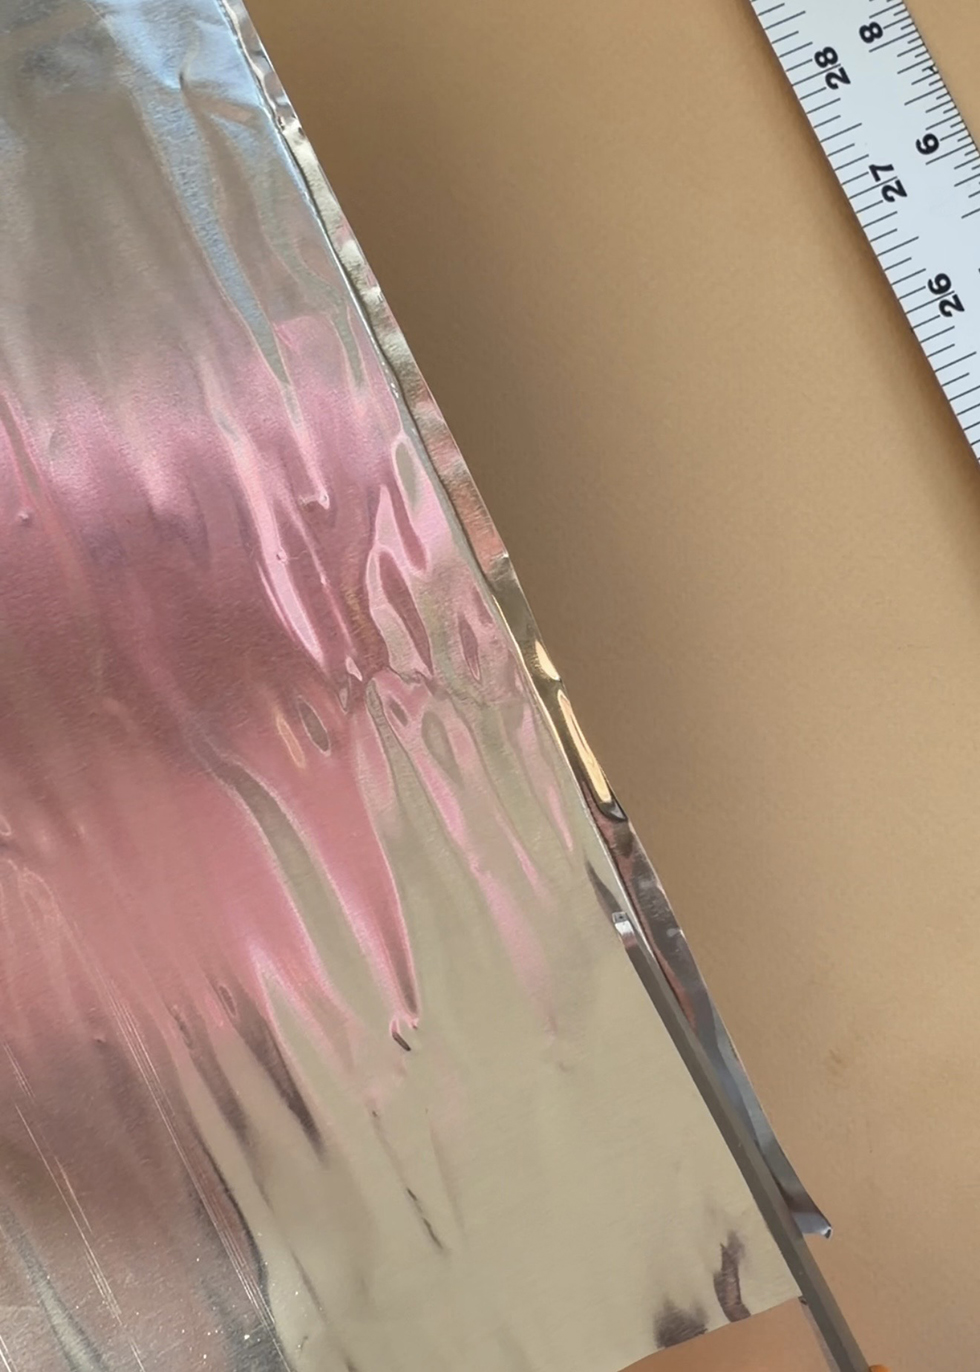
Before you start, make sure you place a surface underneath your working surface so you don't damage your table with the pressure of the embossing. A clipboard or even a folded kitchen towel will work. Start by unrolling the aluminum crafting foil. Don't worry about the dents or kinks. Cut a wide strip, with just regular scissors, at least 5" wide.
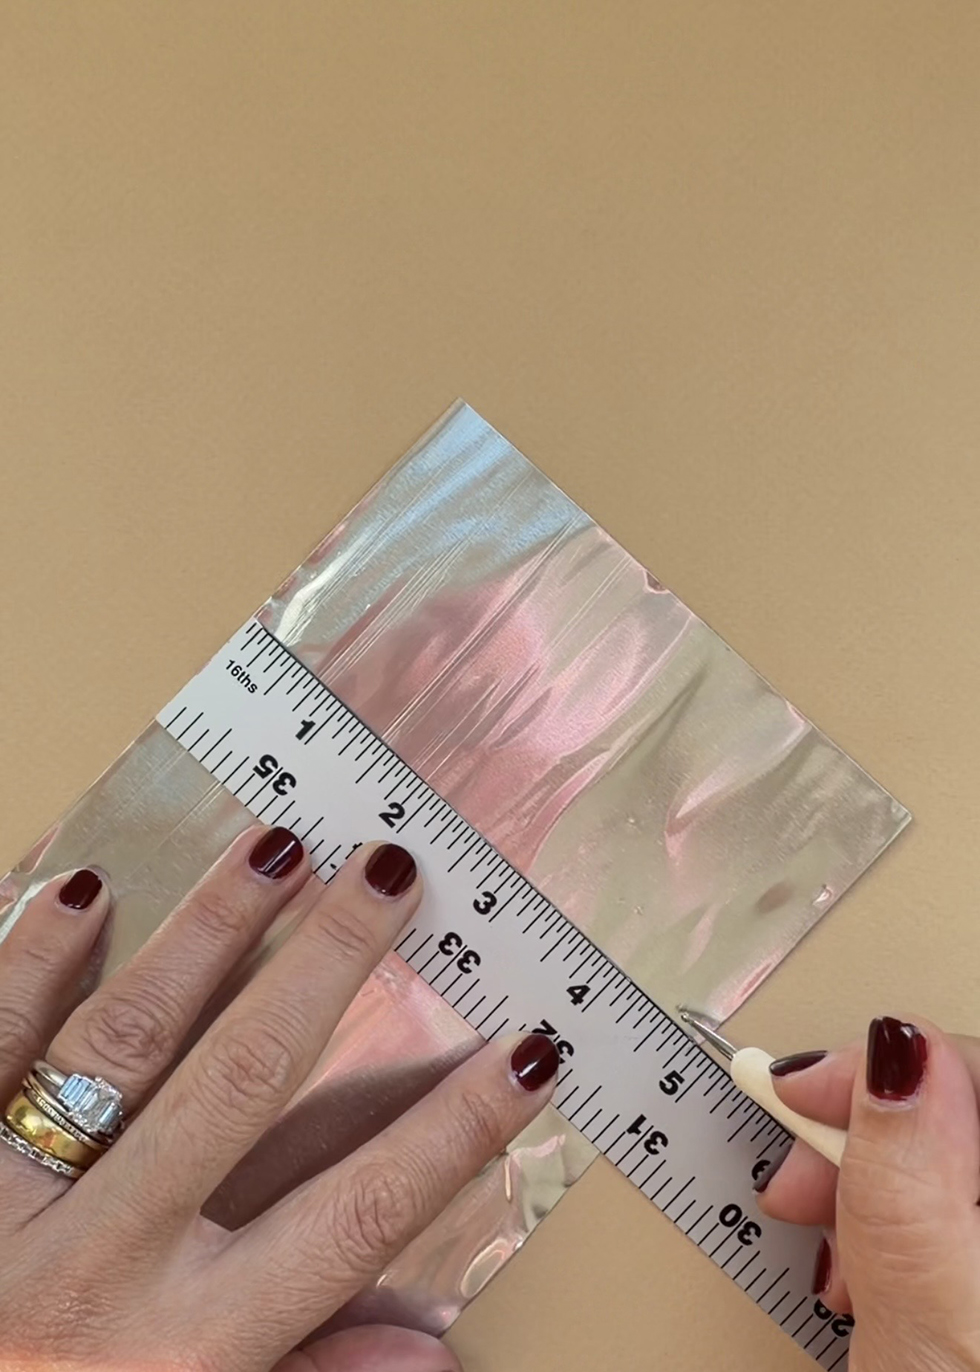

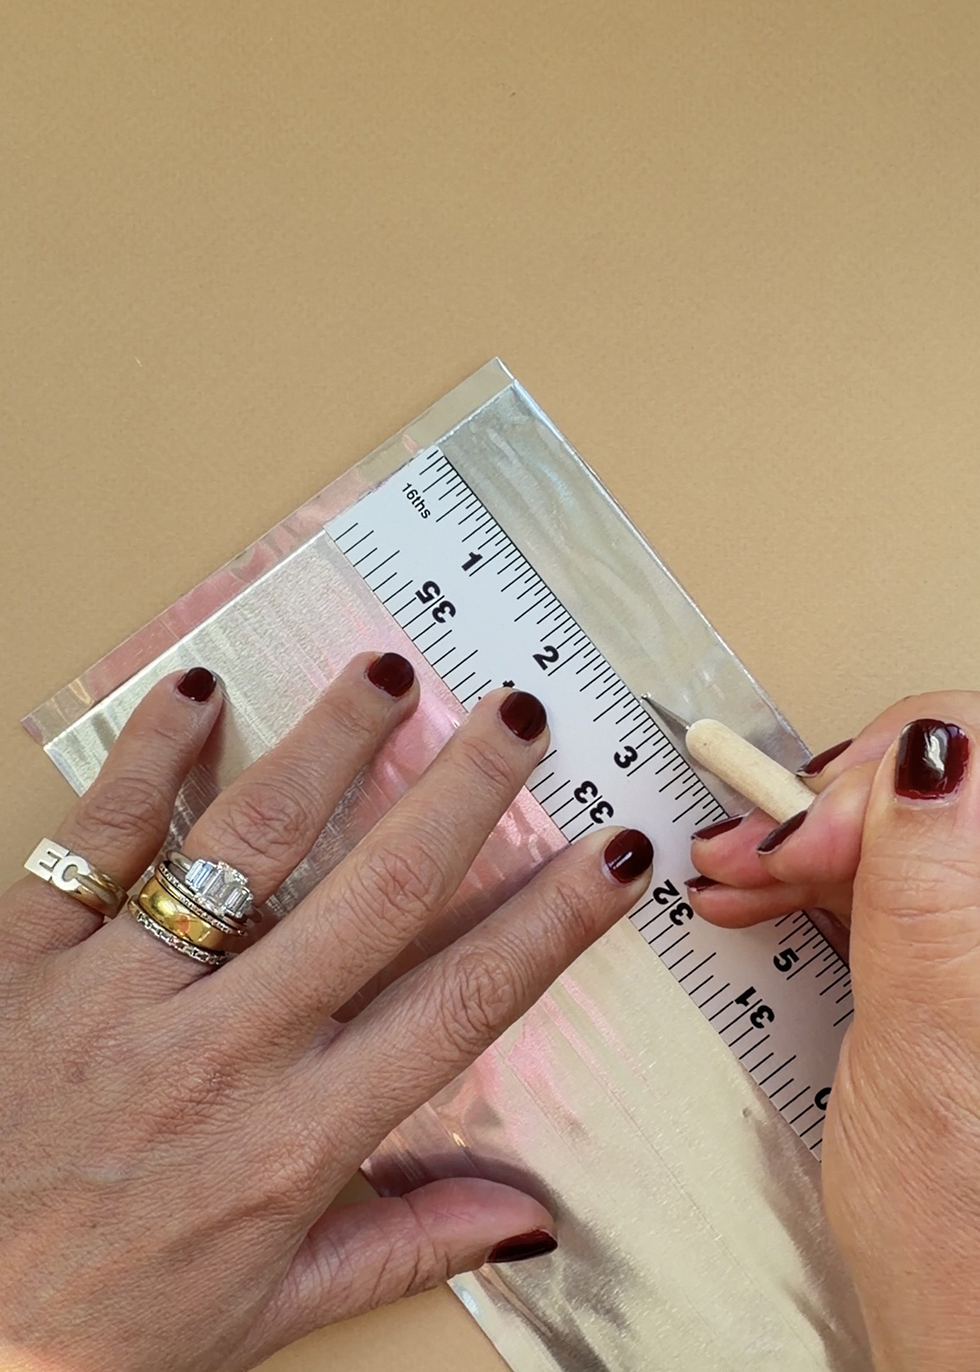
Now you'll make hashmarks along the length of the strip at 4.75" - that is the length of the Diamond Strike Anywhere matchbox. If you're using another brand, make sure you measure the length of that matchbox. Align your hashmarks and using your a small tipped embossing tool, score a line along the entire length of the foil.
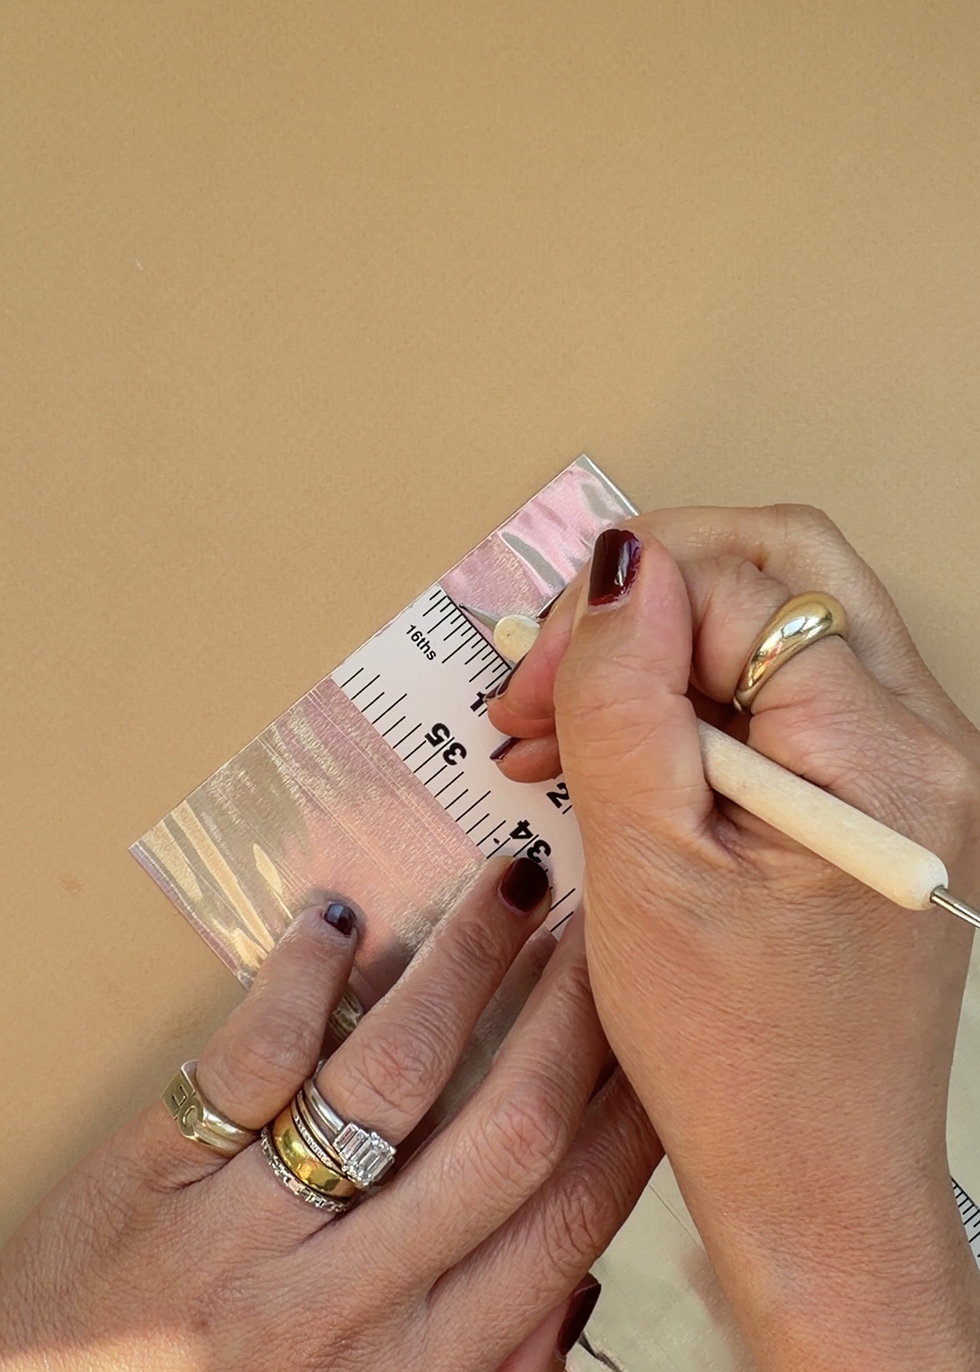
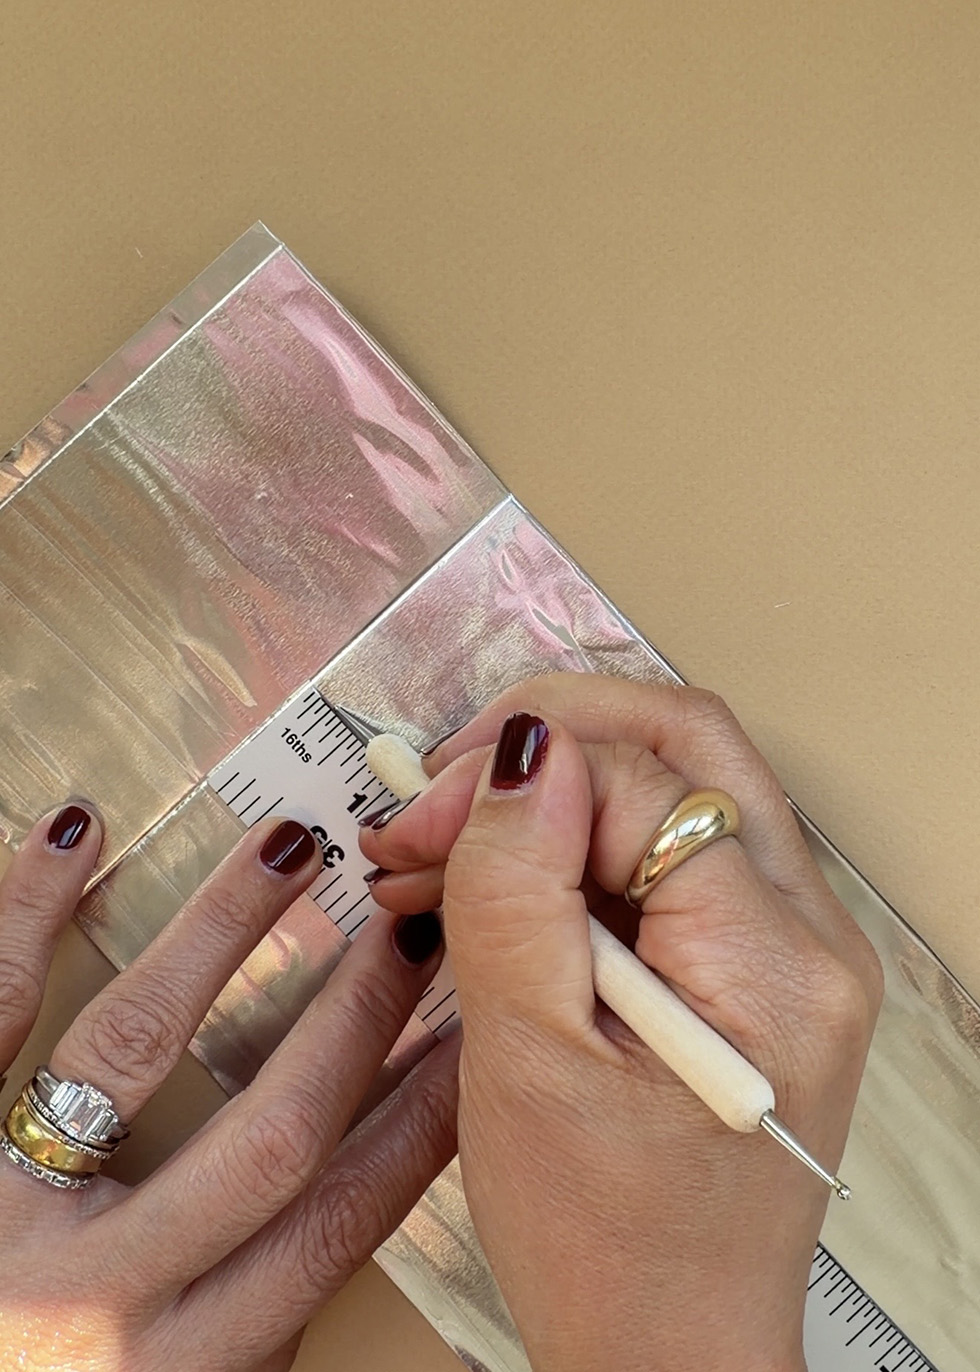
Cut along the score mark. Now your strip is cut to the length of a matchboxes and can be used for at least 3-4 matchboxes. Next, you'll make hashmarks along the width of the strip at 1/4" - this will be section that will fold over the side of the matchbox.
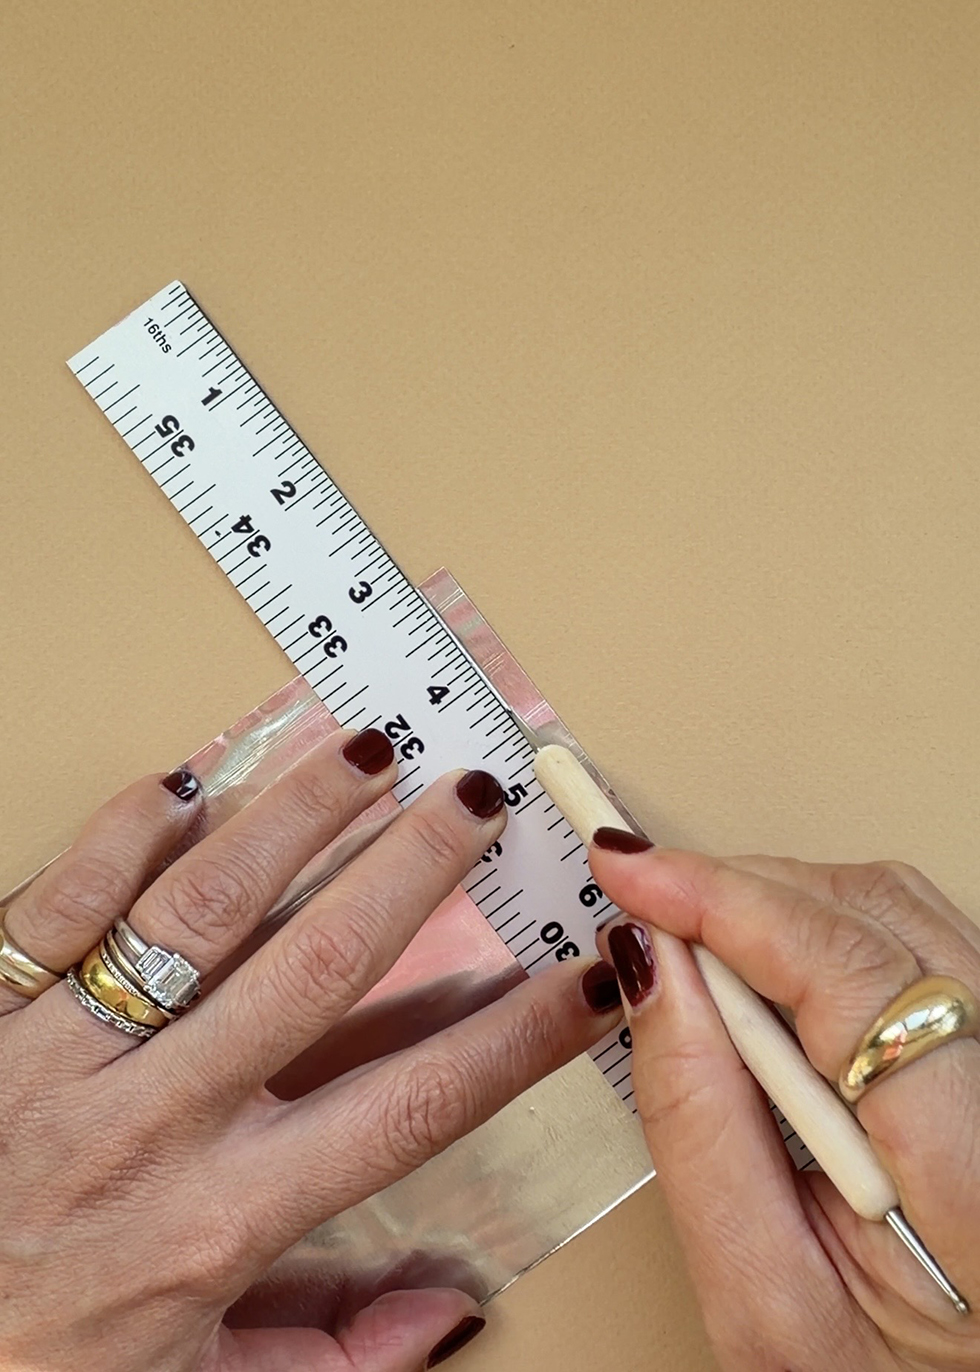
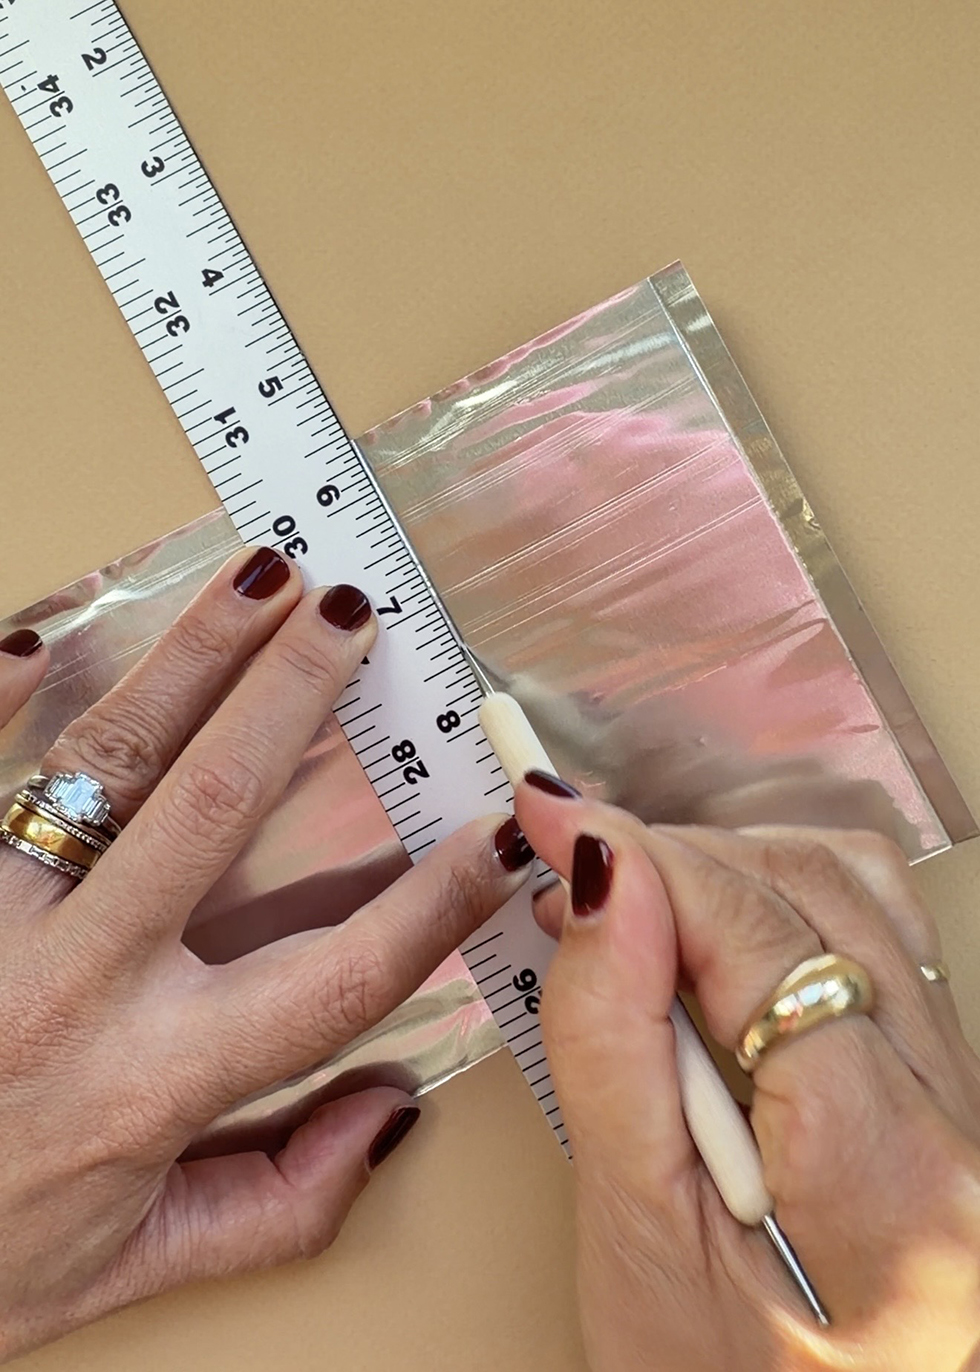
Score a line along those hashmarks. Next, you'll measure 2 5/8" from that scored line. That is the width of the top of the Diamond Strike Anywhere matchbox.
Score a line. Then, measure another 1/4" from that line and make hashmarks.
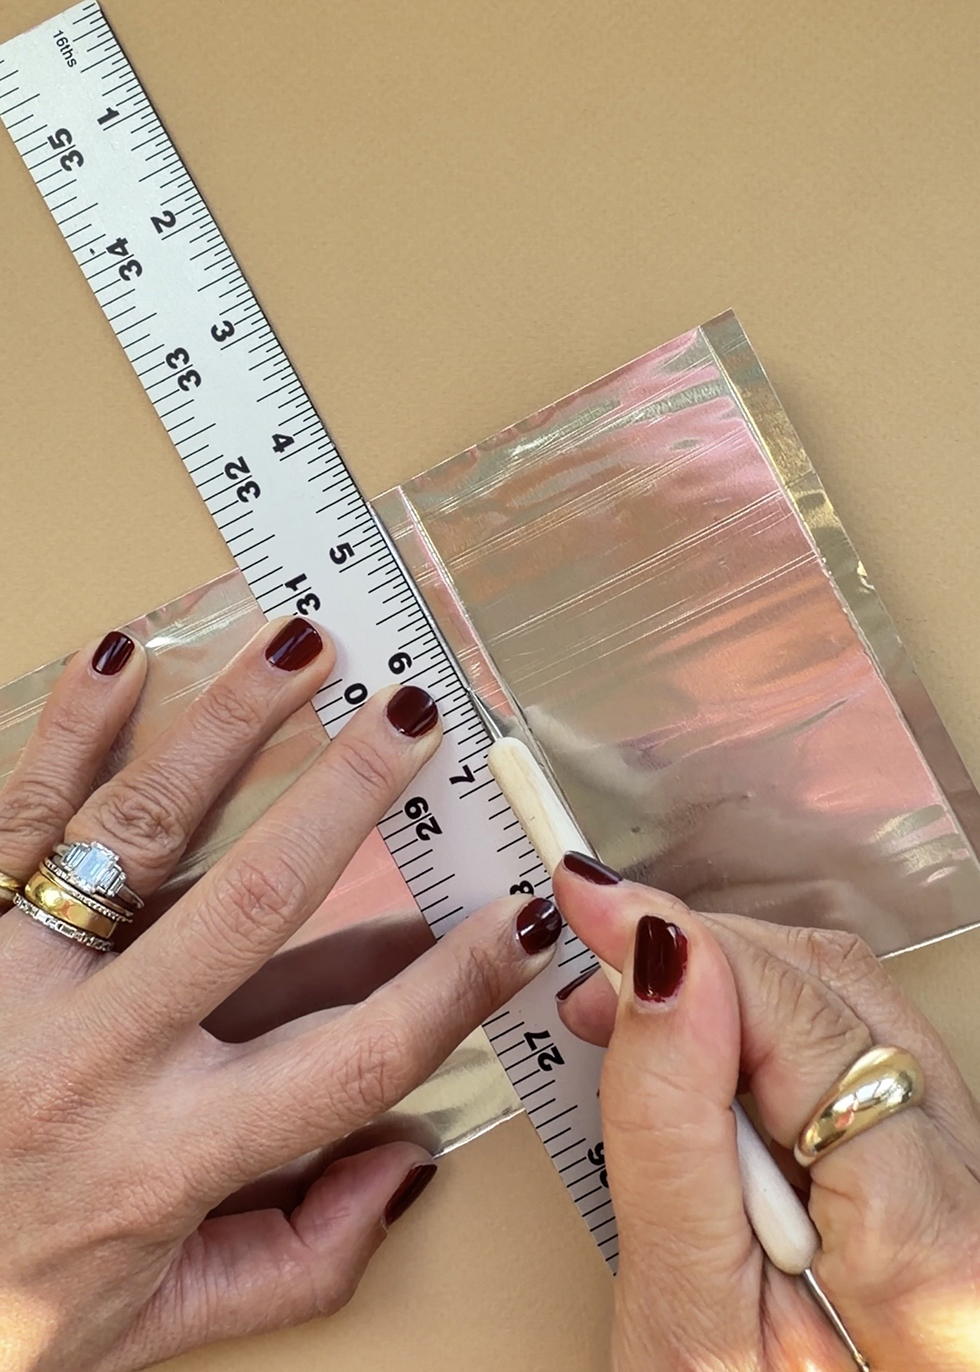
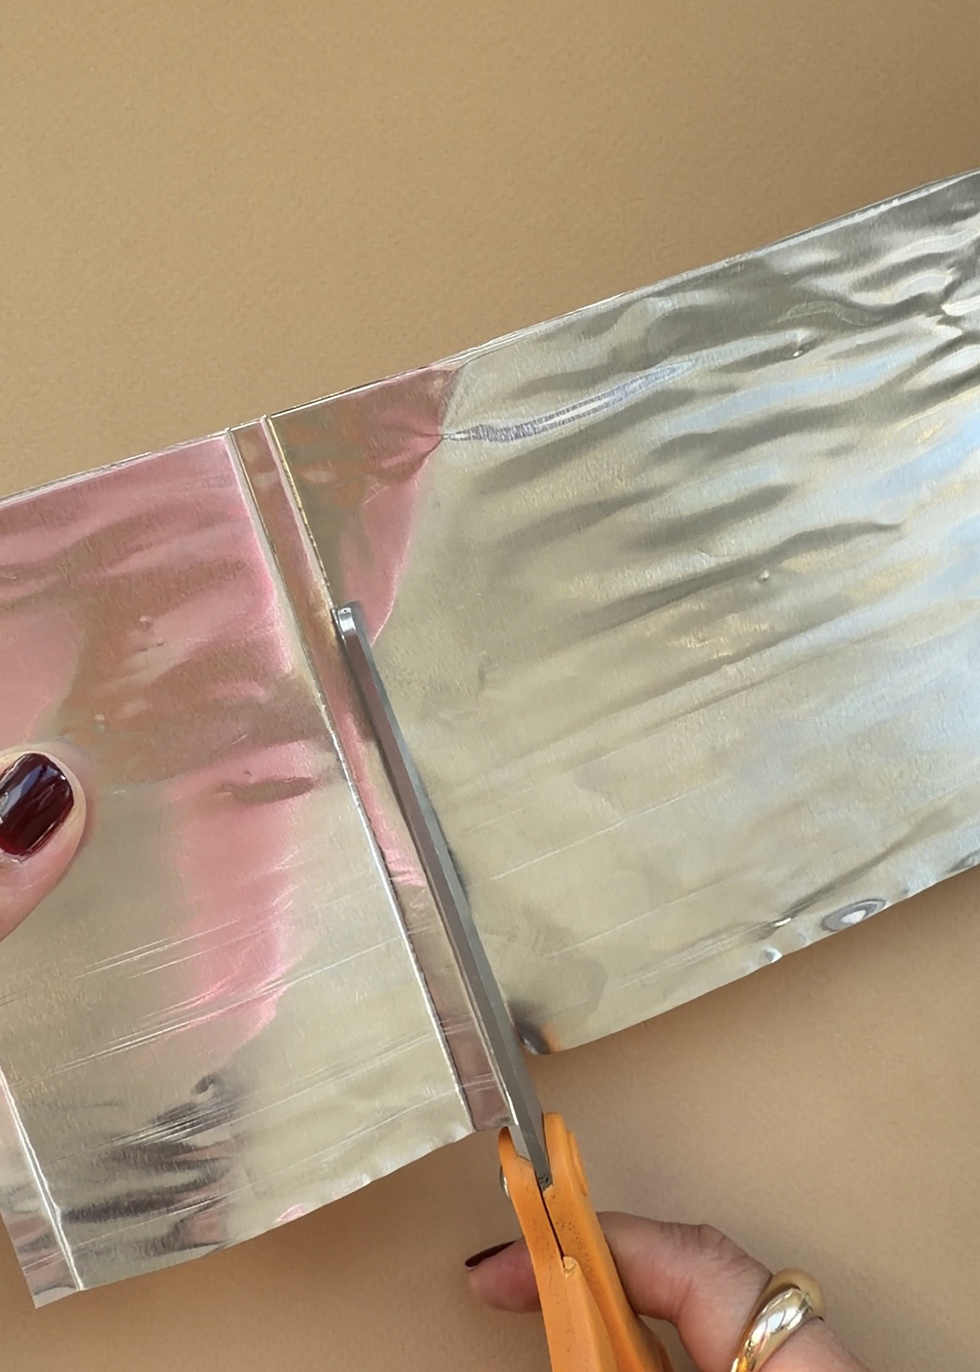
Score a line and cut along that line.
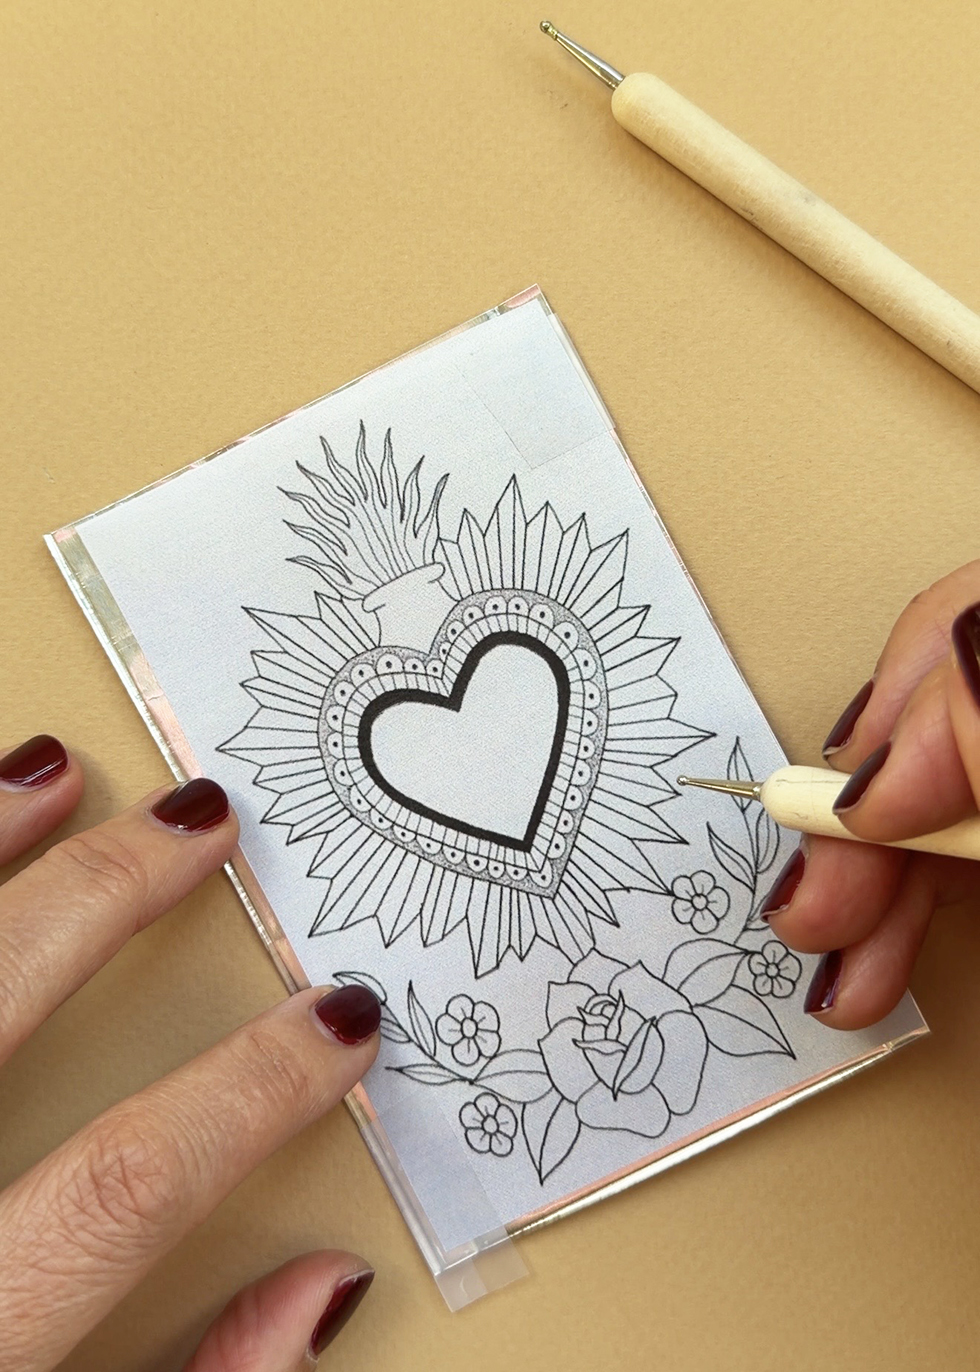

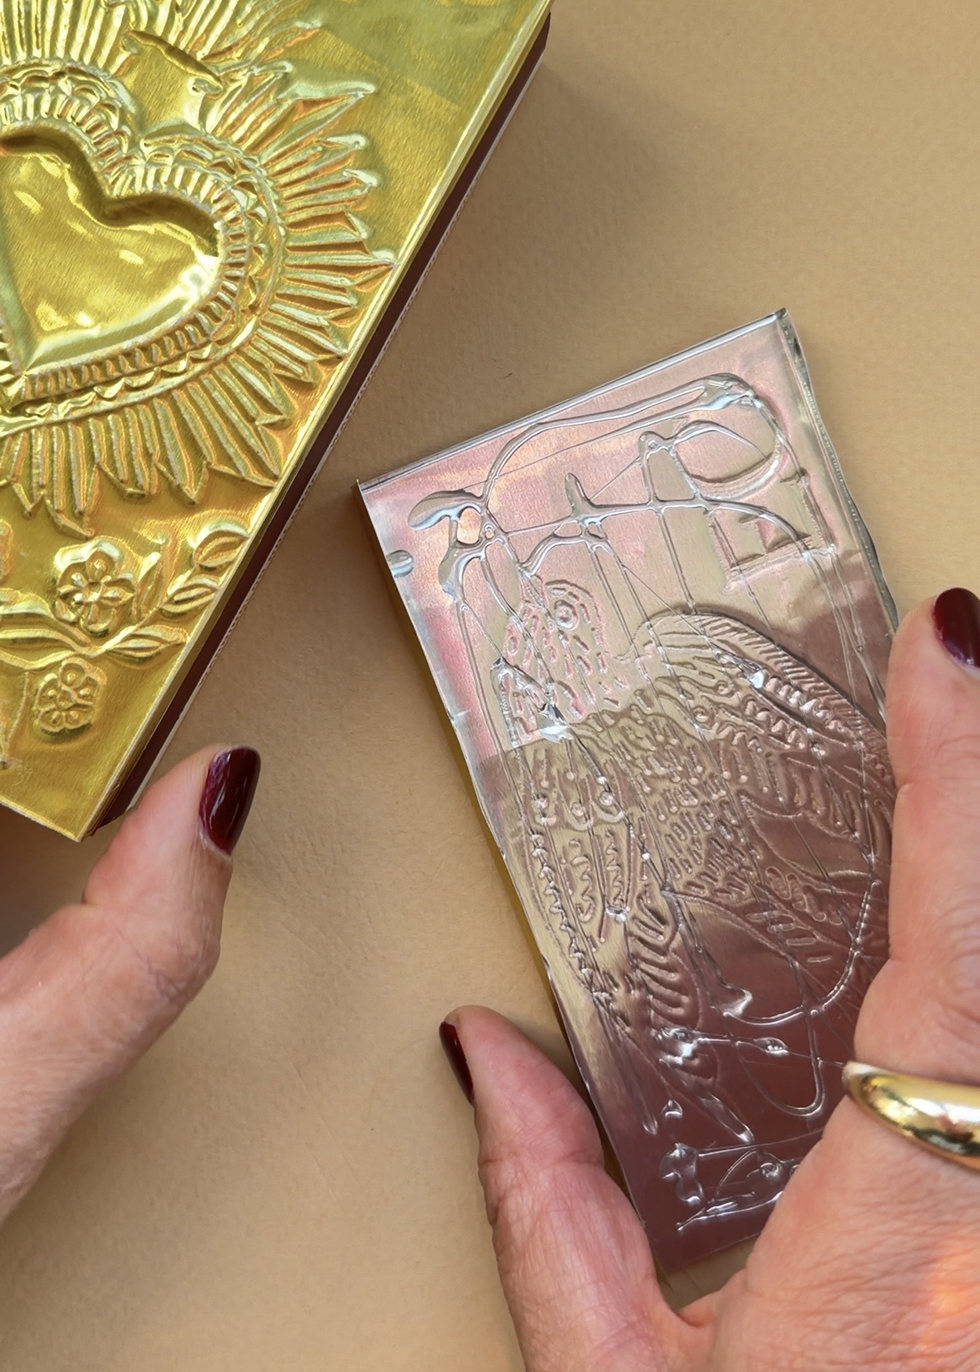
Now tape a design (or freehand!!) onto the backside of the foil. Start carefully tracing your design with your embossing tools. Turn it around to check out your work!!
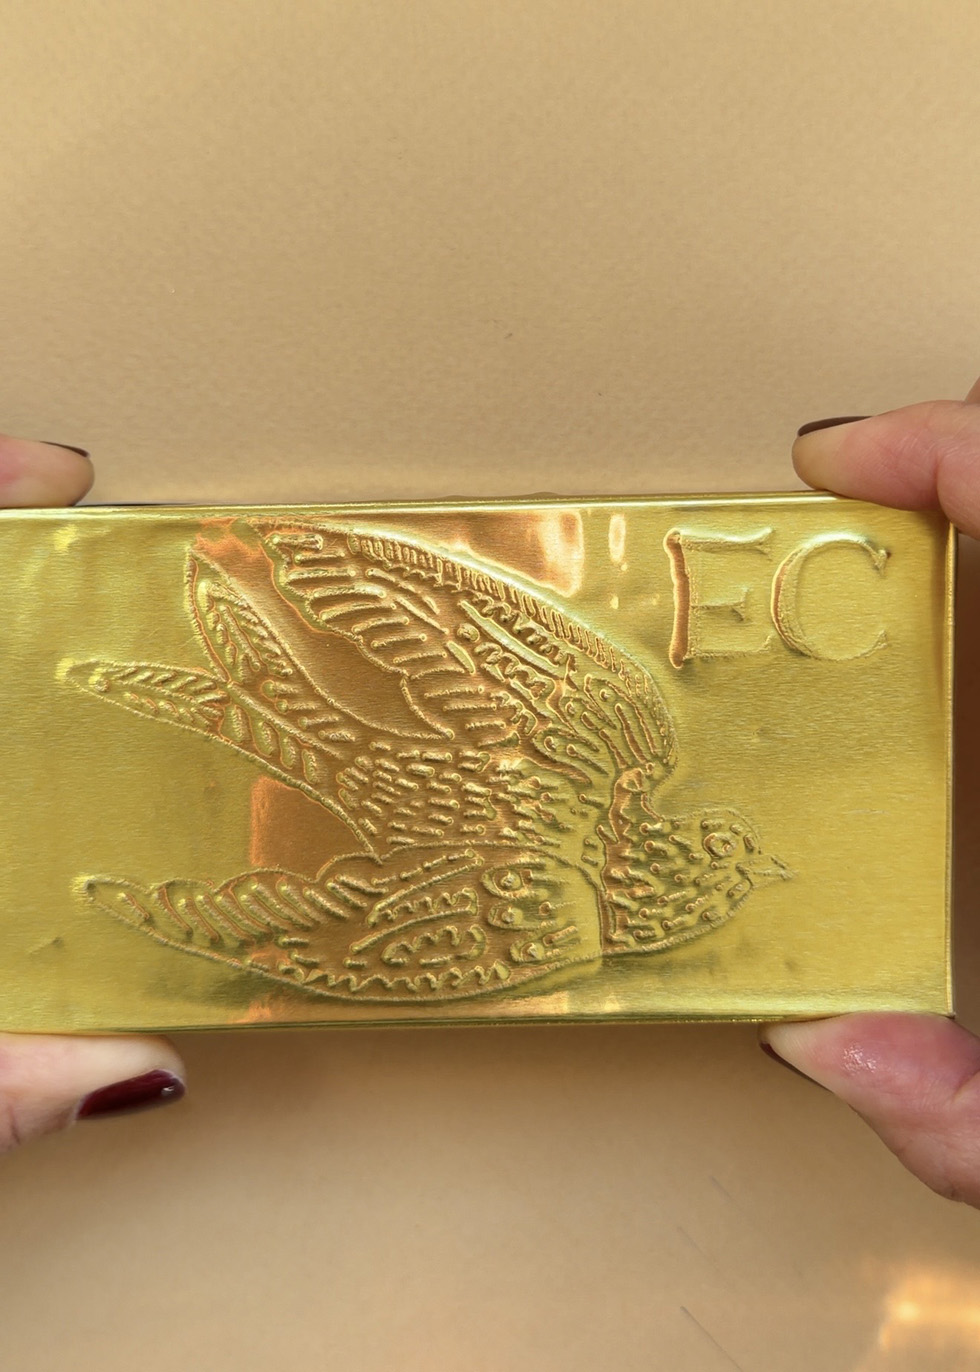
Remember that if you are going to emboss letters, you'll have to do them in reverse!
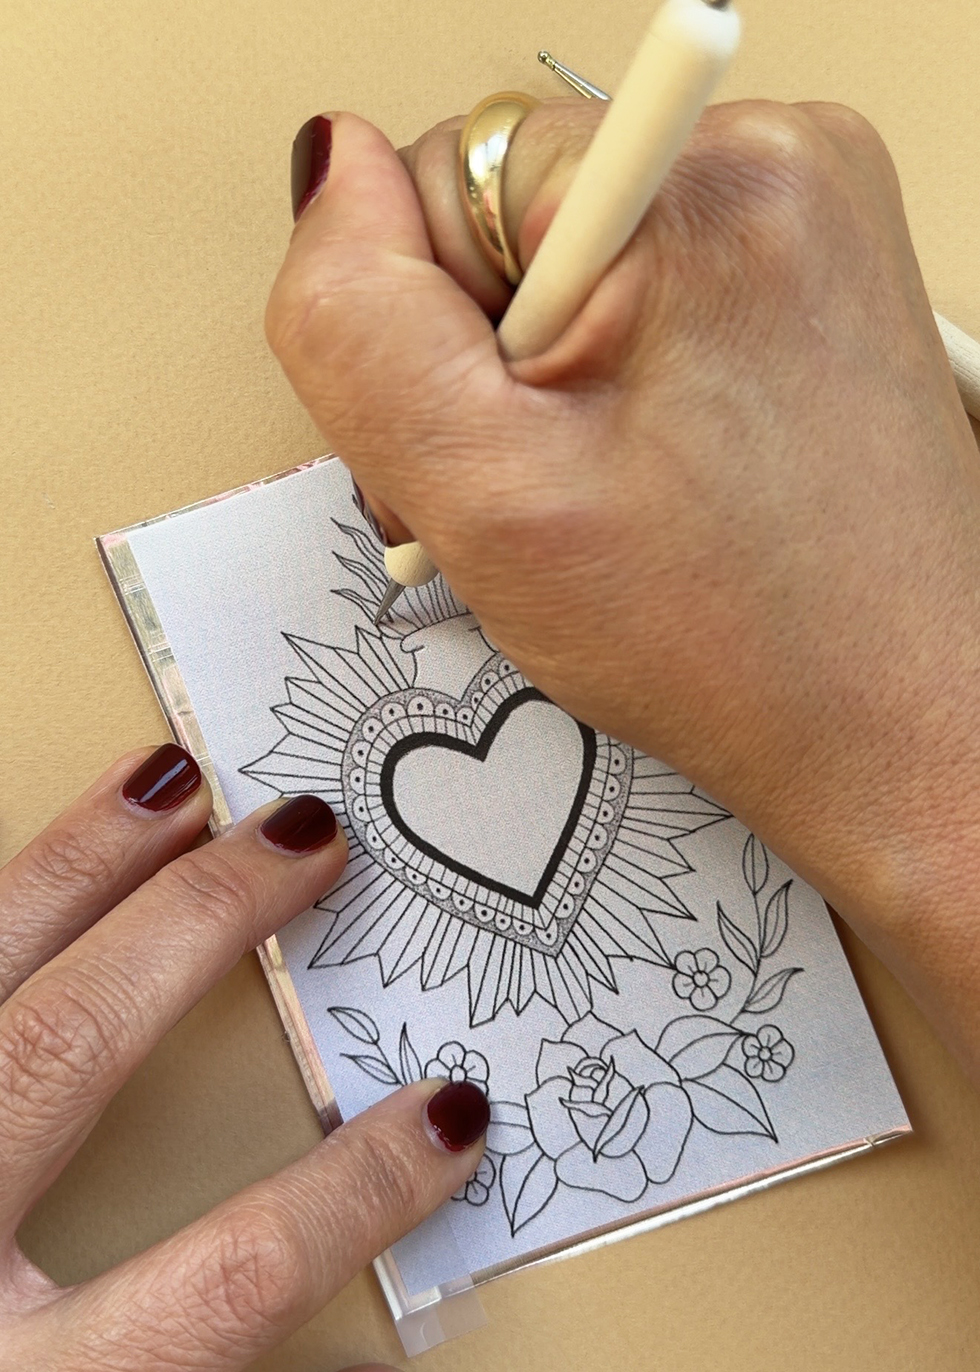
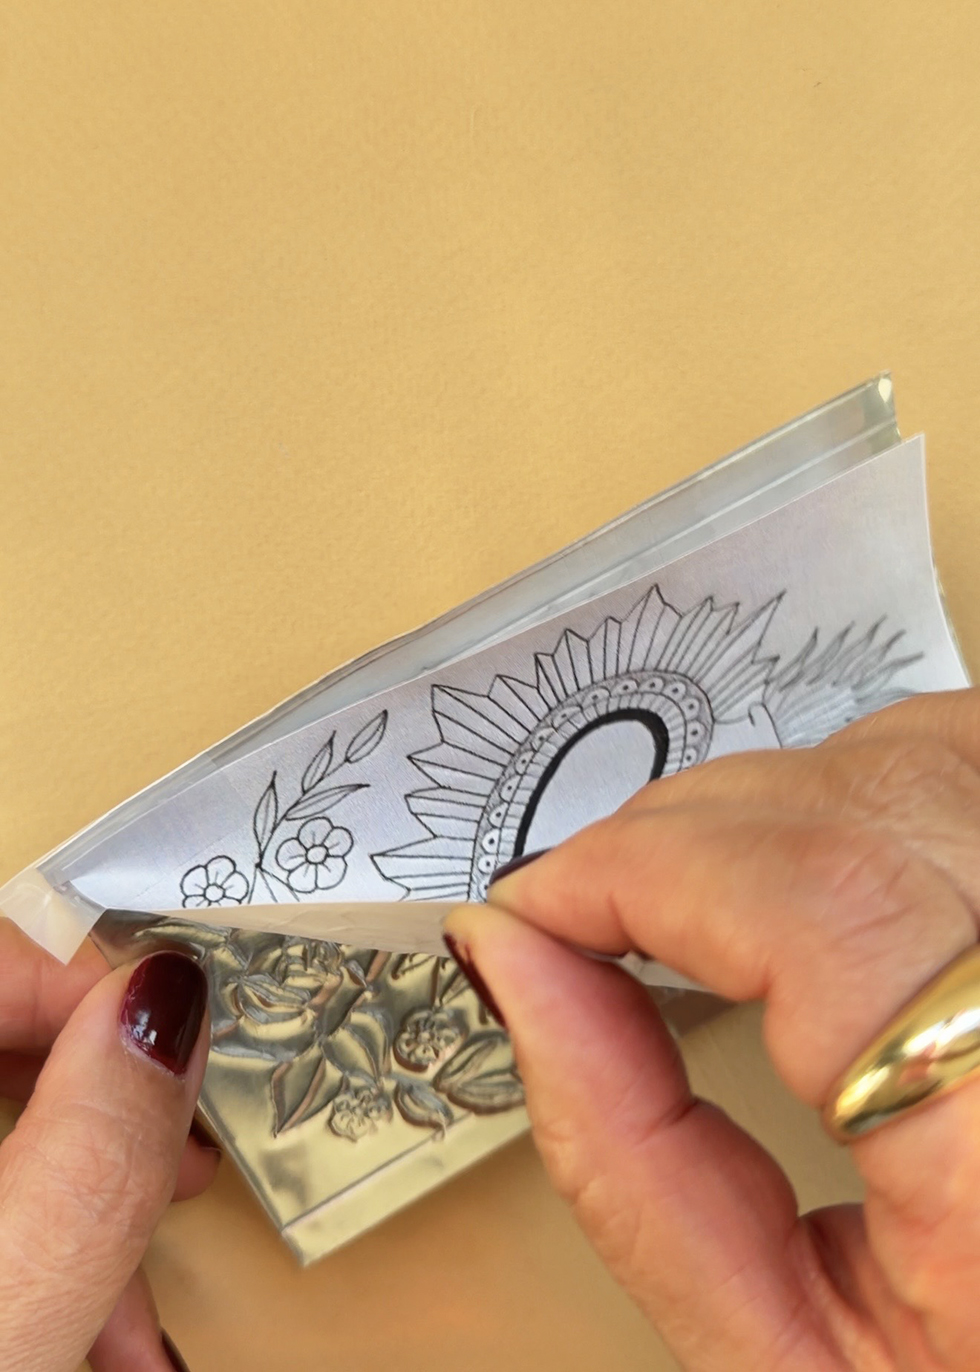
Continue tracing your design. Once you're finished, remove the paper design.

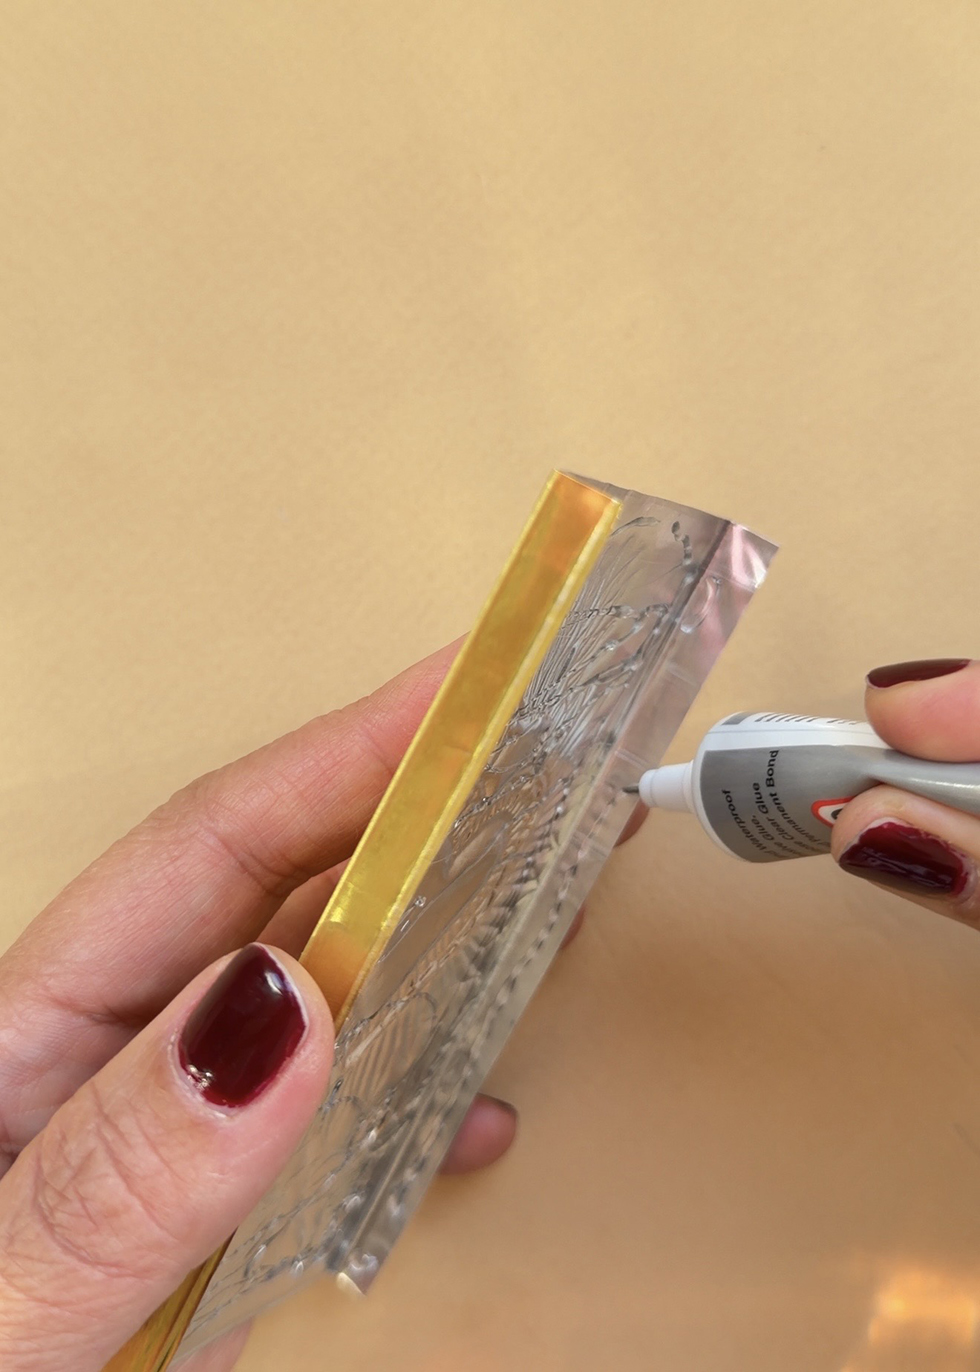
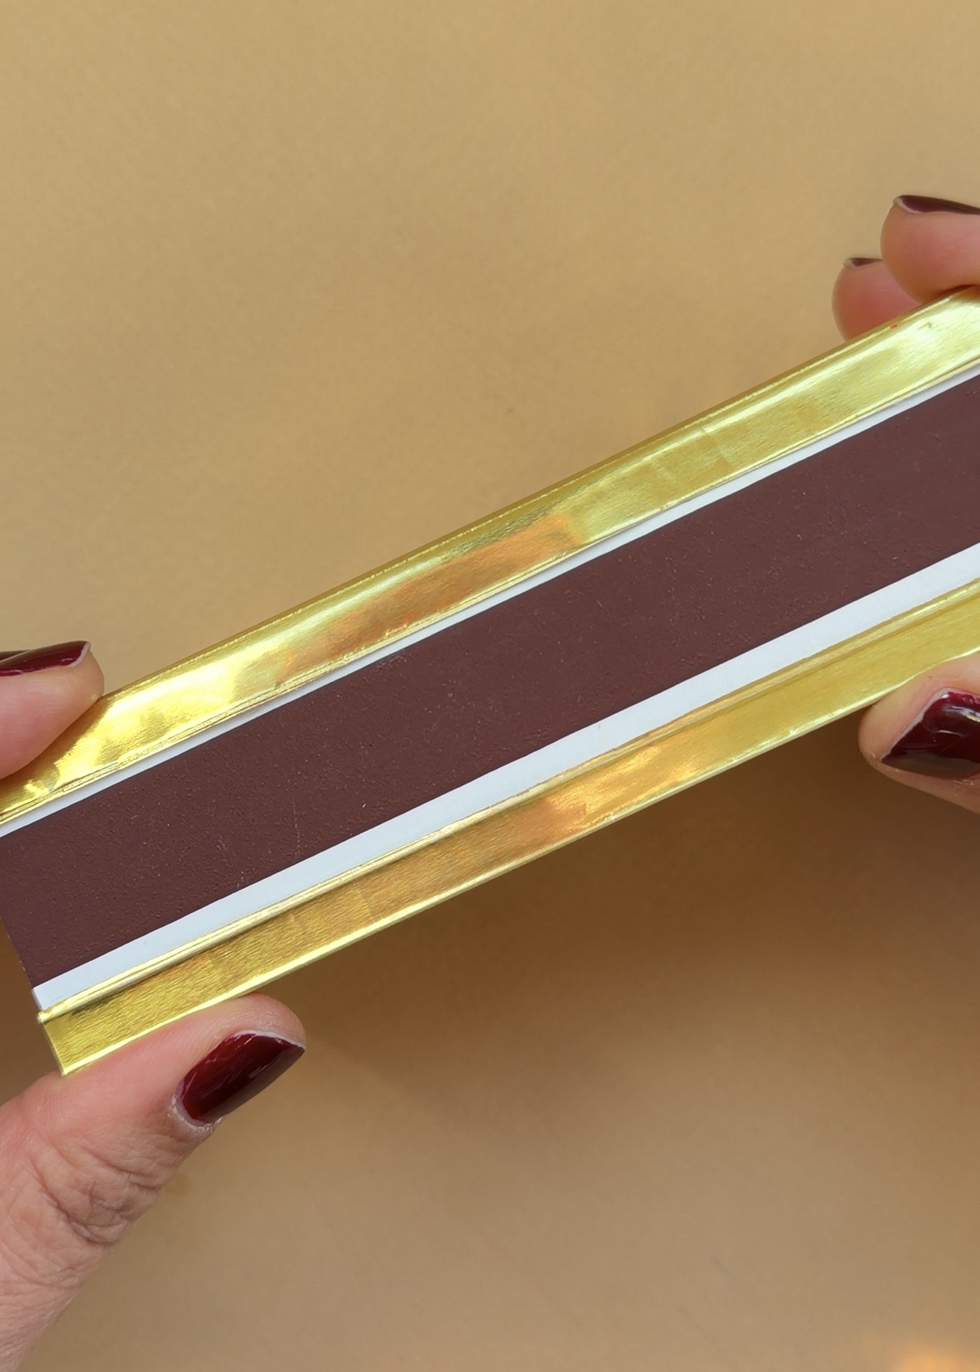
Use a straight edge or ruler and bend the scored edged in at 90 degress. Spread B-7000 glue all over the backside. You don't need much but make sure you cover all the edges and that the glue is evenly dispersed.

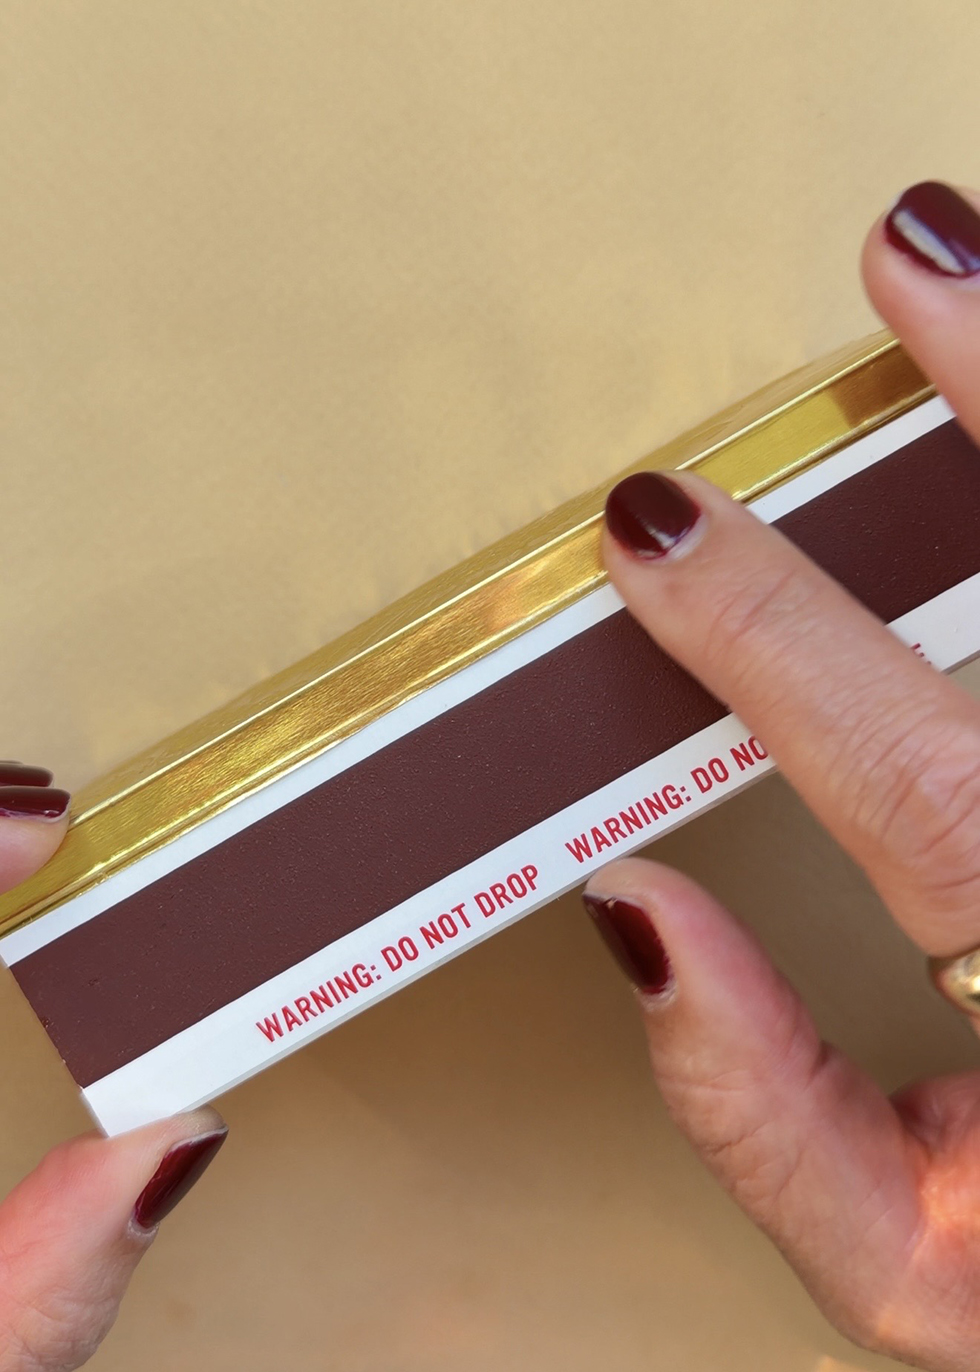
Quickly place it over the top of the matchbox, pressing it onto the box. Run your finger along the side to make sure the sides are adhered. Allow to dry for at least 20-30 minutes.
You could stop there OR you could repeat the same steps for the bottom side of the matchbox, which I think gives it a really nice finished look.
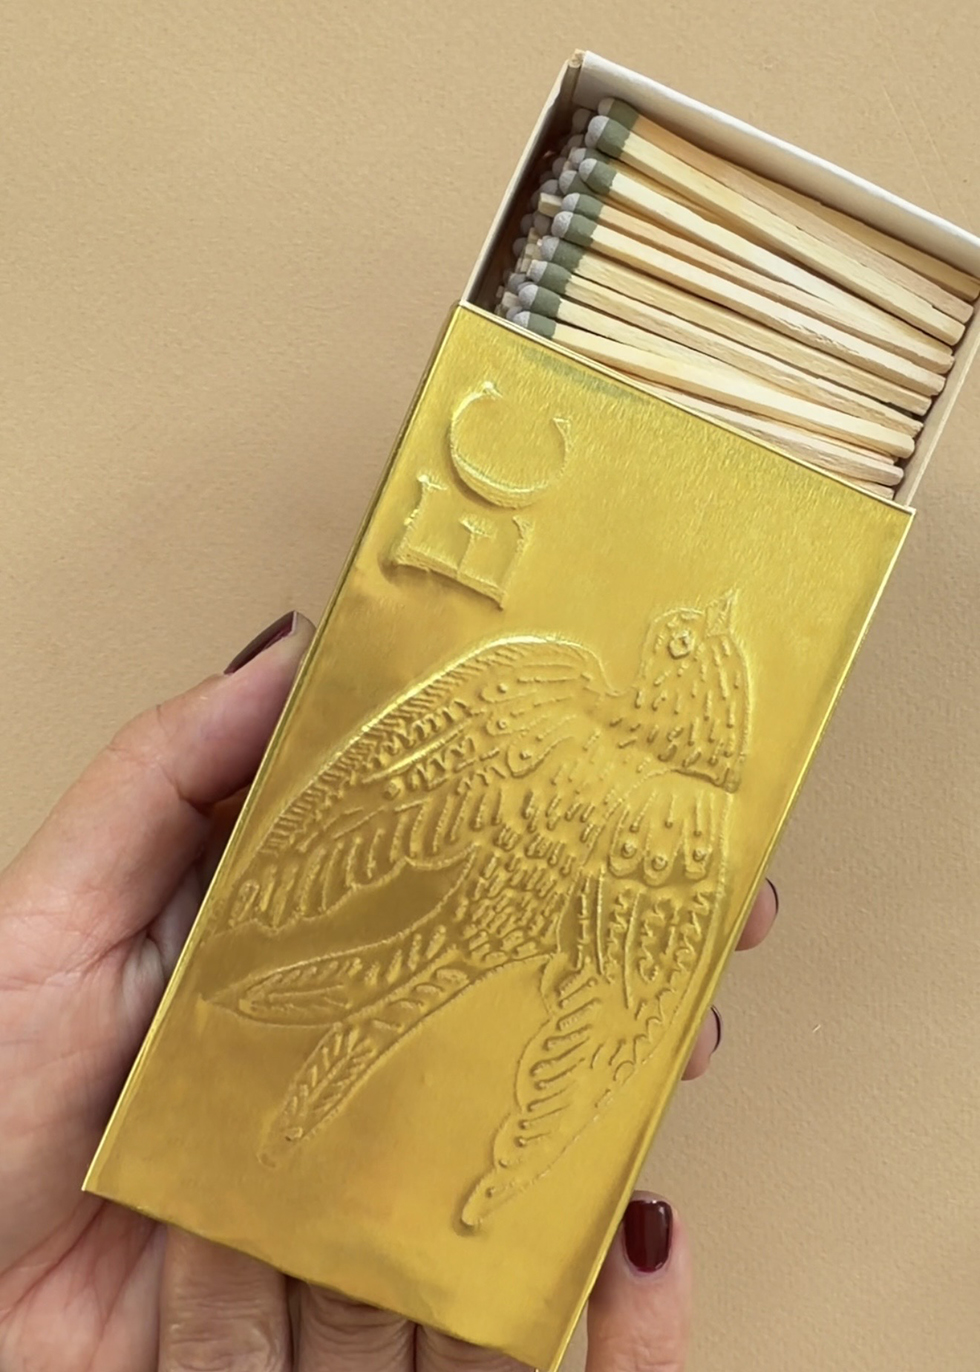
And you're finished! Allow the whole thing to dry for at least another couple of hours. And you're beautiful gold embossed matchbox is ready to use...or gift!
tutorial and images by HonestlyWTF


