Spring is in full swing, which means I get to indulge in transitioning my wardrobe from a worn out season to a fresh one. So long boots. See you next season coats and chunky knits. Later wool hats. Hello sandals! Yo off the shoulder blouses! Hiya straw hats! I mean, honestly, who doesn’t love what the sun brings?
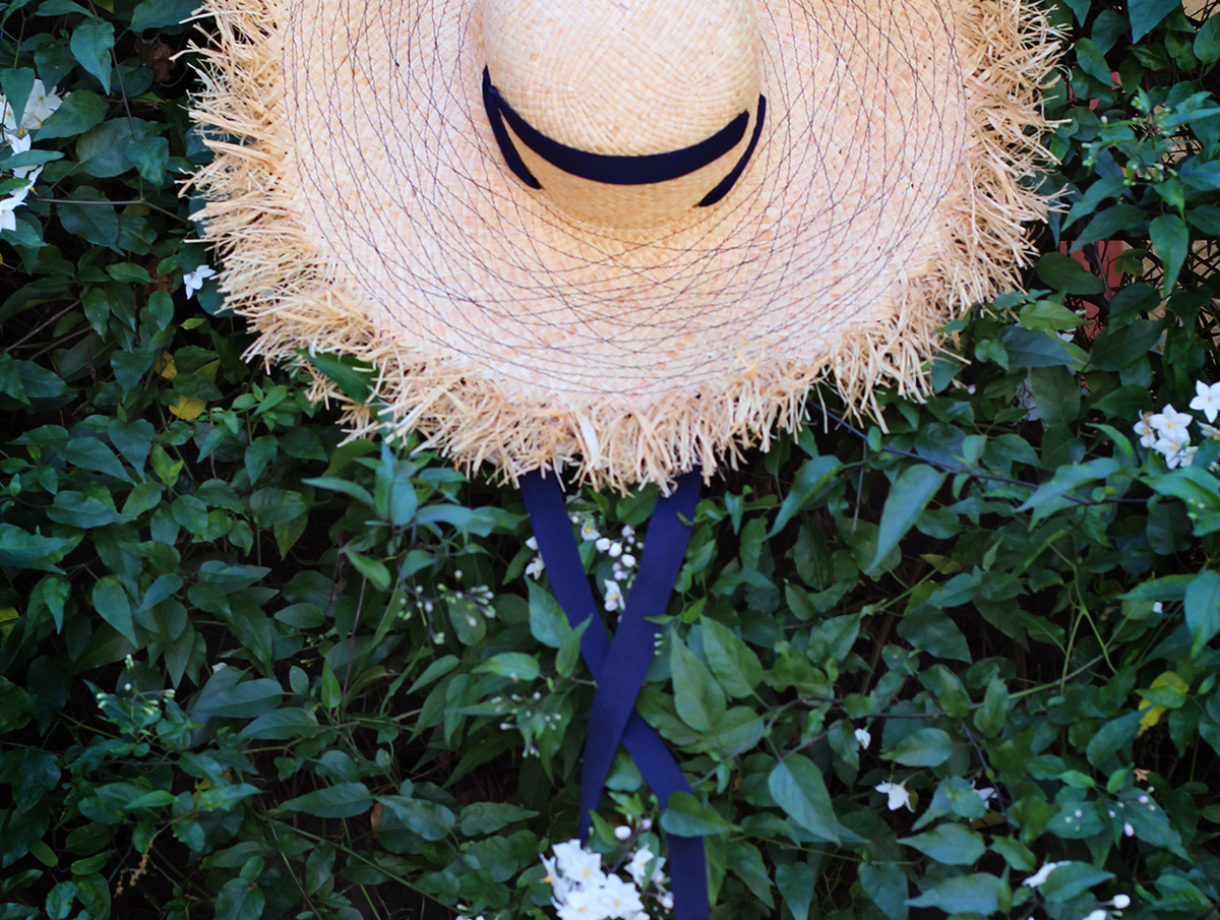
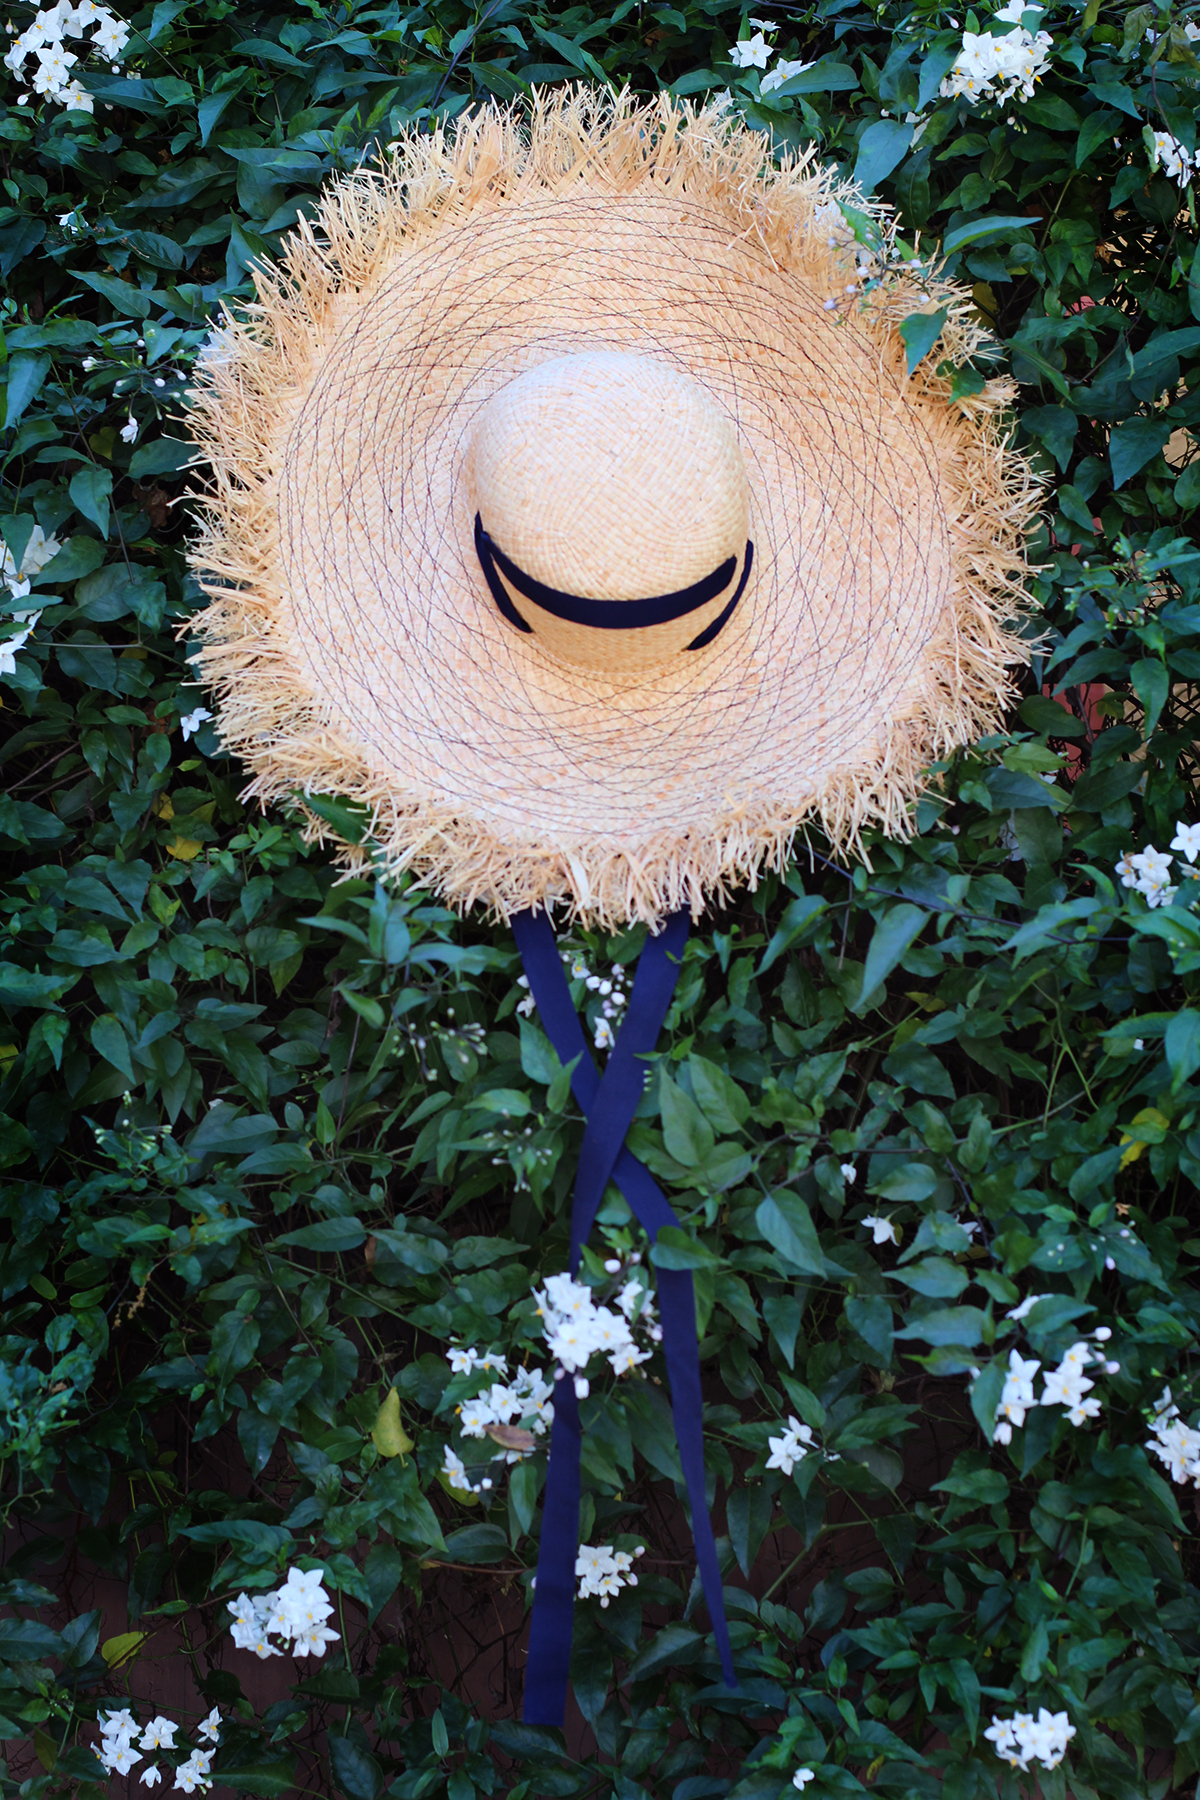
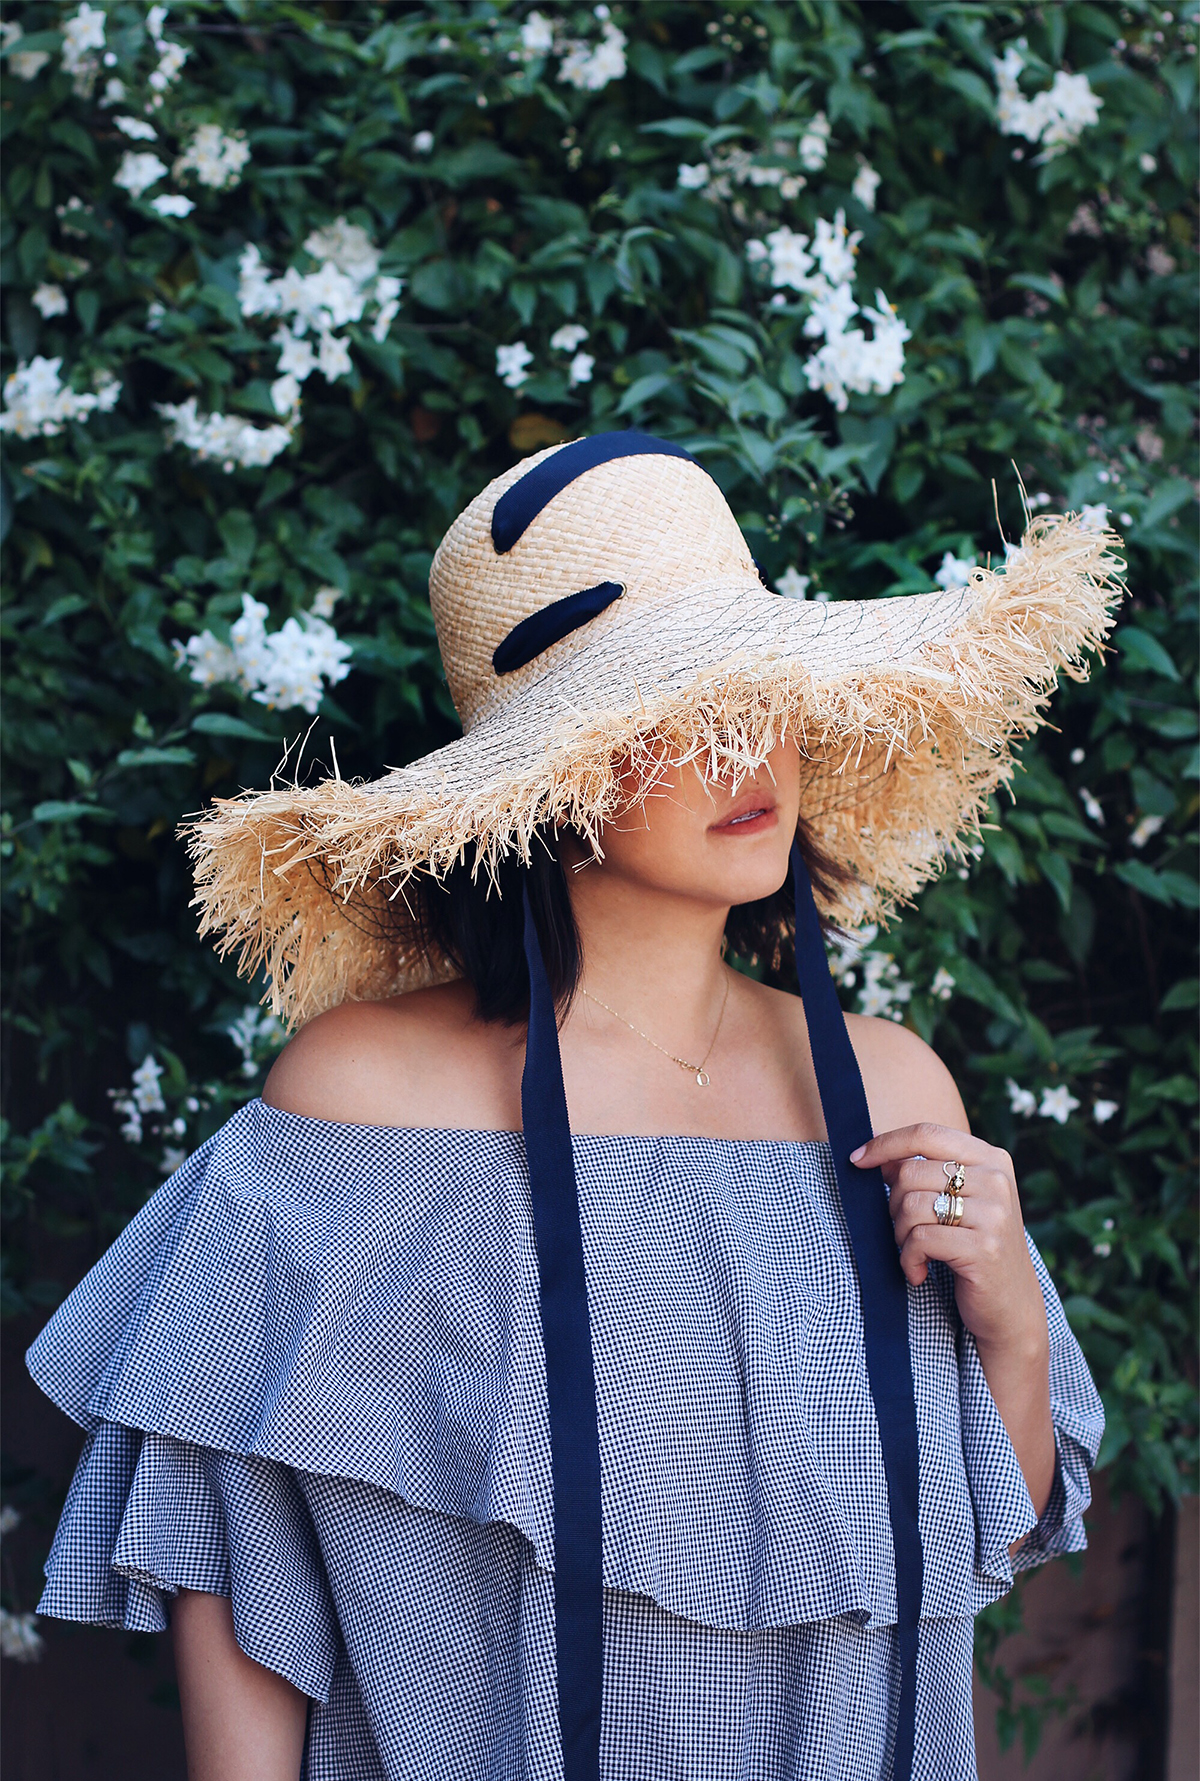
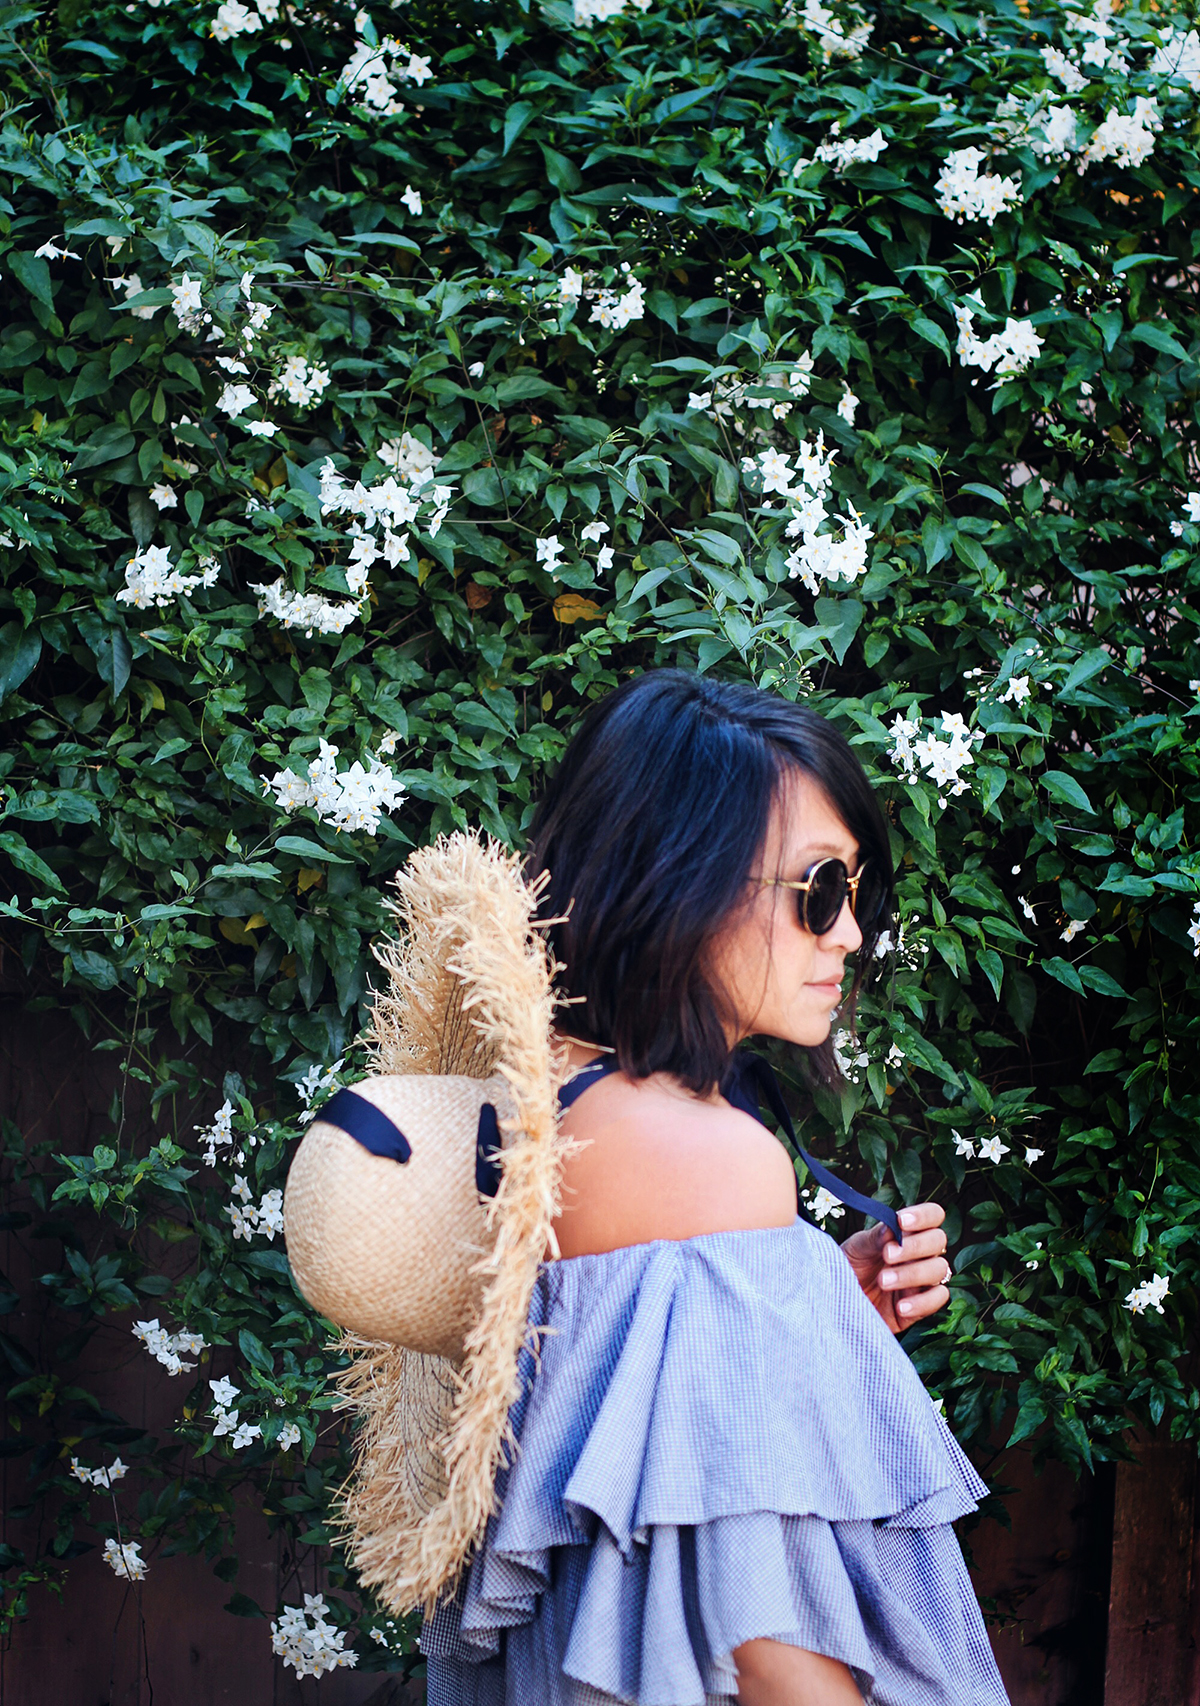
To celebrate the start of spring, our favorite milliner Lola Ehrlich of Lola Hats is sharing a super easy tutorial for one of her best sellers: The Alpargatas. We’re absolutely smitten with the way she’s threaded grosgrain ribbon through the crown of the oversized raffia hat, leaving just enough slack to tie around the neck. And the raw, fringed edge and erratic stitching is just is flat out FUN. I’m in love with this hat – it’s sure to be a spring and summer staple!
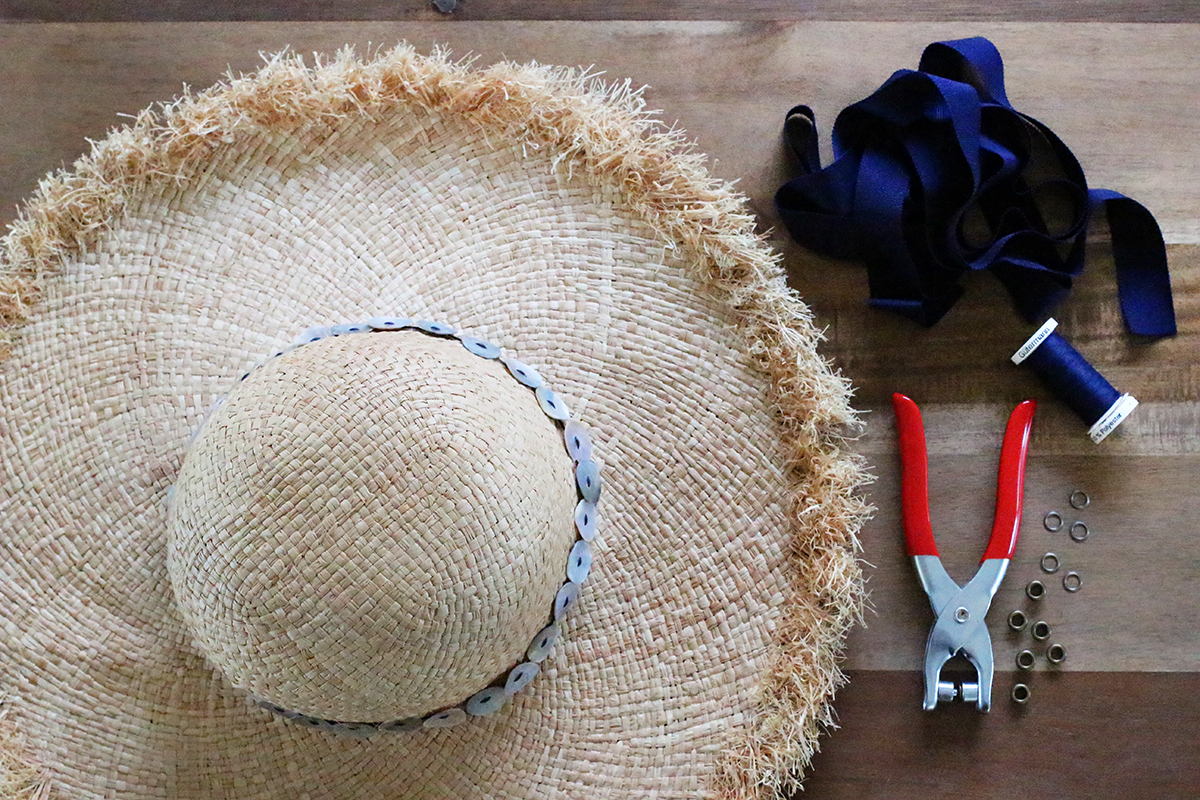
You’ll need:
- straw hat with frayed edges
- 6-7 feet of 7/8″ grosgrain ribbon
- 6 1/4″ eyelets and washers
- eyelet setter
- seam ripper (optional)
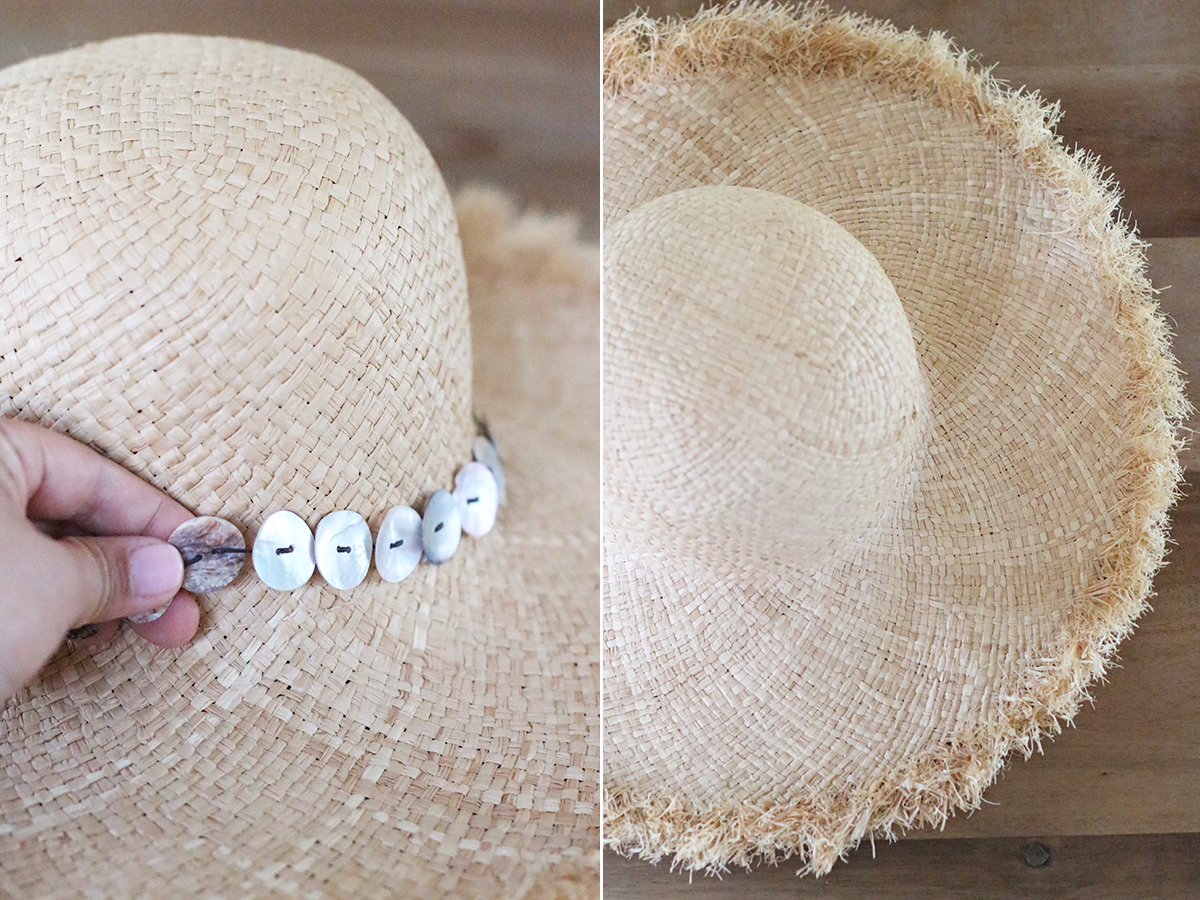
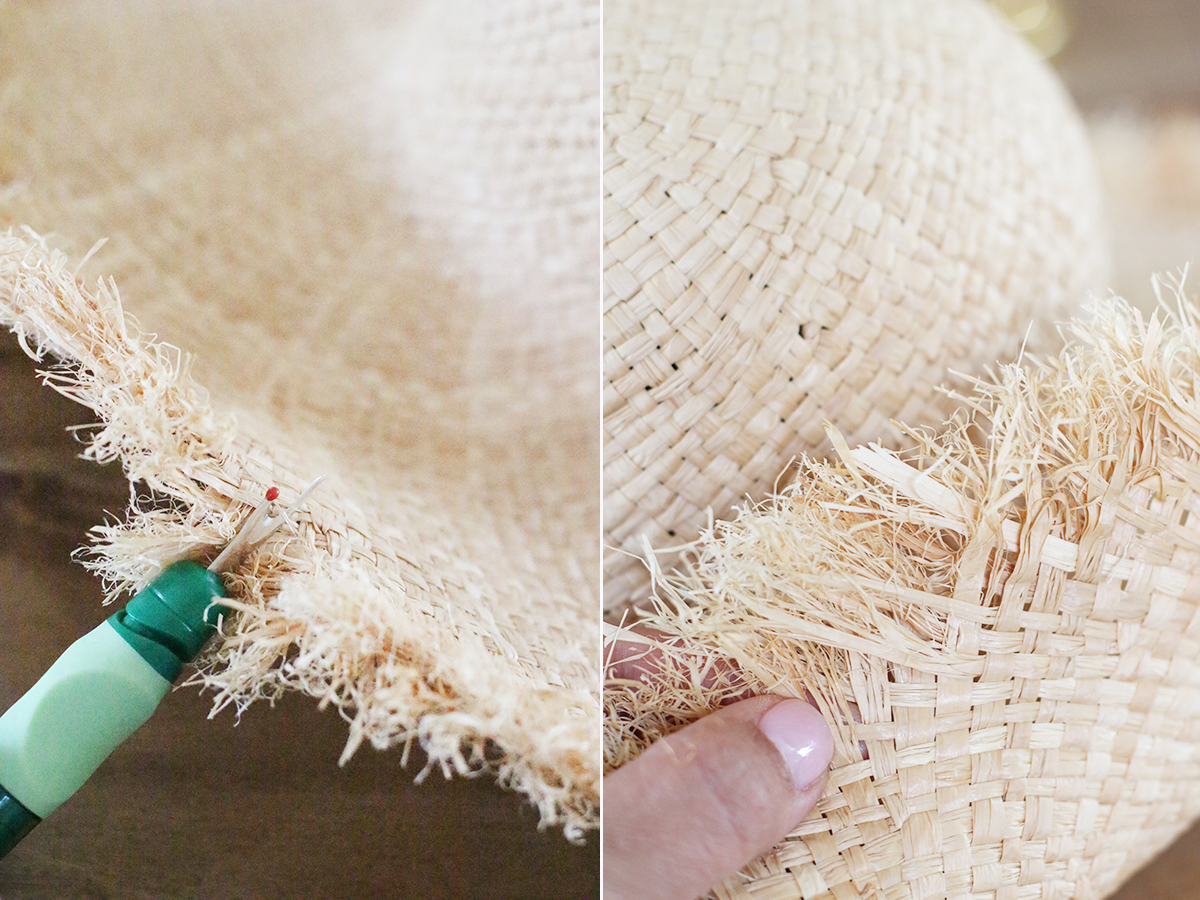
Start by removing the original trim off the hat. This particular trim was glued on and easy to simply peel off. If any trim is stitched onto the hat, just use the seam ripper to help you remove it.
There should be a single line of stitching to prevent the raffia from fraying. To create a more dramatic fringe (because, who doesn’t love drama?!), you can remove this seam with a seam ripper and use your fingers to undo the weave.
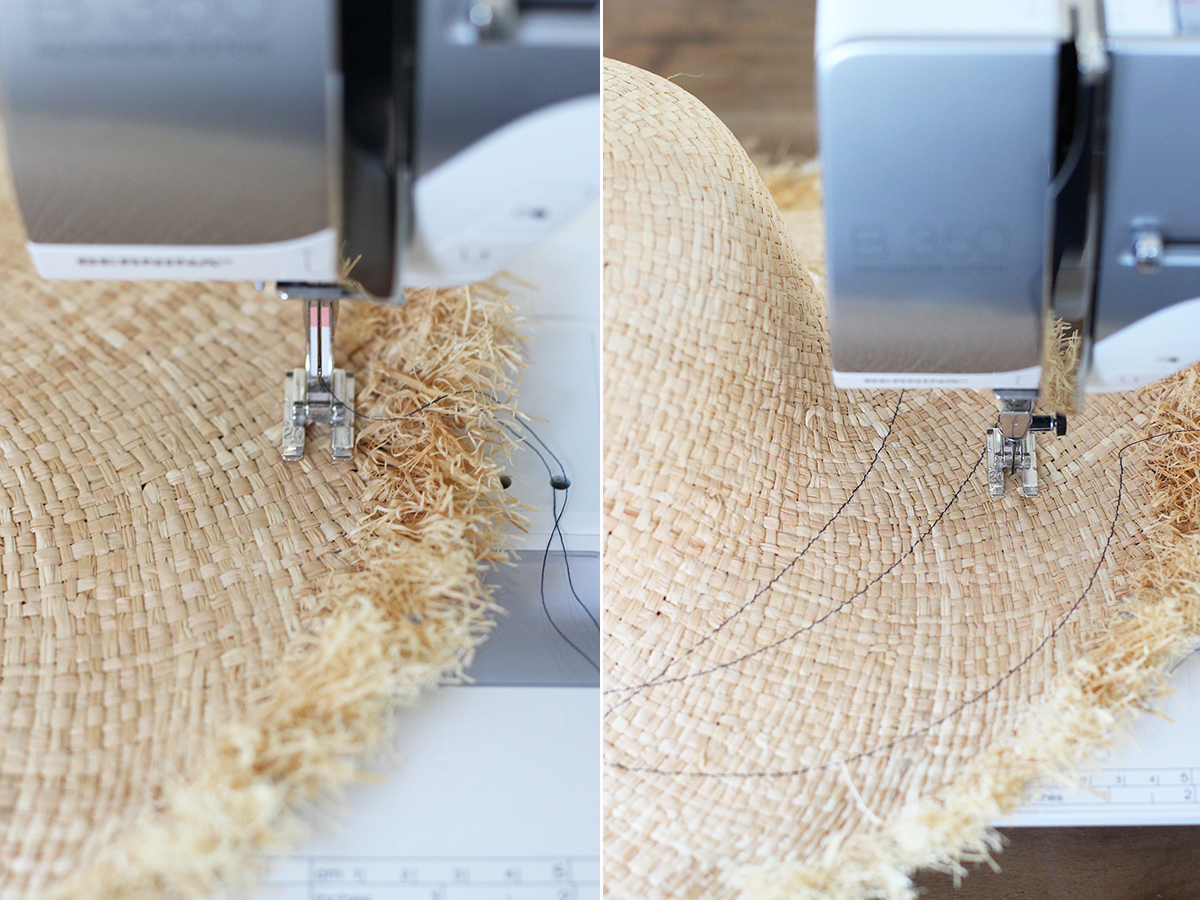
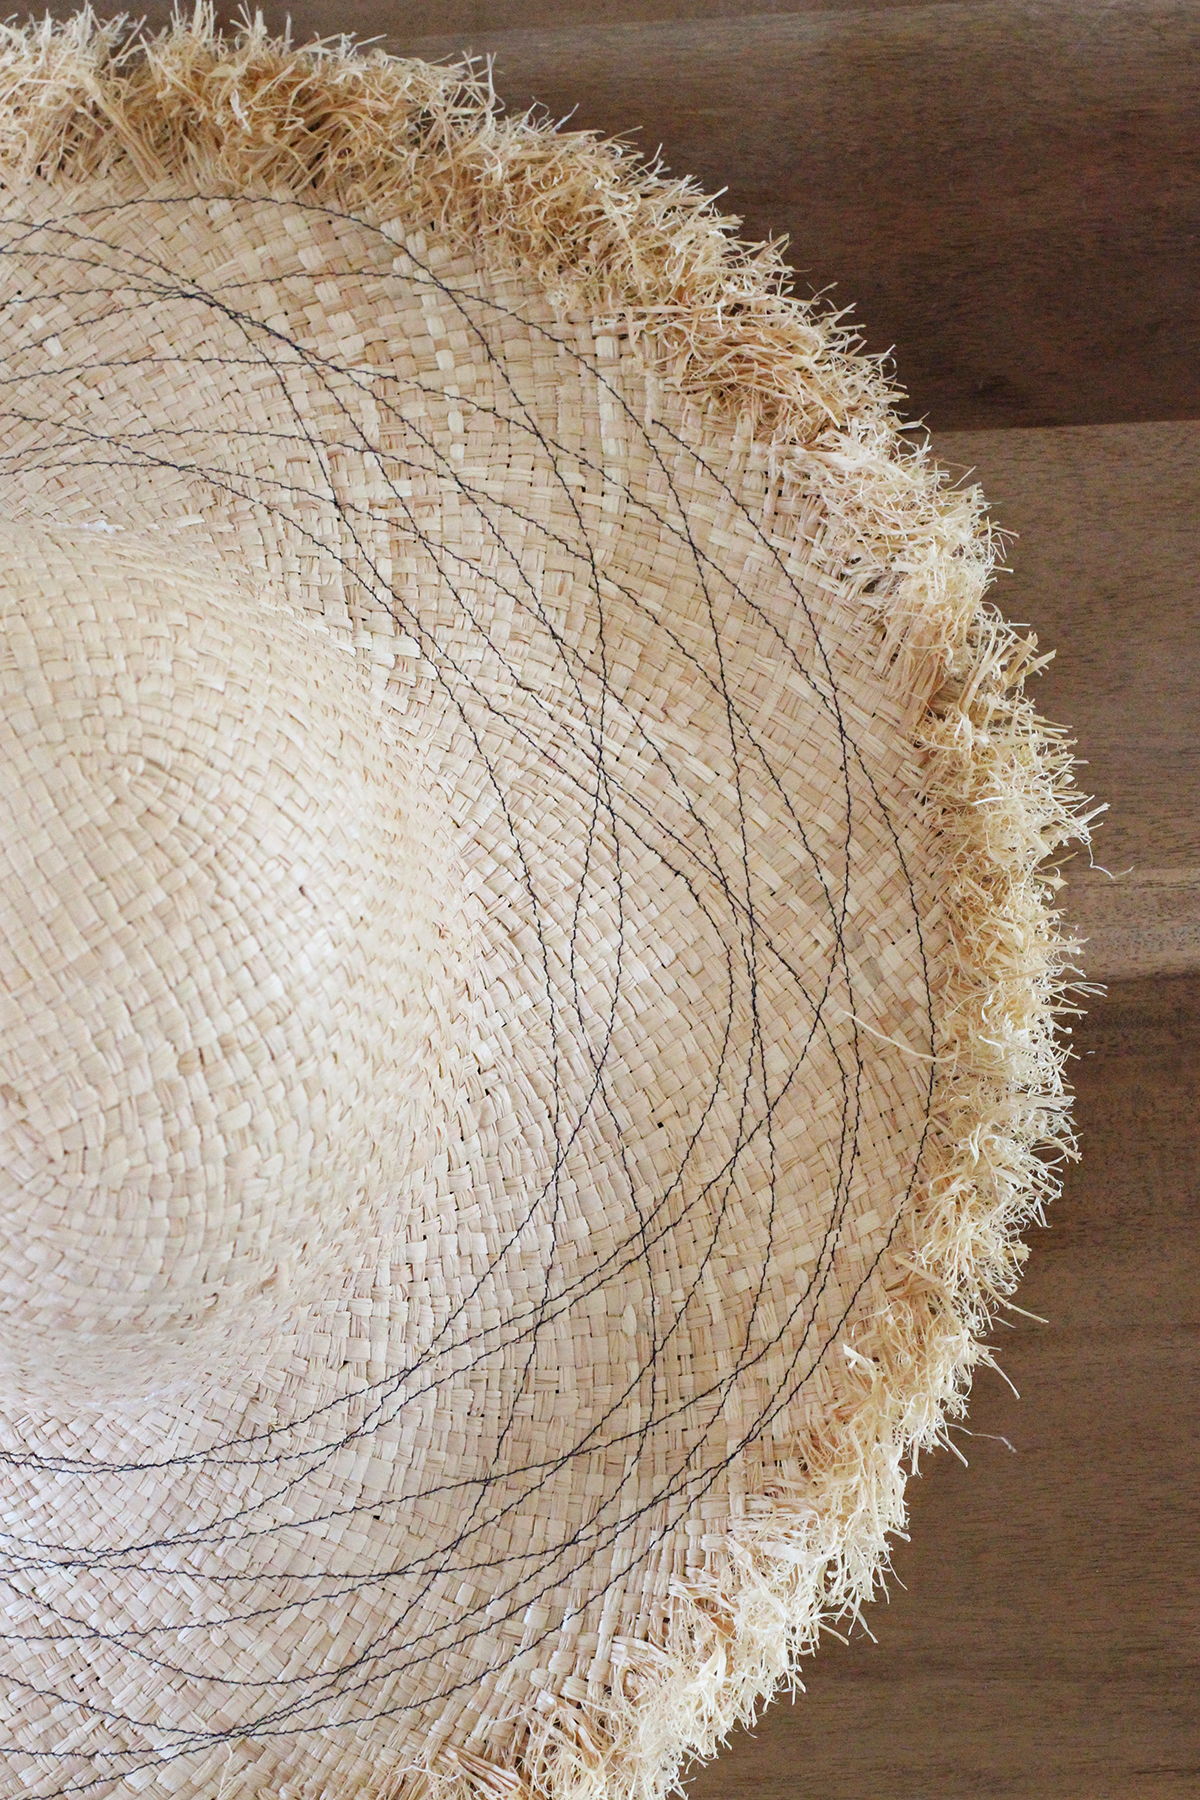
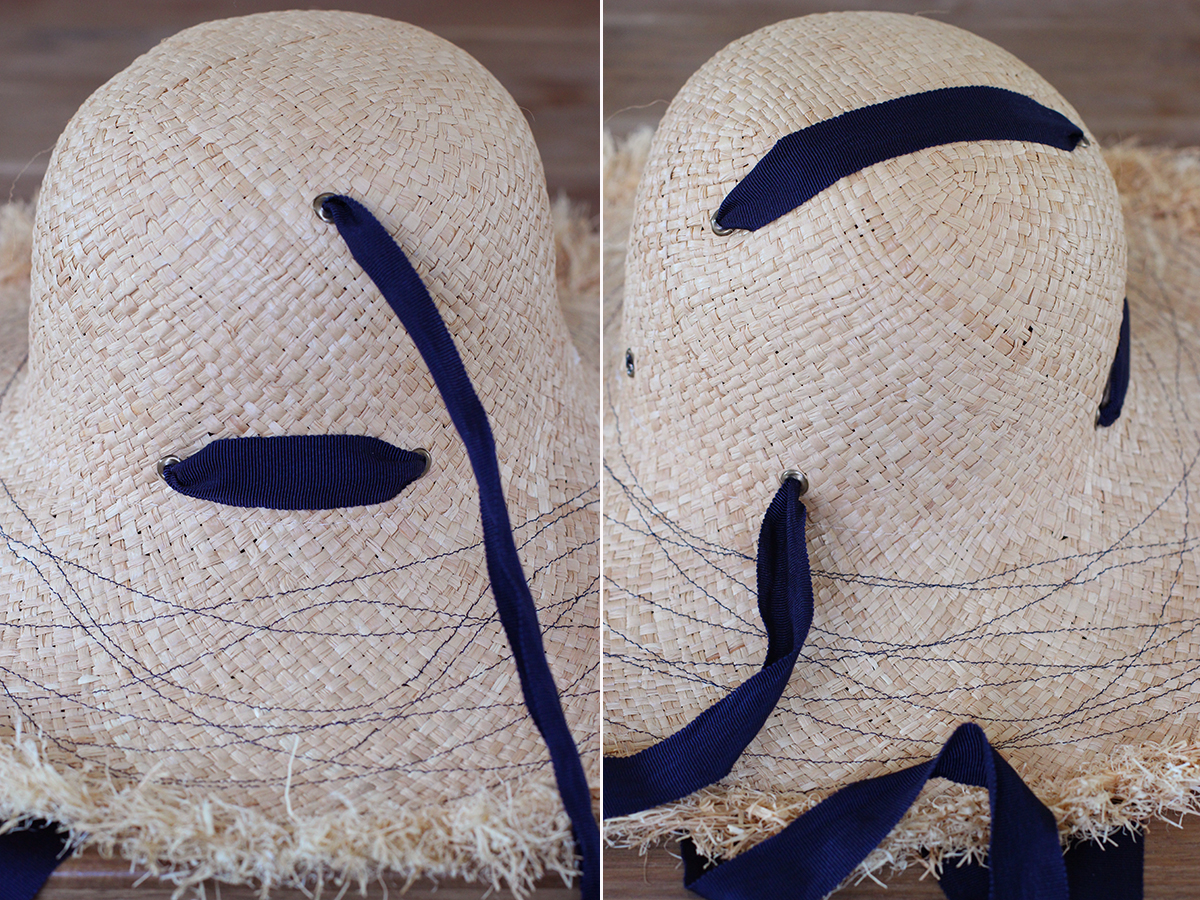
Then, with a thread color that matches your grosgrain ribbon, start stewing a pattern onto the hat. I’m not a proficient sewer so a freehand stitch seemed the most foolproof way to go.
Plus, I love the squiggly pattern. To do this, just double knot your first stitch and just let the machine go at it. Seriously. Rotate the brim of the hat, moving it left and right, and let the machine do the work!
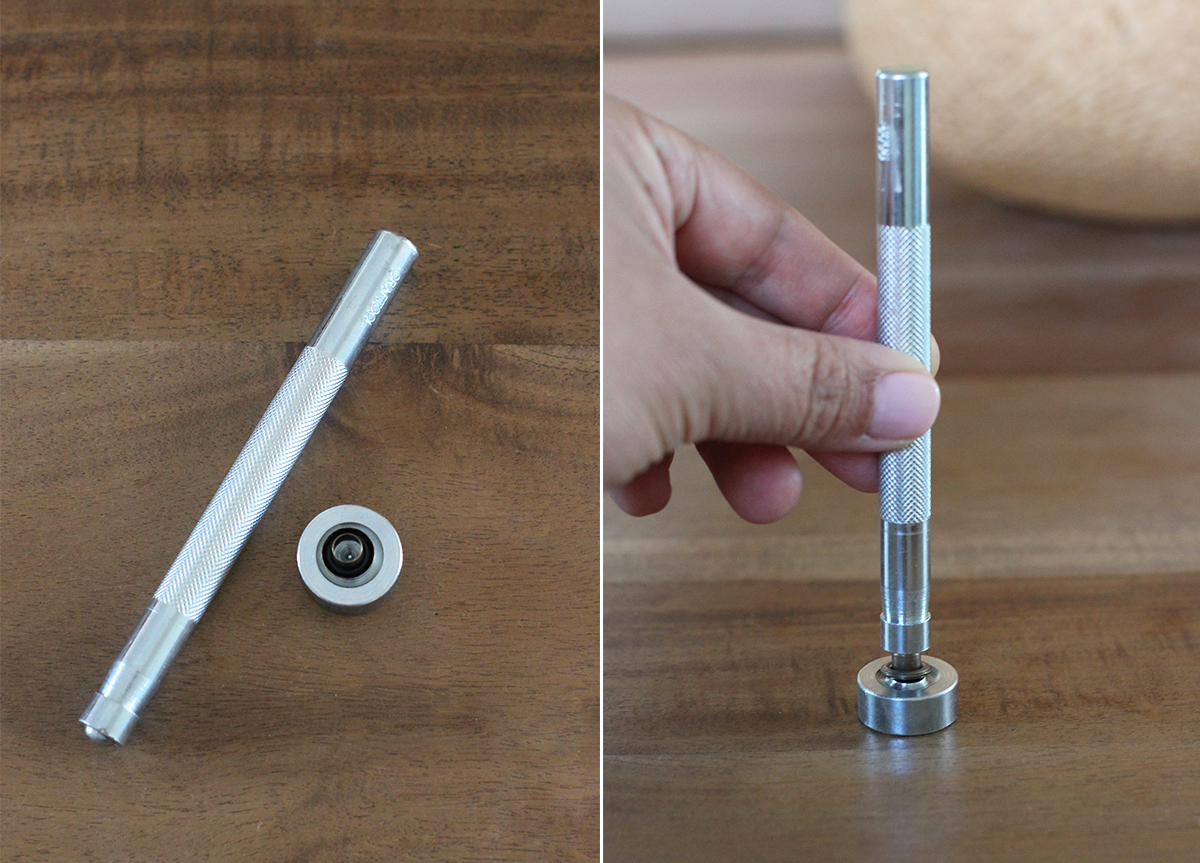
Now you’ll create 6 eyelets. I initially purchased a hand eyelet setter, not realizing it wouldn’t work for a hat of this size. You’ll need a two piece eyelet setting.
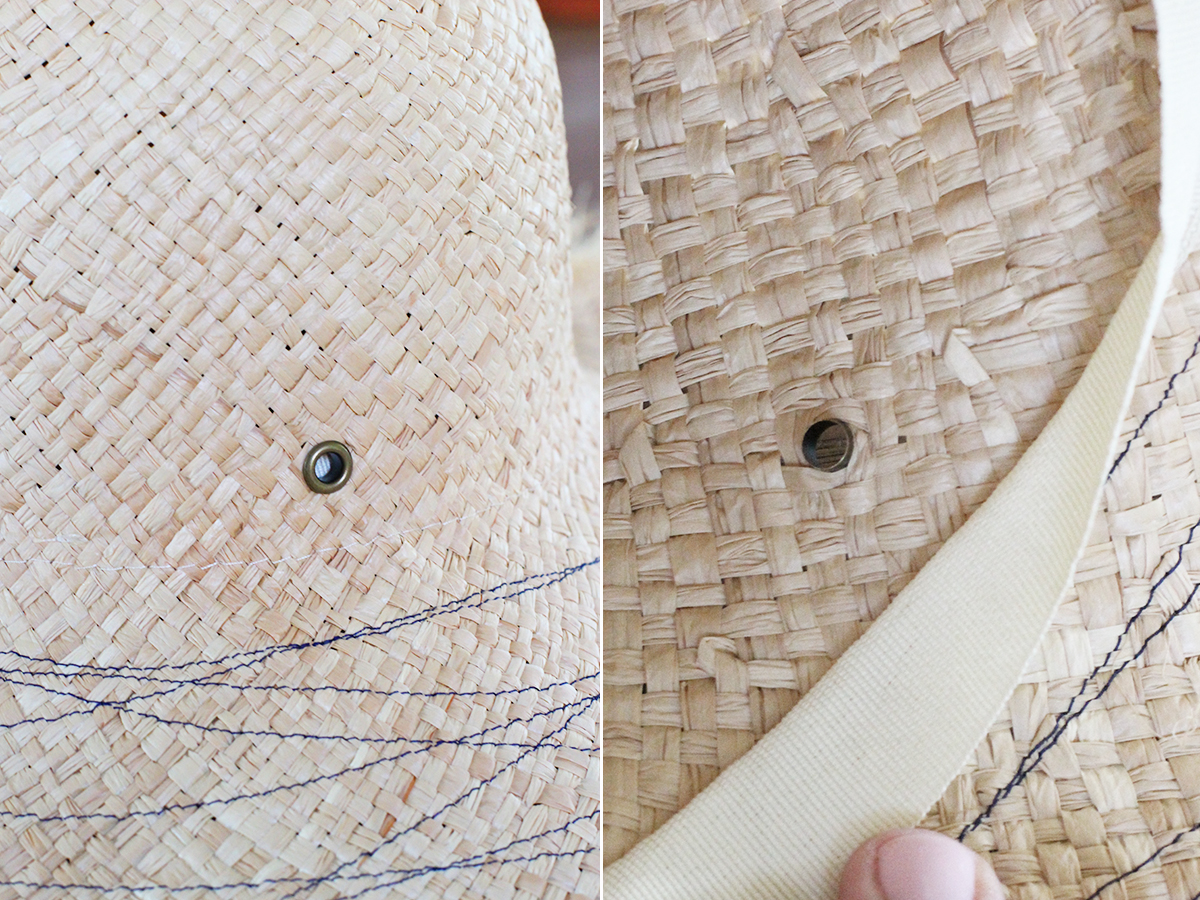
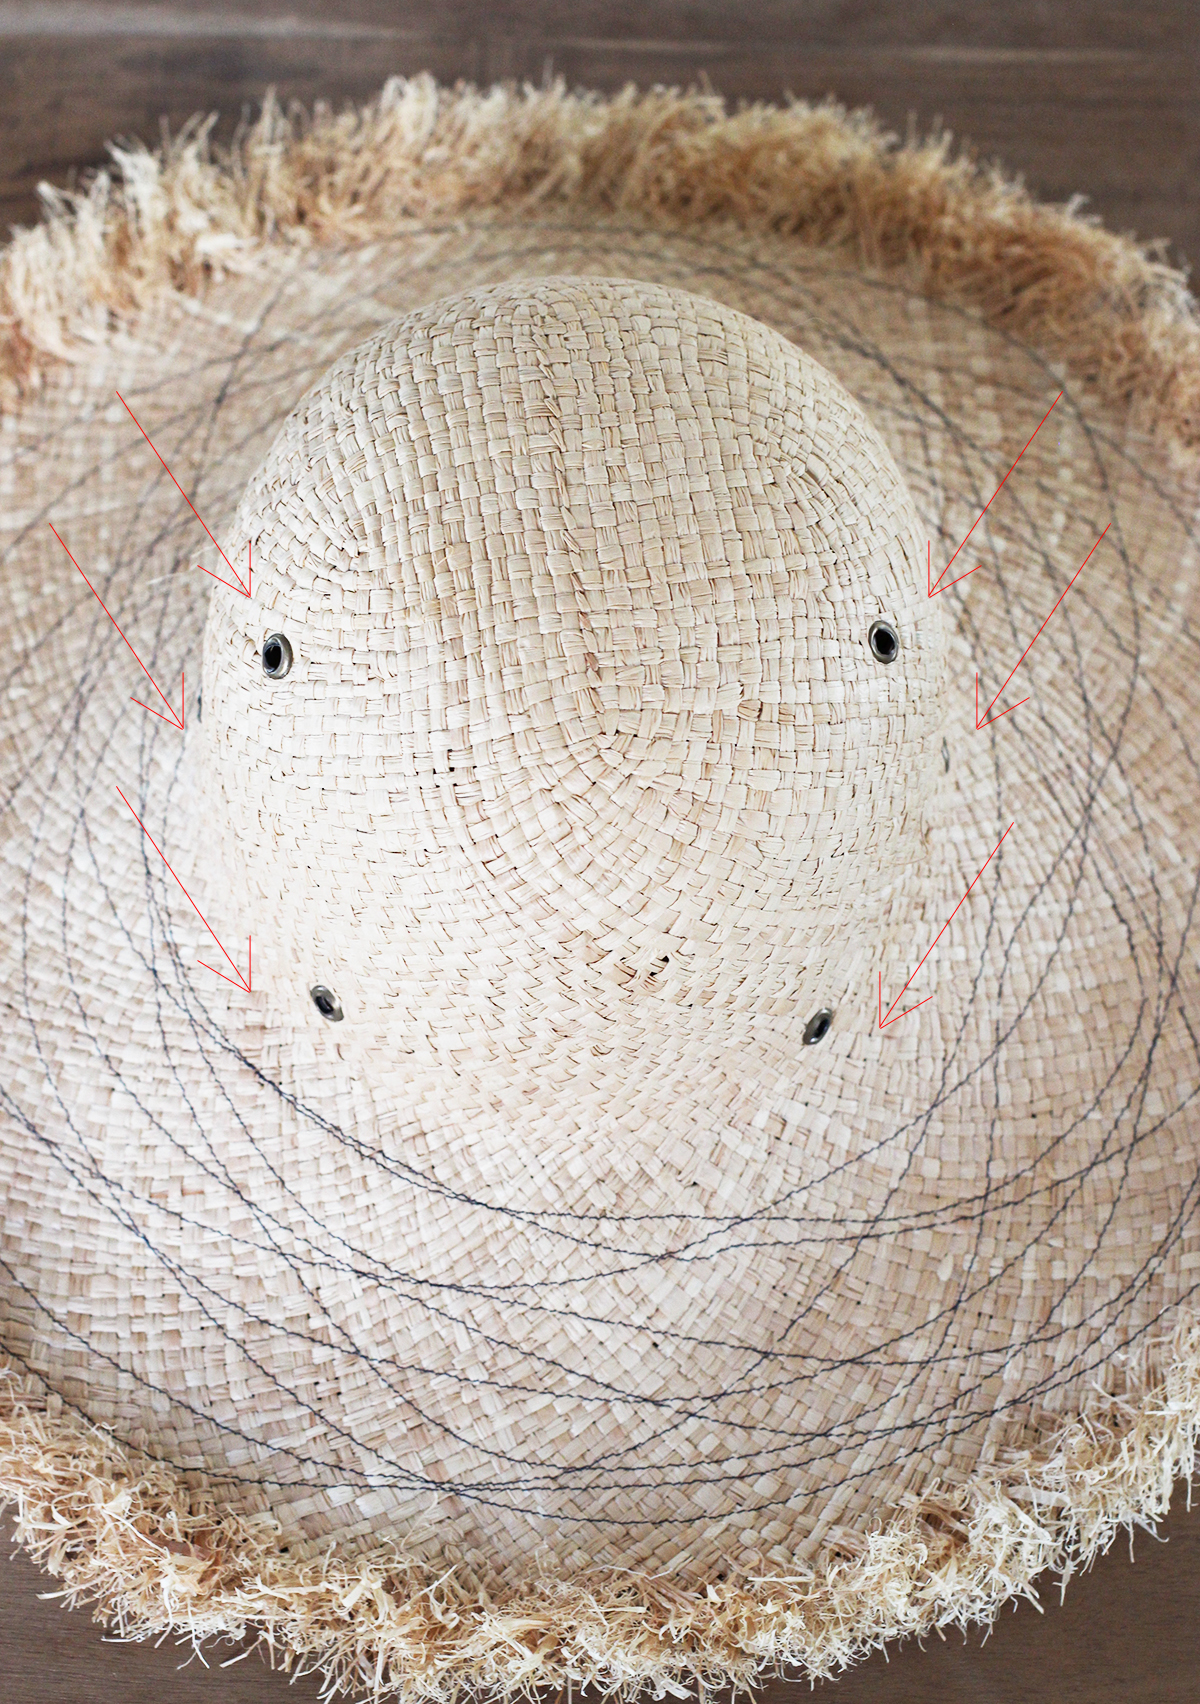
Push the eyelet through the hat in the locations outlined below.
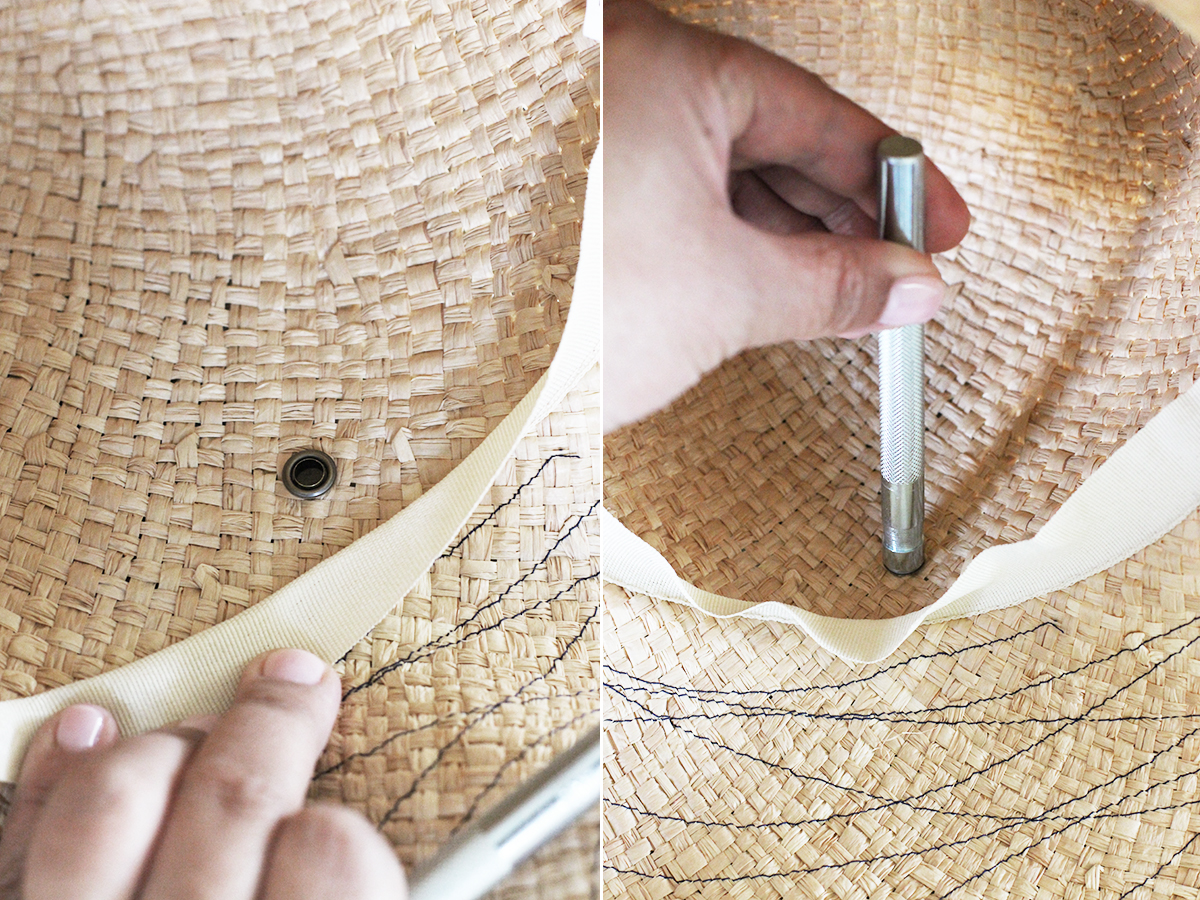
Place the washer over the eyelet from the inside of the hat. Line up the front of the eyelet over the base of the eyelet setter and place the setter over the washer. Use a mallot or hammer and give it a few good blows.
You should have 6 eyelets total. Two on the right and left, close to the brim of the hat. And then 2 the crown, one on each side.
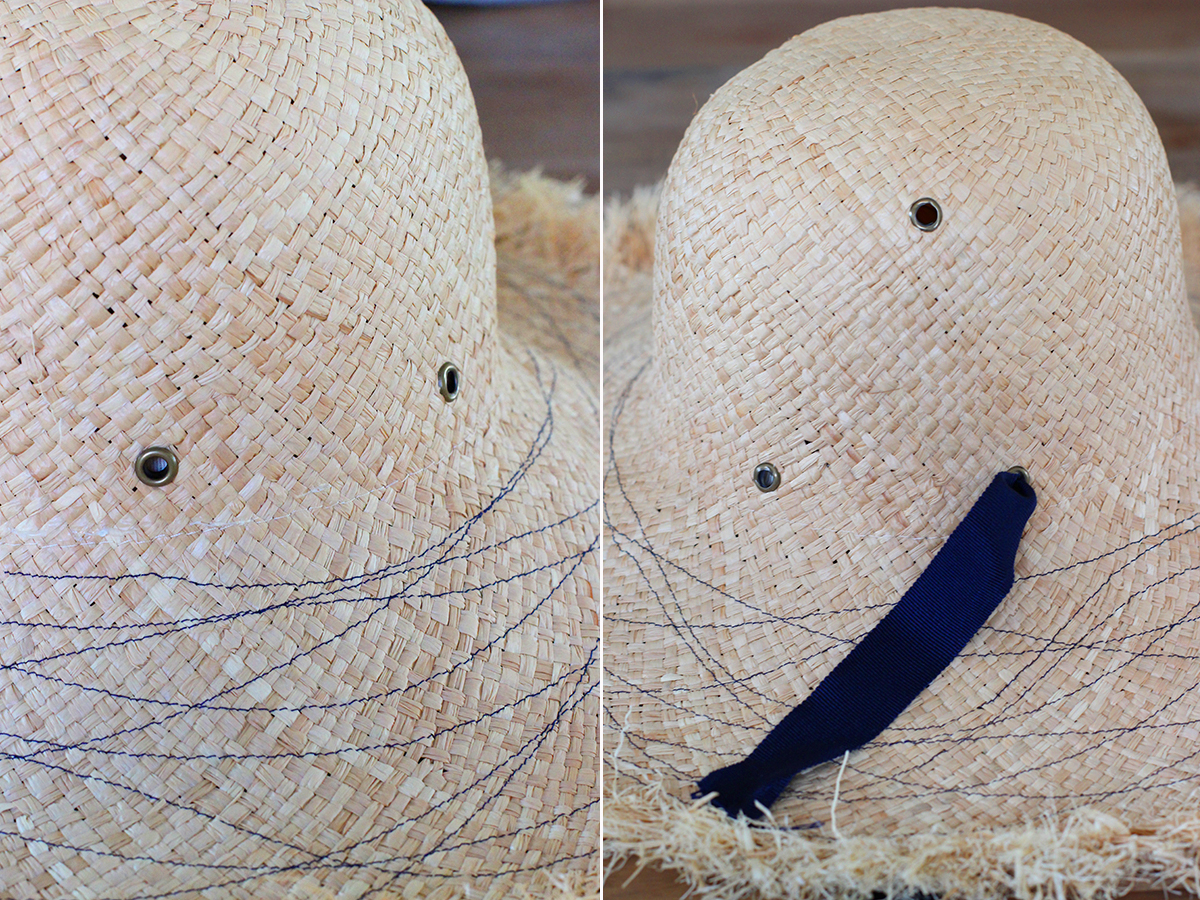
Thread the grosgrain ribbon through the left two eyelets and the up through the crown.
Bring it around to the right side and back down through the two eyelets above the brim. Iron the grosgrain ribbon flat.
Voila, you’re done!
Thank you, Lola, for this awesome tutorial!
(Lola Hats Alpargatas Straw Hat available at Barneys & Saks; tutorial courtesy of Lola Hats; images by HonestlyWTF)





Wow, this looks amazing! Summer definitely can come with this beautiful hat!
https://www.makeandmess.com/
wonderful!
xo
http://www.cherry-mag.com
This is amazing! Pity summer is on its way out in Australia!
Avanti
xxx
avantigarde.wordpress.com
Nice DIY!
Love,
http://www.thestyleventure.com
I really like the idea behind it & at the same time nice DIY….!! 🙂
Thanks
Nice… thank you for article…
love the hat! looks so simple and fun to make =o) thanks for sharing!
http://dreamofadventures.blogspot.com/
Great idea! Thanks for sharing!
xx
Mademoiselle Coconath
http://mllecoconath.com
So cute and perfect for beach days!
http://j.mp/DNAMAG
I love how this simple hat can look so different with only some minor changes.
kisses
Kity from http://www.thekityshoes.com
I really enjoyed reading your article.
This is one of the cult game now, a lot of people enjoy playing them .
Very cool DIY! I love the stitching on the hat – so unique!
Eva | http://www.shessobright.com
Love this idea, will add it to our hats
Love them all..