I'm super excited about this week's DIY because let's face it, this cold snap has been going on long enough that we can use all the cozy winter accessories we can get . . . or in this case, embellish! I recently learned of Swarovski's newest innovation: Synthetic Coldfix, and friends, it's mind blowing. What in the world is "Coldfix", you ask? Just imagine being able to apply crystal appliqués to any sensitive or delicate material, like silk, cashmere, wool and leather, without heat, excessive pressure or a single stitch! With the new Swarovski Synthetic Coldfix, you can permanently adhere crystals simply with a rubber roller. And your material can even go in to the wash! It sounds too good to be true, doesn't it? Just watch . . .
You'll Need:
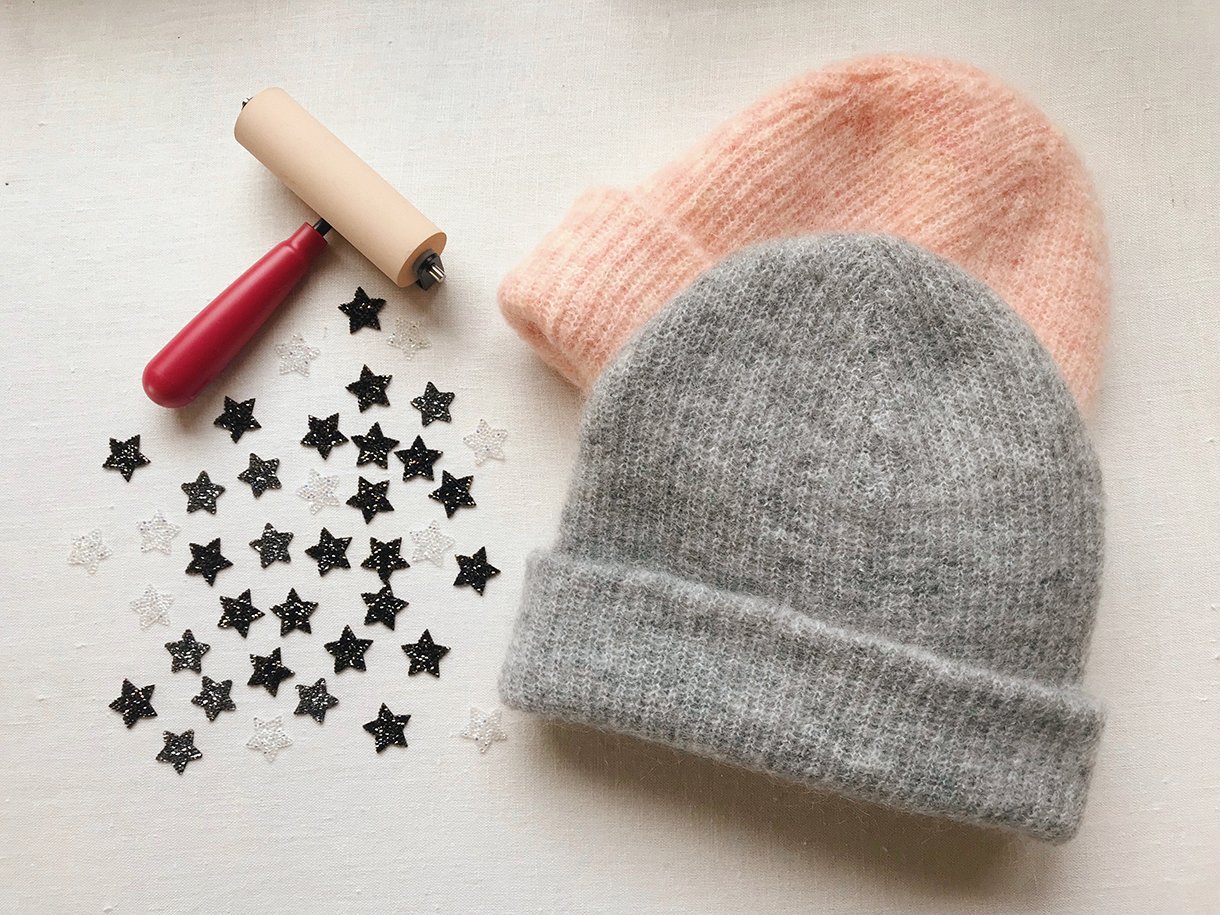
- Swarovski Cold Fix star appliqués (available online this spring)
- a rubber brayer
- wool, cashmere or leather clothing or accessory (my beanies are from Ganni)
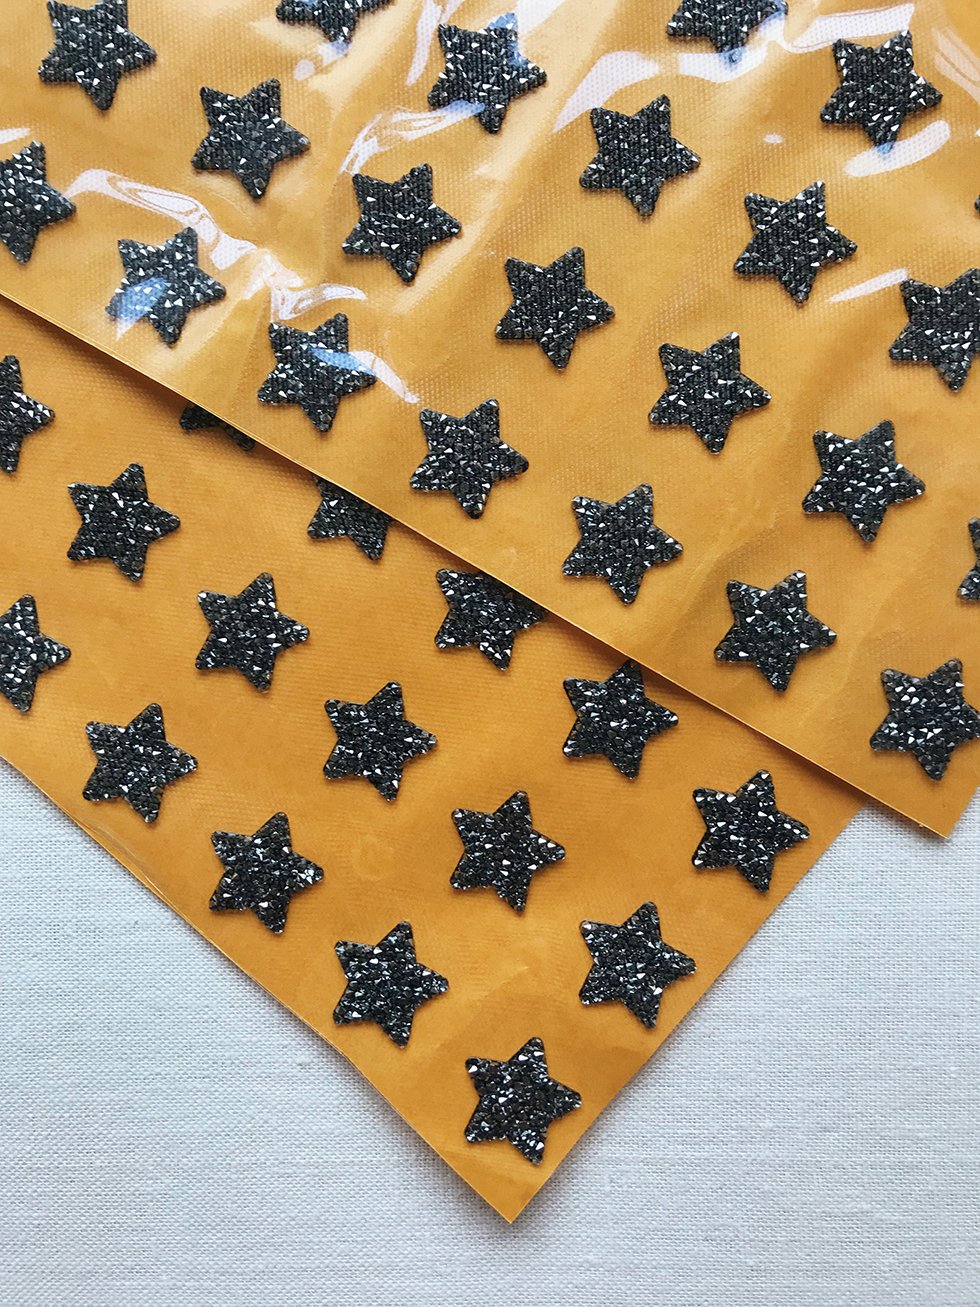
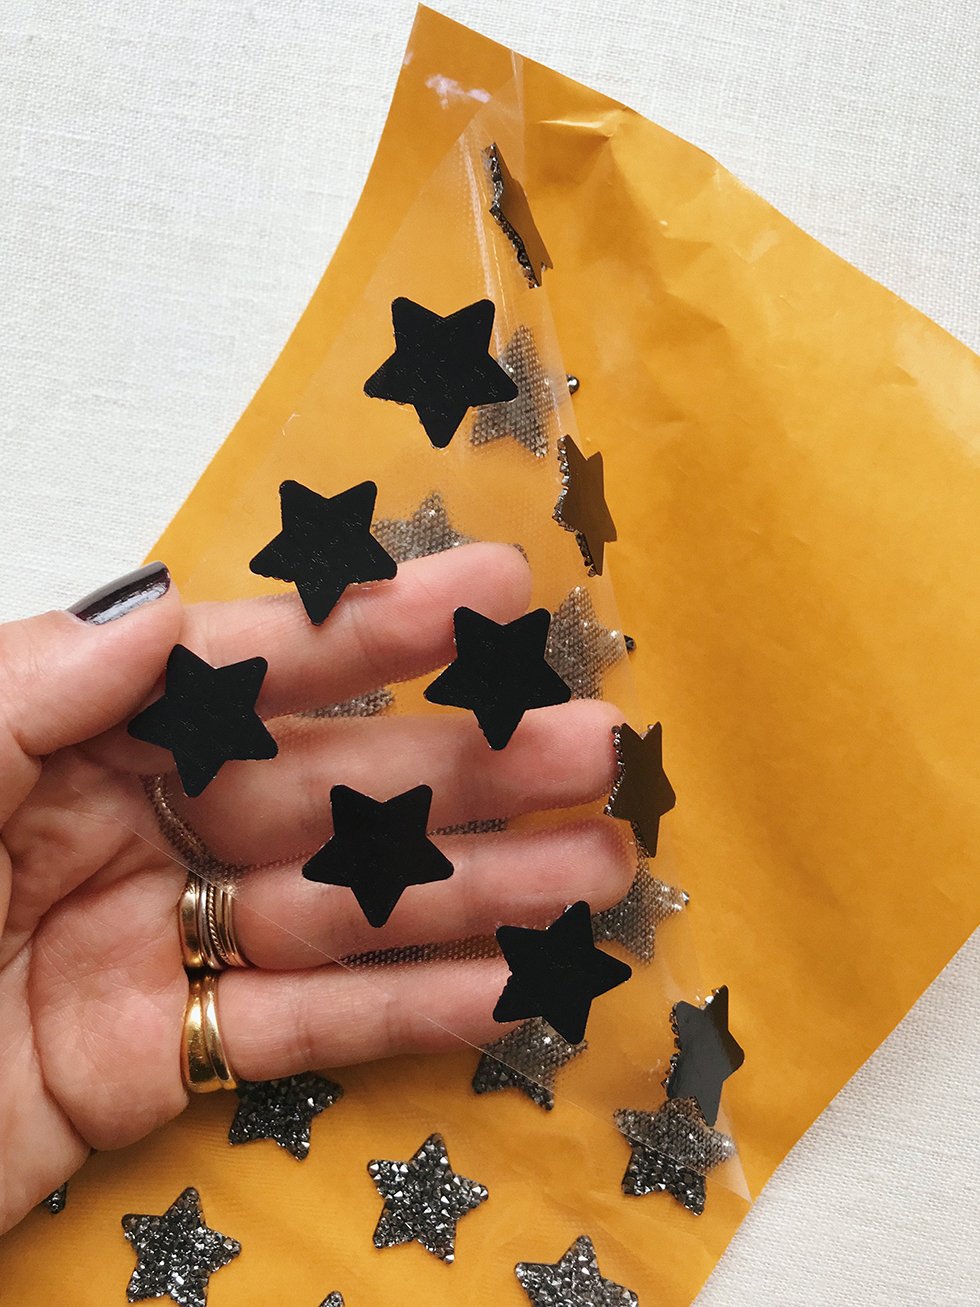
The Cold Fix appliqués will come between two sheets of plastic - one clear and one colored. There are two ways to go about preparing them for application. You can cut out each appliqué and one by one, peel off just the colored paper. This is a good method for materials like leather or faux leather. Or you can peel them off of both sheets, one by one. This method is best for materials like mohair, cashmere and wool . . . you'll see why.
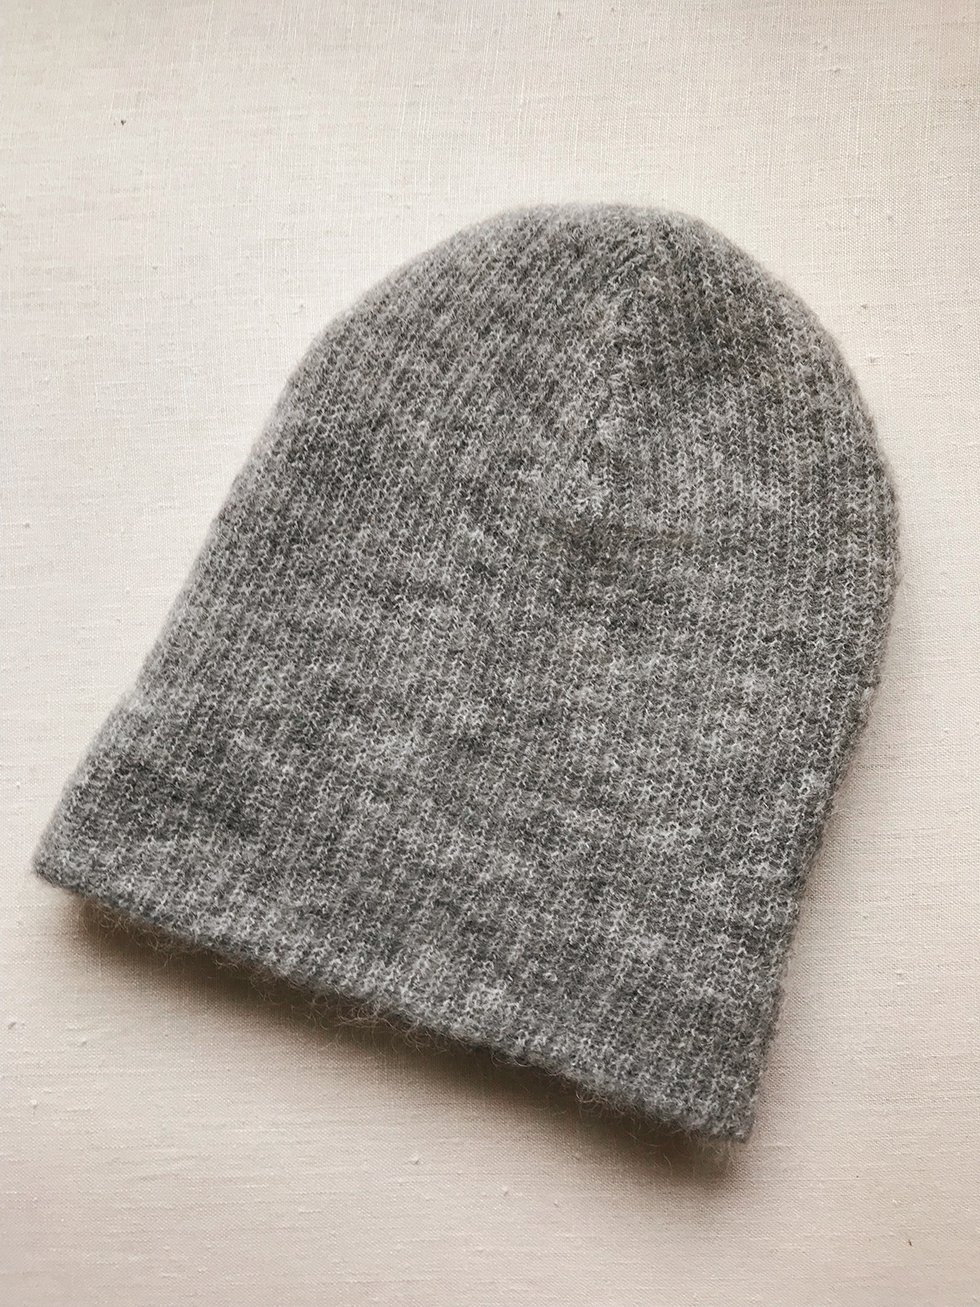
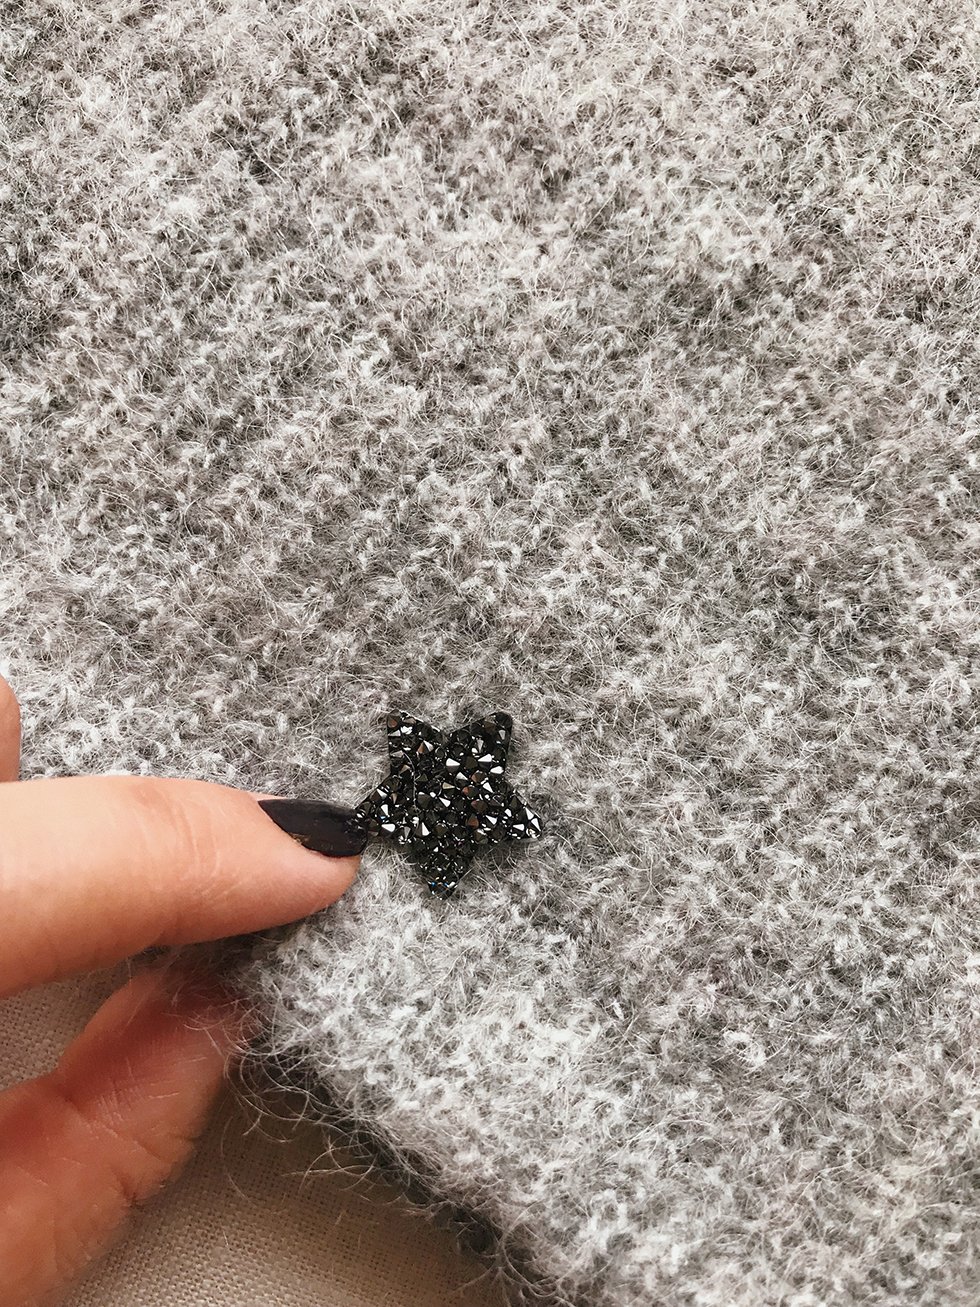
Lay your material flat onto a working surface. Place the appliqué, sticky side down, onto the surface of your material.
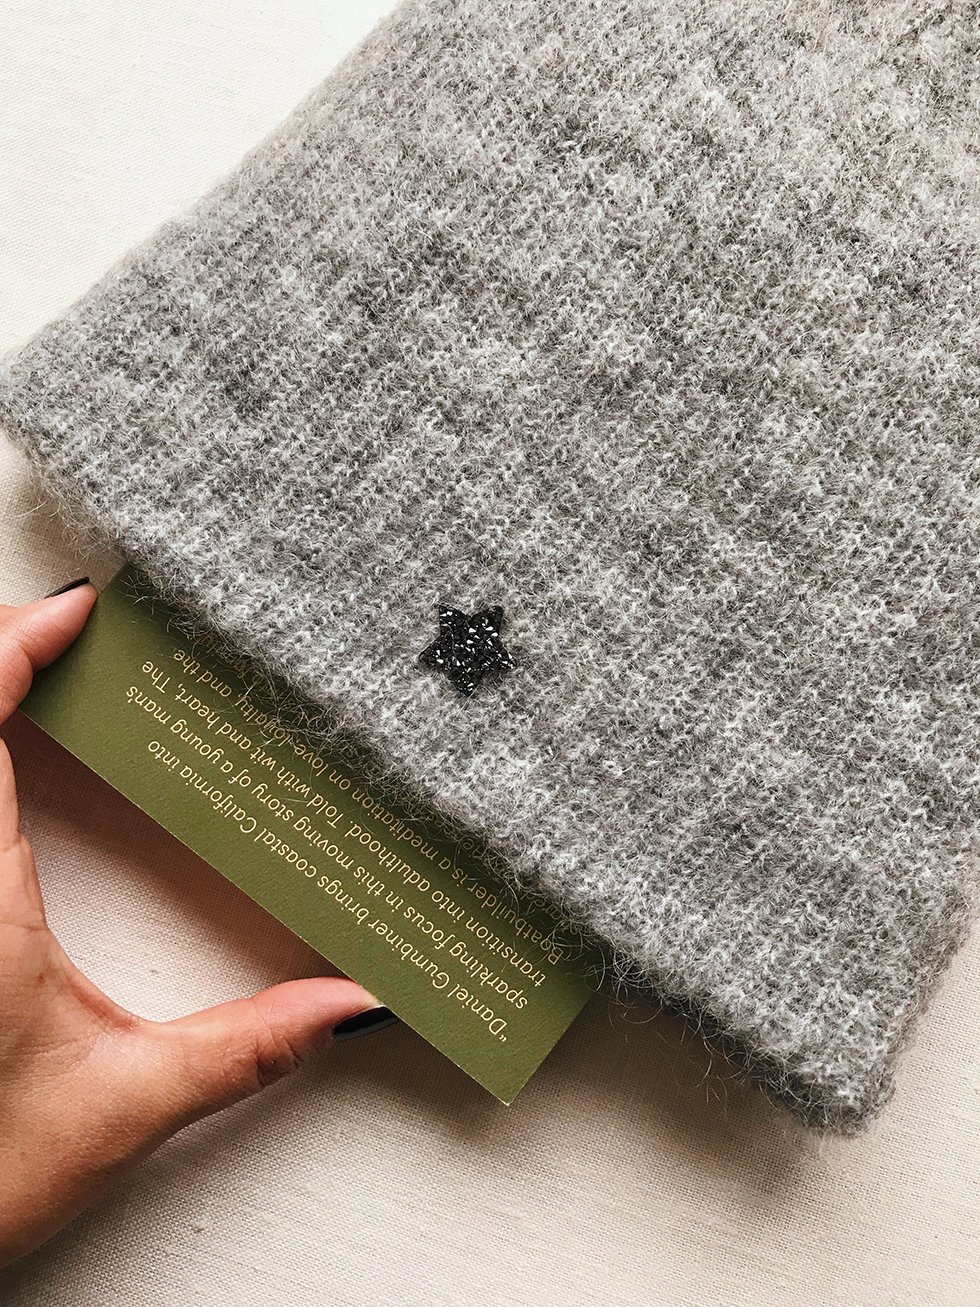
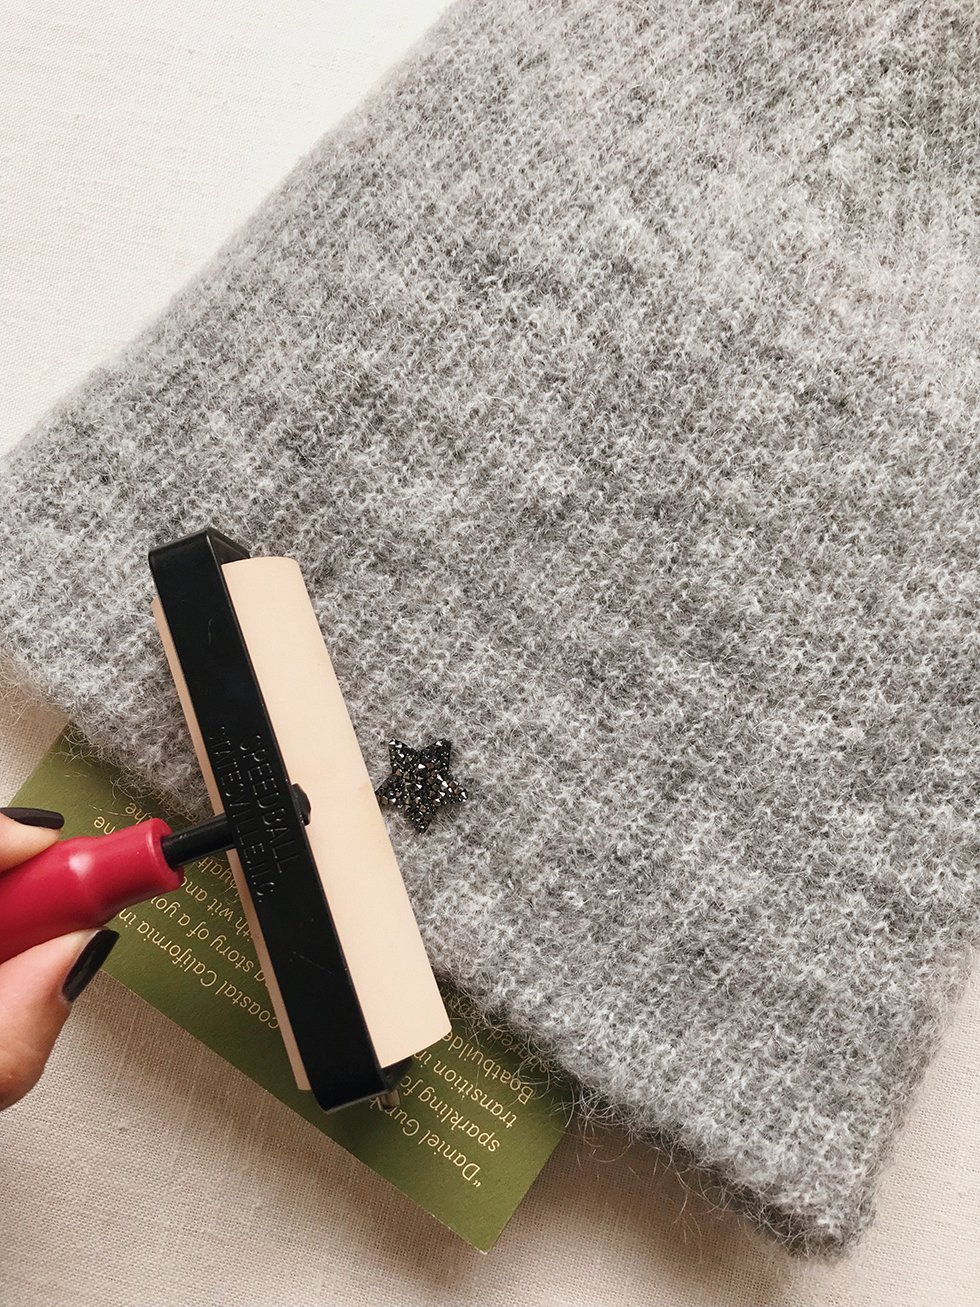
I like to place a hard surface, like a book, under the material, especially if the material is really thick. Take your rubber roller and roll over the appliqué a few times with a decent amount of pressure. Full bonding strength will be reached in 72 hours at room temperature!

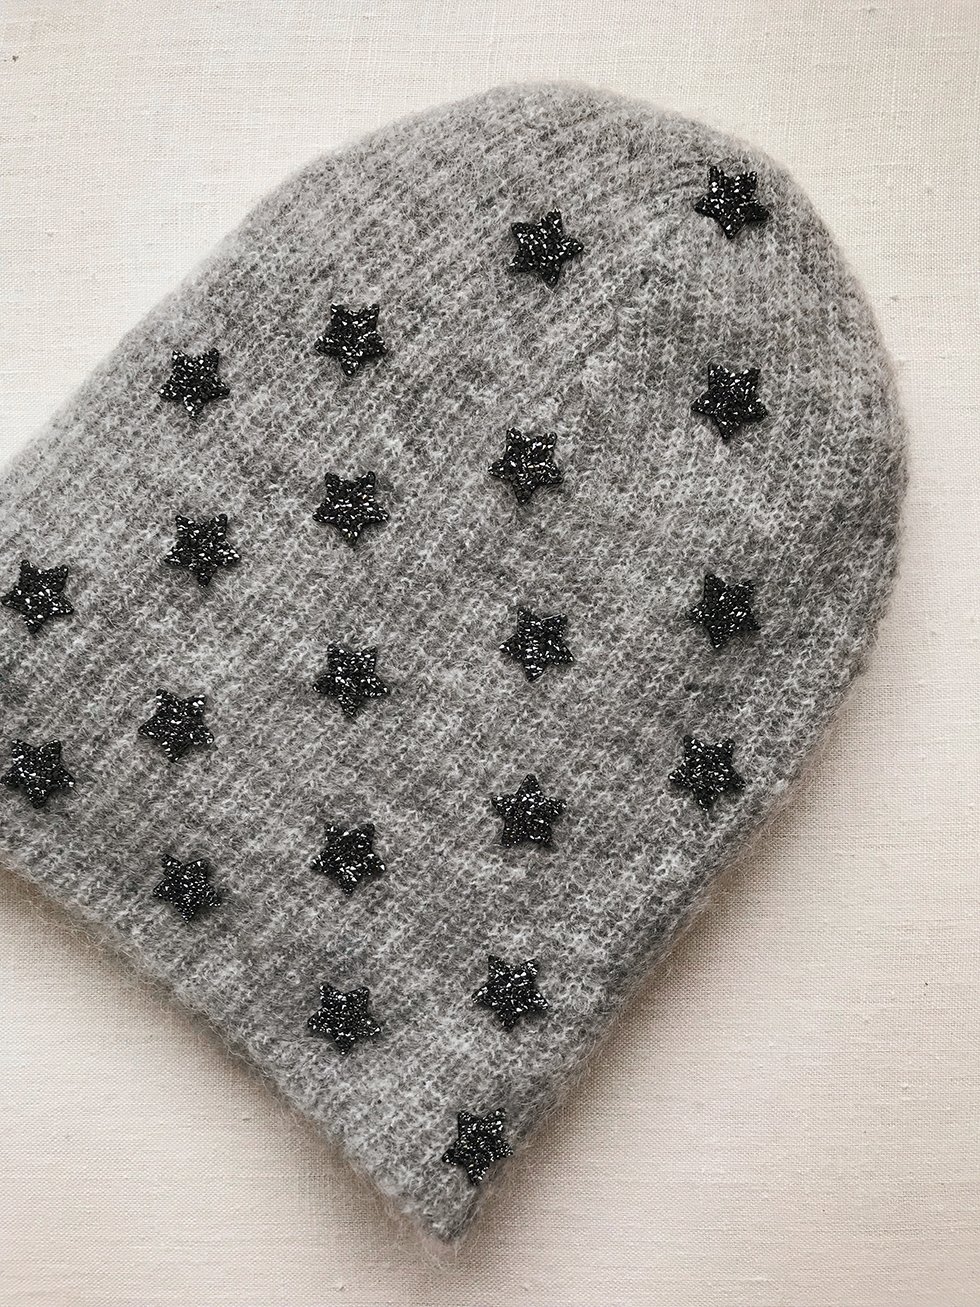
Continue adding your appliqués, adhering them with your roller. So another option, as mentioned earlier, is to keep the sticky clear plastic sheet on, while you roll over your appliqué. I don't like this step for hairy and delicate materials like cashmere or mohair. I feel like the sticky sheet pulls too much of the fur off of the fabric. It's definitely better for something like leather, however!
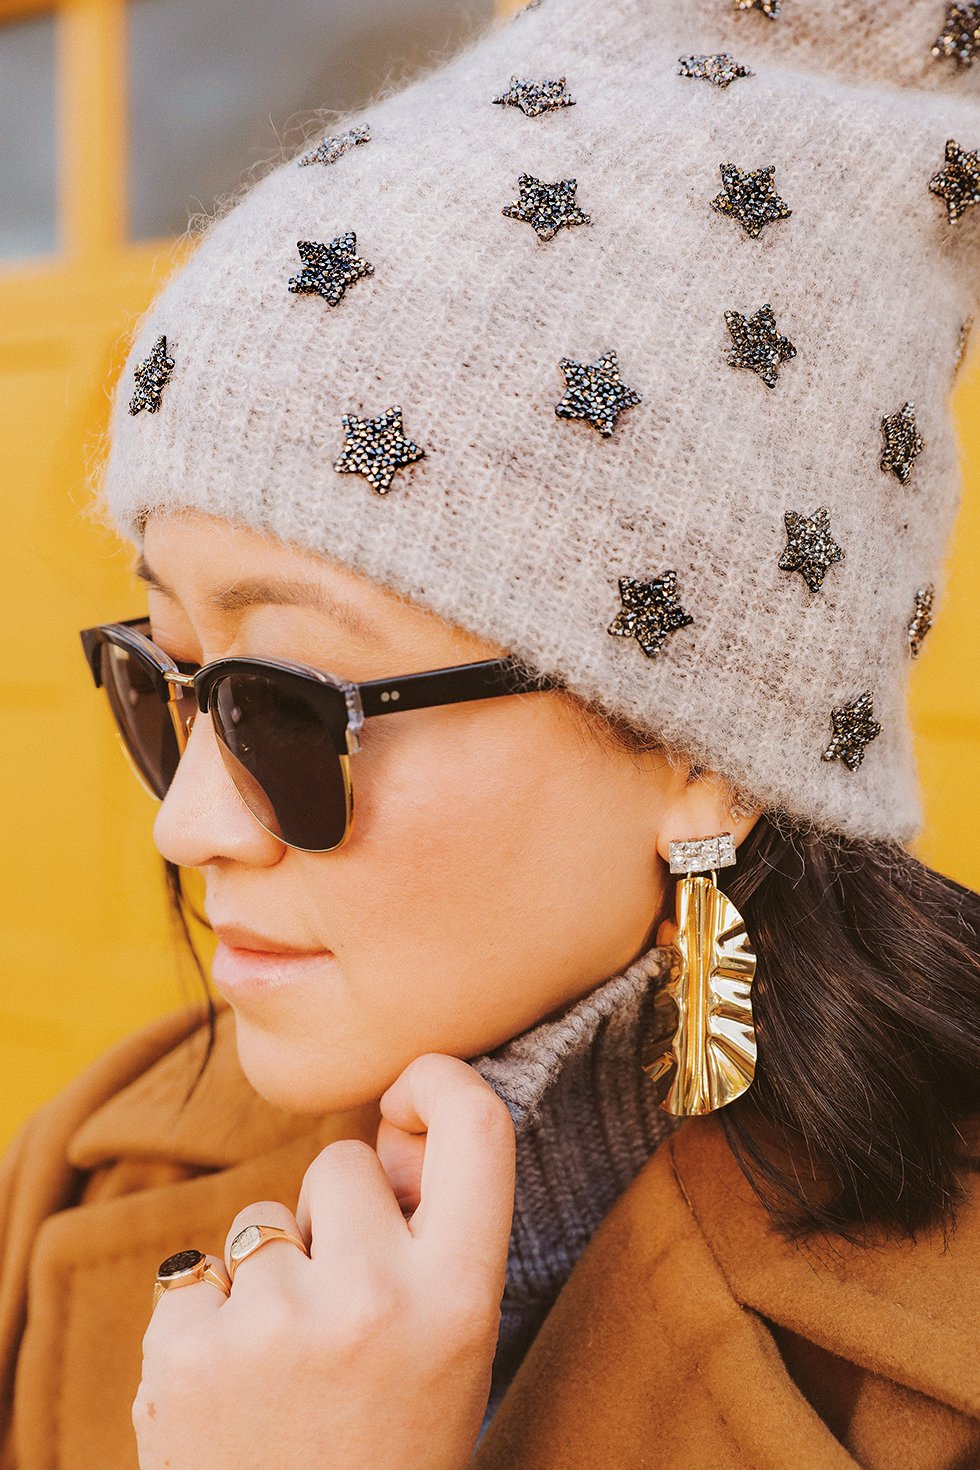
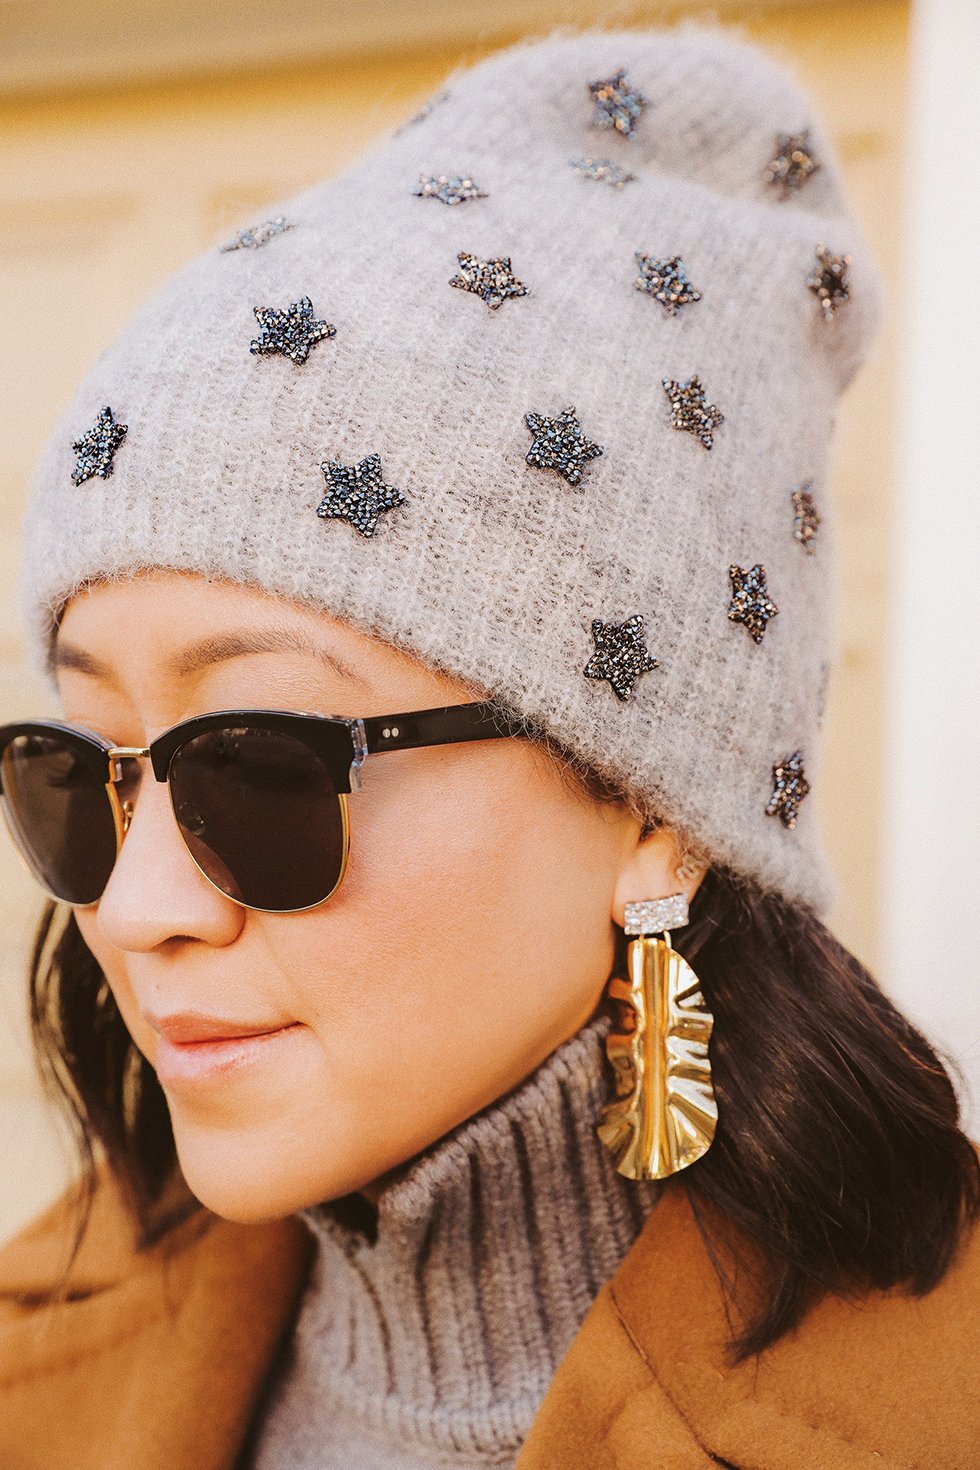
And, voila! Your crystal appliquéd beanie is finished - without requiring any hot tools or additional adhesive! Allow to set completely for 72 hours before wearing. I'd love to see how you guys are putting your spin on my Swarovski tutorials. Be sure to upload your projects to the Create Your Style community and share your creativity with the rest of the world!



This post was created in partnership with Swarovski Create Your Style. Photography by Andrea Posadas.


You make it look so easy. I love the look and love your DIY projects!
Where are the beanies from?
Oops, sorry. Forgot to link to them. They’re Ganni and super warm and cozy!!
Where can I buy the crystal stars
Unfortunately, they’re not available online at the moment but be sure to check back as I’ll be updating the links when they’re available for purchase. Soon!
Are these stars available online yet?
Love everything you do!!!always fresh innovative
Keep goin!!!!
Who makes your sunglasses? Love how the hat came out!
I assume you’re talking about the pink ones? They’re fun!! And from Chloé! I’ve also linked to them in my “shop” . . .
So cute! Love how you made this look so classy with your pairings.
Who made your pink coat- love it!
nice
Can you use these appliqués on UGGs ? Or can you affix crystals on UGGs with the E6000 glue?
I’m not sure the appliqués would work on suede. You can test a section! Otherwise, you absolutely can affix crystals on suede with E6000. Just make sure to work in sections and let the E6000 dry before moving onto the next section. Another option is Aleene’s Leather & Suede Glue.