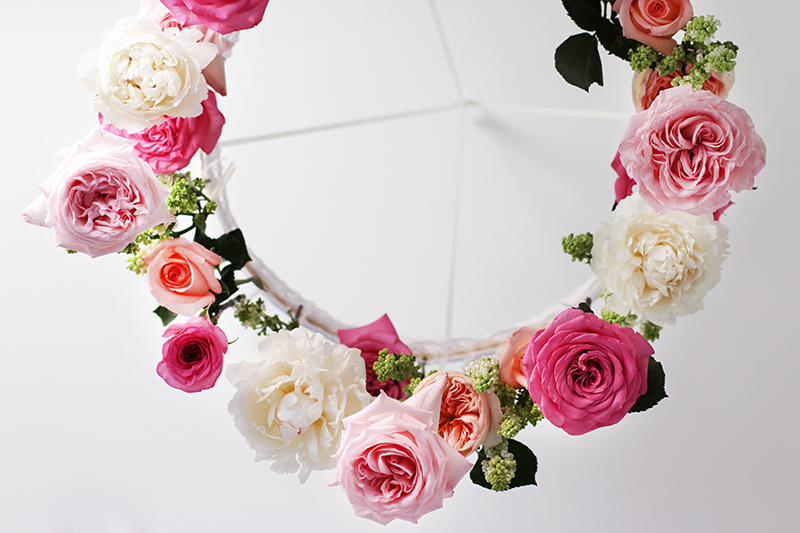
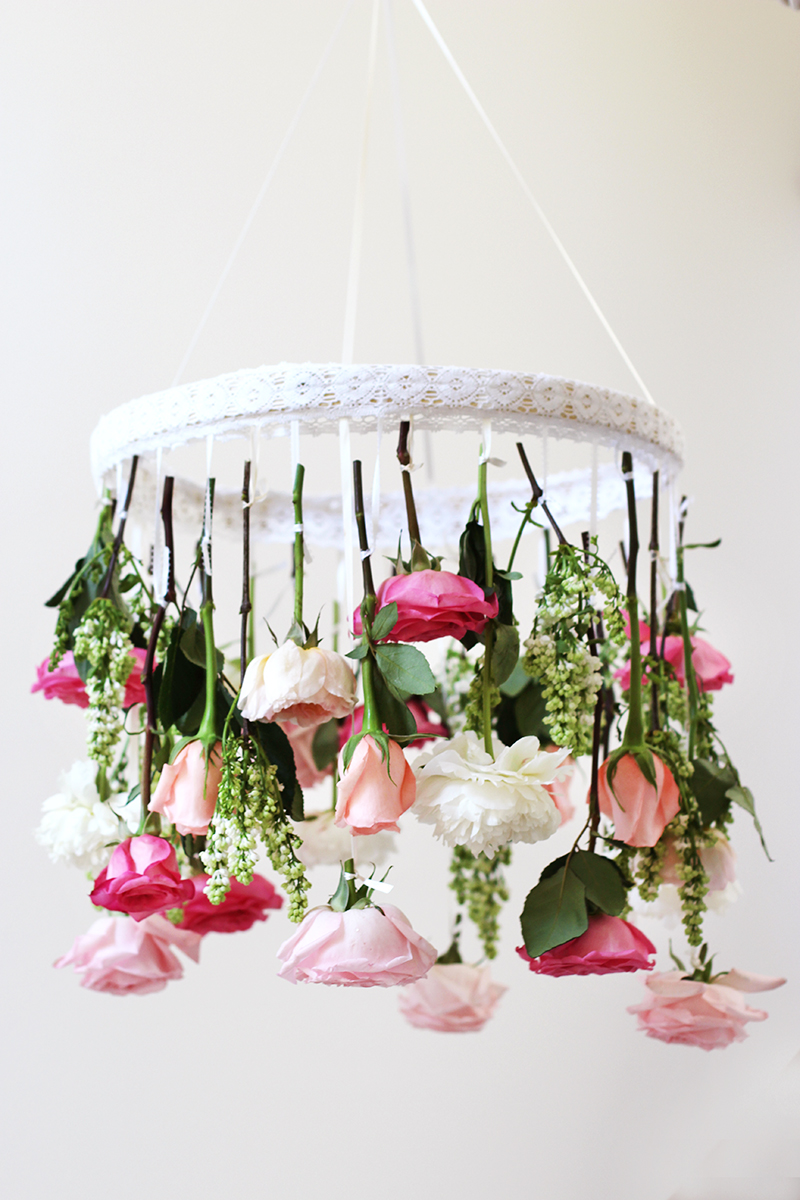
Last weekend, I hosted a tea party themed baby shower for my sister in law, who is expecting a baby girl in July. Aunt Erica has a pretty nice ring to it, don’t you think? I’ve been on a garden rose obsession lately, especially after making those floral letters for Valentine’s Day, so it was a must when deciding what flowers to get for the celebration. Rather than making a floral table arrangement, I decided to whip up a chandelier, made of the most luscious pink and peach roses, voluptuous white peonies and sweet lilacs.
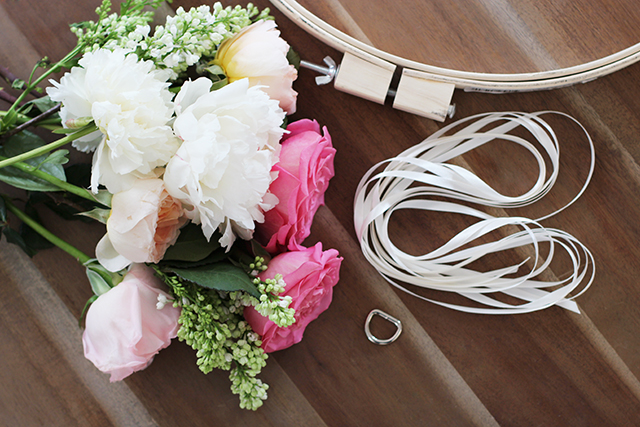
You’ll need:
- 3-4 dozen flowers
- a wooden embroidery hoop
- 15-20 yards of assorted ribbon
- 1-2 yards of lace trim
- a D ring or plastic ring
- floral shears
- a bucket
- glue gun
- scissors
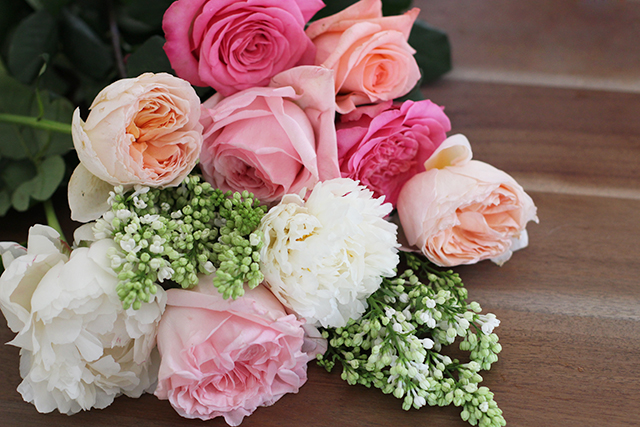
The flowers I used here came from Flower Muse, which include O’Hara Garden Roses, Juliet Garden Roses, Maria Teresia Garden Roses, Engagement Roses, peonies and lilacs. The prices are great and the varieties of roses are endless! When they arrive in the mail, I like to immediately give them a trim before putting them into a bucket of clean water. Let them open up overnight (or if you want them fully bloomed, wait 2 days) and pluck away any outer petals that might have bruised in transit.
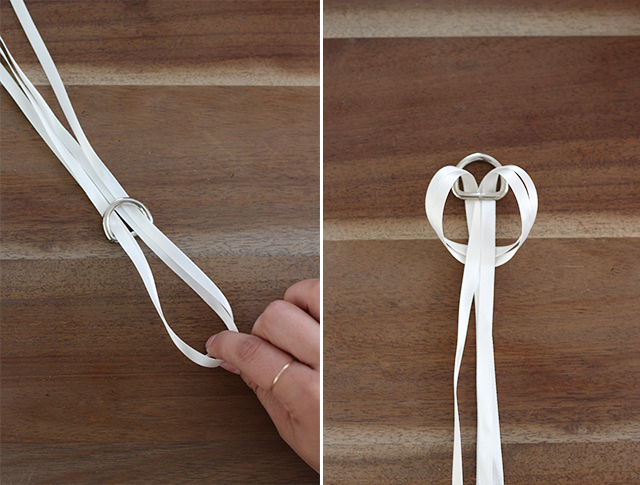
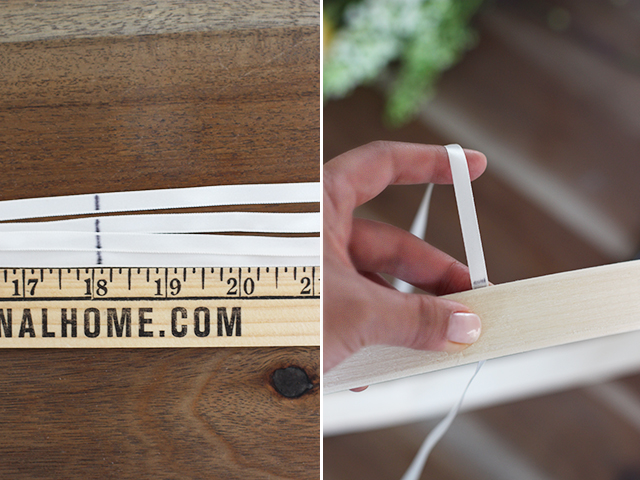
Cut 2 3 yard lengths of ribbon. Fold them in half and thread them through the D ring, creating a small loop at the end. Pull the ends of the ribbon through the loop and pull tightly. You should have 4 someone even strands of ribbon, anchored by the D ring.
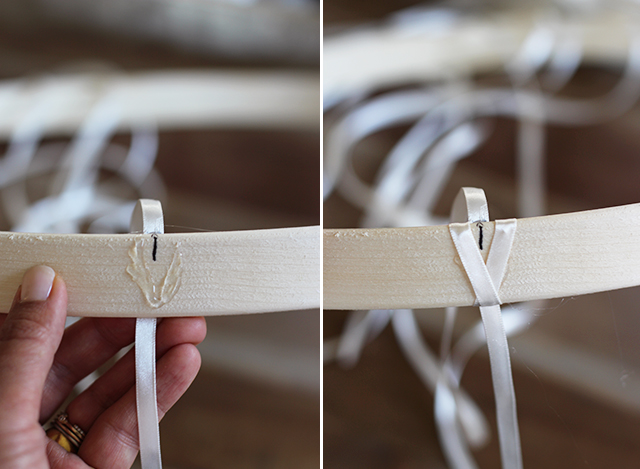
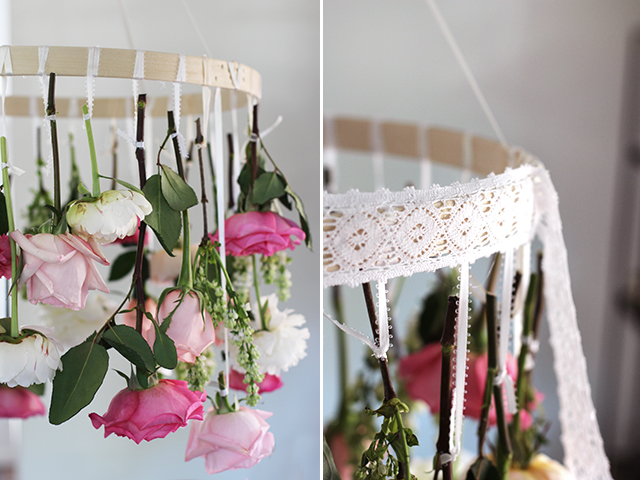
Measure approximately 18 inches down from the base of the ring. Mark with a marker. Take the embroidery hoop and remove the outer ring. Divide the circumference of the hoop into 4 equal parks with a marker. Line the marking on the ribbon with the top of the embroidery hoop. Use hot glue to attach to the inside of the hoop.
Mark the shape of a “V” with the hot glue and wrap the ribbon around the hoop to secure it. Repeat on all 4 sides.
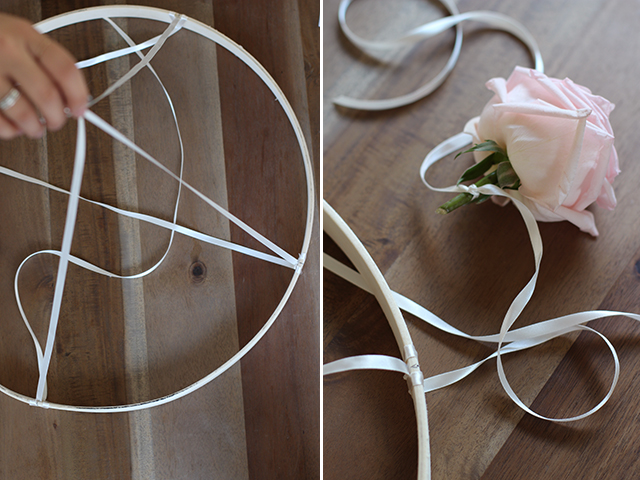
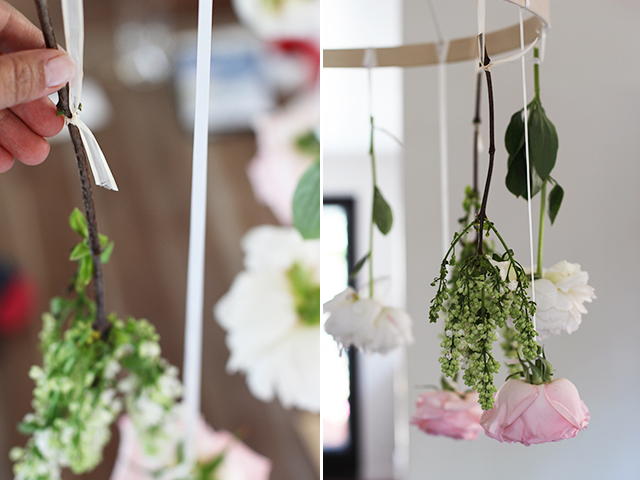
Now that you have the base of the chandelier constructed, you can start adding flowers. Trim the flowers and tie them to ends of the 4 strands of ribbon.
Then using different lengths of ribbons. start adding flowers to rest of the hoop. Glue the ribbons onto the hoop the same way you did the first 4 strands and be sure to evenly distribute the weight of the flowers in each quadrant. I like to hang the chandelier from a hook in the ceiling while working.
Once all the flower have been added, make sure it is balanced. If one side is drooping, add more weight with flowers on the opposite side. Take a piece of lace trim and glue it to the outside of the hoop.
Stop and smell the roses!
(images by HonestlyWTF)
This looks so beautiful. I have to try it 😀
xx Mira
http://www.glamdevils.com
This arrangement looks beautiful!! Definitely want to try! 🙂
TheDanceGrad.com
beautiful flower DIY!!!
http://www.stelstyle.com
Lovely floral DIY!
Cute idea!
http://www.happycrunchy.com
You always have the most amazing DIYs!
Check out my latest posts on Venoma’s fashion diary and feel free to enter my Lensvillage spring giveaway with 2 prizes !
XoXo Venoma
So so so pretty! x
Absolutely beautiful!
So original!
Thant’s genius! Your are such an inspiration for me!
Very pretty, I love it!
Beautiful! So creative! This is such a great idea!
Great deco inspo and DIY!
XO
Jeanne
http://fashionmusingsdiary.blogspot.fr
Ahhhhmazing. Thanks for the idea, stunning as usual x
This is great for a outdoor wedding decor!
Namrata
http://seasoncheck.blogspot.com
it’s so beautiful.
i’m chinese.i saw many diy use fresh flowers.it’s a pity that we have no gardens and fresh flowers are usually expensive T^T
Interesting DIY! Beautiful photos!
XXOO
Sara Sánchez Velado
http://www.sarasanchezvelado.es/blog
This DIY idea is amazing!
http://fashion-soup.com/
How many inches is your embroidery hoop
Thanks for sharing this amazing idea! Not sure I’ll manage to do that anyway 🙂
Love this idea! It would be a perfect gift for one of my friends! 🙂
http://inspirationstealer.blogspot.hu/
So Pretty.. Just gorgeous !!! Love it..
Beautiful! What size embroidery hoop did you use for this?
very creative.
http://tinygoldengirl.com/
Lovely. We’d love to include this project and your blog on our list of awesome DIY 🙂
This is gorgeous!! I wonder if I can do it with the dried flowers I have,,,, don’t think it’d look quite the same though 😛
This is so pretty! Fit for a princess 🙂
Such a brilliant idea! And much more effective result! Will You continue this composition by adding the lights to Your chandelier? 🙂
Great way to use up flowers you’ve been given 🙂 I need to start doing some fresh flower DIYs for hapinesswherever.wordpress.com
creative design
Erica,
This flower chandelier is amazing! I am my best friend’s maid of honor for her wedding in May, so I have been looking for ideas for her bridal shower. One of these would be perfect for above the cake table, especially since her shower is Vera Bradley themed.
I definitely think I’ll be using this idea and the floral letters for the shower. Do you have any other suggestions for this type of theme?
I have recently started my own crafting blog called Burlap & Pearls. I’ve only done small crafts so far, but this is definitely a project that I would like to draw inspiration from. Especially because I have yet to feature any crafts with live flowers.
Thank you for this post.
-Jenna Francis, jfranc11@kent.edu, burlapandpearls.wordpress.com
Thanks for the good writeup. It in reality was once
a amusement account it. Look complicated to far added agreeable from you!
By the way, how could we be in contact?Get the Worm.is Hacks FREE!
CLICK HERE FOR ACCESS:https://speedy-files.com/9Dff
What a beautiful and creative way to DIY your own chandelier! Great way to add a pop of color to any dining room!
I think this is very beautiful but for a longer lasting display I think you could use artificial flowers. Just use wire cutters to trim the stems down to size and tie with ribbons. Also you could spray glitter acrylic spray on them for some extra sparkle or rap the embroidery ring with a pearl strand.
What a beautiful flower you did ! Great idea for handmade gift. Suitable for decor any room.
I think this so cool! I’m going to try to make this one/
I’m going to try this and have my little ones make one each for their Mom’s for Valentine’s Day
So excited to try this DIY project
I do have a question though
What can I put on flowers to keep them looking life like permanently?
And if no suggestions I thank you