Daisy chain bracelets . . . why not daisy chain sandals? You know I couldn't let the summer go by without another embellished sandal tutorial! I used 6mm beads because I already had the sandals on hand however, I encourage you to experiment with bead sizes and of course, the type of sandal. Most importantly, have fun!!
You'll Need:
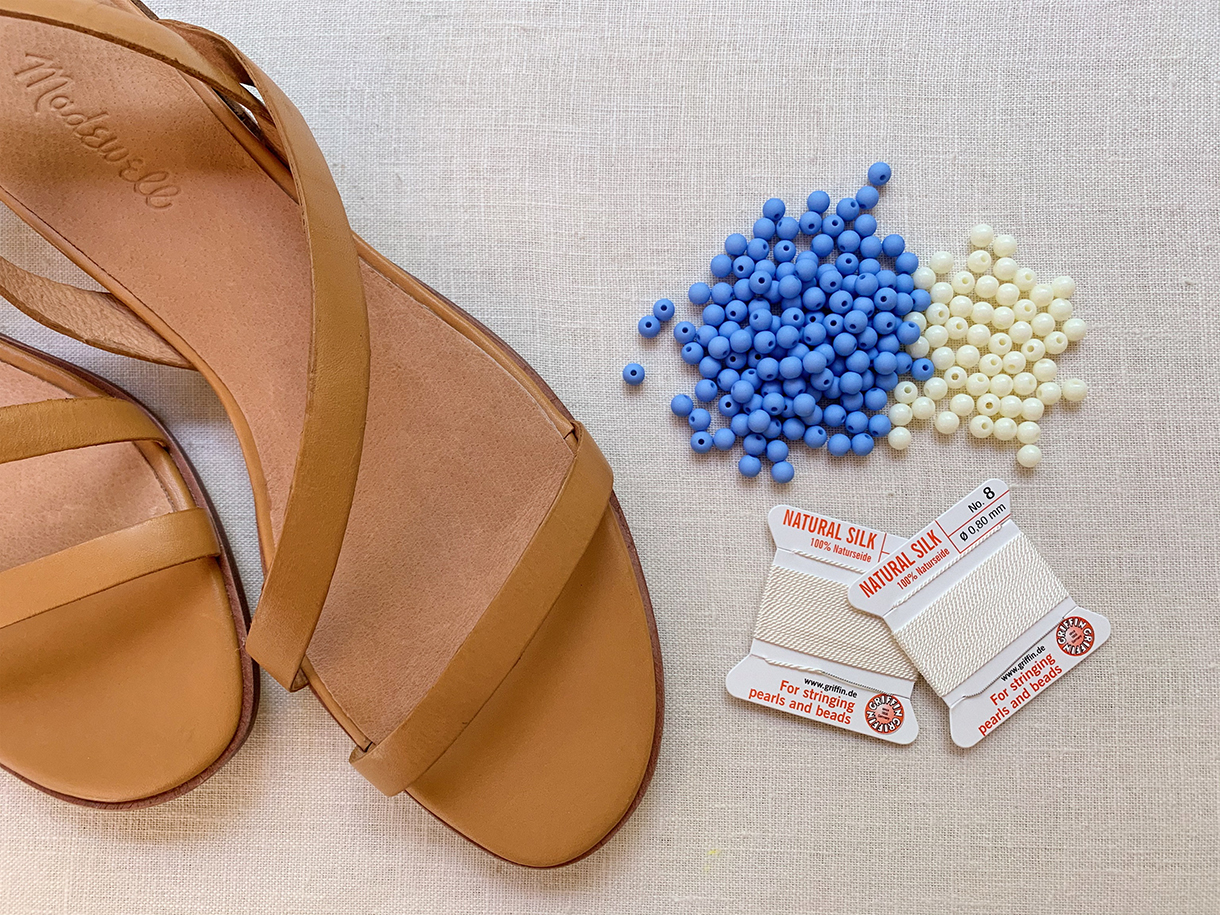
- leather sandals with thin straps
- 6mm acrylic beads in 2 different colors (300 main color, 100 secondary color)
- no.10 Griffin silk thread (I used 2 cards)
- E600 glue
- collapsable eye needle
- toothpicks
- scissors
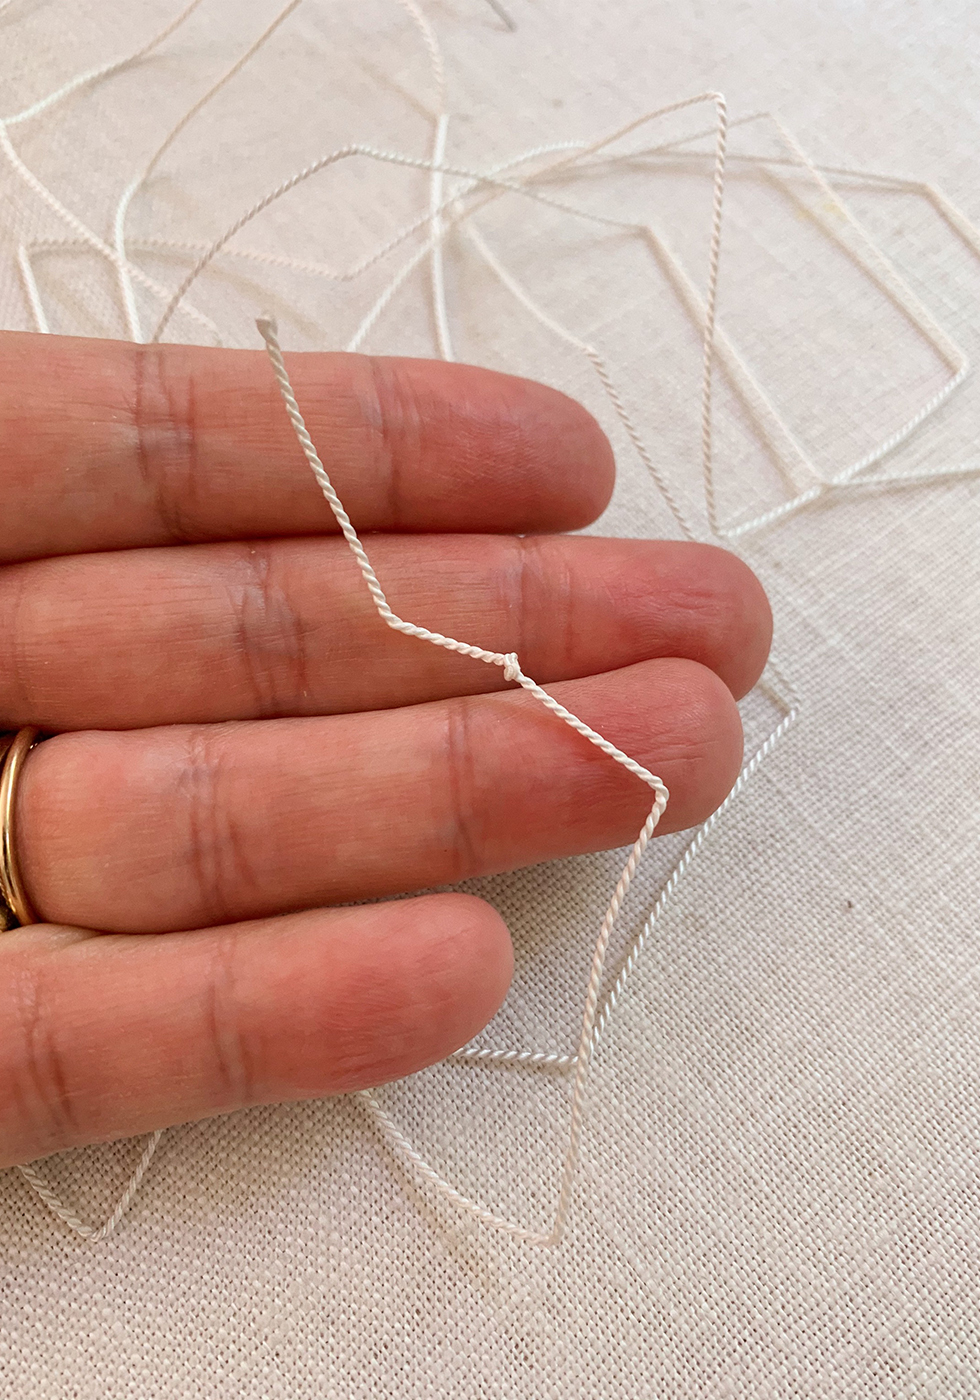
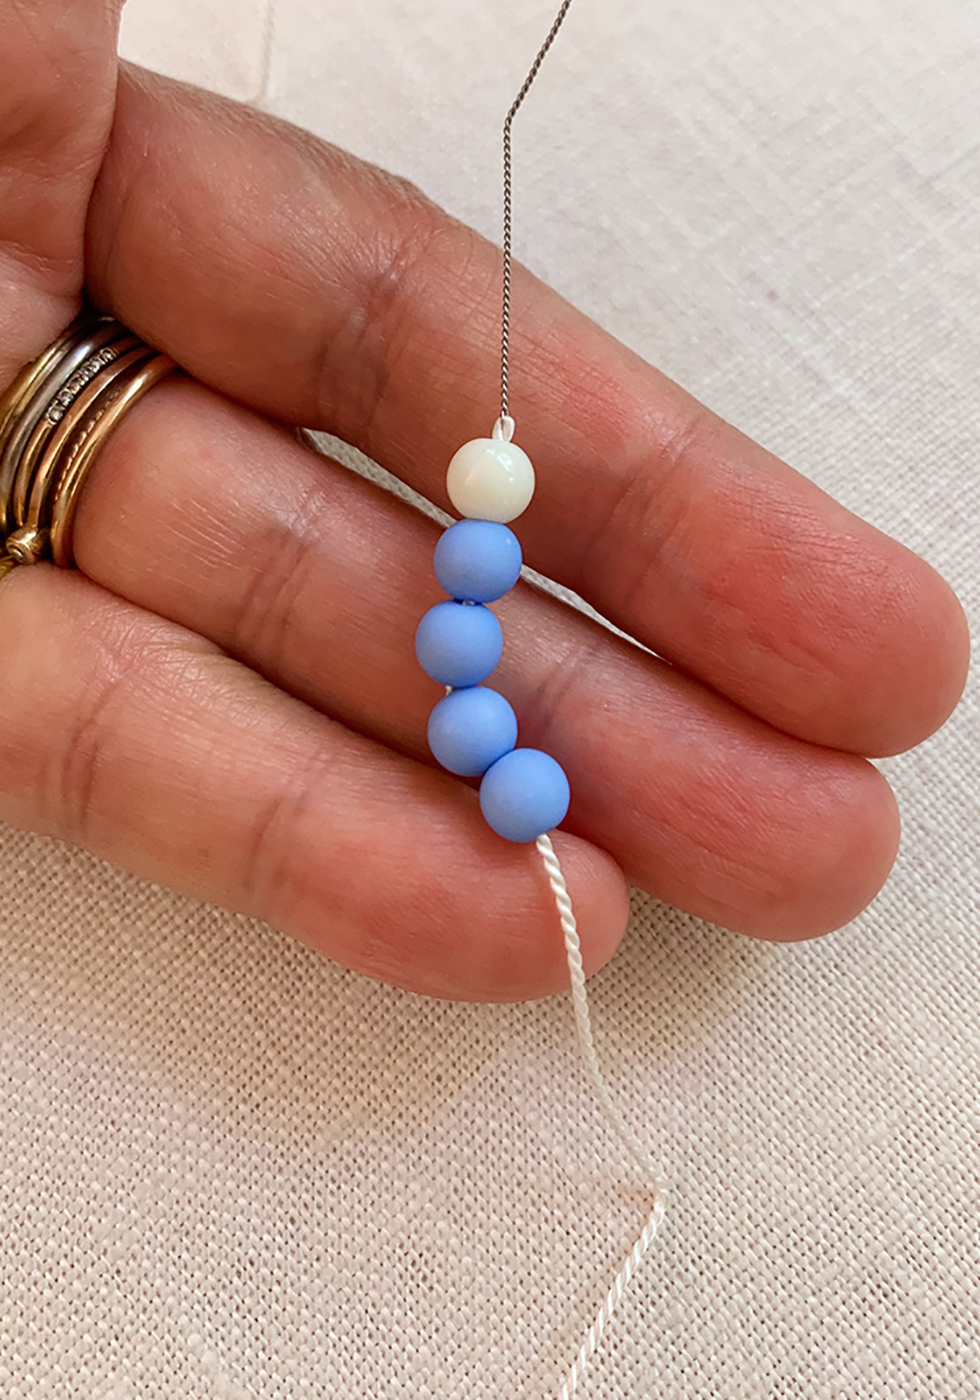
I used silk cord here because it's what I had on hand. You can really use any cord here as long as it's not elastic. Unravel the entire card and knot the end. You'll want to leave about a 3-4" tail. If you're using 6mm beads, add 4 beads in the petal color and then a single bead in the center color.
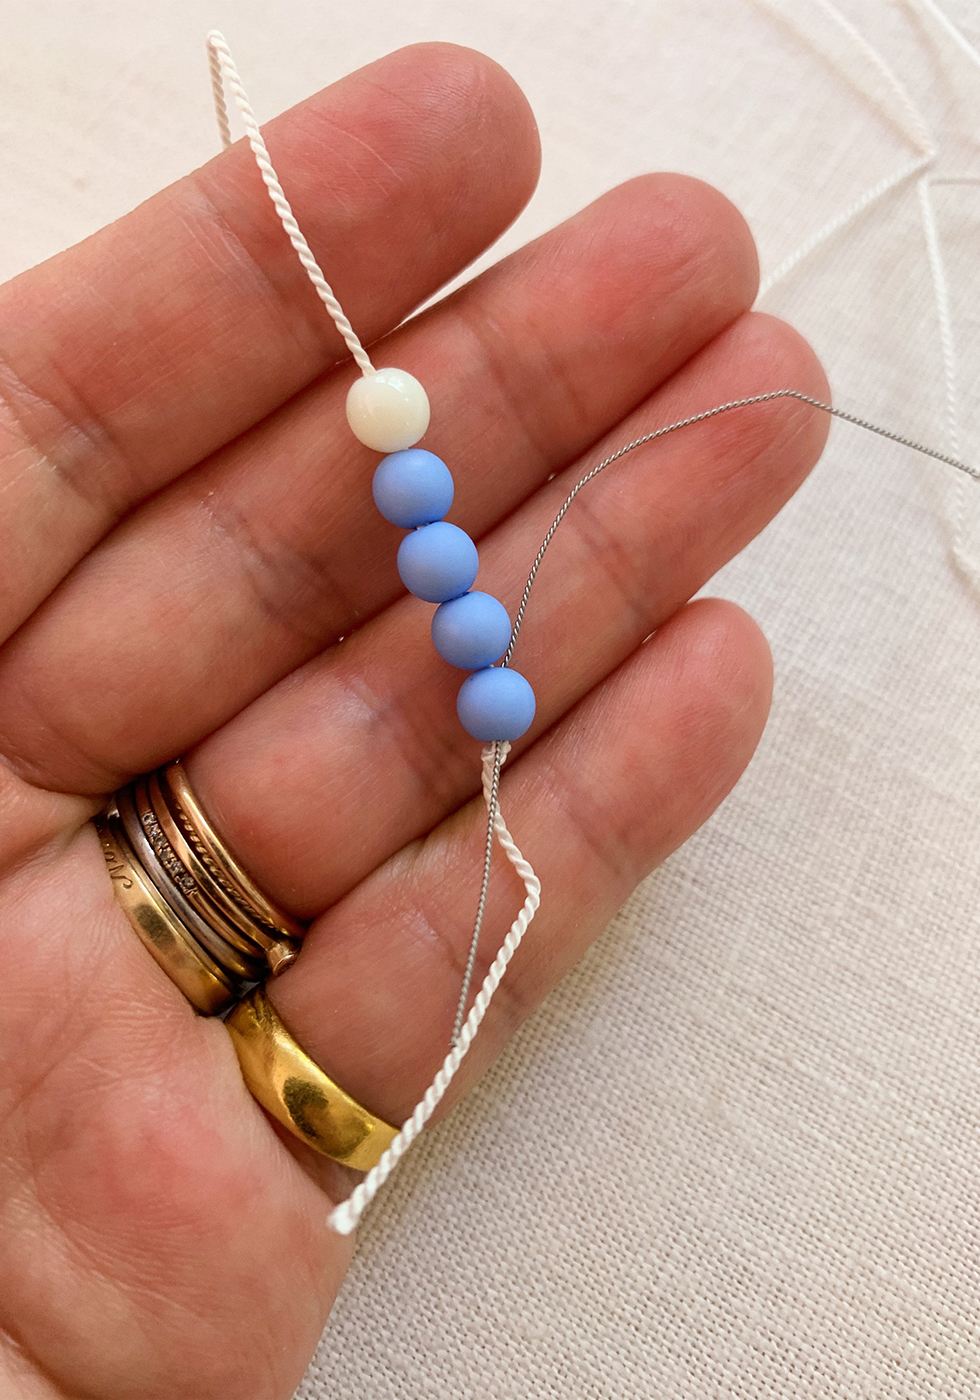
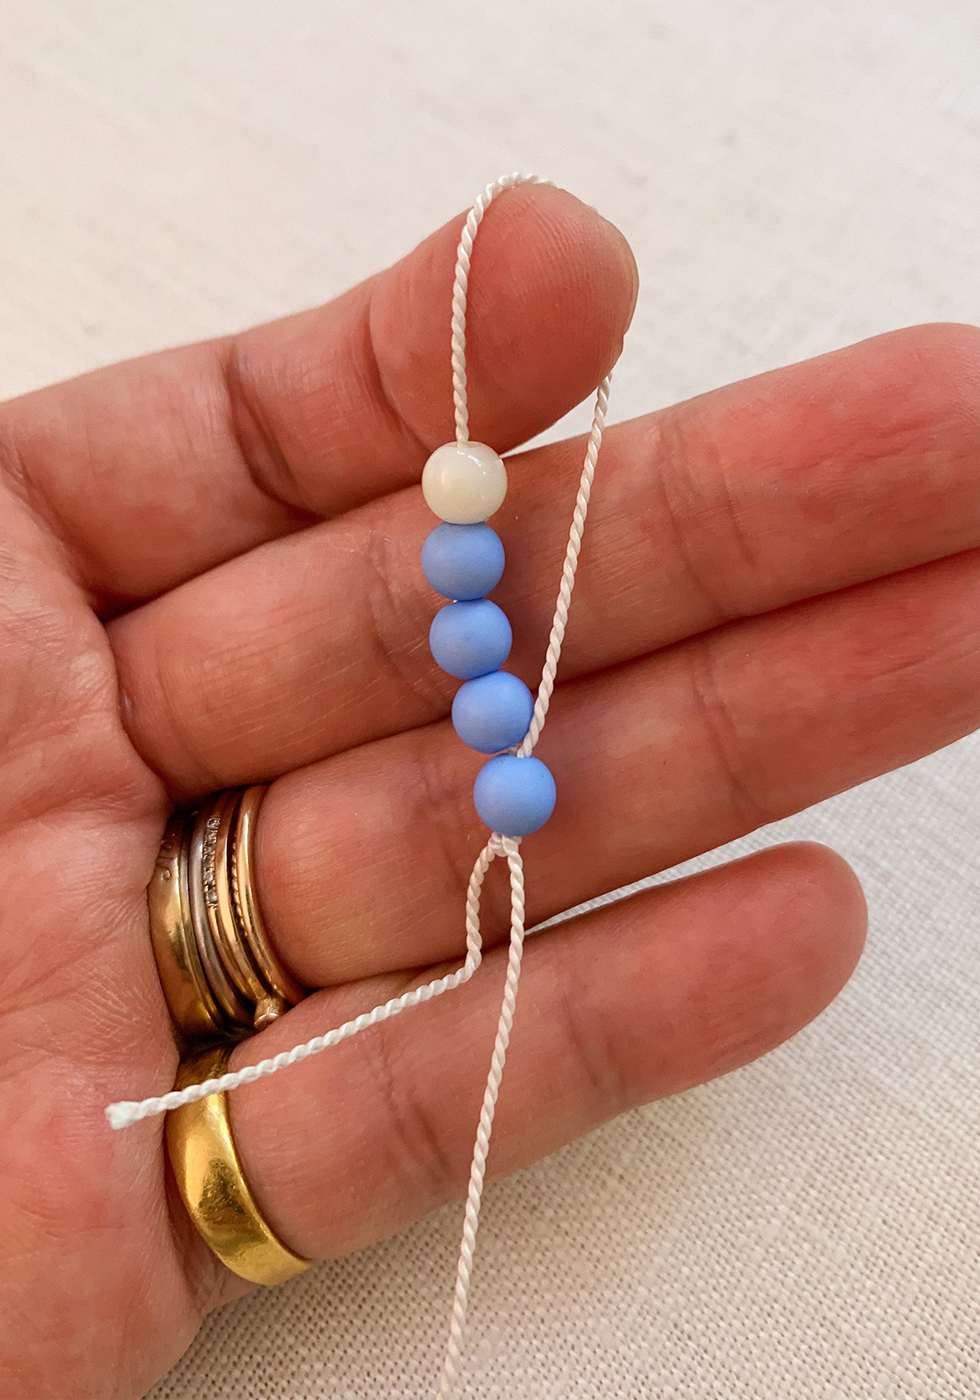
Take the needle and thread it through the 1st colored bead, towards the knot/end of the bracelet.
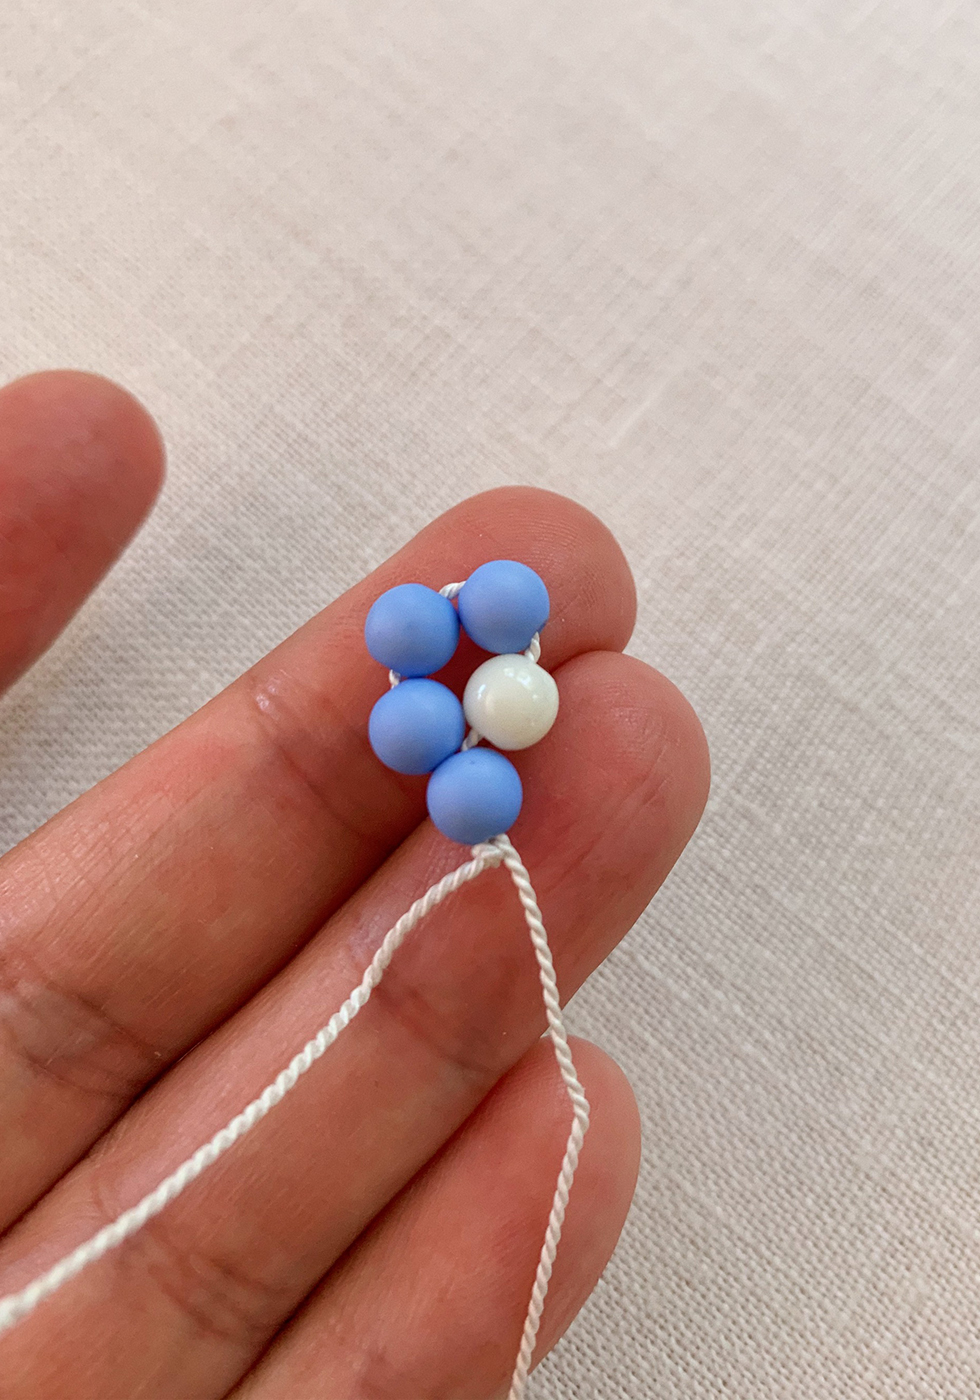
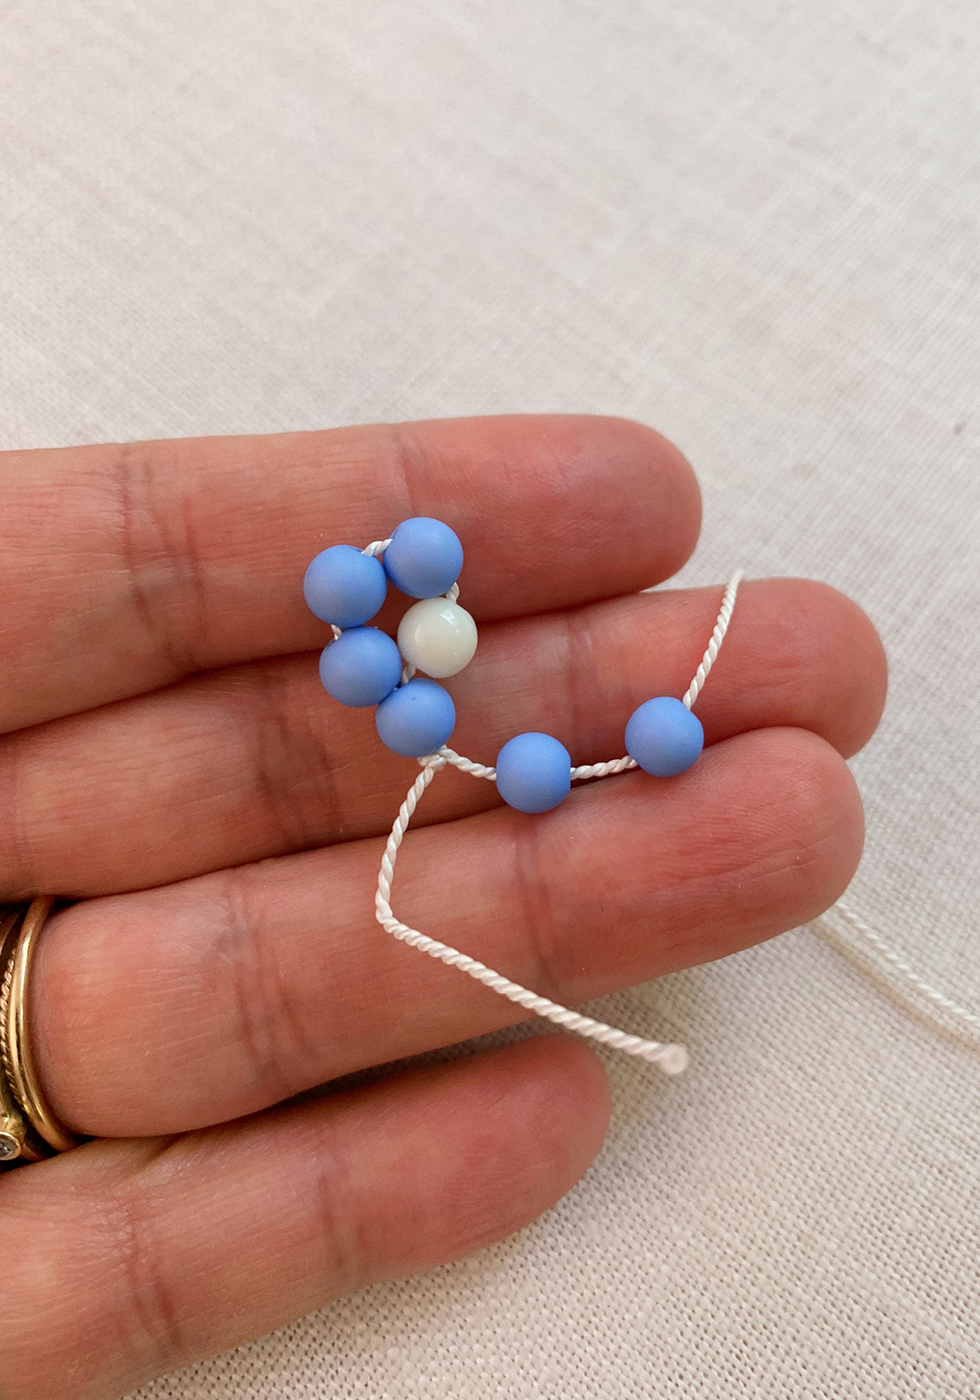
Pull the thread all the way through. You'll want everything pulled together as tight as possible. Then, add two more petal colored beads.
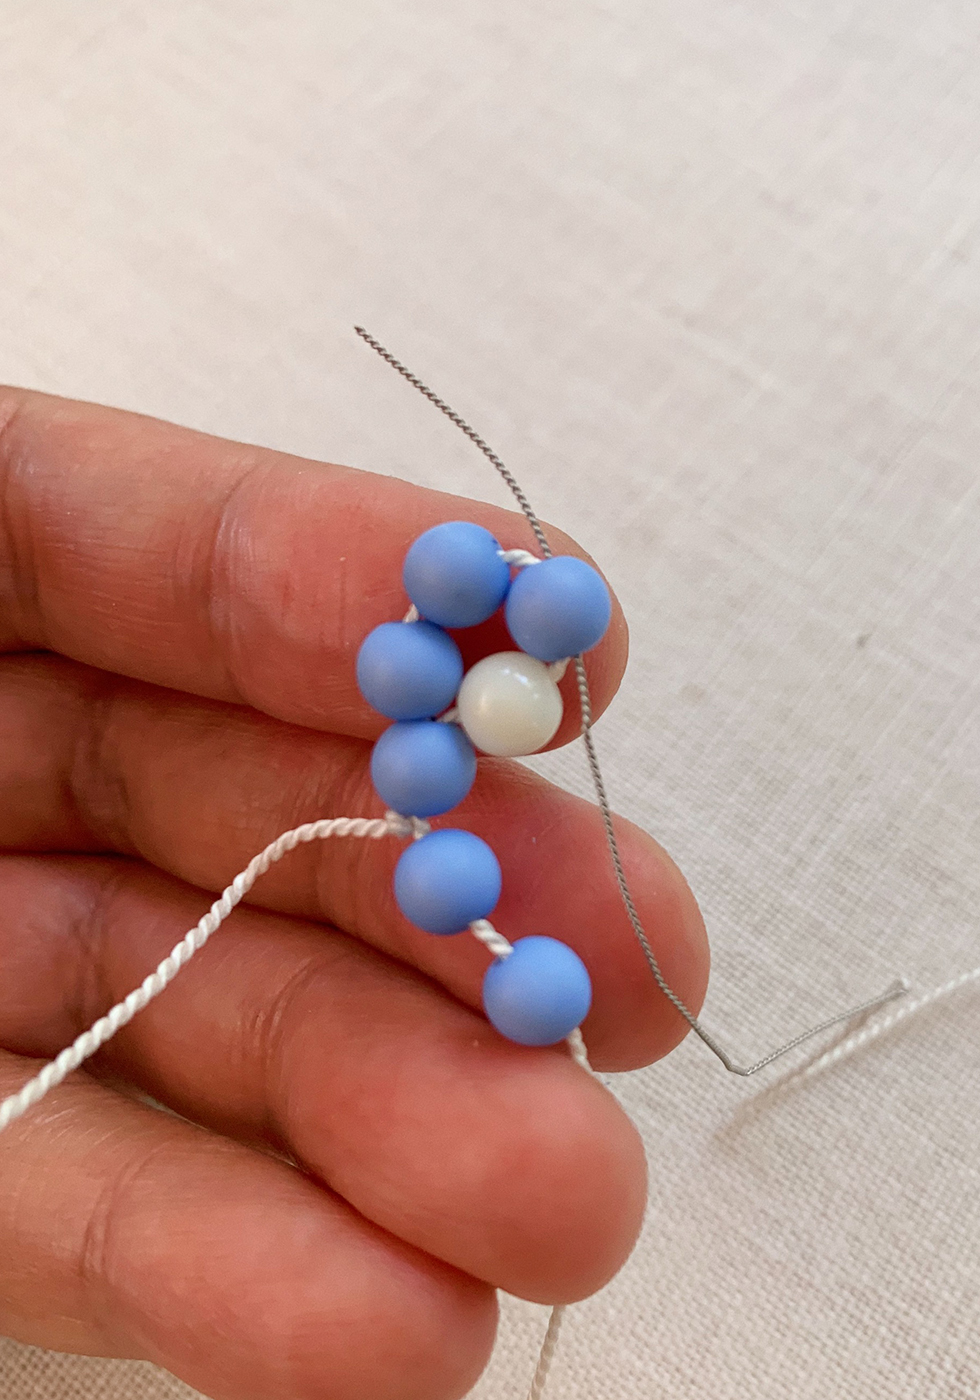
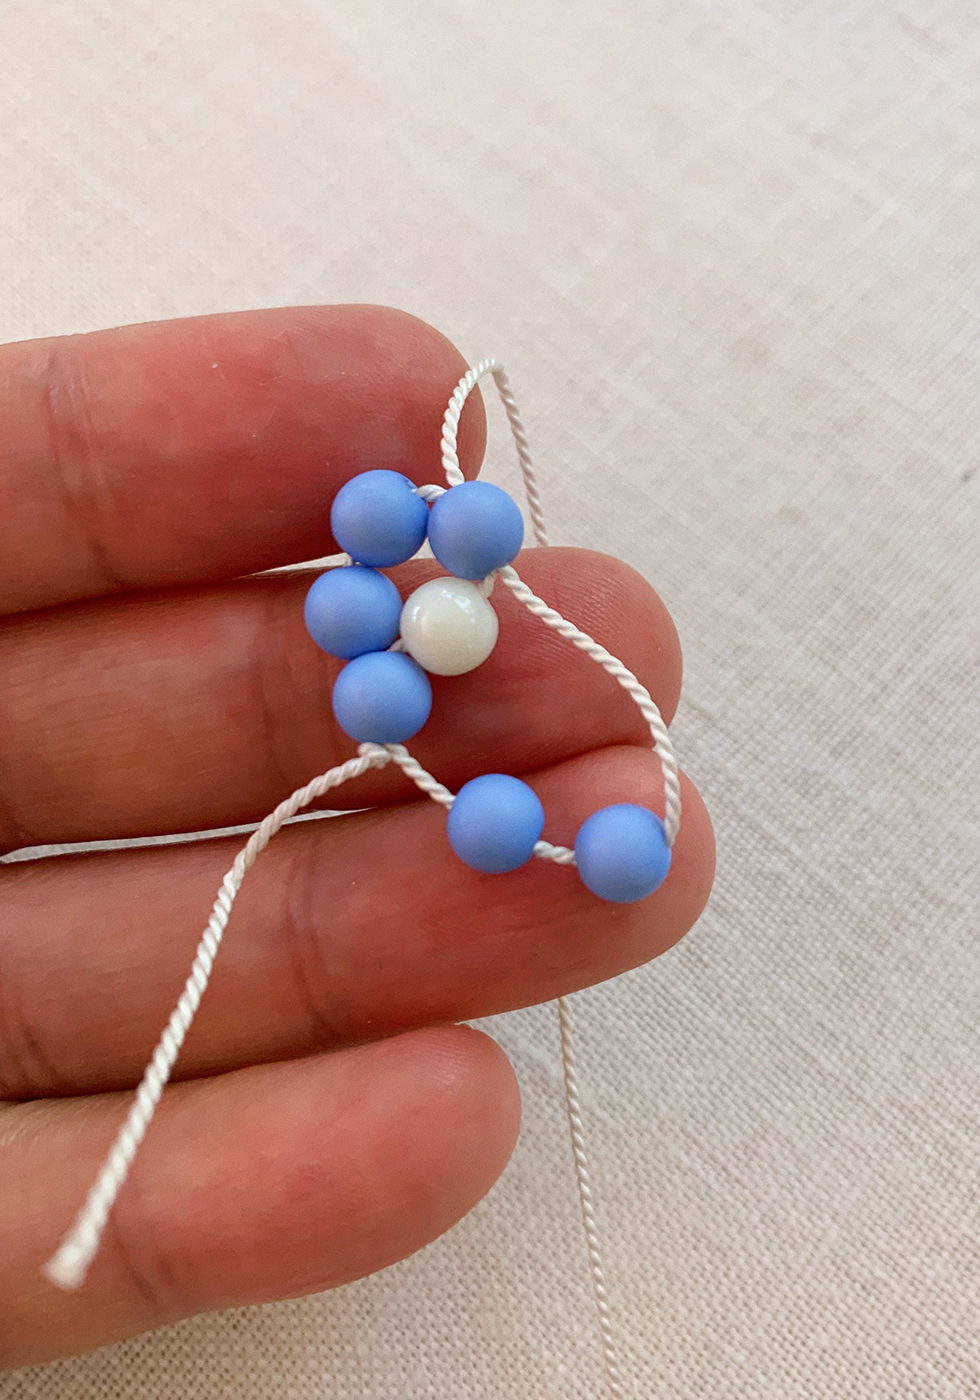
Take the needle and thread it through the last colored bead, before your center bead. This should be going in the direction opposite of the start of the bracelet.
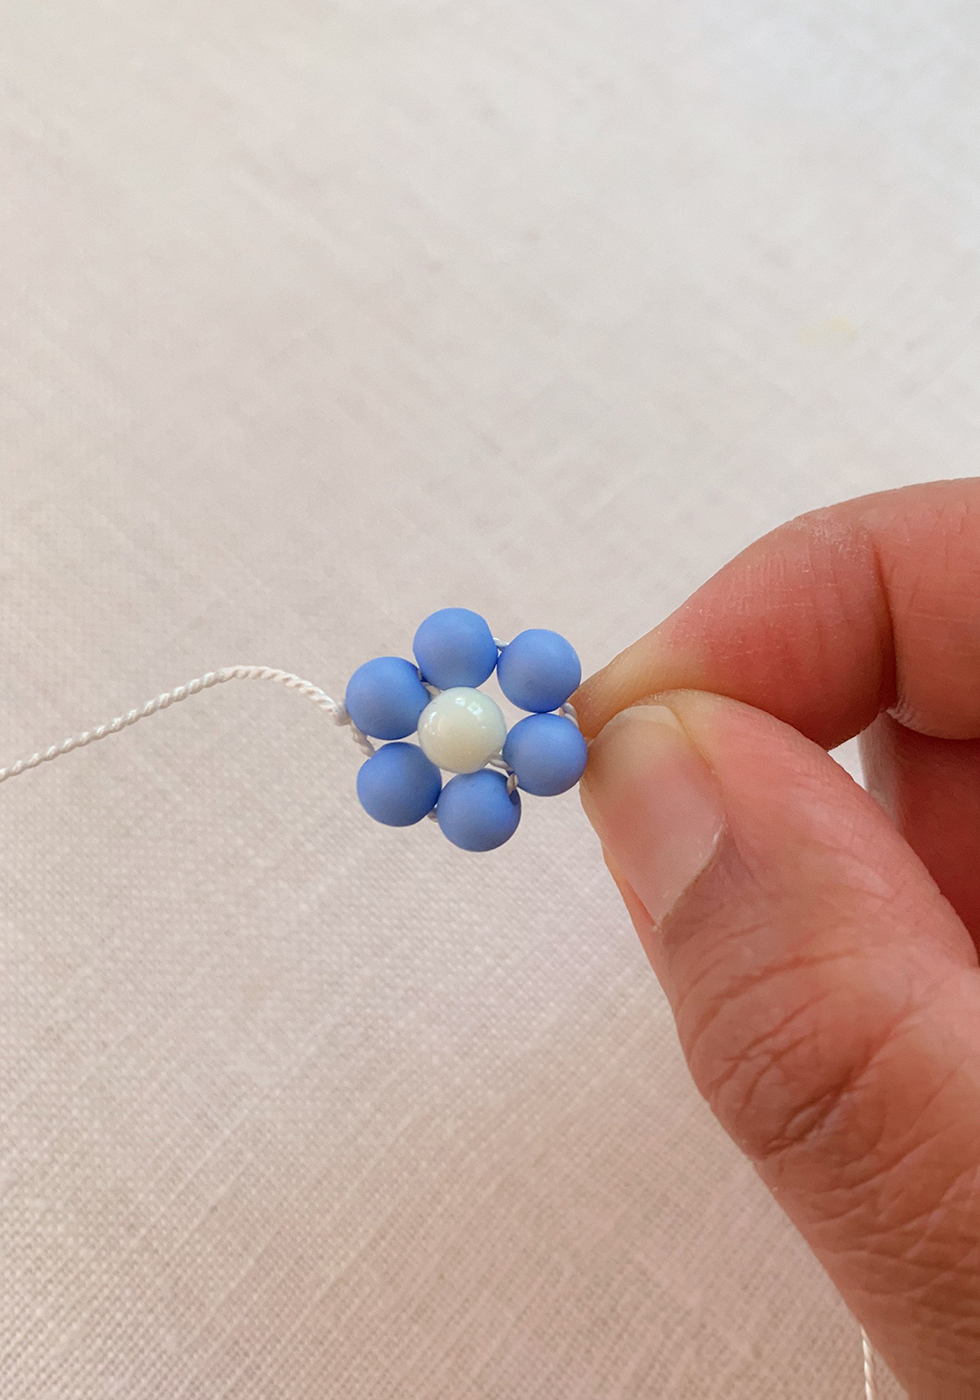
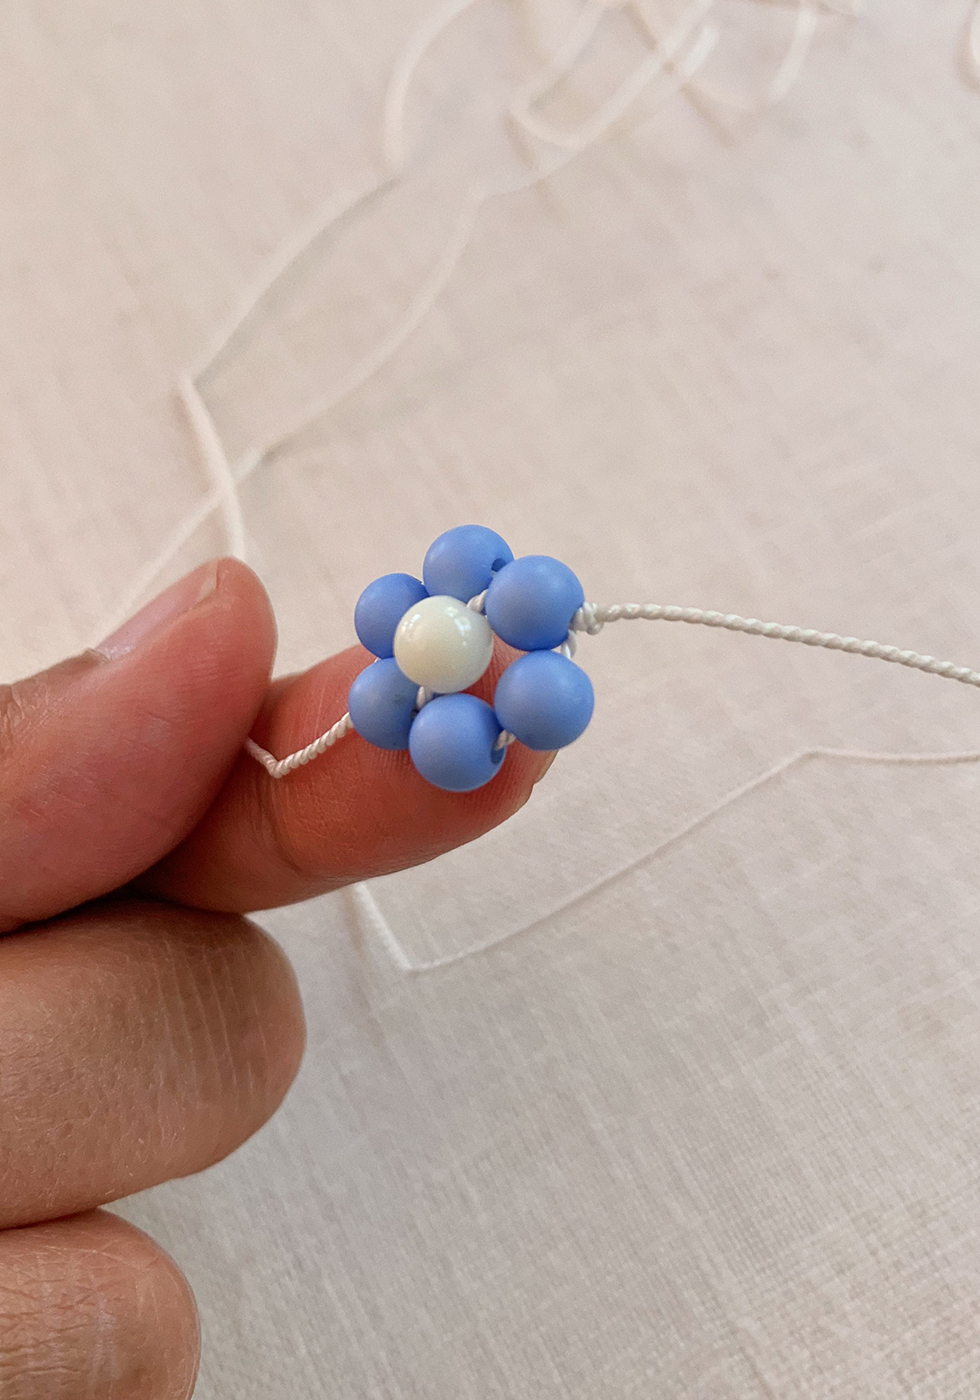
Pull the cord all the way, forming the daisy. You might want to adjust the beads as you tighten to pop them into place and make sure they're evenly distributed. Because the silk cord is slippery, tie a knot against the last bead.
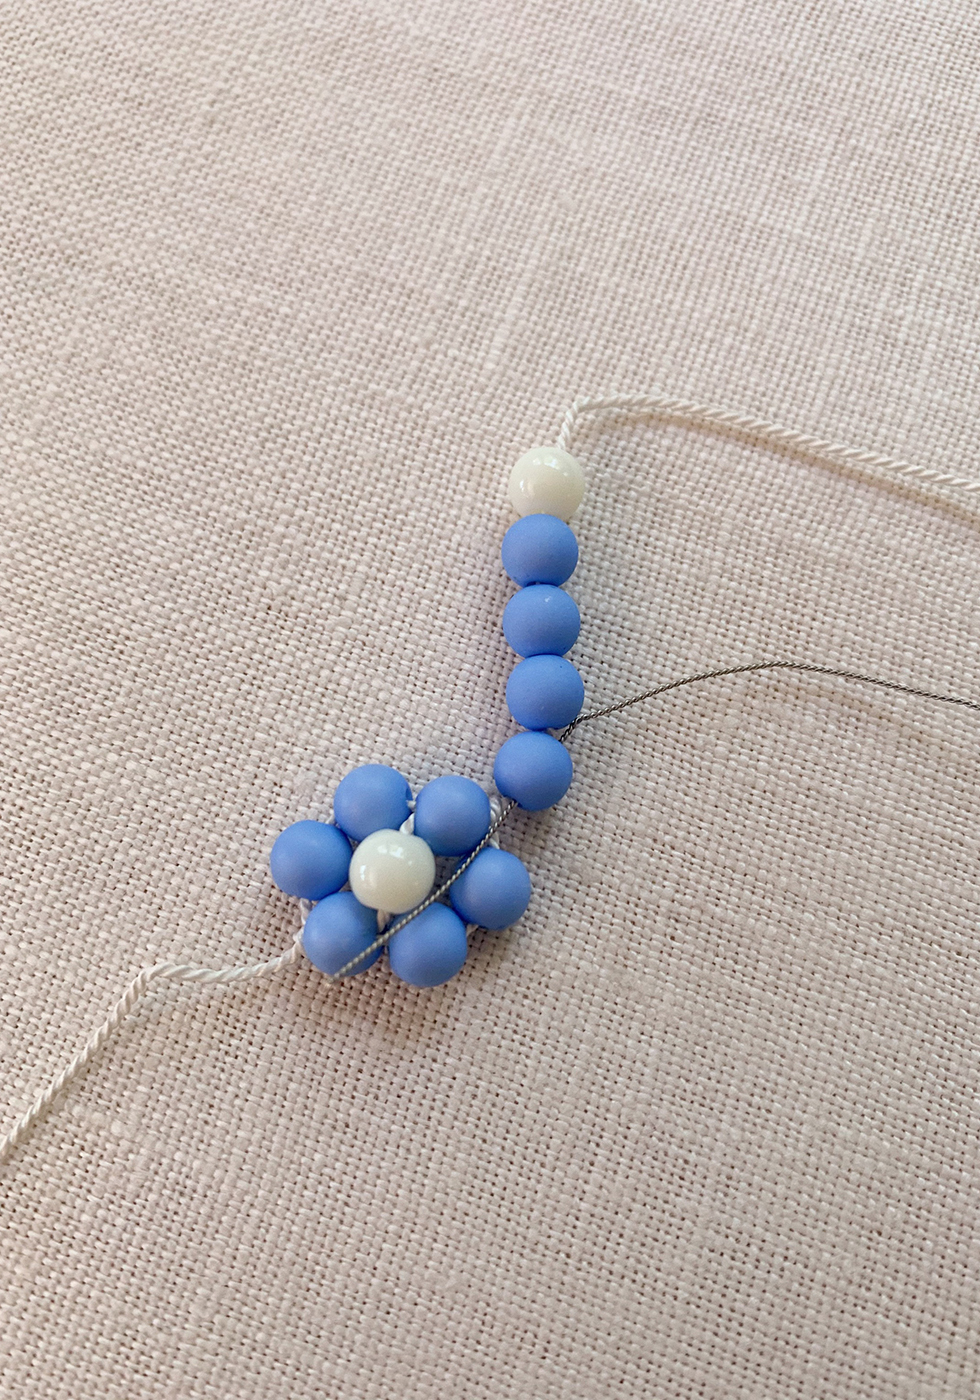
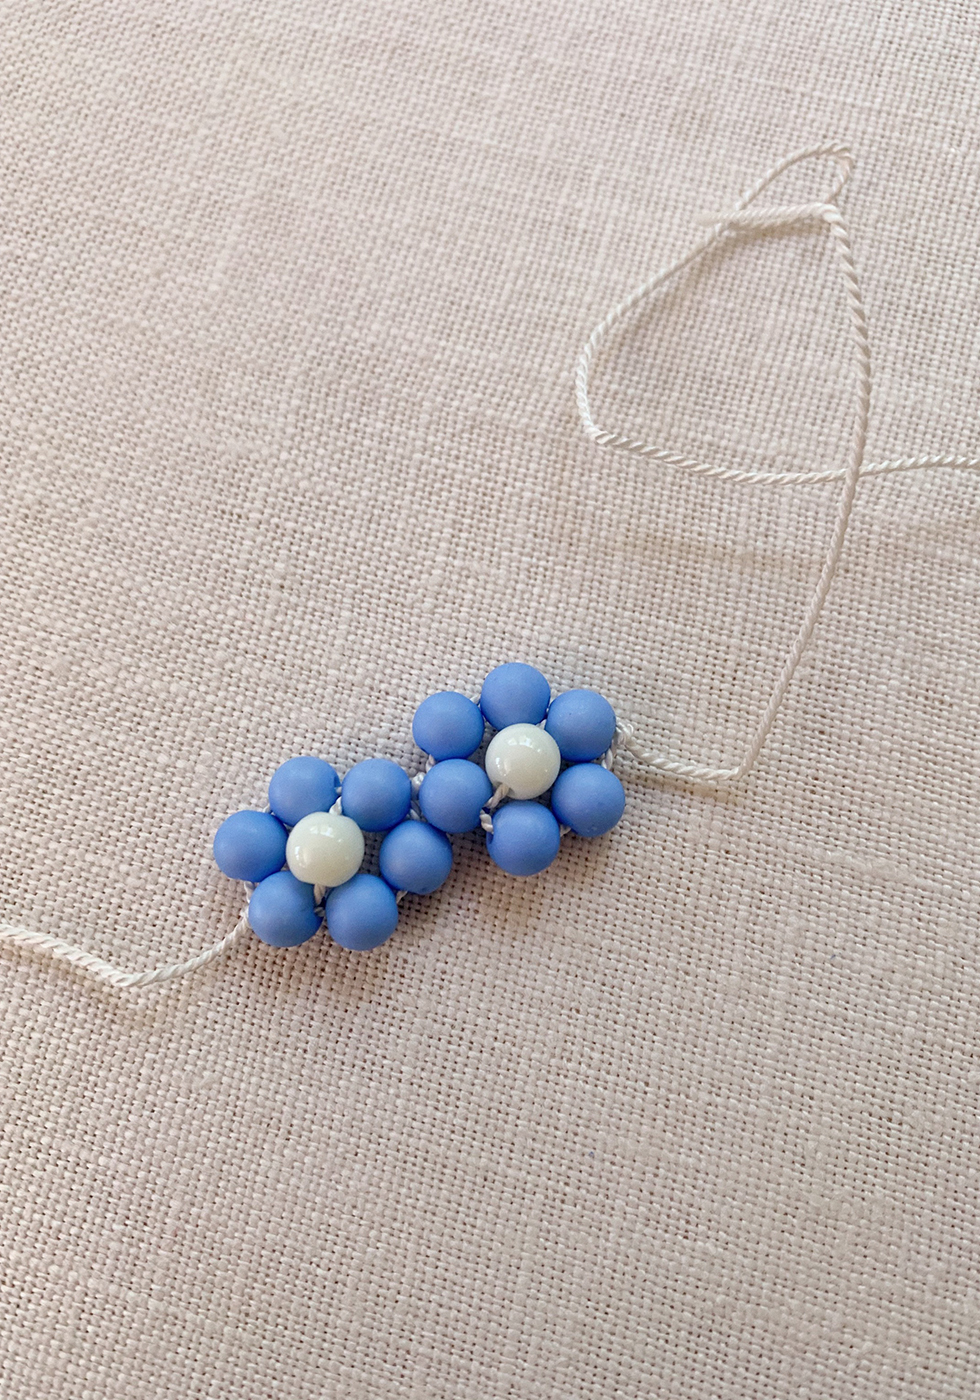
Continue to add flowers. Remember to tie a single knot after each flower.
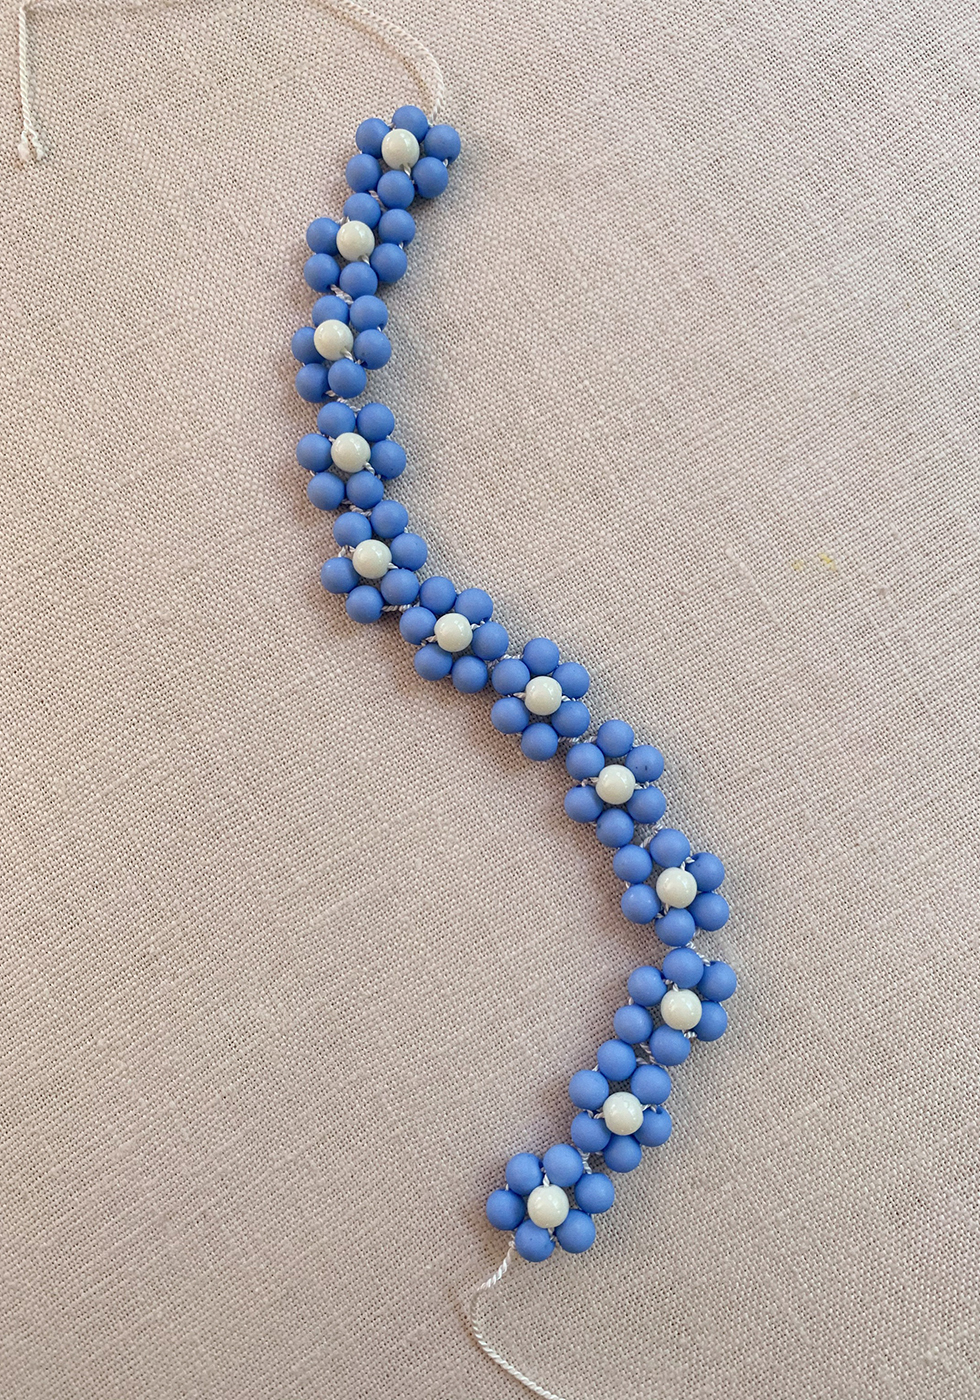
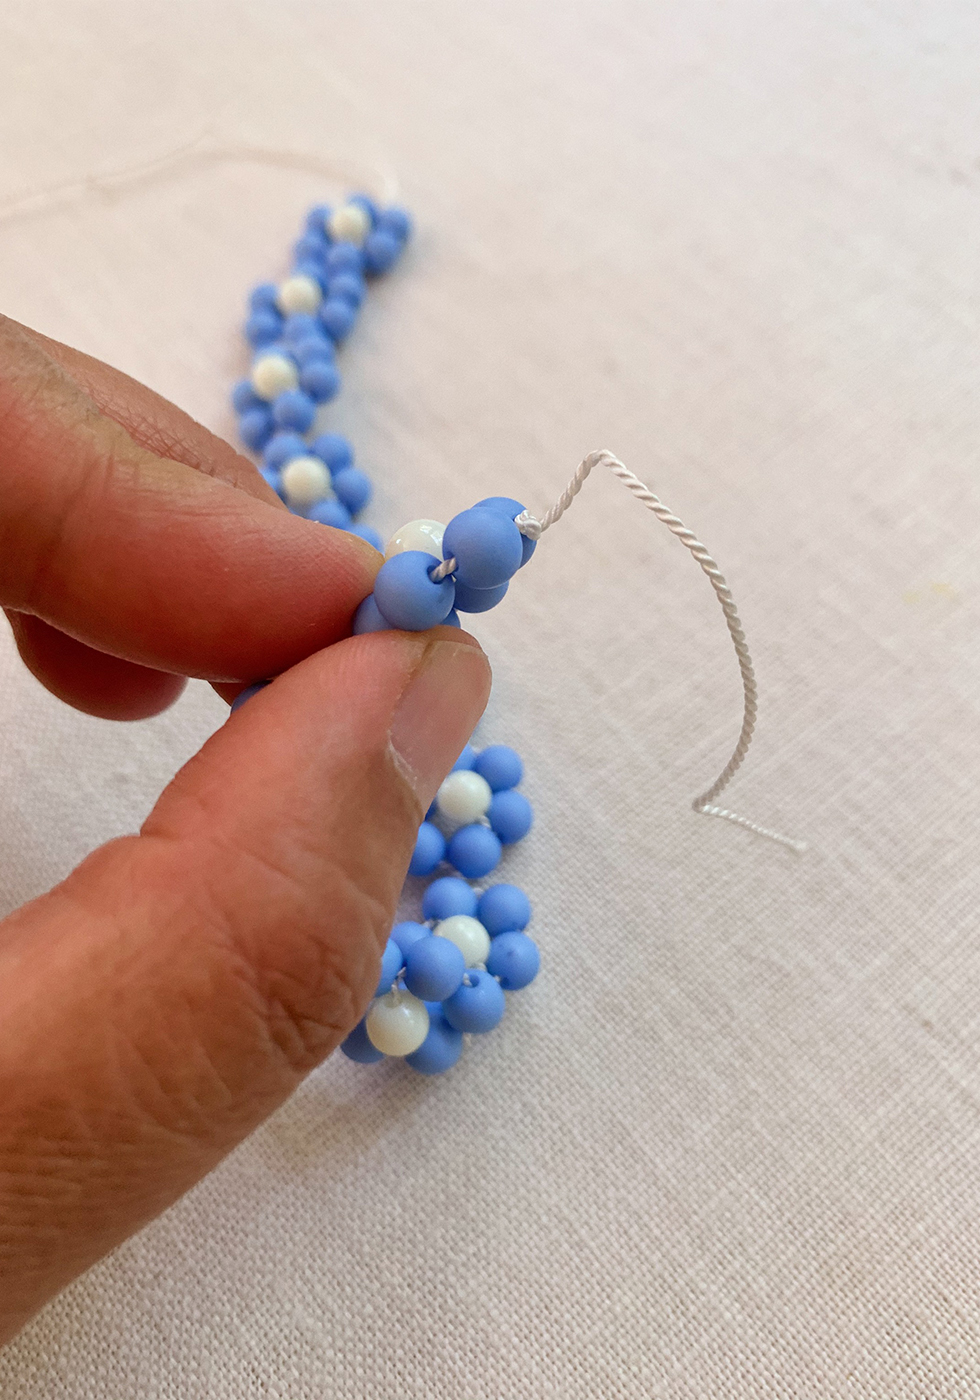
Measure the daisy chain against the straps of the sandals. When you've reached the desired length, tie the end into a knot.
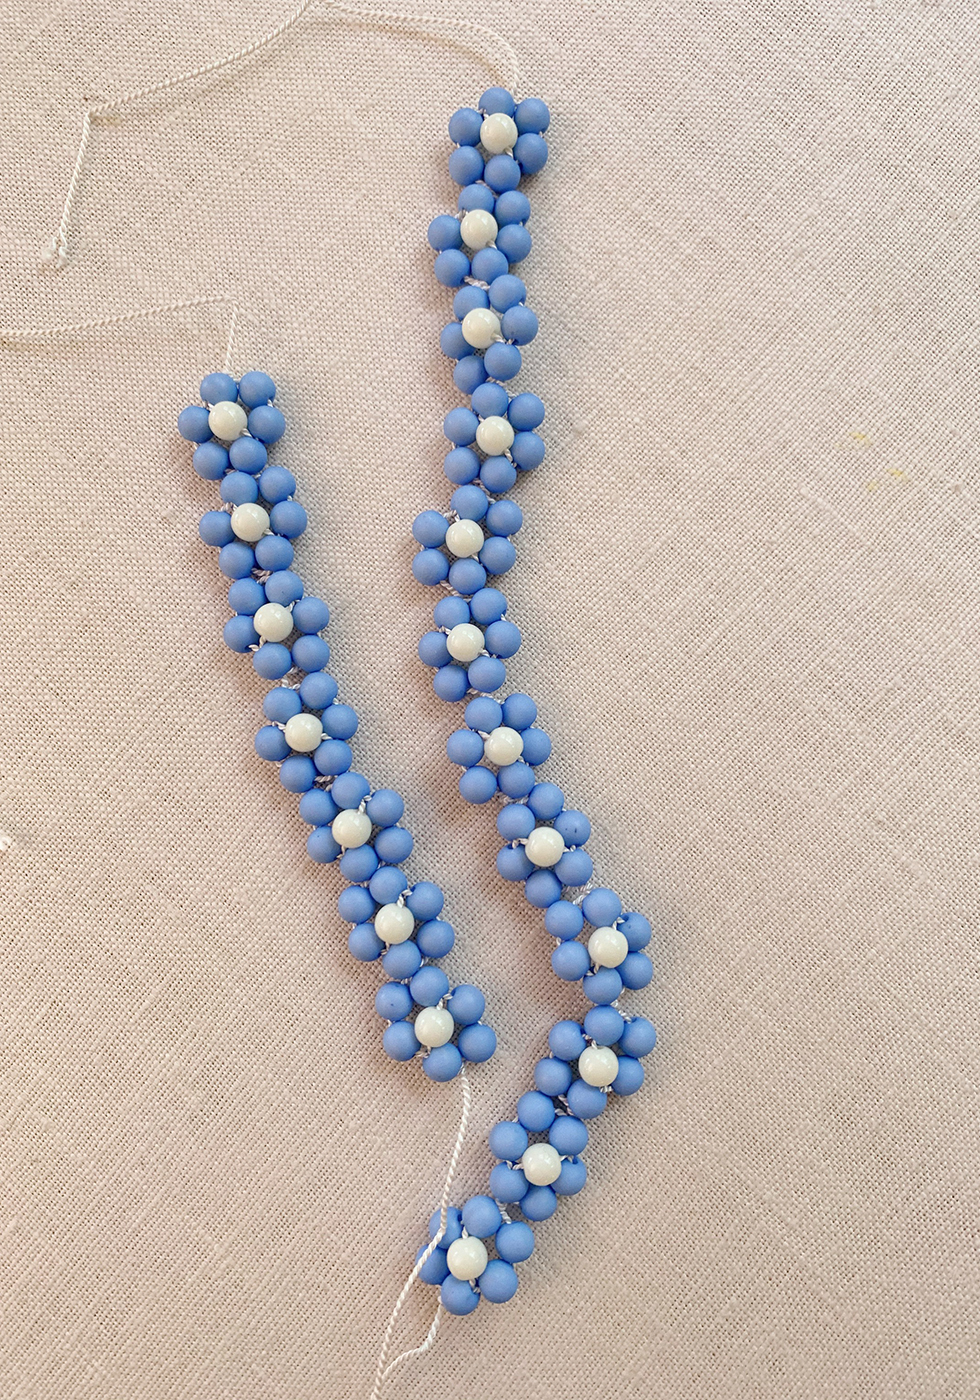
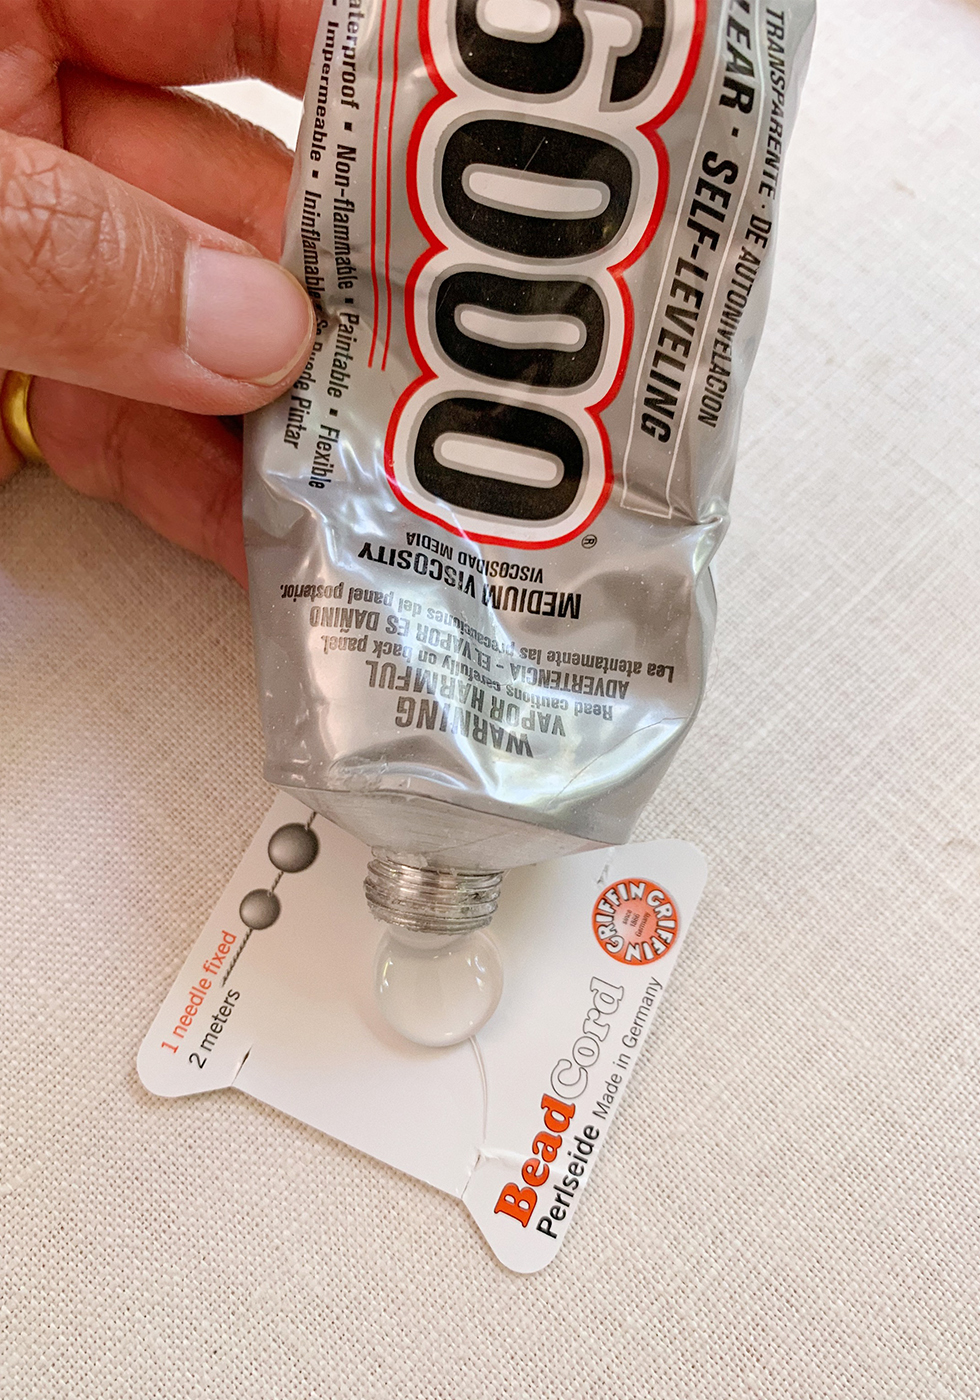
When all your strands are finished, squeeze a large dollop of E600 on a scrap piece of card stock.
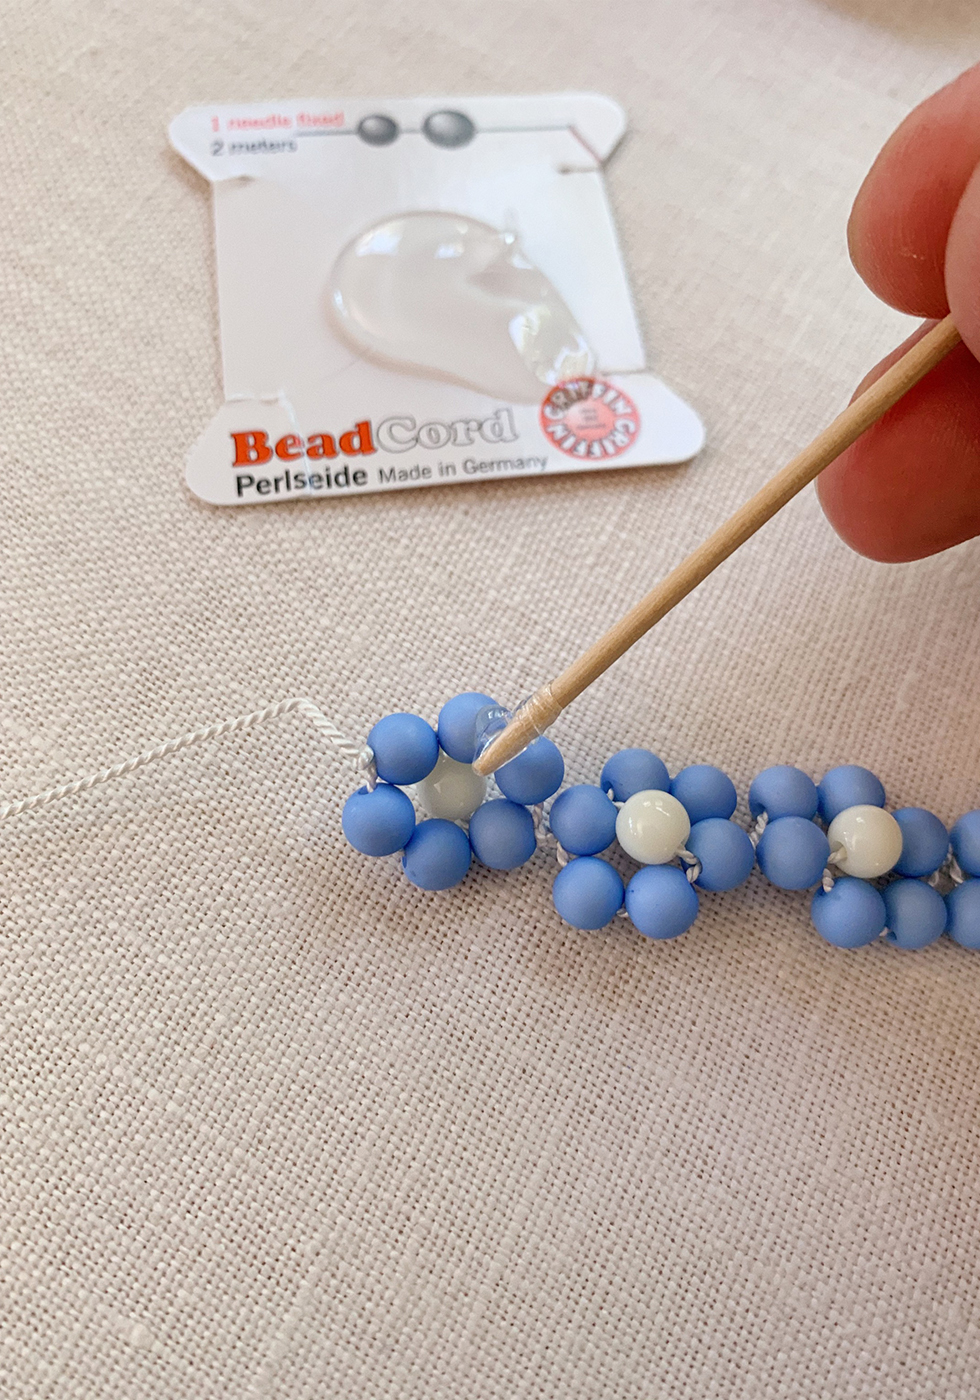
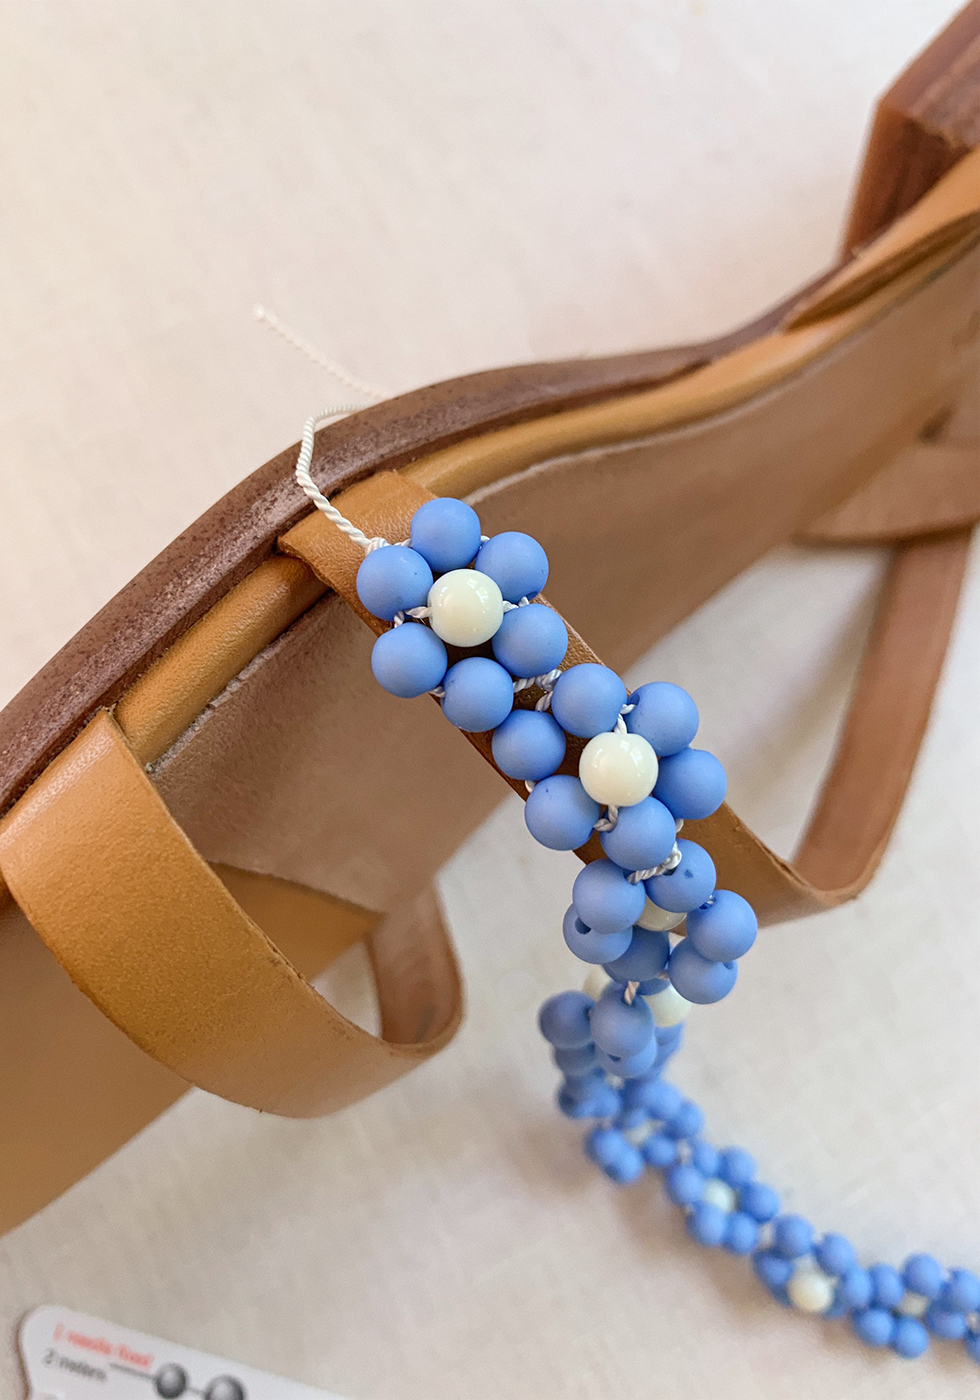
Use a toothpick to apply glue to the first daisy. Press it against the sandal, prop it upright and allow it to dry for about 30 minutes.
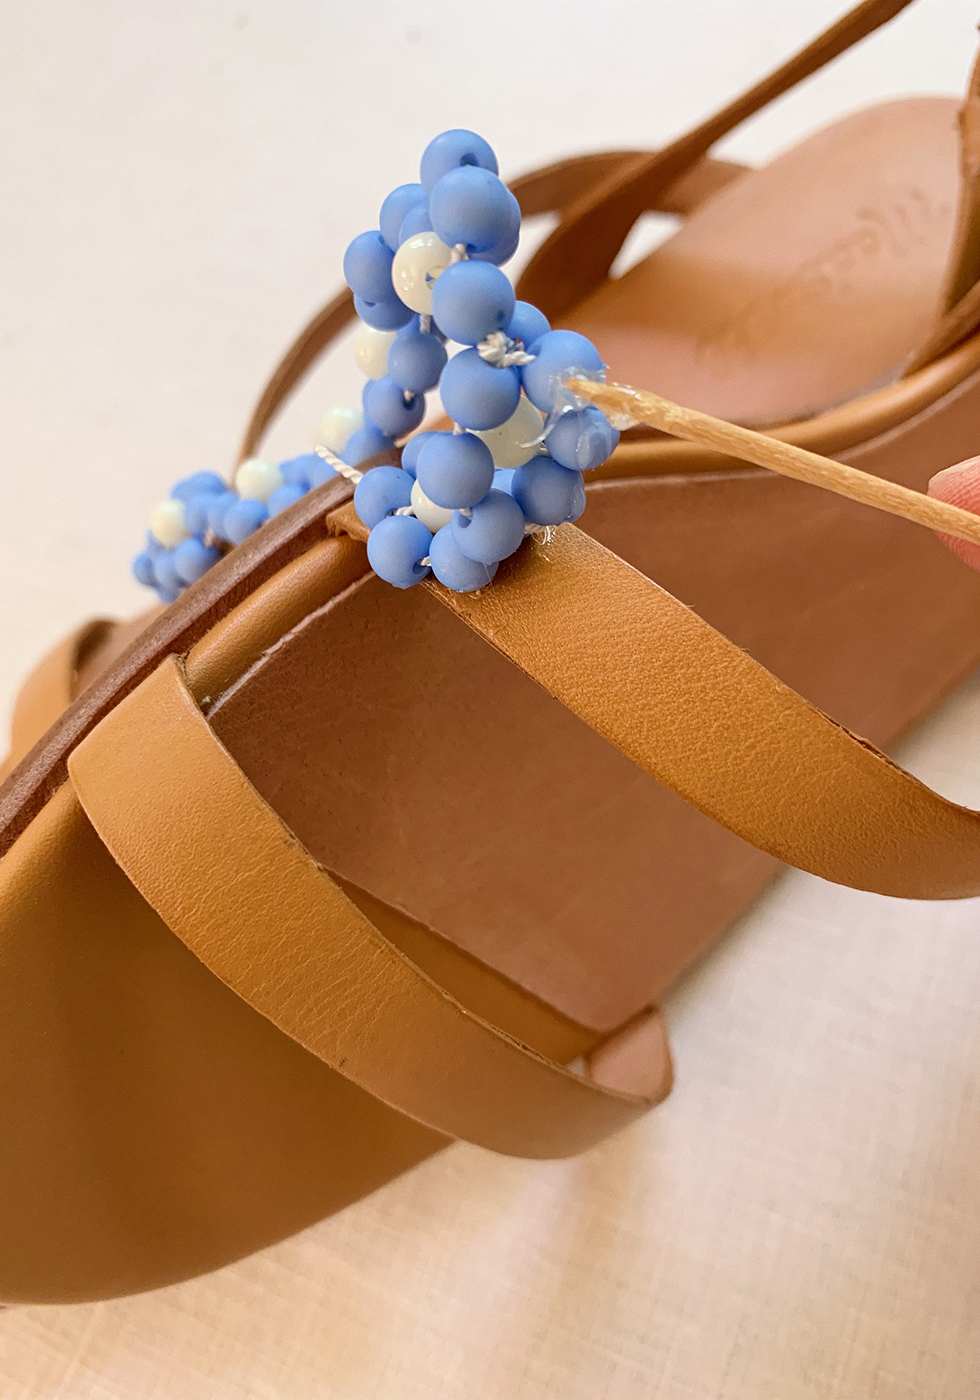
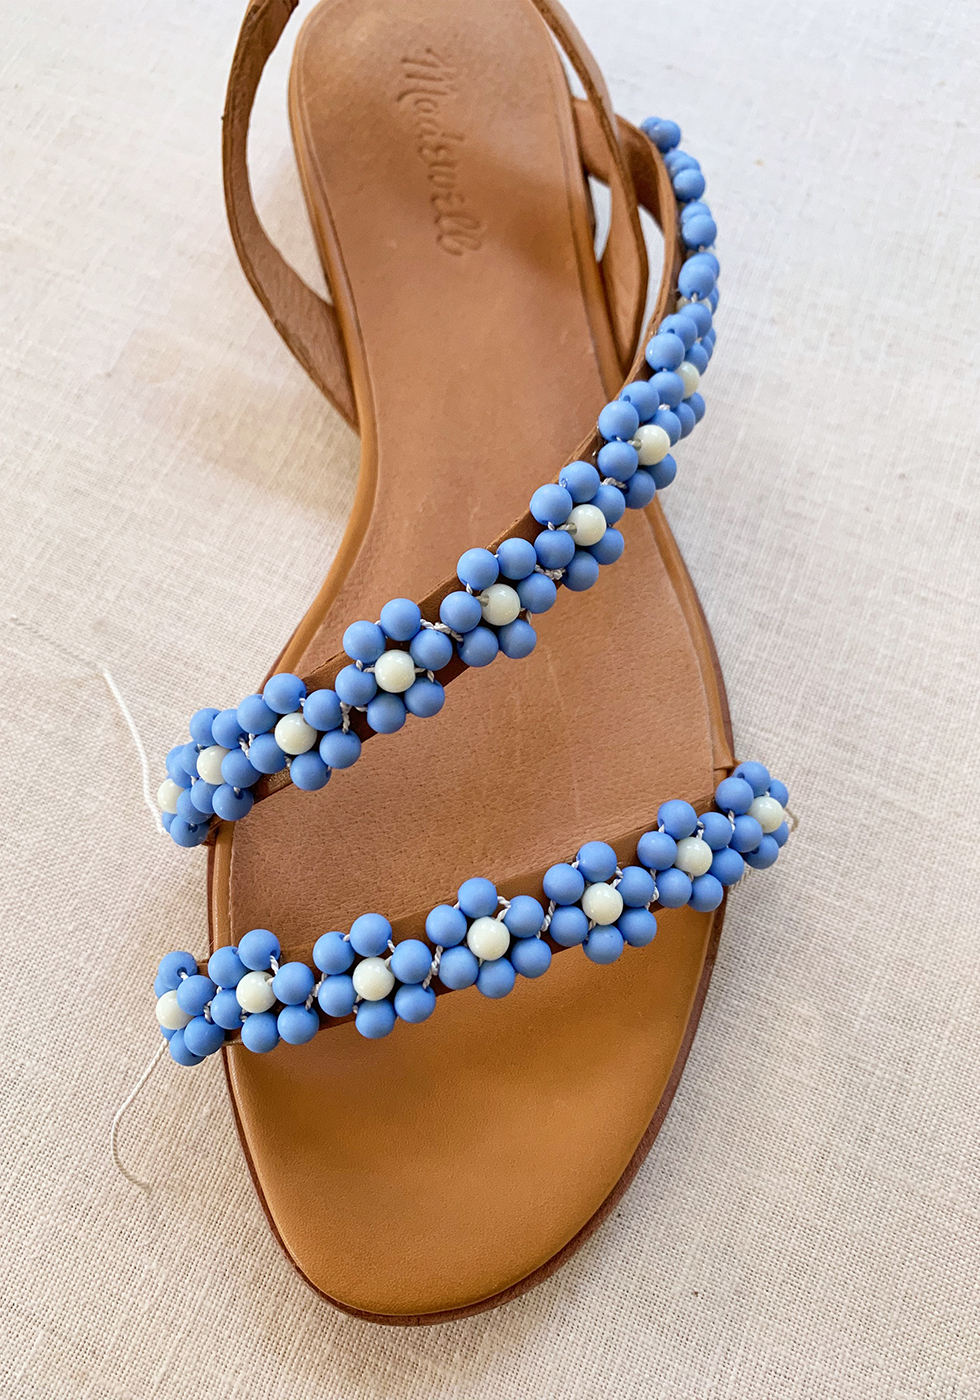
Then continue to add glue to the daisies, glueing them down 3-4 at a time. Don't rush through this process as the daisies will slip if the glue isn't dried or tacky enough. Work with just a few at a time.
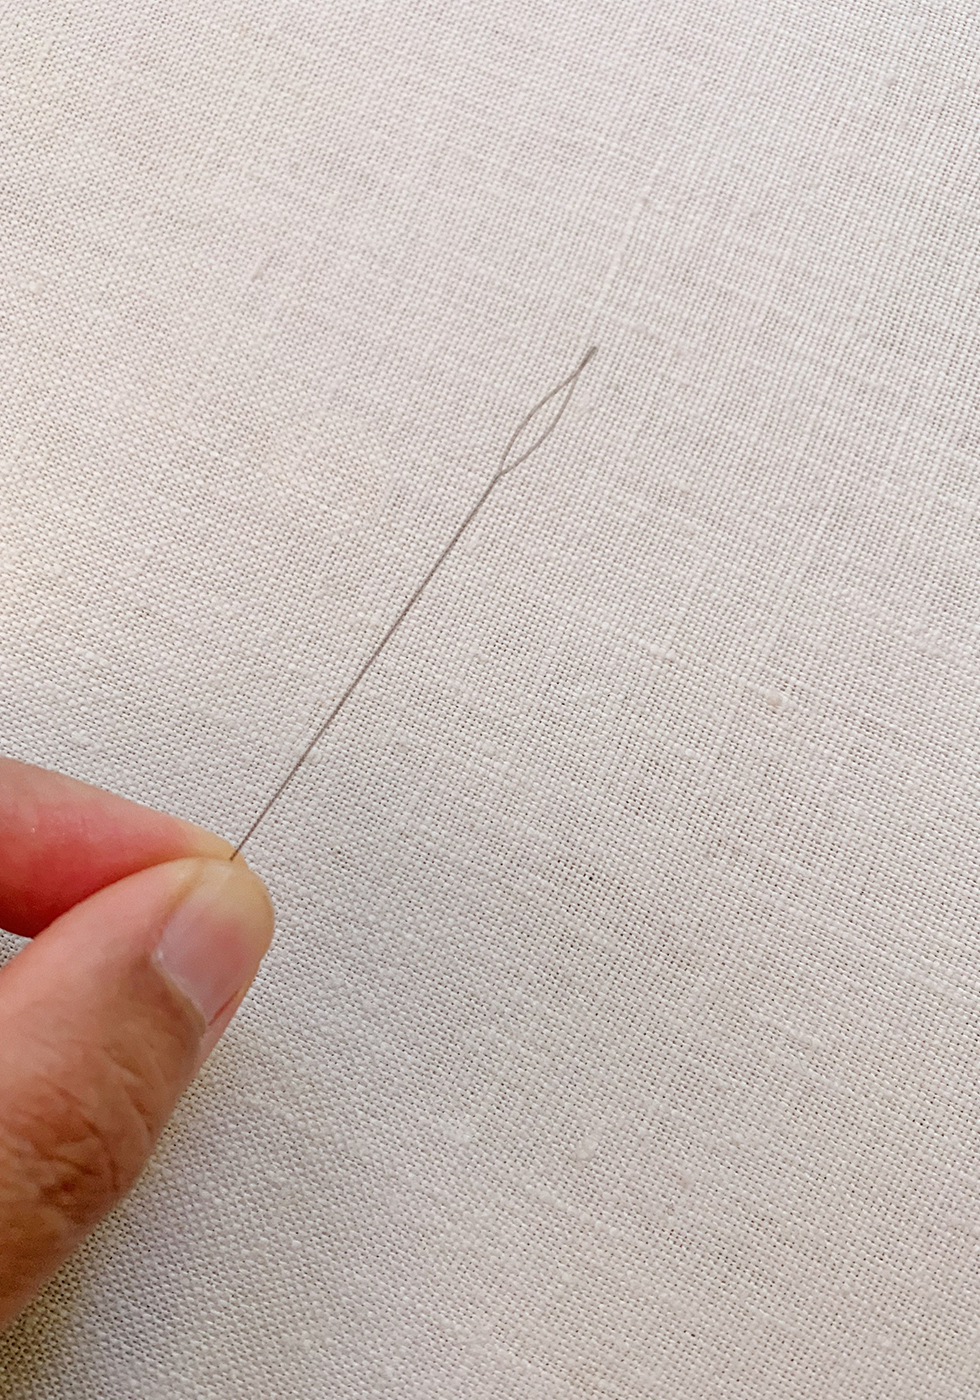
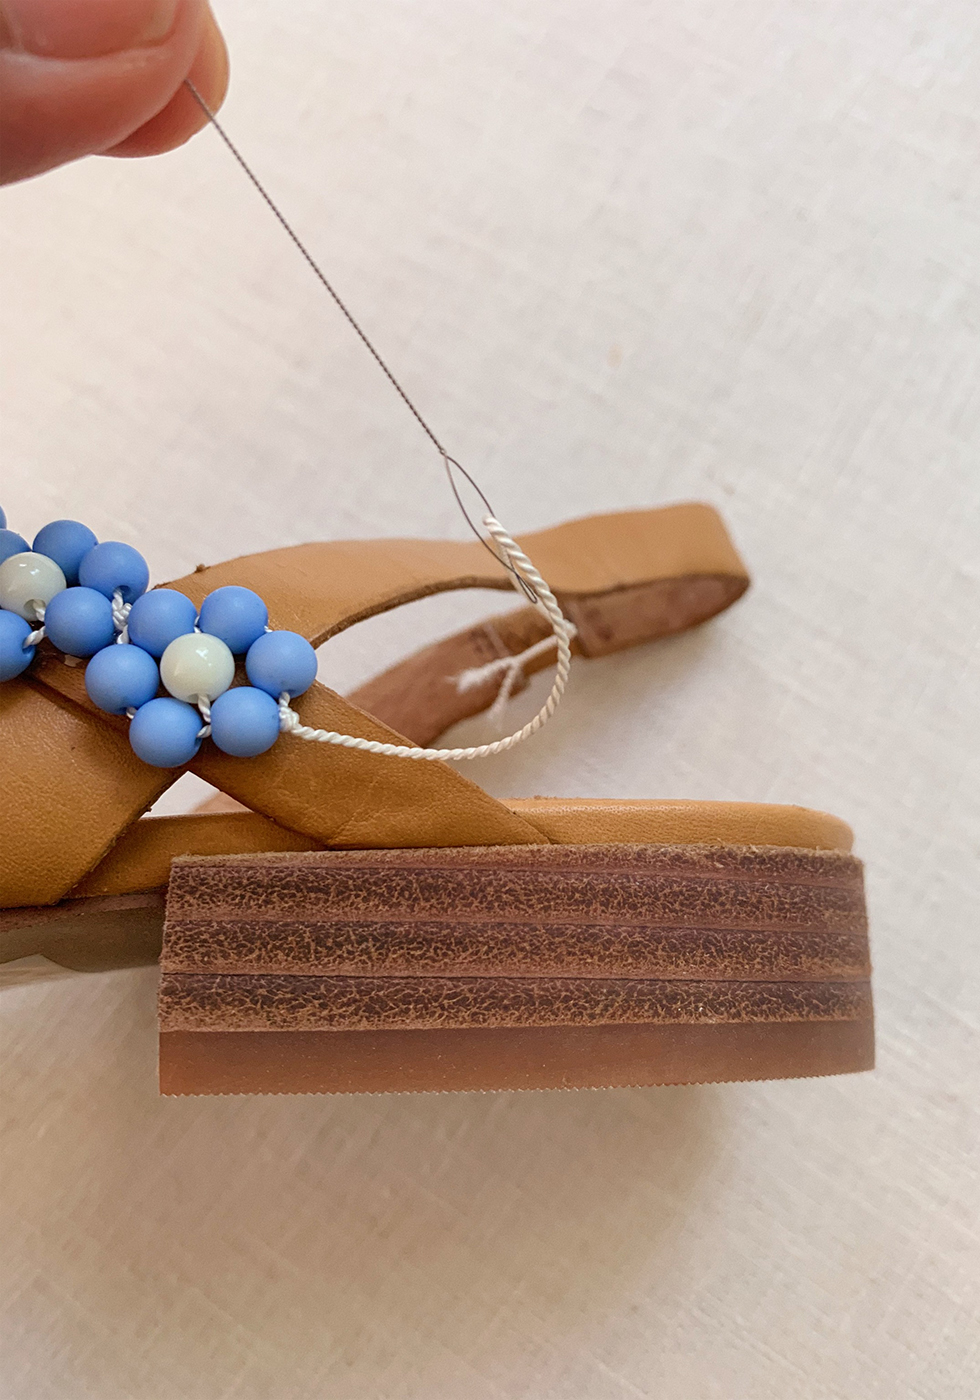
Once the glue has totally dried, you'll use a collapsable eye needle to finish the ends. Thread the tail end of the silk cord through the eye needle.
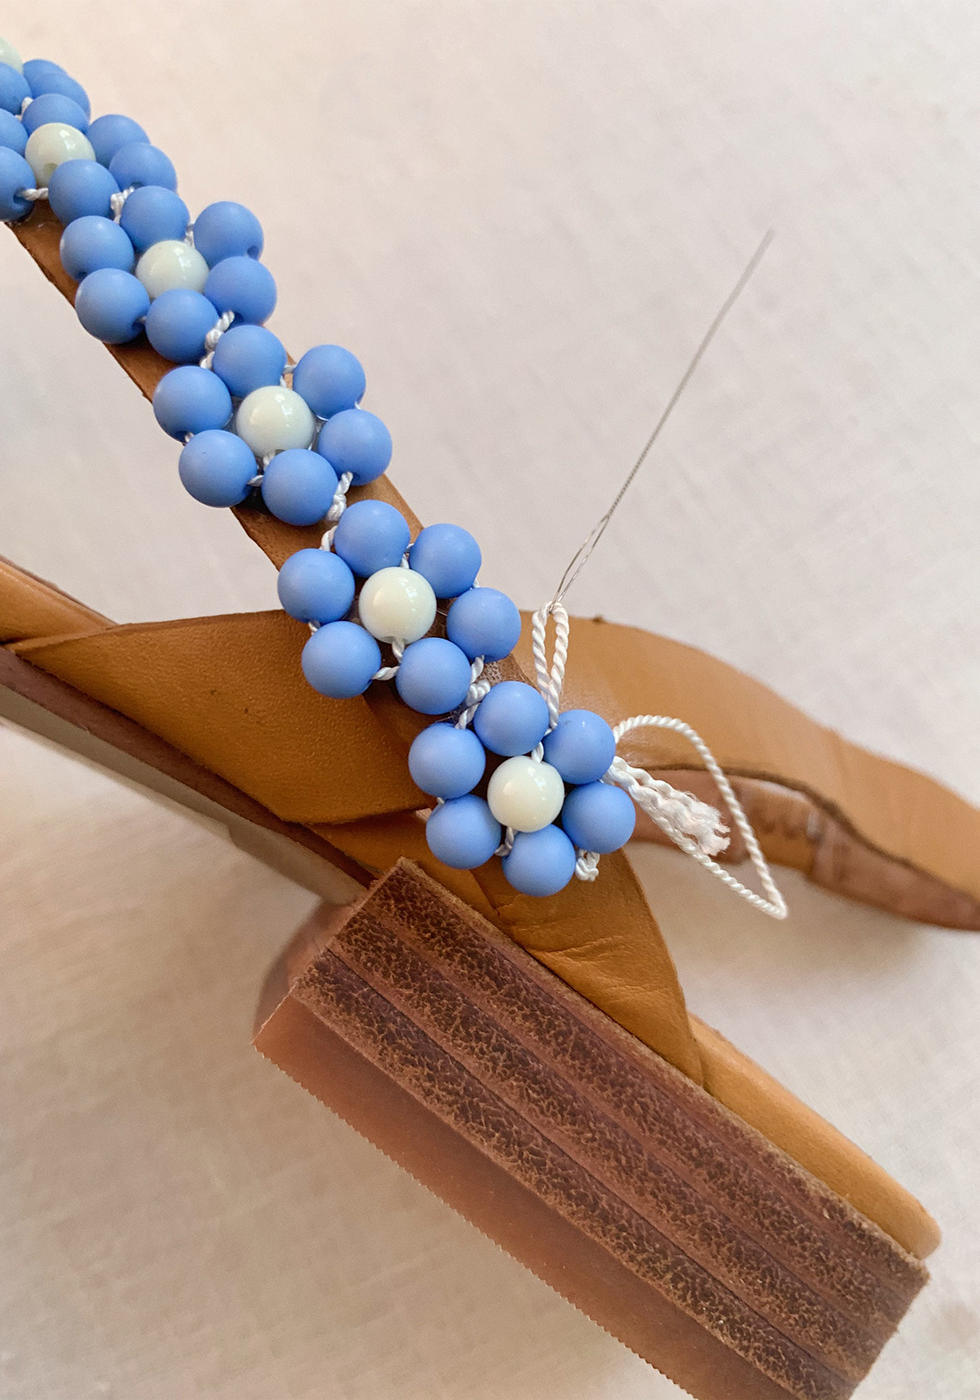
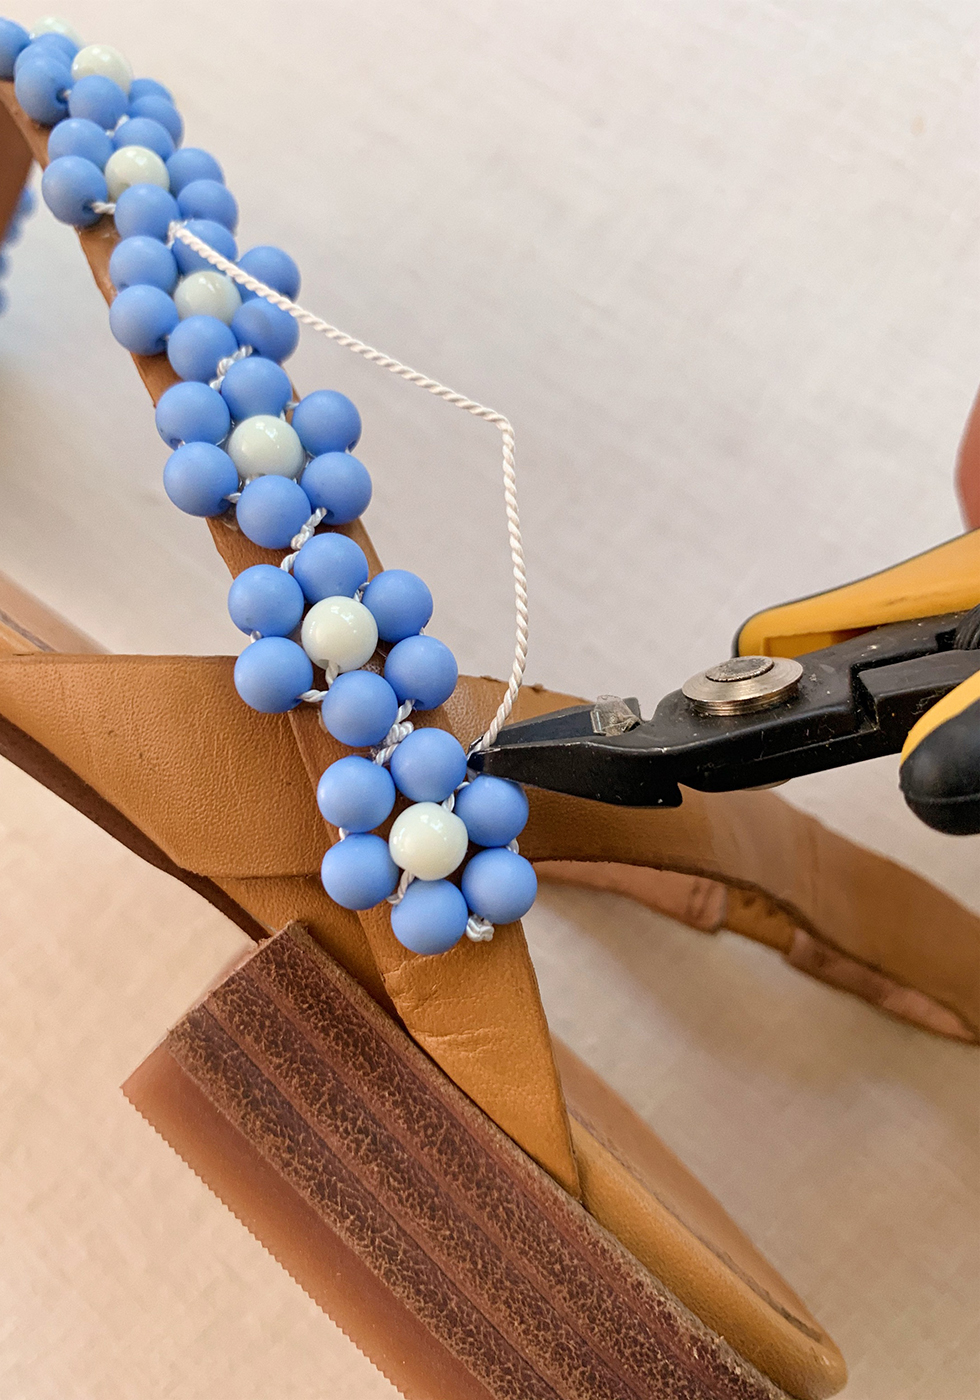
Thread the needle through two beads, opposite of the knot. Use a small pair of scissors or a pair of wire clippers to snip off any excess. Repeat with the rest of the strands.
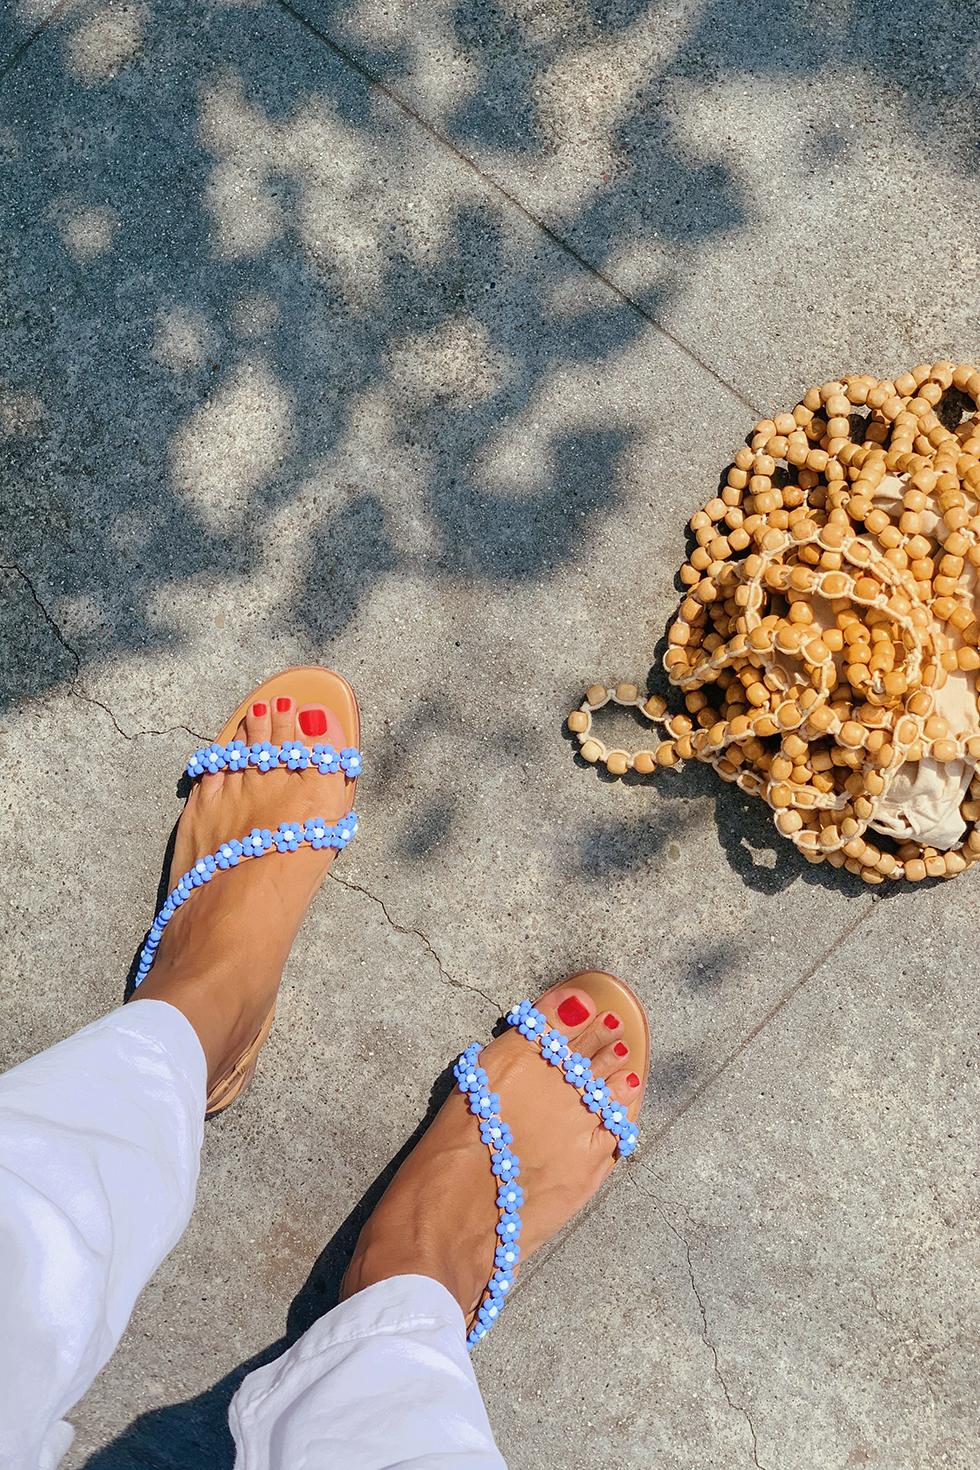
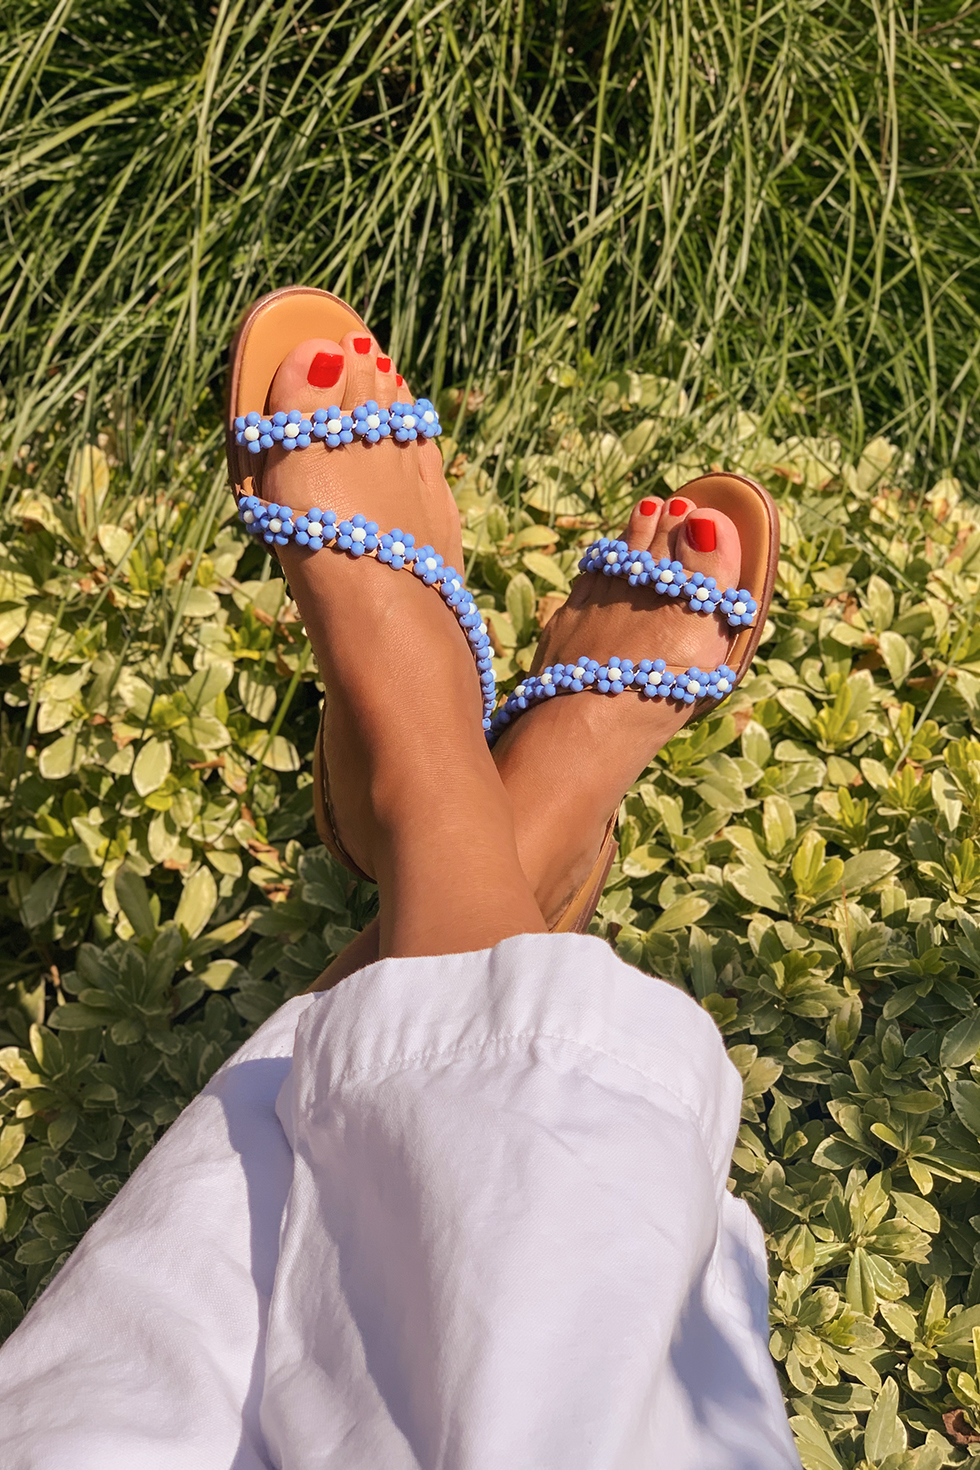
tutorial and photography by HonestlyWTF
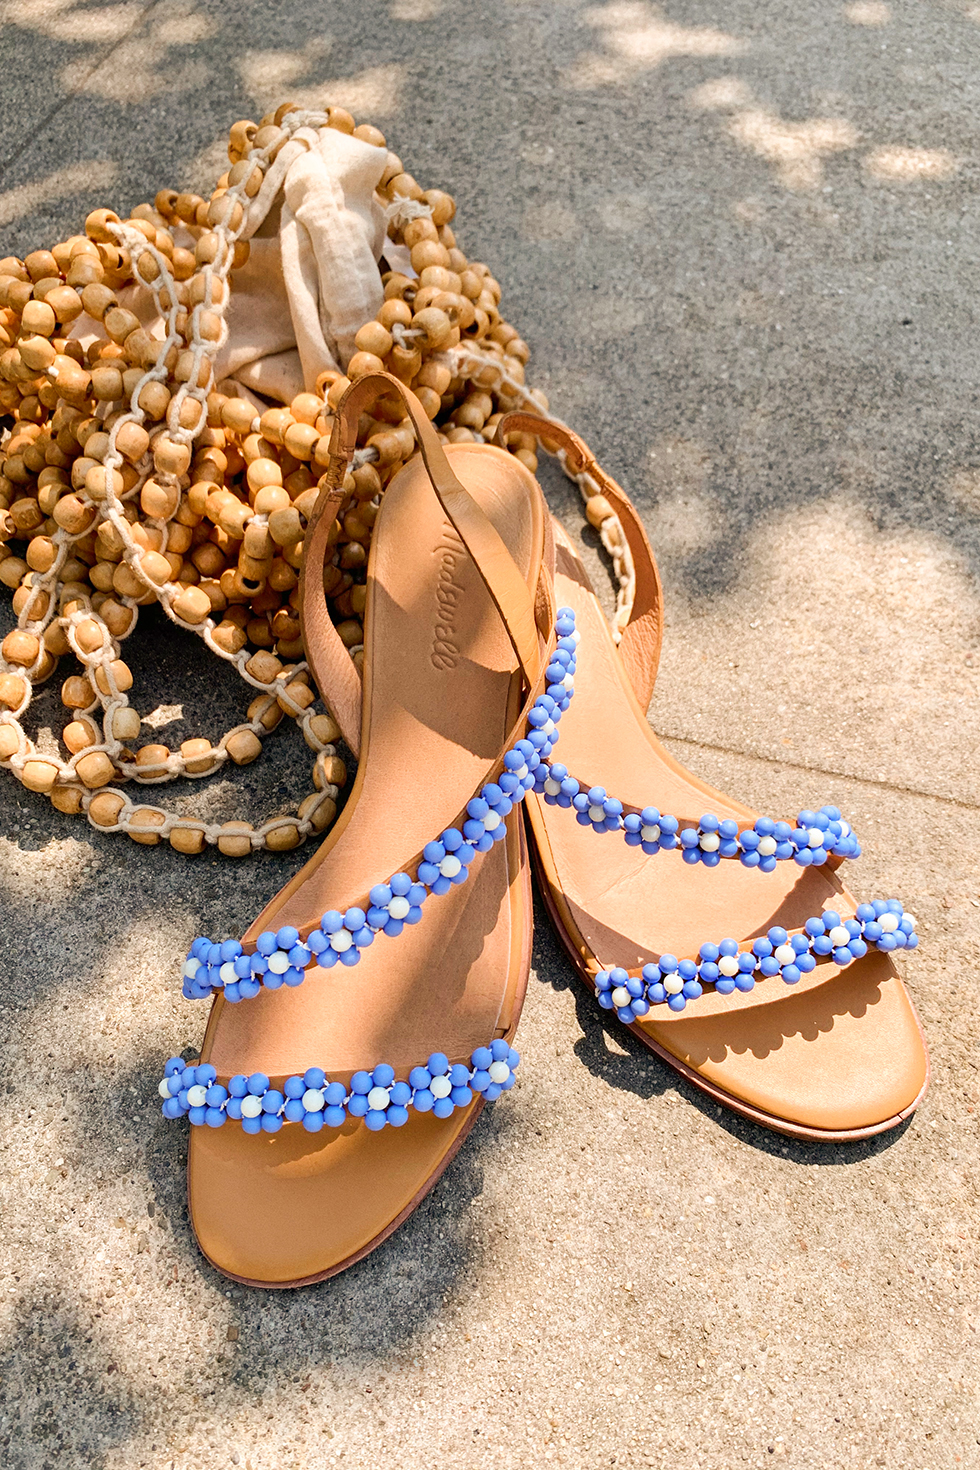
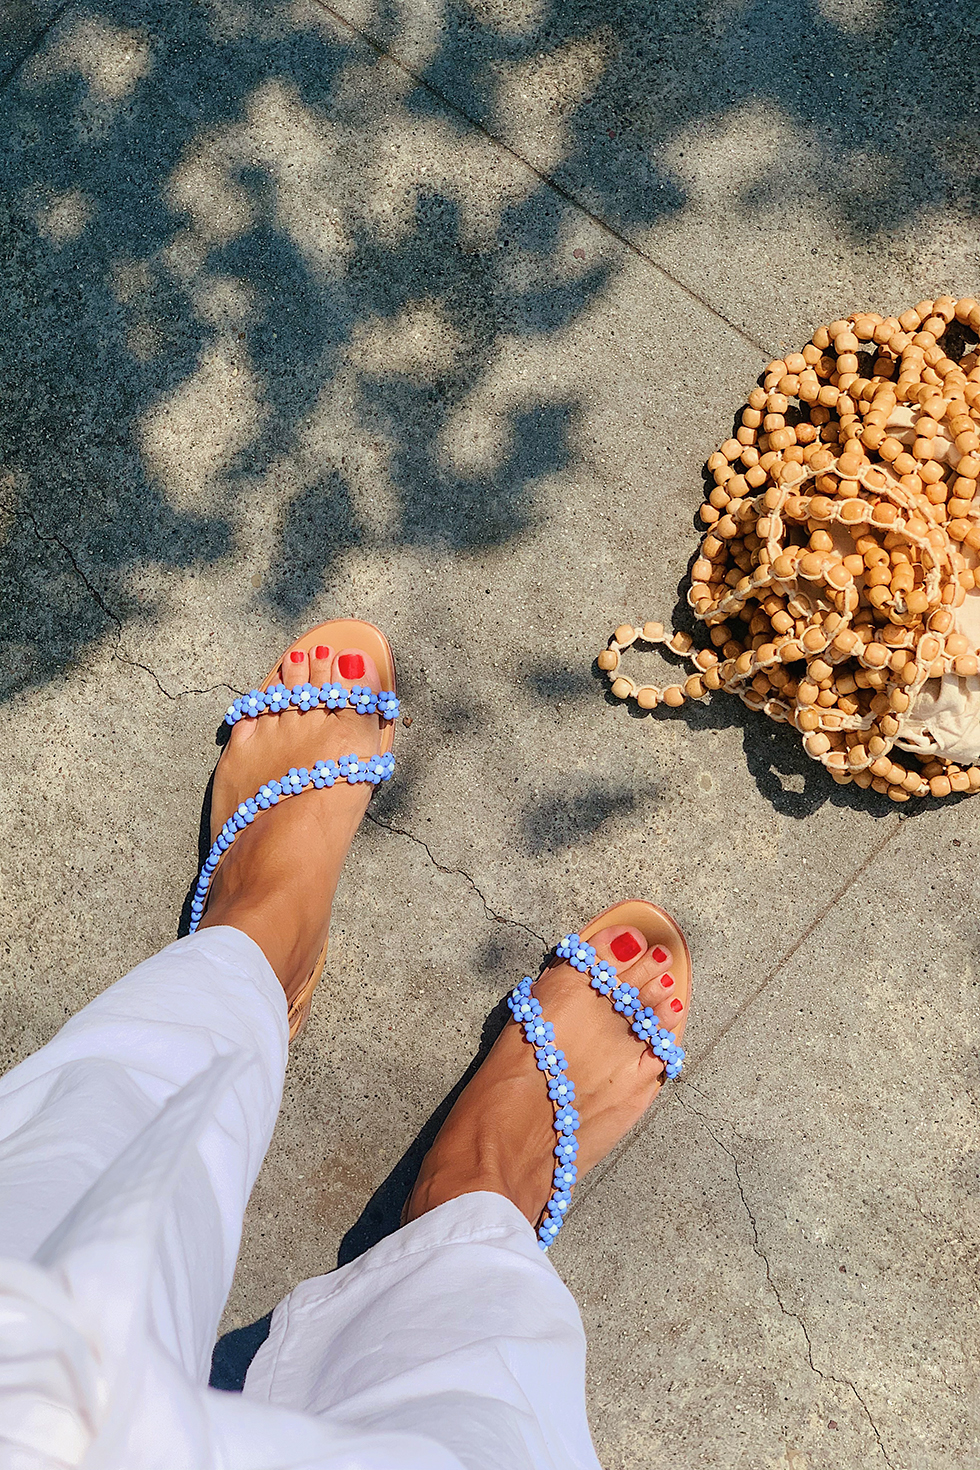



The cutest sandals ever! Very nice tutorial! I just happen to have an old pair of sandals that could be spruced up this way!
Thank you 🙂
Thank you!! Excited to see how yours turn out!
This is amazing. I love your DIYS.
What a lovely idea and it looks great! Thanks for the inspiration!
Oh wow these are gorgeous!
I love this DIY! I’m pretty much only wearing sandals and slippers these quarantine days, so I’m up for expanding my collection. (I’m impressed you used real glue for the sandals too vs horrible hotglue, which is only good for pics and very short-term wear.
xoKaelen | Darling Marcelle
Can’t wait to try it.