If you follow me on Instagram, you'll know that I'm in a full fledged dried flower obsession. It all began when my local florist started selling a selection of vibrantly dyed bunny tail grasses. Intrigued by these gorgeous fluffy things, I took some home, along with some other wonderfully odd dried grasses and before long, my first dried arrangement was born. Since then, I haven't been able to stop shopping and collecting more dried elements. I actually can't quite remember the last time I purchase a fresh bouquet of flowers. Scratch that, I bought 3 bunches of pink peonies from Trader Joe's last weekend but honestly, as beautiful as they were, they lasted a mere 3 days before I had to throw them in the compost. Reason #56 to get on board with dried flower bouquets: there's no expiration date.
The most difficult part about arranging your own dried flowers is actually sourcing the flowers. I recommend first trying your local wholesale flower mart or florist. Next, I suggest browsing Amazon, Etsy or Afloral and Dried Decor. As far as dyeing your own, I haven't tried it. However, I've found a tutorial online that you can take a stab at. Leave a comment if you try dyeing your own. I'd love to know how it turned out!
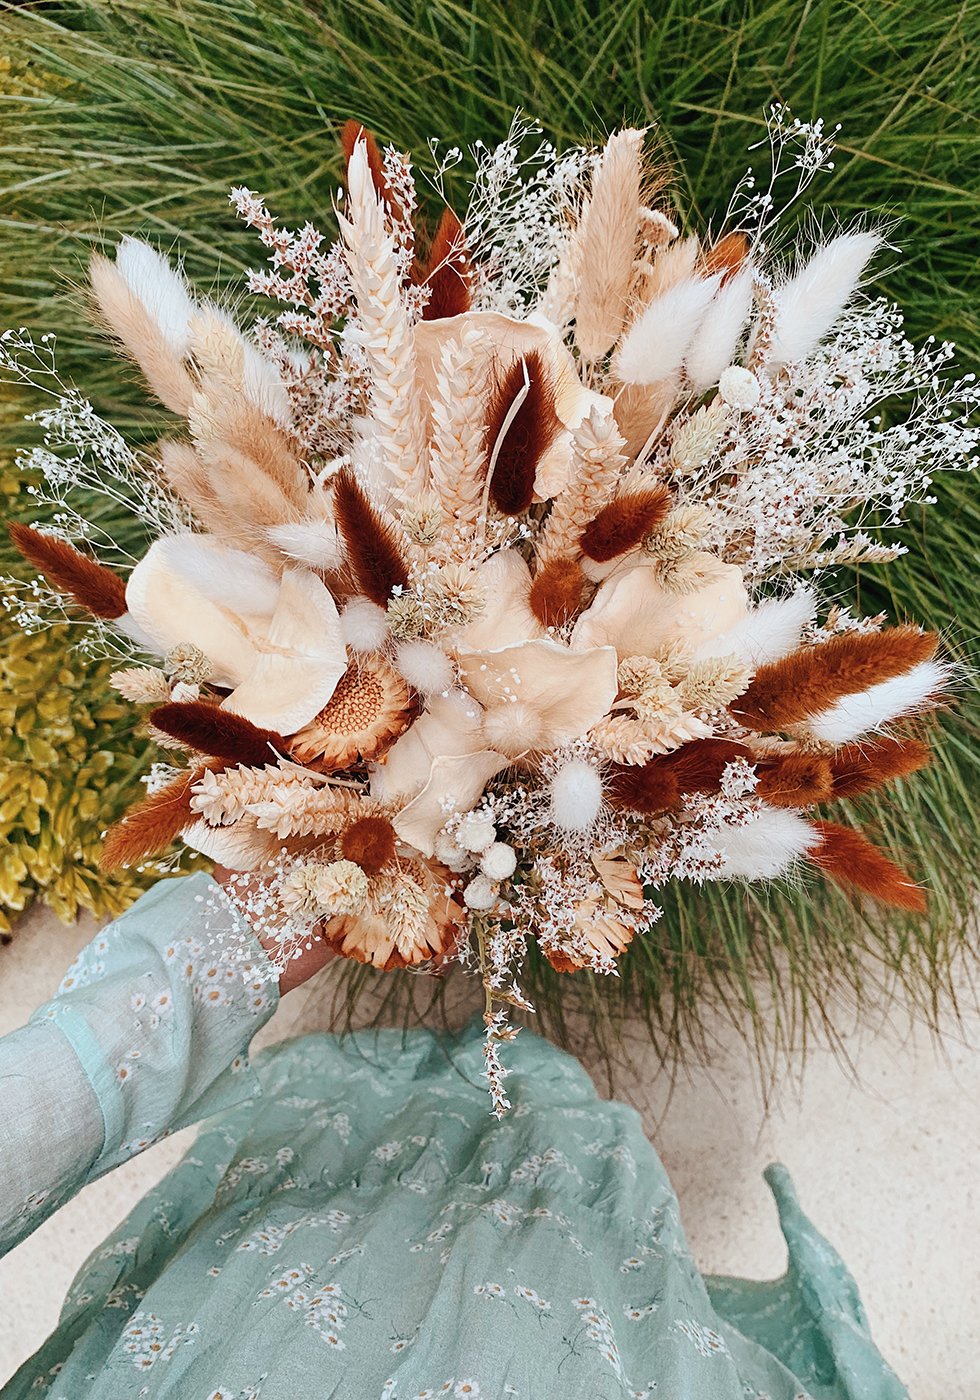
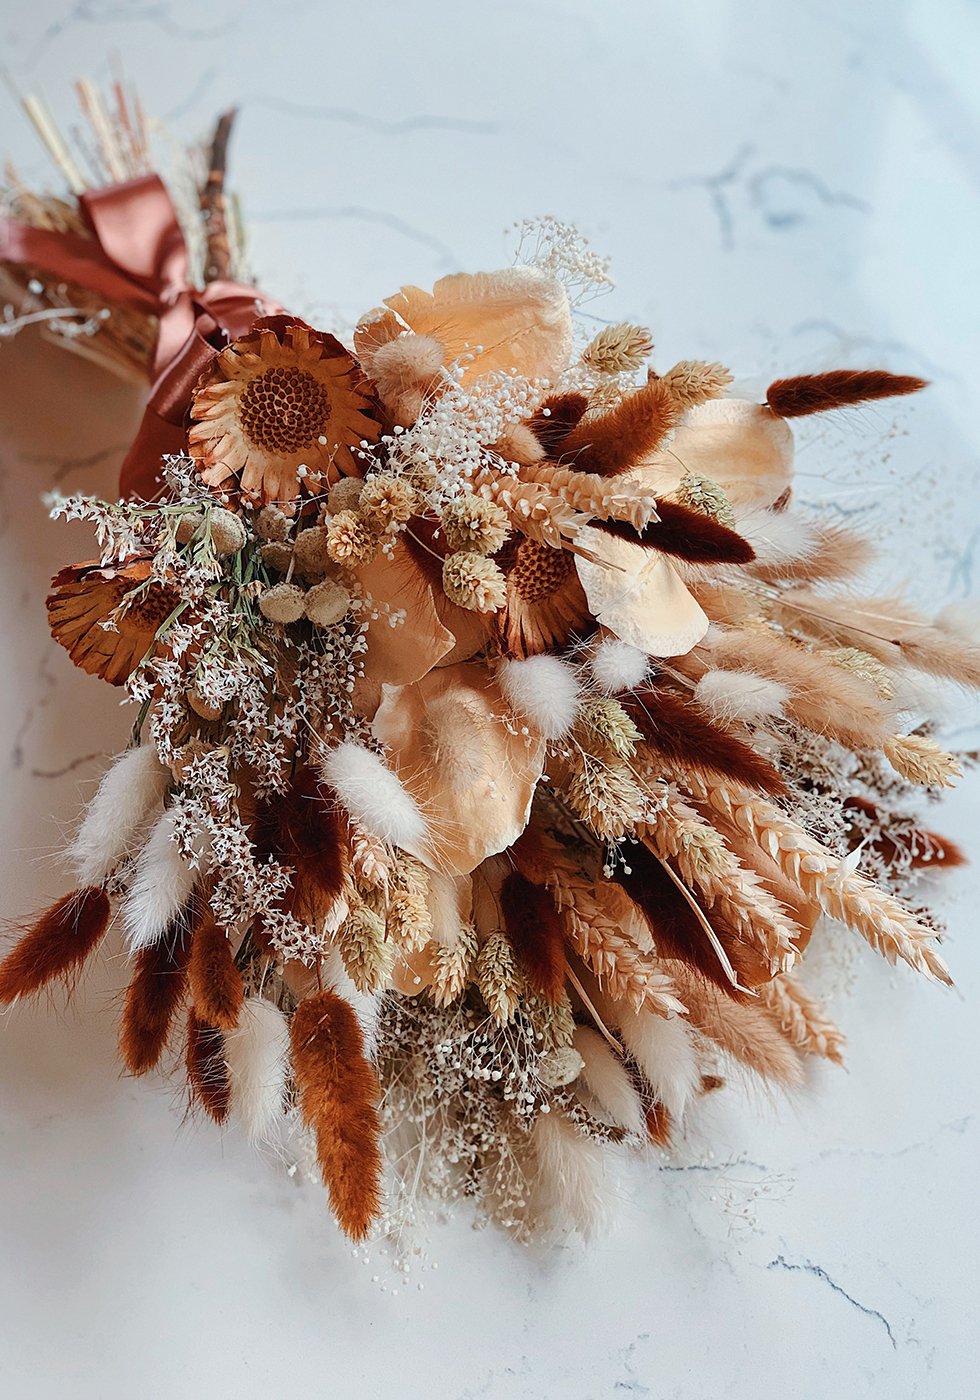
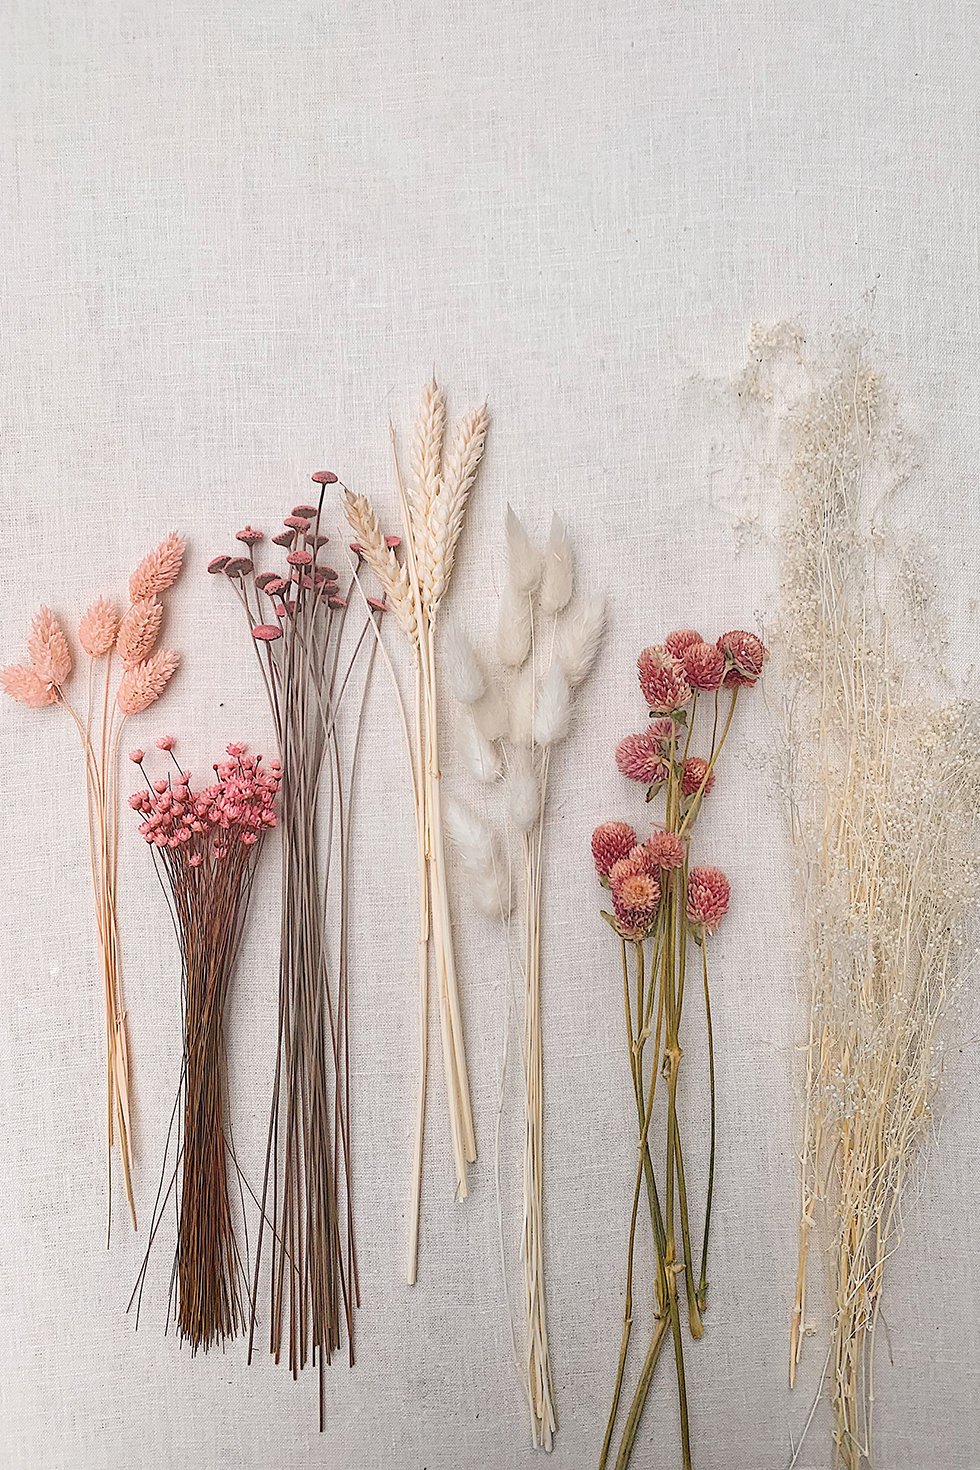
A Glossary of Dried Flowers, Pods & Grasses
from left to right: pink Brunia, purple Phalaris, dried pods, blue bunny grass, blue Phalaris, white Thistle, green Avena wild oats, natural bunny tail grass, burnt orange bunny tail grass, bleached wheat, German Statice, white floral buttons, natural green Phalaris, Jacaranda pods, natural Protea, pink Phalaris, pink star flowers, pink floral buttons, bleached wheat, bleached bunny tail grass, pink Amaranth, bleached Stardust Gypsophila and dried cotton pods (not pictured)
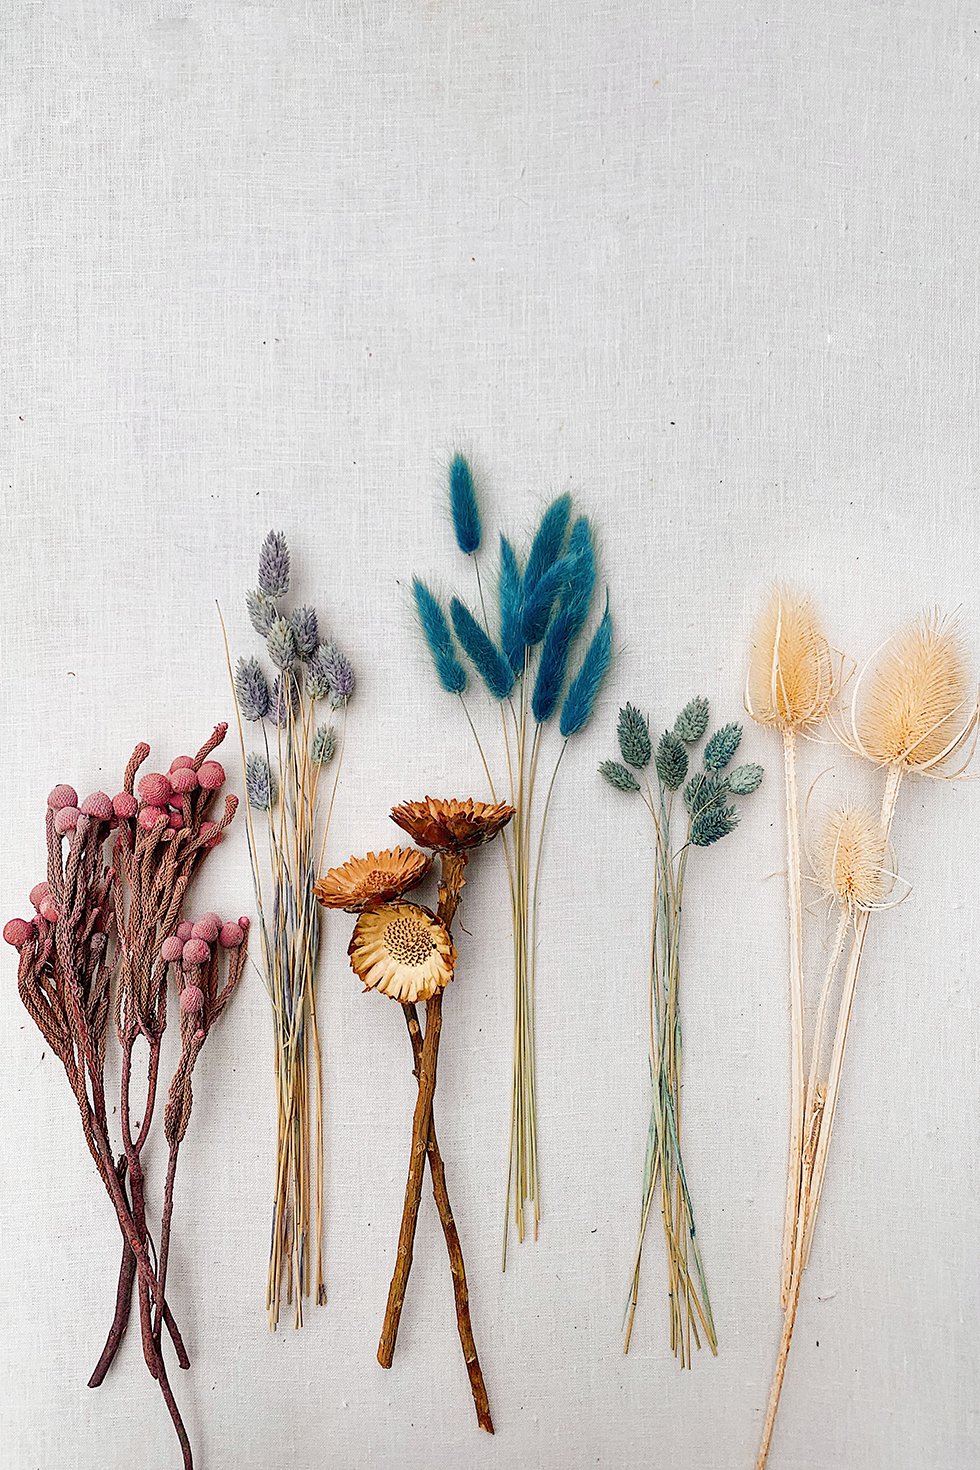
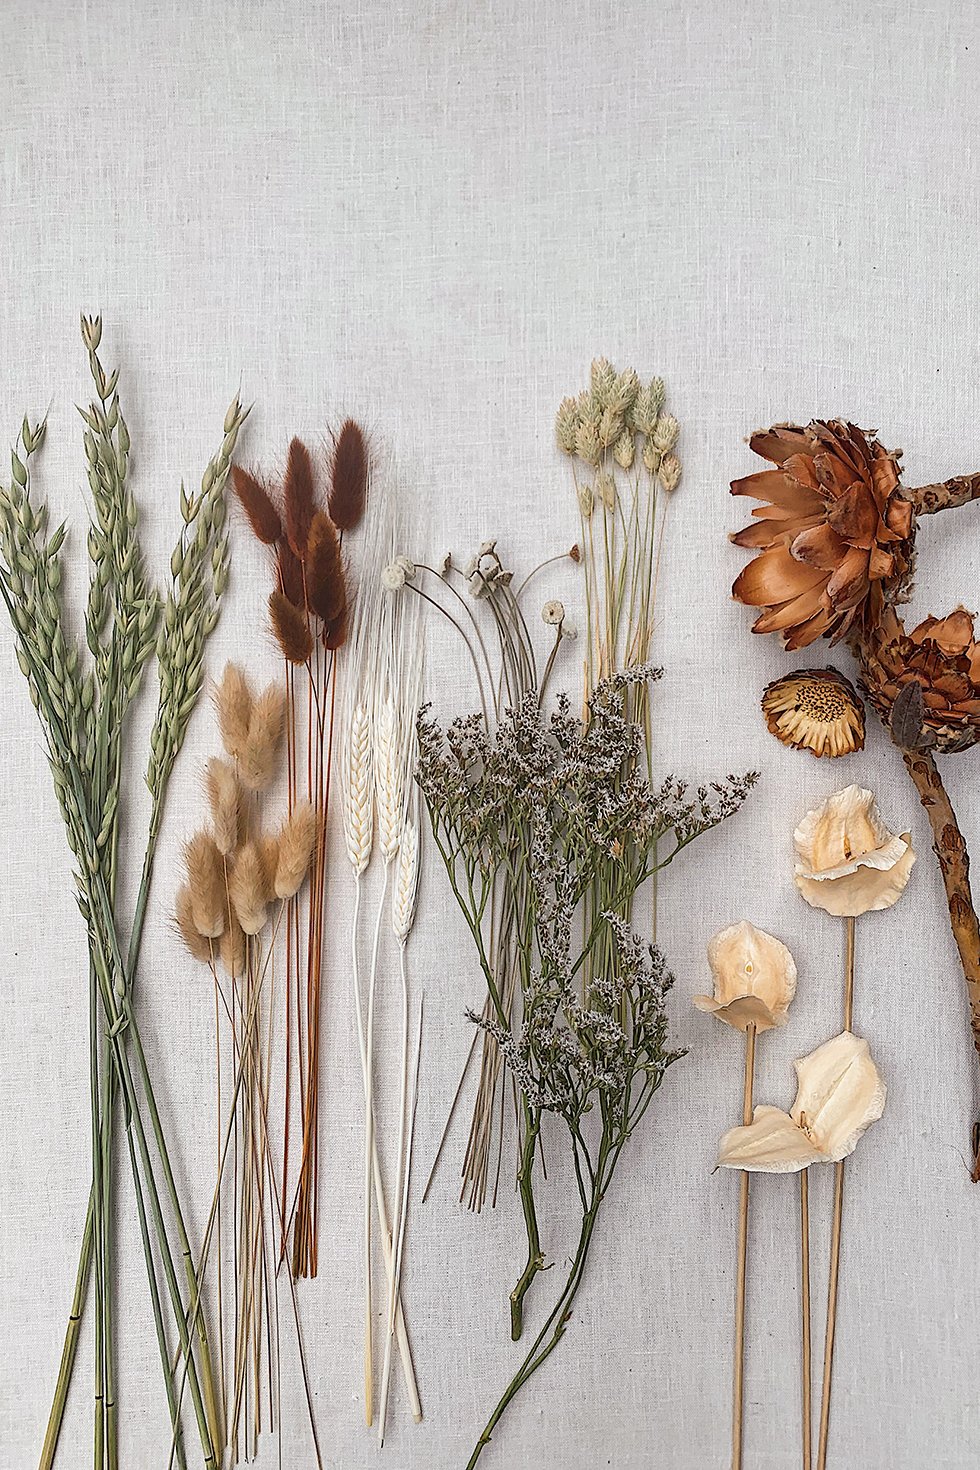
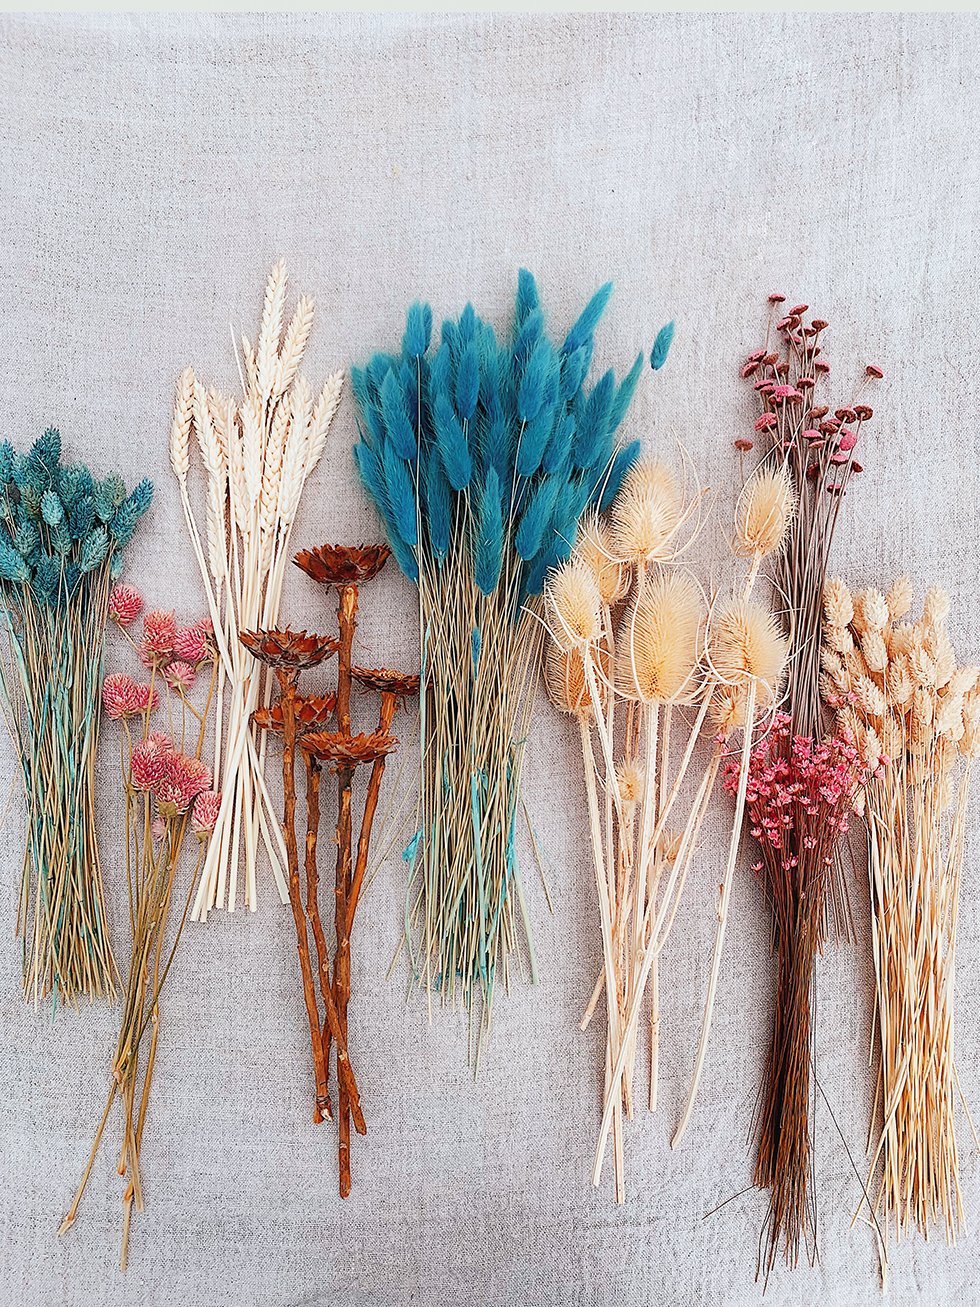
You'll Need (for one large bouquet):
- 2 bunches of blue Phalaris
- 1 bunch of dried pink Amaranth
- 1 bunch of bleached wheat
- 1 bunch of dried pods
- 3 bunches of blue bunny tail grass
- 1 bunch of dried white Thistle
- 1 bunch of pink buttons
- 1 bunch of pink stardust flowers
- 2 bunches of white Phalaris
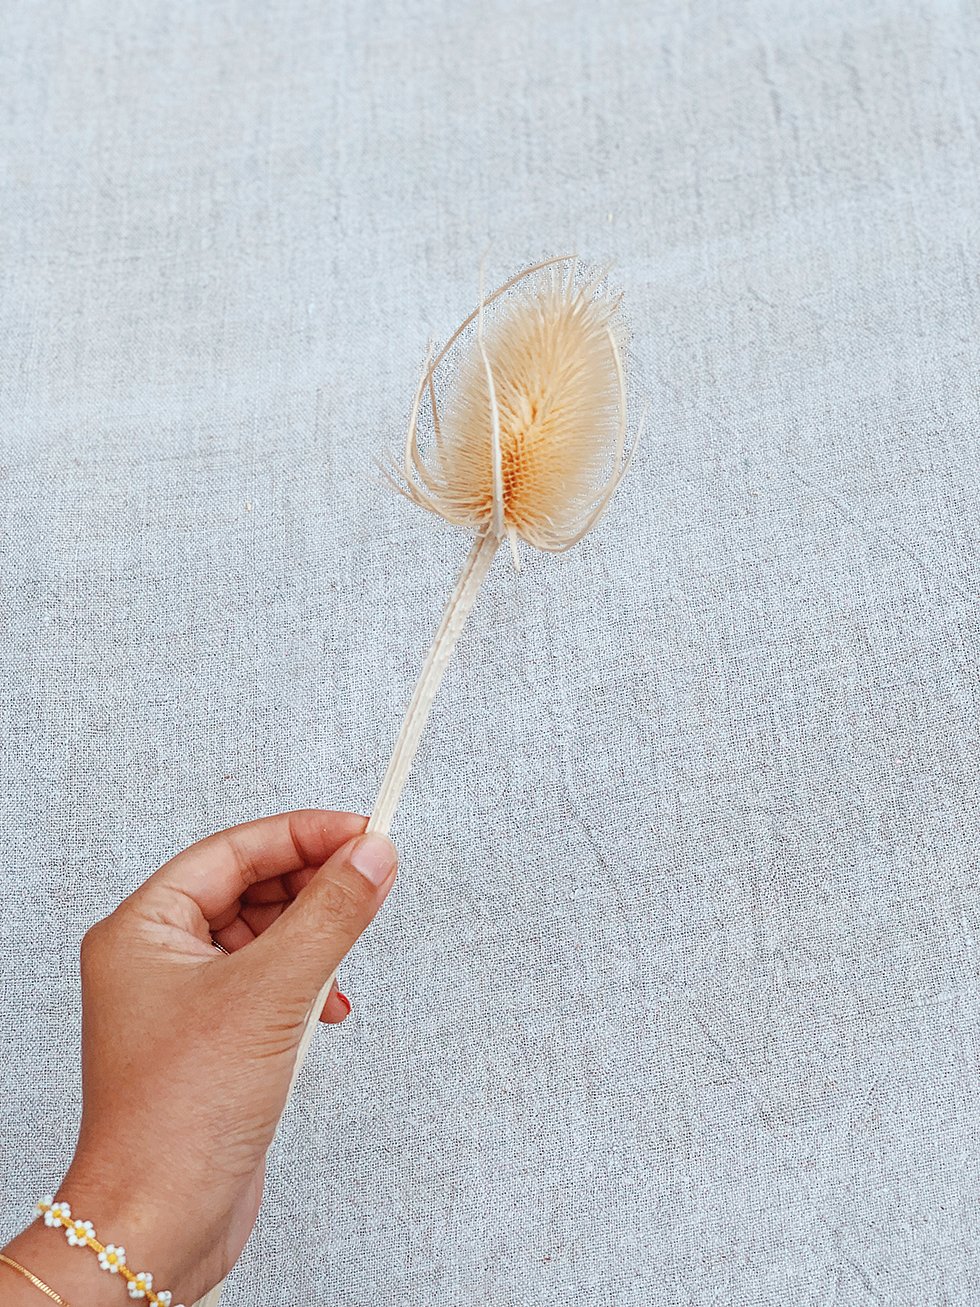
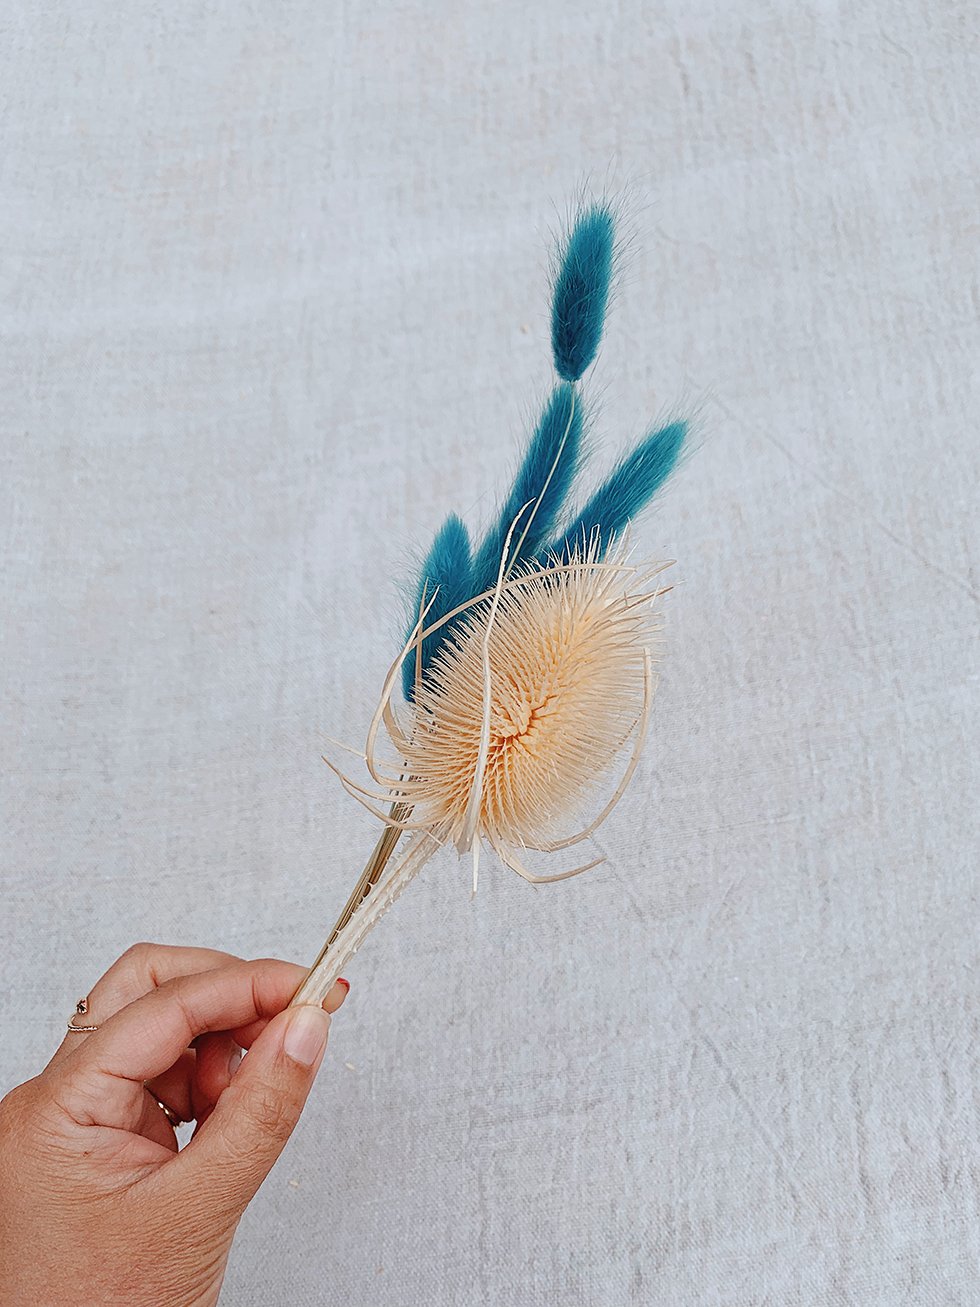
Start with your biggest flower or pod first. Then, add a few of my main elements, which in this case are the blue bunny tail grasses.
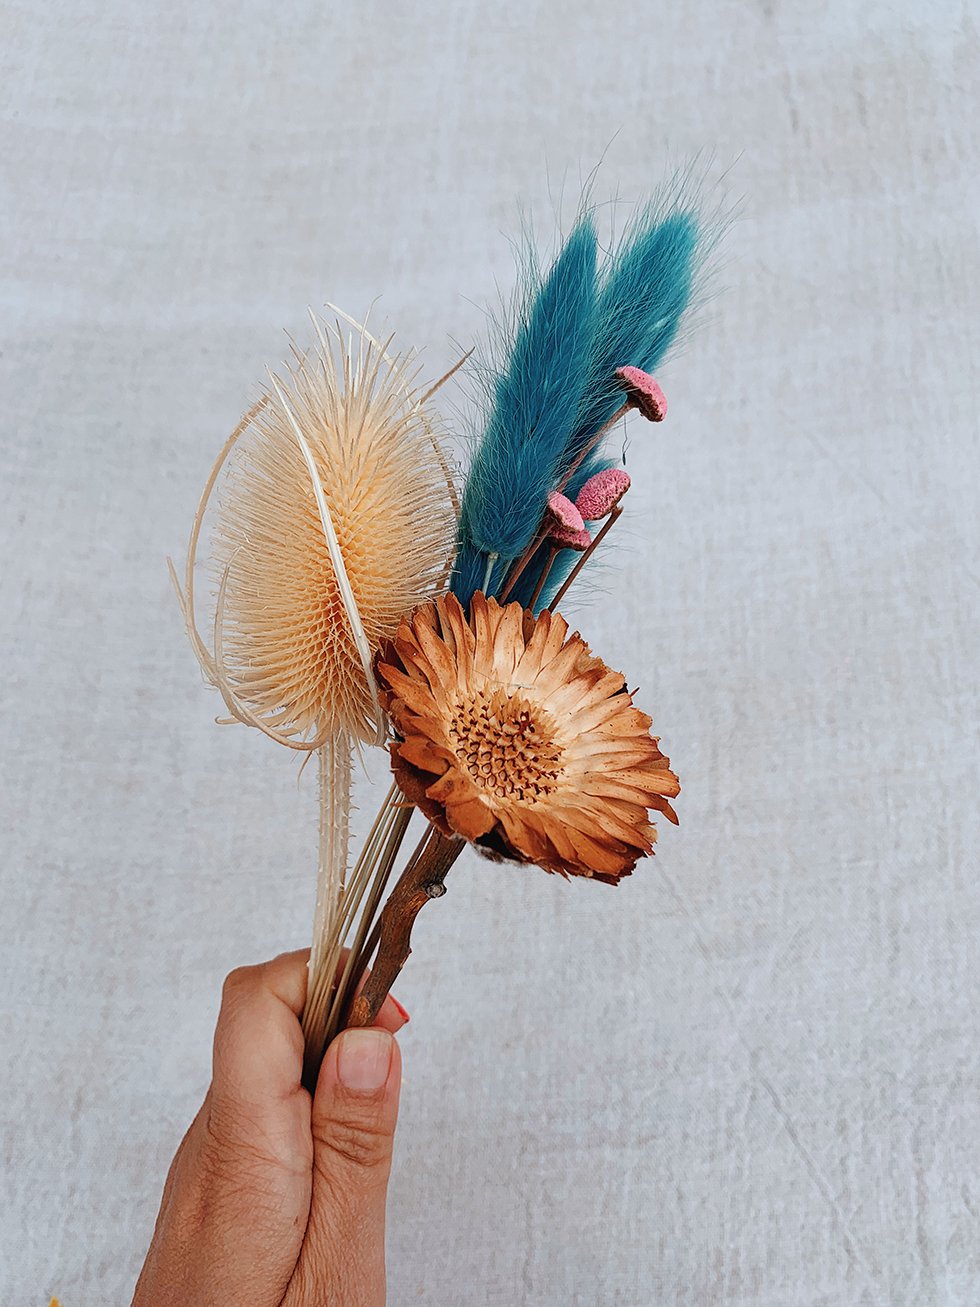
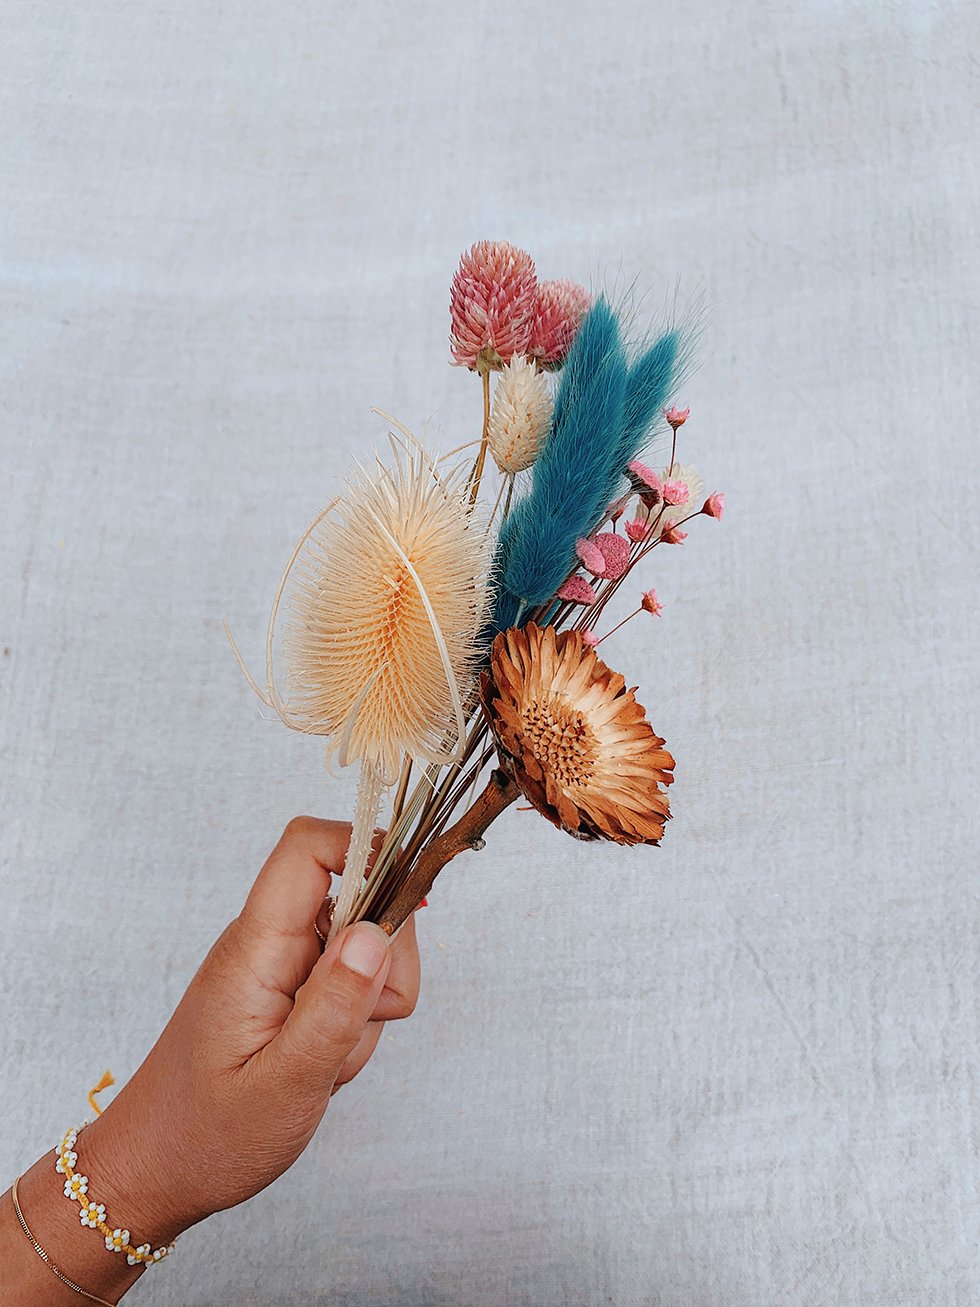
Then, add your next largest element. Then add some of the smaller grasses and flowers.
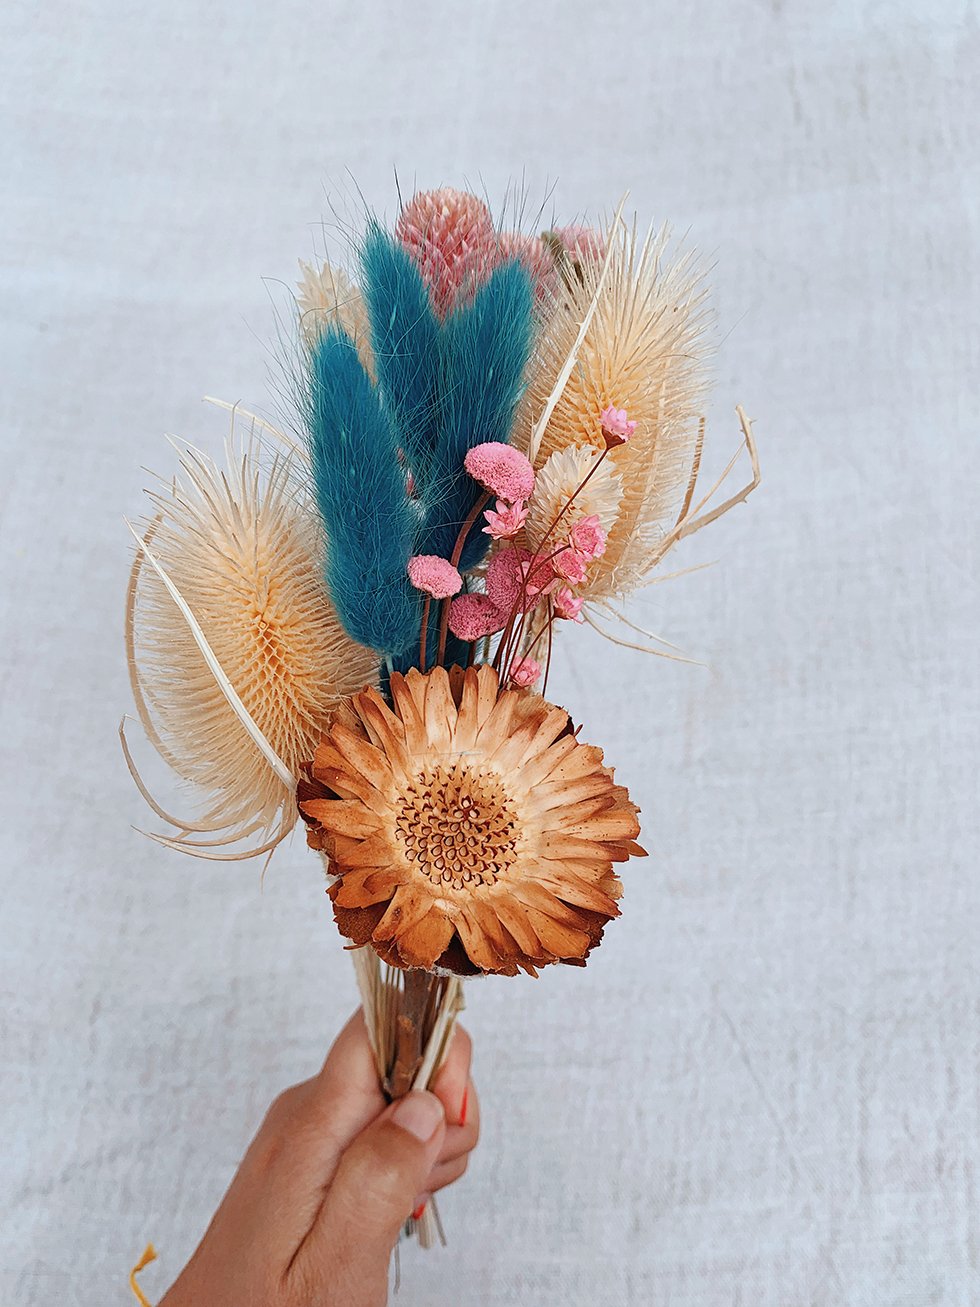
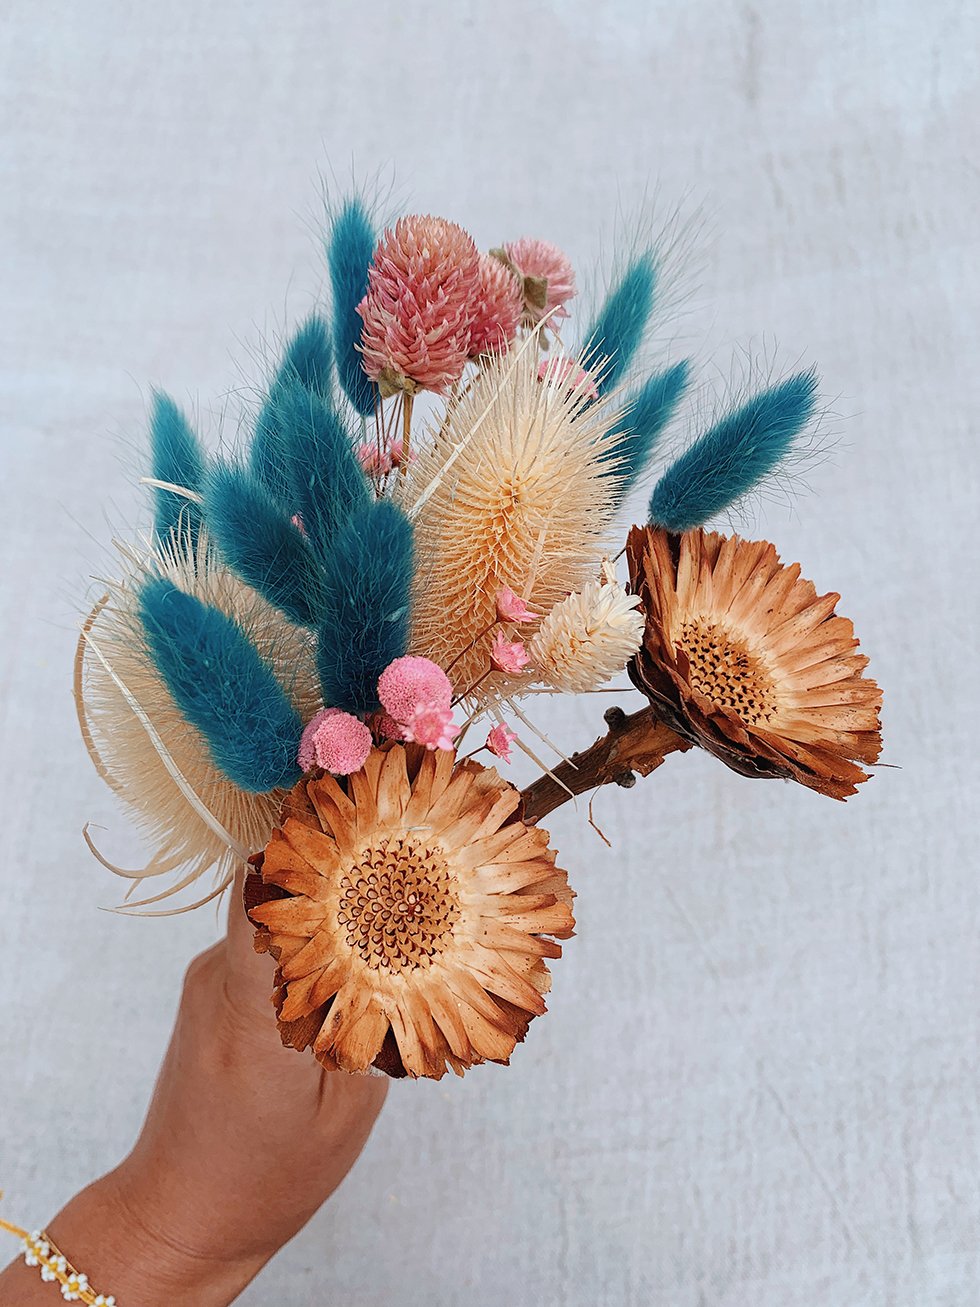
Continue adding at least a few of each of the elements. At this point, you should have one or a couple of every flower, pod and grass. Think of this as the center of your bouquet. You'll start to work your way around the center, in a clockwise direction and adding more and more.
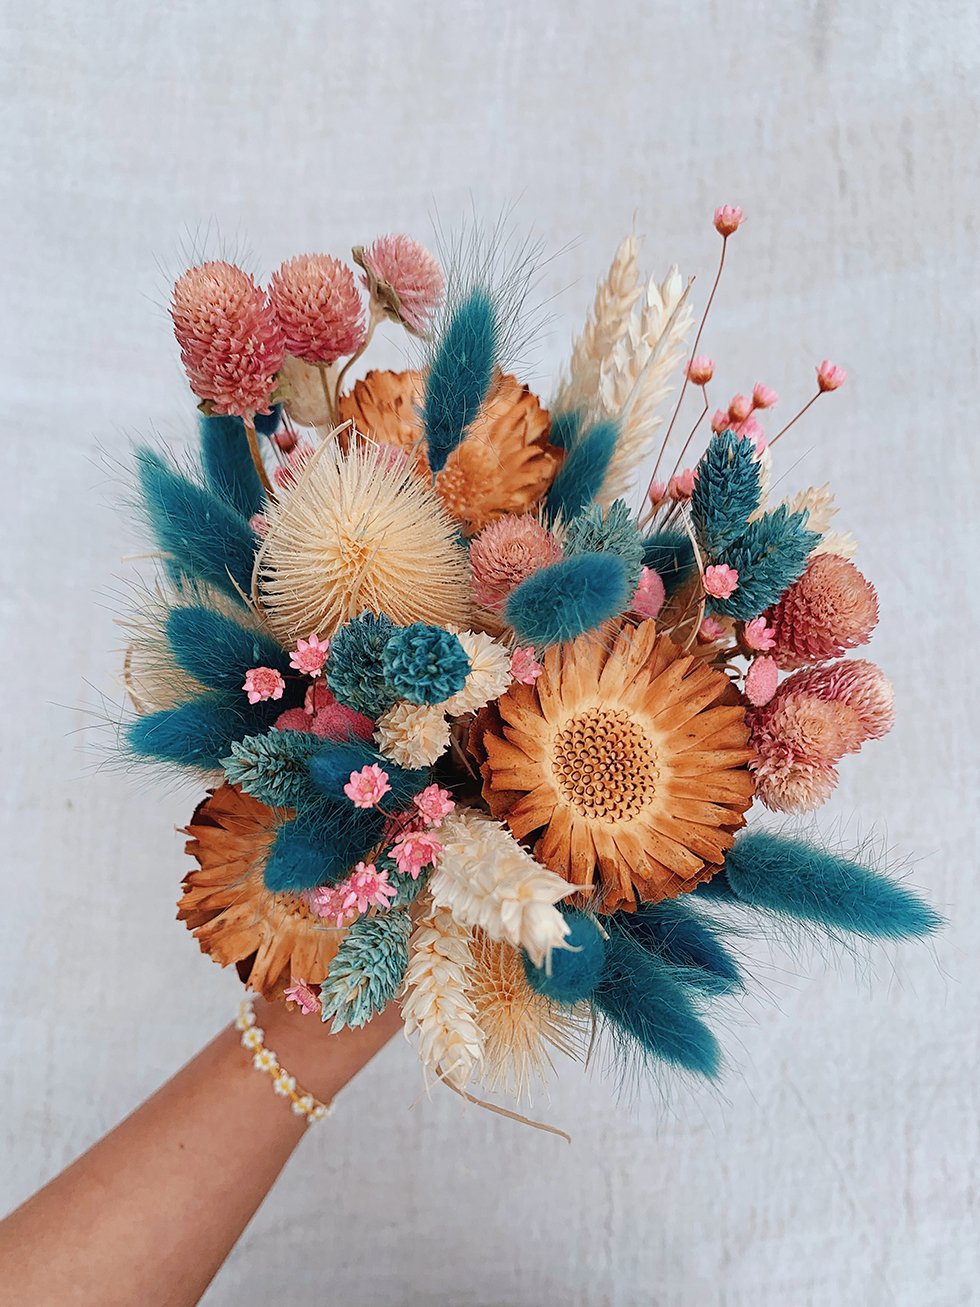
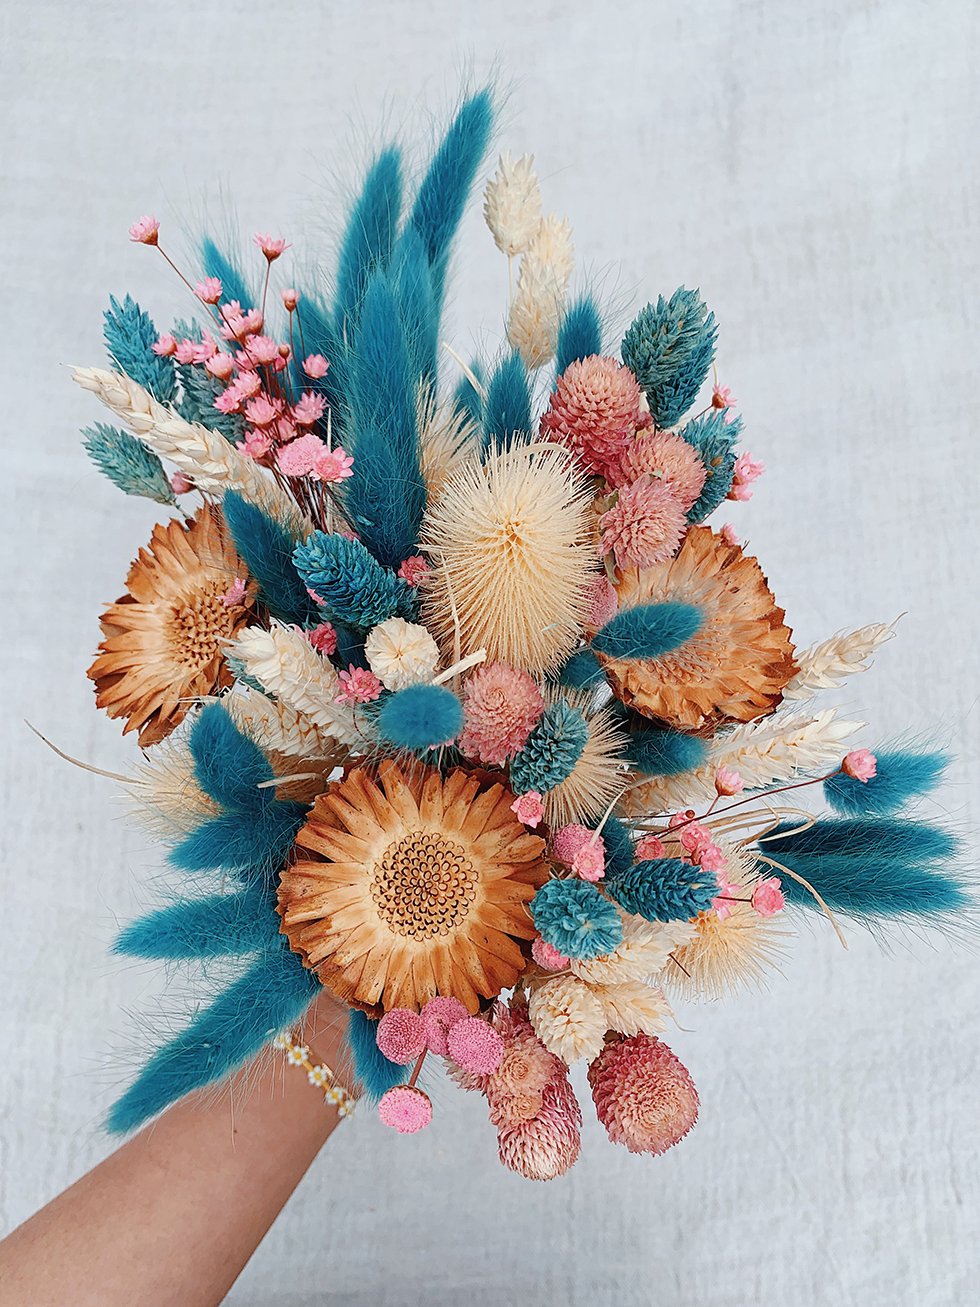
Keep rotating the bouquet while it's in your hands. When adding flowers and grasses, I like to work my way down, making the center of the bouquet the highest point.
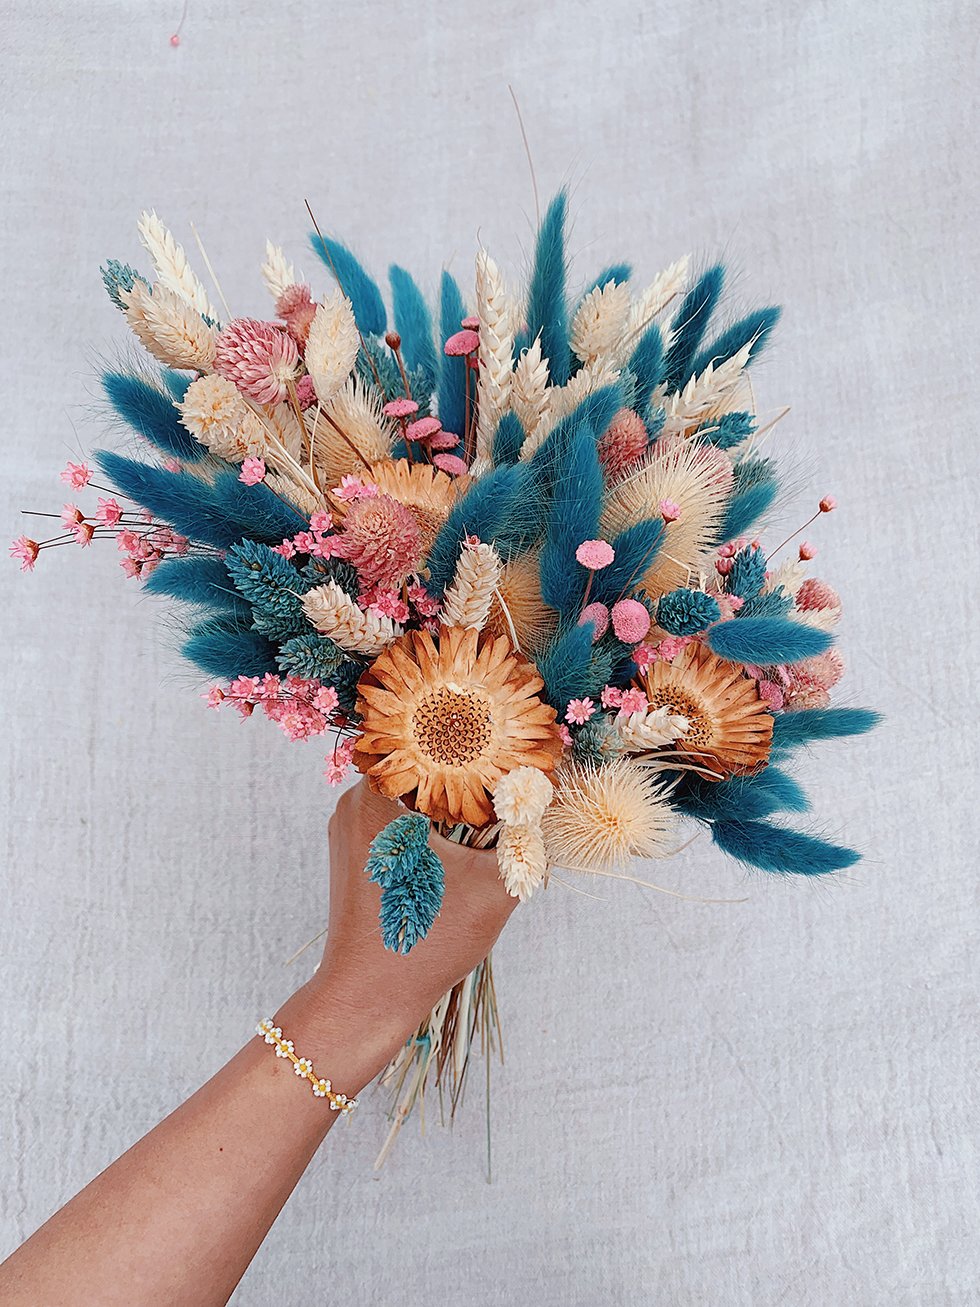
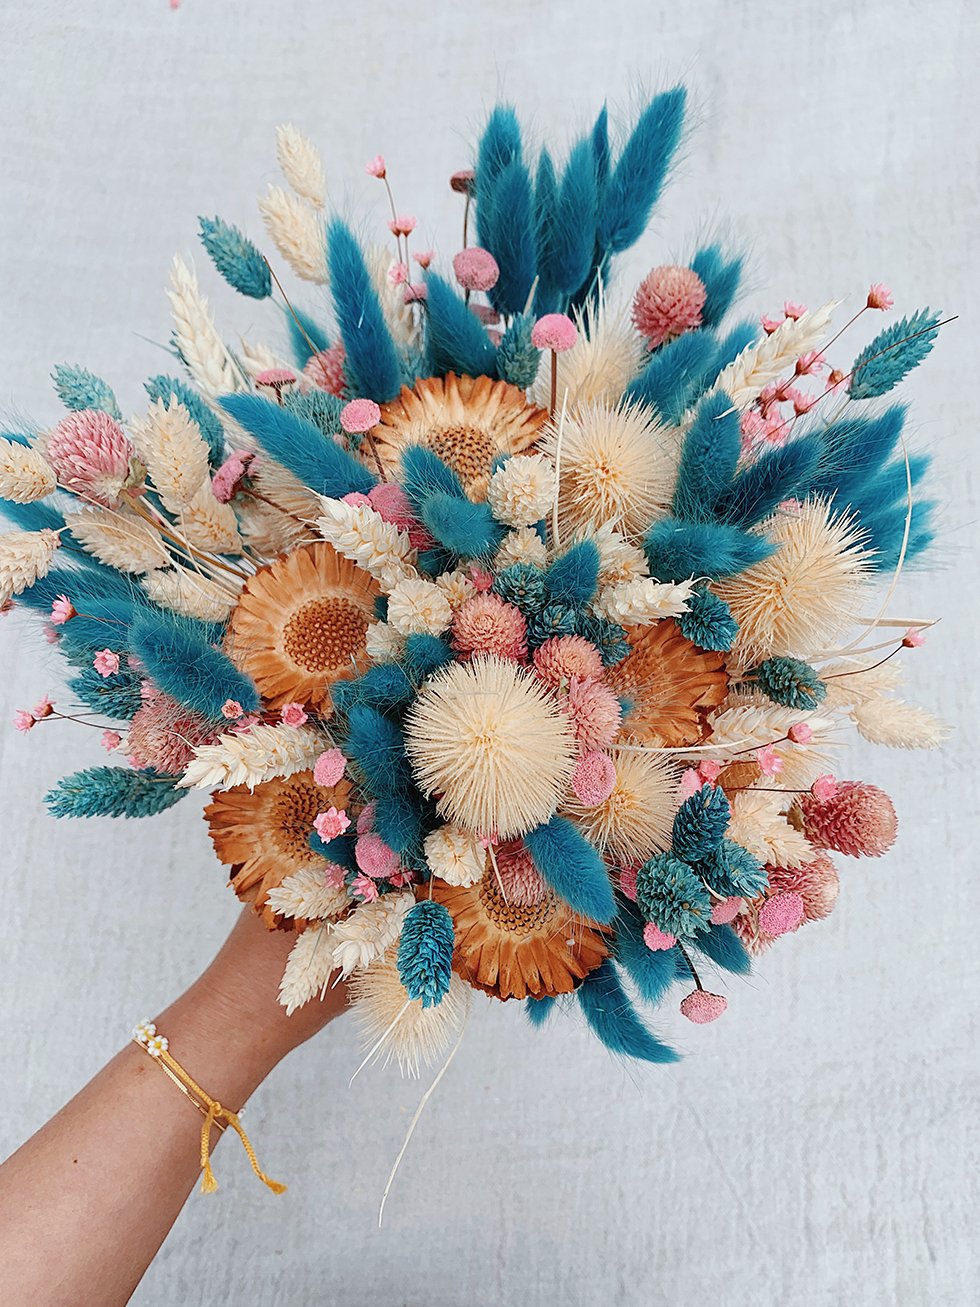
Continue rotating the bouquet and shaping it with more flowers and grasses. When you're finished, go through the bouquet and pull out some of the smaller flowers and grasses to give it a more dynamic silhouette. Wrap the stems with a rubber band and trim the ends with a flower cutter.
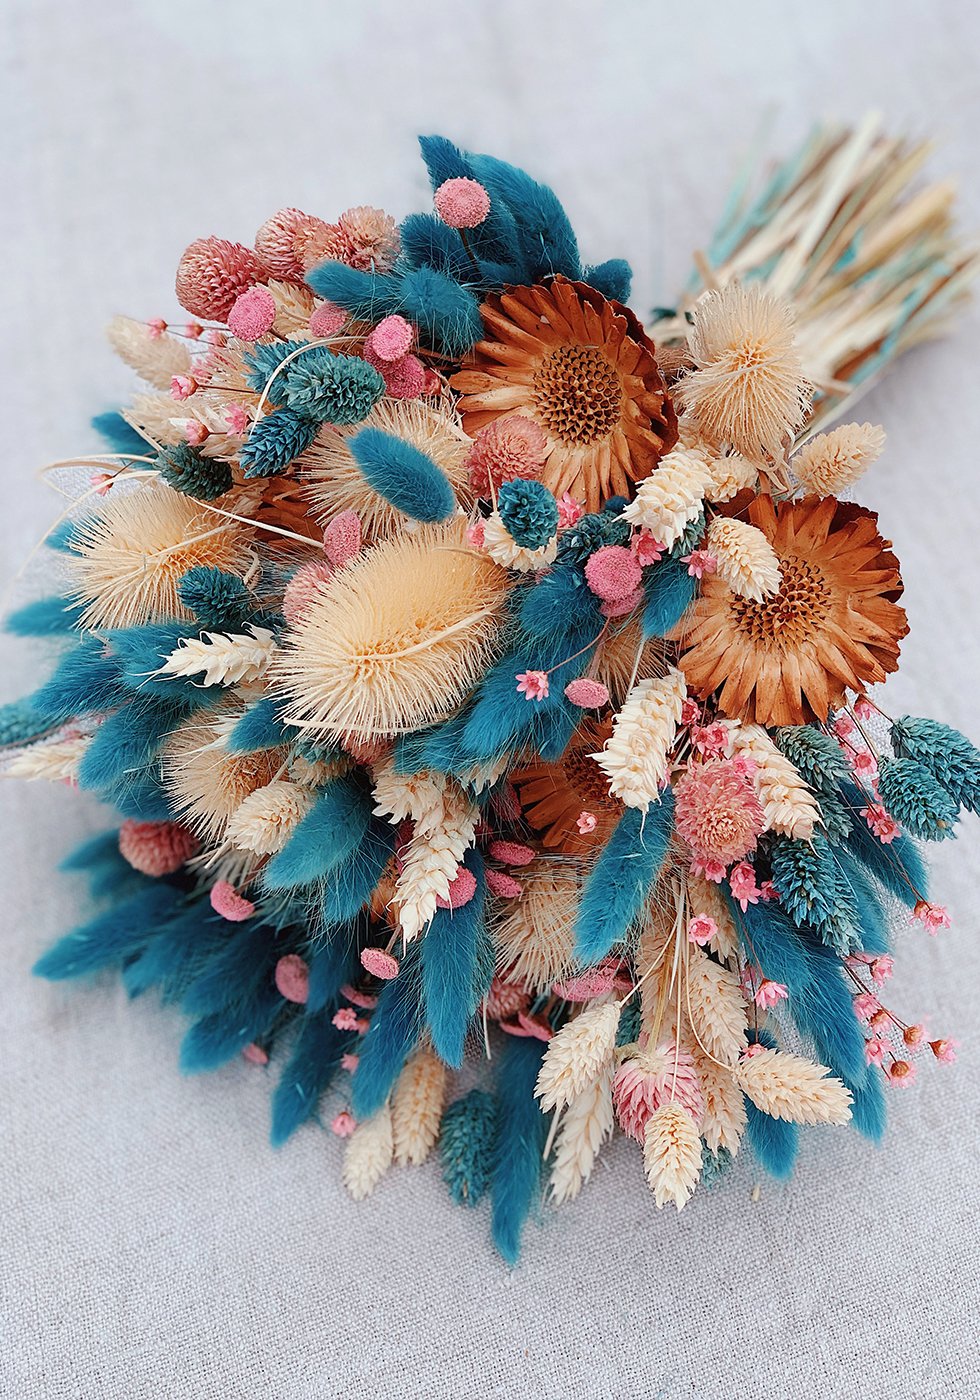
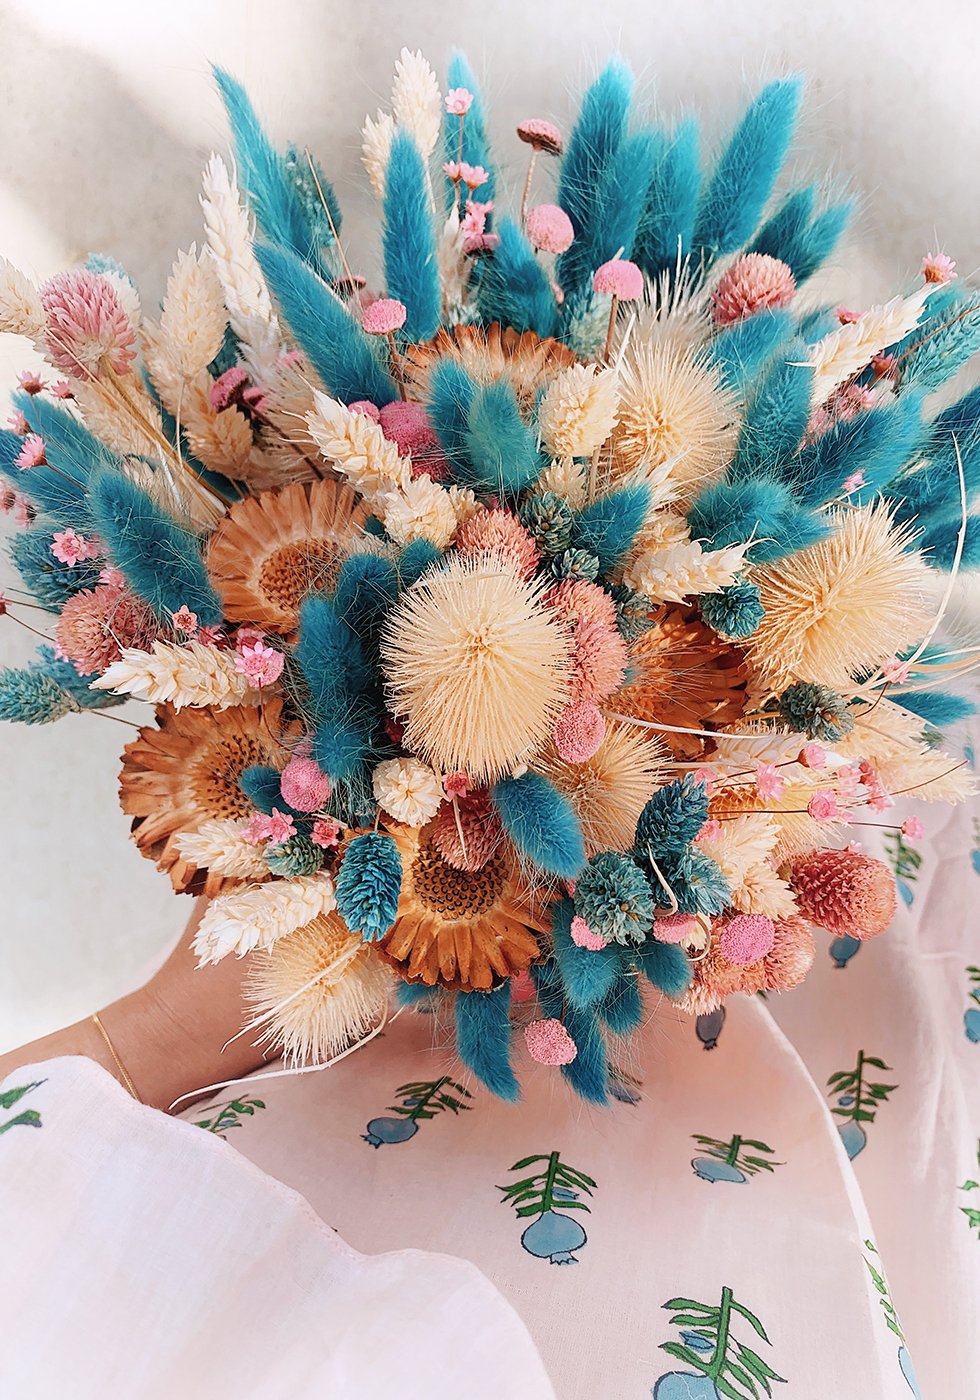
images by HonestlyWTF

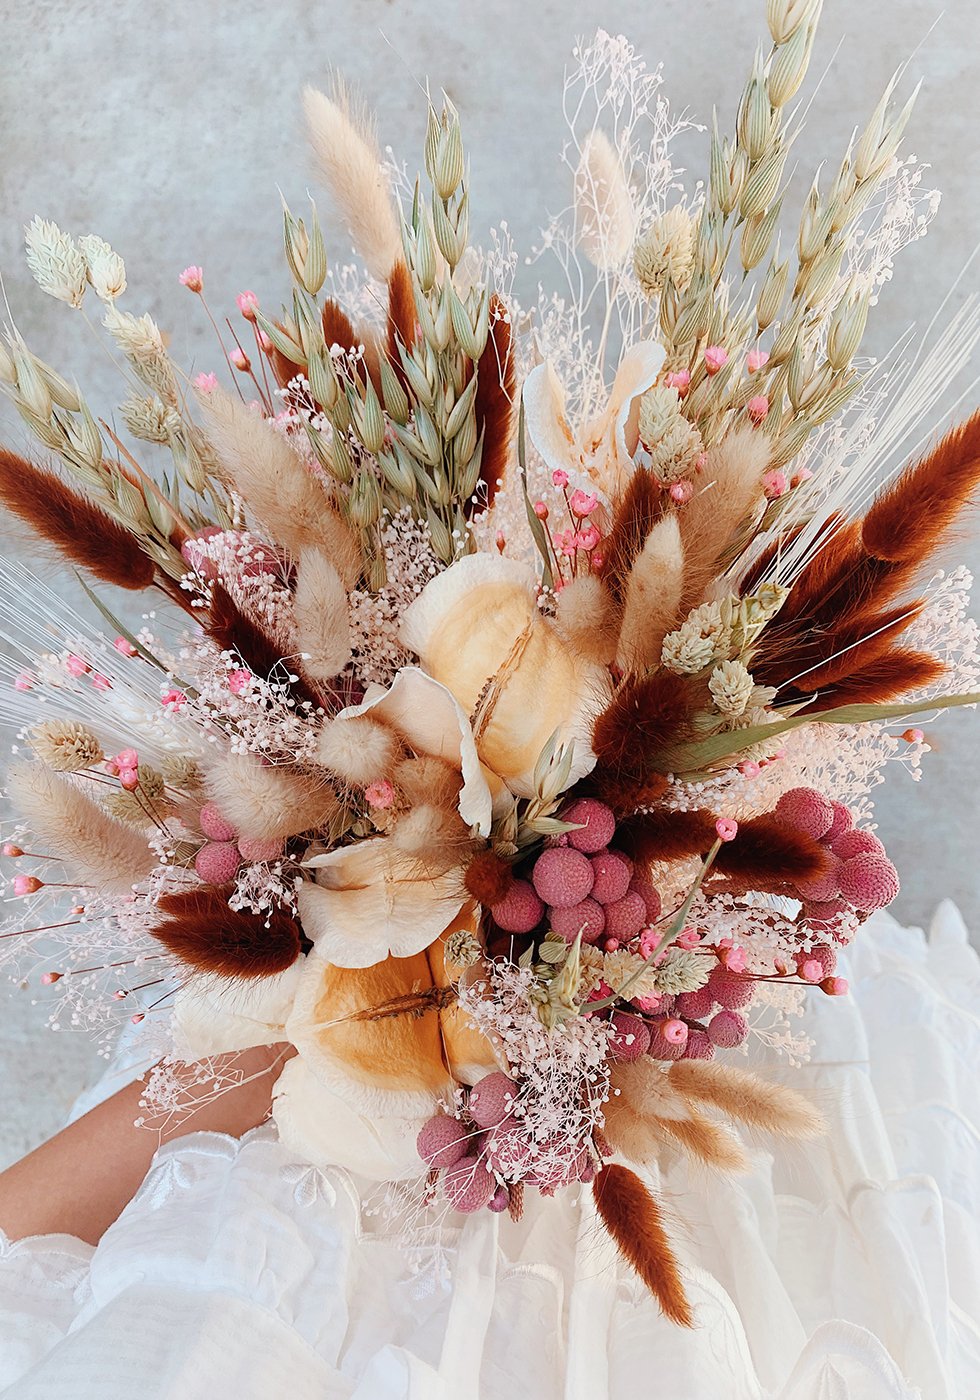
Can I order the bouquet??
Are these pretty affordable to make ? I’m considering this as a cheaper option to real bouquets for my wedding.
Are these pretty affordable to make ? I’m considering this as a cheaper option to real bouquets for my wedding.
something if in the hands of someone who is full of creativity then produces according to the beautiful and useful
Paket Umroh Promo | Paket Umroh Reguler | Jadwal Lengkap
You have one of the prettiest blogs I’ve ever seen. I can’t wait to learn more DIY from you and check out your photography!
Awww, thank you!!
These are BEAUTIFUL. Do you sell these by chance?
I don’t, unfortunately, but you can find some on Etsy!
Yes it available there. You can buy it online easily.
Amazing
nice
Thanks for the good information. Please continue to share great information. Thanks for the good information. Please continue to share great information.
I’m interested in dried flowers and would appreciate if you can contact me to discuss business
Thank you
Thanks for the good information. Please continue to share great information. Thanks for the good information. Please continue to share great information.
beautiful dried flowers, thank you for your article. learned.
Just costed this out with the suppliers listed…$192 (without tax or shipping) gorgeous but soooo expensive!
What a beautiful bouquet! When I get married I will certainly choose something like that with dried flowers!
hi do you sell these bouquet’s ?
Im in love with the autumn orangey/ brown one but would never be able to do it
AMAZING and beautiful
The colour combination is also awesome. Dried flower arrangement yet fresh looking.
I love this!! Can i borrow this picture for some art work for my friends single cover? This flowers in the backround would be soo nice !
Gah! Erica! Such an inspiration. It always seems like whenever I go down a rabbit hole of some craft obsession, your DIYs always come up. Every time.
Love this. I’m going to do a dried centerpiece for thanksgiving and this really helped a lot.
Found your post interesting to read. I cant wait to see your post soon. Good Luck with the upcoming update. This article is really very interesting and effective.
Parabéns, maravilhosos, vou tentar fazer alguns com o que possuo no meu Ateliê.Grata
Those brown flowers, i believe you call dried pods, do they have another name, im trying to search for them online and nothing like it shows.
I am very much fascinated about DIYs. But this one is just amazing. Really loved the flowers. Looks so adorable.
Are these pretty affordable to make ? I’m considering this as a cheaper option to real bouquets for my wedding.
This is very helpful, thank you for sharing articles about do it yourself stuff specially this dried bouquet. Helpful for future events.
Stunning! Beautiful dried flowers herbalmansion.com